Suzuki Cappuccino - Exterior LEDs
For any car I own, I like to replace old bulbs with something a little brighter. The Cappuccino had 1 bad high beam, and the 2 small marker lights were just unplugged within the headlight housing. Here are the bulbs I replaced:
Parts Required
High Beams and Marker Lights
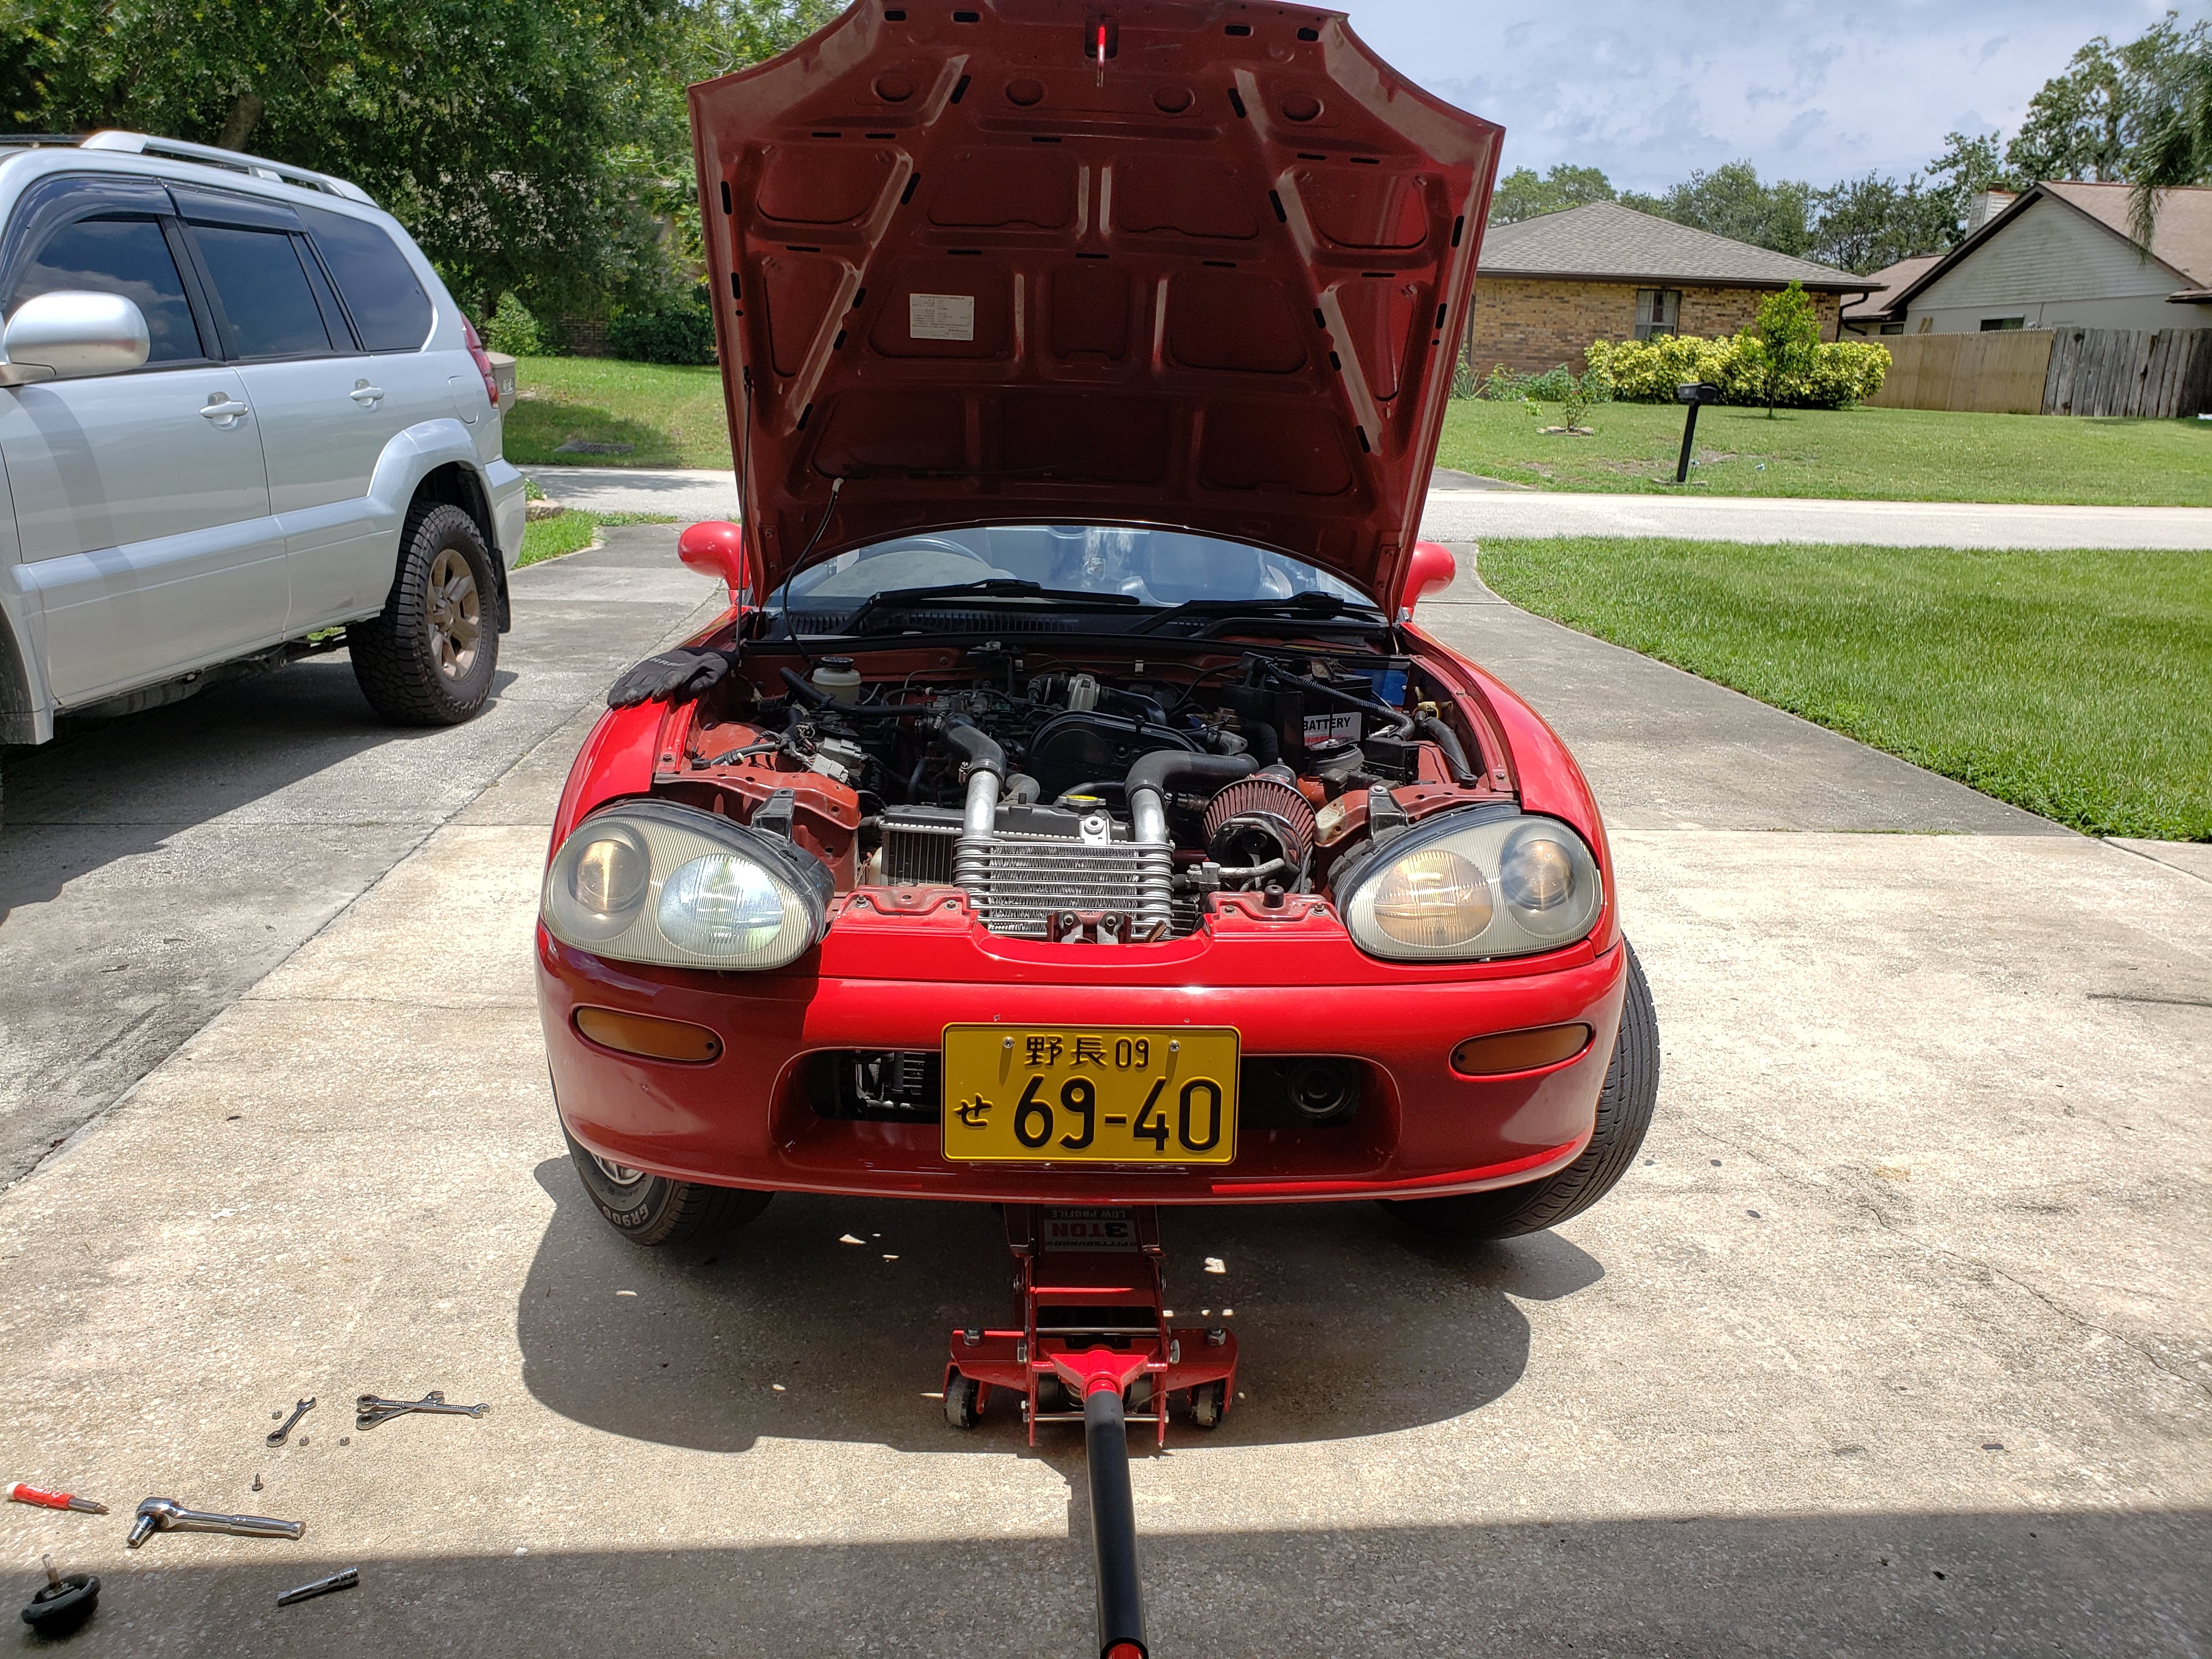
To replace the high beams and marker lights, you actually have to take the headlight housing completely off, but it isn’t too hard. You do have to lift the front end of the car in order to rotate the wheels freely, so jack up the front end to where the wheels are off the ground.

Next, there are 2 10mm nuts to remove inside the engine bay, per headlight. One on top, and one behind the housing, close to the center of the engine bay.
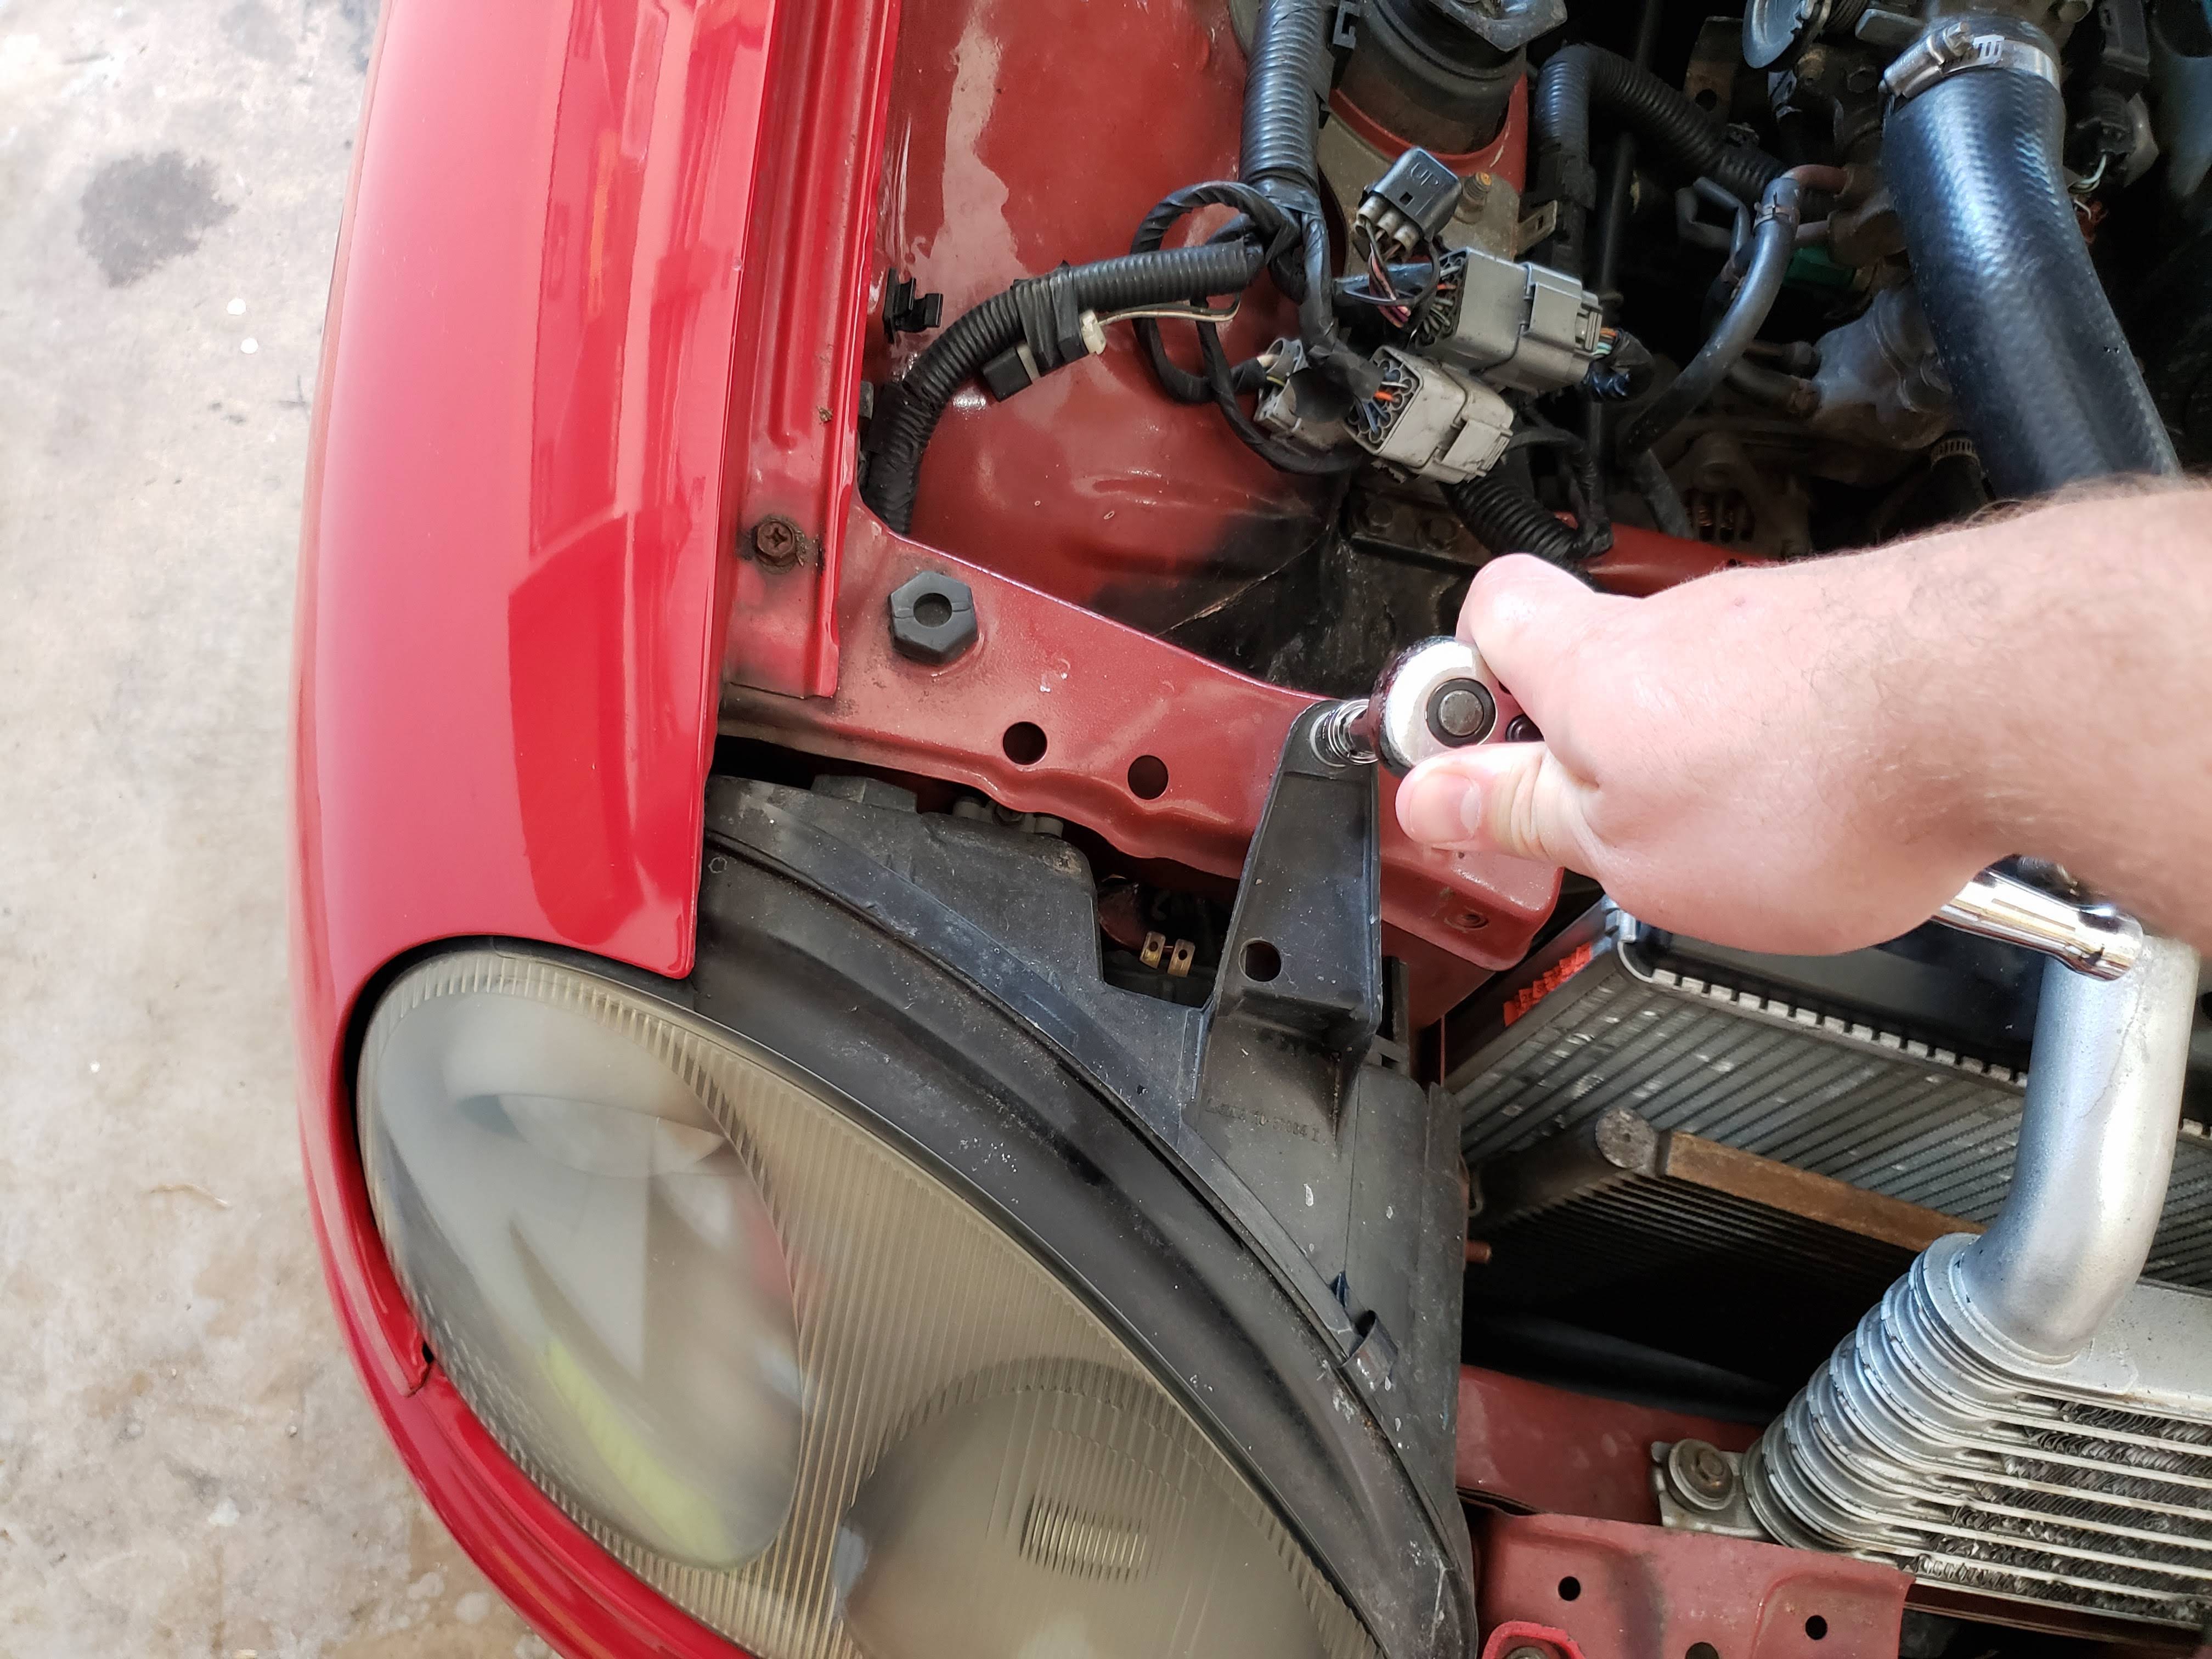
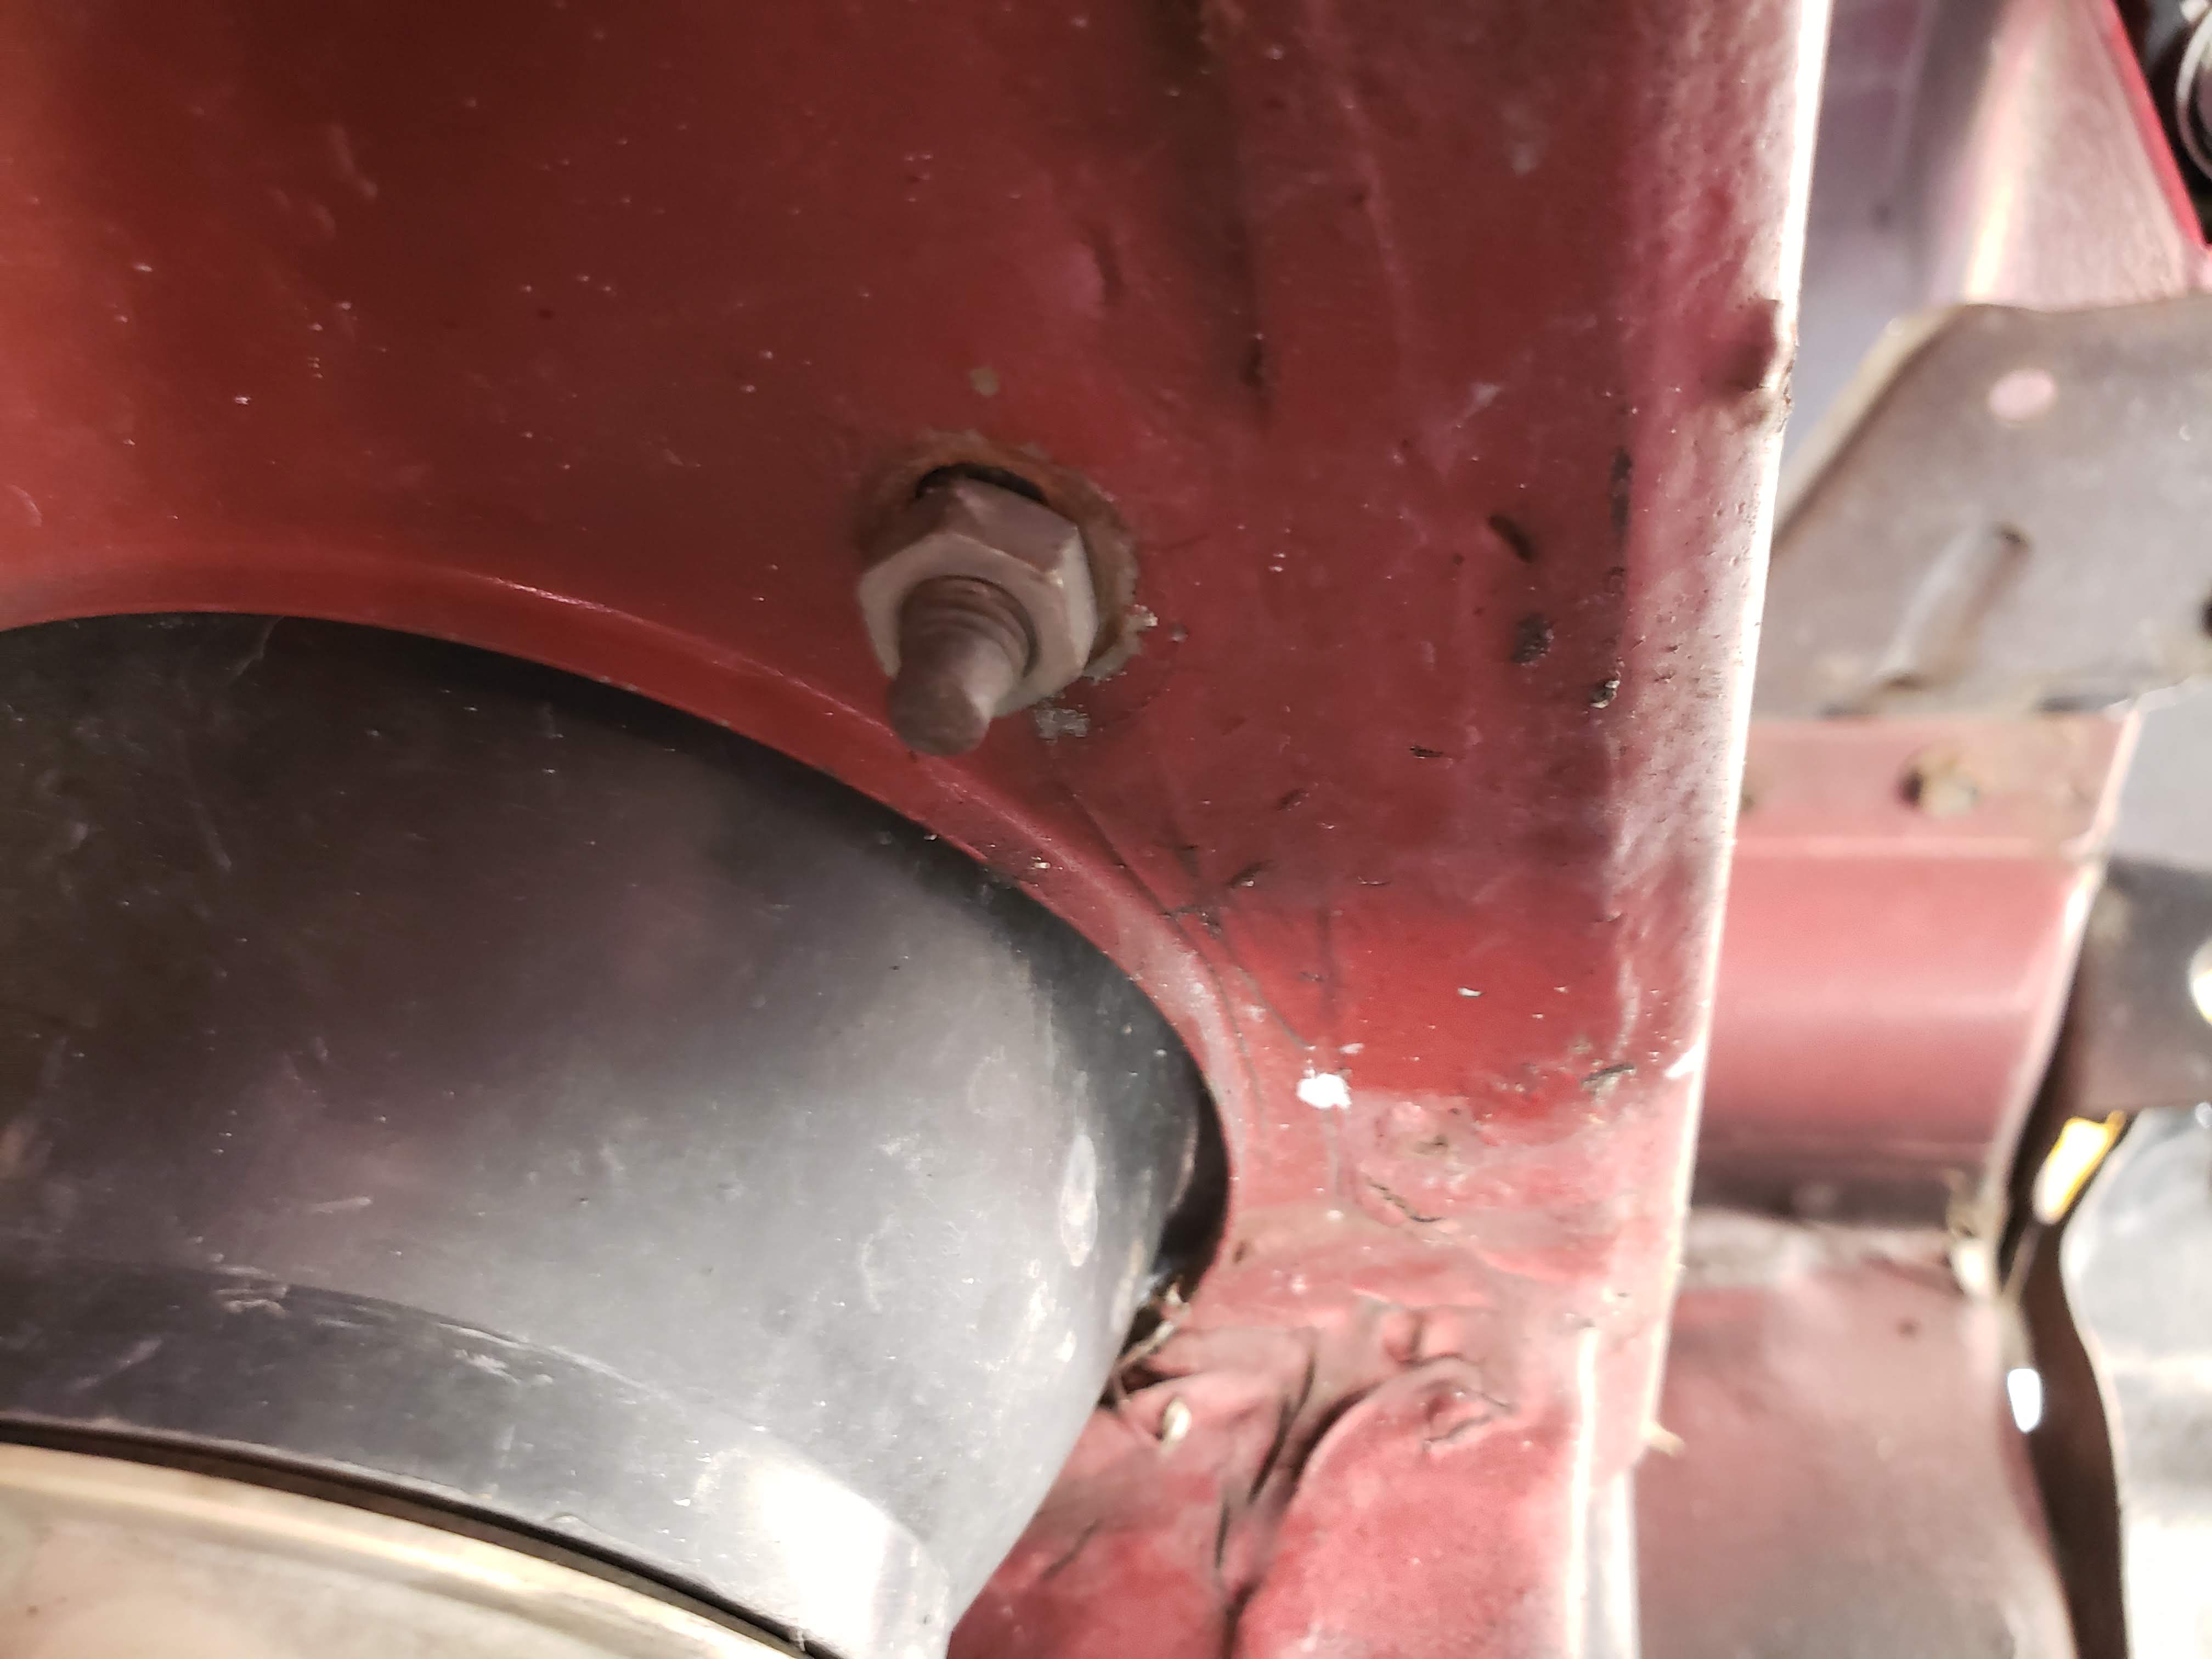
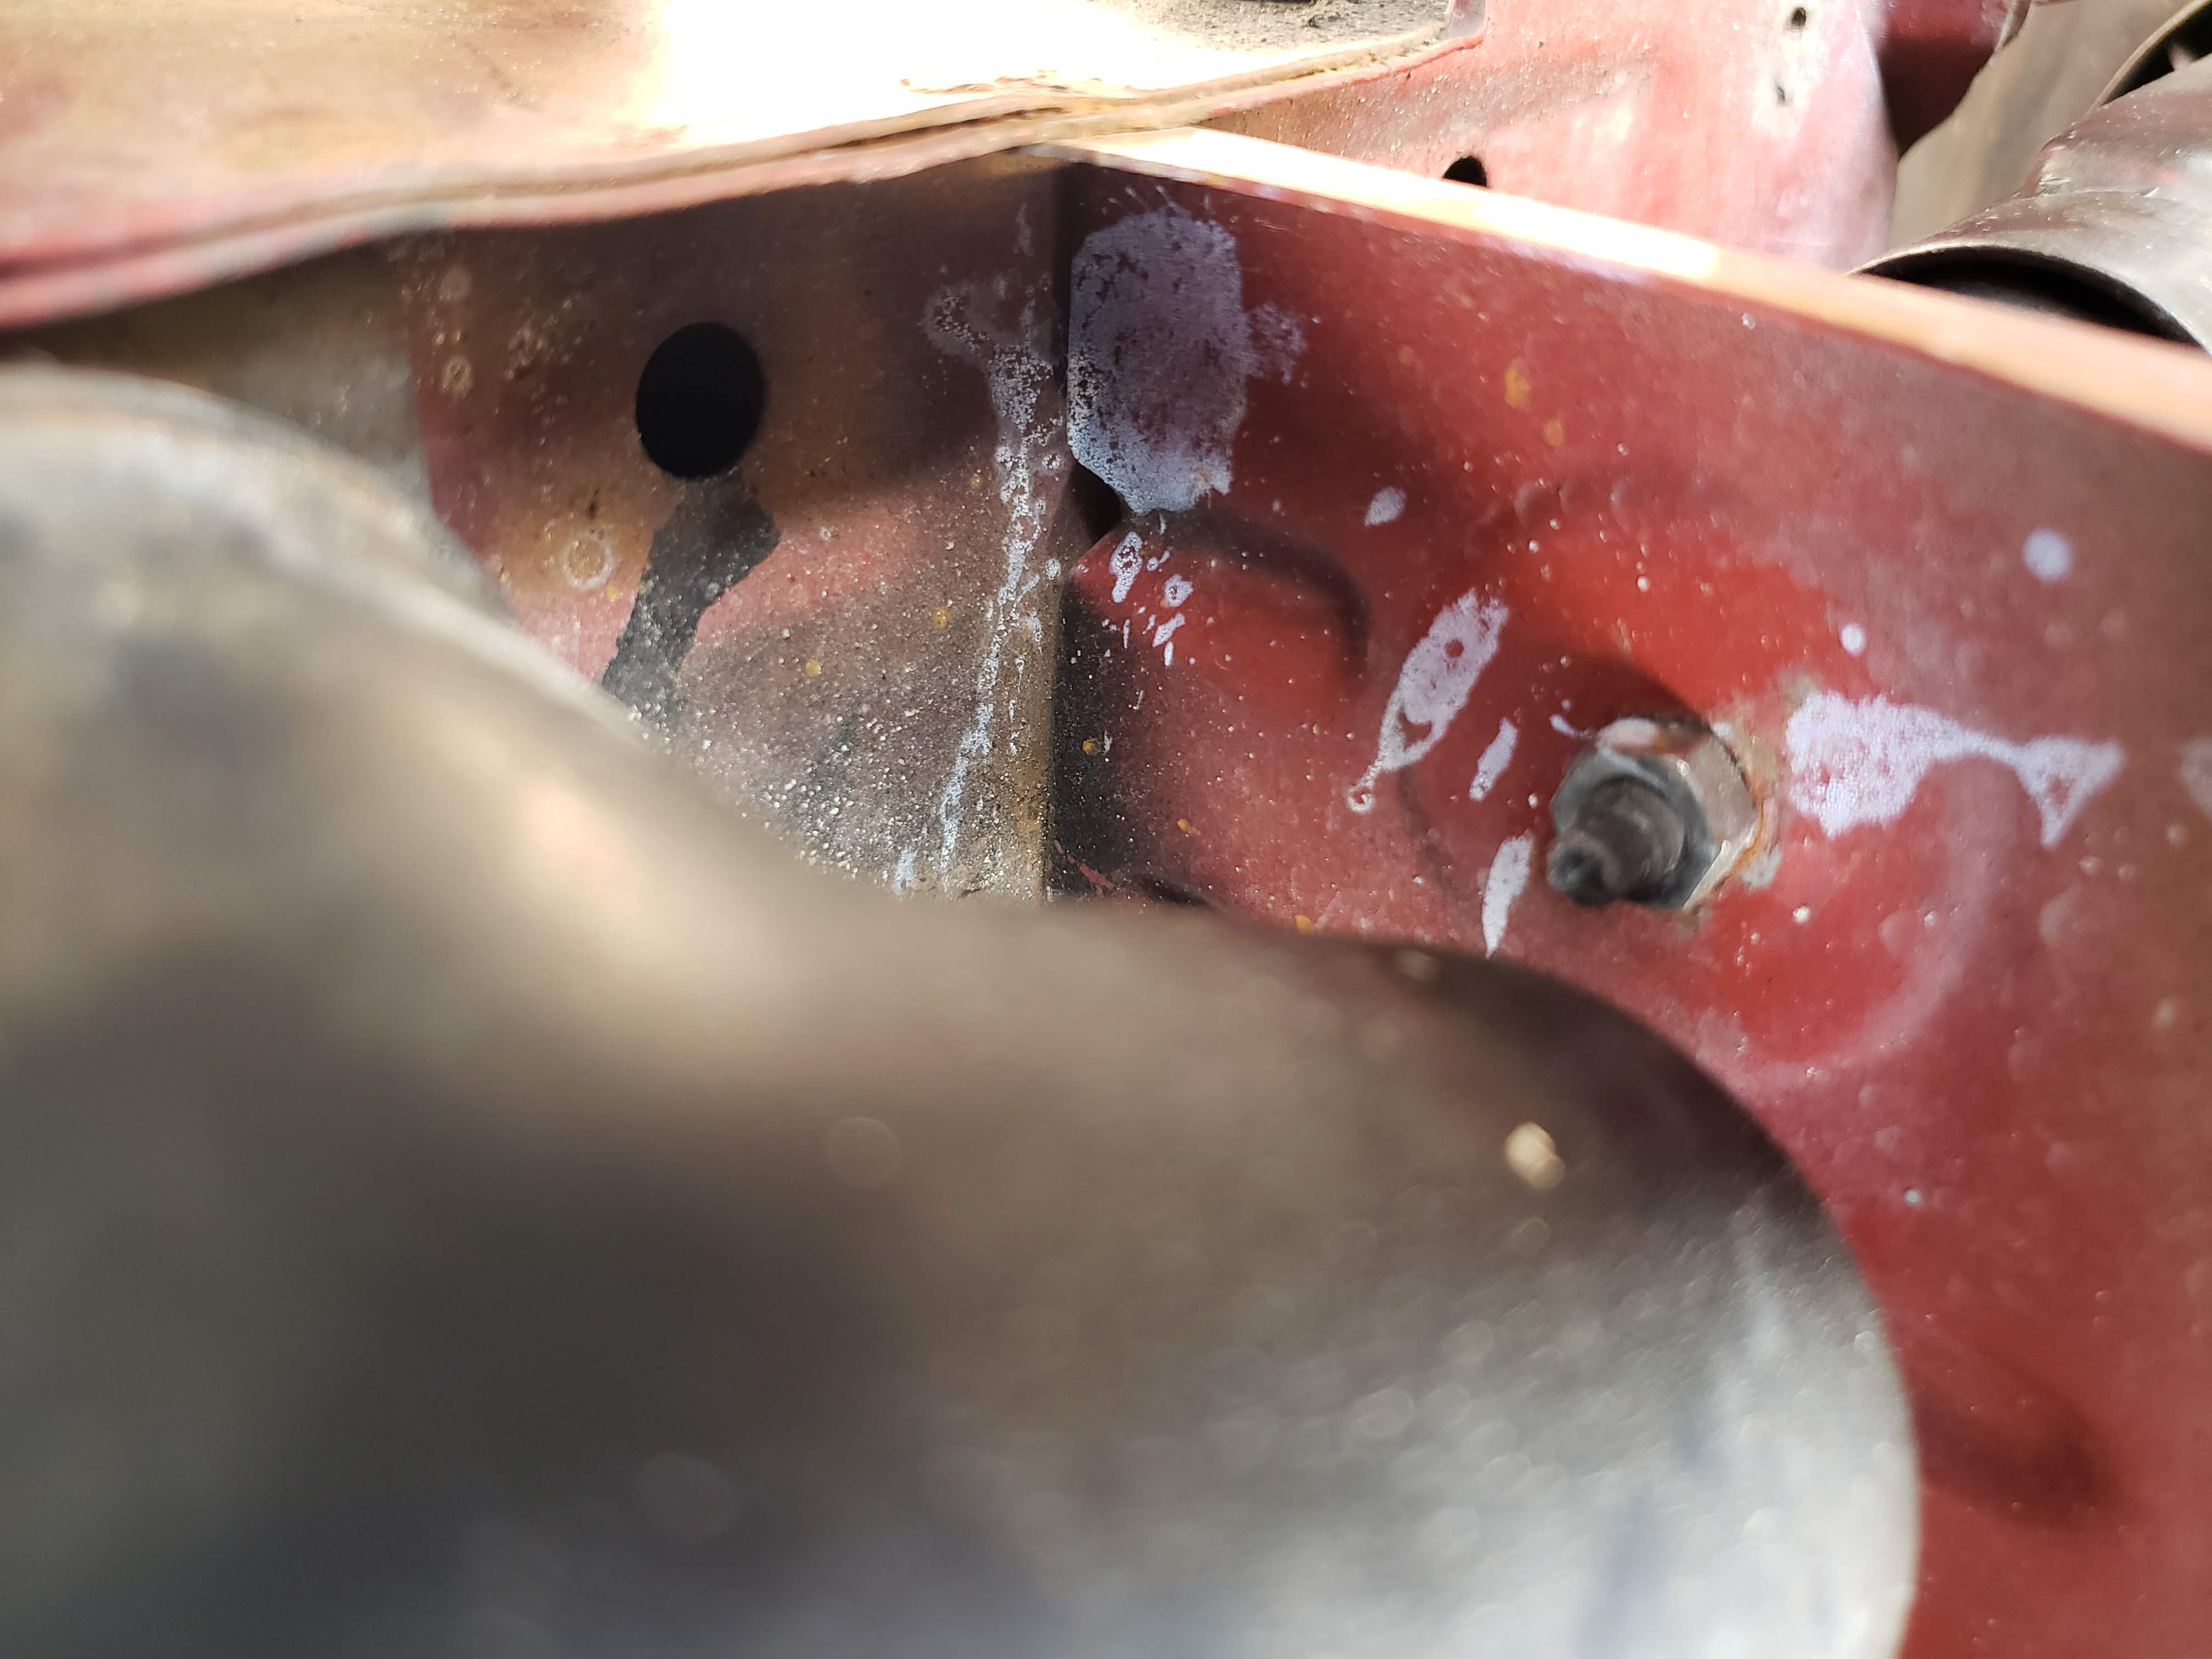
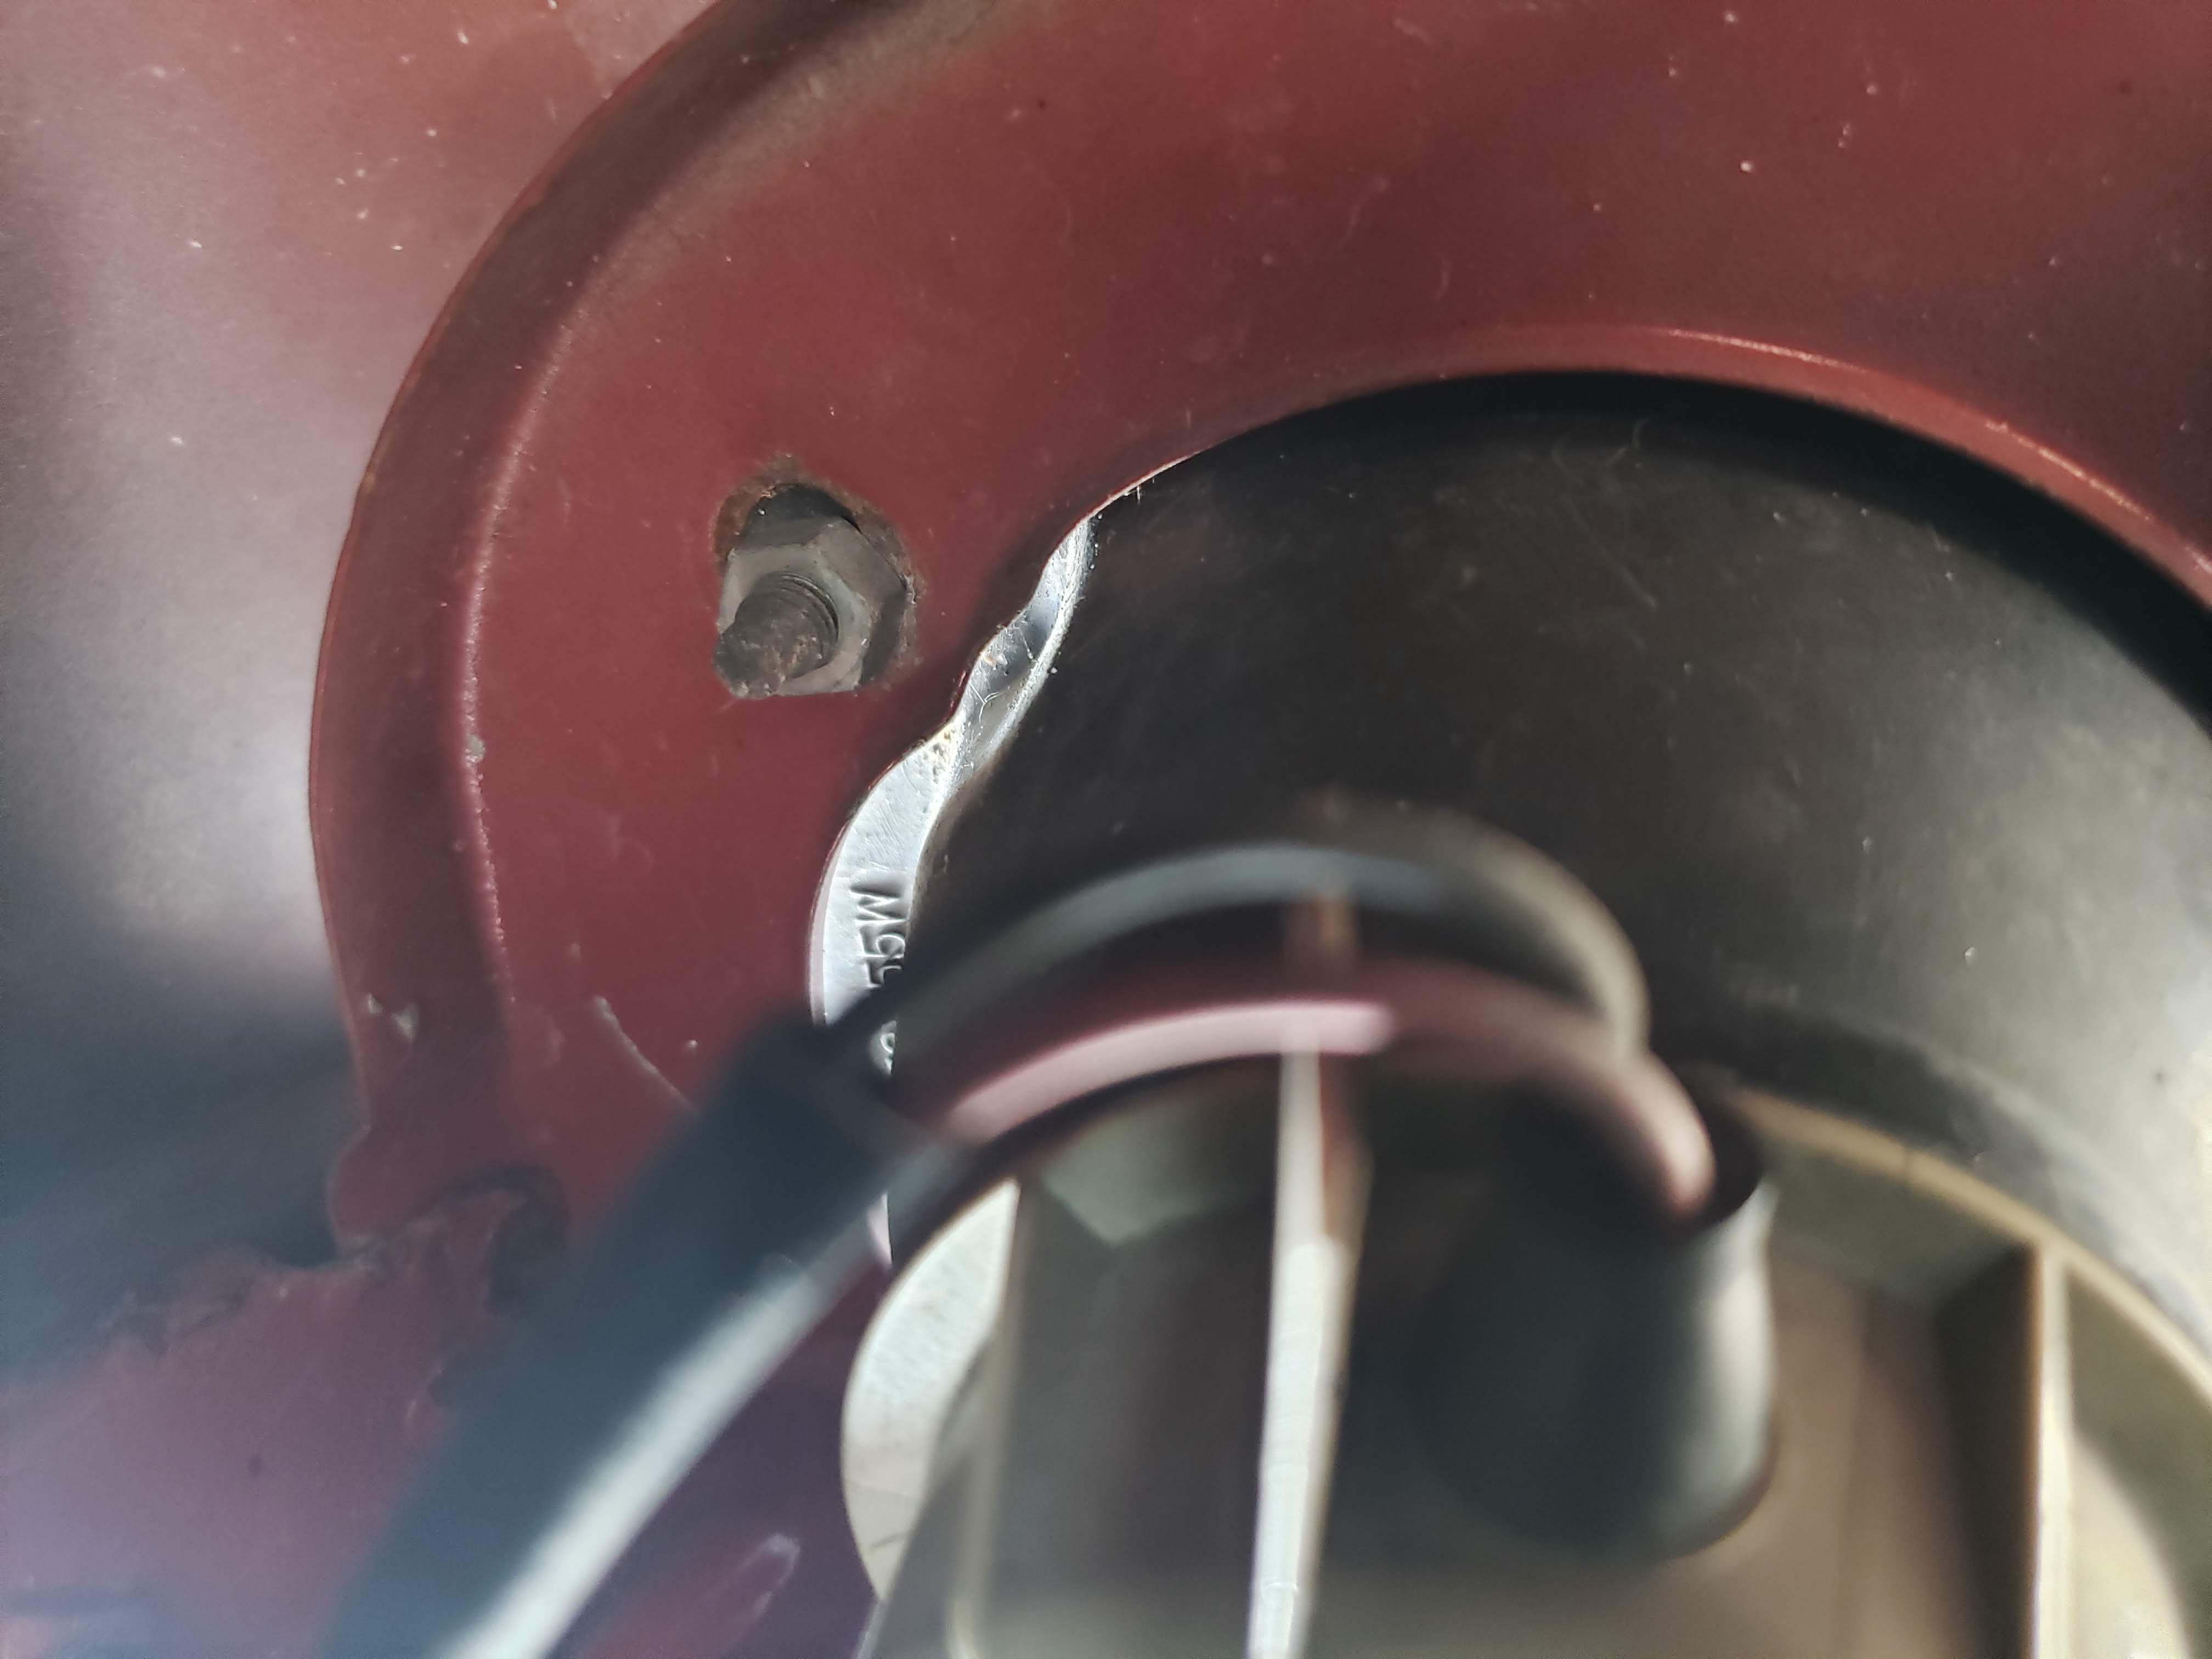
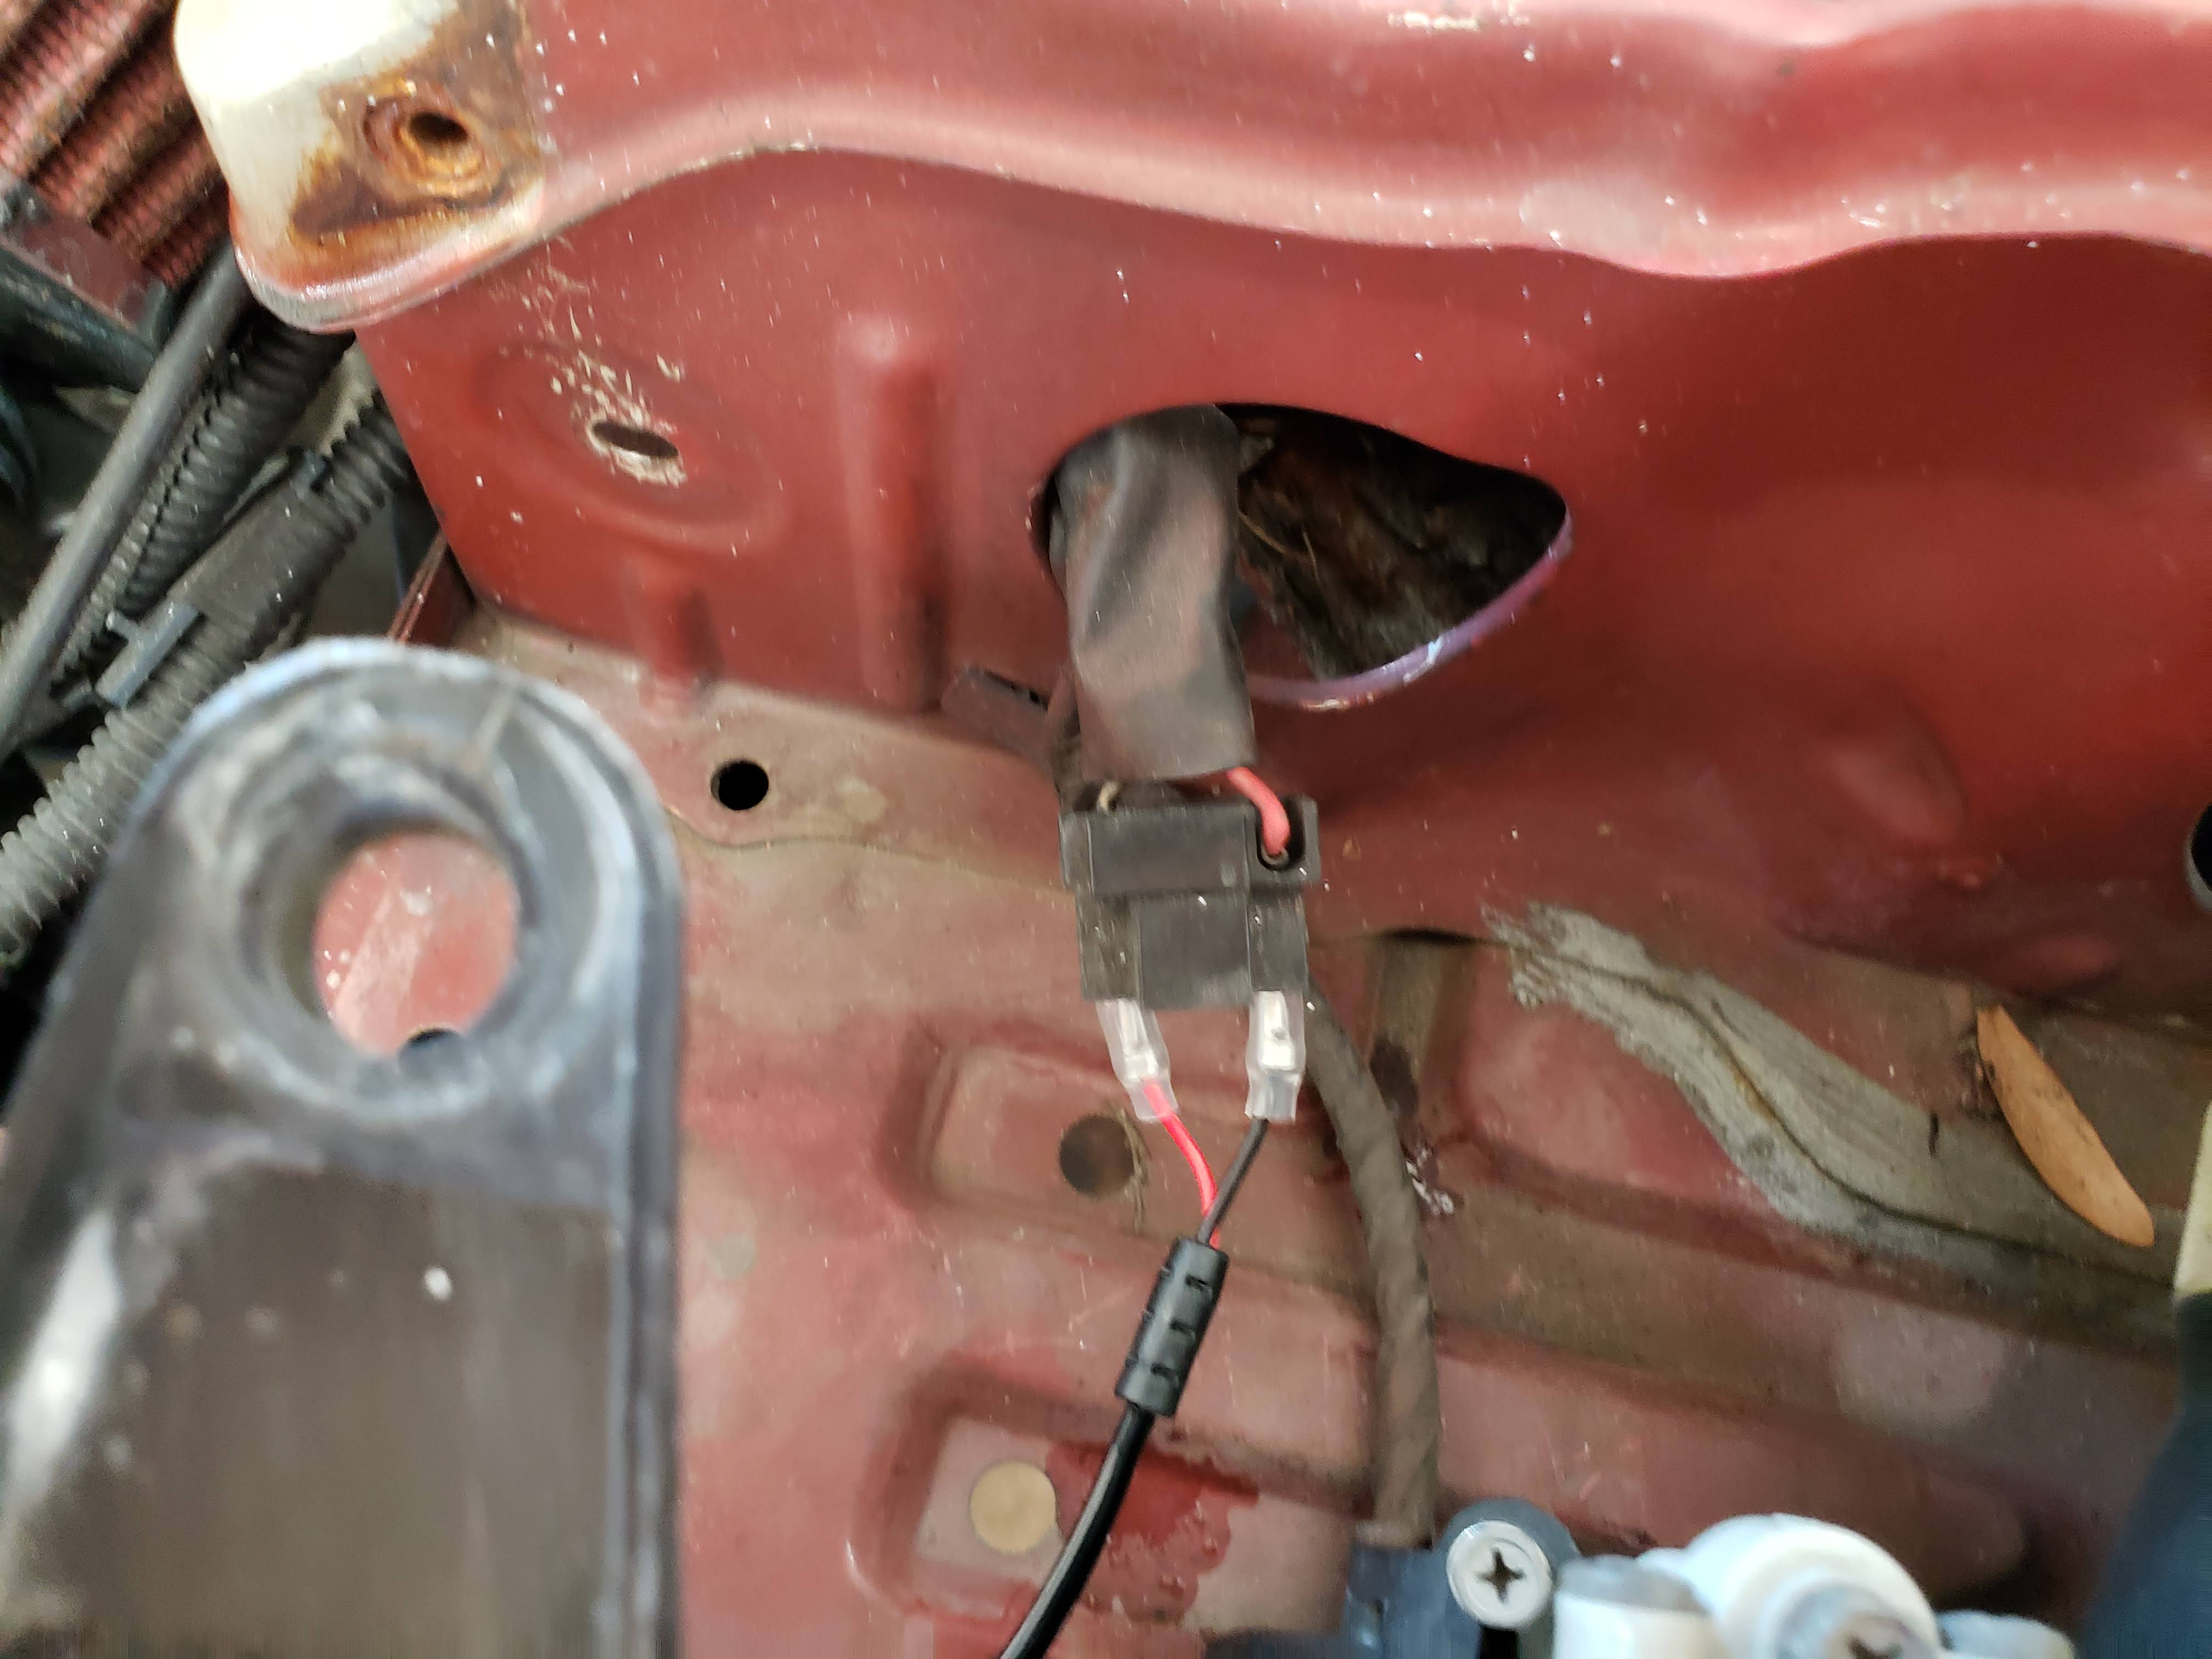
Once those are off, go under each wheel and find 2 more 10mm nuts, located below and above the low beam bulb. These are pretty difficult to reach. If you have a fender liner, you’ll have to remove that in order to remove these nuts. Once those 2 nuts are off, rotate the front wheels to the opposite direction and remove the 2 nuts on the other side. You can see both of them in the following picture.
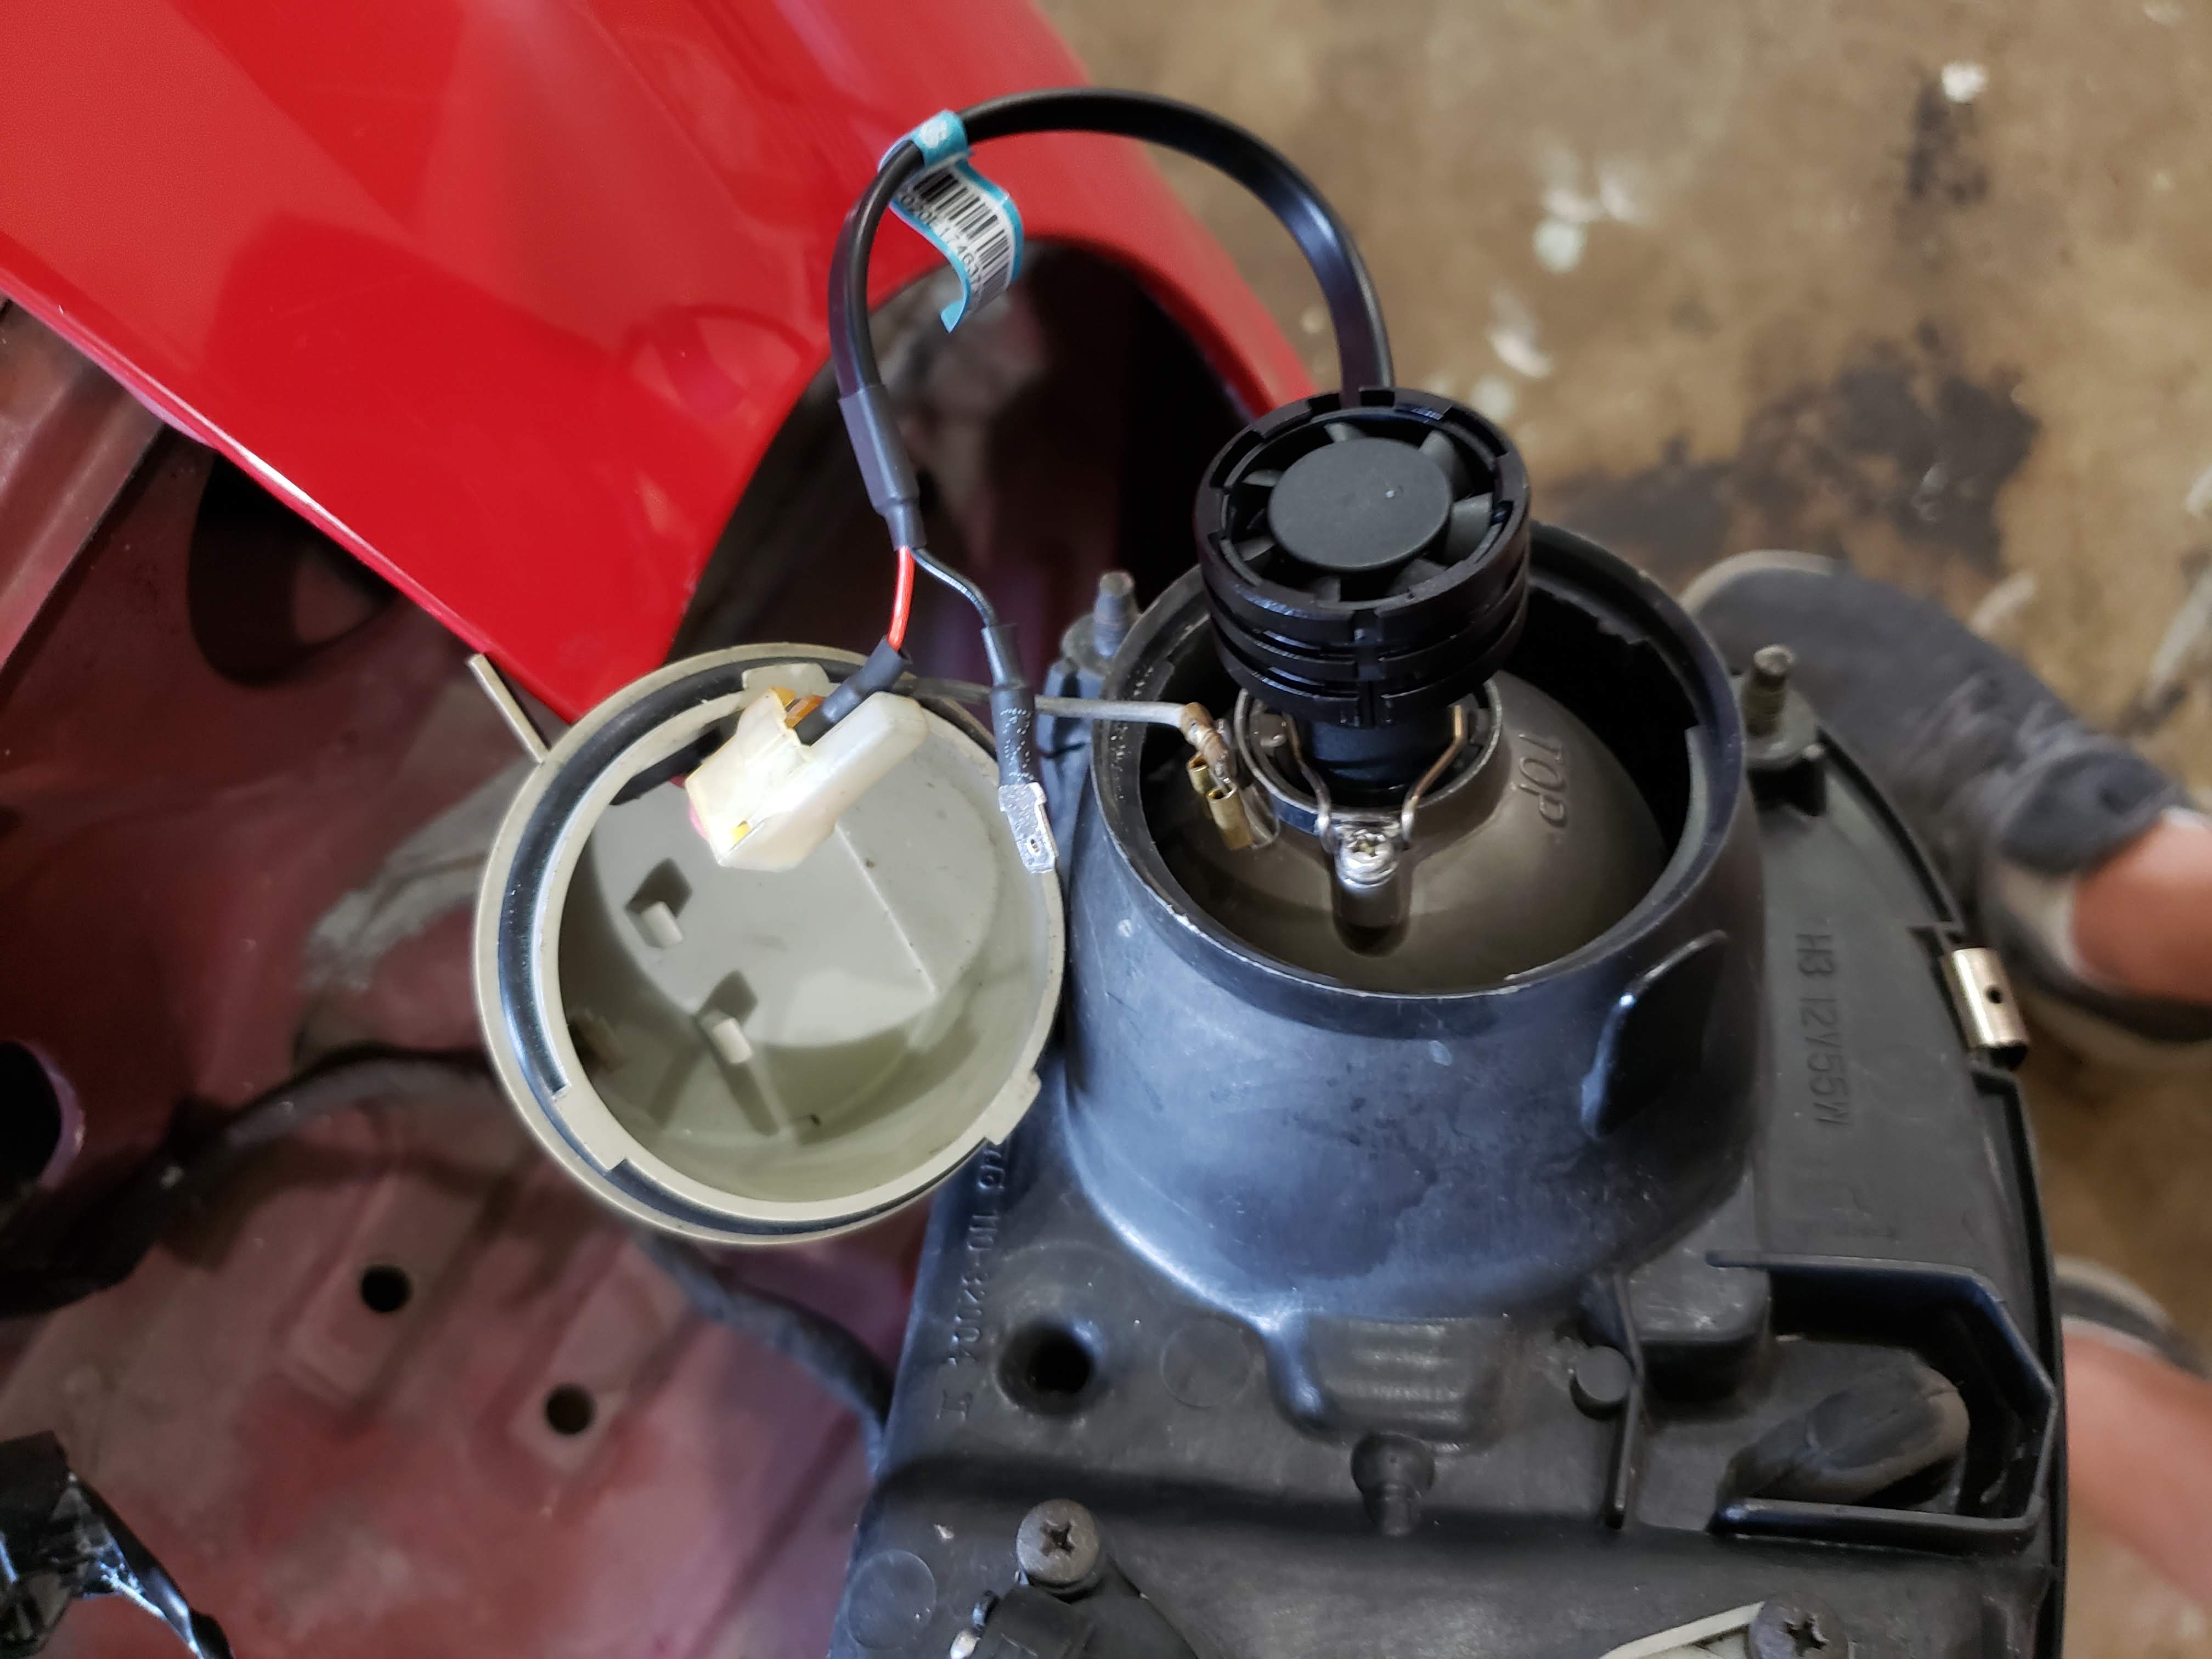
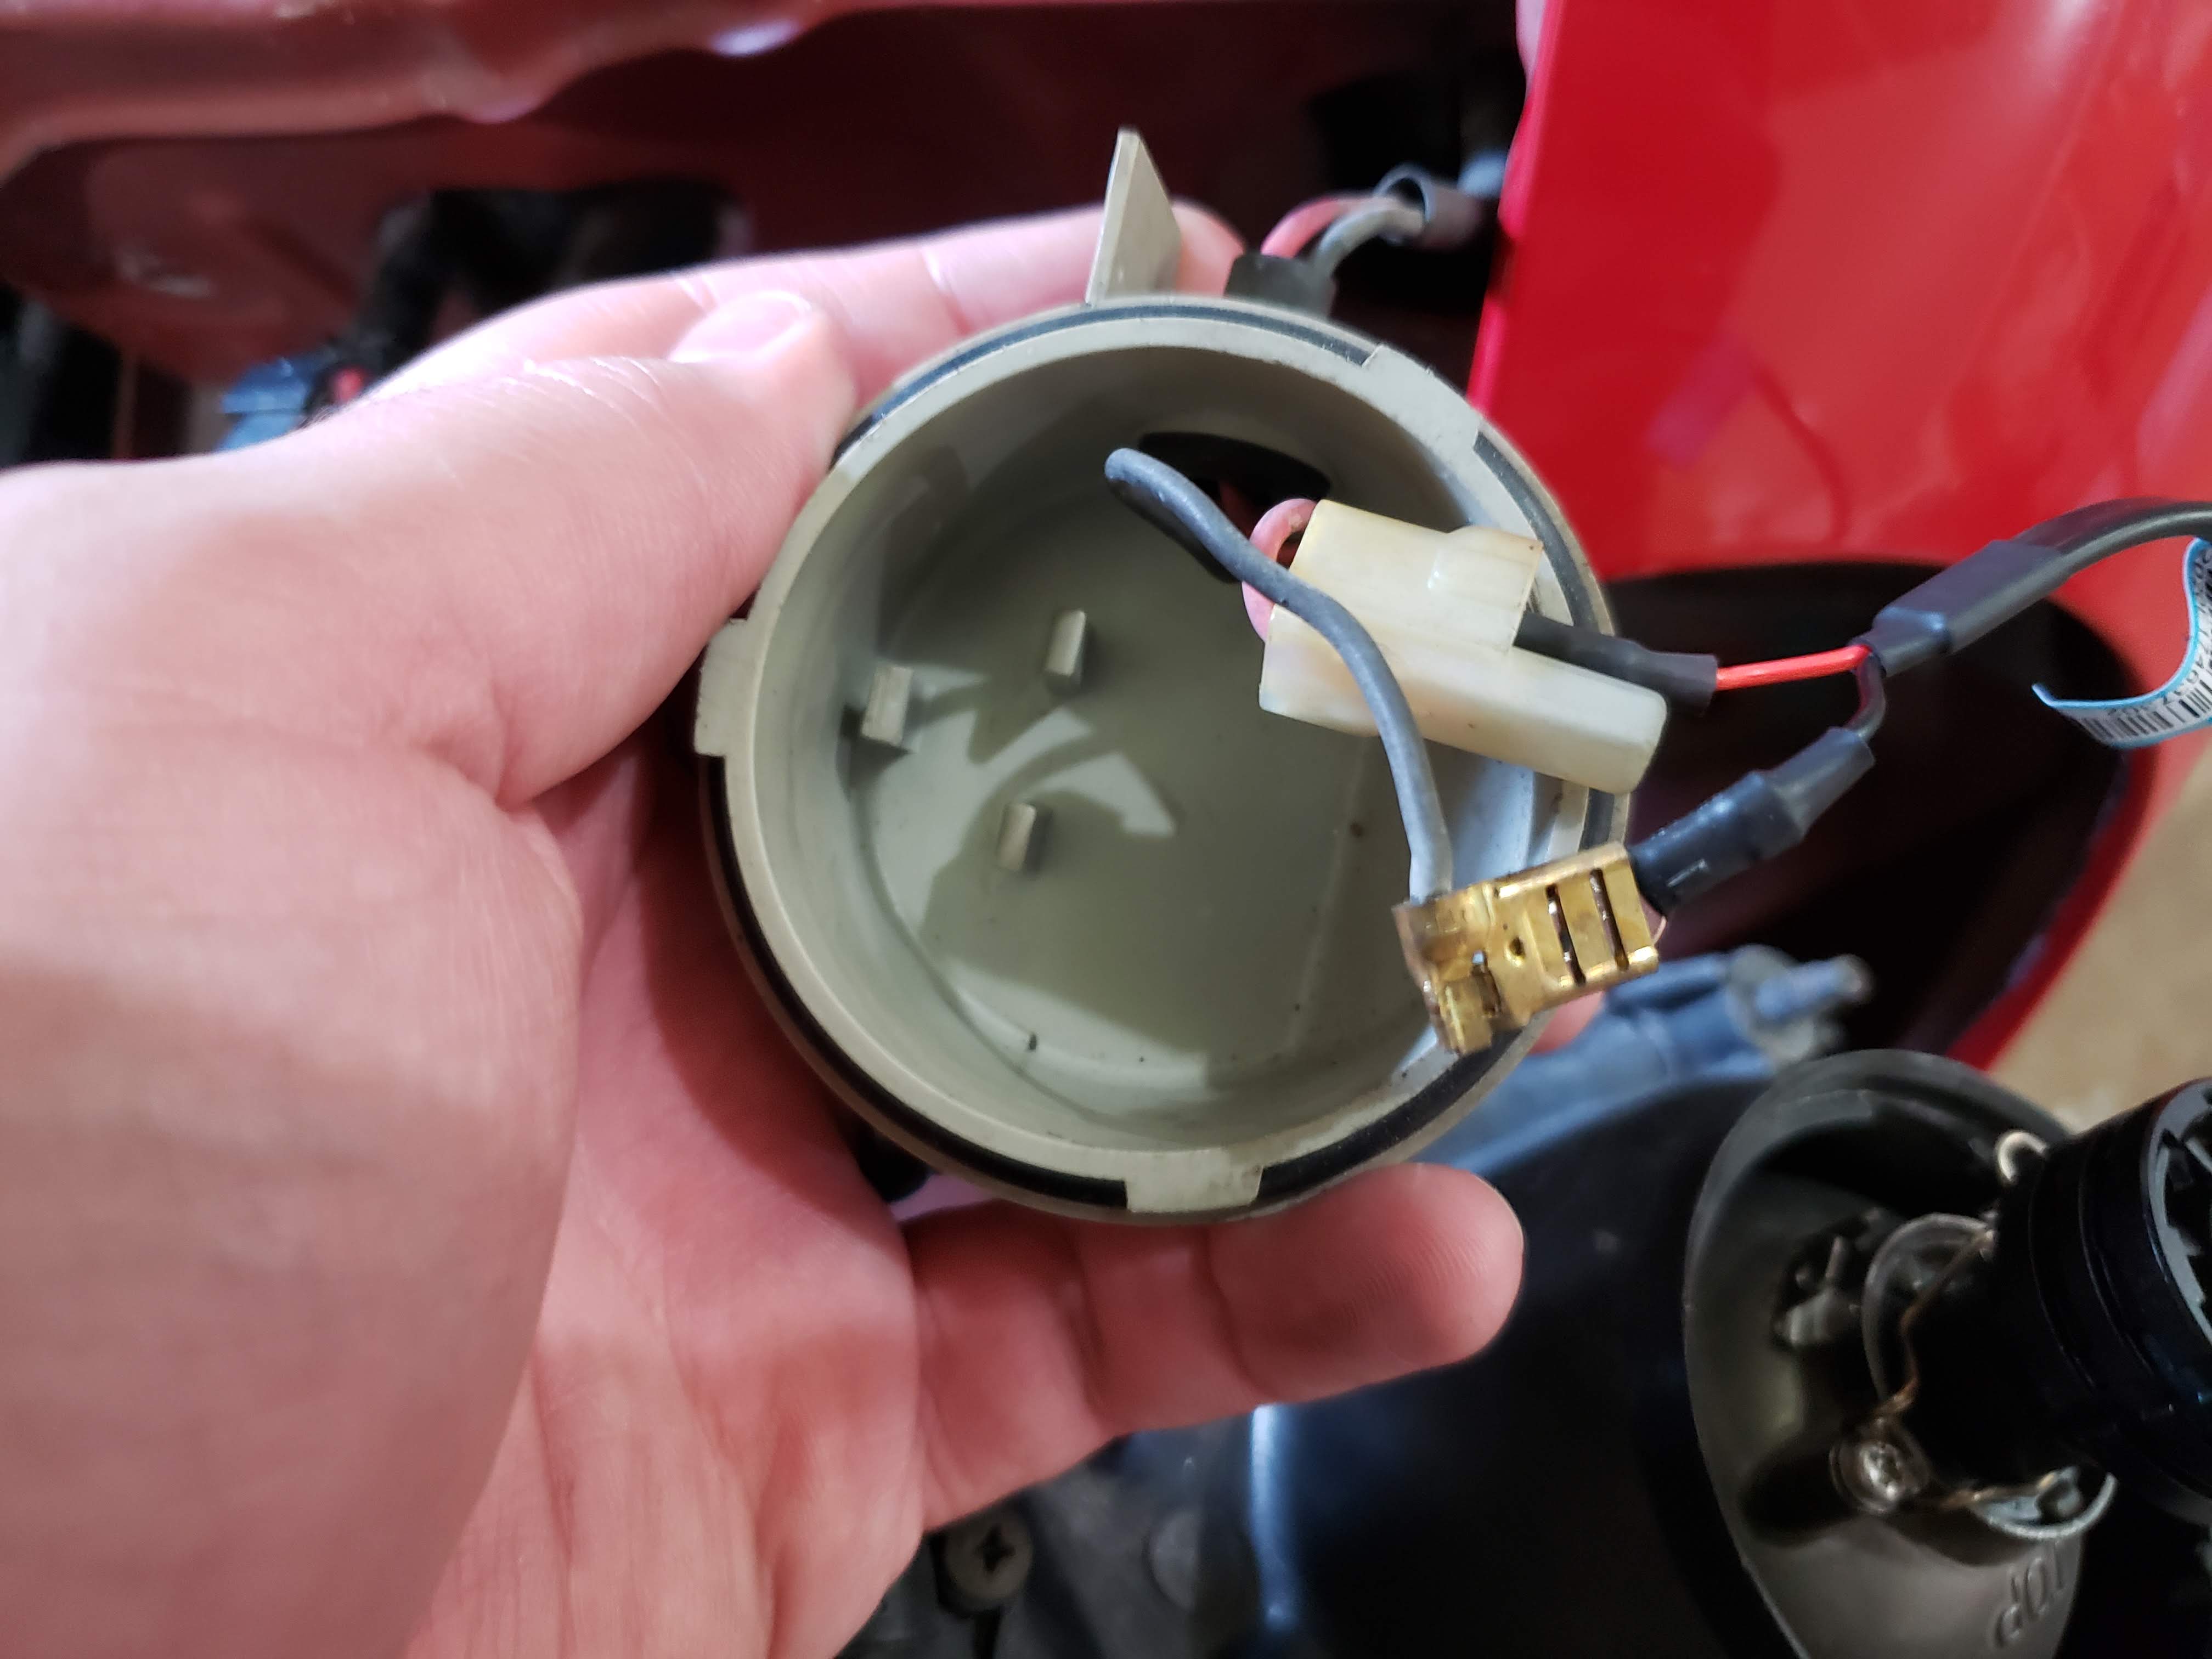
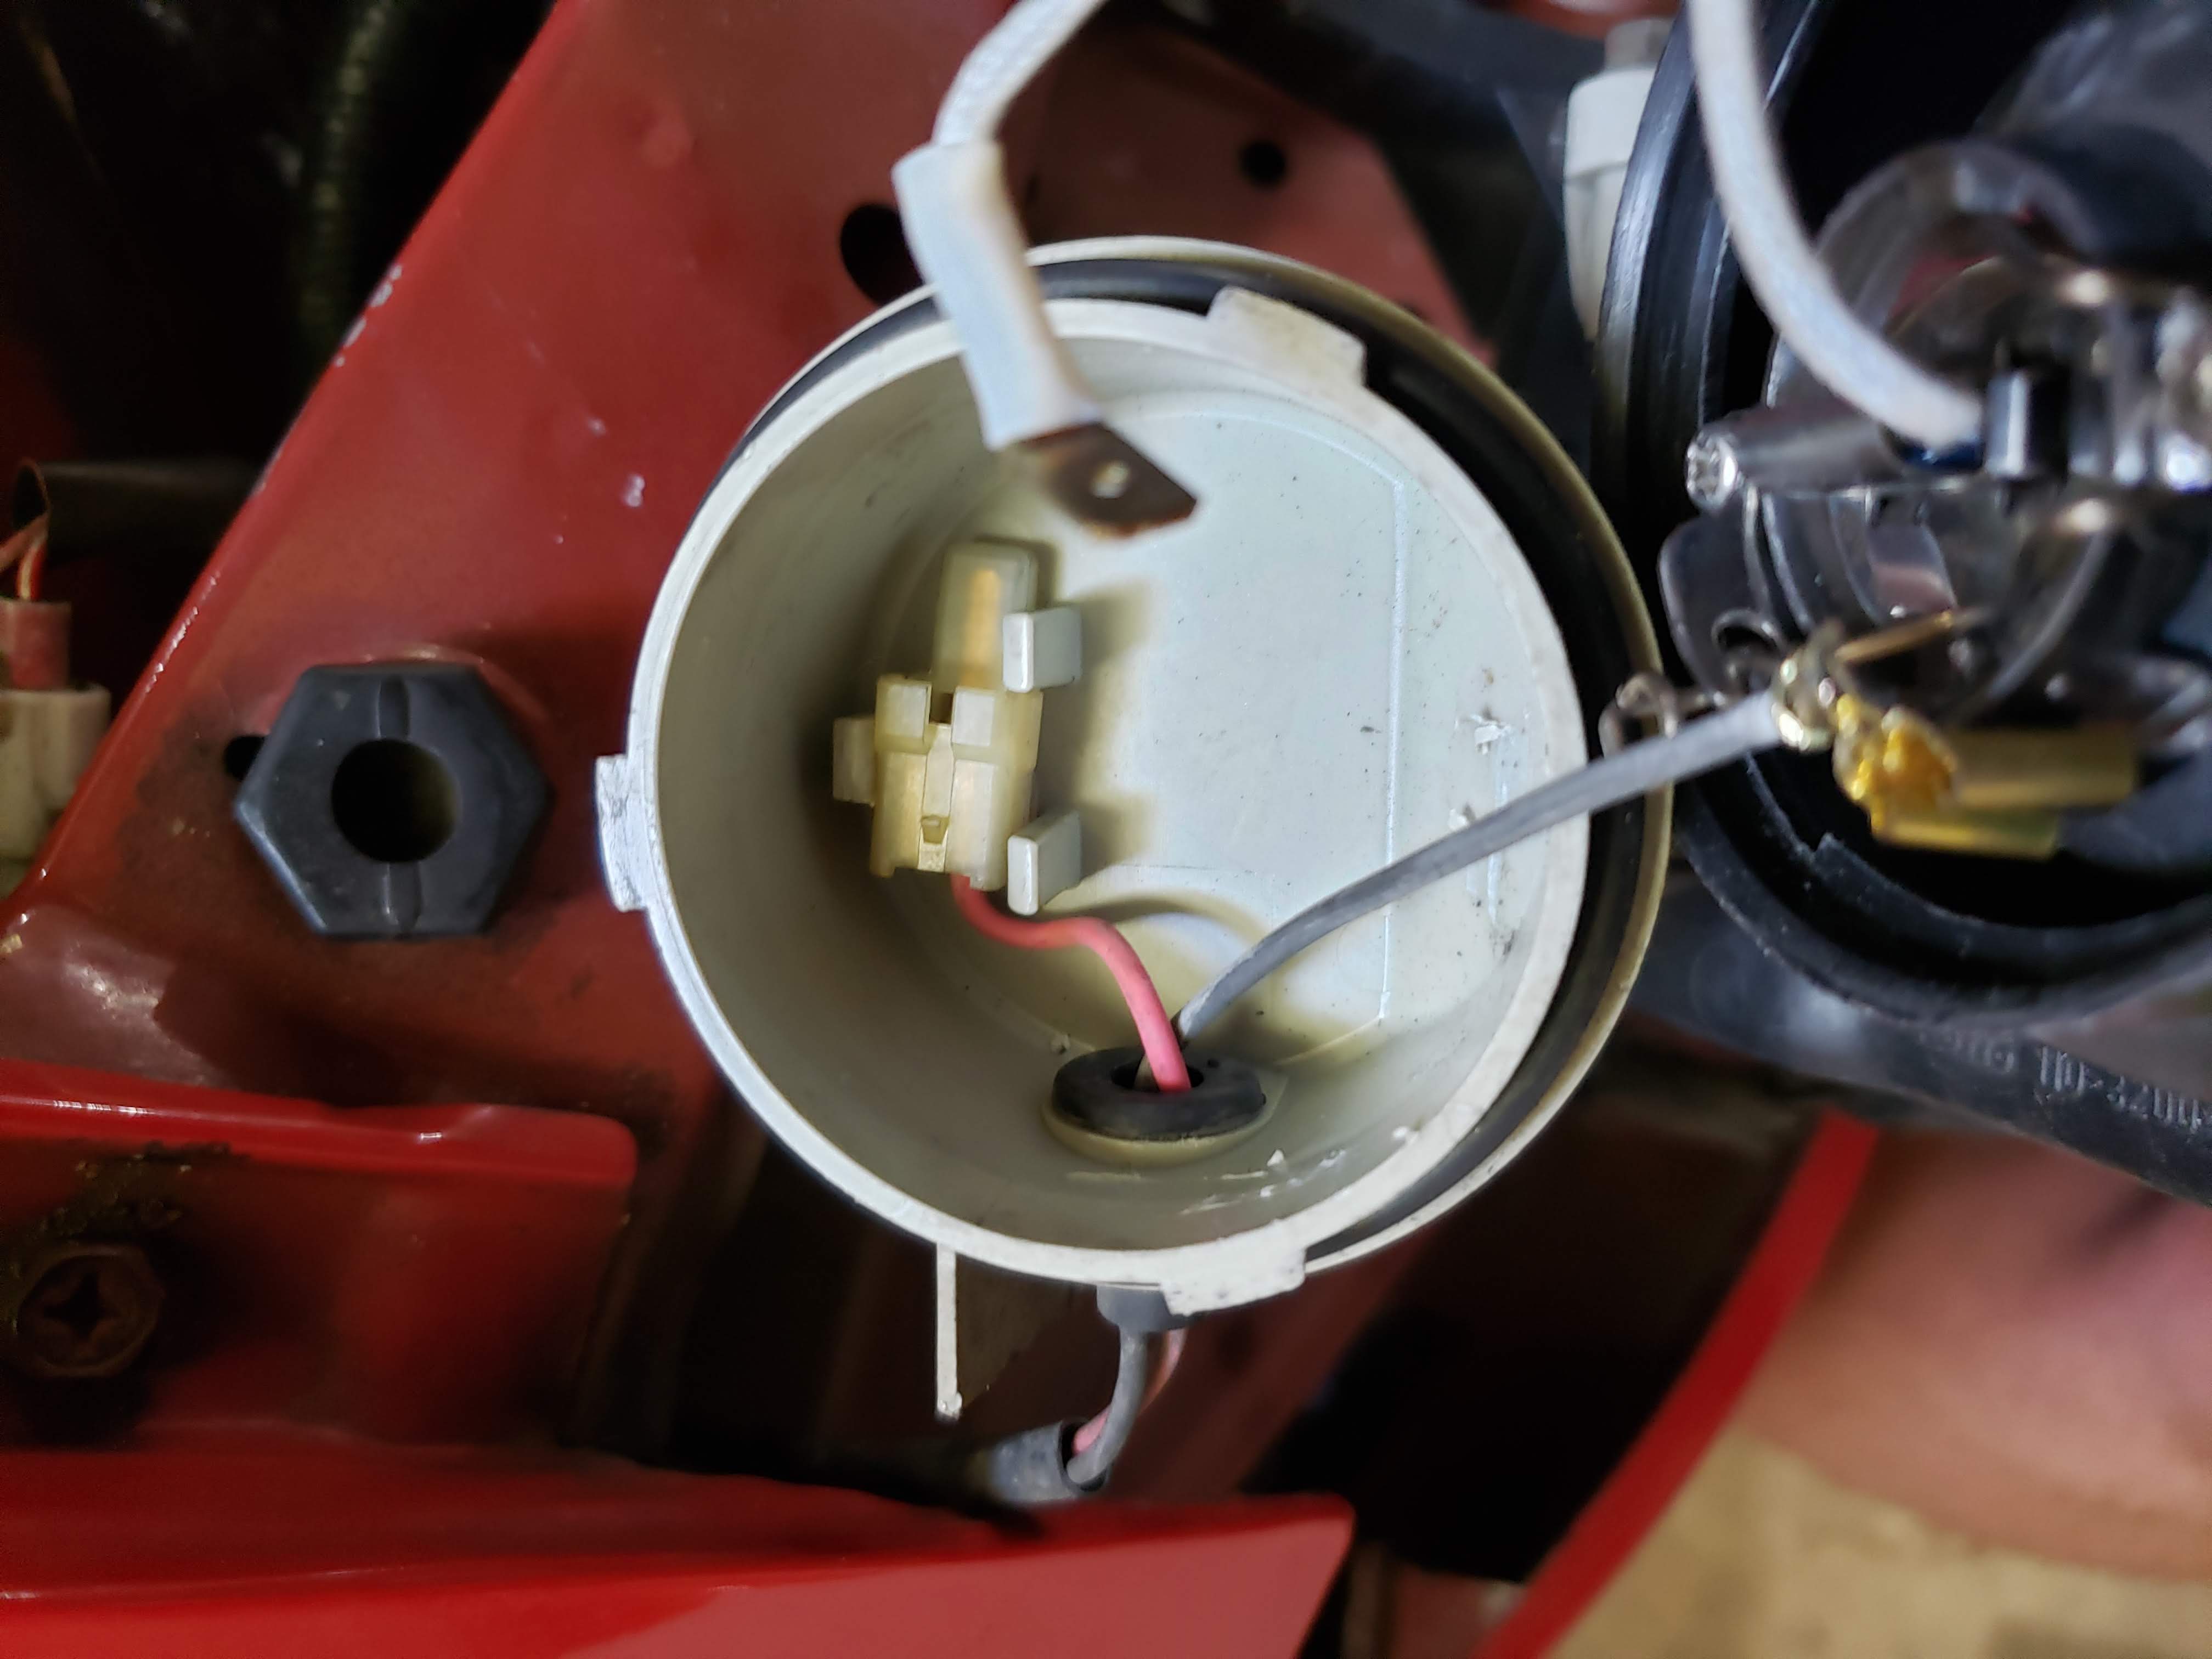
Now the headlight housings will come out. The marker lights plug in at the bottom. The previous owner had installed LEDs, but in the wrong direction, and also left the harness unplugged. I dropped in some new 194 LEDs and plugged them in. These turn on with 1 click on the lighting stalk.
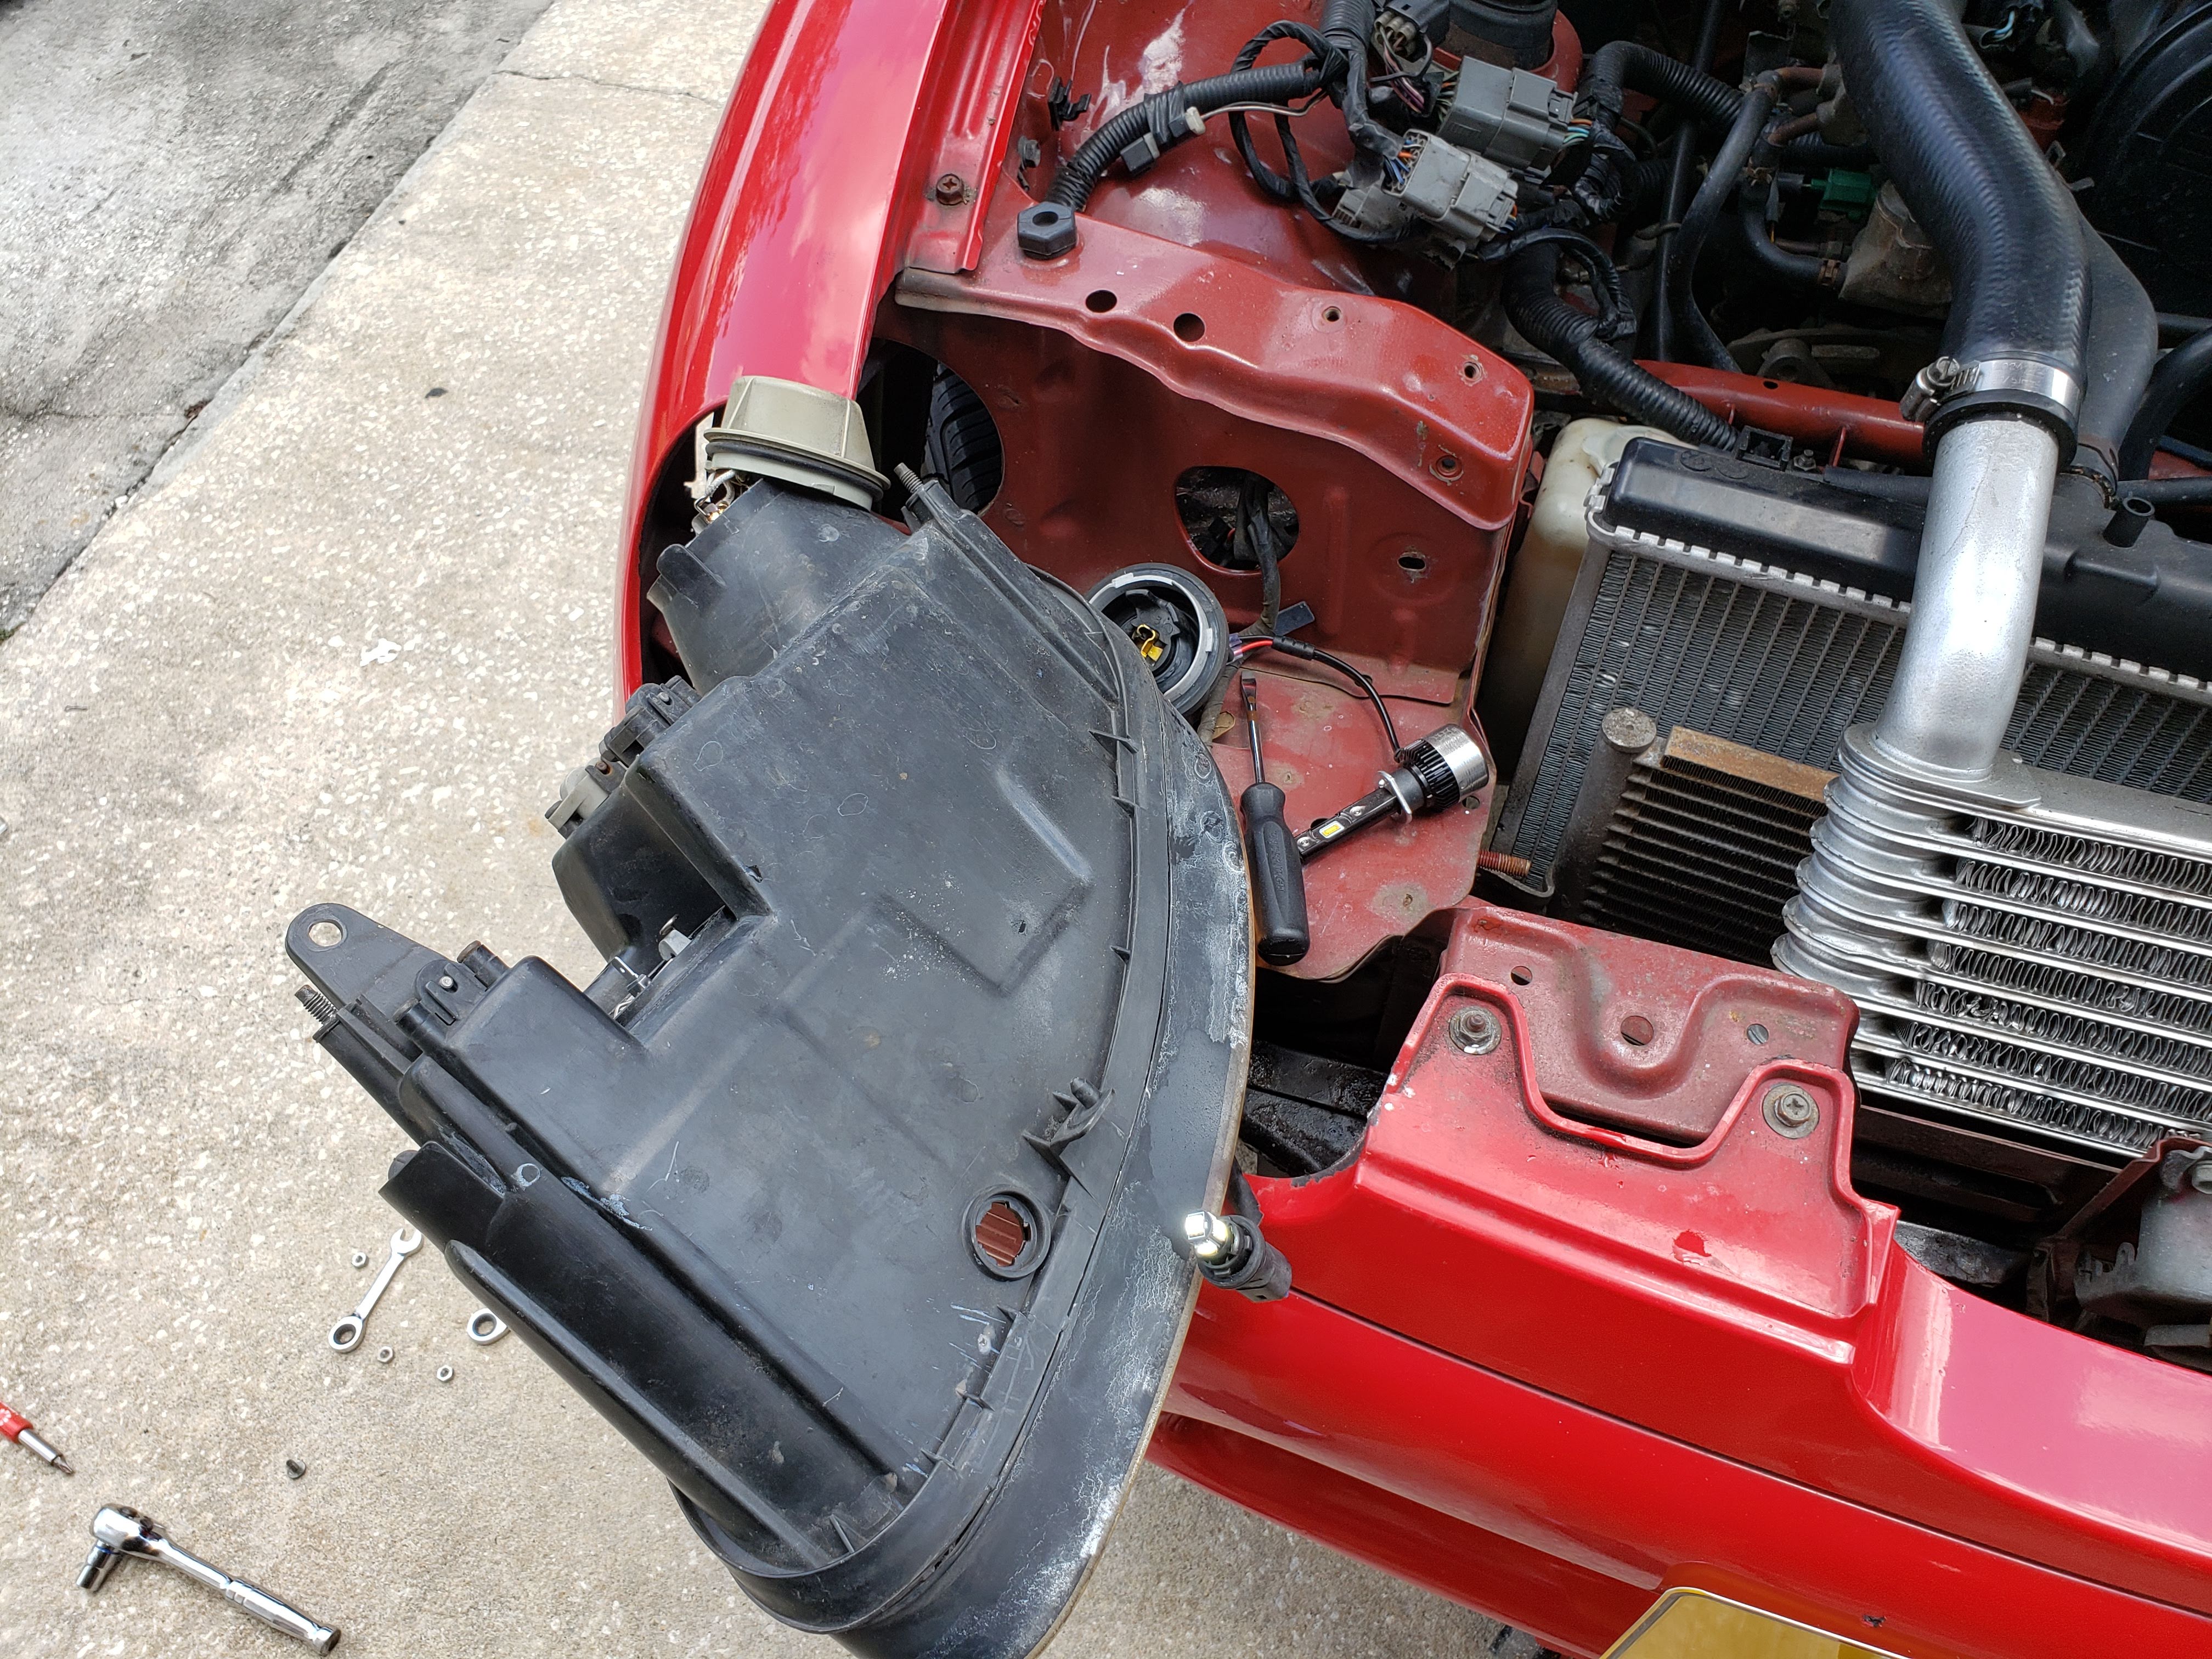
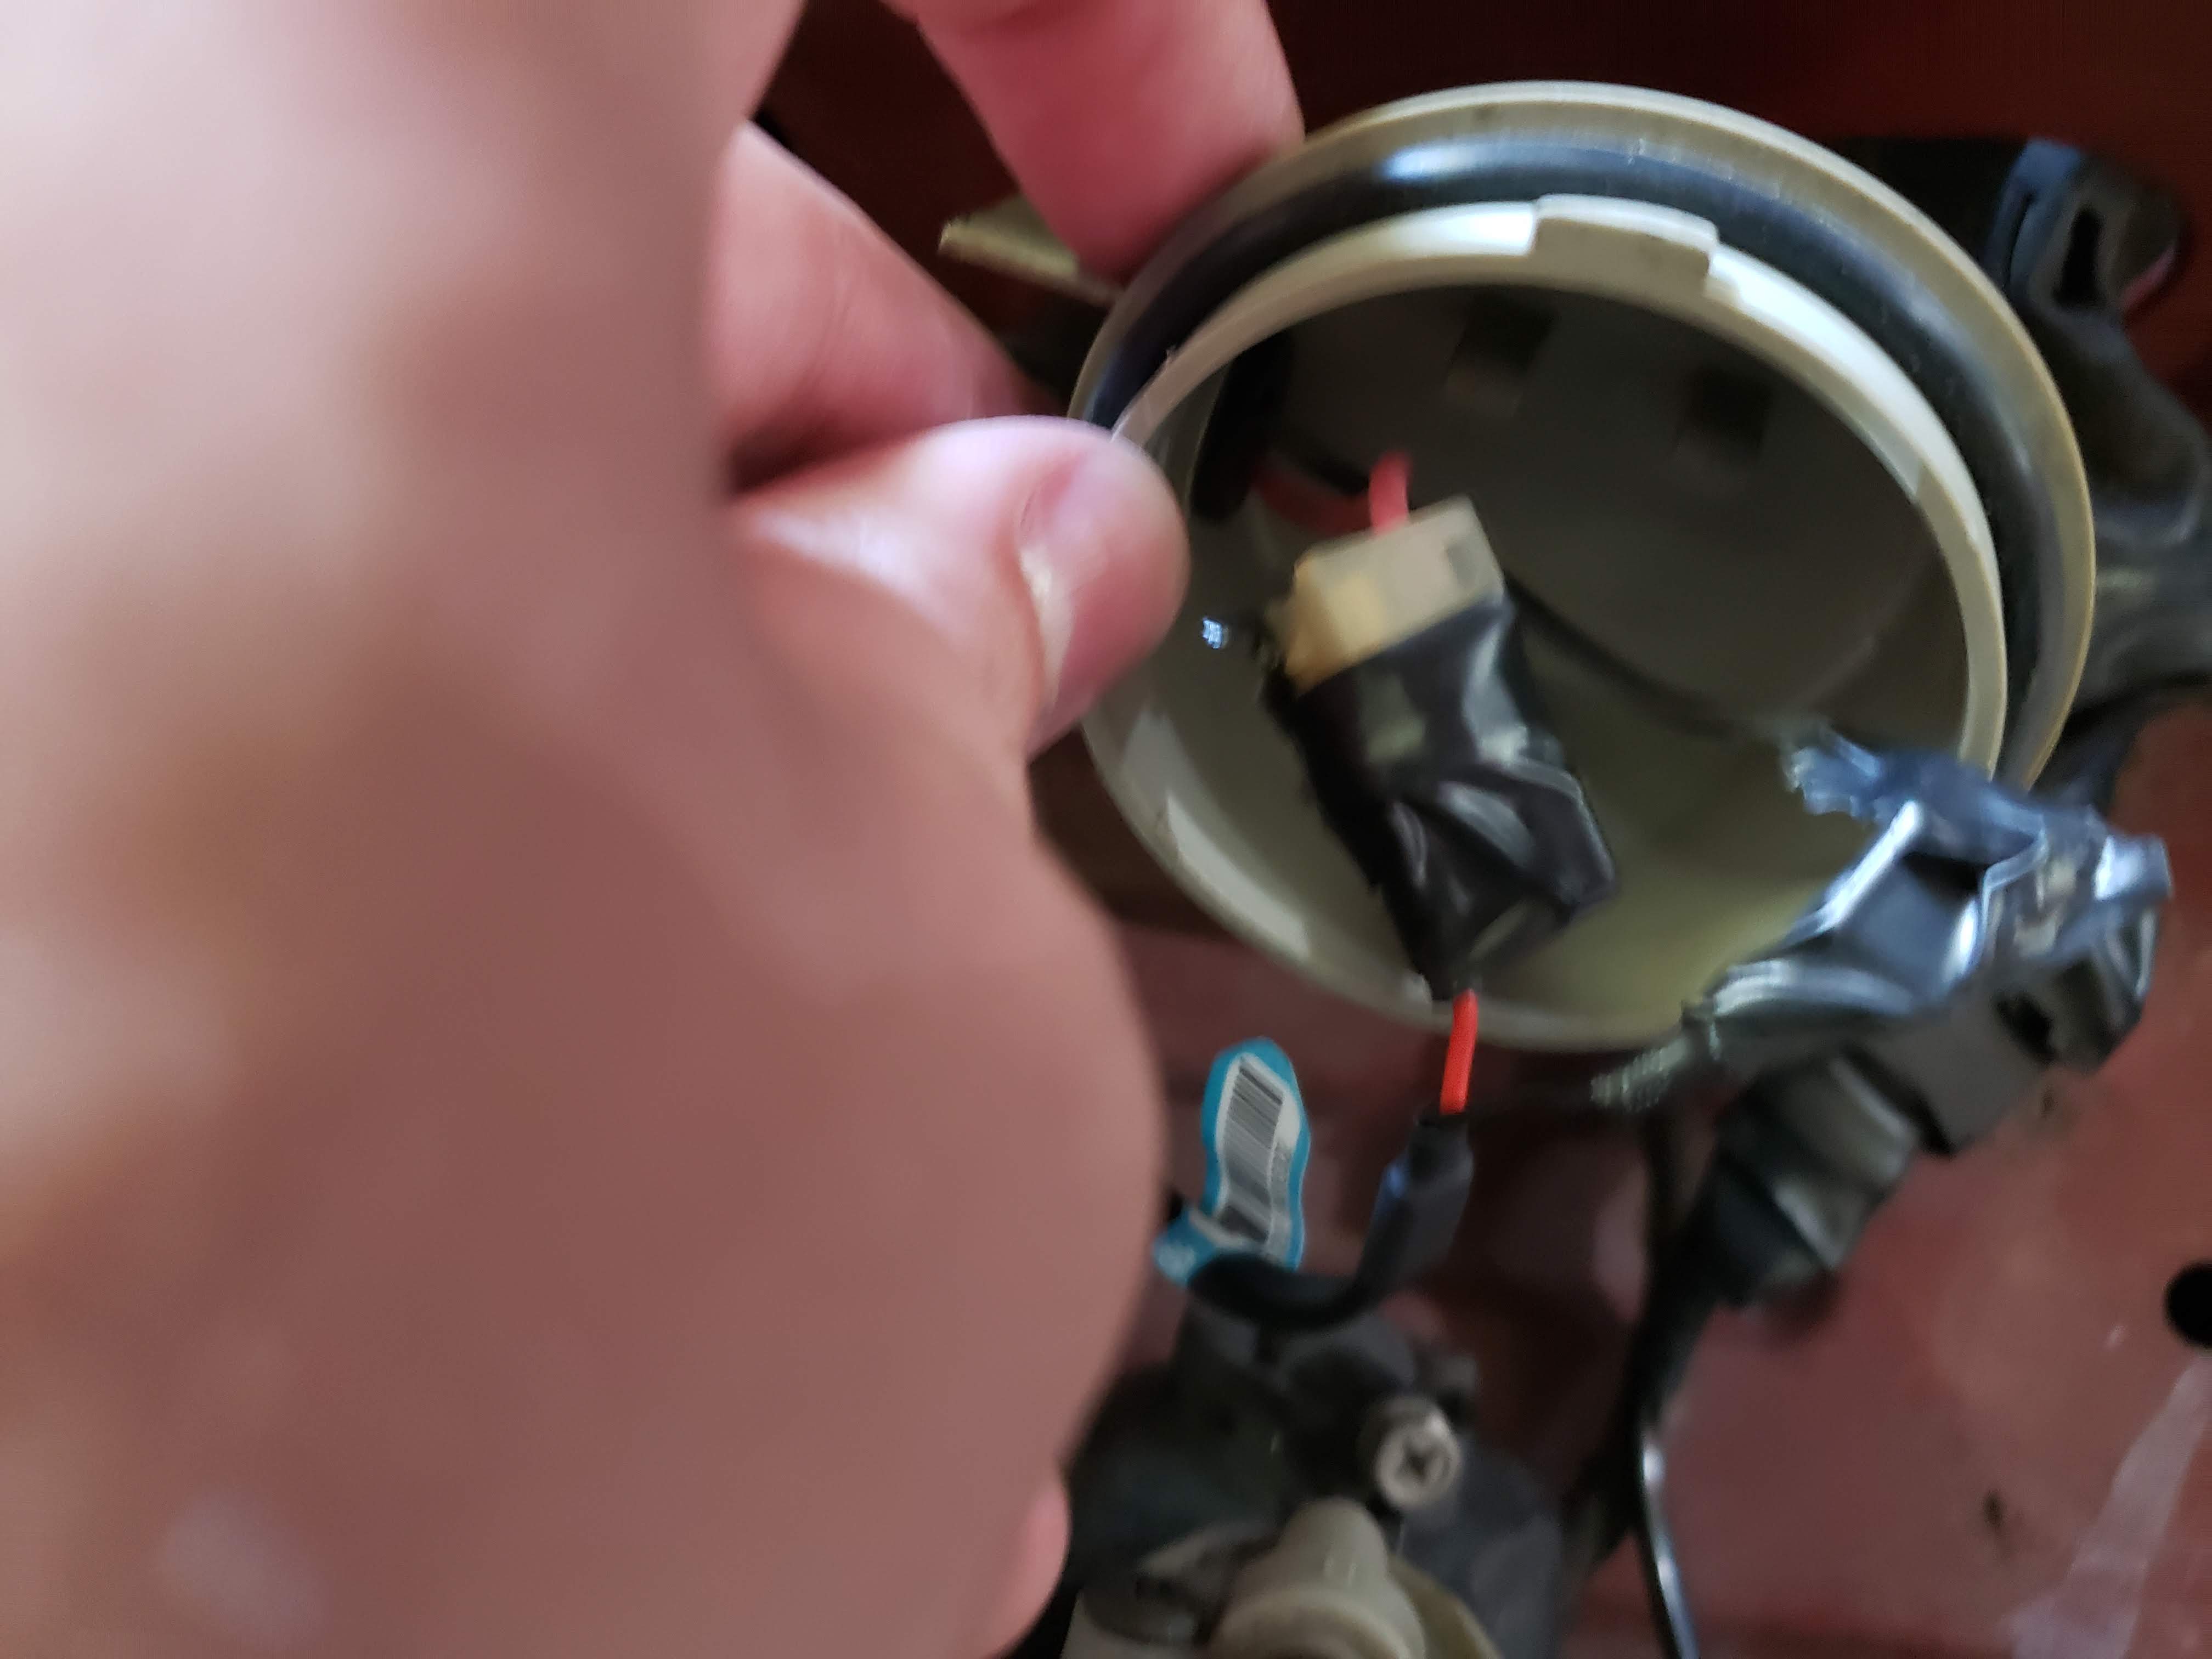
For the high beams, remove the old bulbs and water seal around them. You will not get to reuse the dust collector if you’re switching to LEDs, so remove that. Seat your H1 LED bulb in the headlight housing then clamp it in.
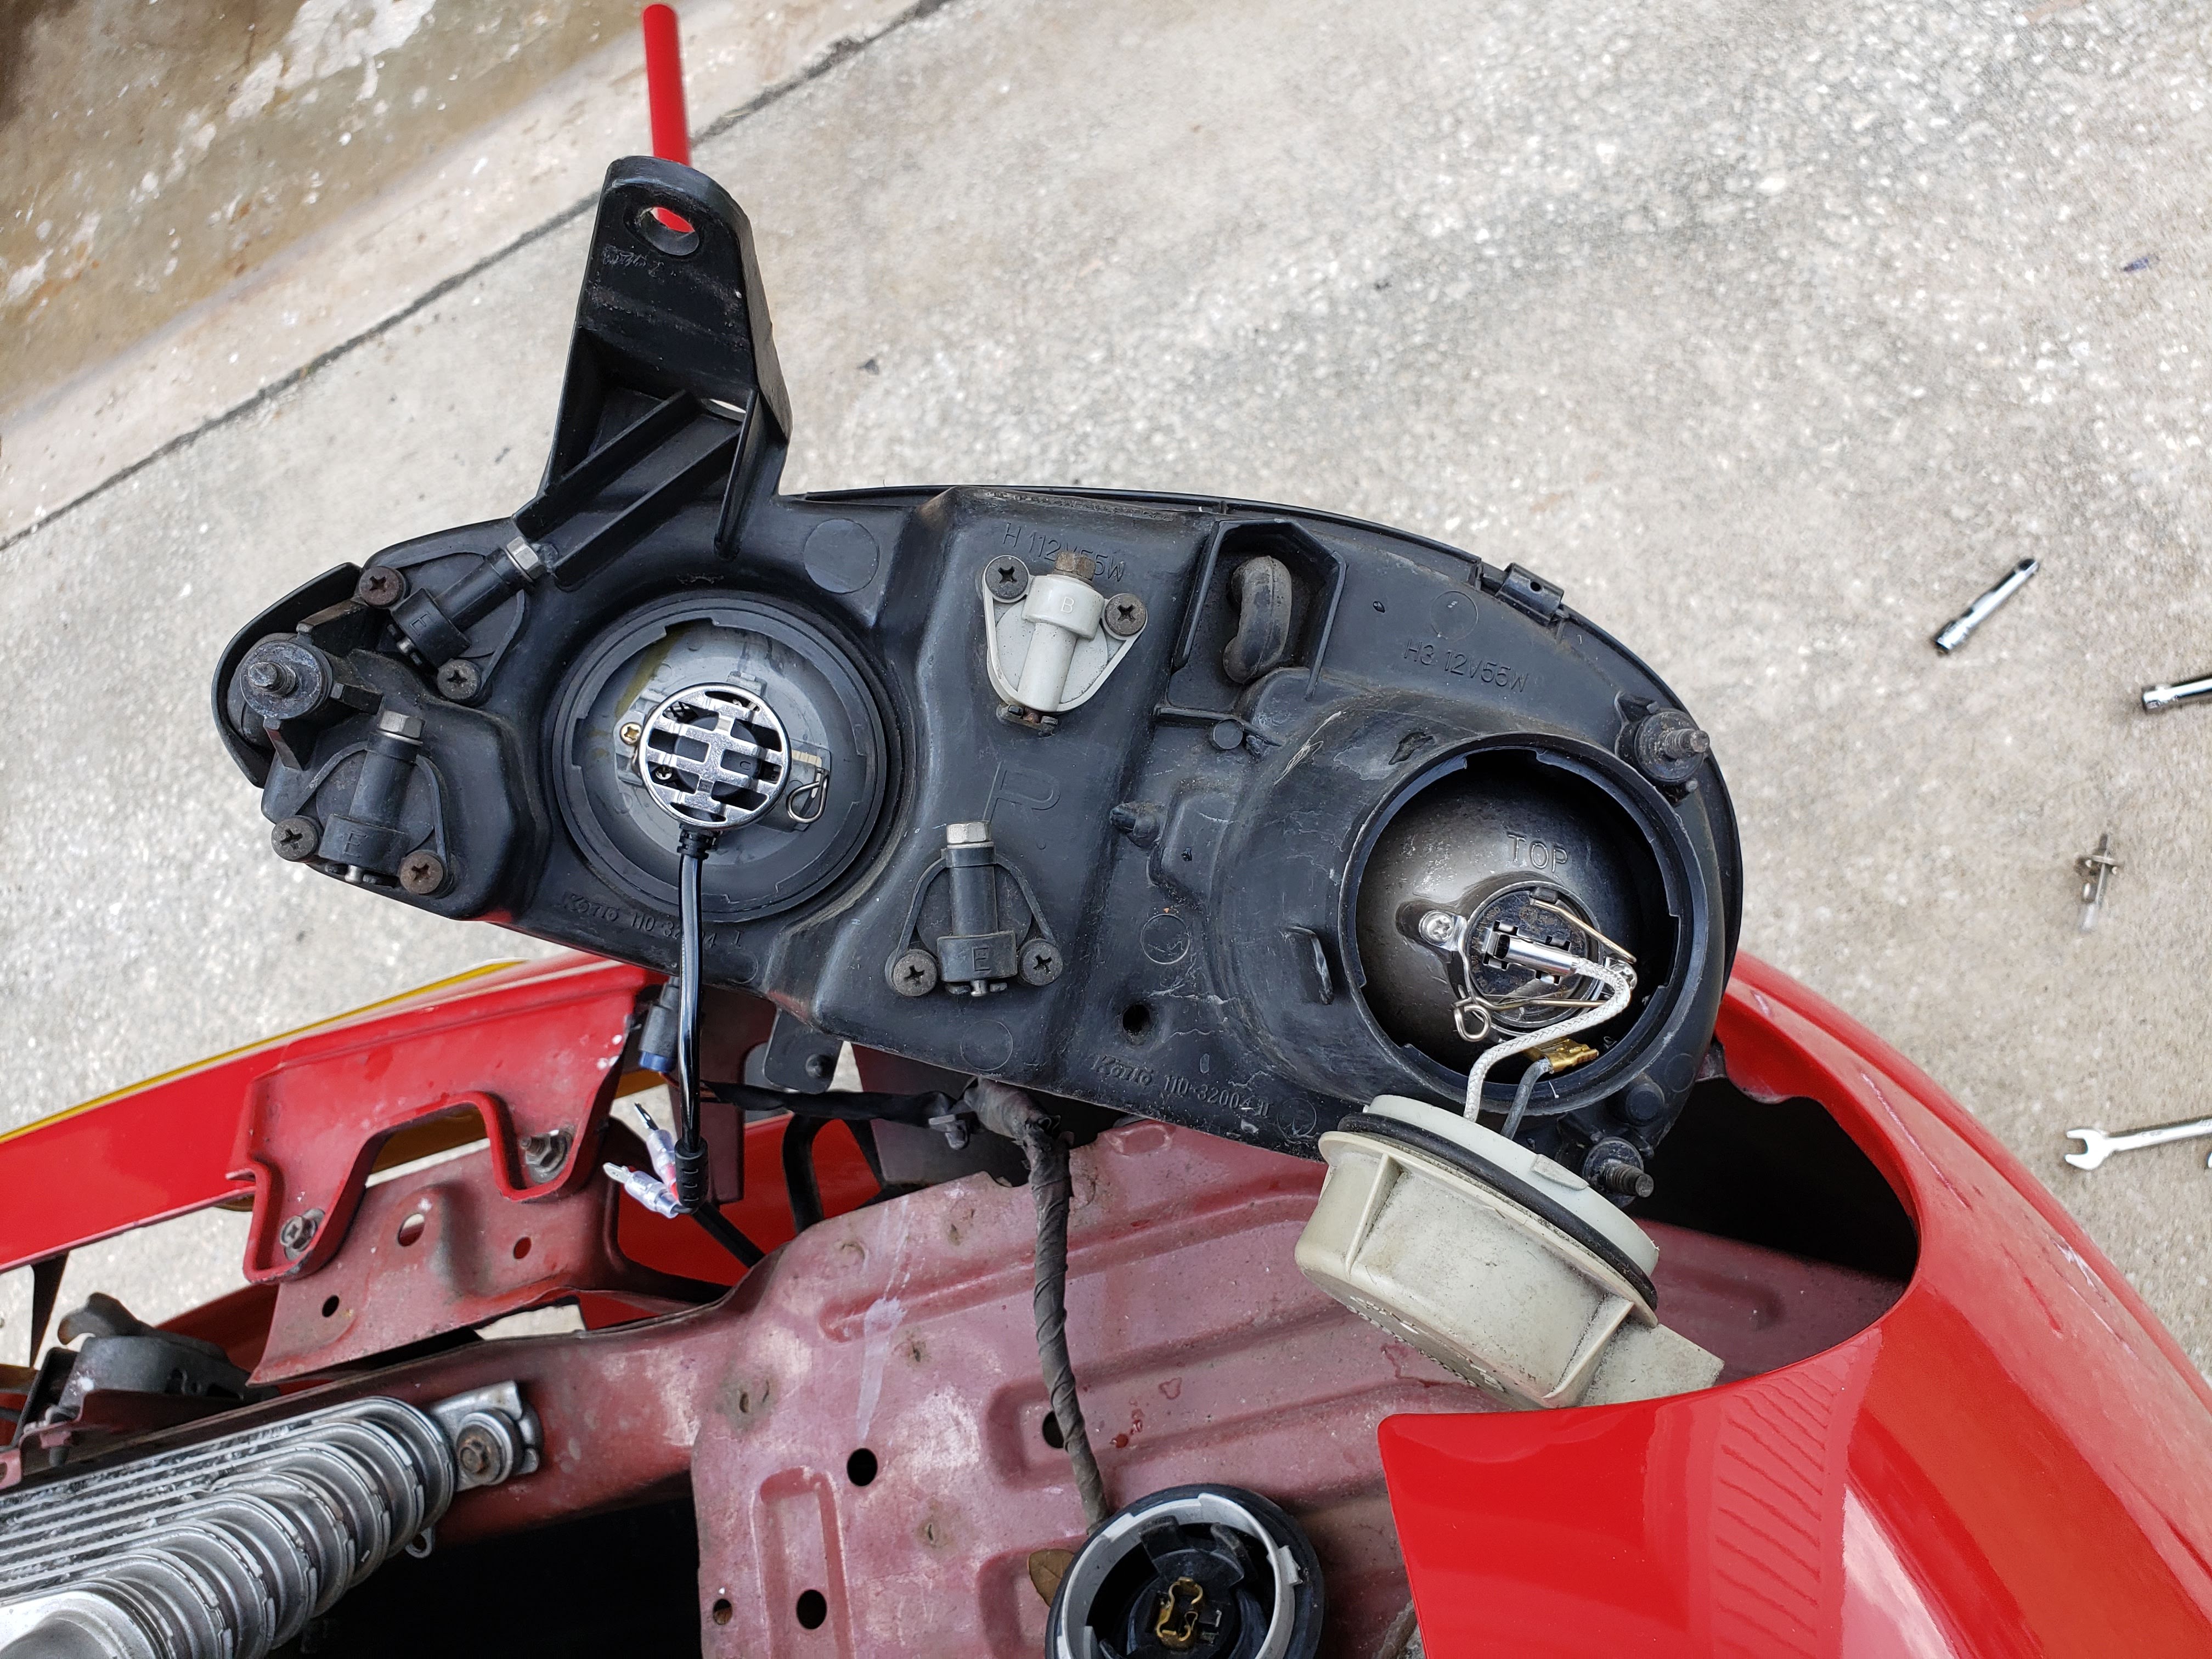

To plug the black and red wires for the LED to the harness, you actually need to reverse them. Yep, red to black, black to red. Makes sense, right? Test the high beams, then wrap them well in electrical tape.
Low Beams
H3 Low beams is a similar process as the high beam, but you can reach them from within the wheel well without removing the headlight housing. So if you’re just replacing low beams, no need to jack up the car. The dust collector also won’t fit, but I didn’t remove mine. The polarity on these were correct, so red to red and black to black. Can’t explain that. Connect them, clamp them in good with some pliers or vice grips, and electrical tape it.
Once you’ve replaced the low beams, then you can re-install the nuts and lower the car. Easy enough.
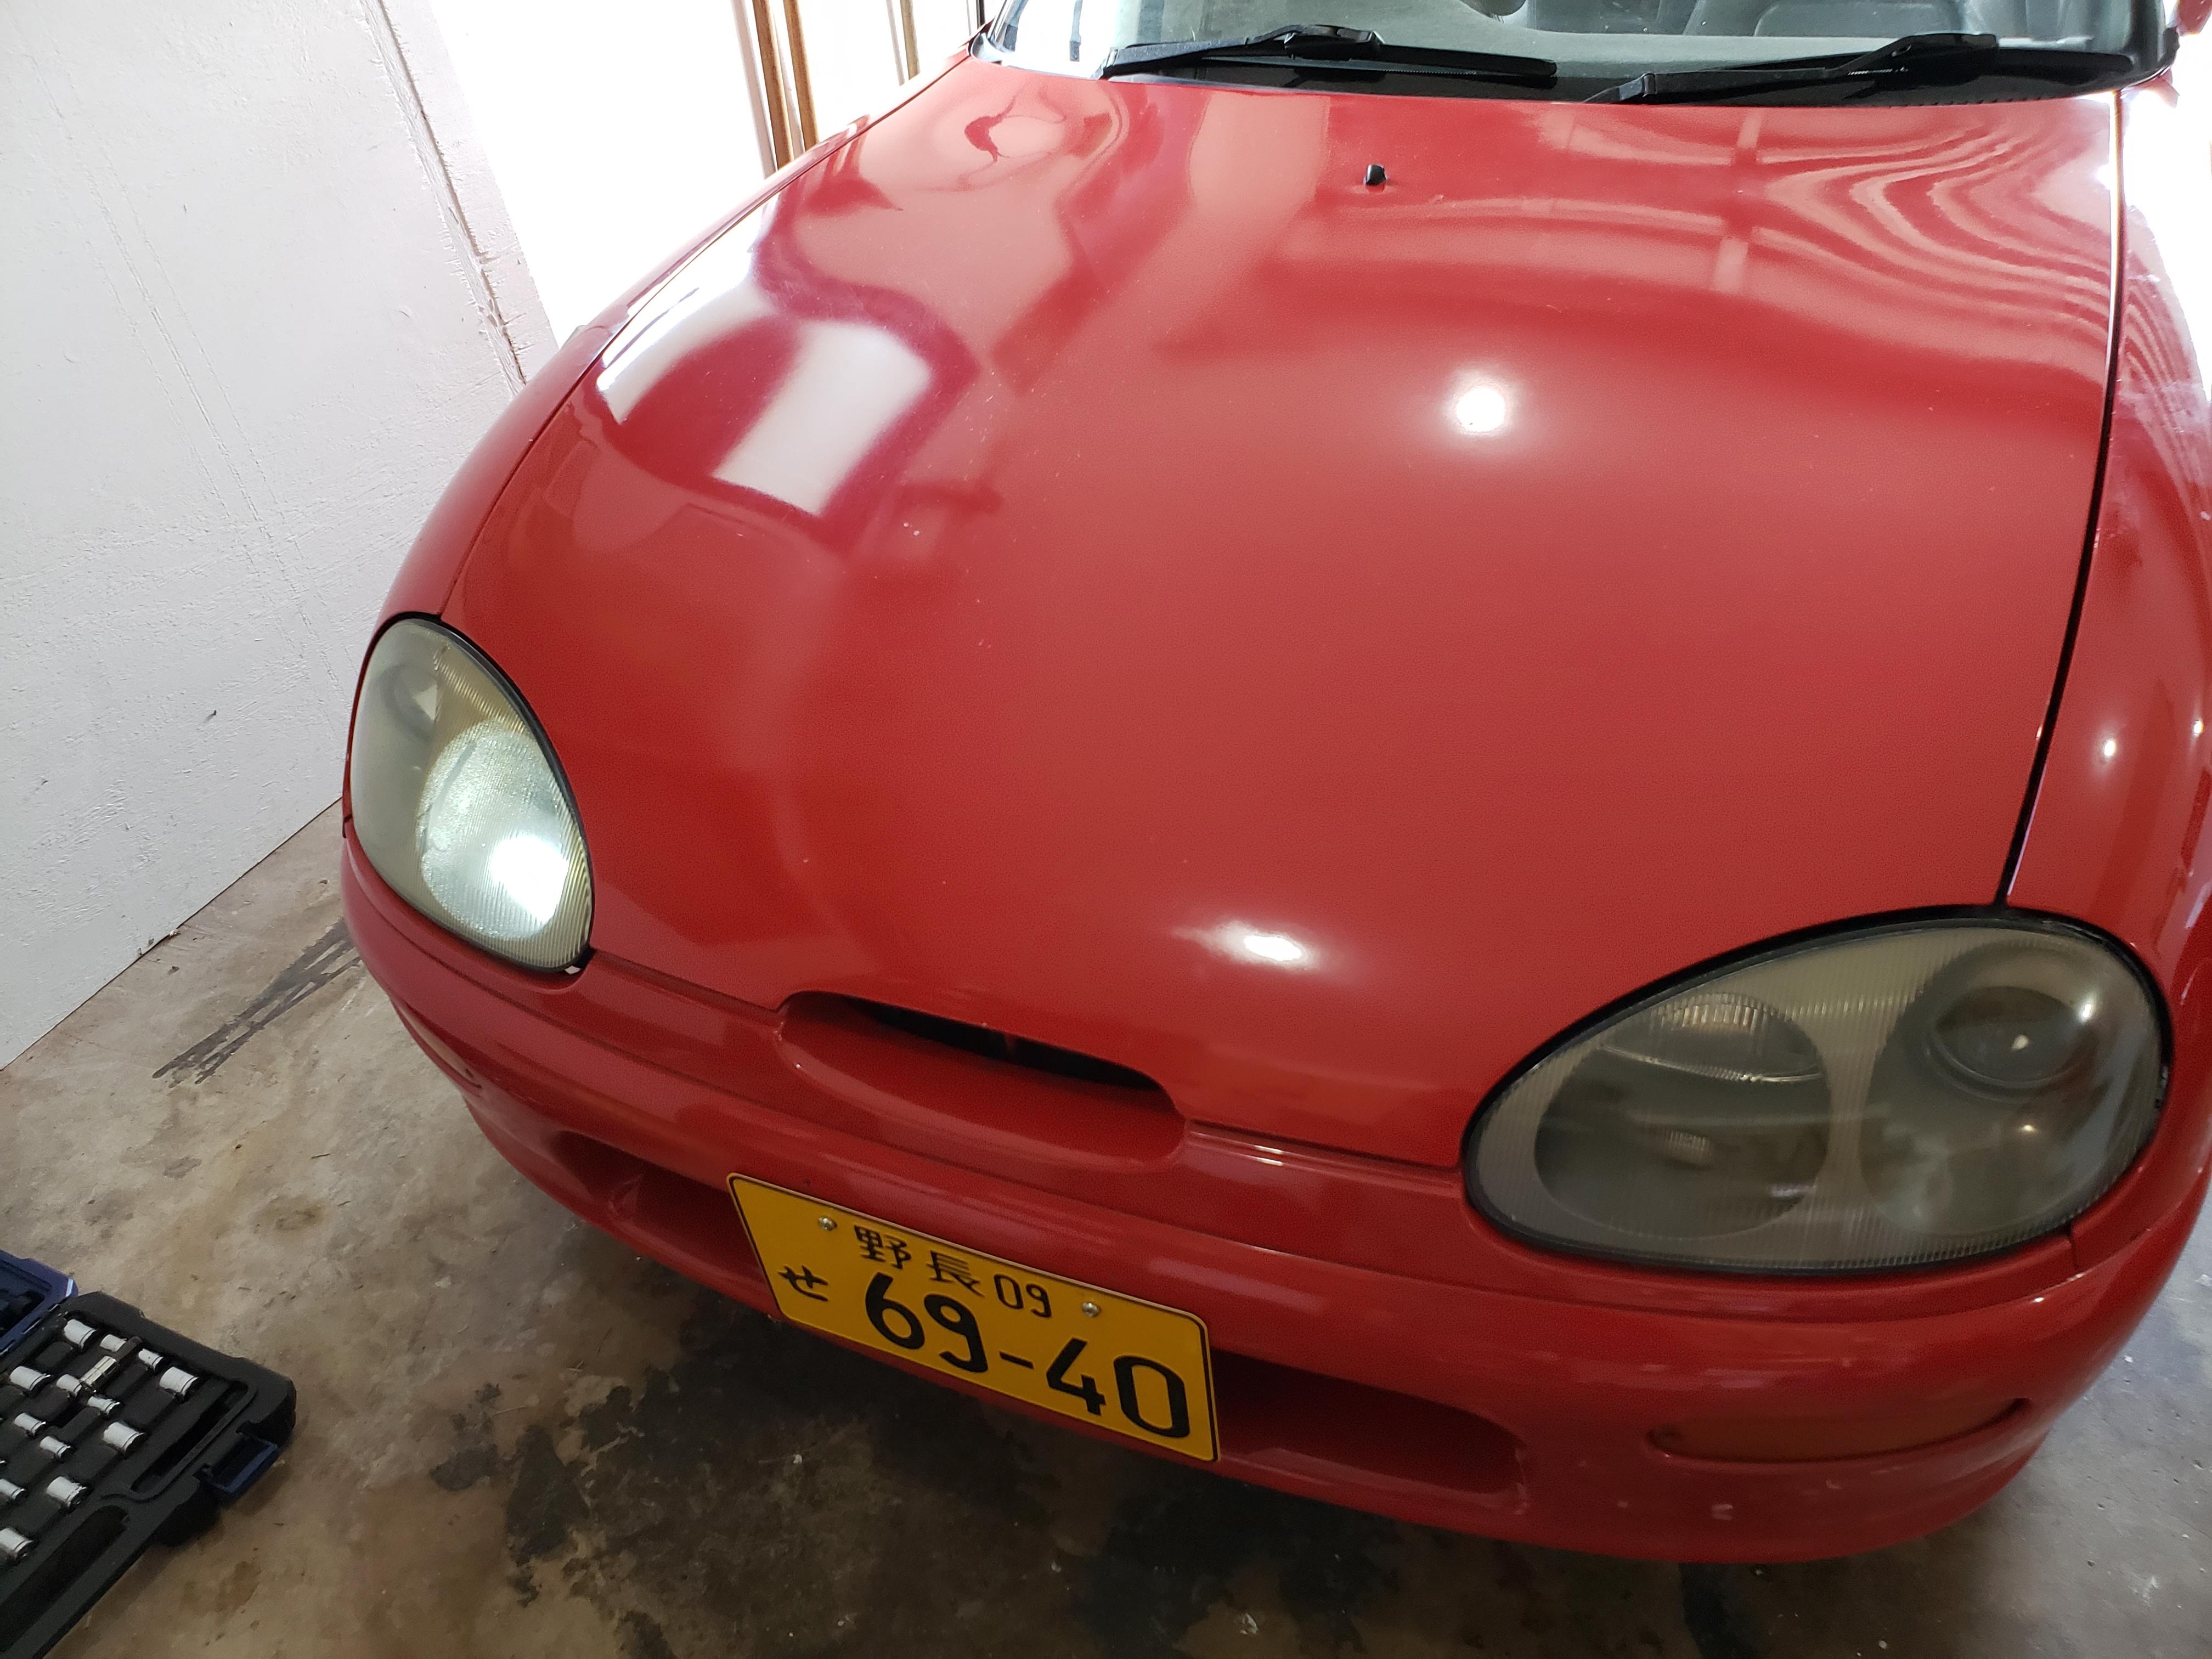
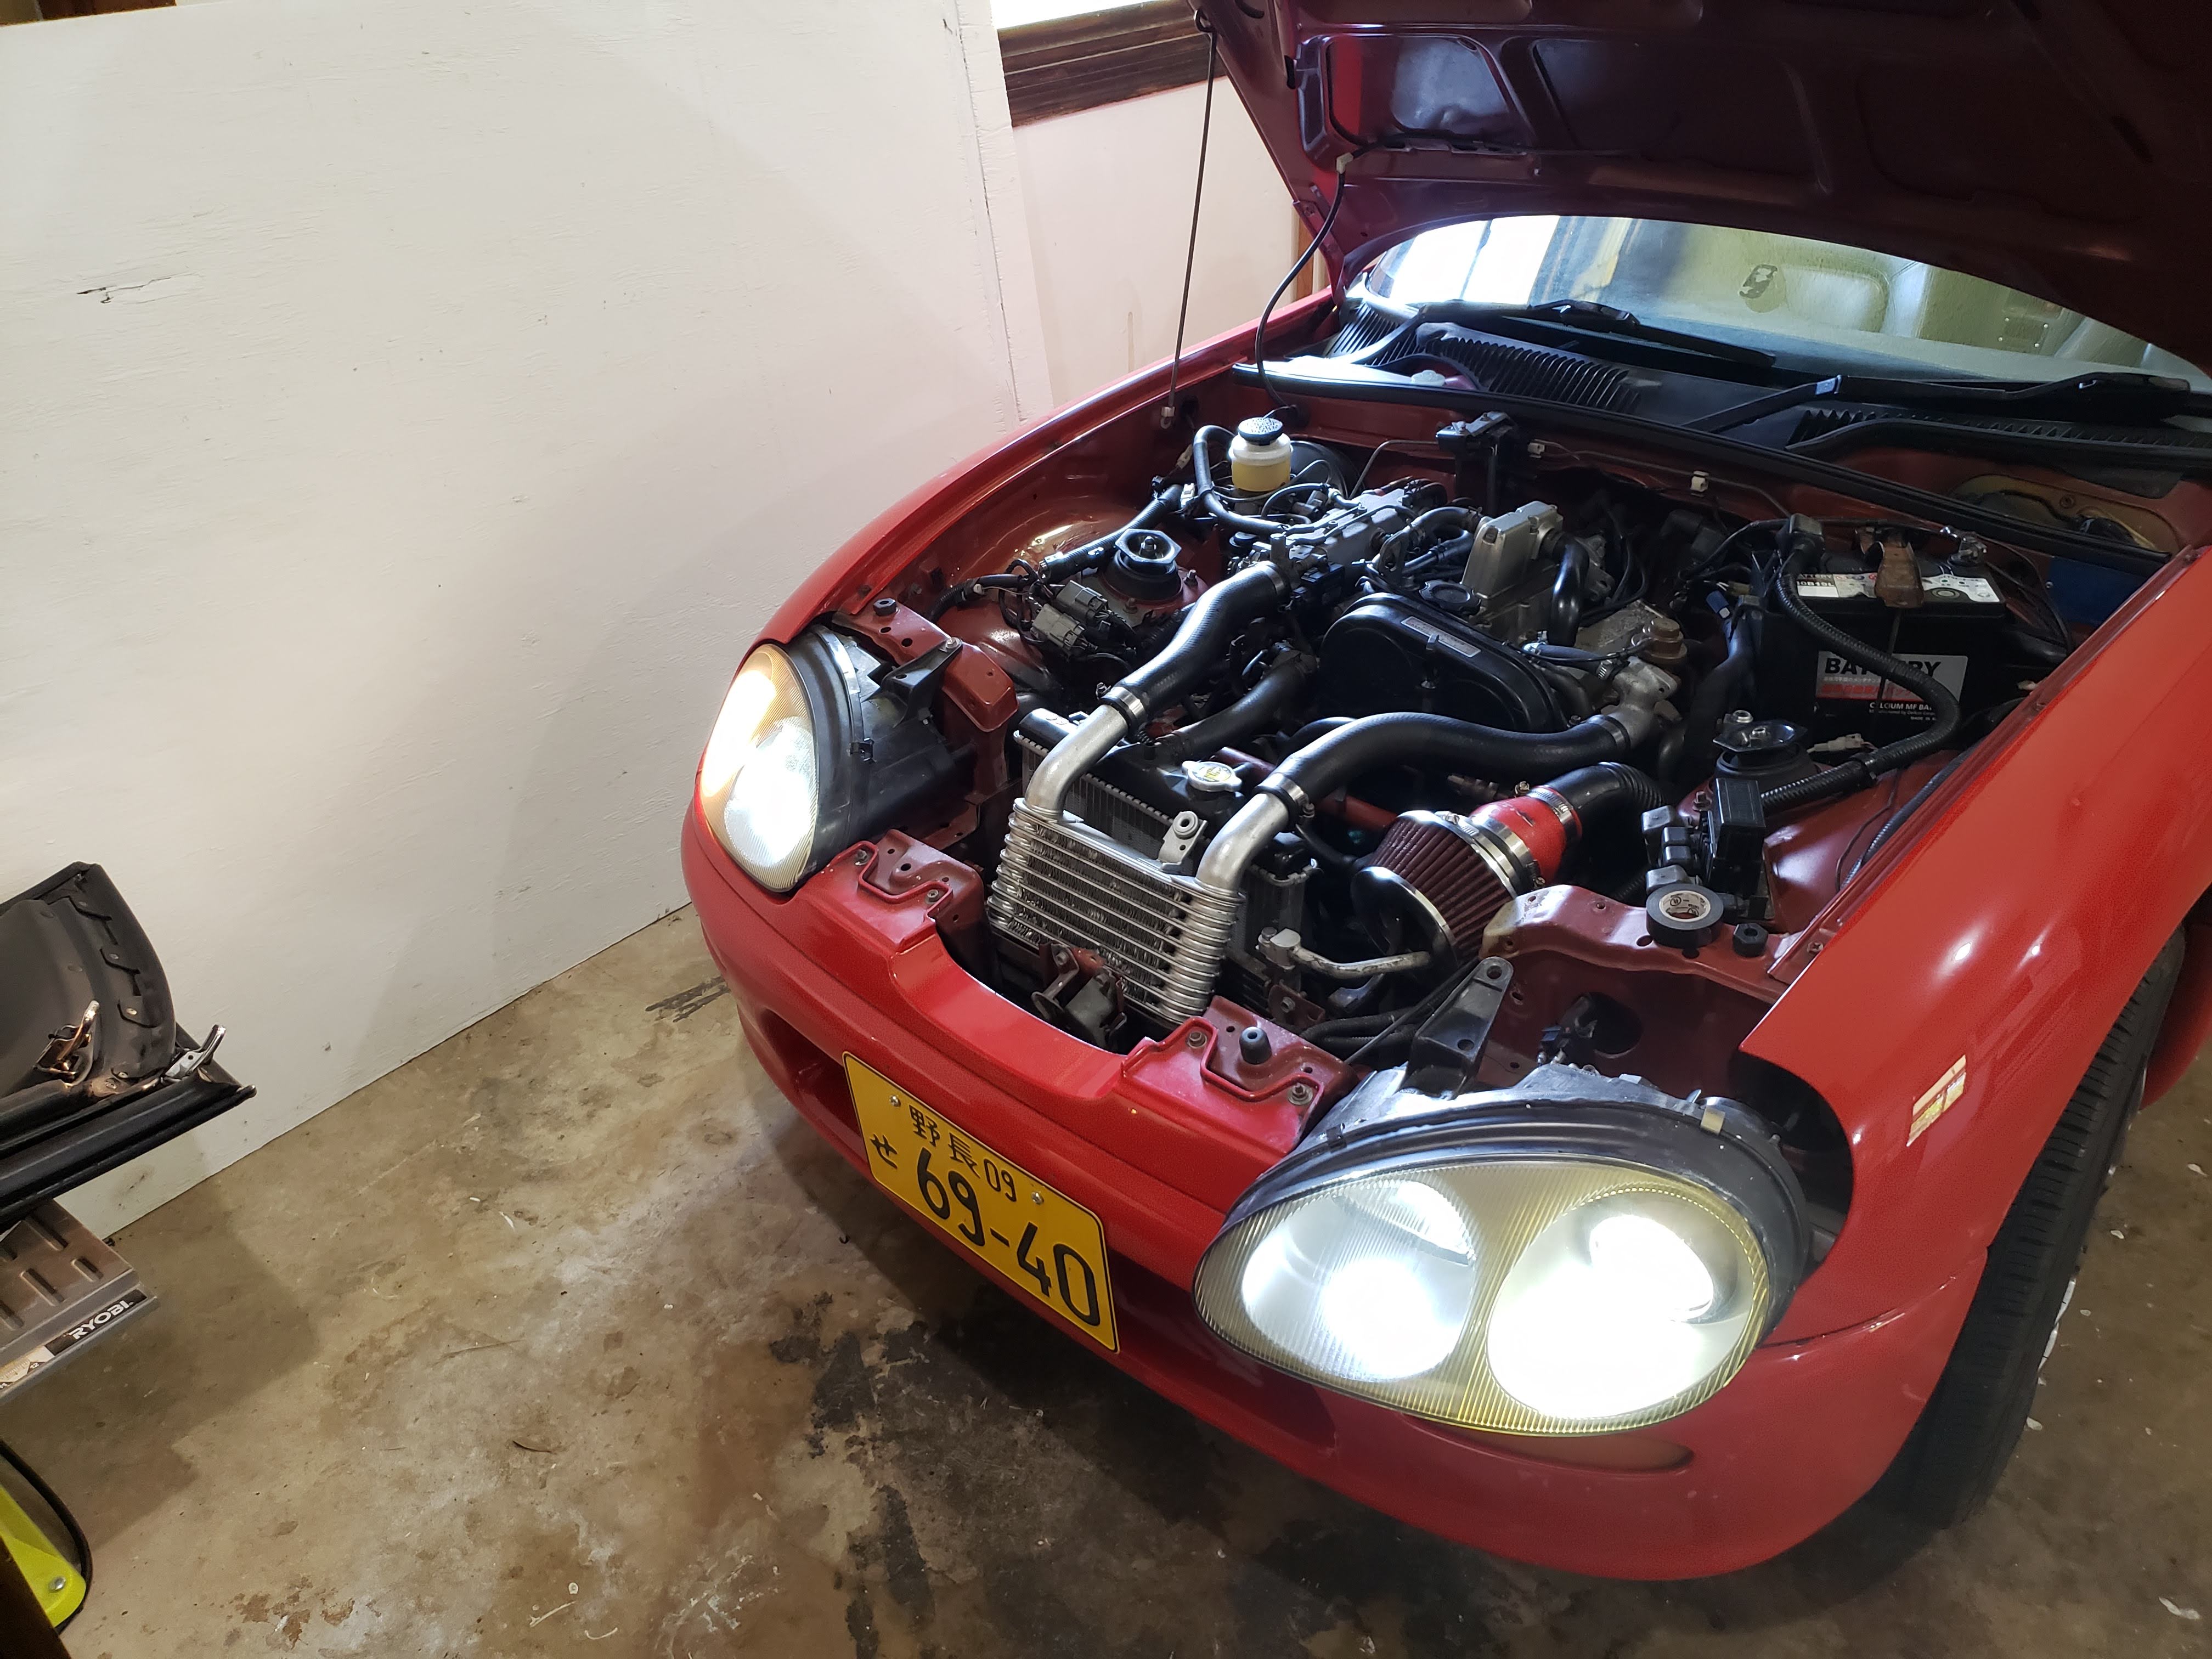
Results!
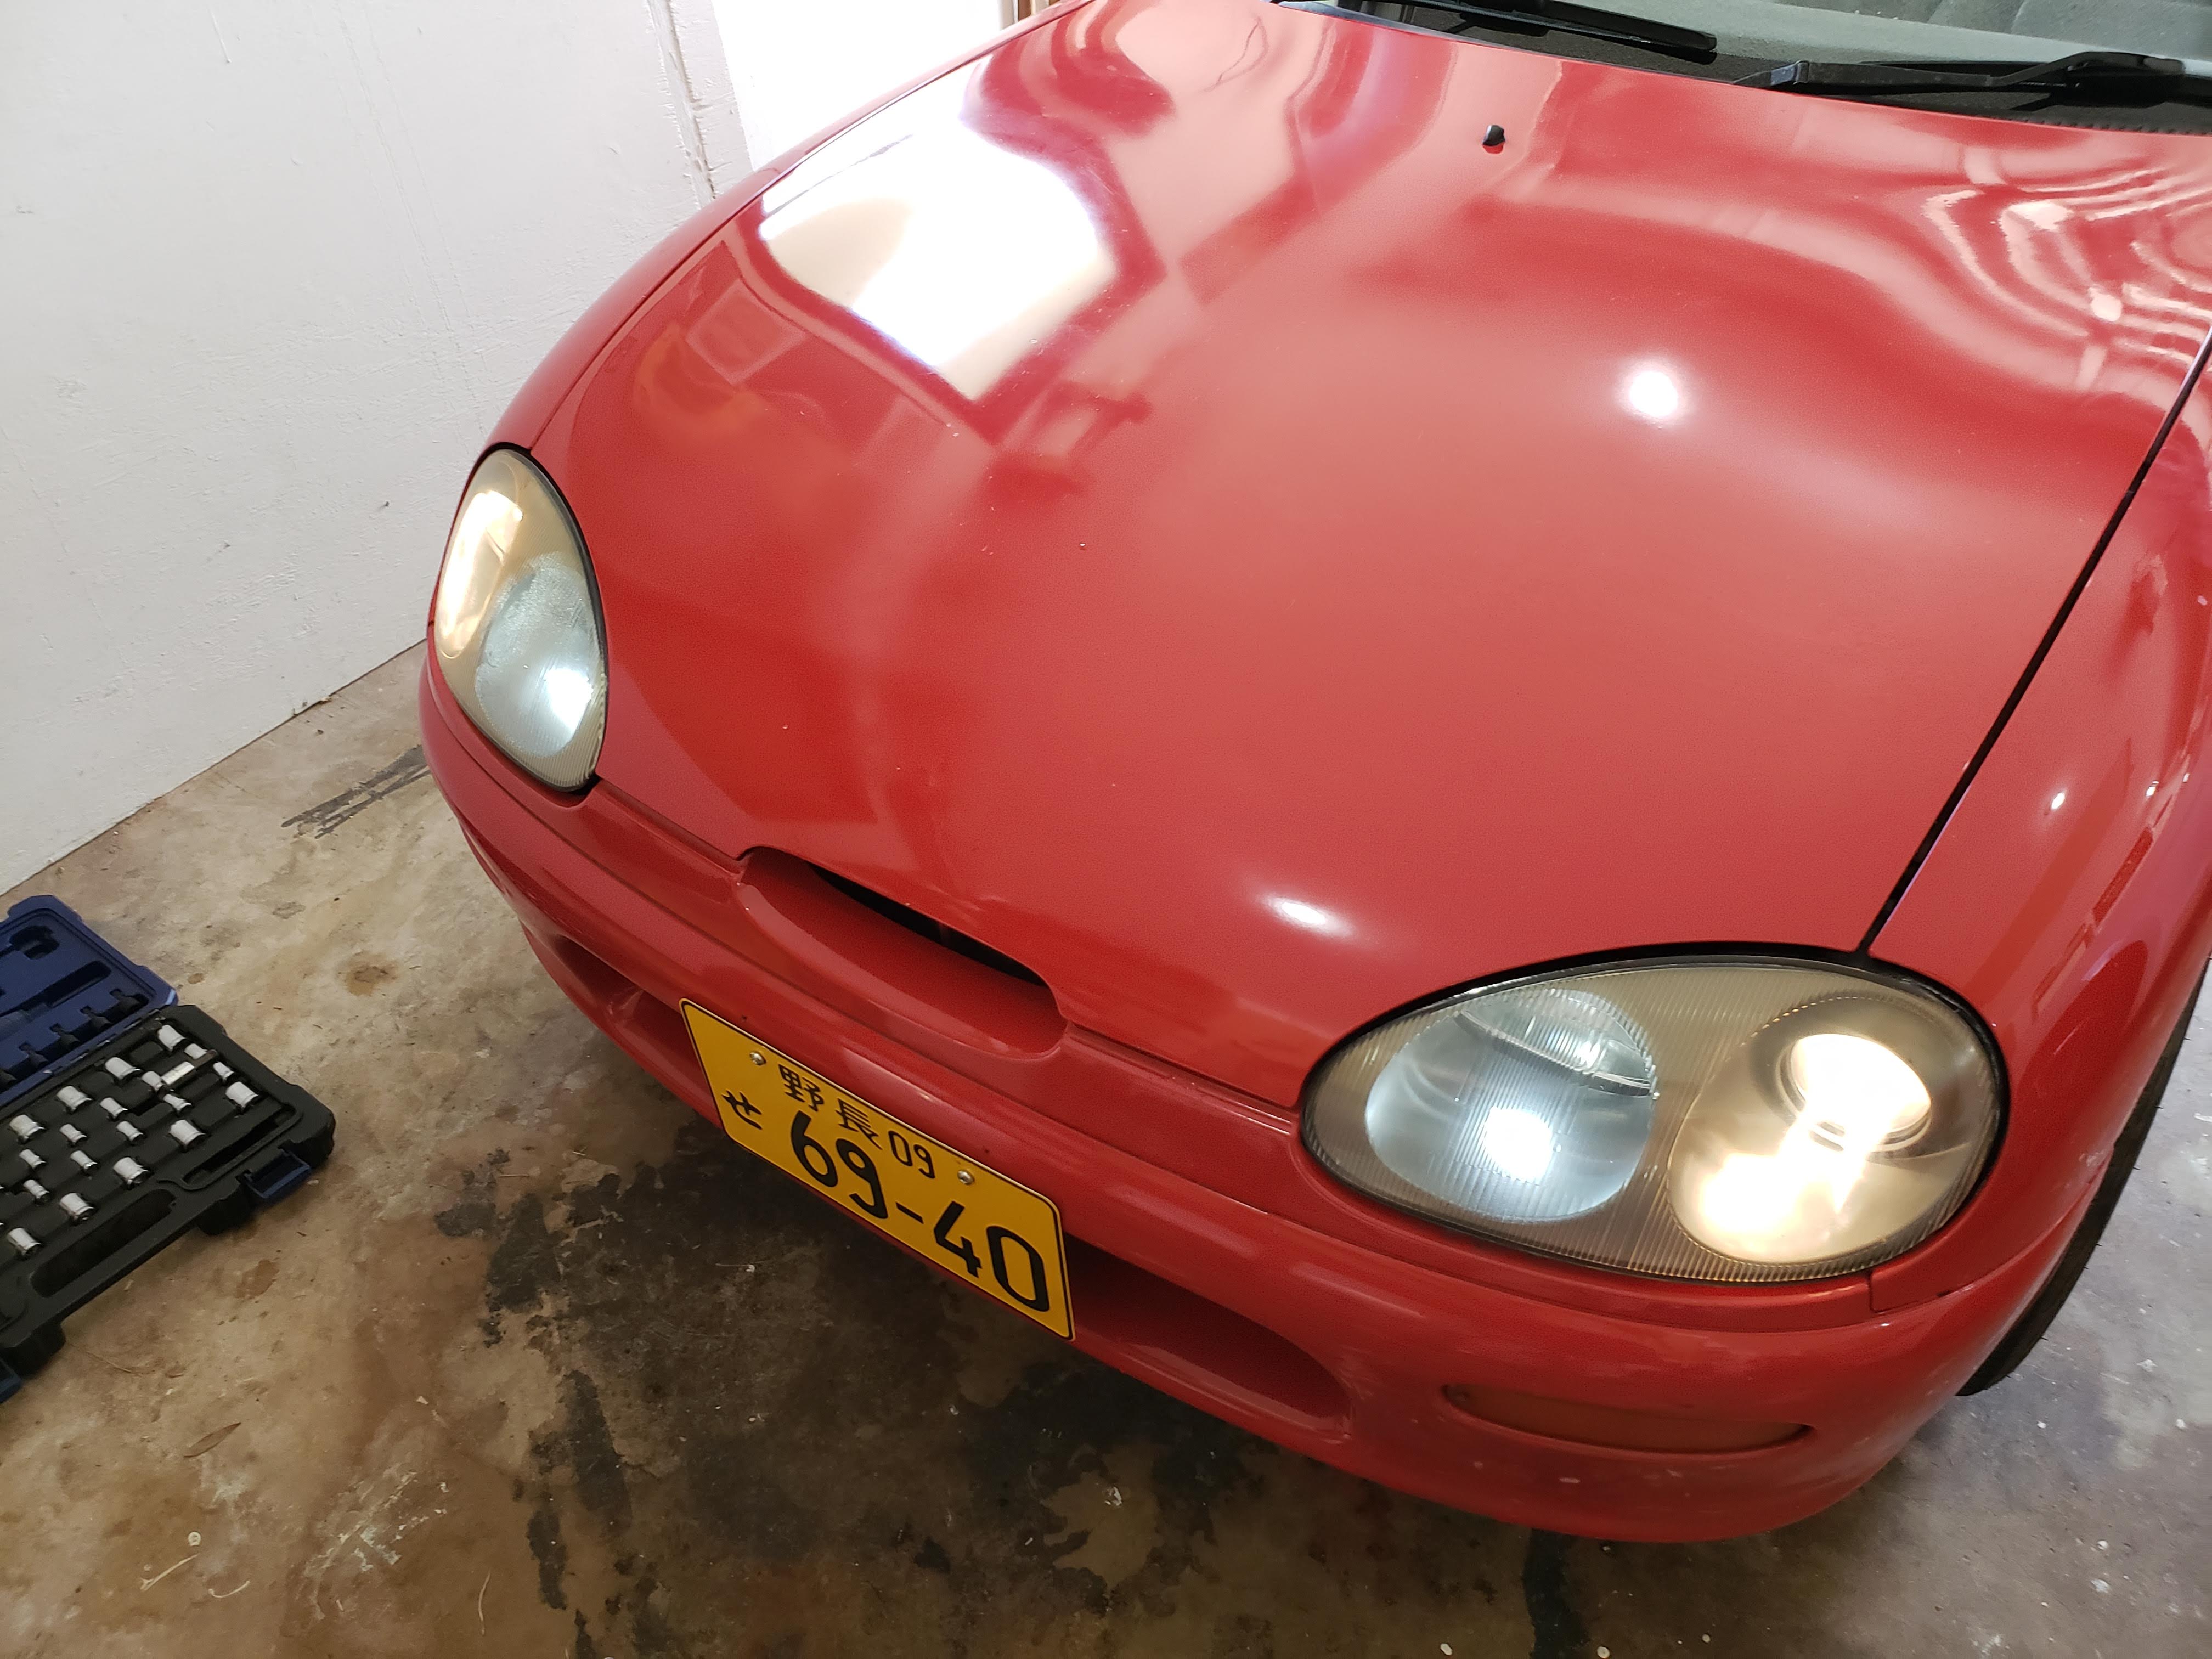
Marker lights only
Marker lights and halogen low beams
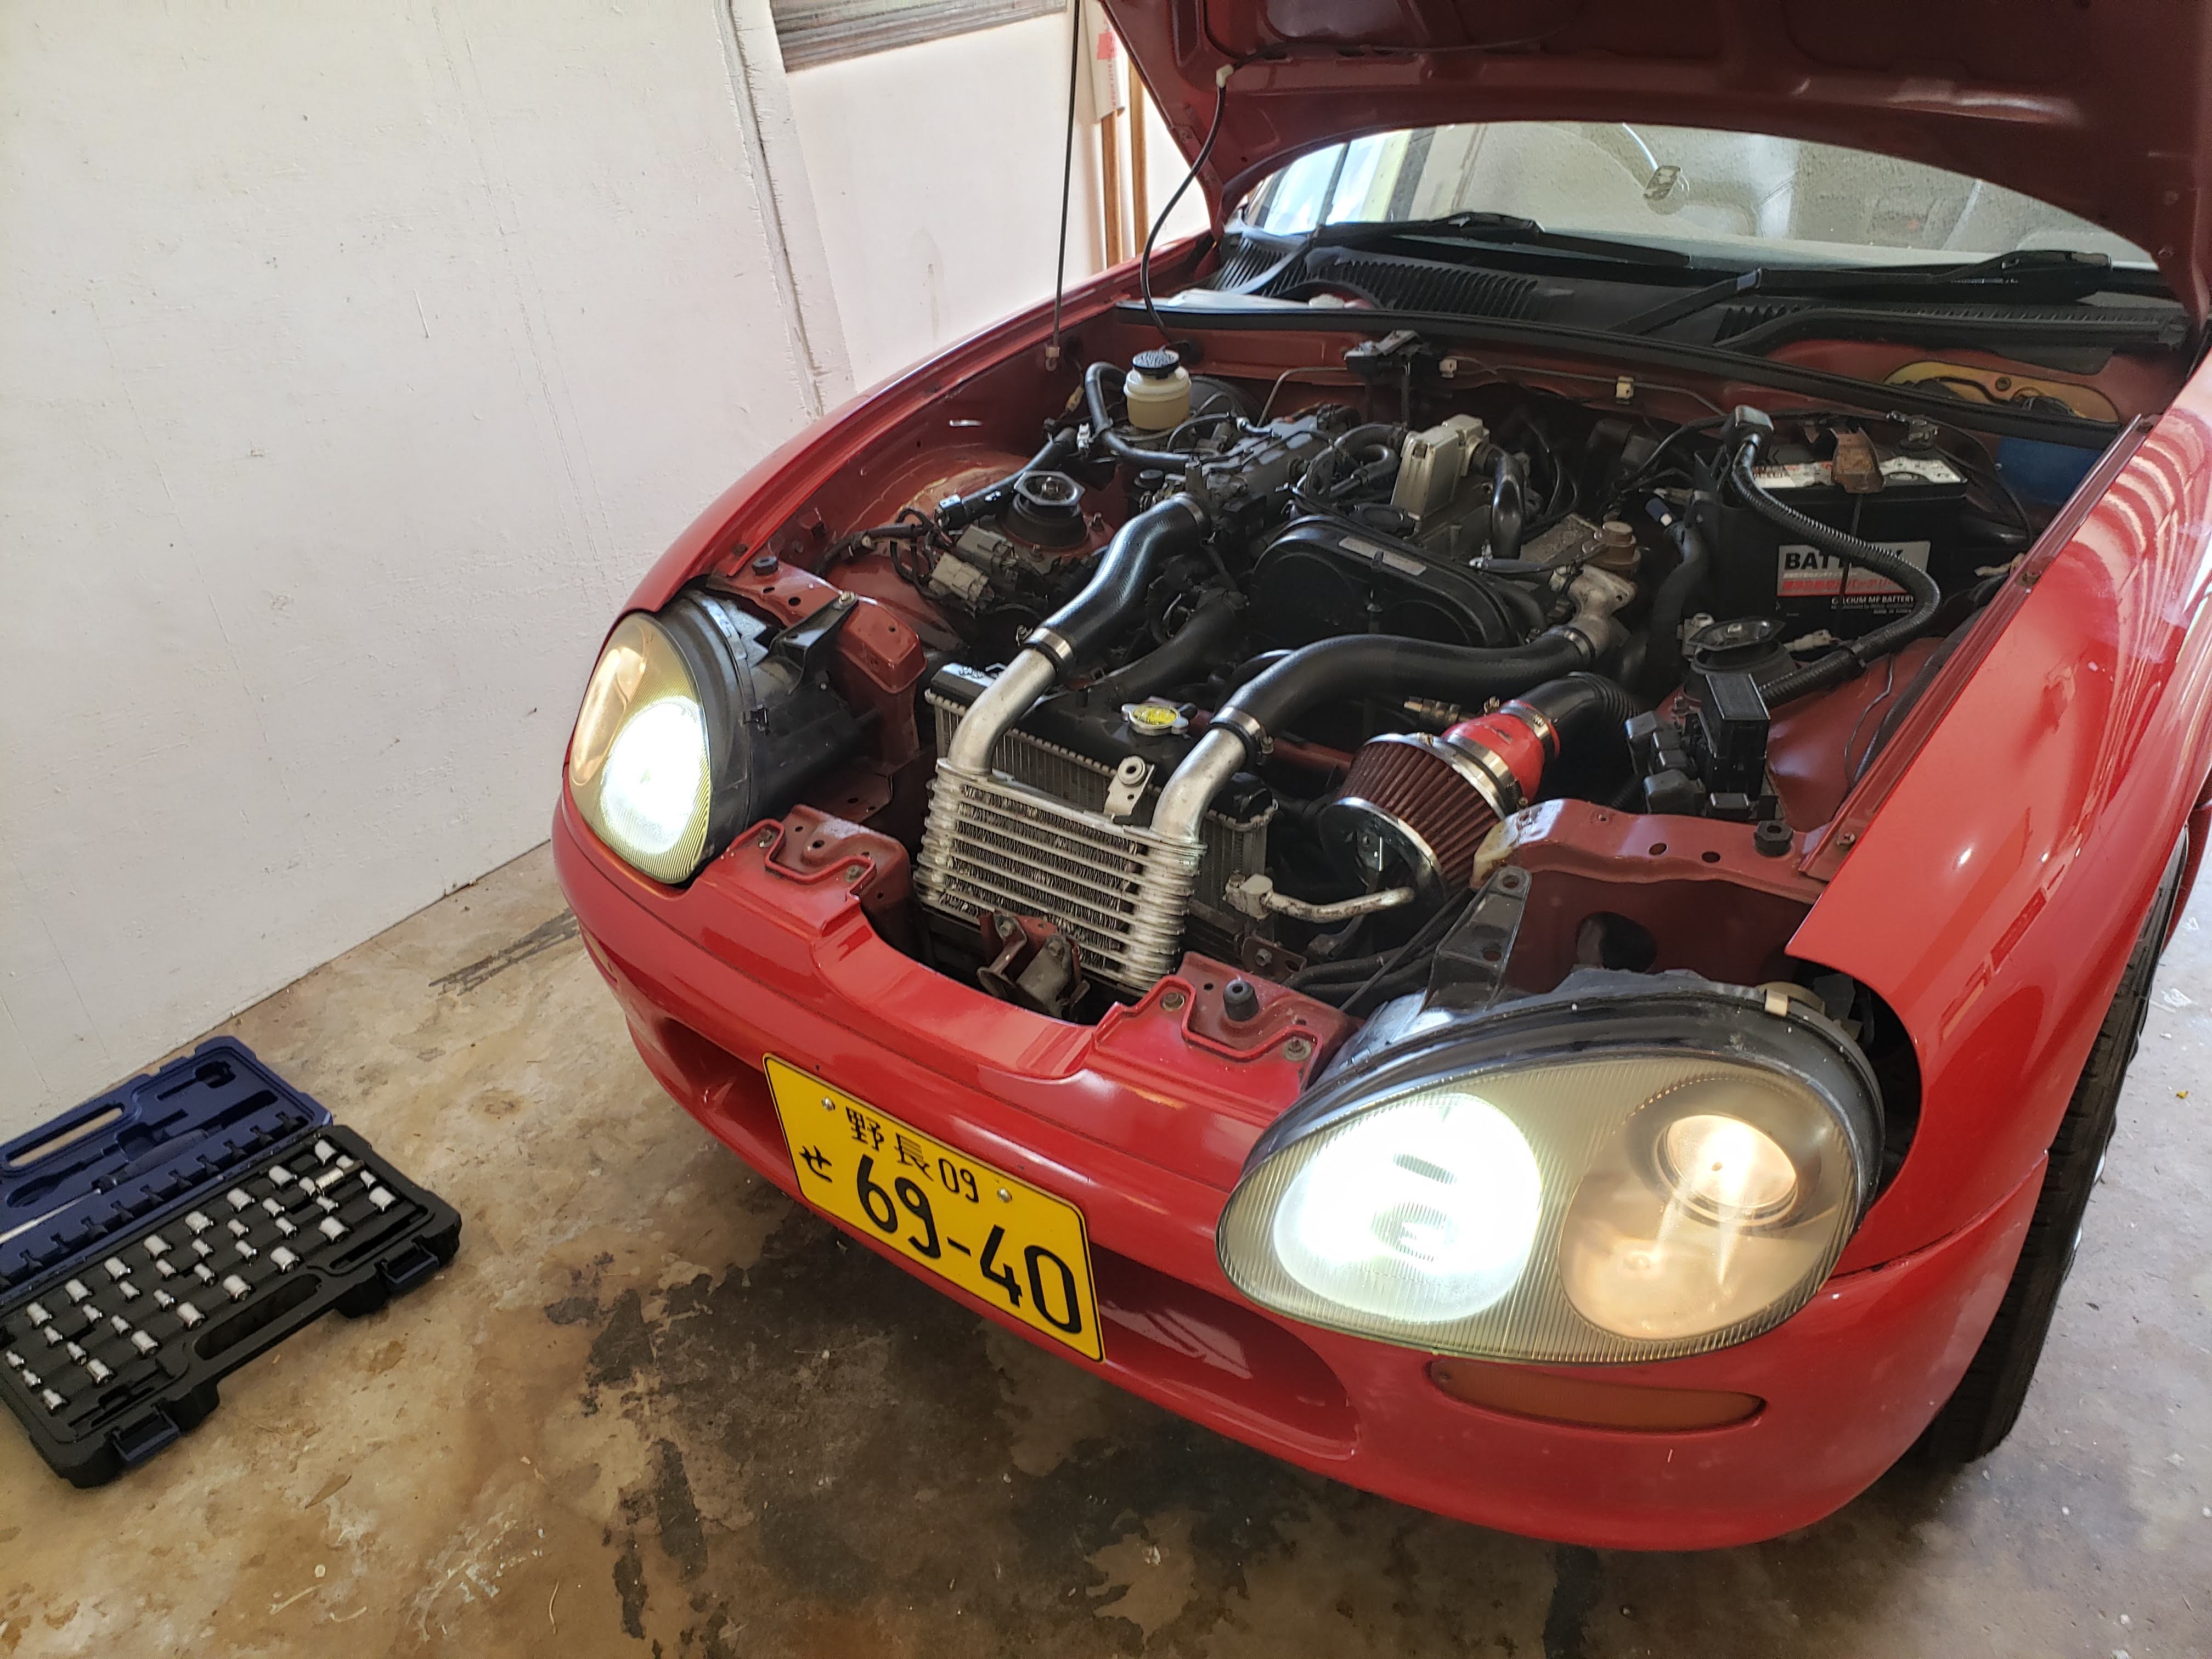
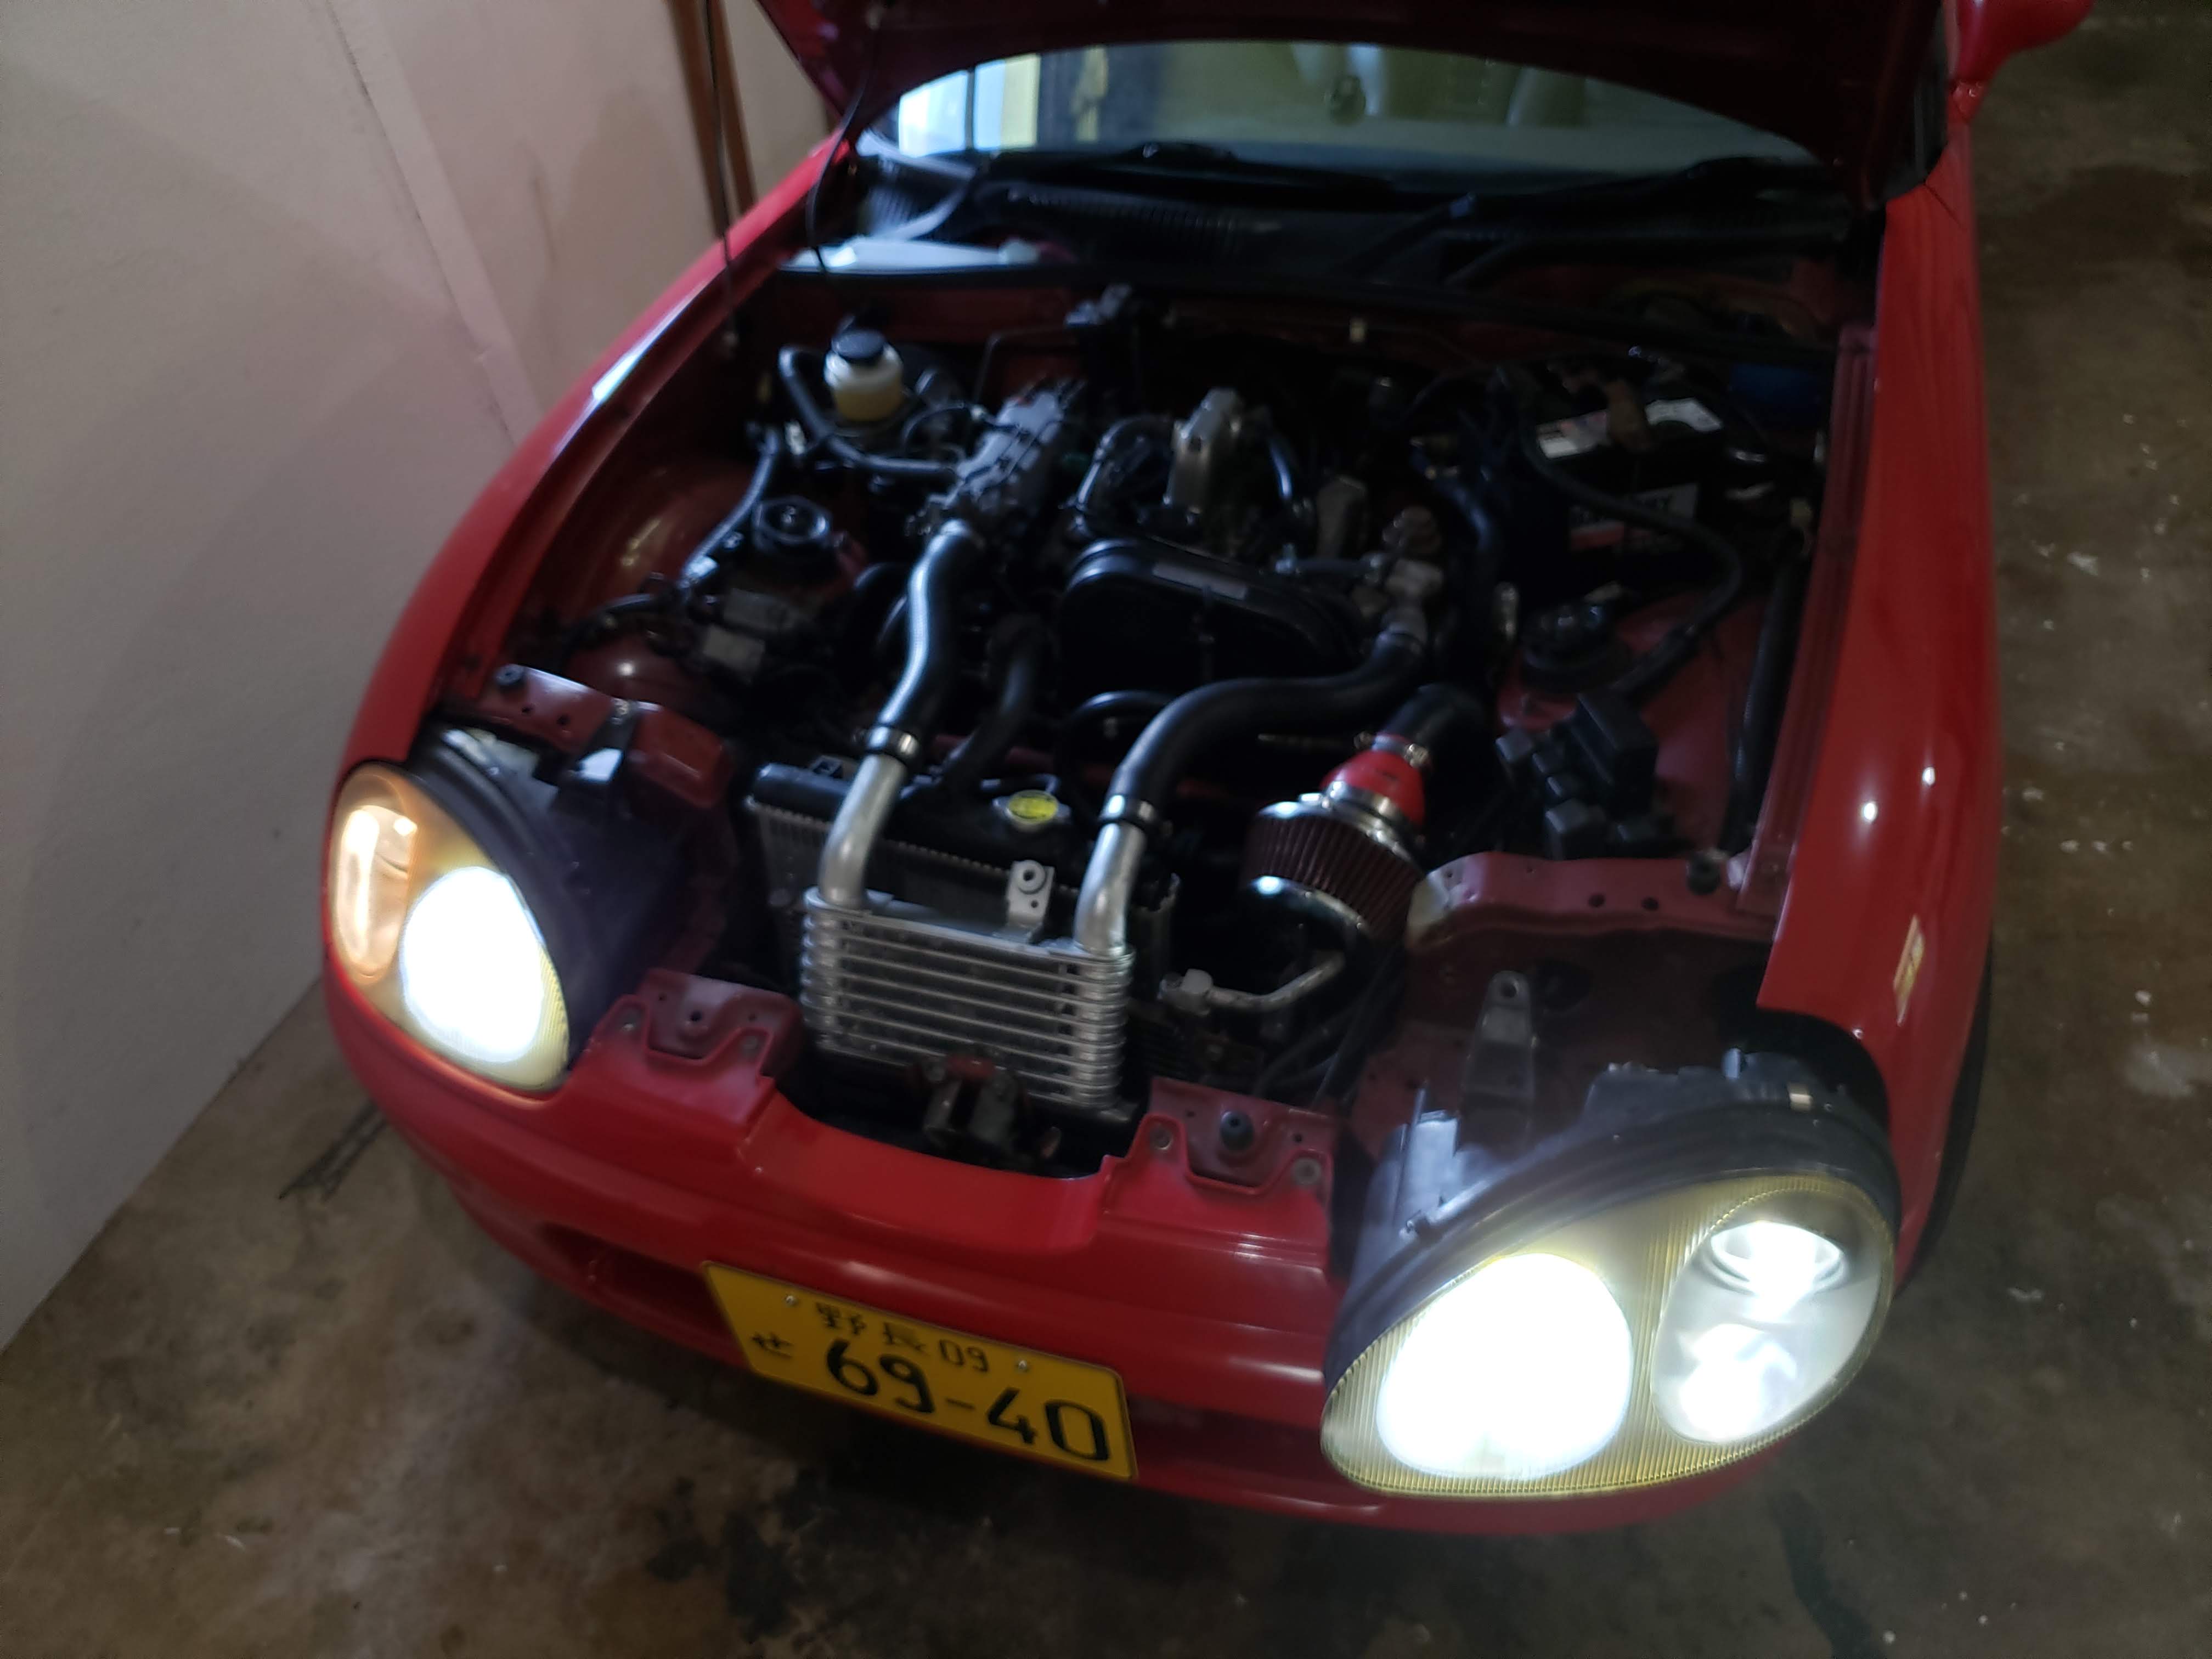
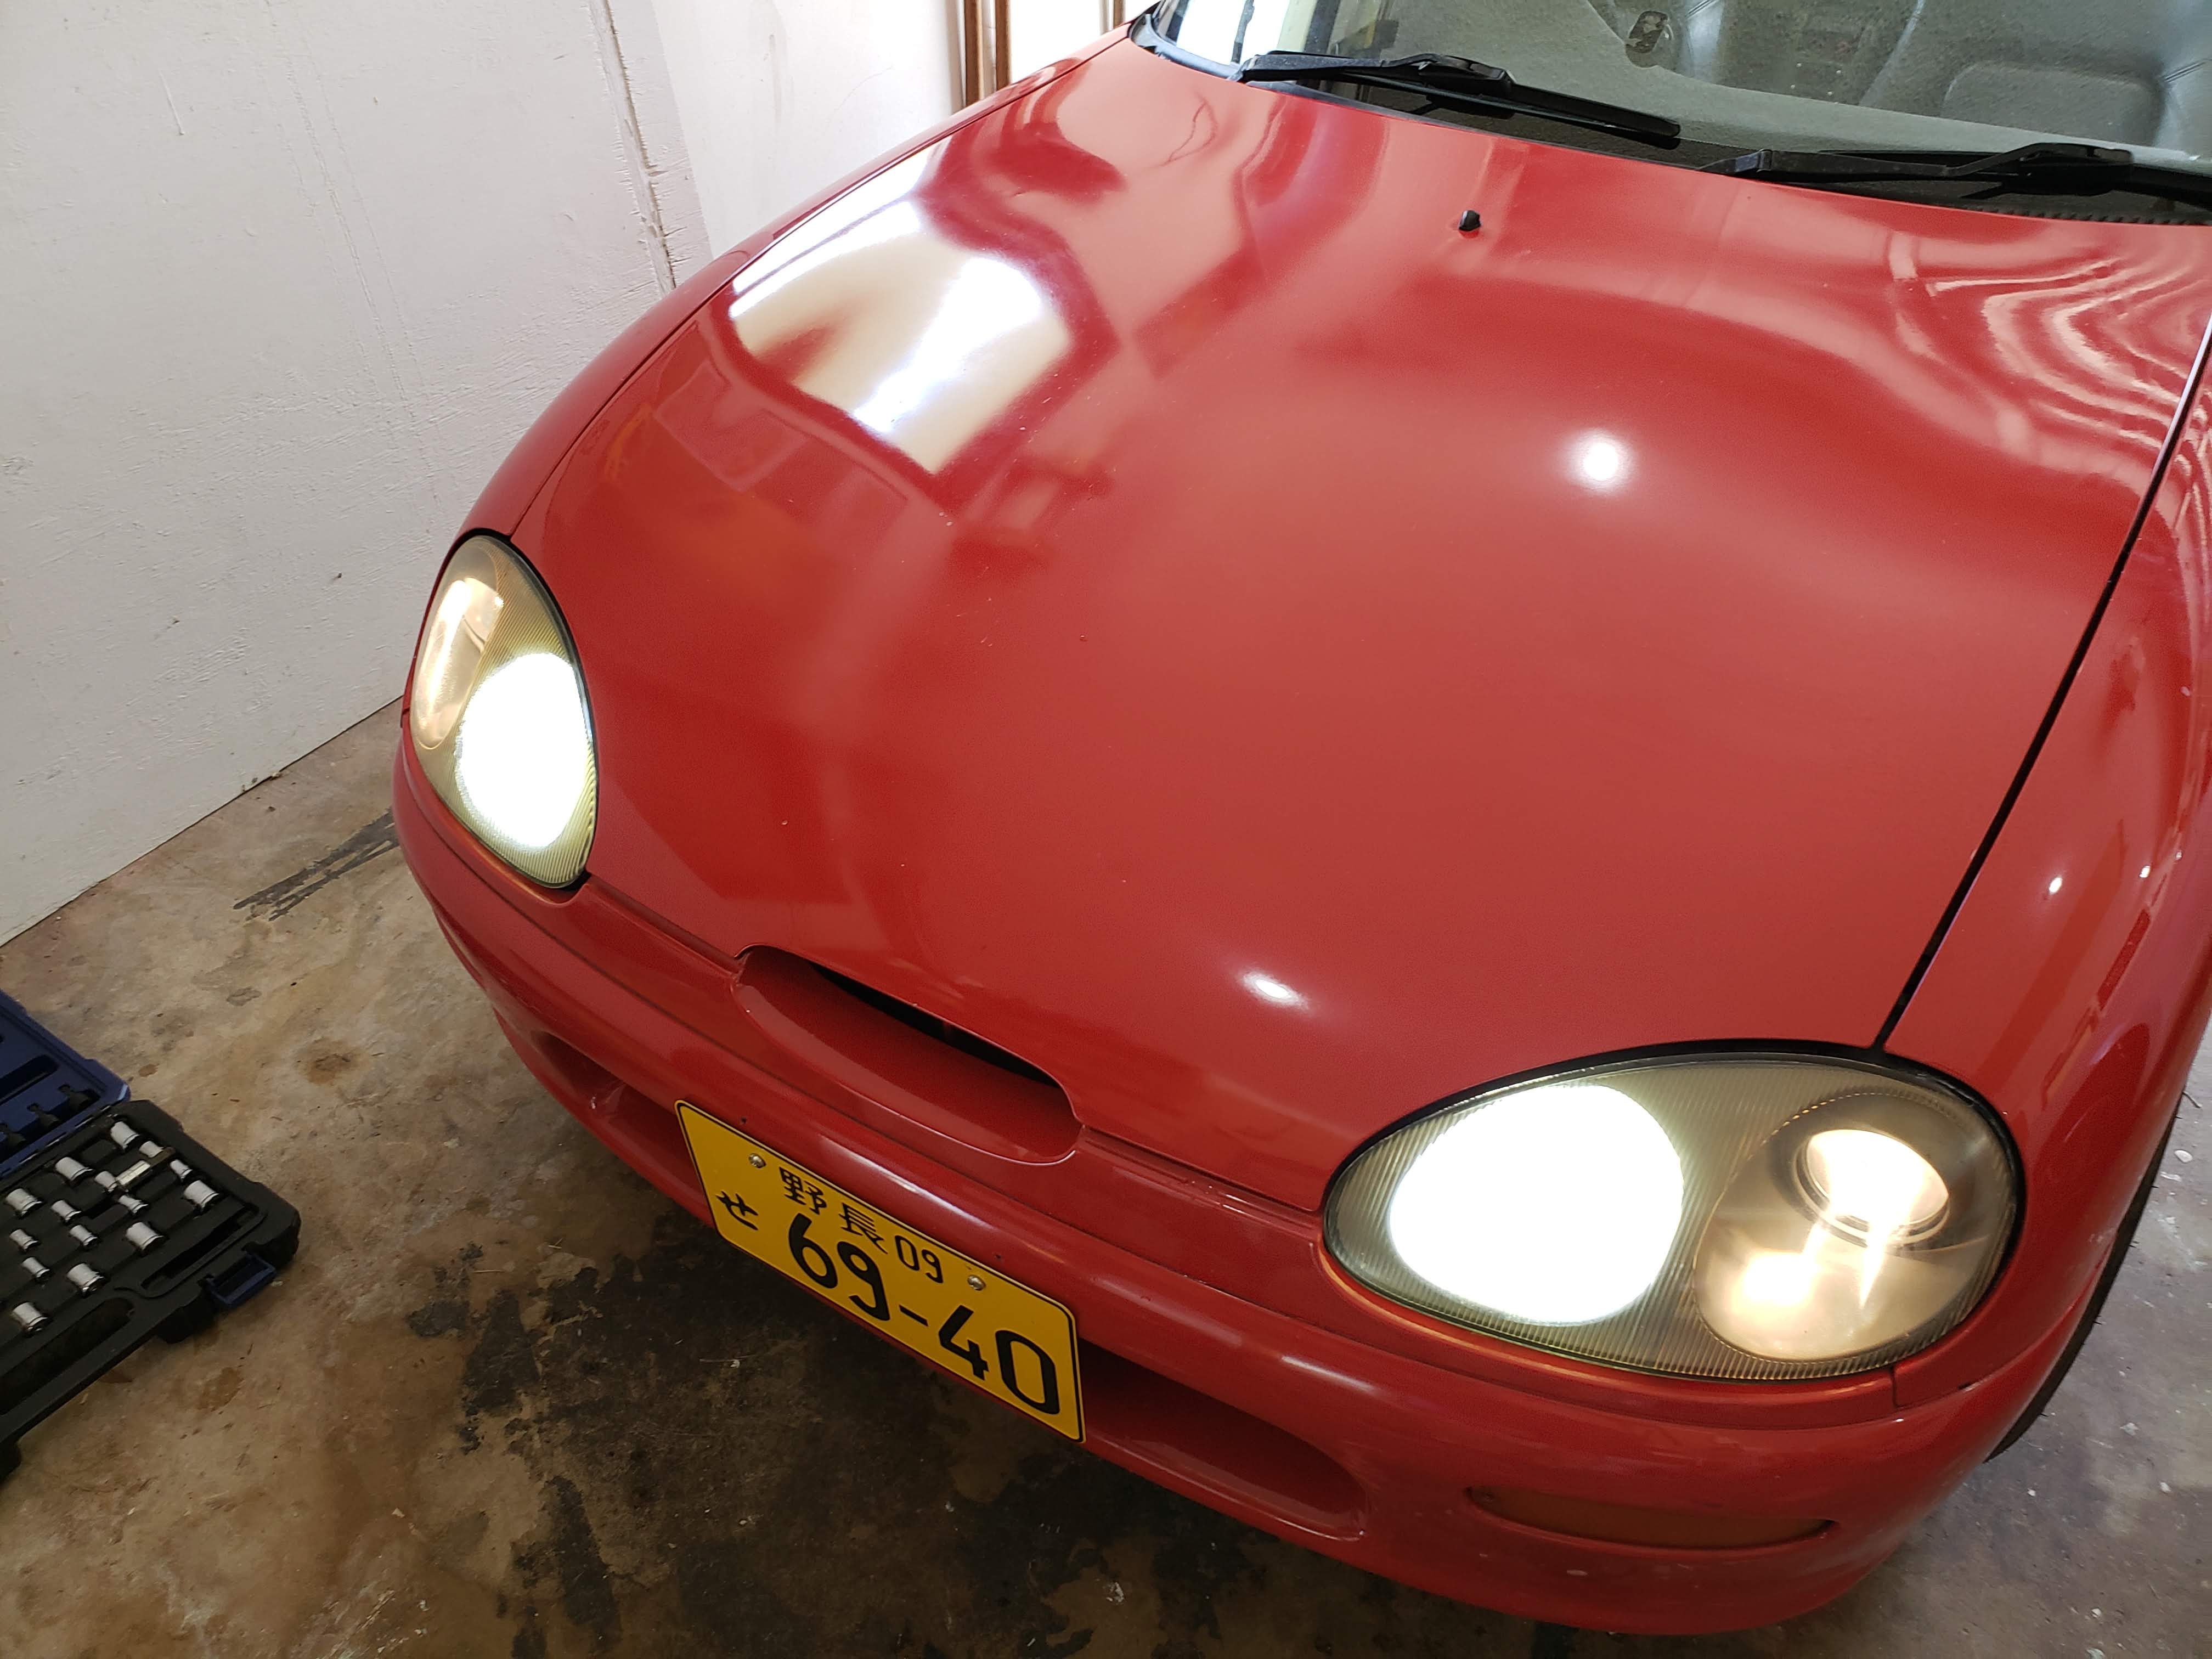
 Marker lights, halogen low beams, LED high beams
 Marker lights, LED low beams
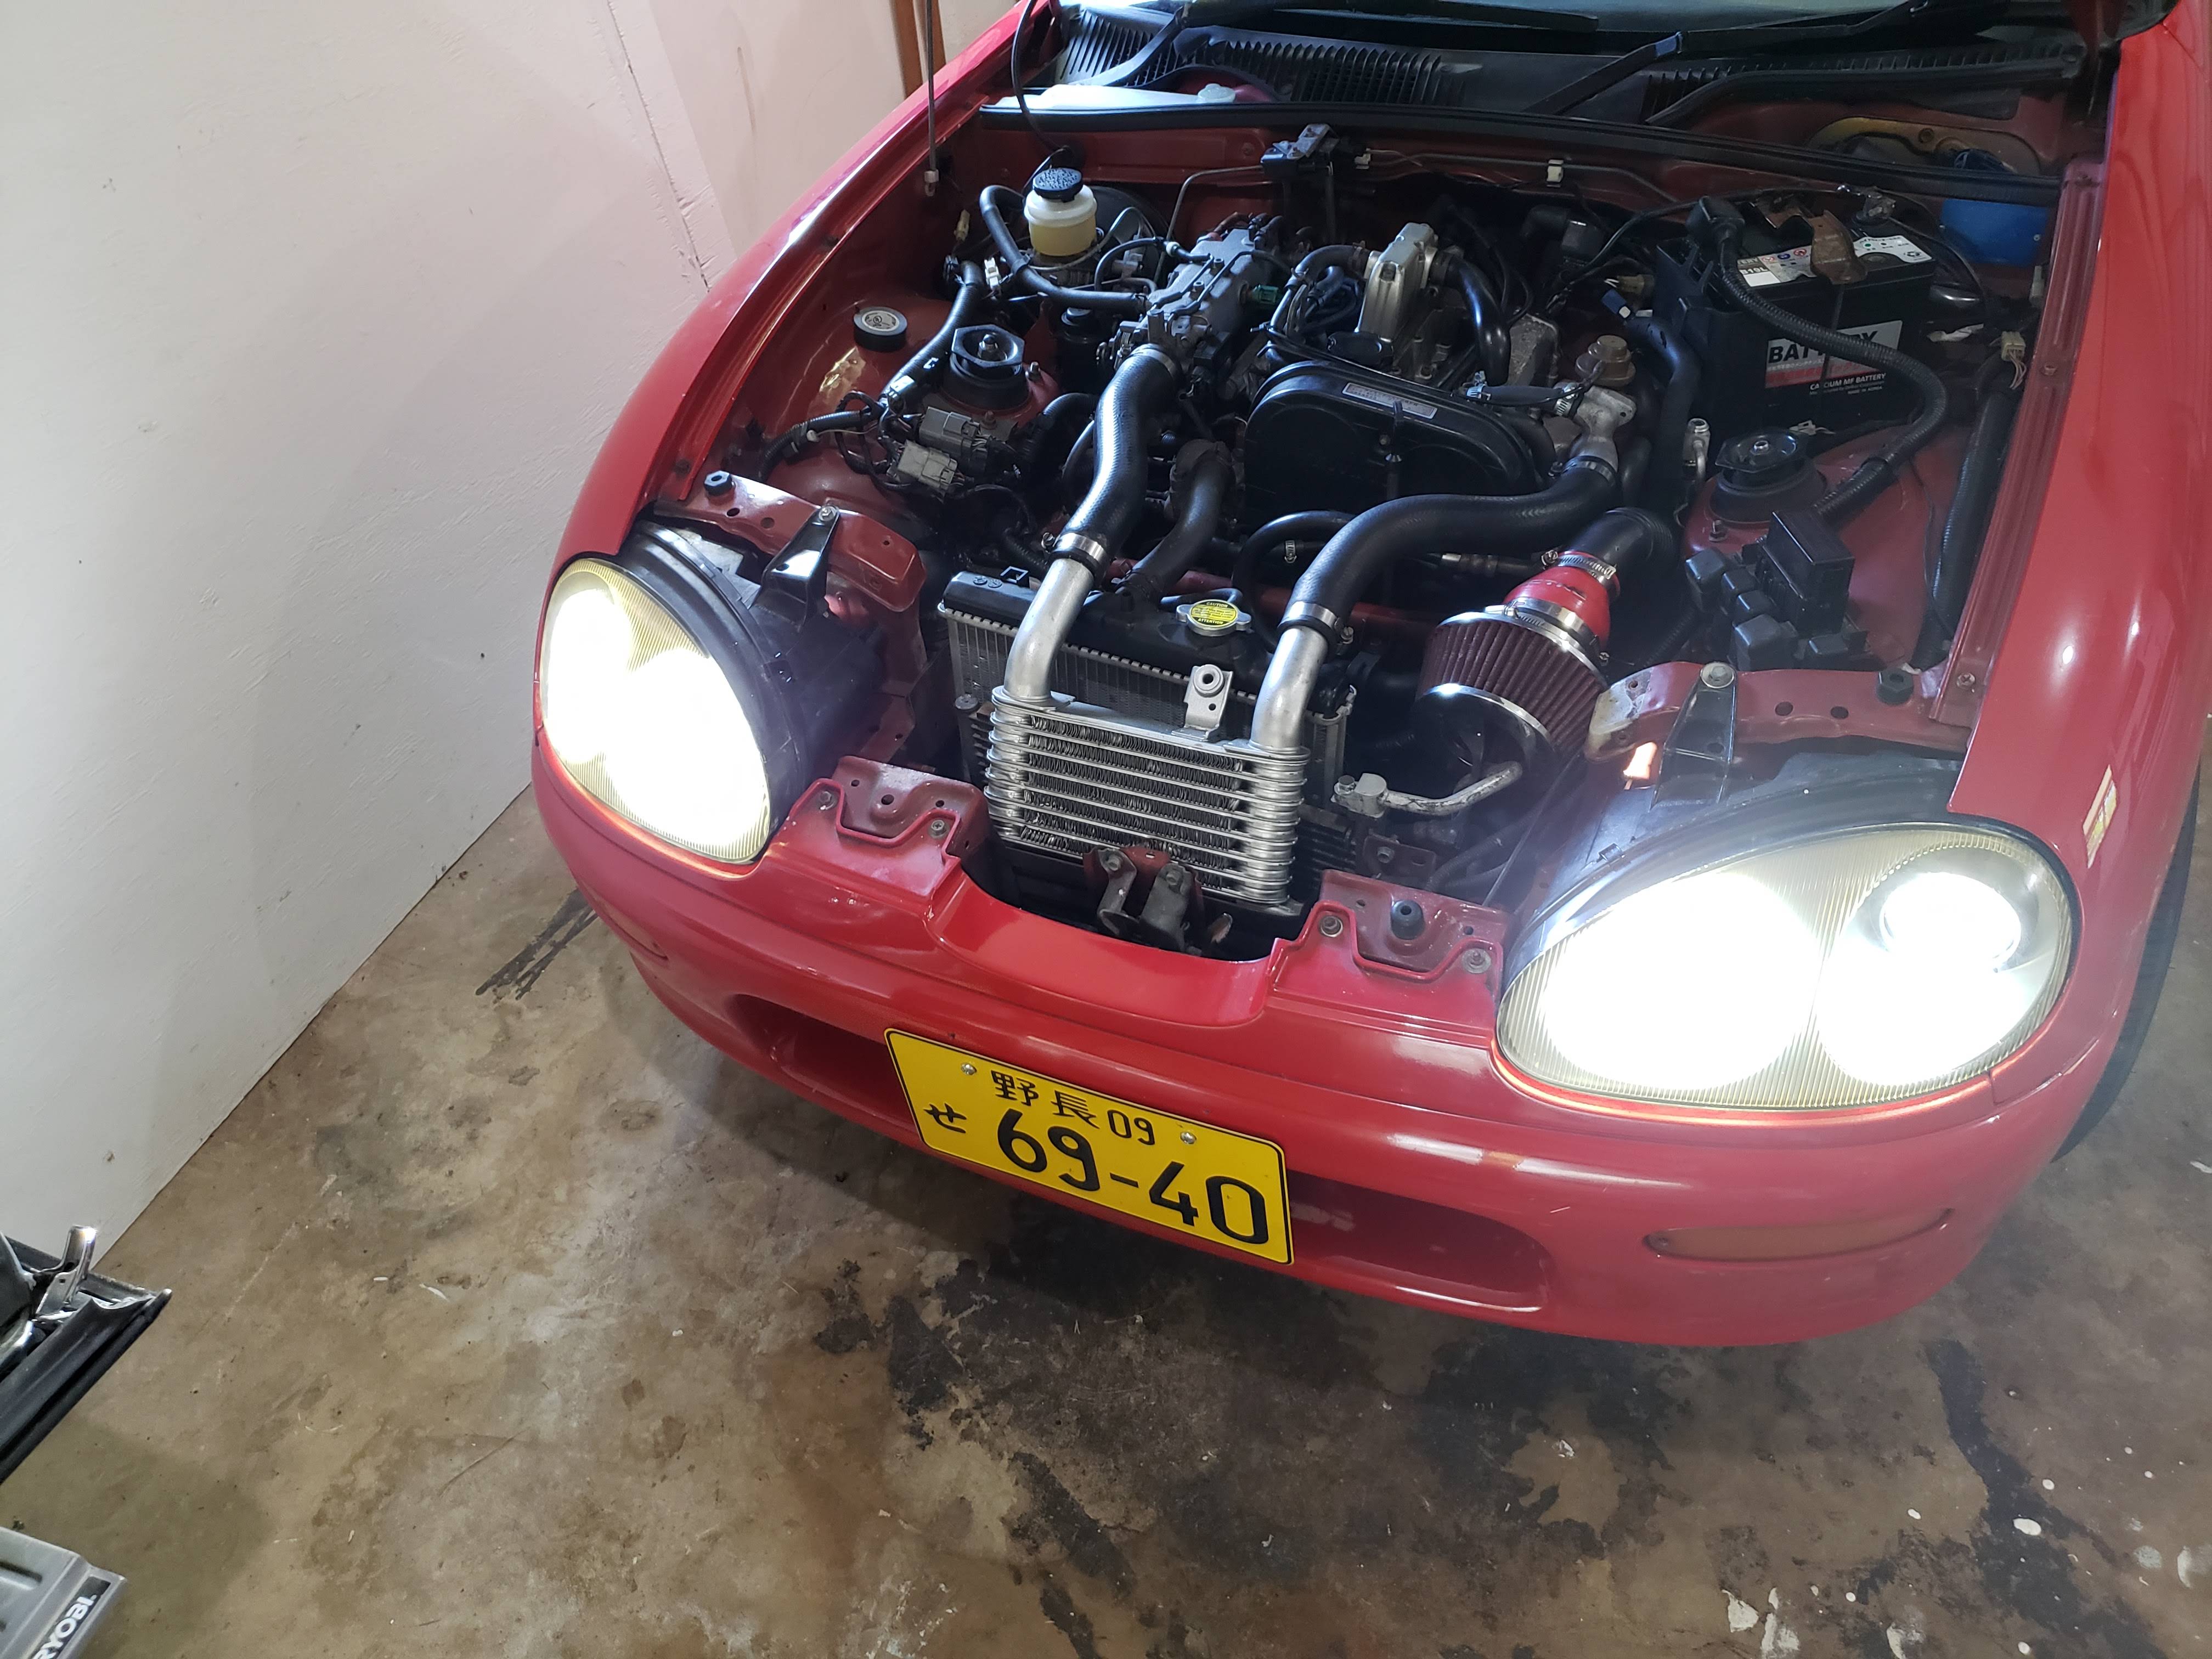
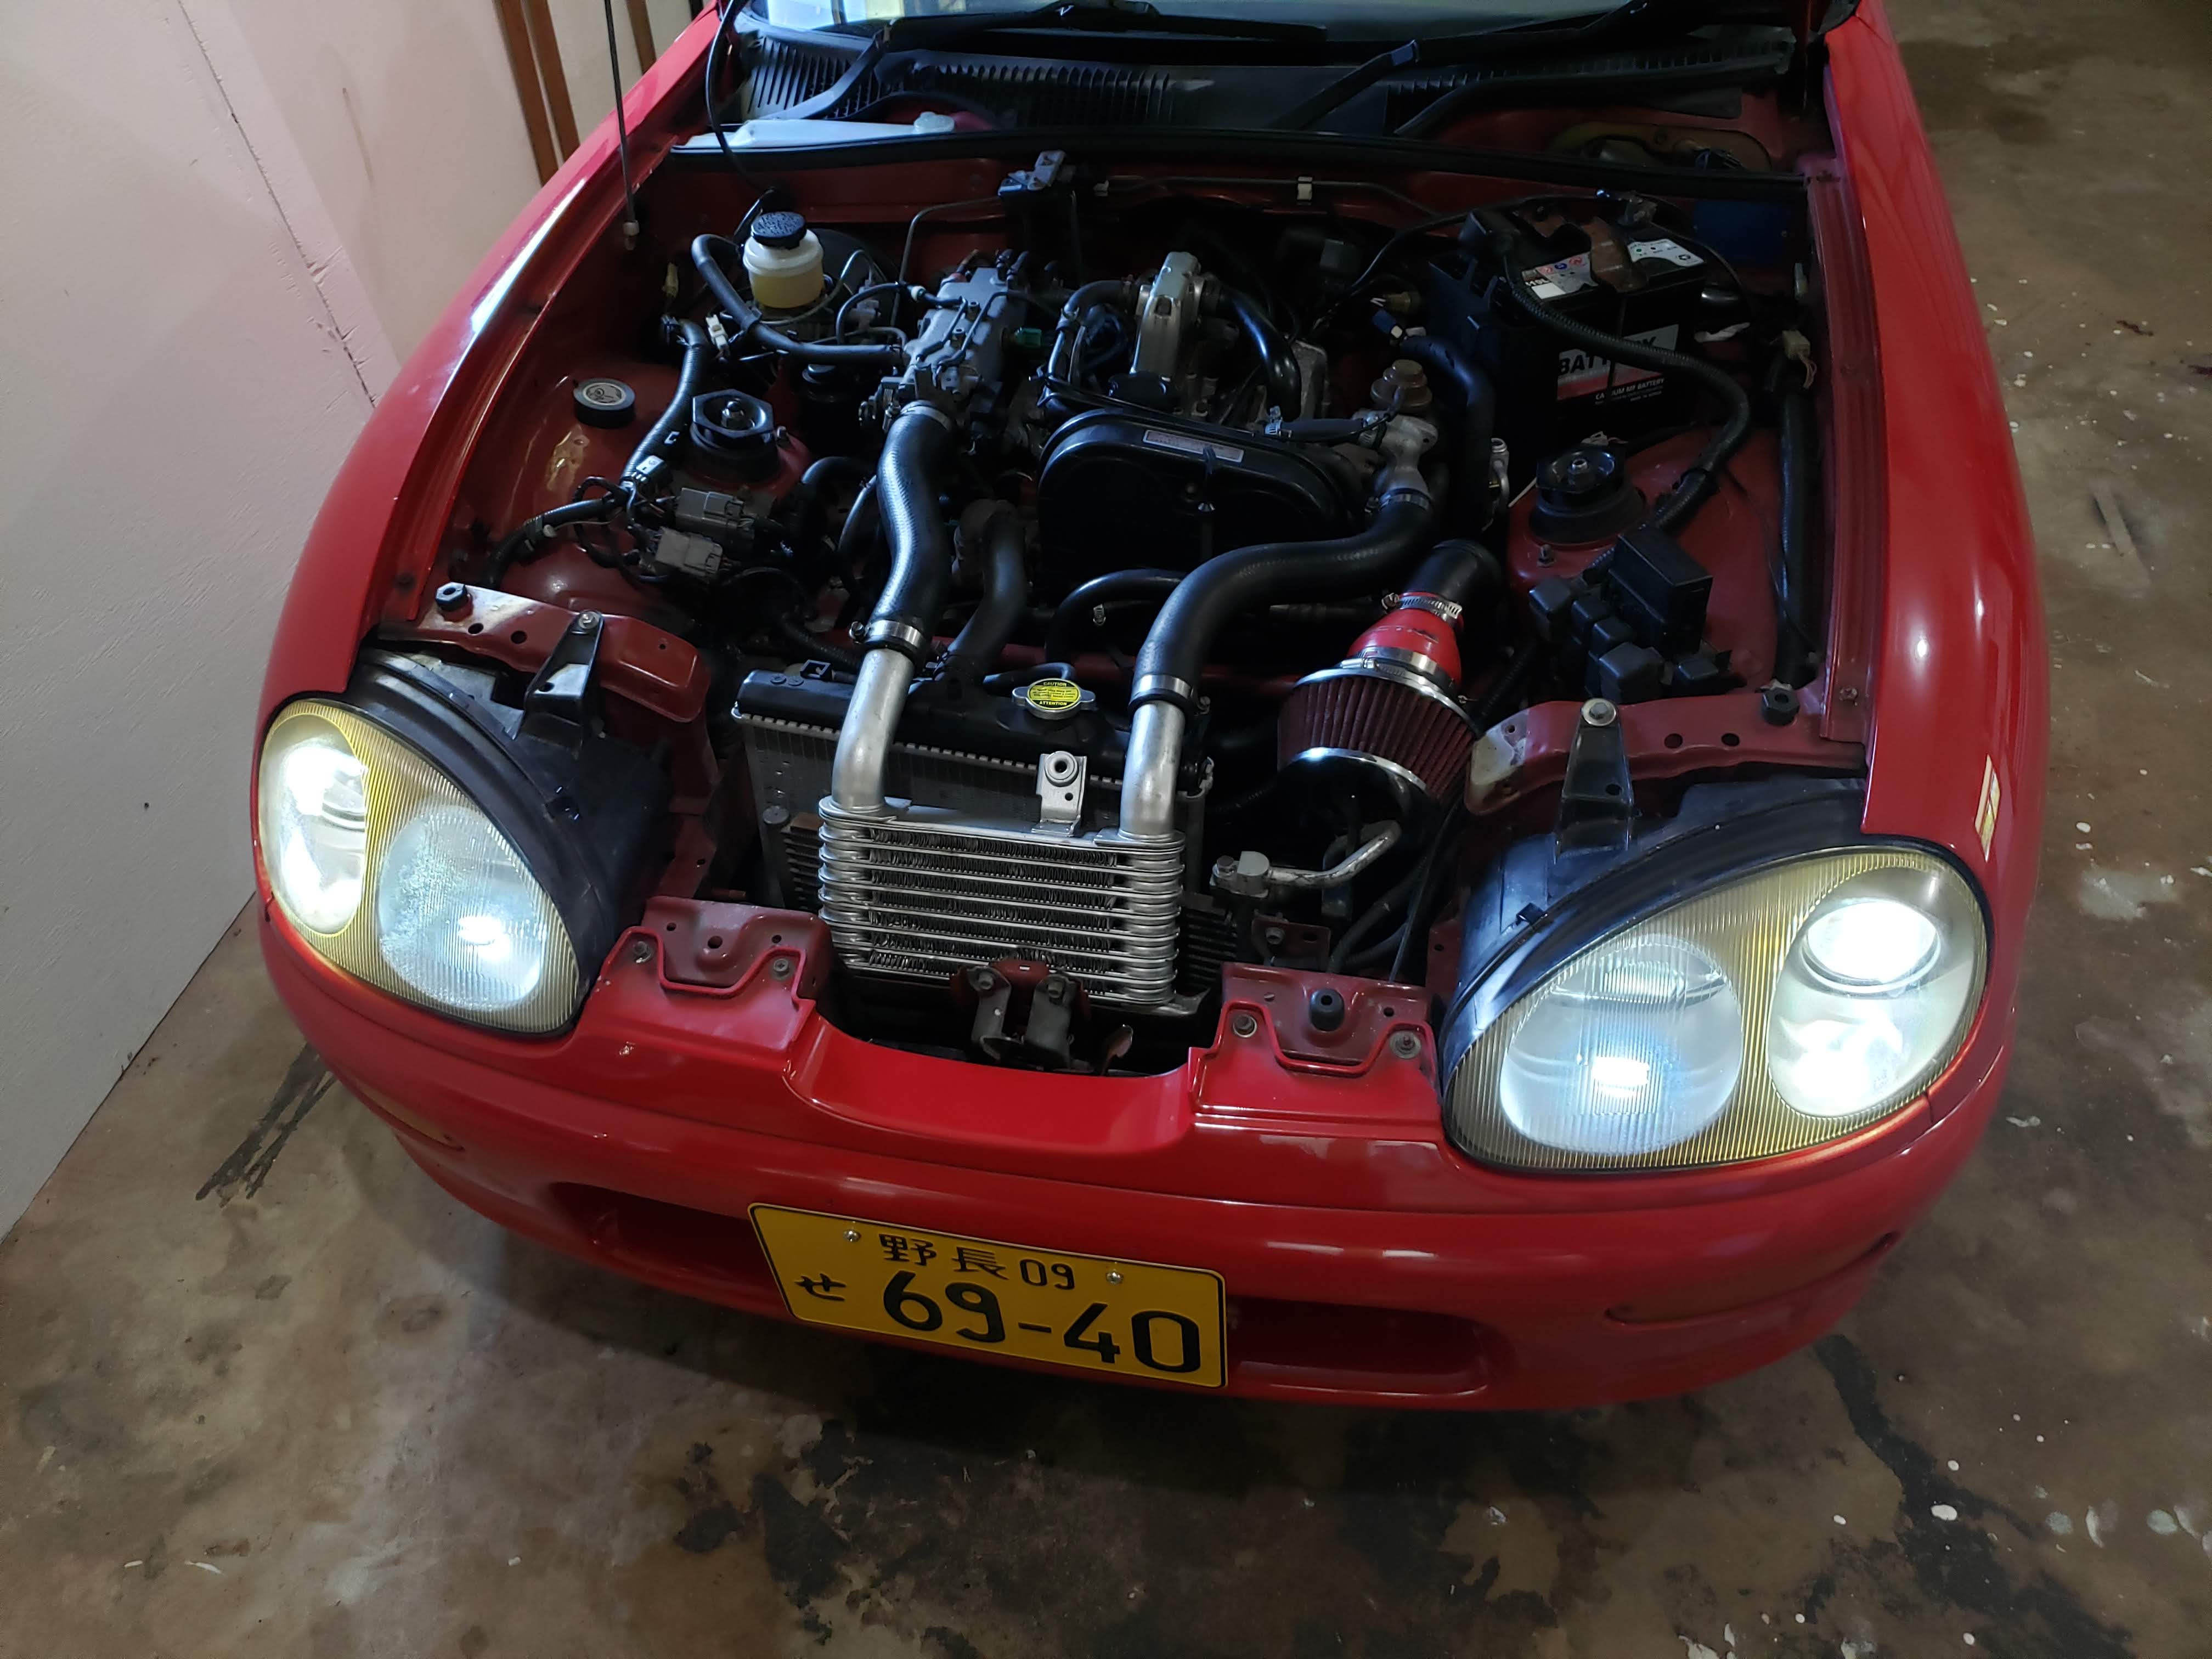 Marker lights, LED low beams, LED high beams
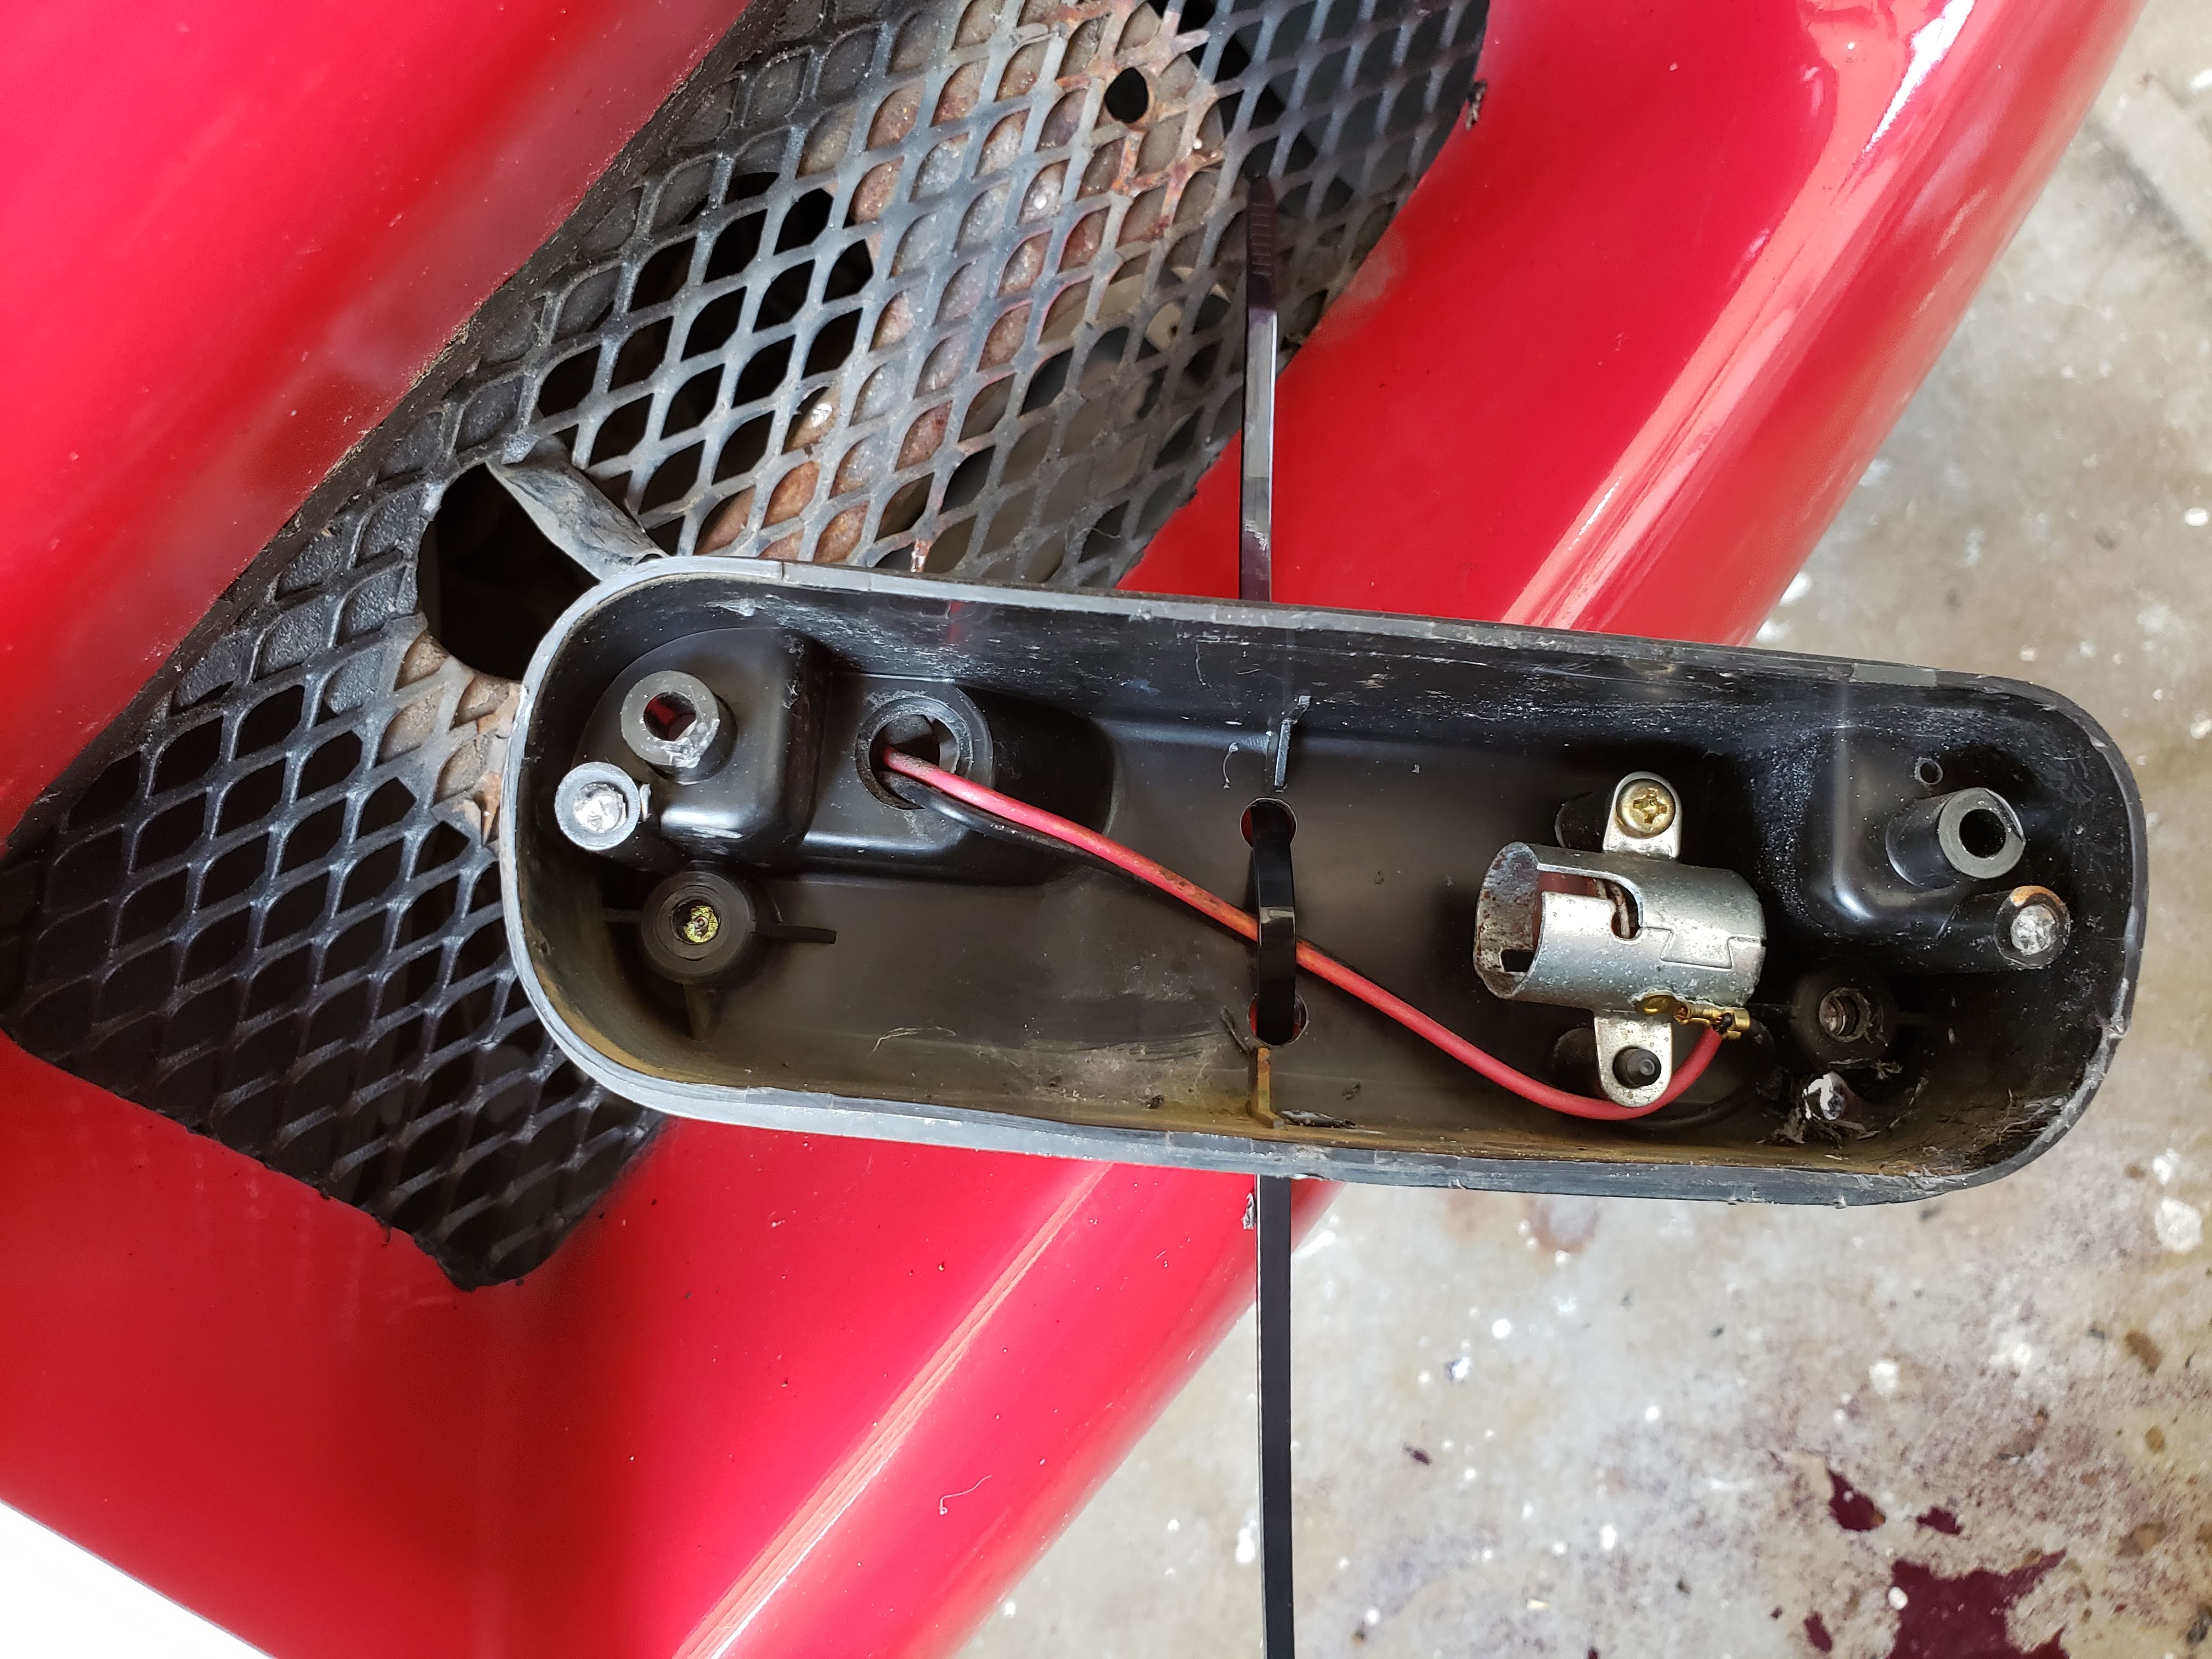
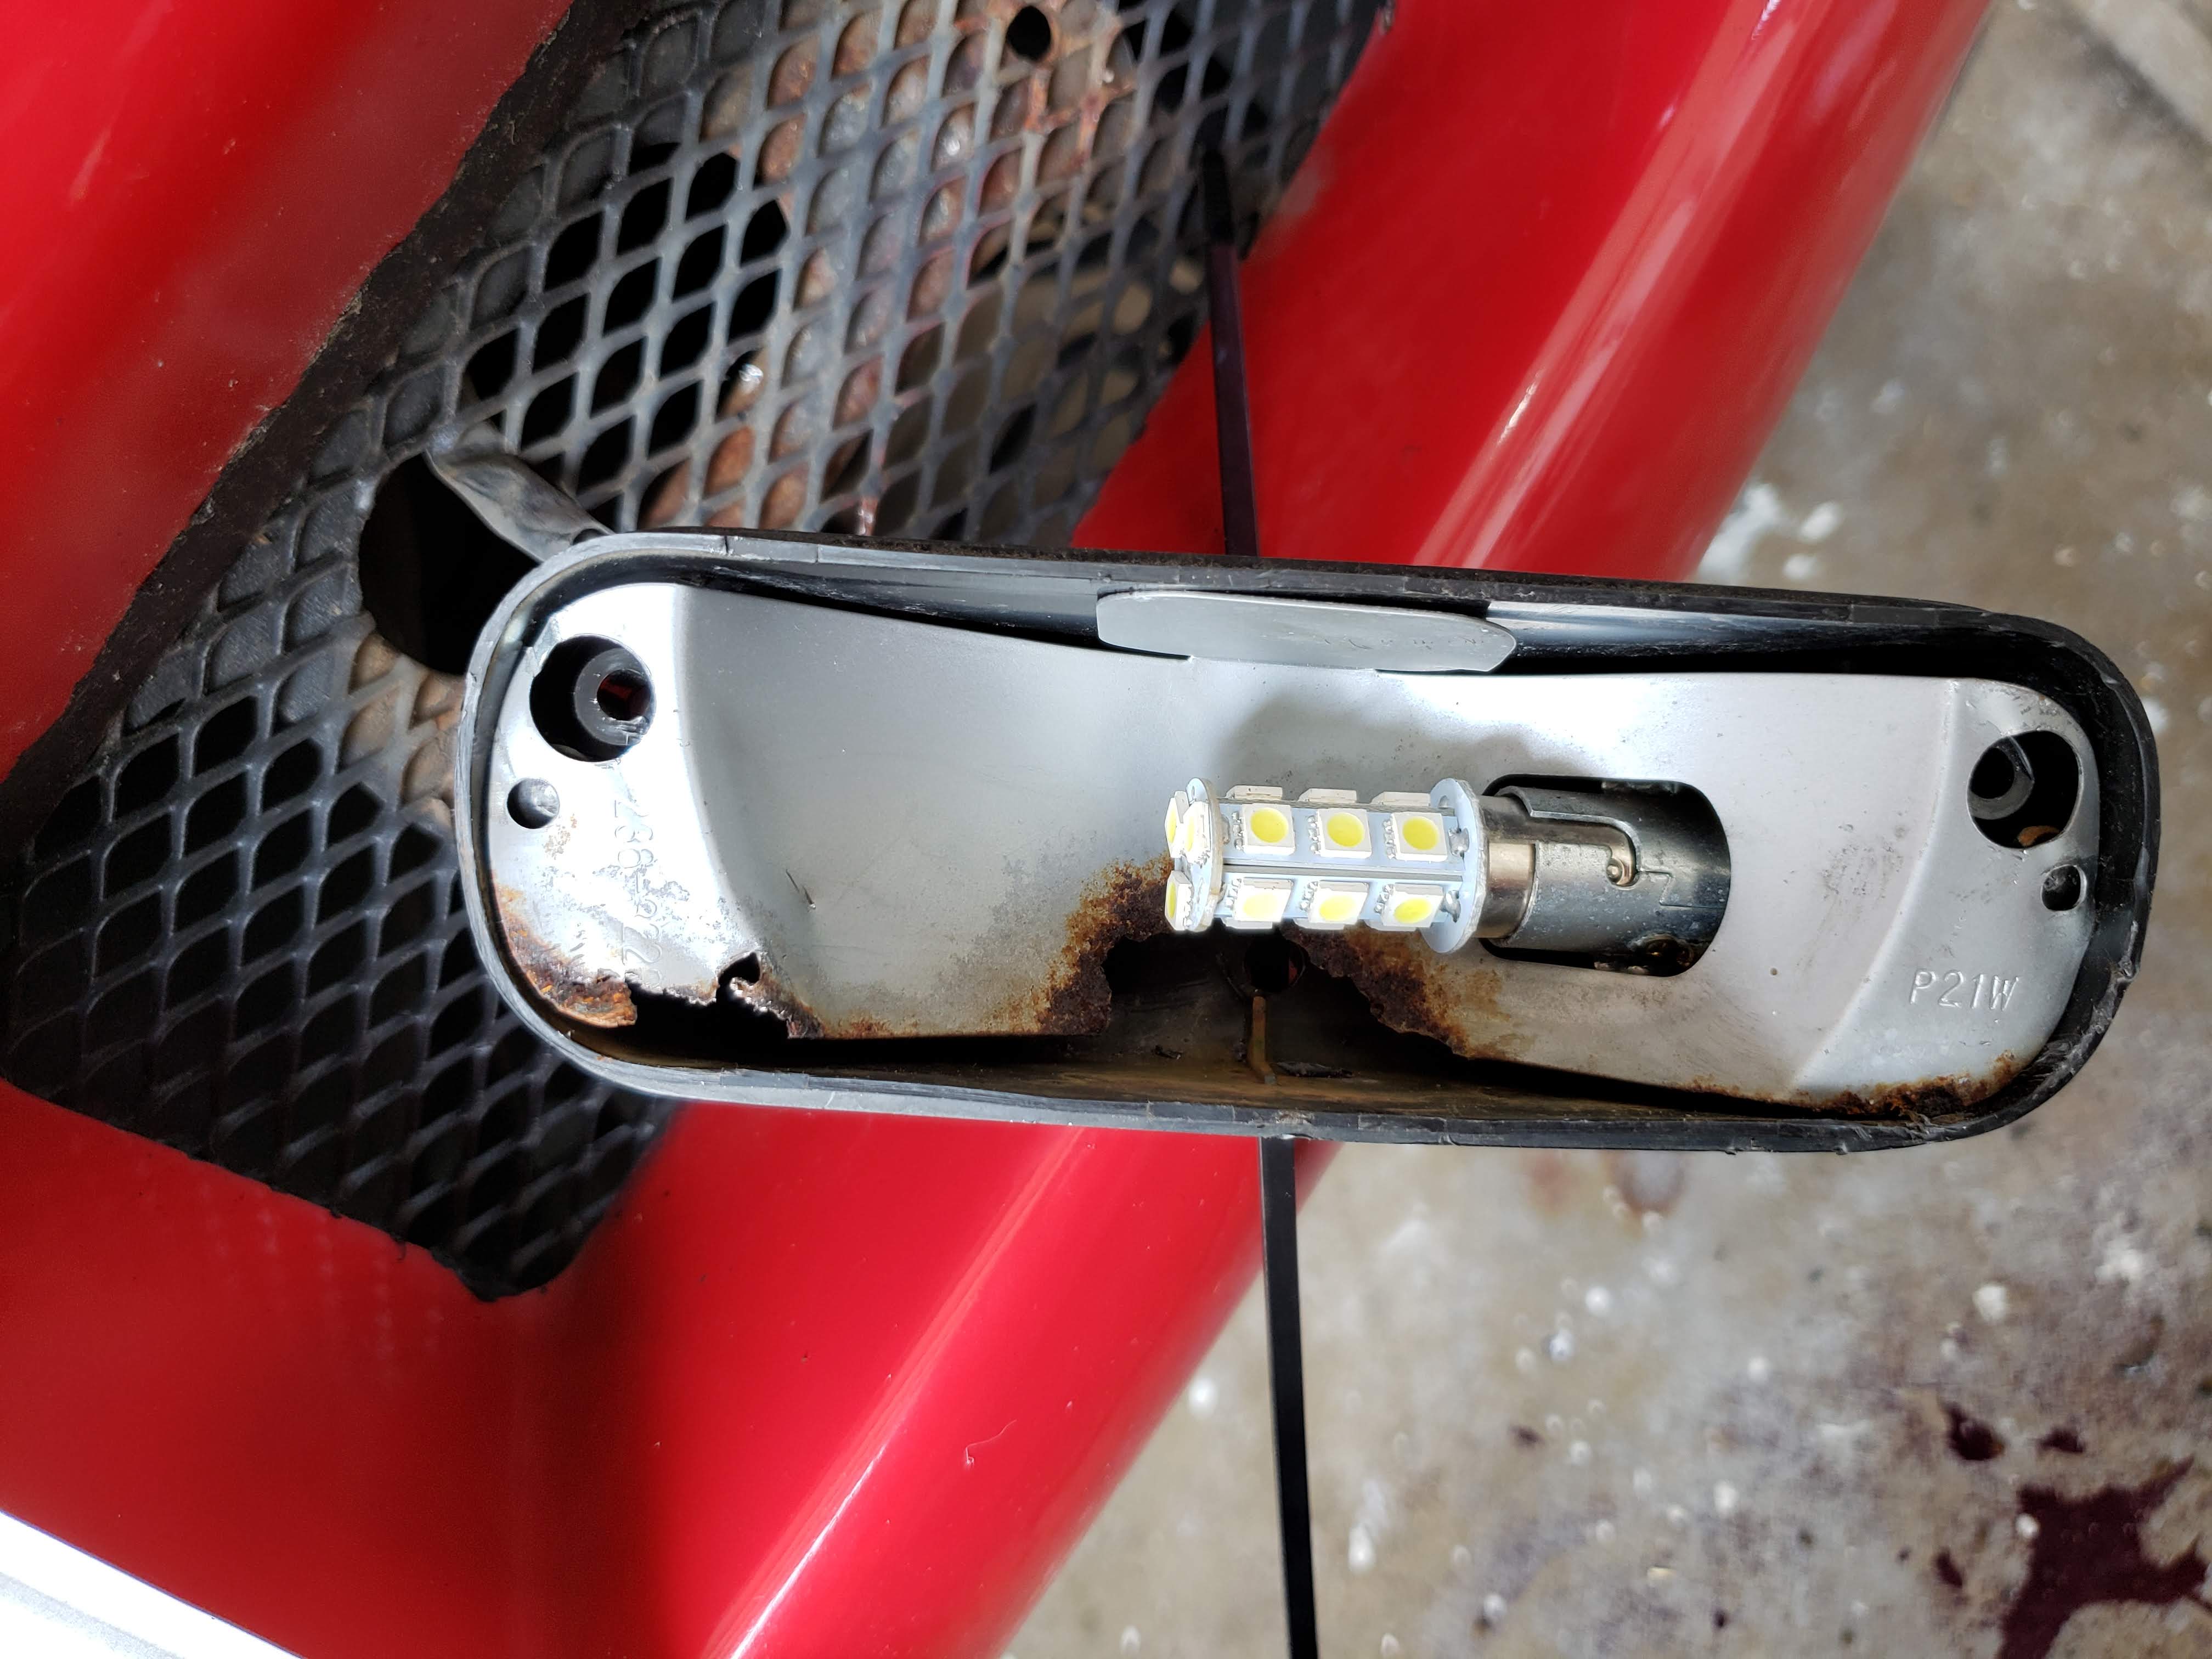
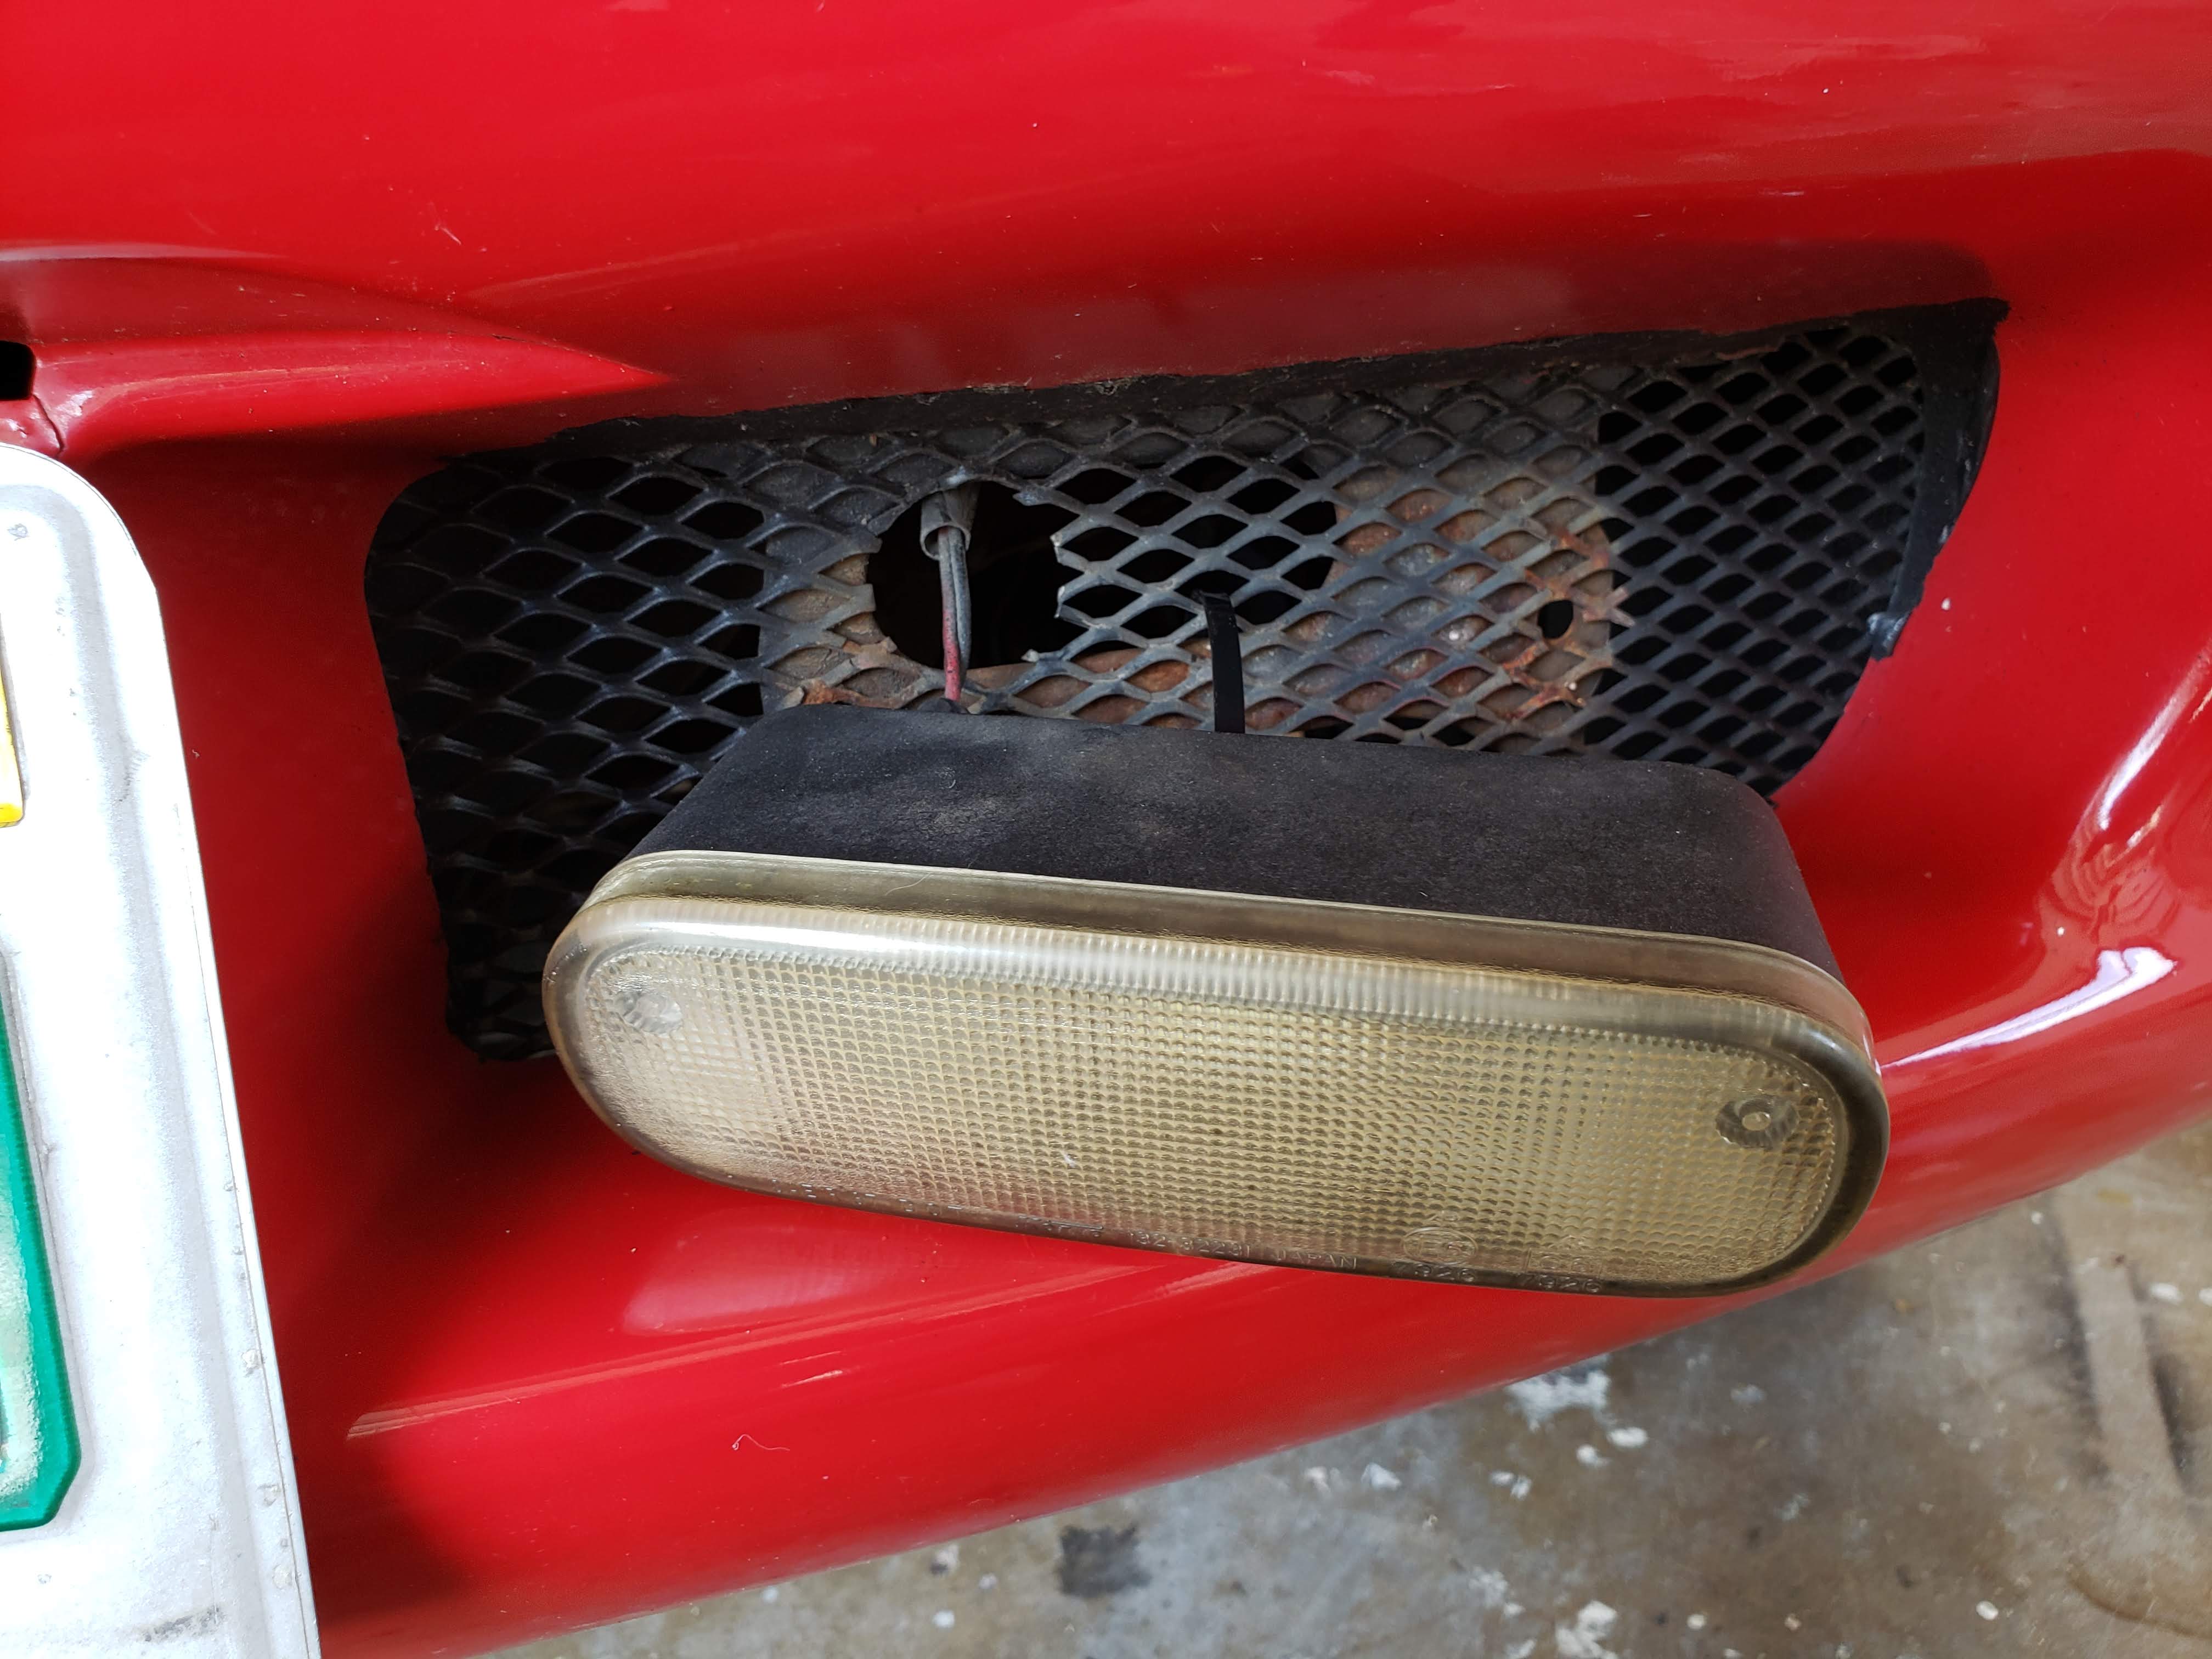
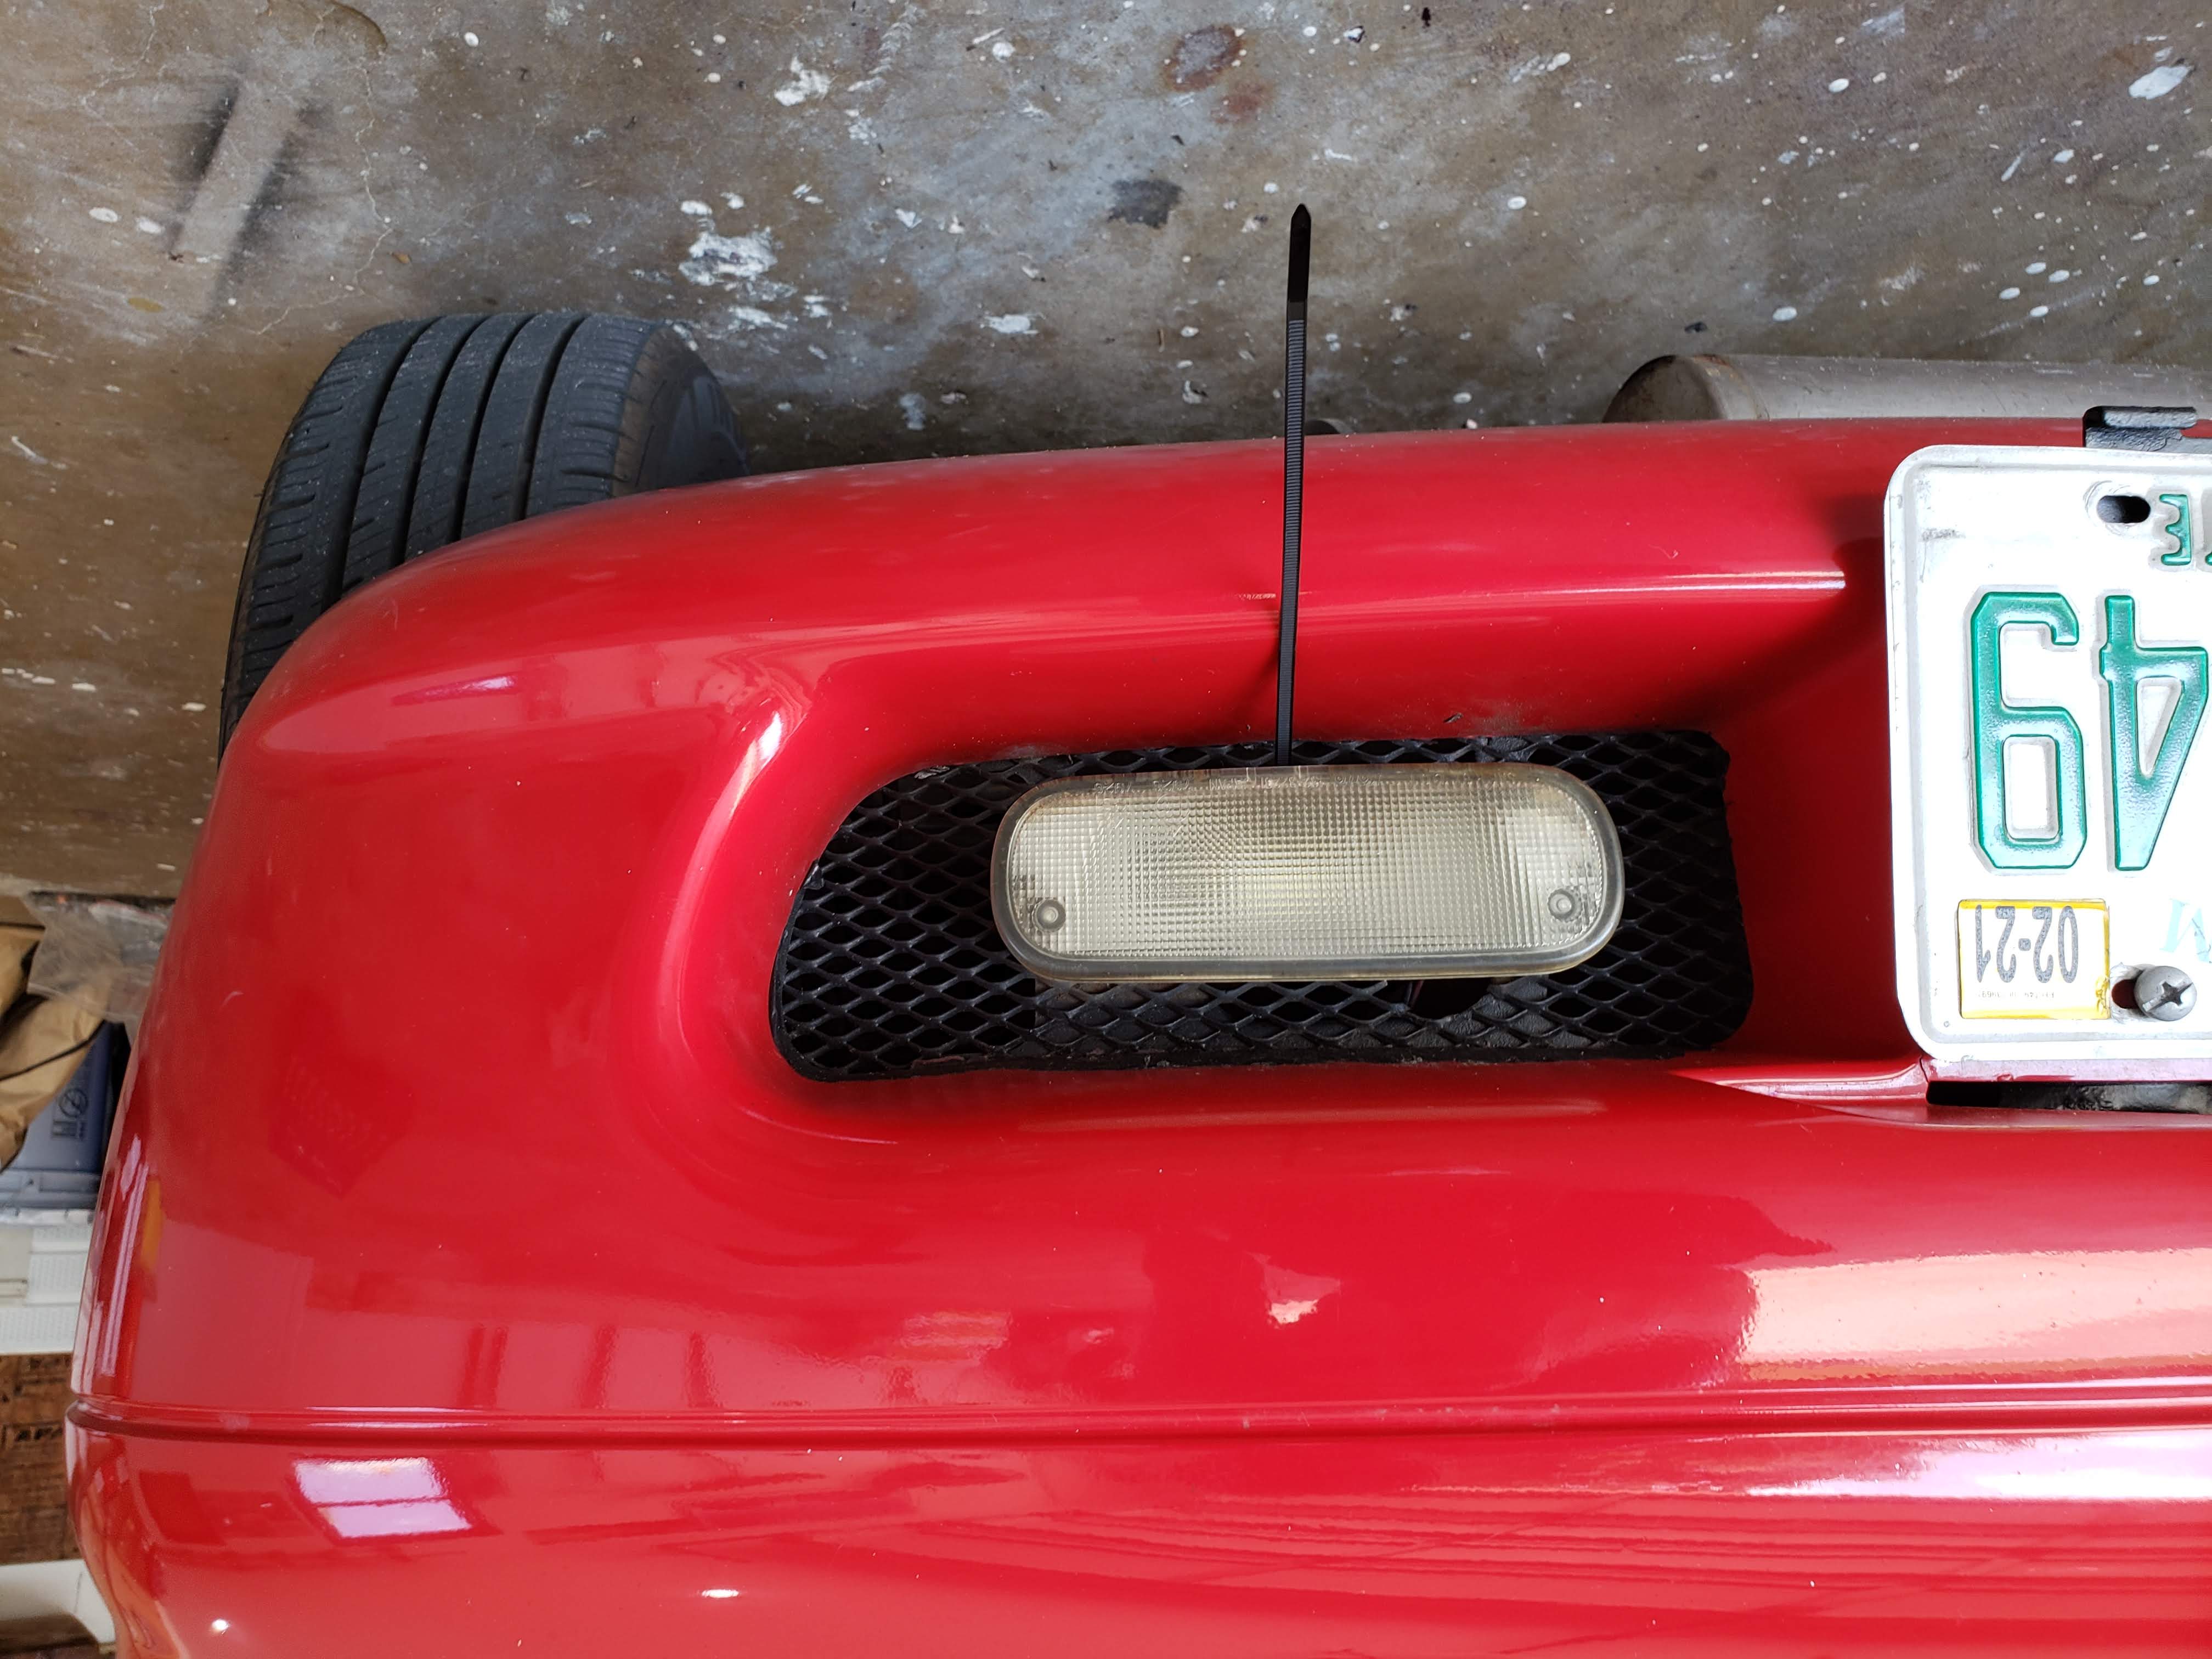
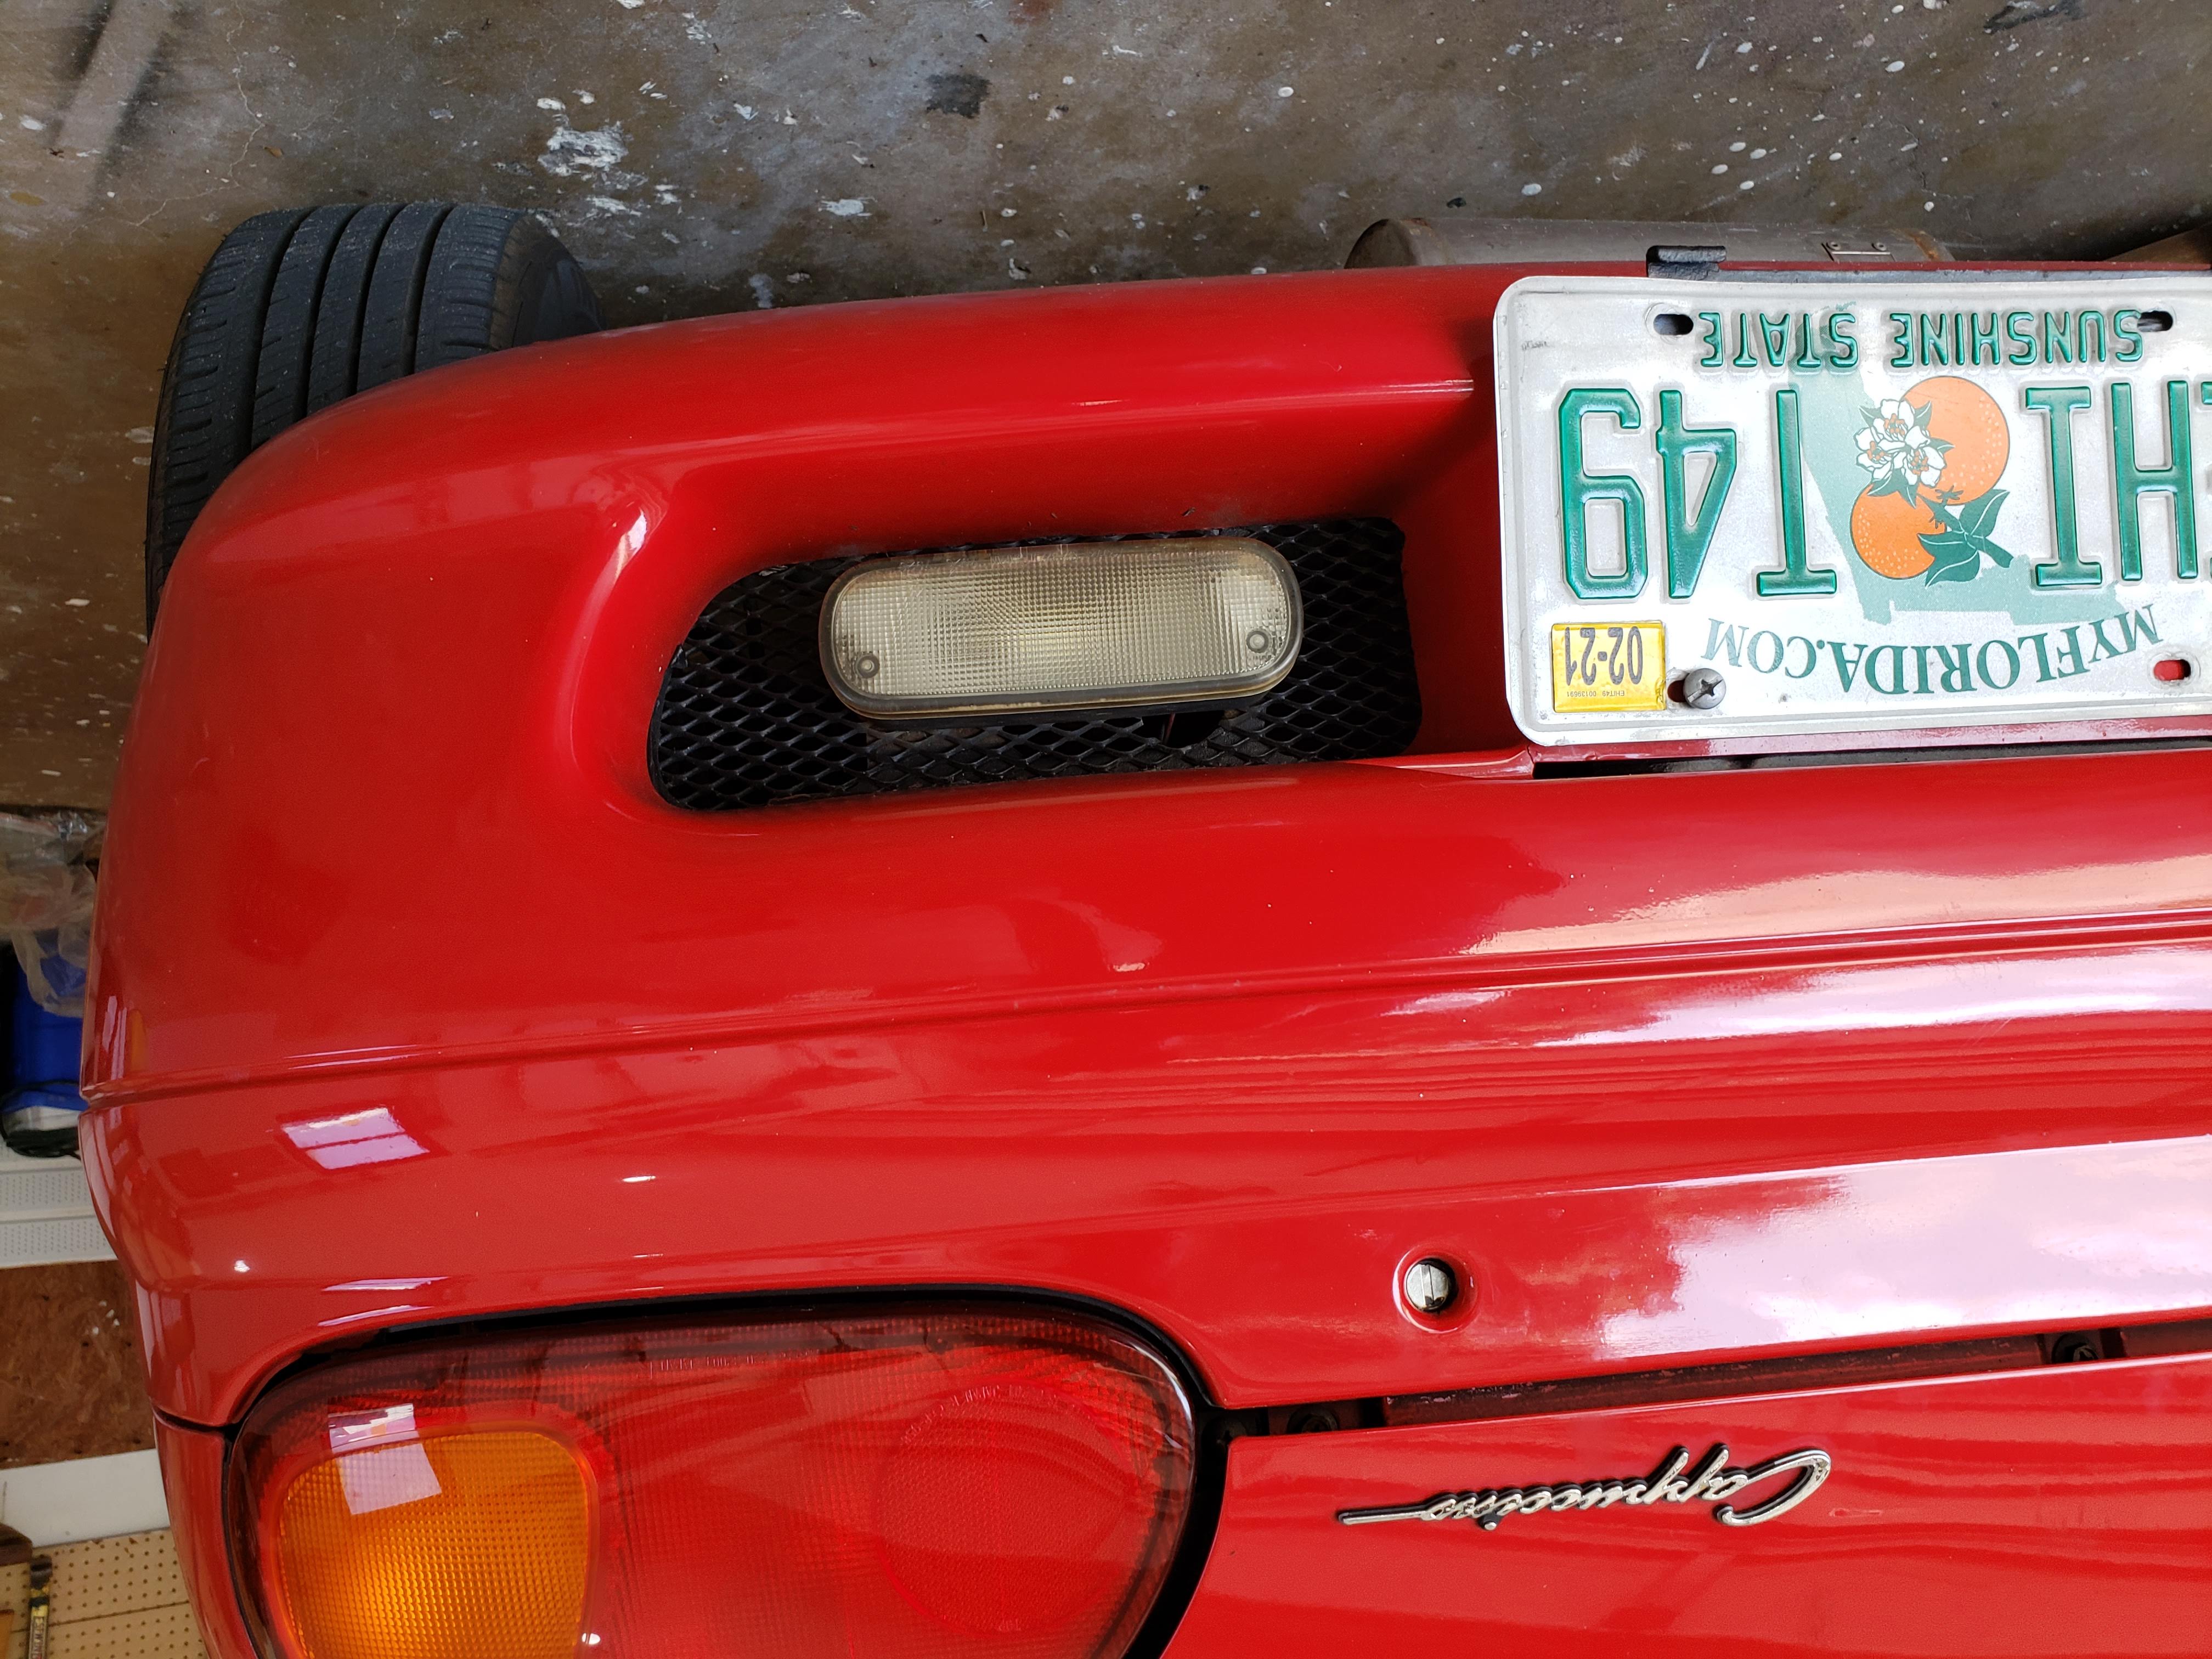
Reverse Lights
Reverse lights were a bit more tricky. There are 2 10mm nuts located behind the reverse lamp housing. Both of them broke off on me when removing it. I put in a new BA15S LED I just happened to have around. The reflector on the inside of the reverse housing was very rusted, so I cleaned it up before resealing. To attach back to the car, I drilled two holes in the back of the housing and zip tied it around the strong metal mesh. 50 miles and no movement, so it’ll do until I find a better reverse housing solution!