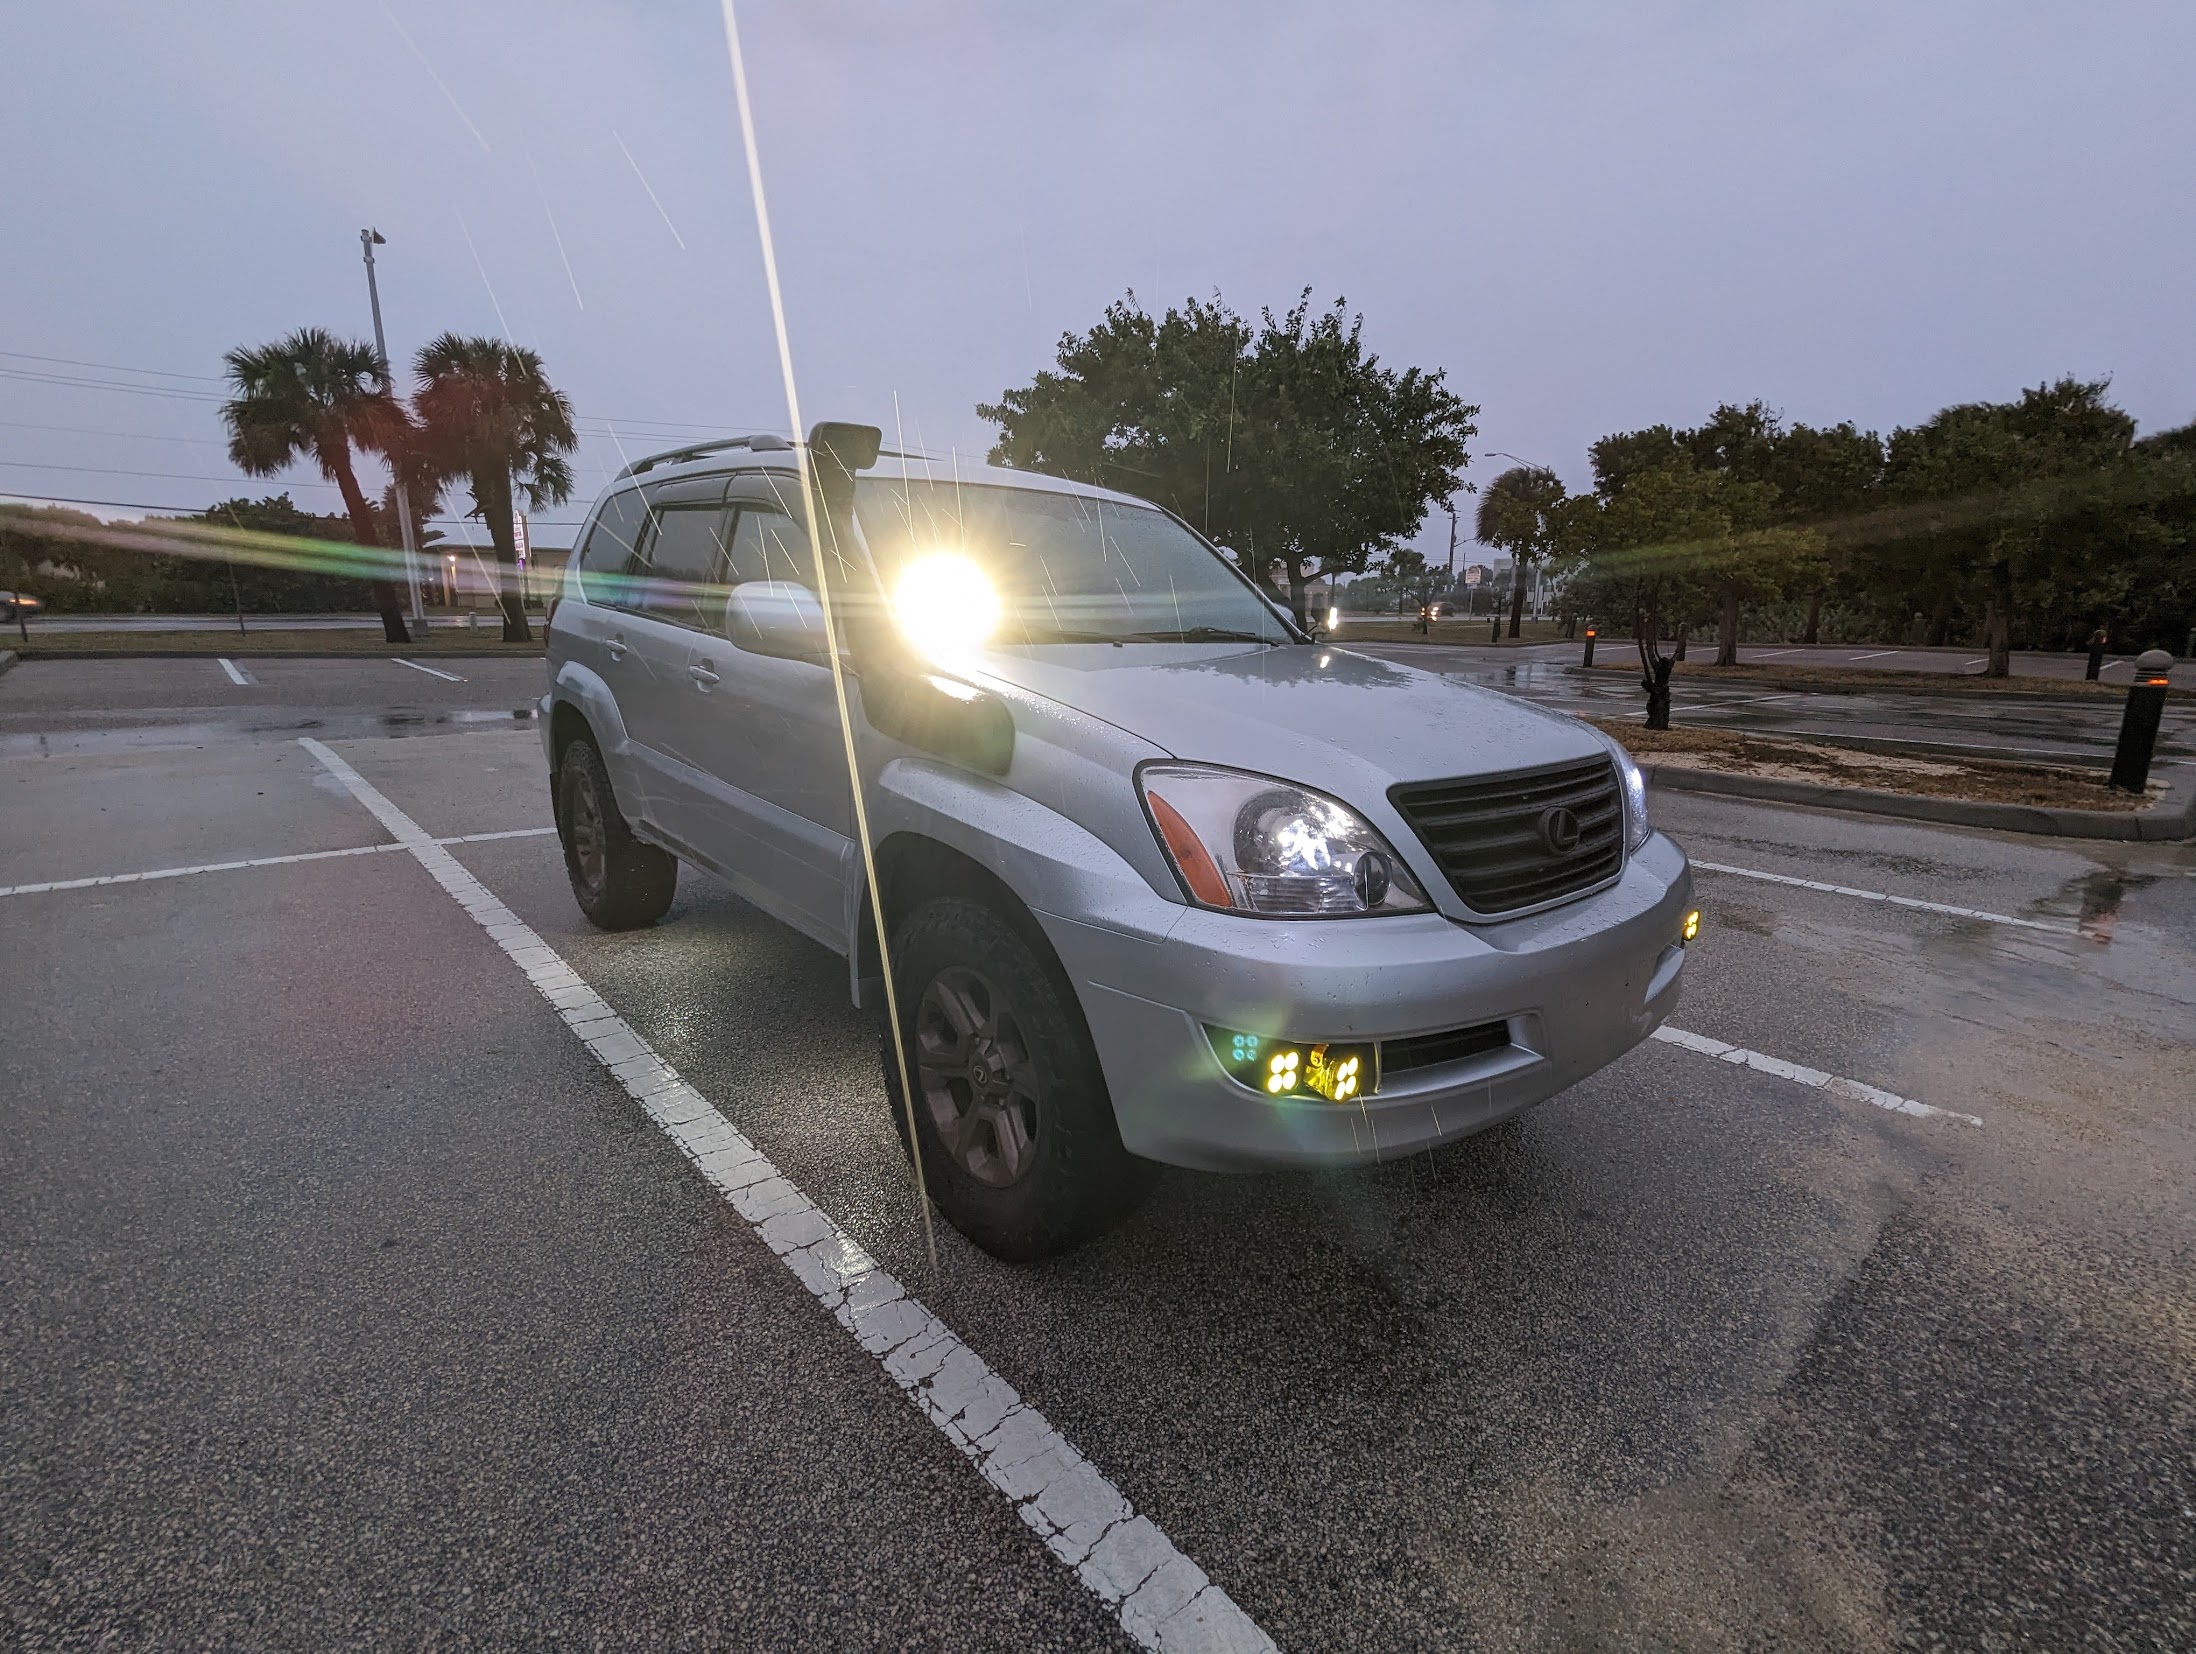
I’ve met some of the best people in my life from cars, but I’ve also met some of the worst. From the local lawyer who vandalized my Corvette, to the shady mechanic who ripped me off on my Ferrari, and I have another one to add. Unfortunately, the person who I sold one of my favorite cars ever, my 2007 Lexus GX470, also falls under this category. Here’s the story.
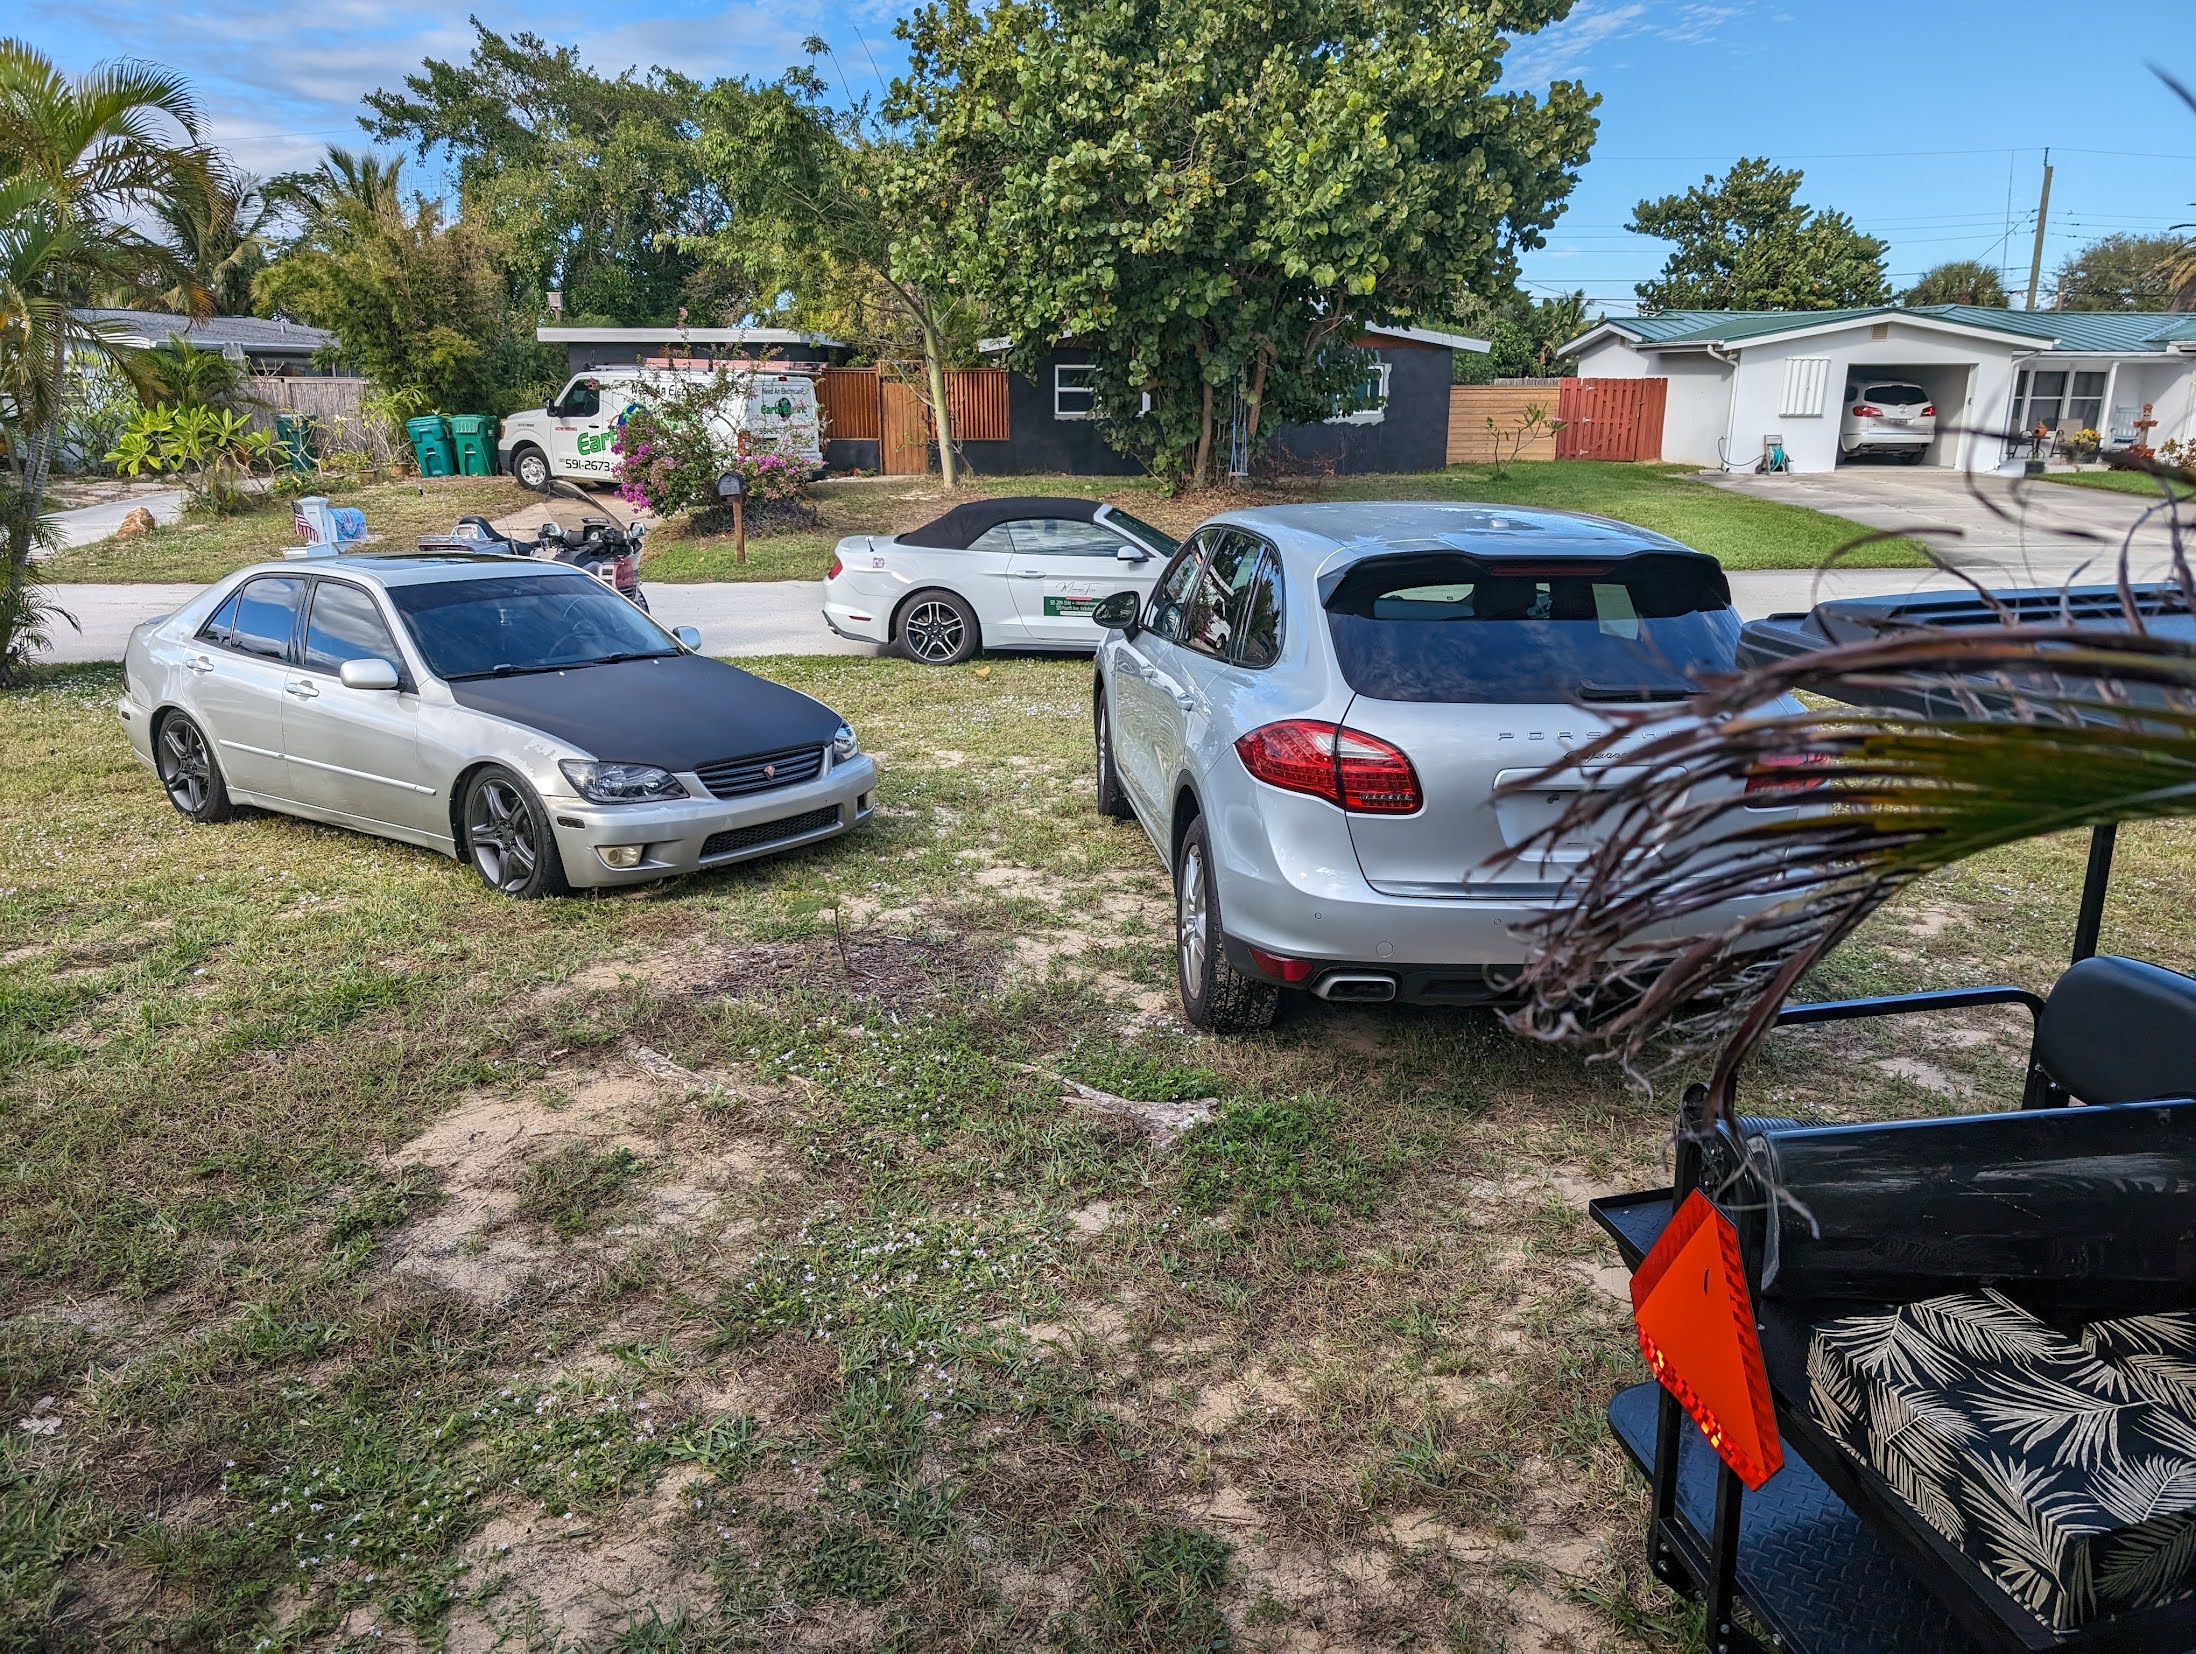
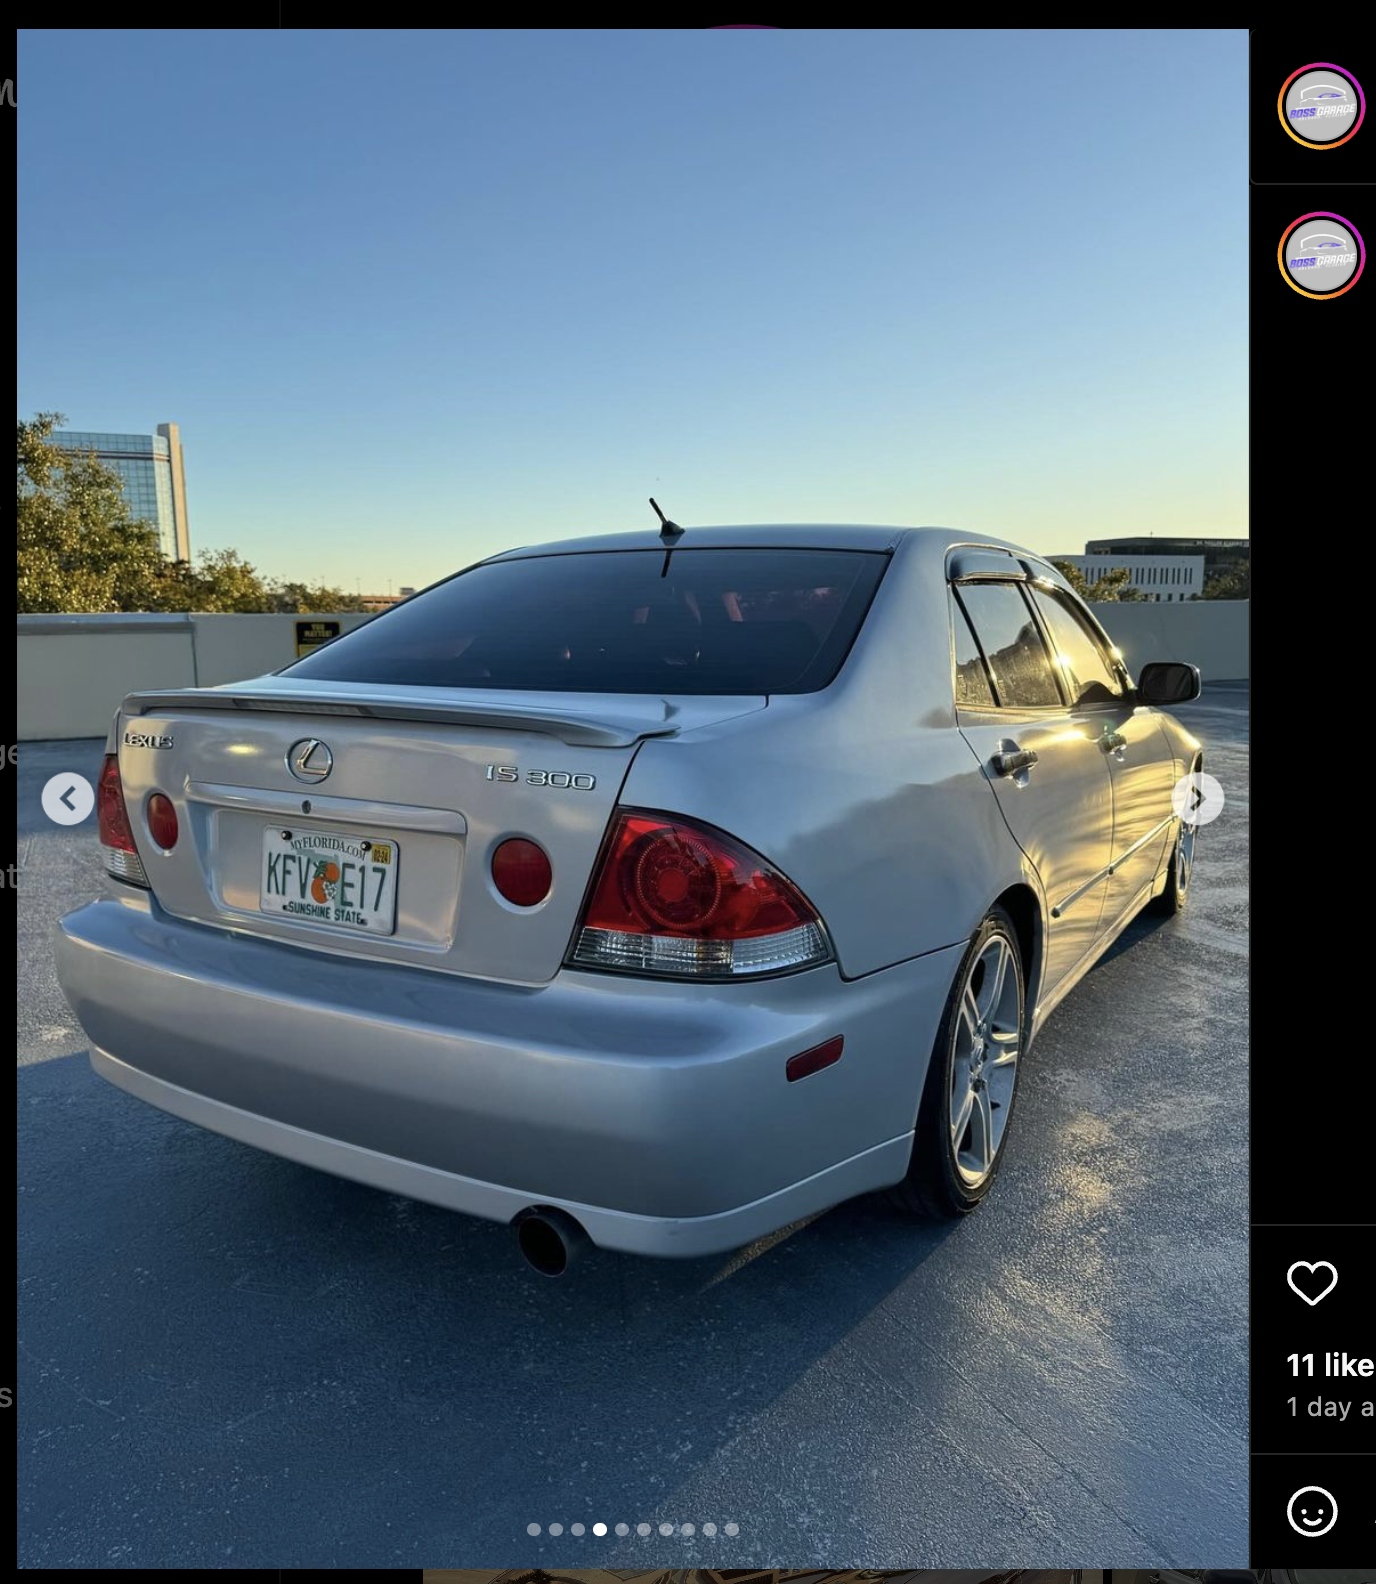
I sold my GX to Thomas Hunter Robson, a UCF student and recent Sacramento, California transplant to Orlando. He drove from Orlando to my house in Indian Harbour Beach, FL in his own Lexus IS300 by himself. He spent about an hour driving my car and looking it over. I showed him all the work I had done on it and modifications I had made. He pointed out everything wrong and pointed out how much it would take to return to stock. My GX was heavily modified for offroading, including a snorkel which is a mod you can’t really go back from. He wanted to replace just about everything. He said he was going to put on a stock fender because he didn’t need the snorkel and won’t offroad, replace a bunch of parts that were in good working order, and even replace the expensive seat covers I installed to go back to stock leather. He offered me an amount $250 lower than the lowest amount I would take, so I told him no.
He then parked in my driveway for another half an hour while he called and video chatted a dealer than also had a GX for sale, so he said. After a while he came back to me and said he decided to buy that one, and left. Then called me back 5 minutes later and asked if I would take his offer again. I said no, but countered with my lowest, which we agreed on. He then asked if the police scanning license plates, as the plate on his IS300 did not match the registration.
He drove back to my house and we started to continue the transaction. He pulled out a stack of cash after we agreed on $10,500. He said he had enough cash. He counted it out and he was $1,400 short, and he then claims he brought the wrong stack of cash. I said he could do an electronic transfer for the rest owed. He then showed me his bank account with $400 in it. I told him I’d need the full amount before selling. He then called his girlfriend and got her to transfer $1,400 to me, however I noticed the transaction was actually from Thomas Robson, not from a female named Mai.
Thomas, who runs @imatrytoboss claimed to have bought over 150 vehicles, and he is only 23. He also runs an unlicensed car dealer called @bossgarage407. I knew I was letting him have a good deal on this GX, probably too good of a deal, but I didn’t expect what happened next.
I let him take my license plate home when he took the GX home by himself, and he claimed he would bring my plate back when he came to pick up his other car tonight. I trusted him, he even left his car as collateral. As has been my issue with Vlad’s Autobahn, Daniel Martinez, and now Thomas Robson - I am too trusting of people, and people I seem to deal with my cars end up being the worst. He left his car at my house, which (I assumed) meant he would come back and leave my plate. I was out of the house when he came by, and he took his car and did NOT leave my plate. I messaged and called him multiple times asking where he had put my license plate when he came by my house. This is when it gets even worse.
Thomas Robson goes radio silent for a long time, eventually comes back pointing out more stuff wrong with my car. Keep in mind this is a used 16 year old car with 193k miles, and he has also owned the car for 24 hours, and given how he test drove my car (taking turns like a race car, weaving, no seat belt, speeding 20MPH over the speed limit beachside), any damage that has occured is likely his fault. He claims he is keeping my plate until I pay him to diagnose and fix these issues. I called him multiple times asking him to bring my license plate back, since I needed it to go on my next car. He declined all of my calls, and replies that he will need to text only from now on for legal means.
I believe this is part of Thomas Robson’s con - extorting private car sales by keeping license plates. He has a stack of stolen plates at his apartment in Orlando. Since my plate had been stolen, I filed a police report with Indian Harbour Beach (CR 2023-00014273), and the plate was noted by the state of Florida as being stolen. I do have Thomas Robson’s address (email me if you need it), and I even considered driving up to his apartment in Orlando to take my plate back. I talked to the Orange County Sheriffs Office, and they indicated they would meet me at Thomas Robson’s apartment in order to faciliate getting my plate back, but I didn’t think it was worth the gas money.
In short - be careful of who you deal with, and don’t let car buyers keep your license plate in Florida. This guy had enough red flags to sail a cruise ship, and in hindsight I should have not sold my GX to him. He is not deserving of a car that nice. And the saddest part is not that I had to get police involved, or that he ruined half of my Saturday. The worst part for me is that the GX470 that I spent 5 years building, driving, and creating memories with my family is now with a terrible person as an owner. I can only help he will re-sell to someone who will treat it right.
Update - 3/5/2024 (4 months later)
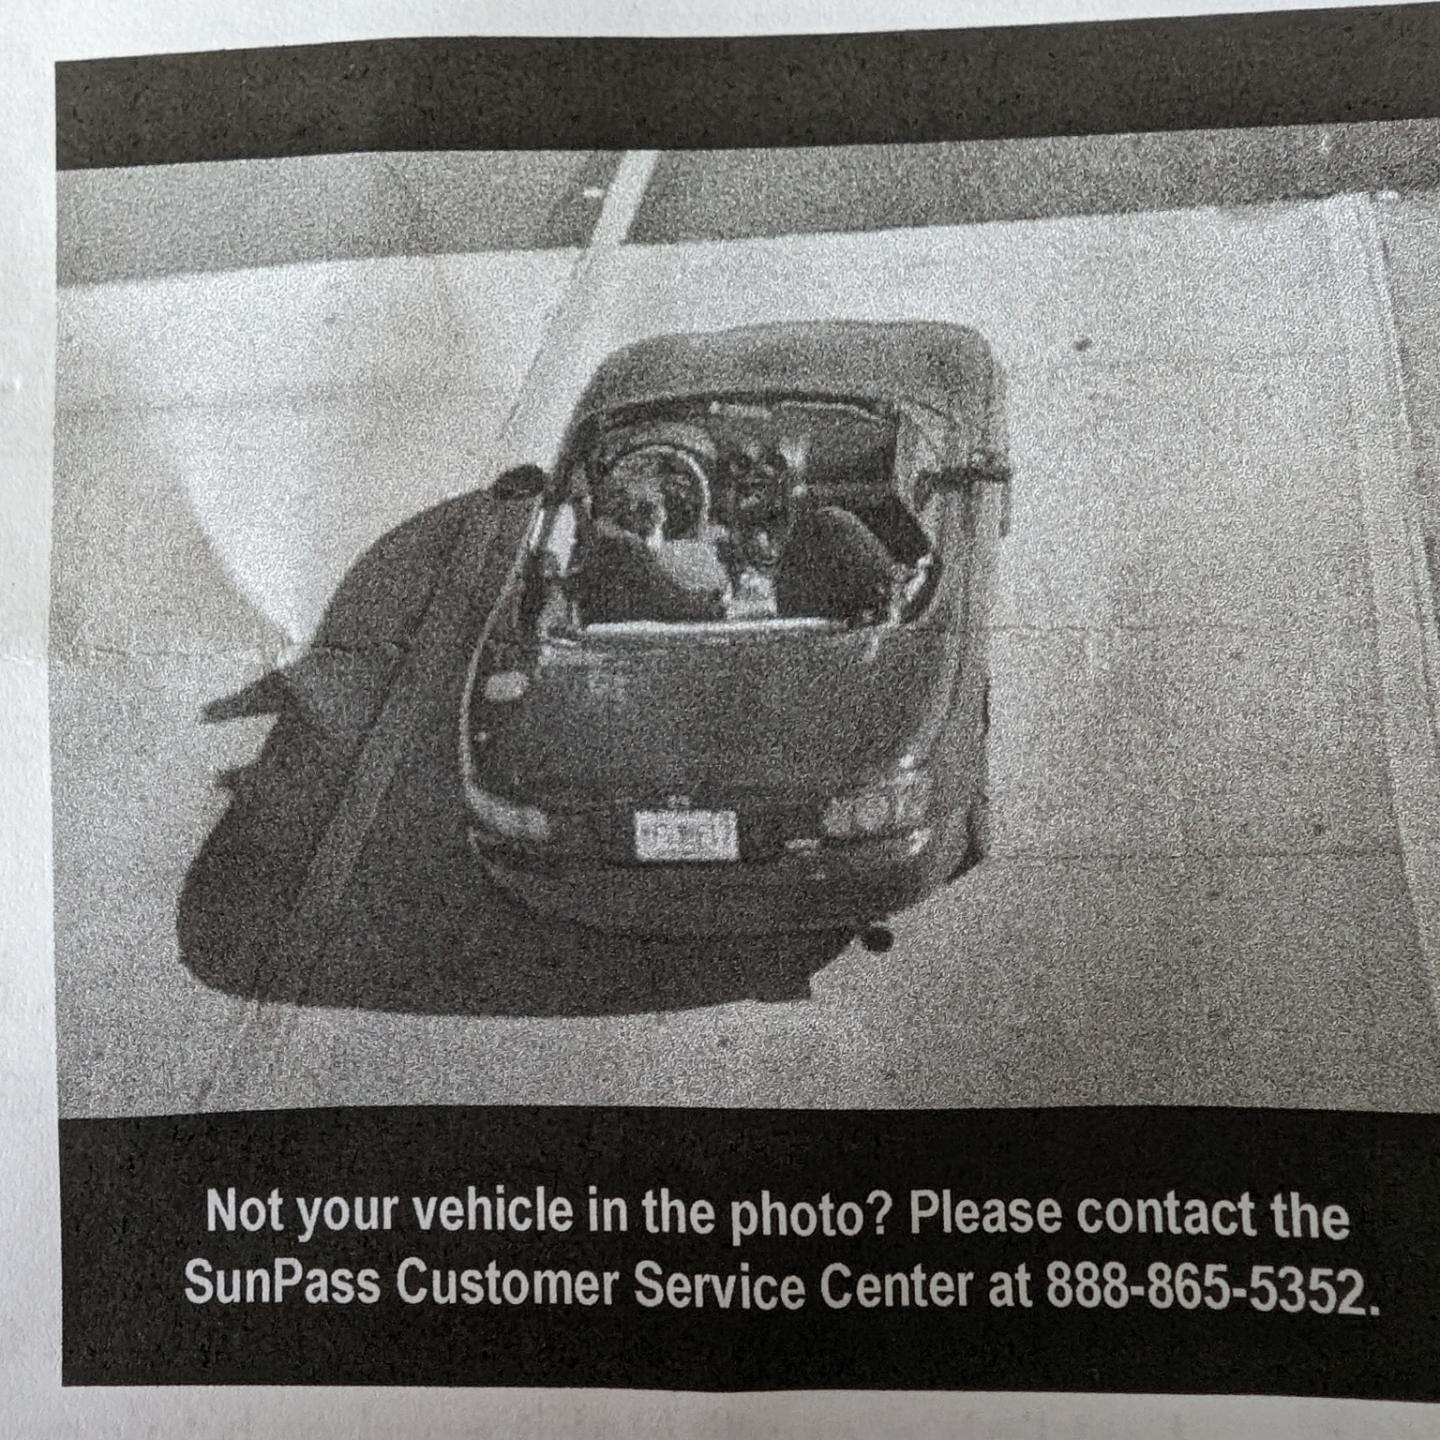
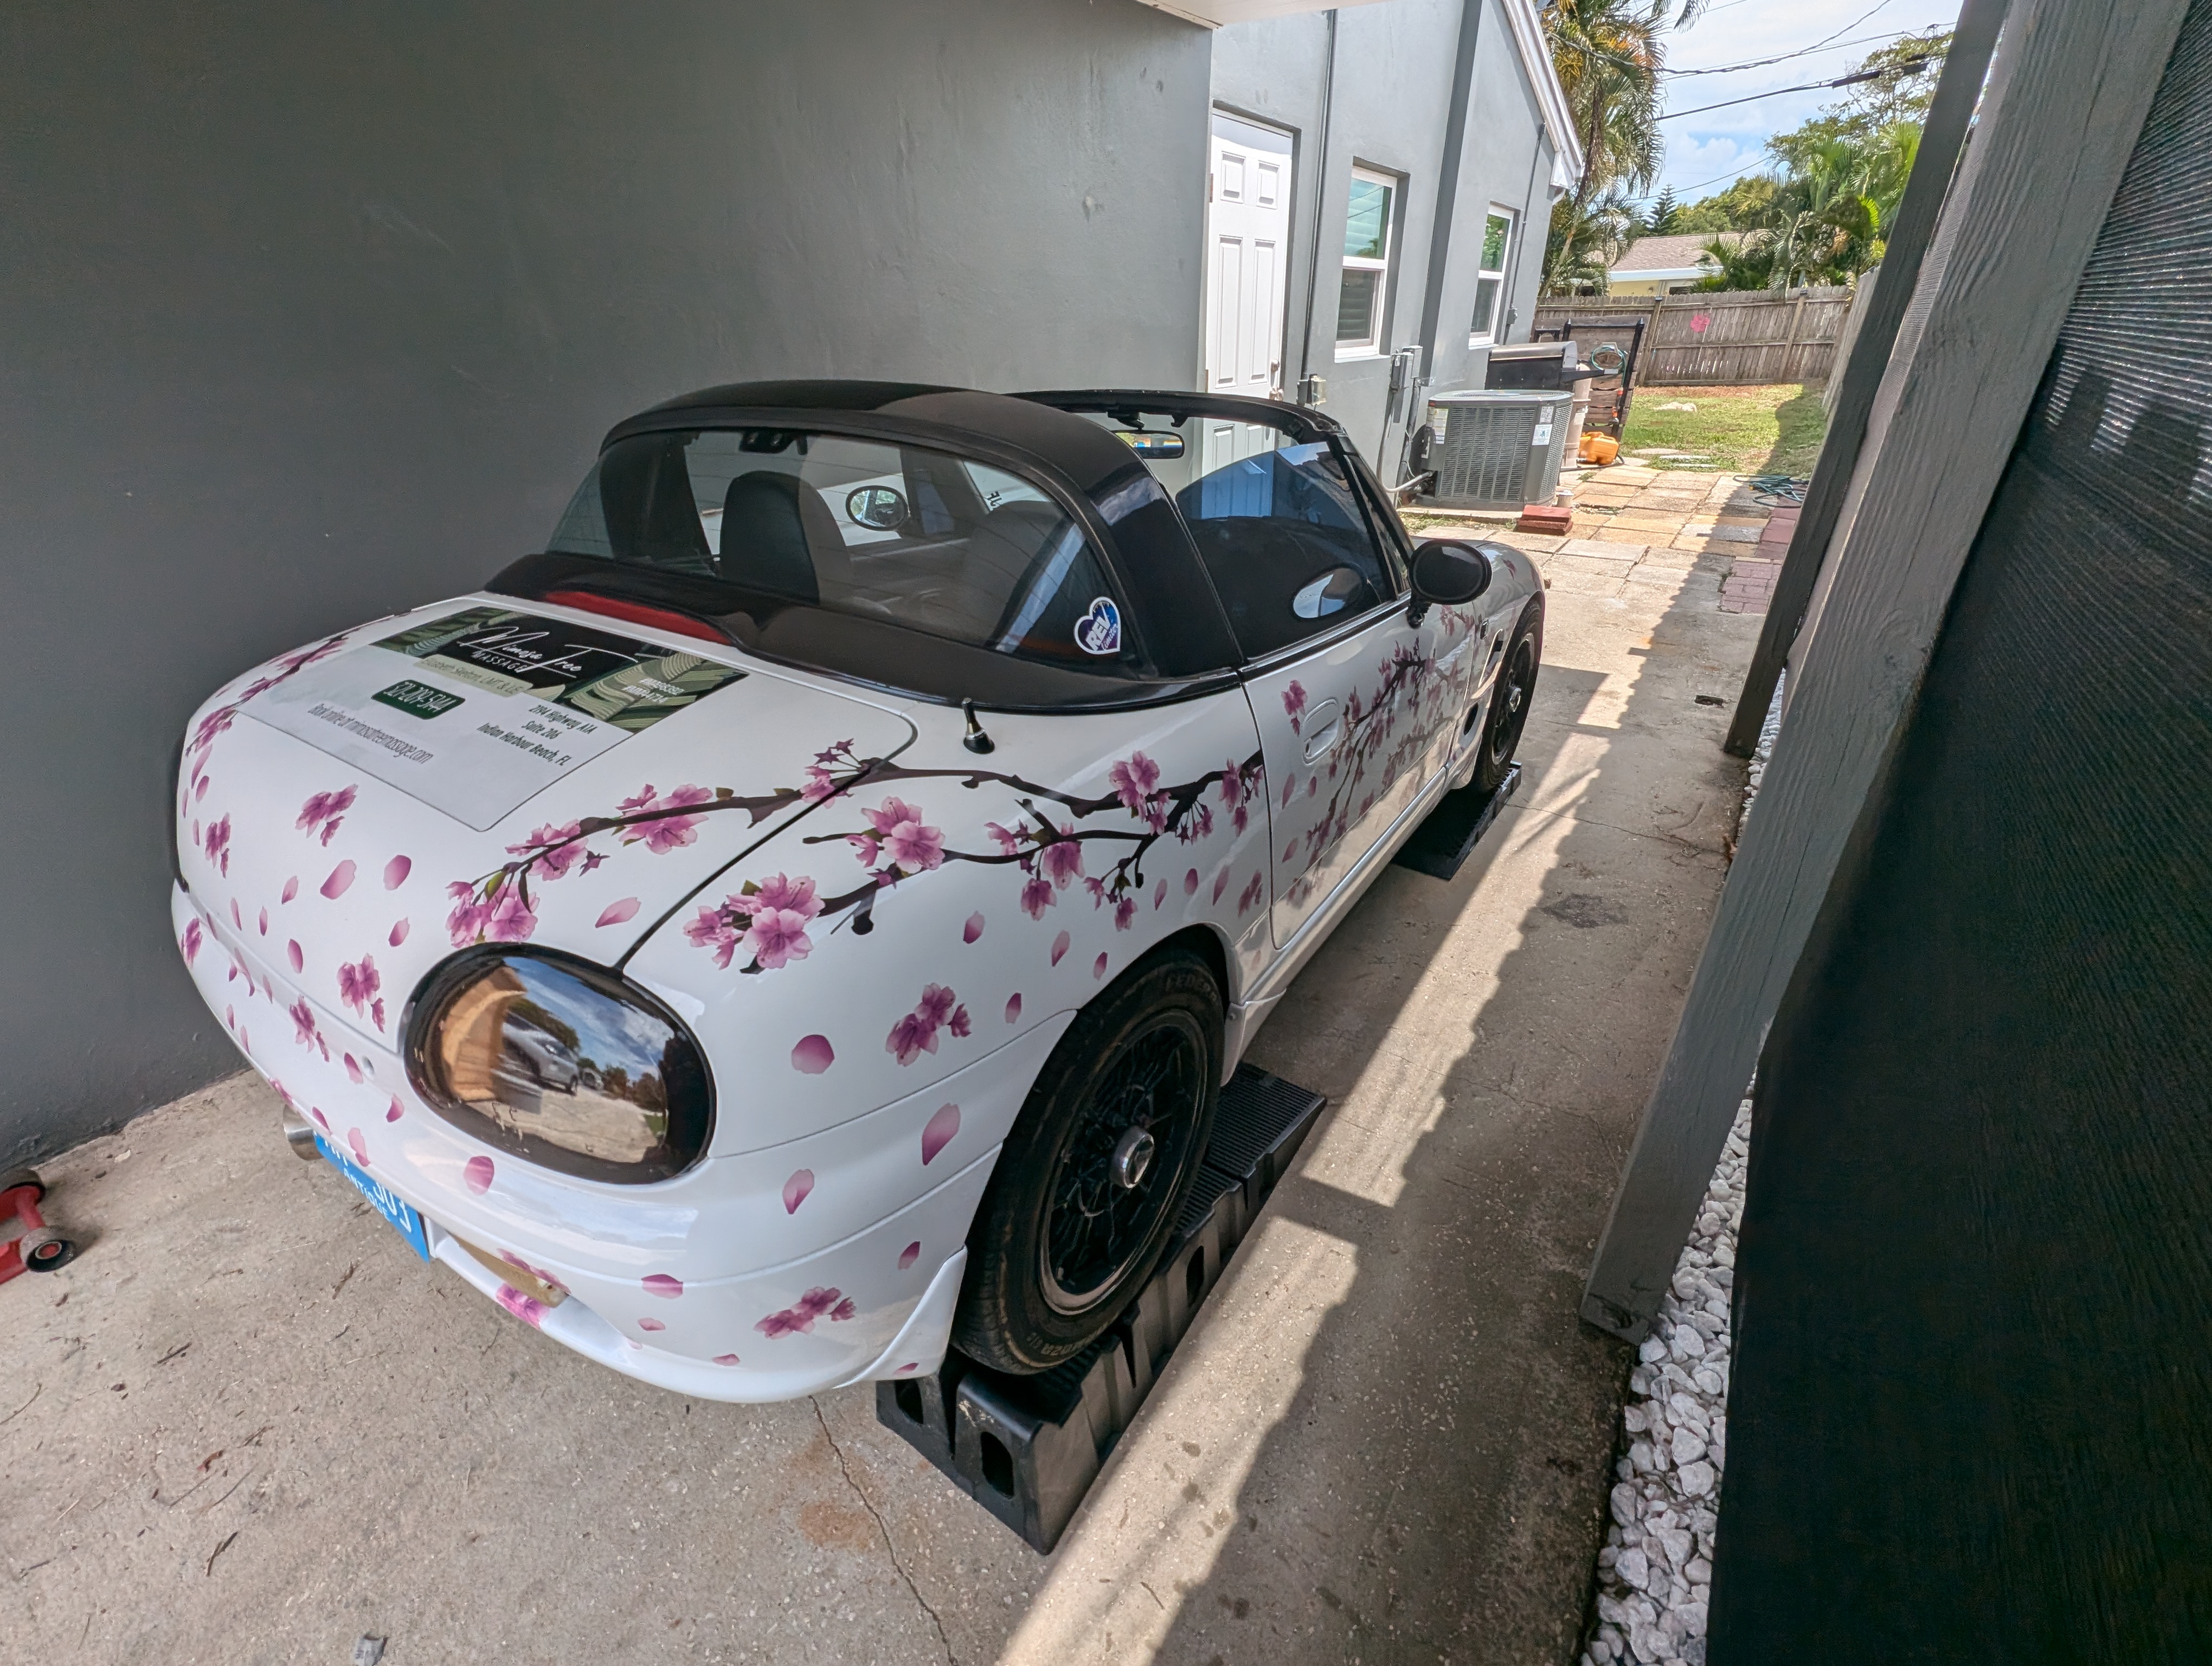
Thomas Robson has been using my stolen license plate to sell cars and drive cars around Orlando. He has put this plate on some other silver Lexus (sedans) and I even got a Sunpass toll violation for him using my plate on a Miata, even though the DMV has de-activated my plate, there was a police report, and the plate is disconnected from my Sunpass account.
Update - 4/1/2024
He’s still using my plate and I’m still getting Sunpass invoices about him. Spent an hour on the phone about it. I really regret selling my vehicle to this sad excuse for a human being.
]]>

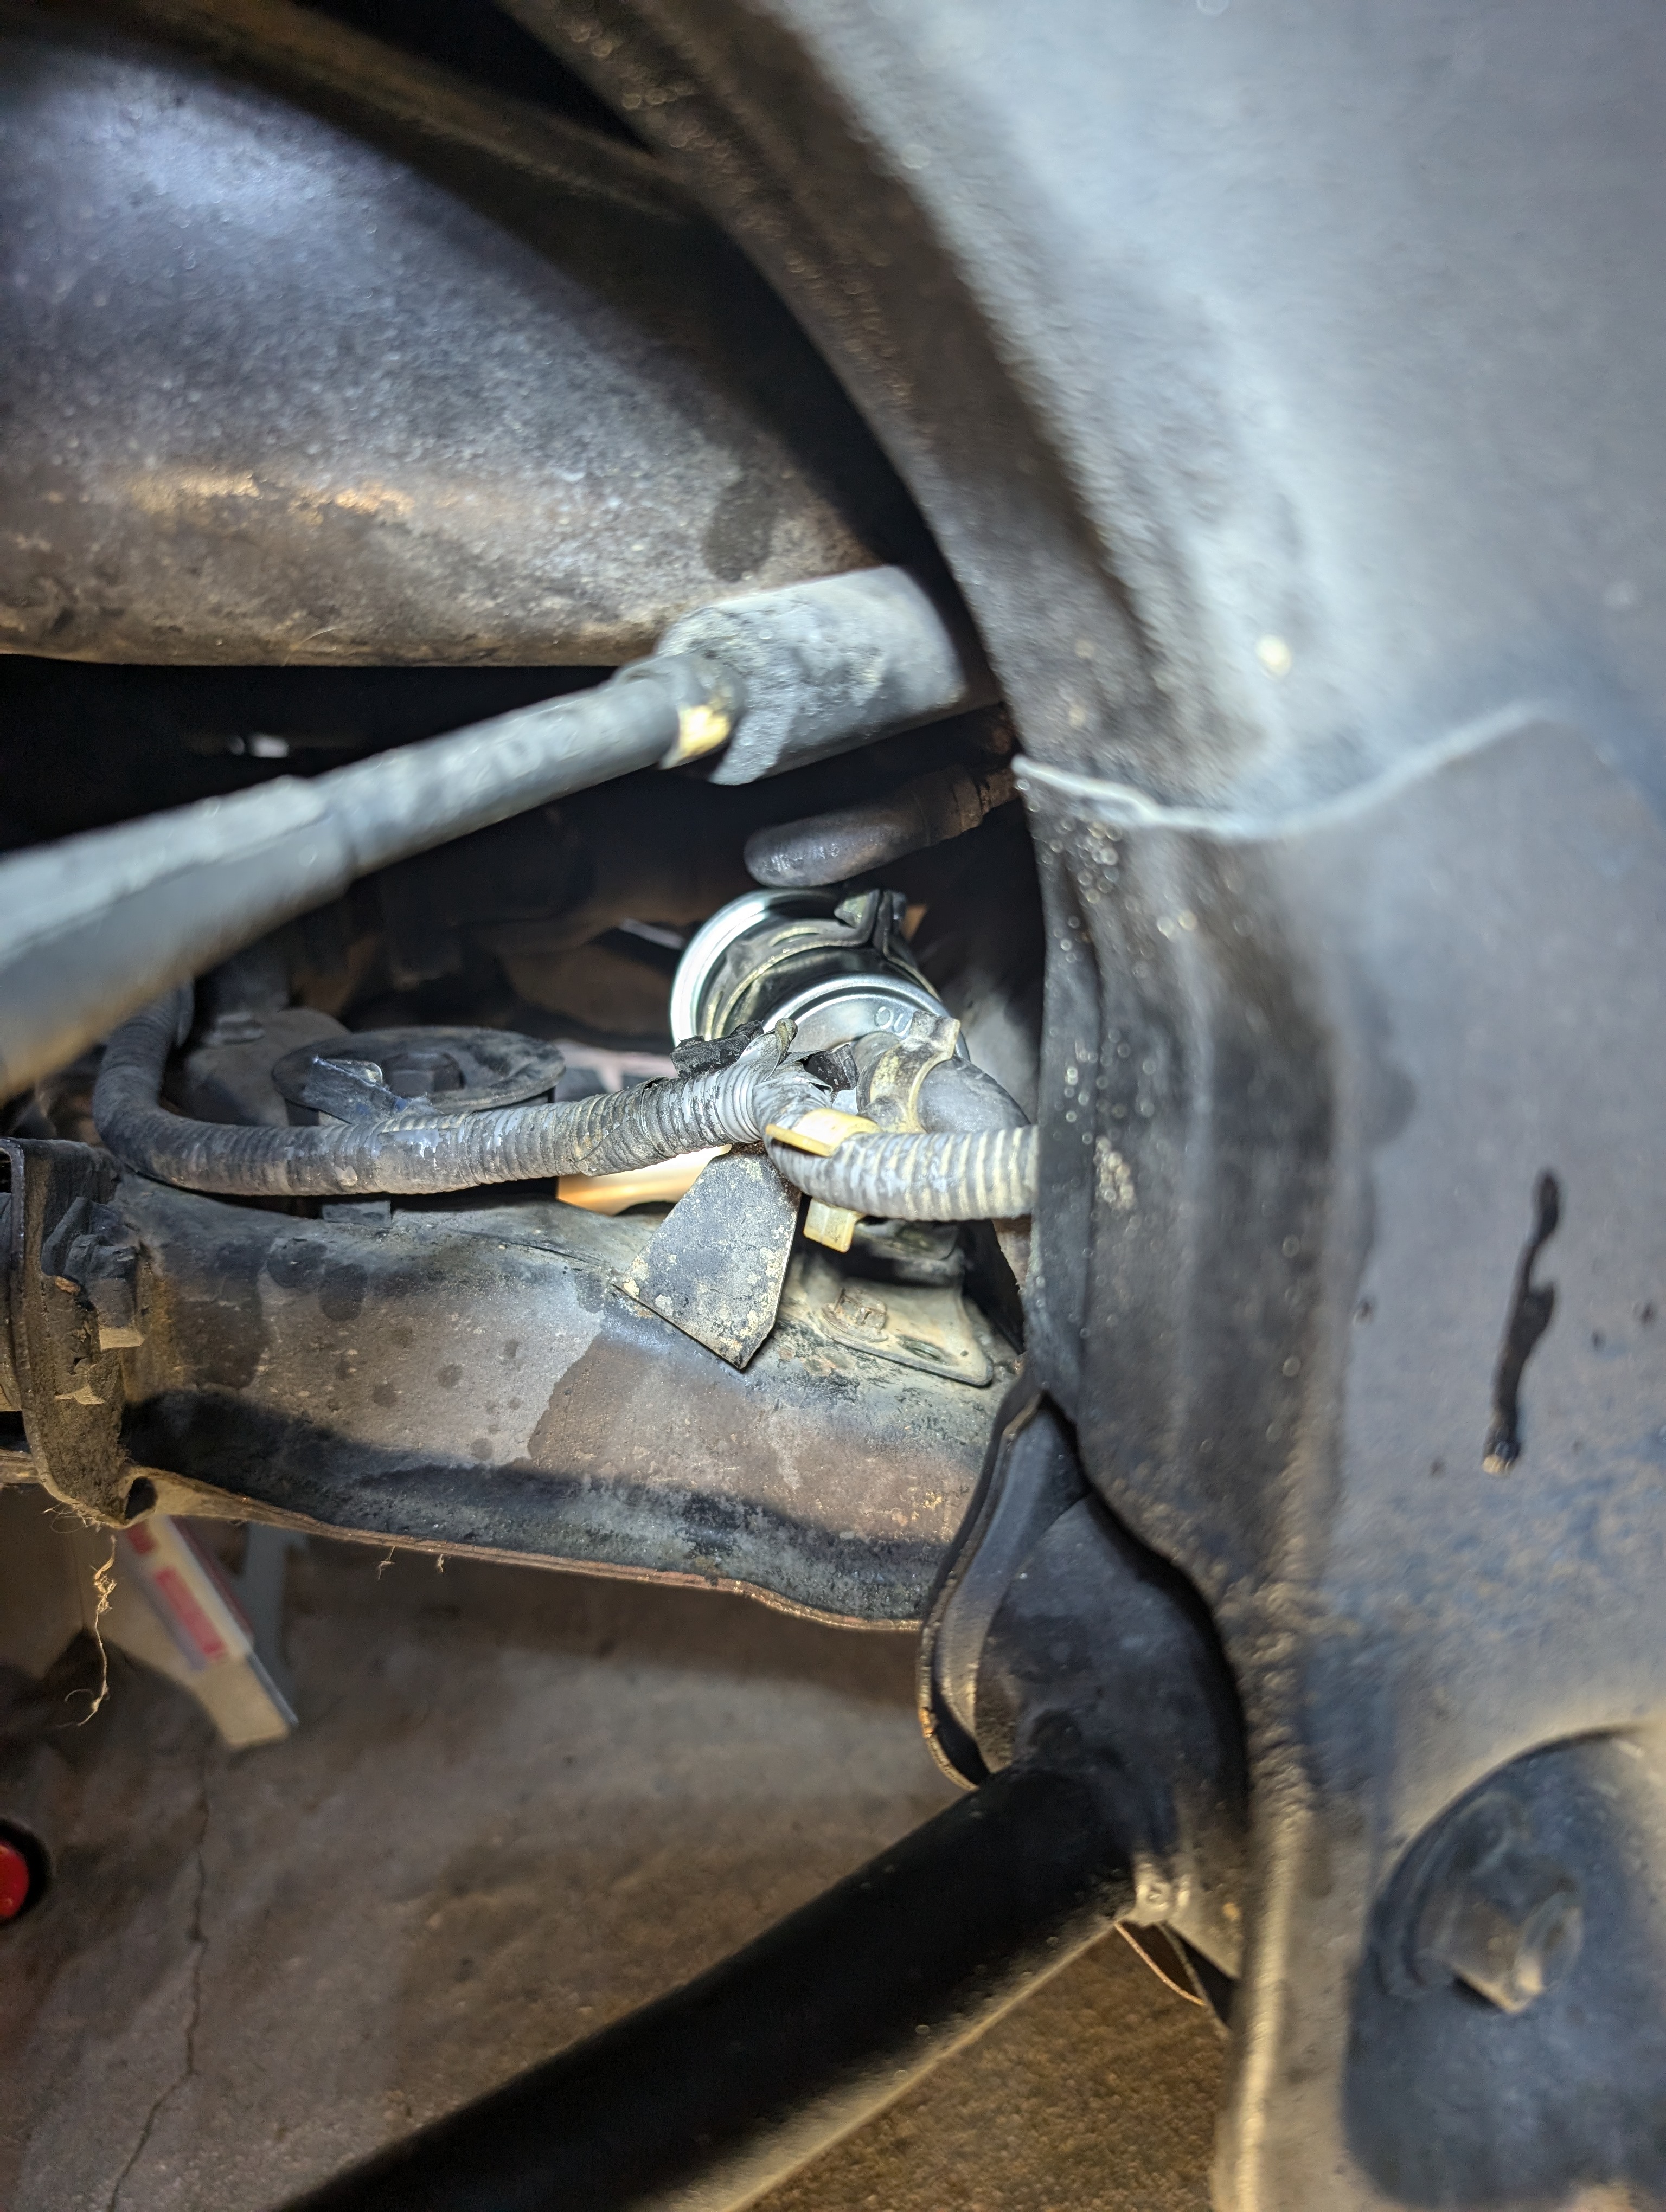

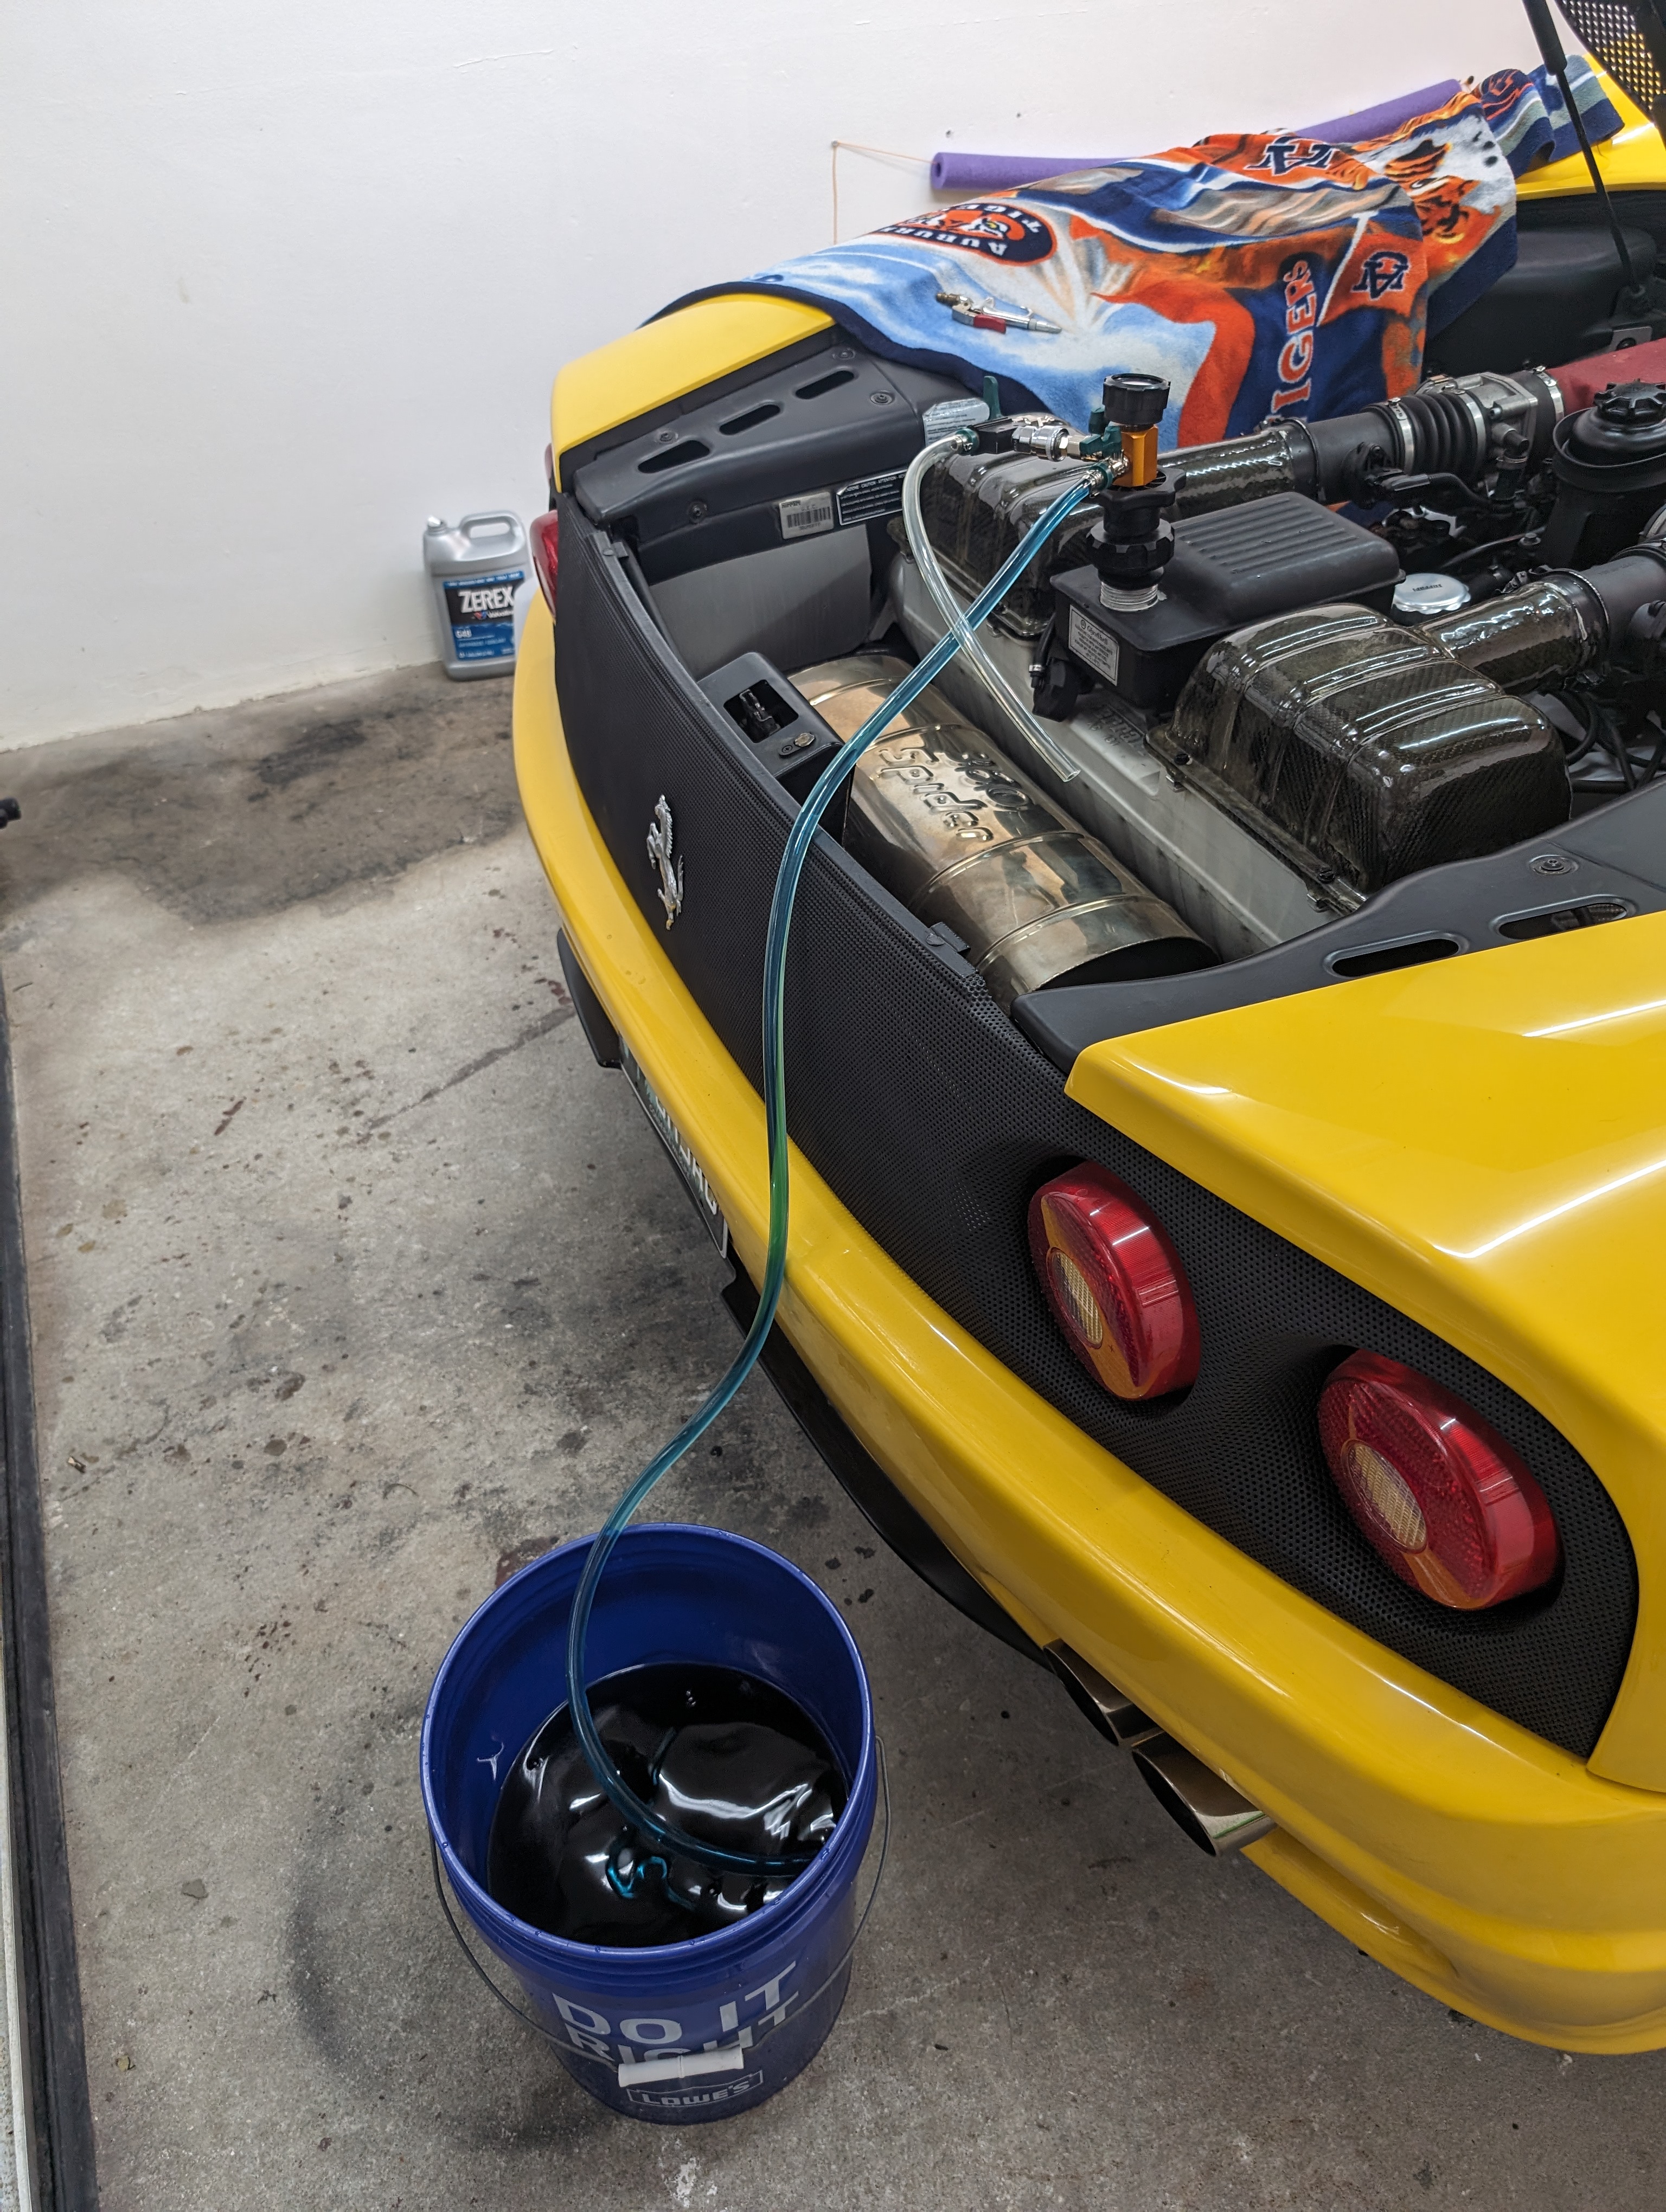
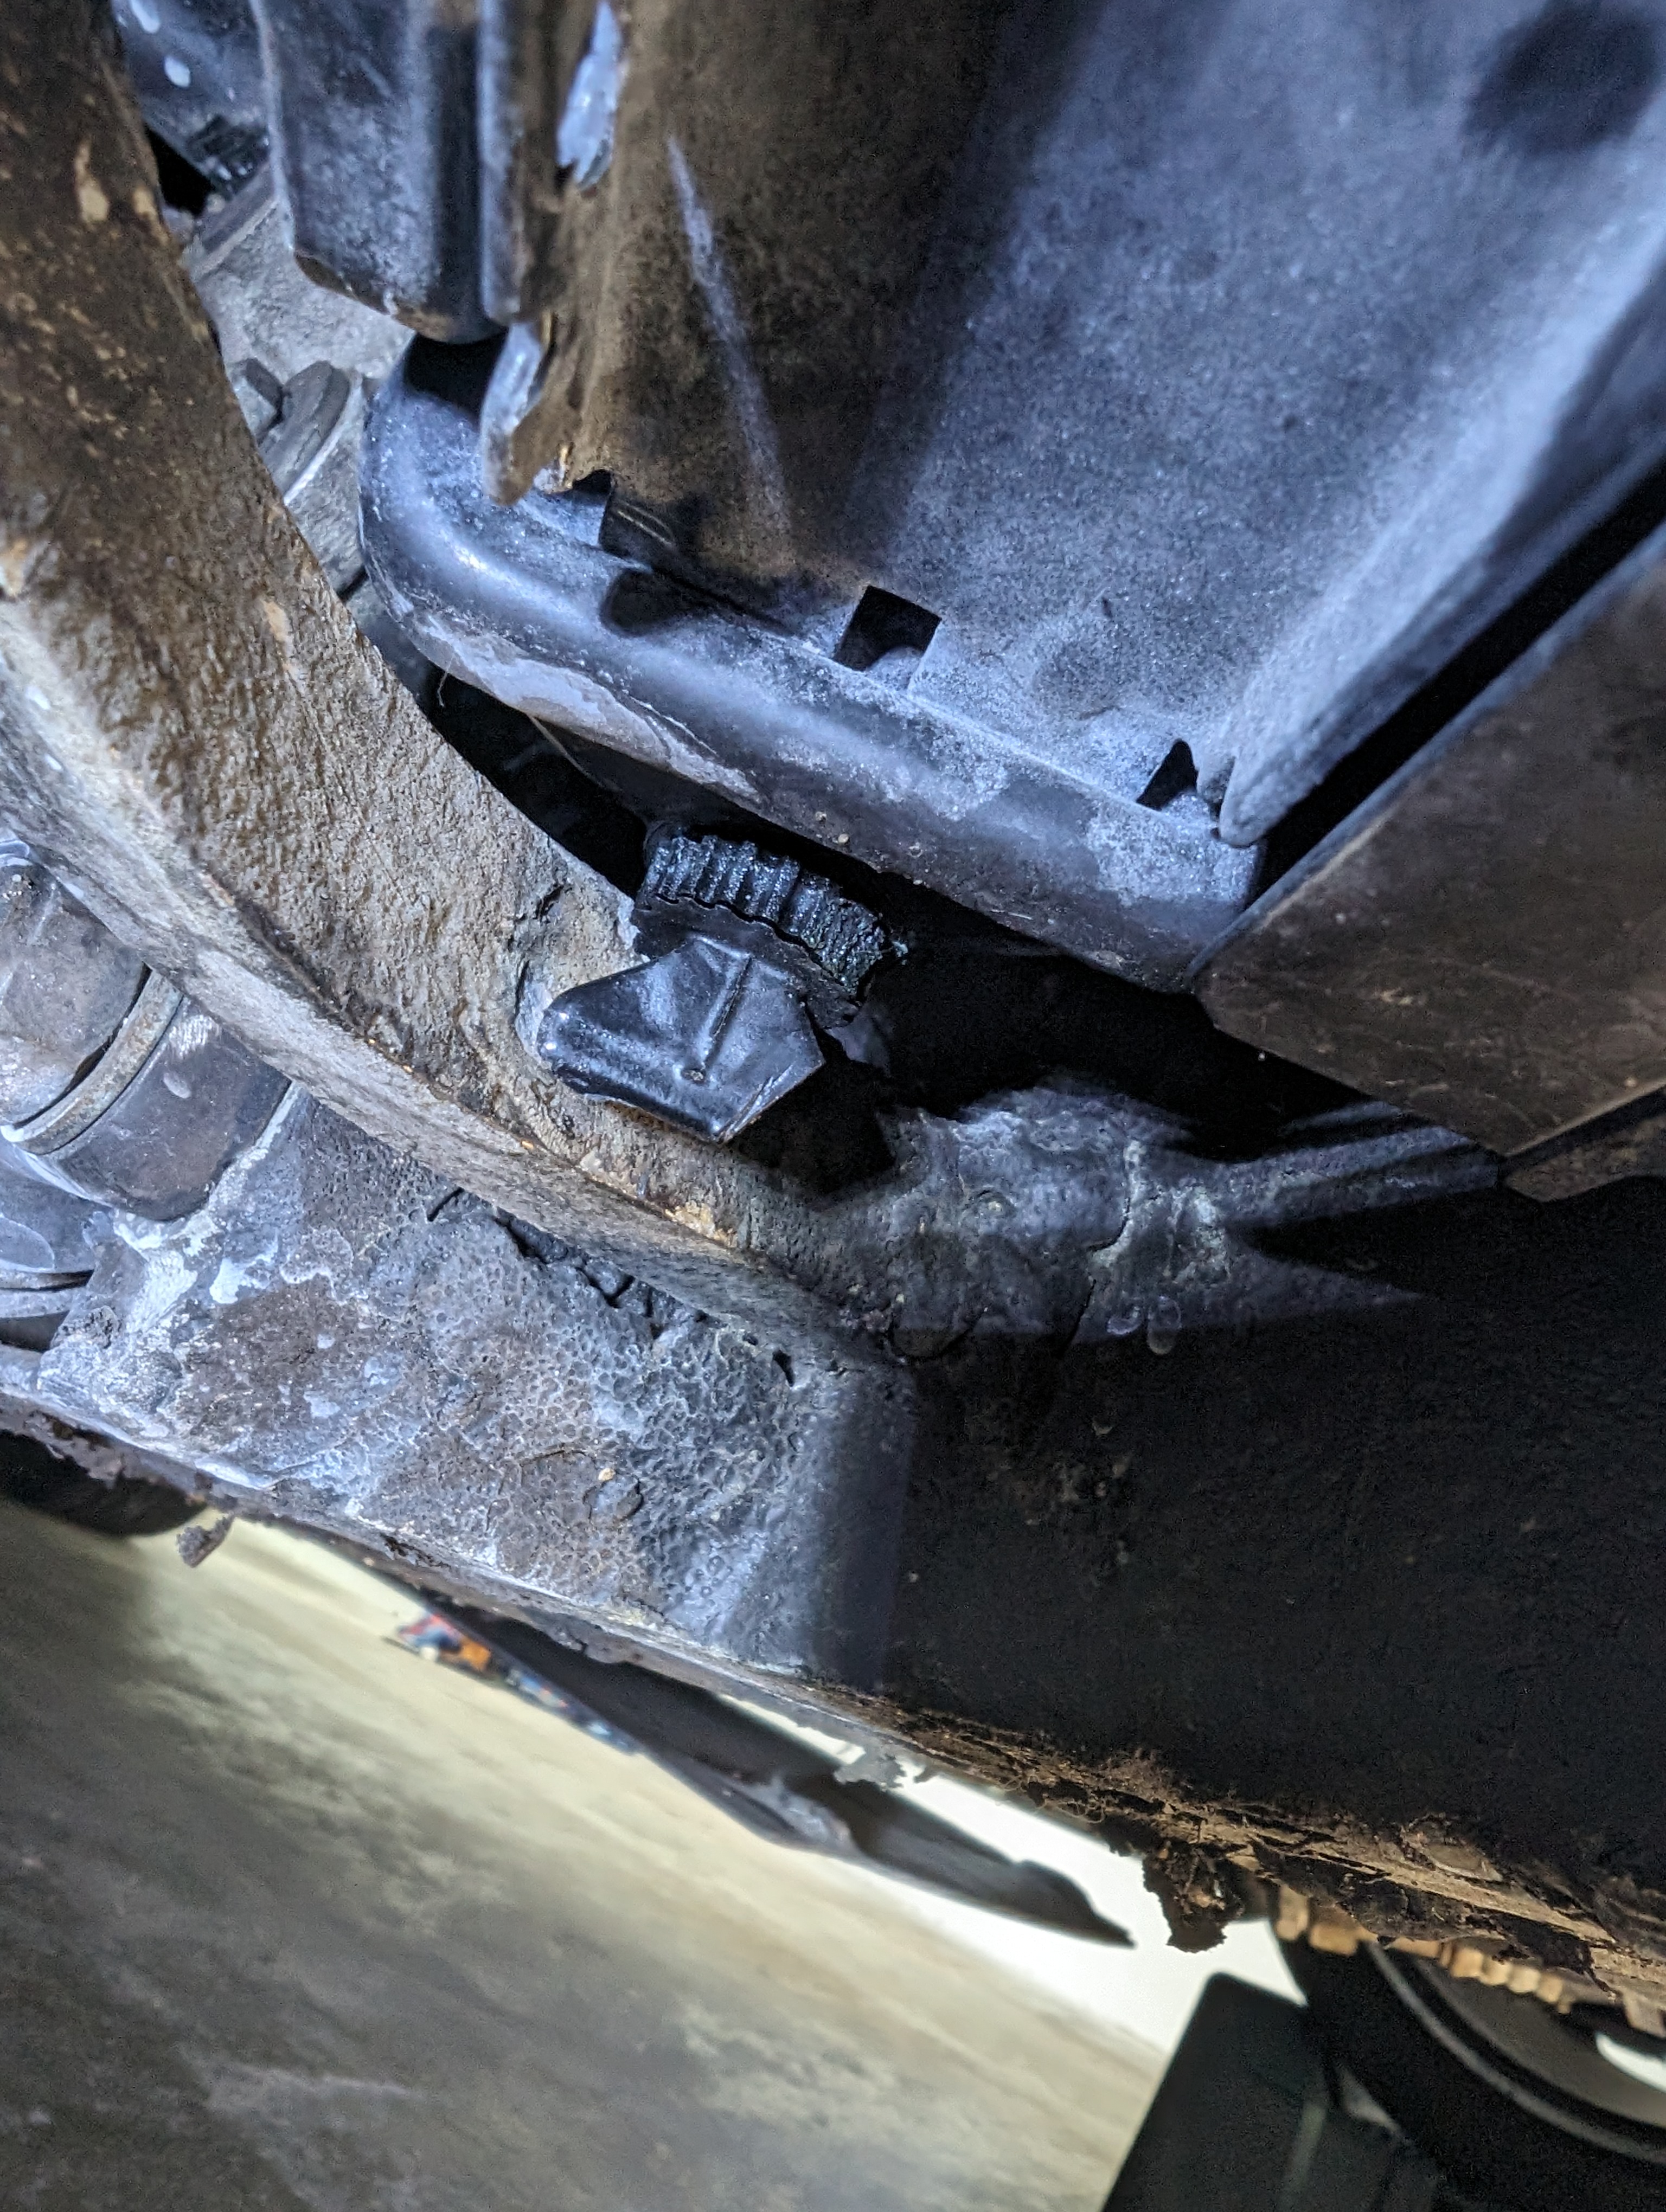


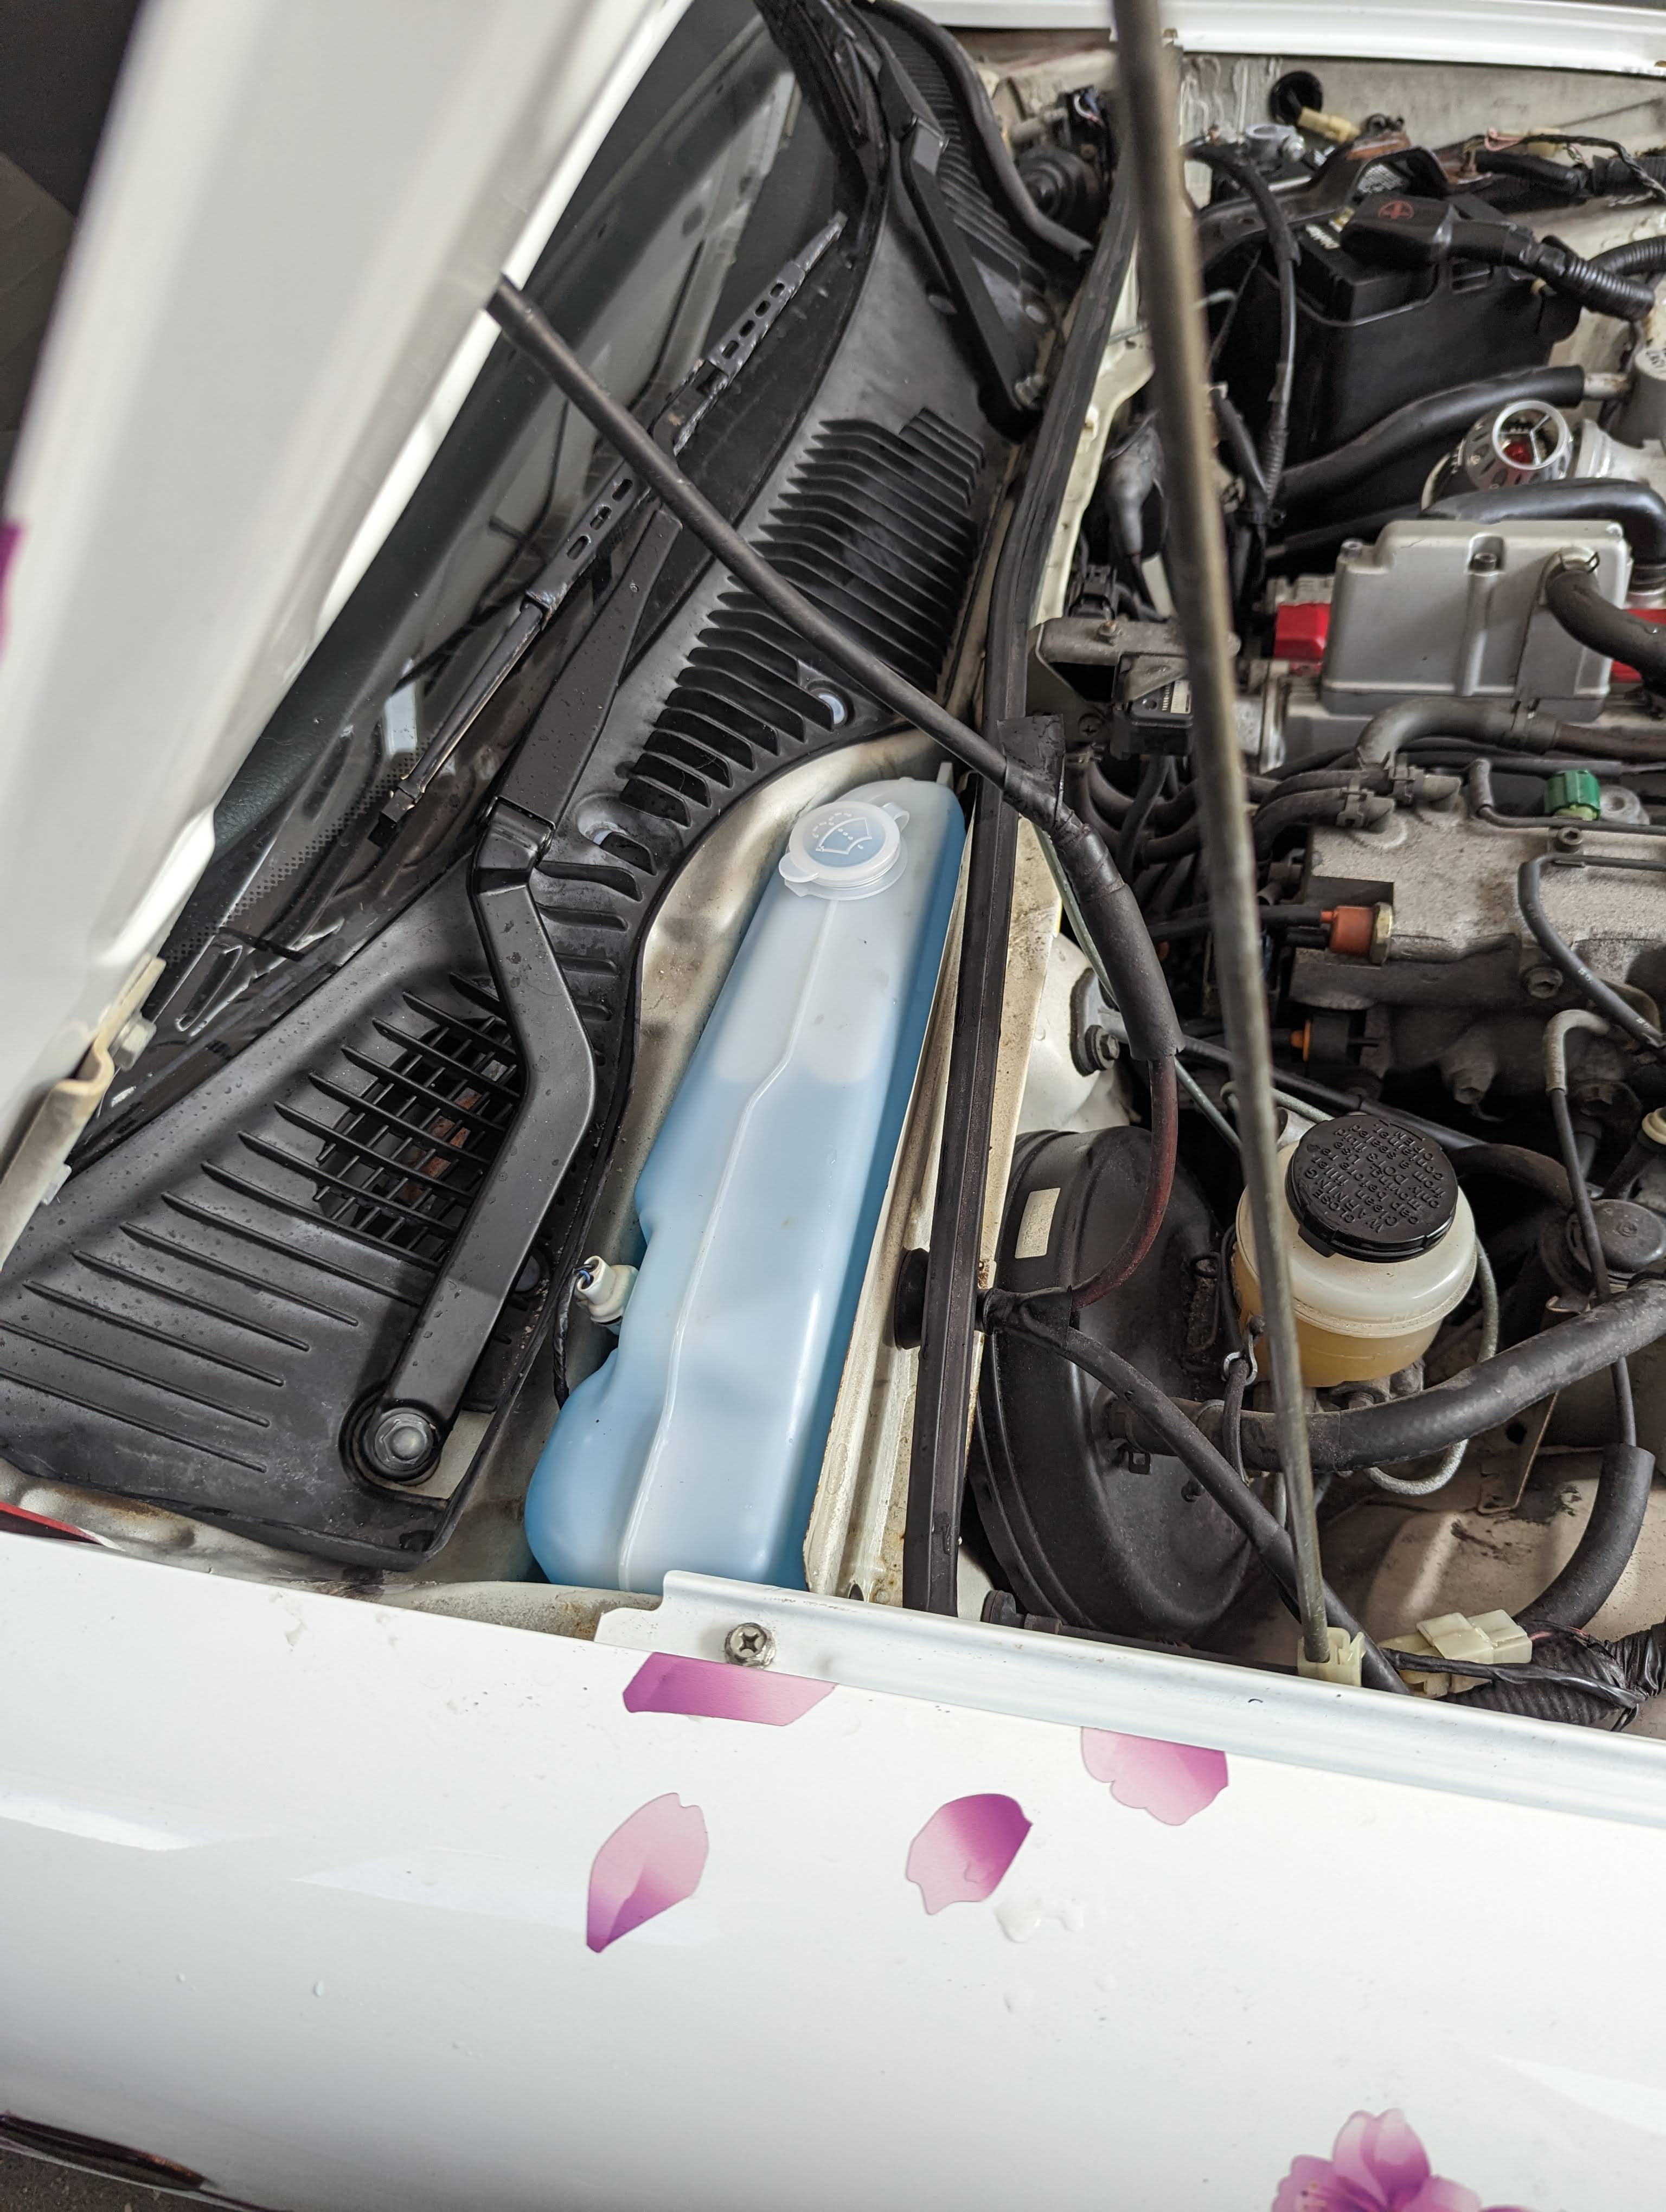
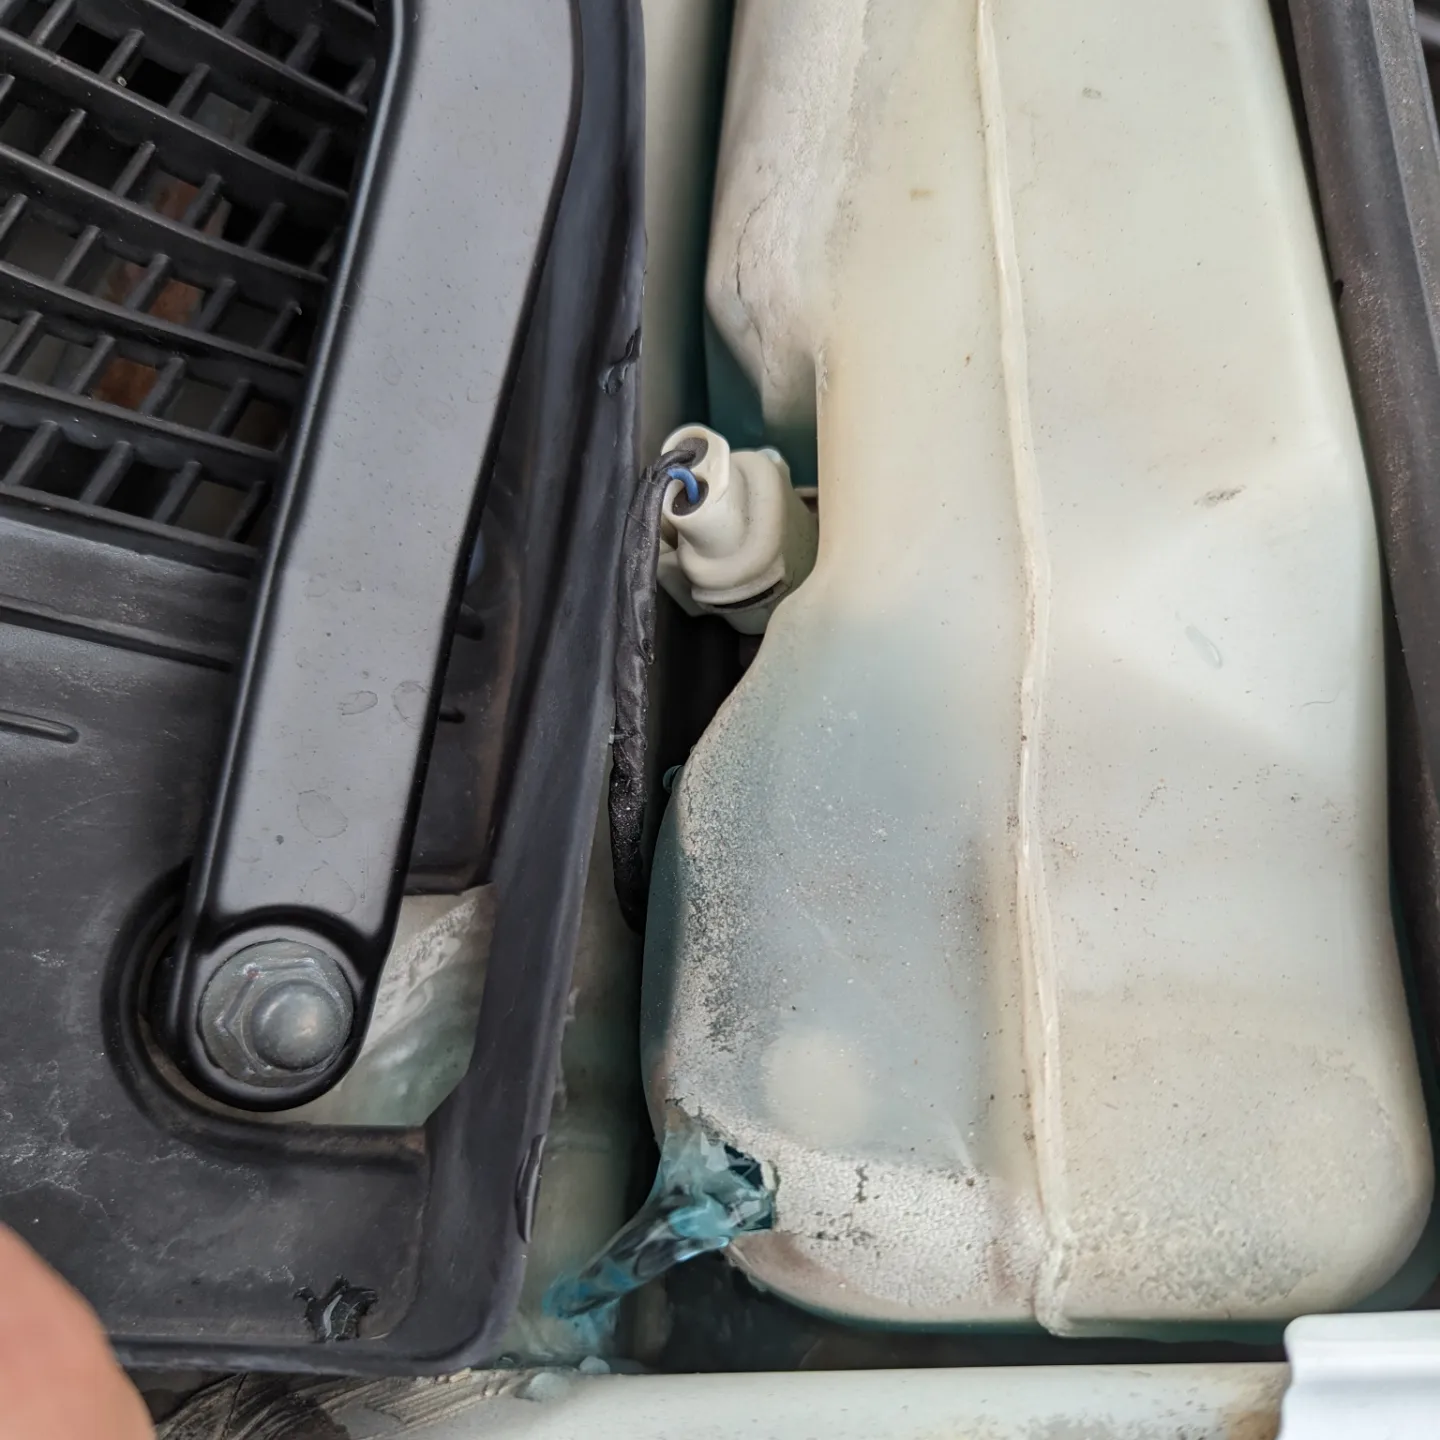
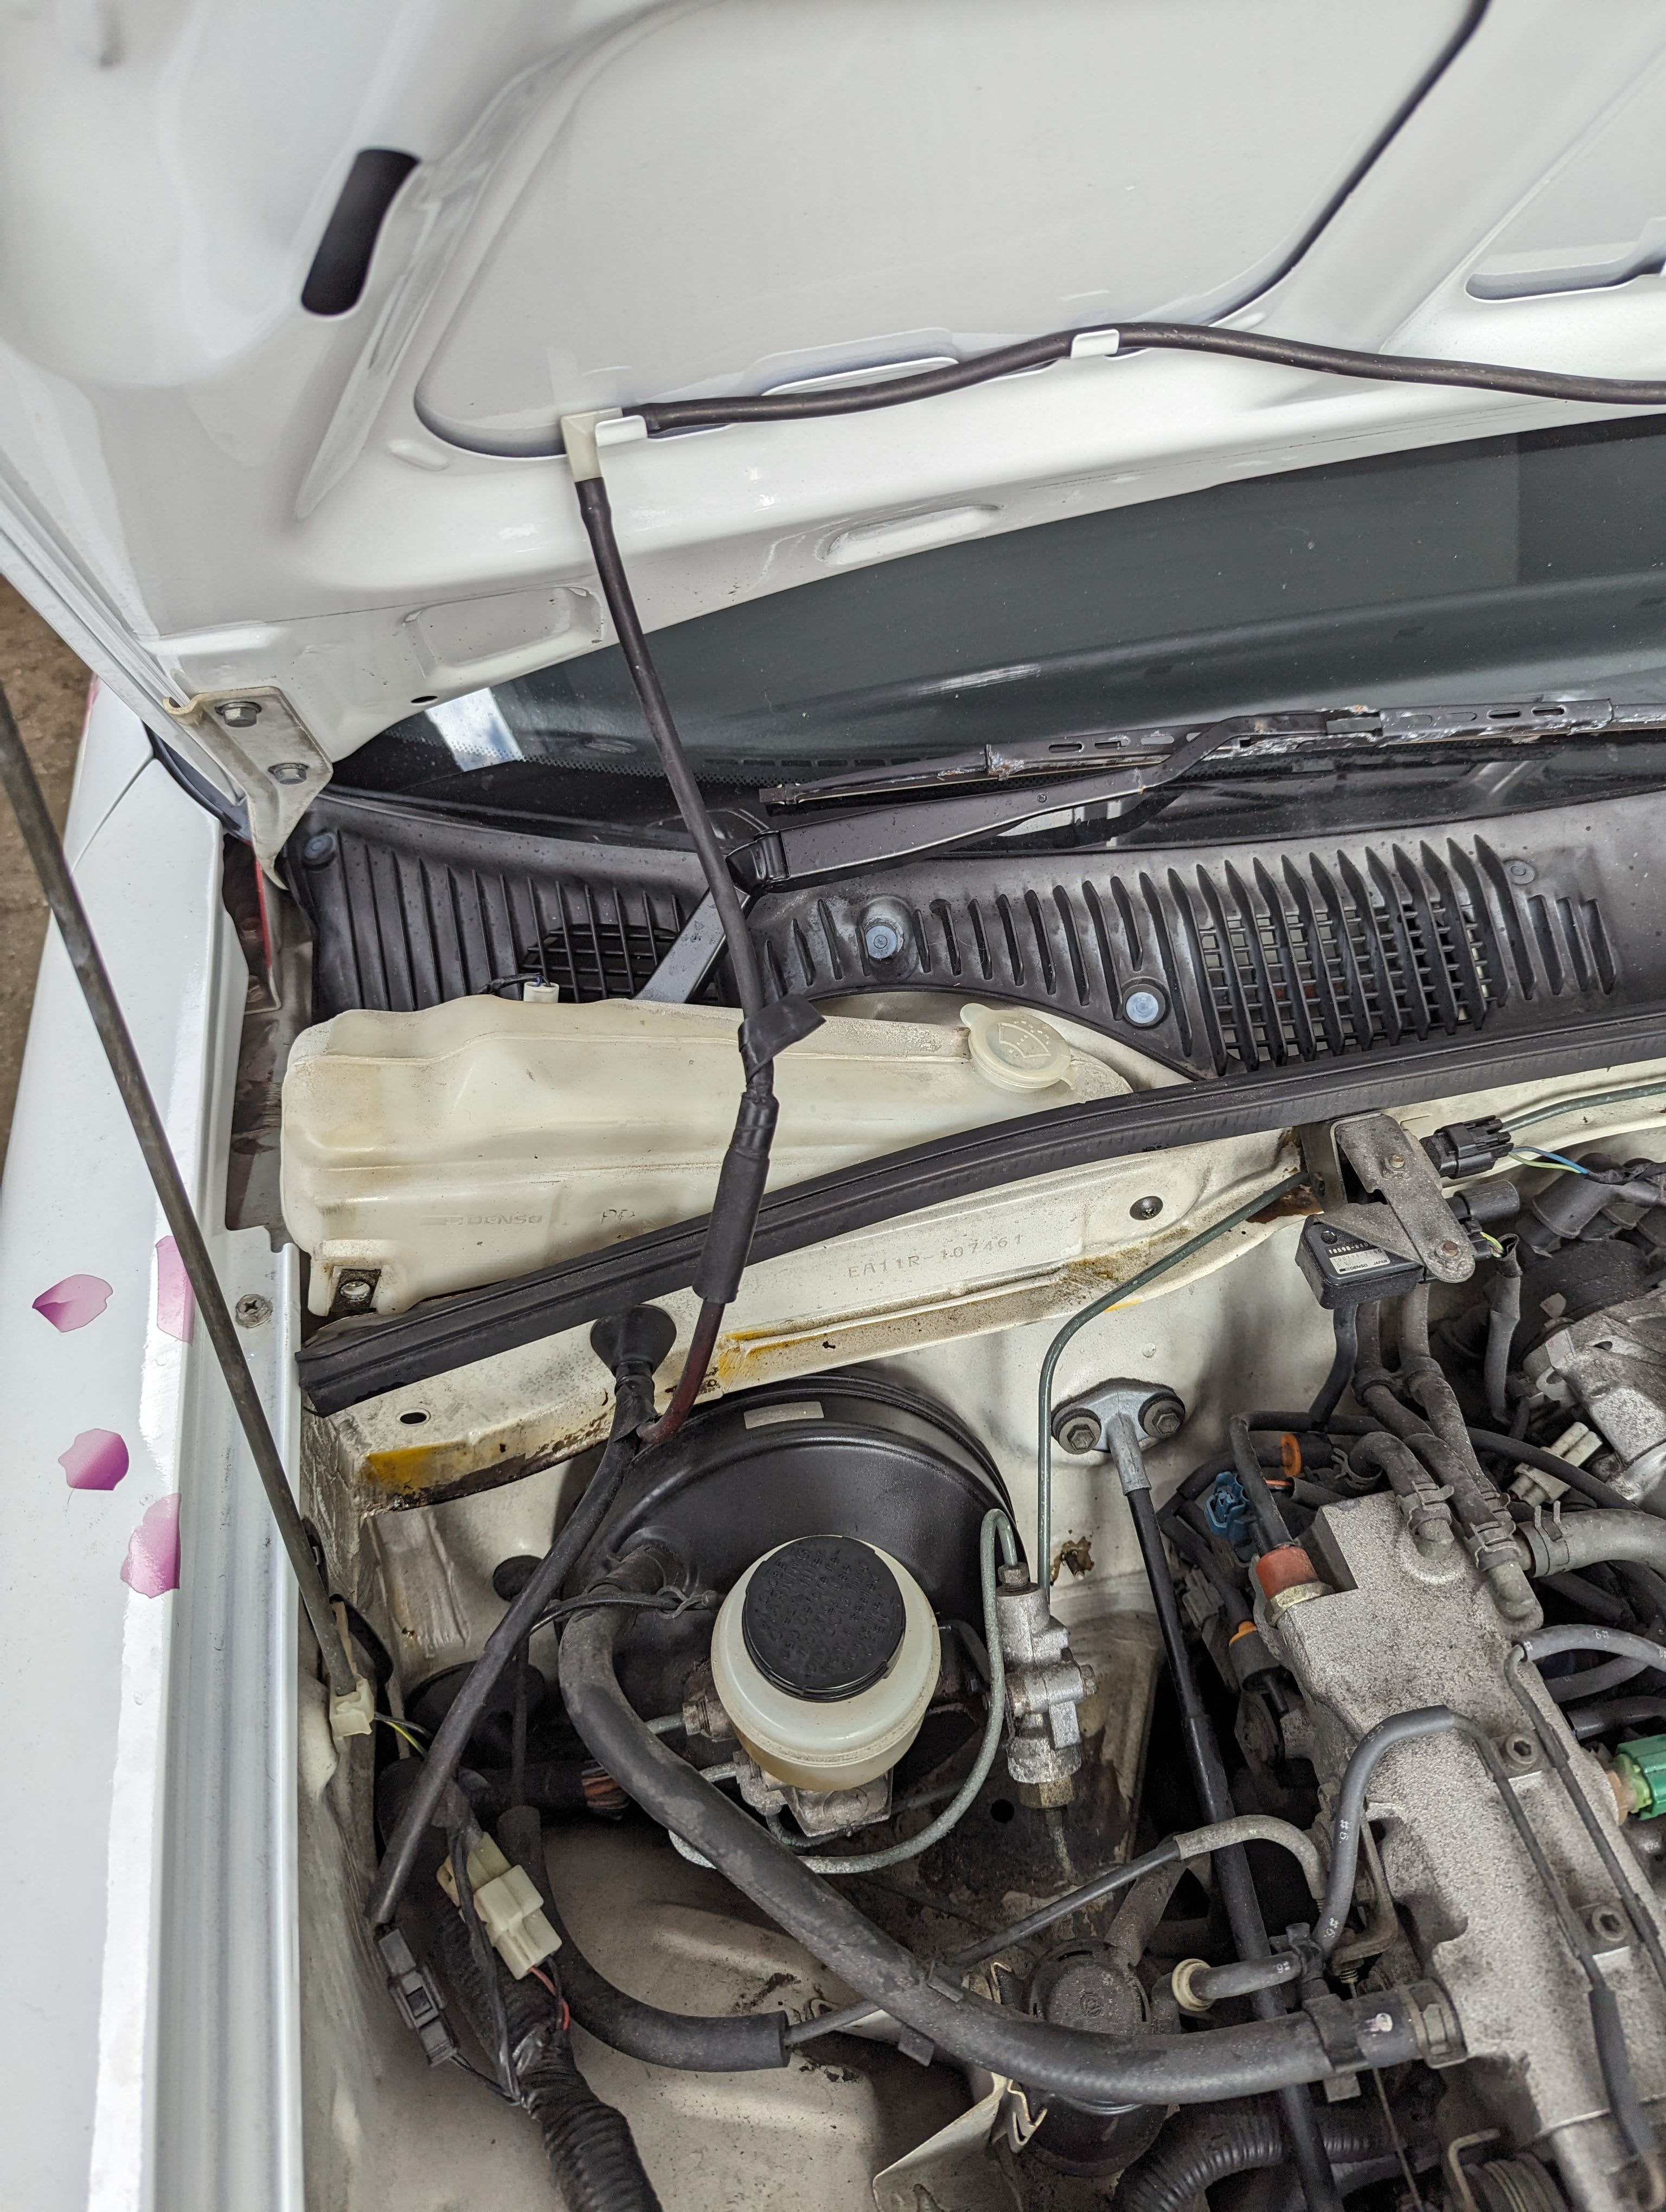
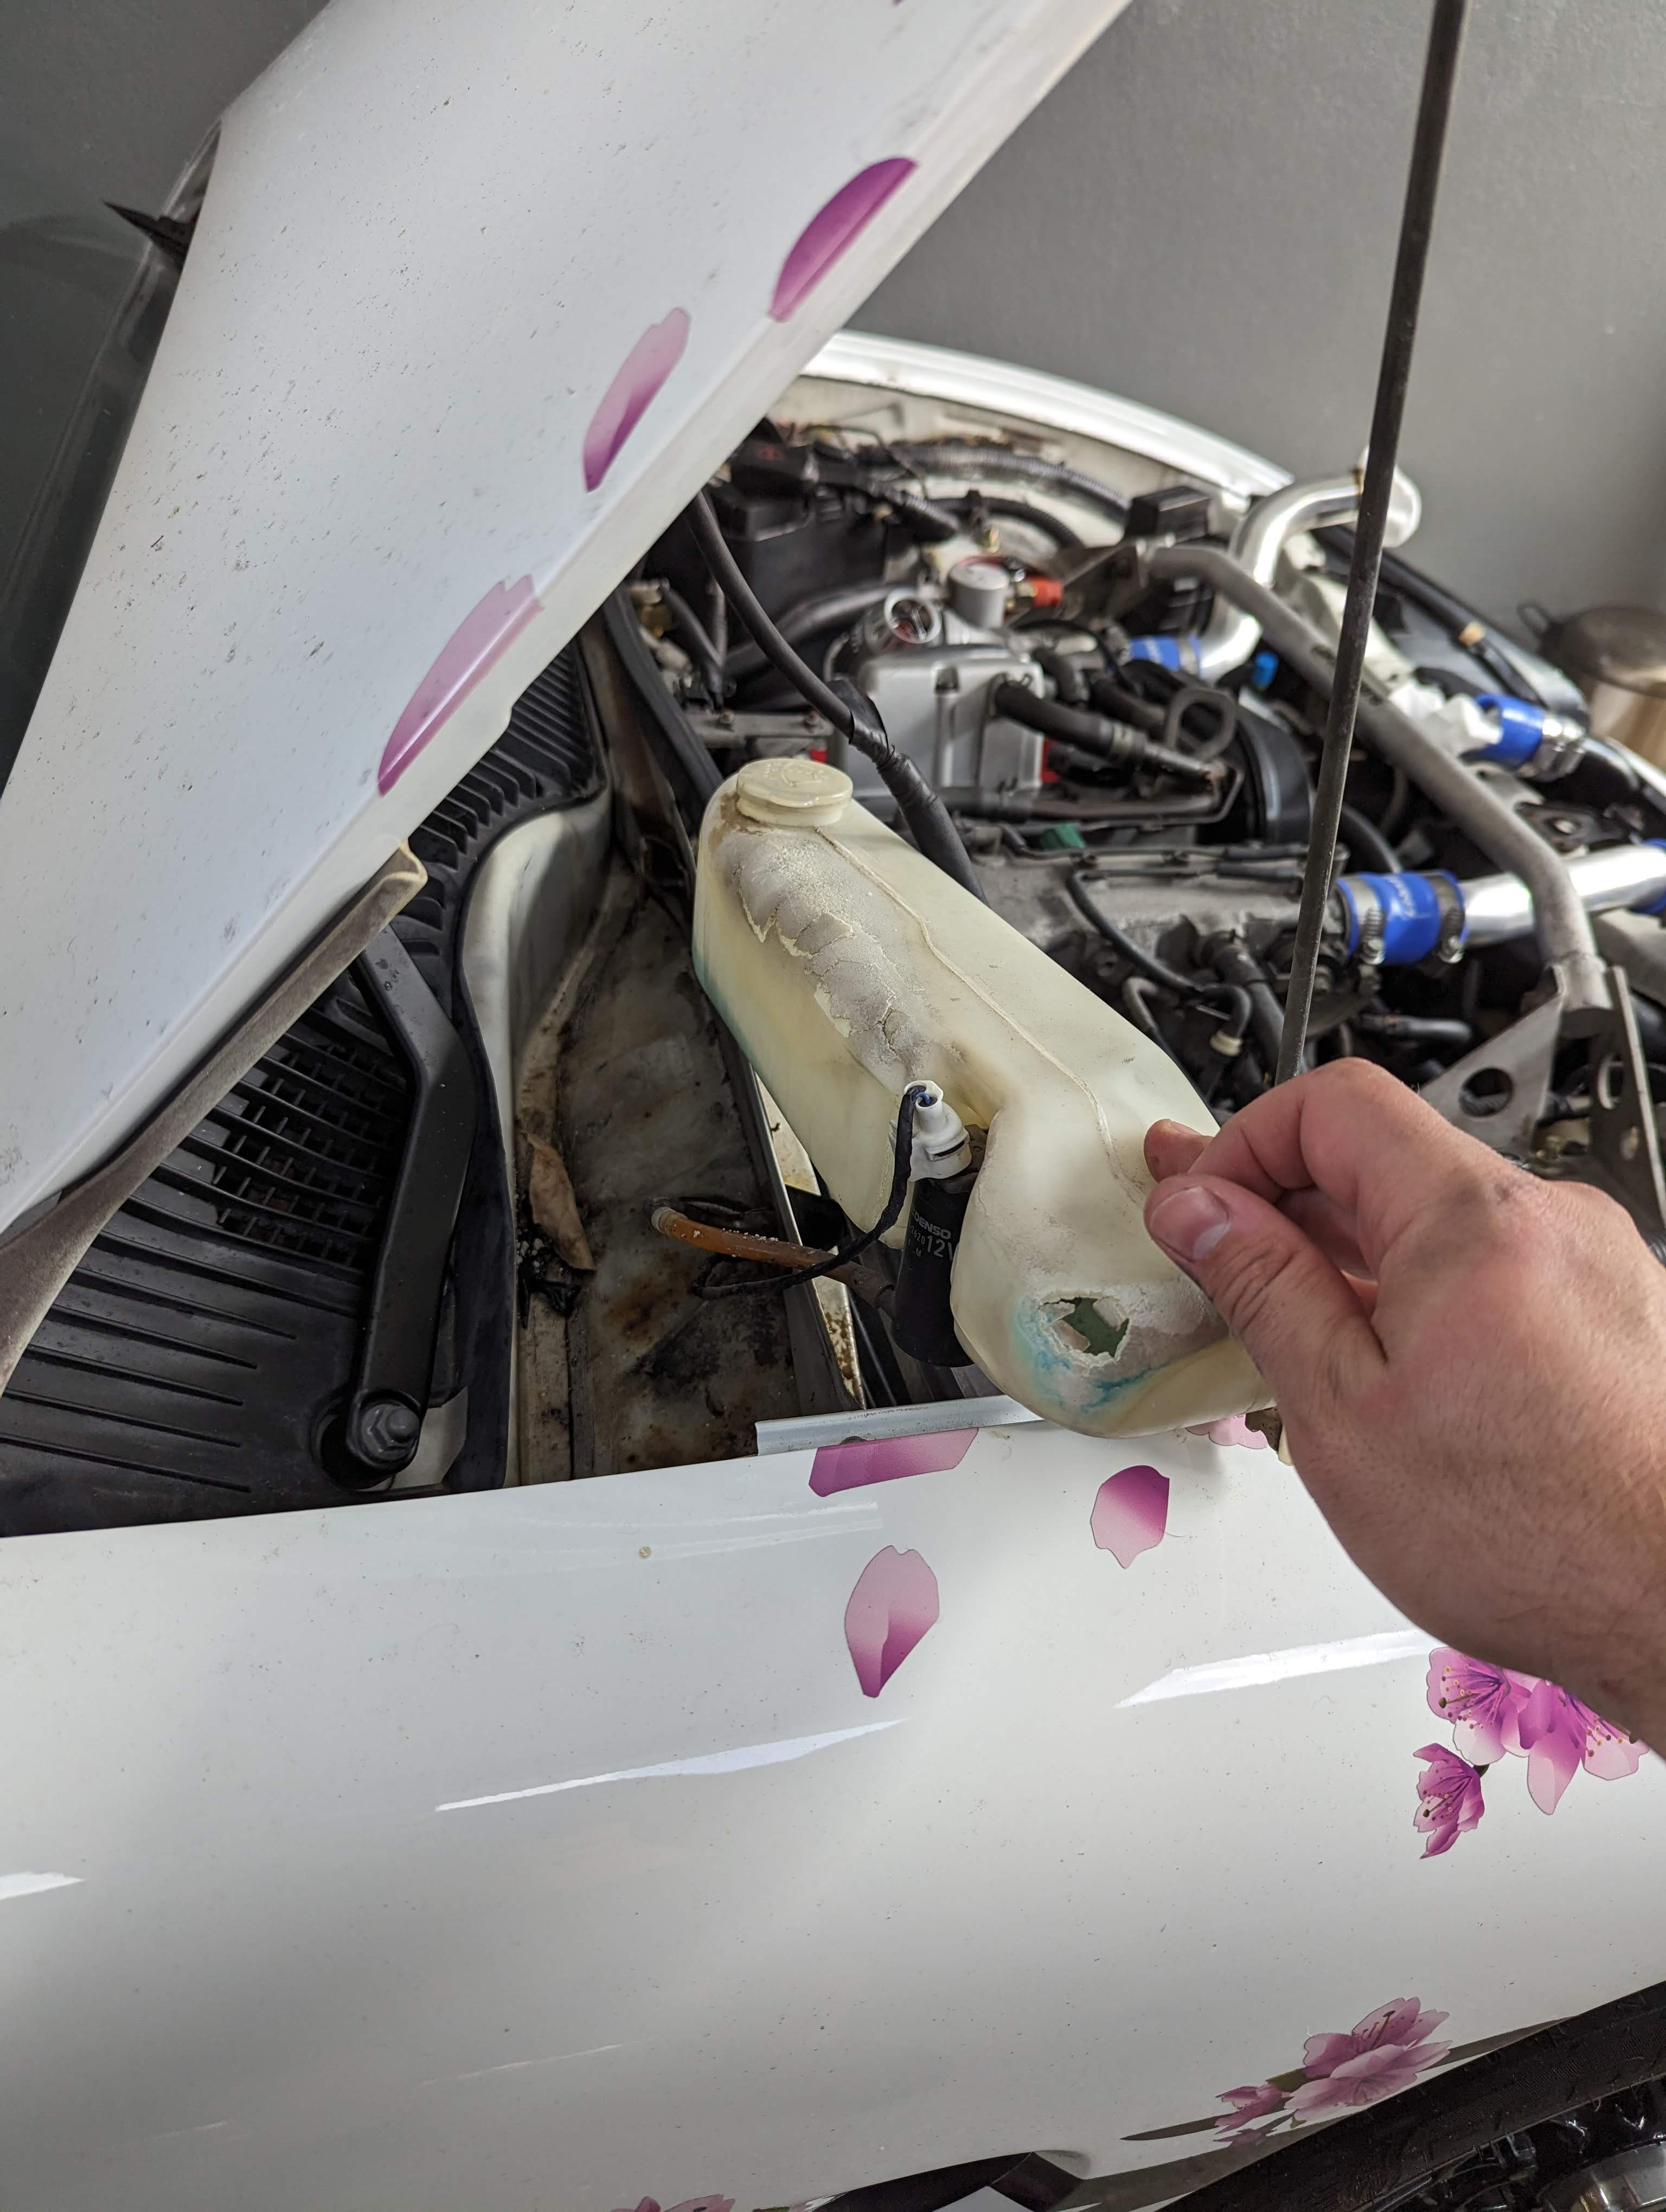
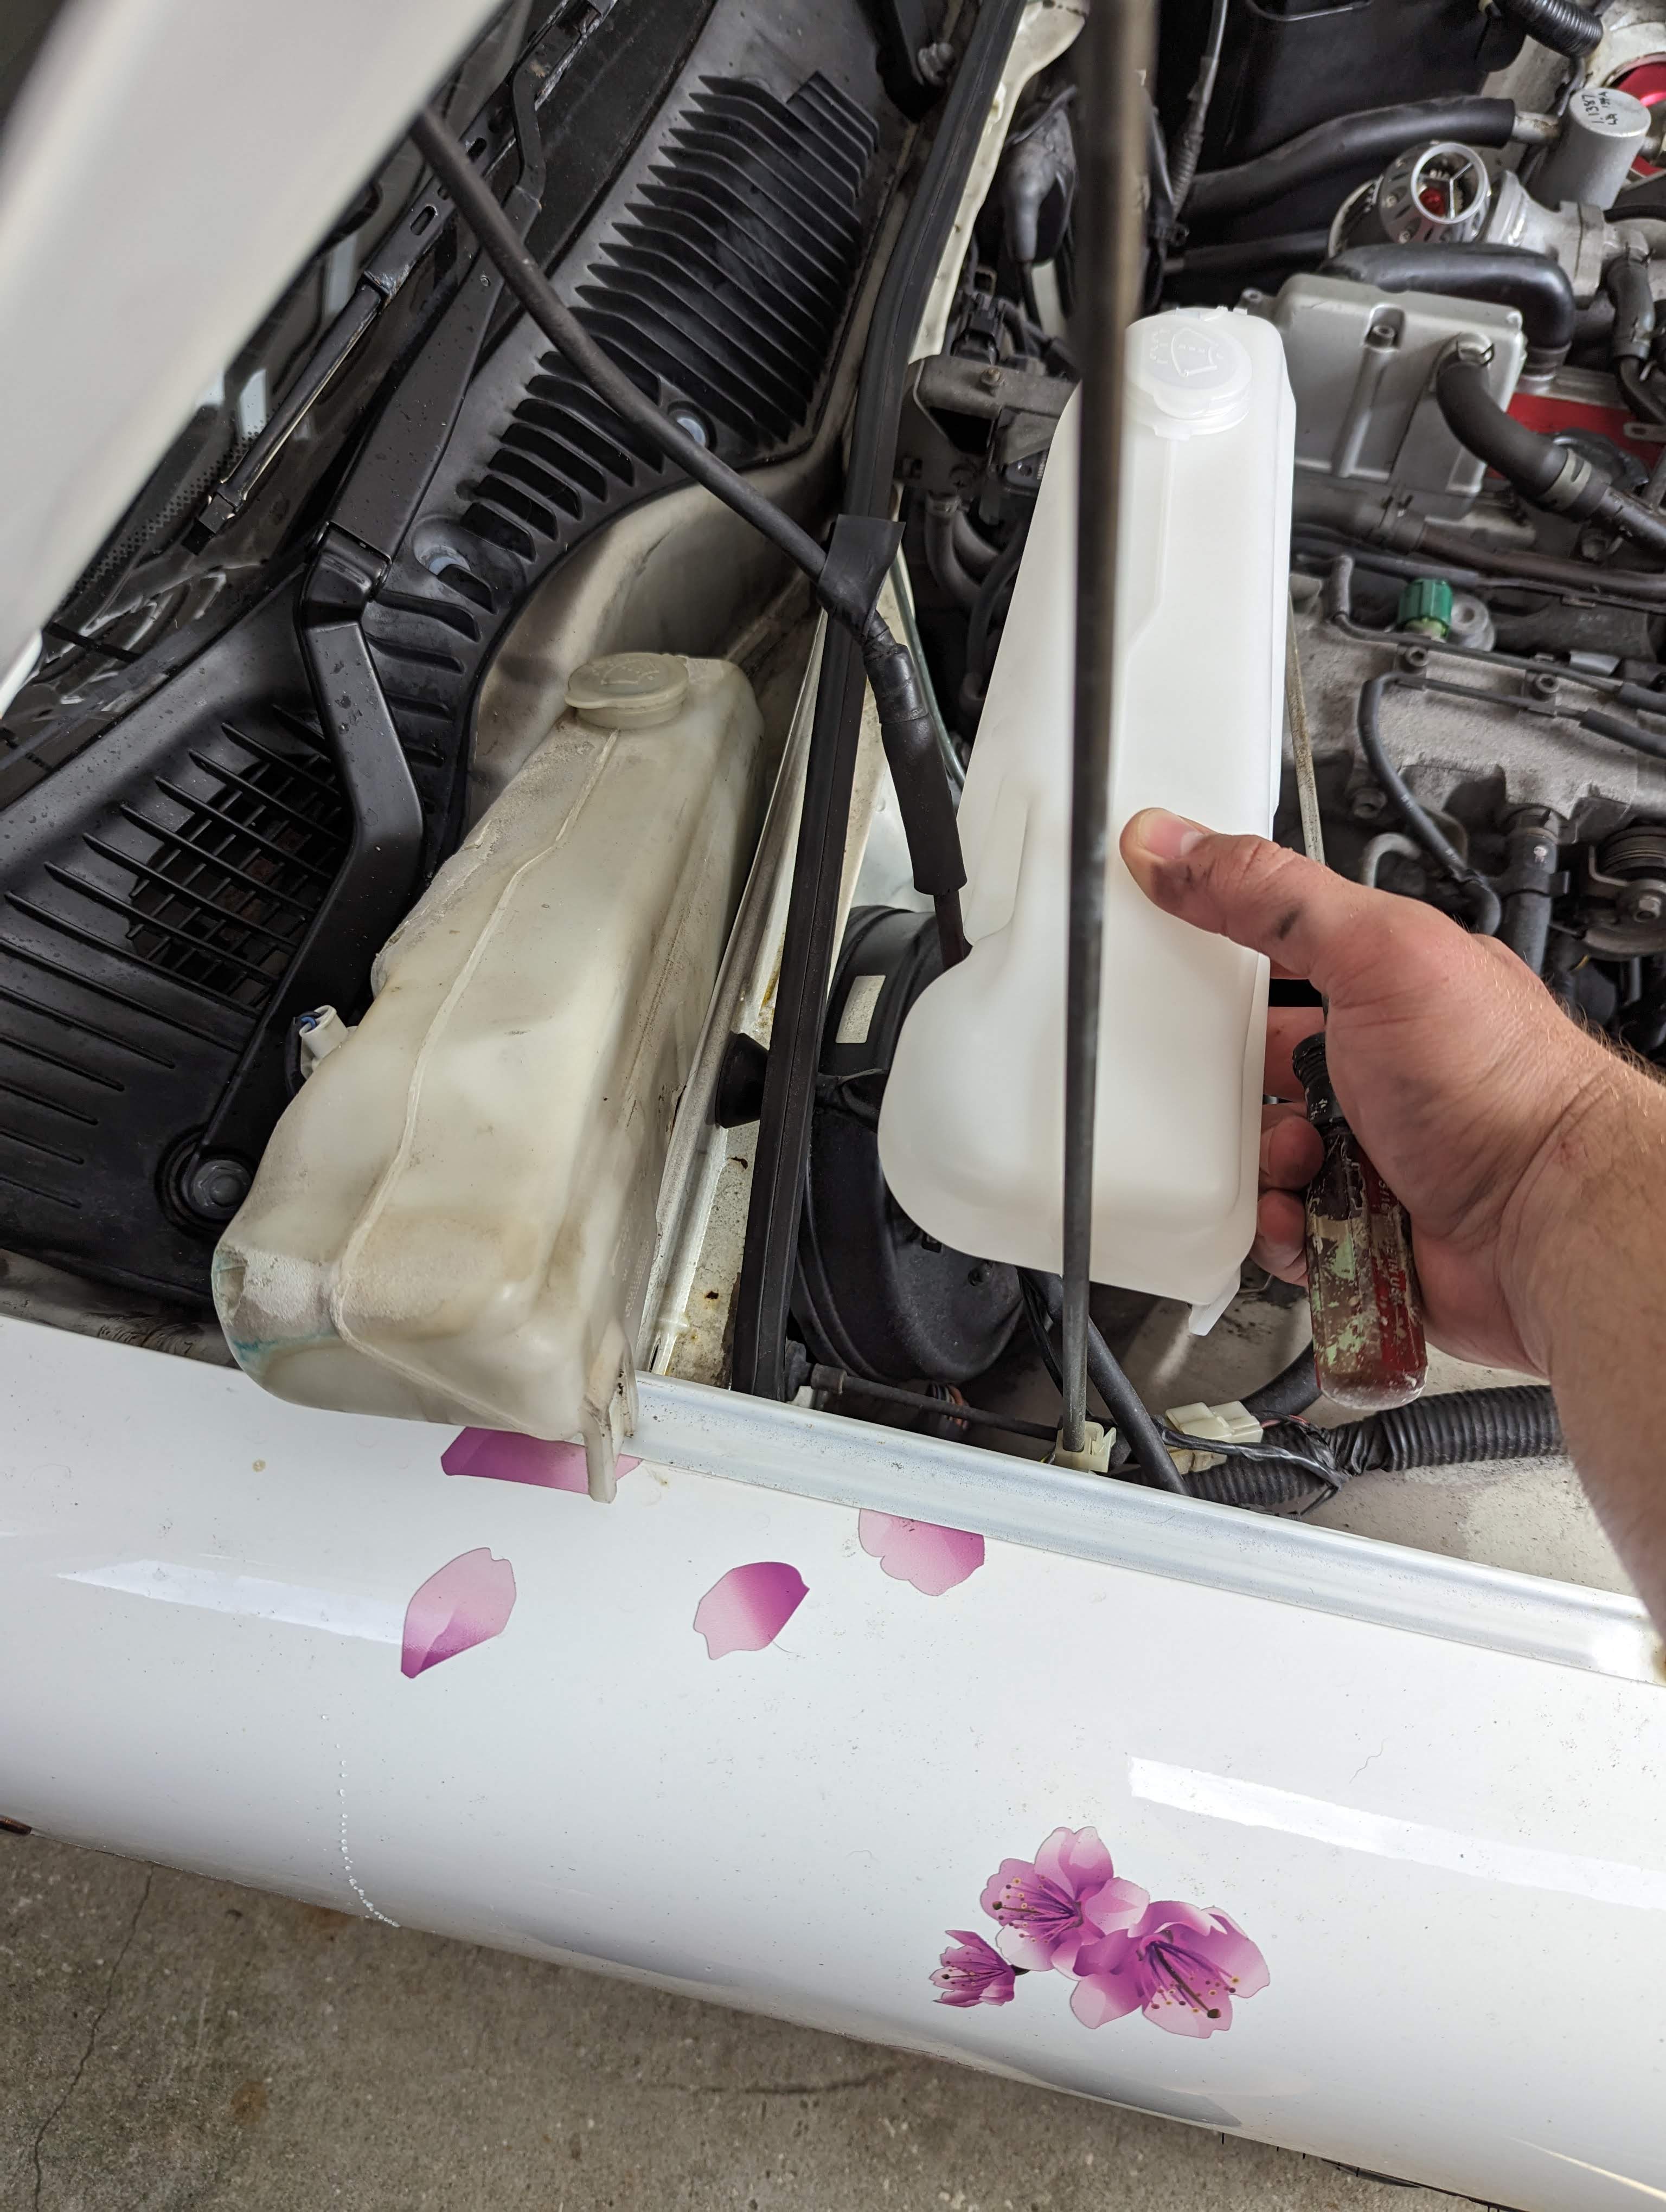
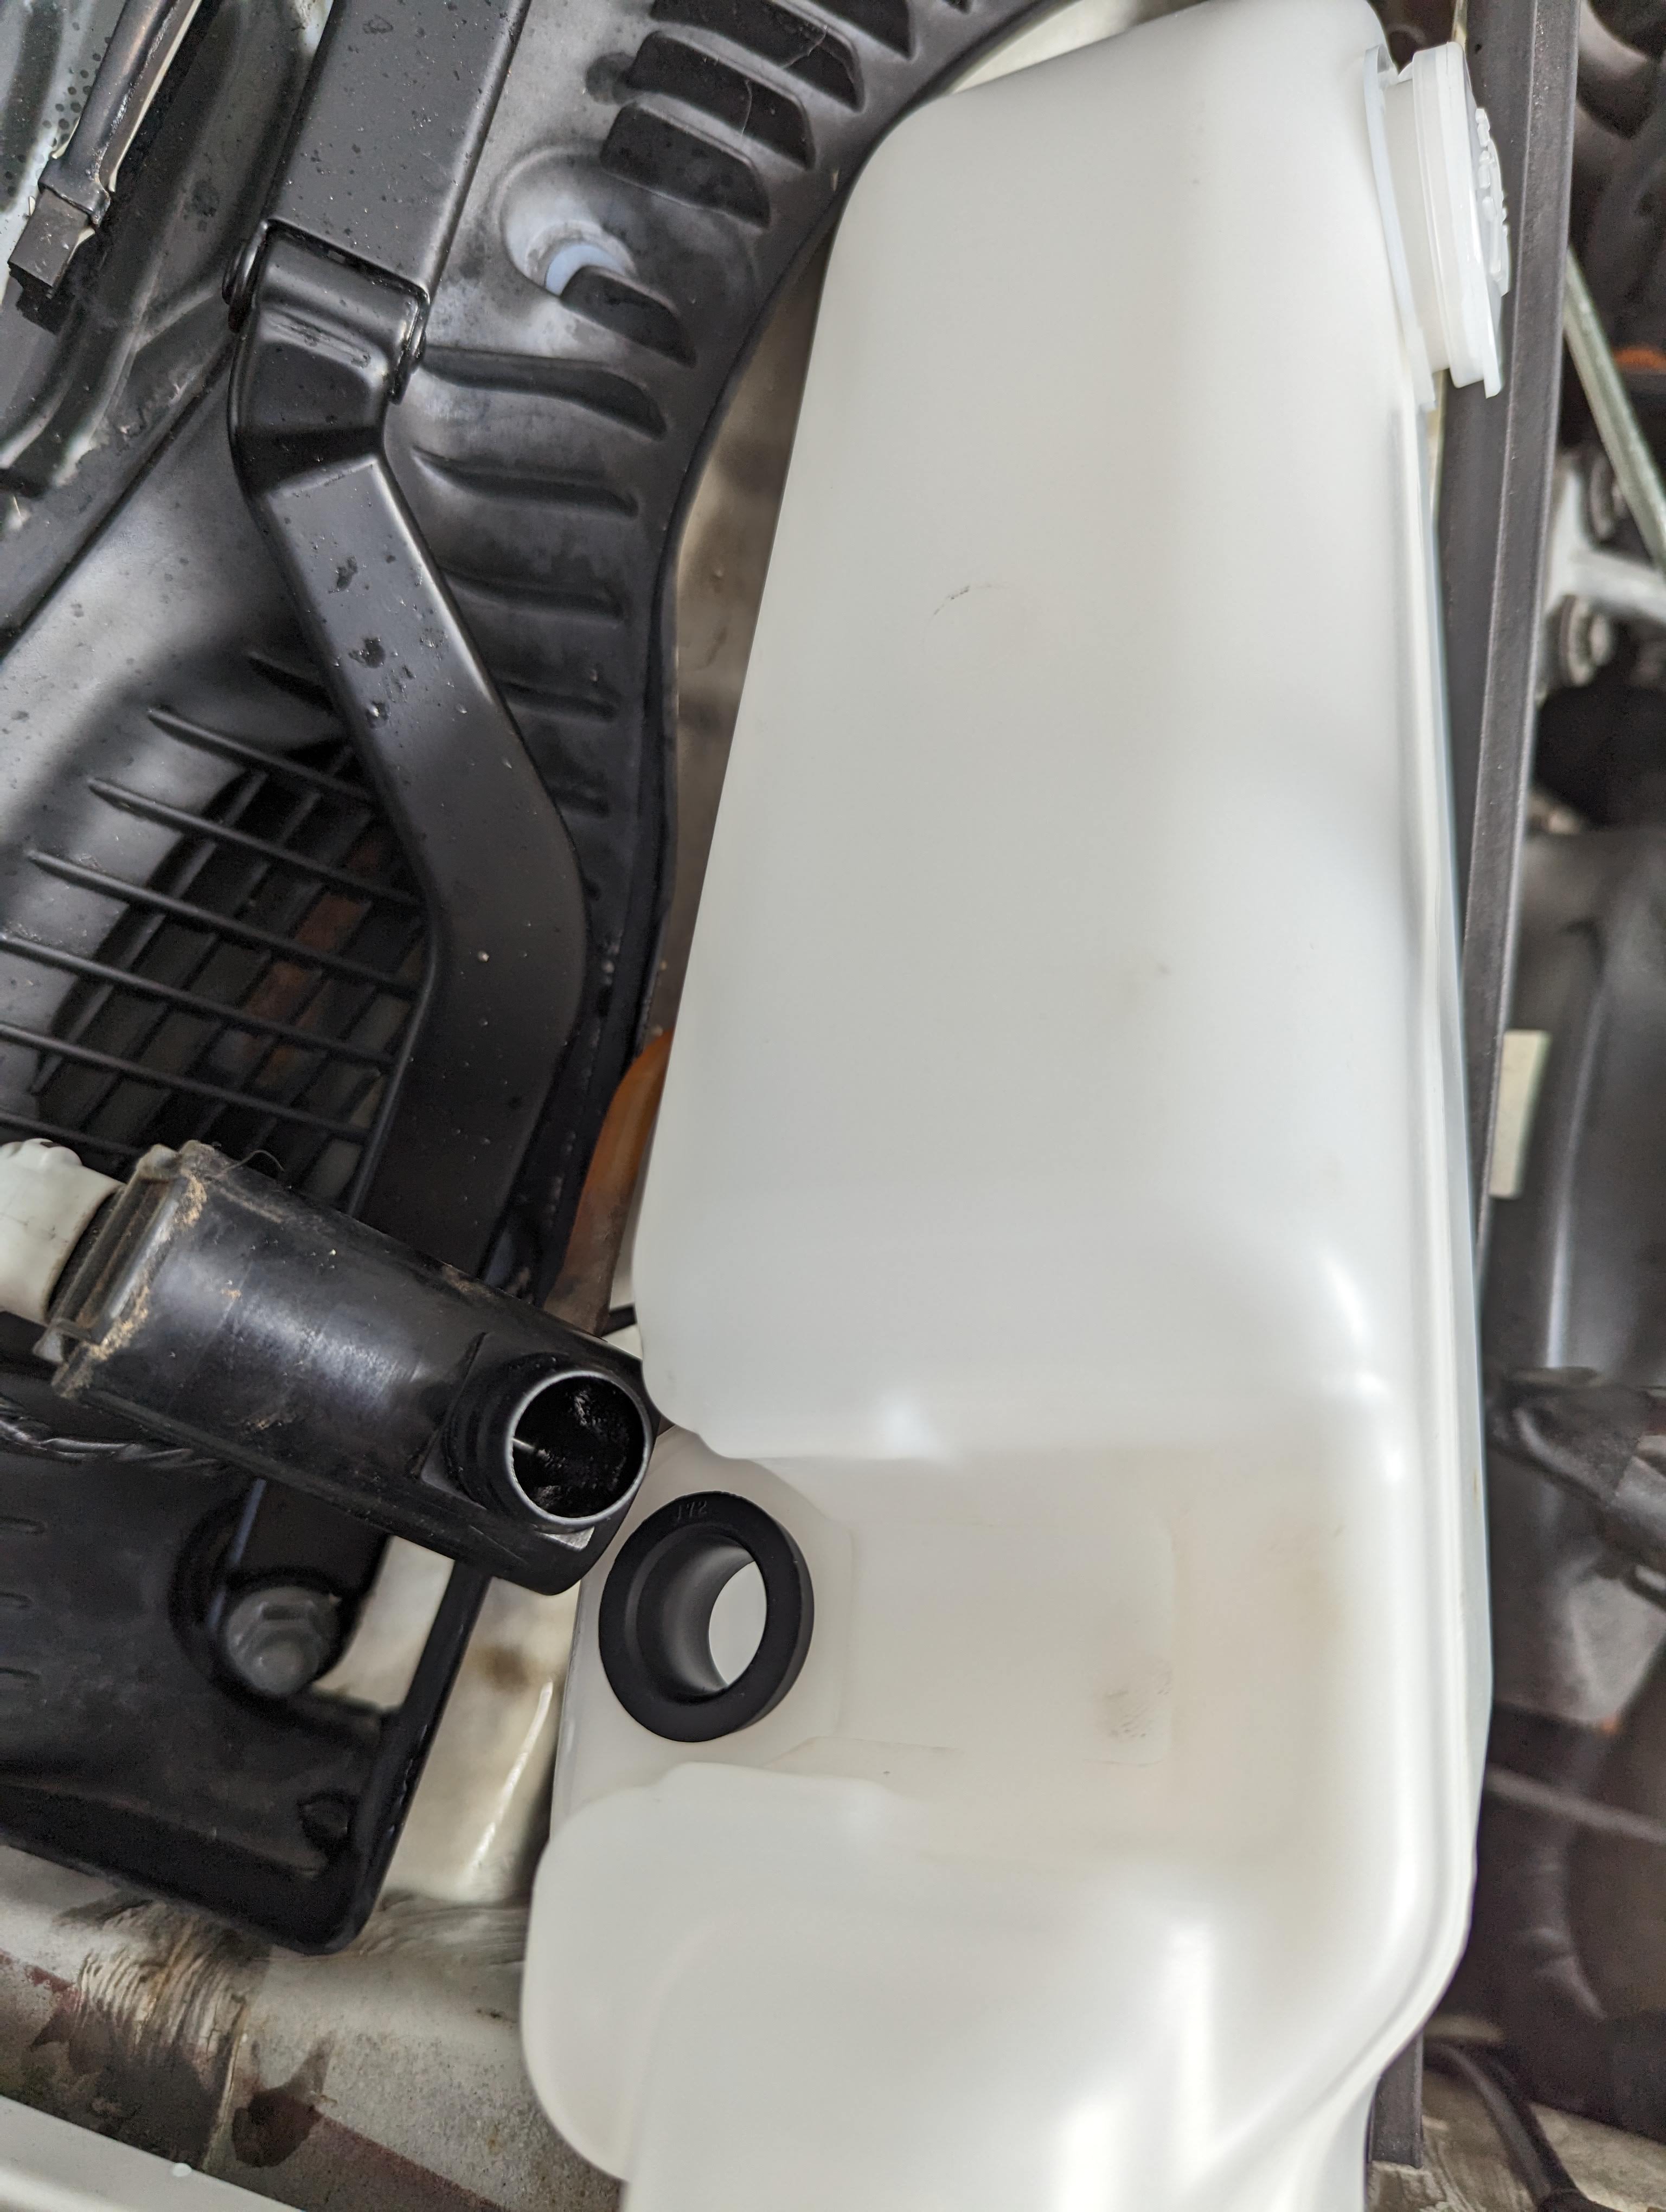
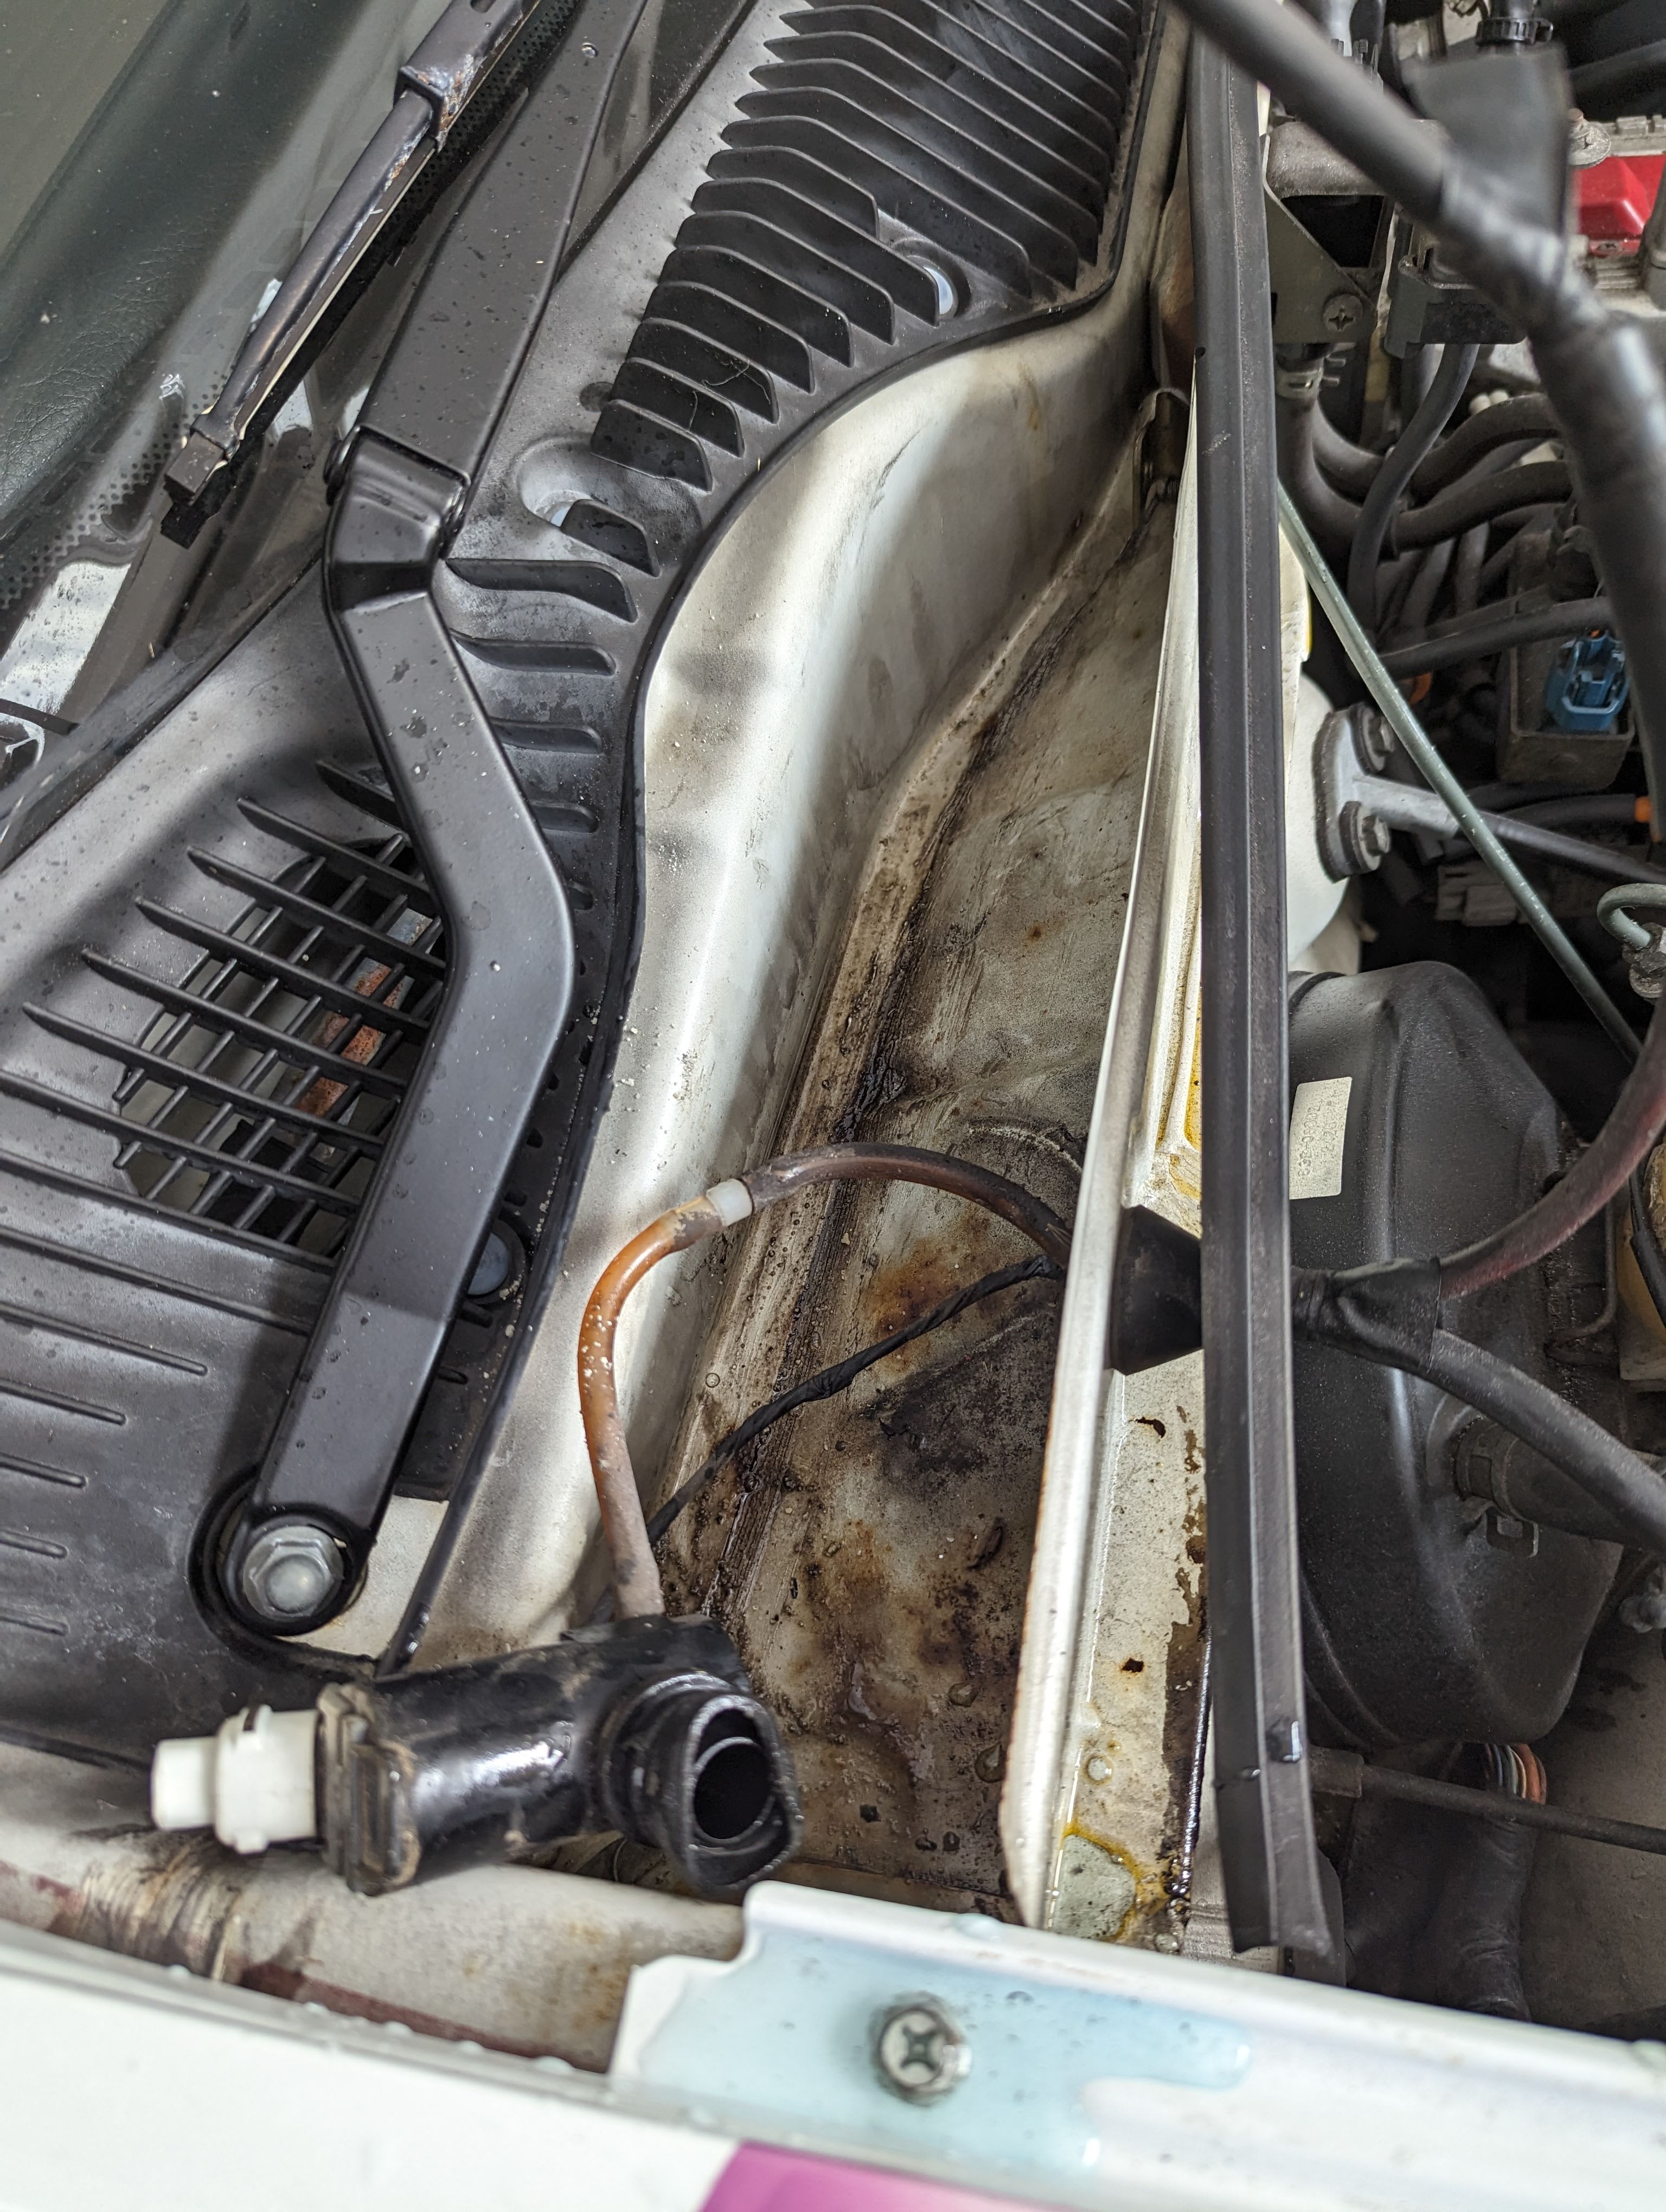
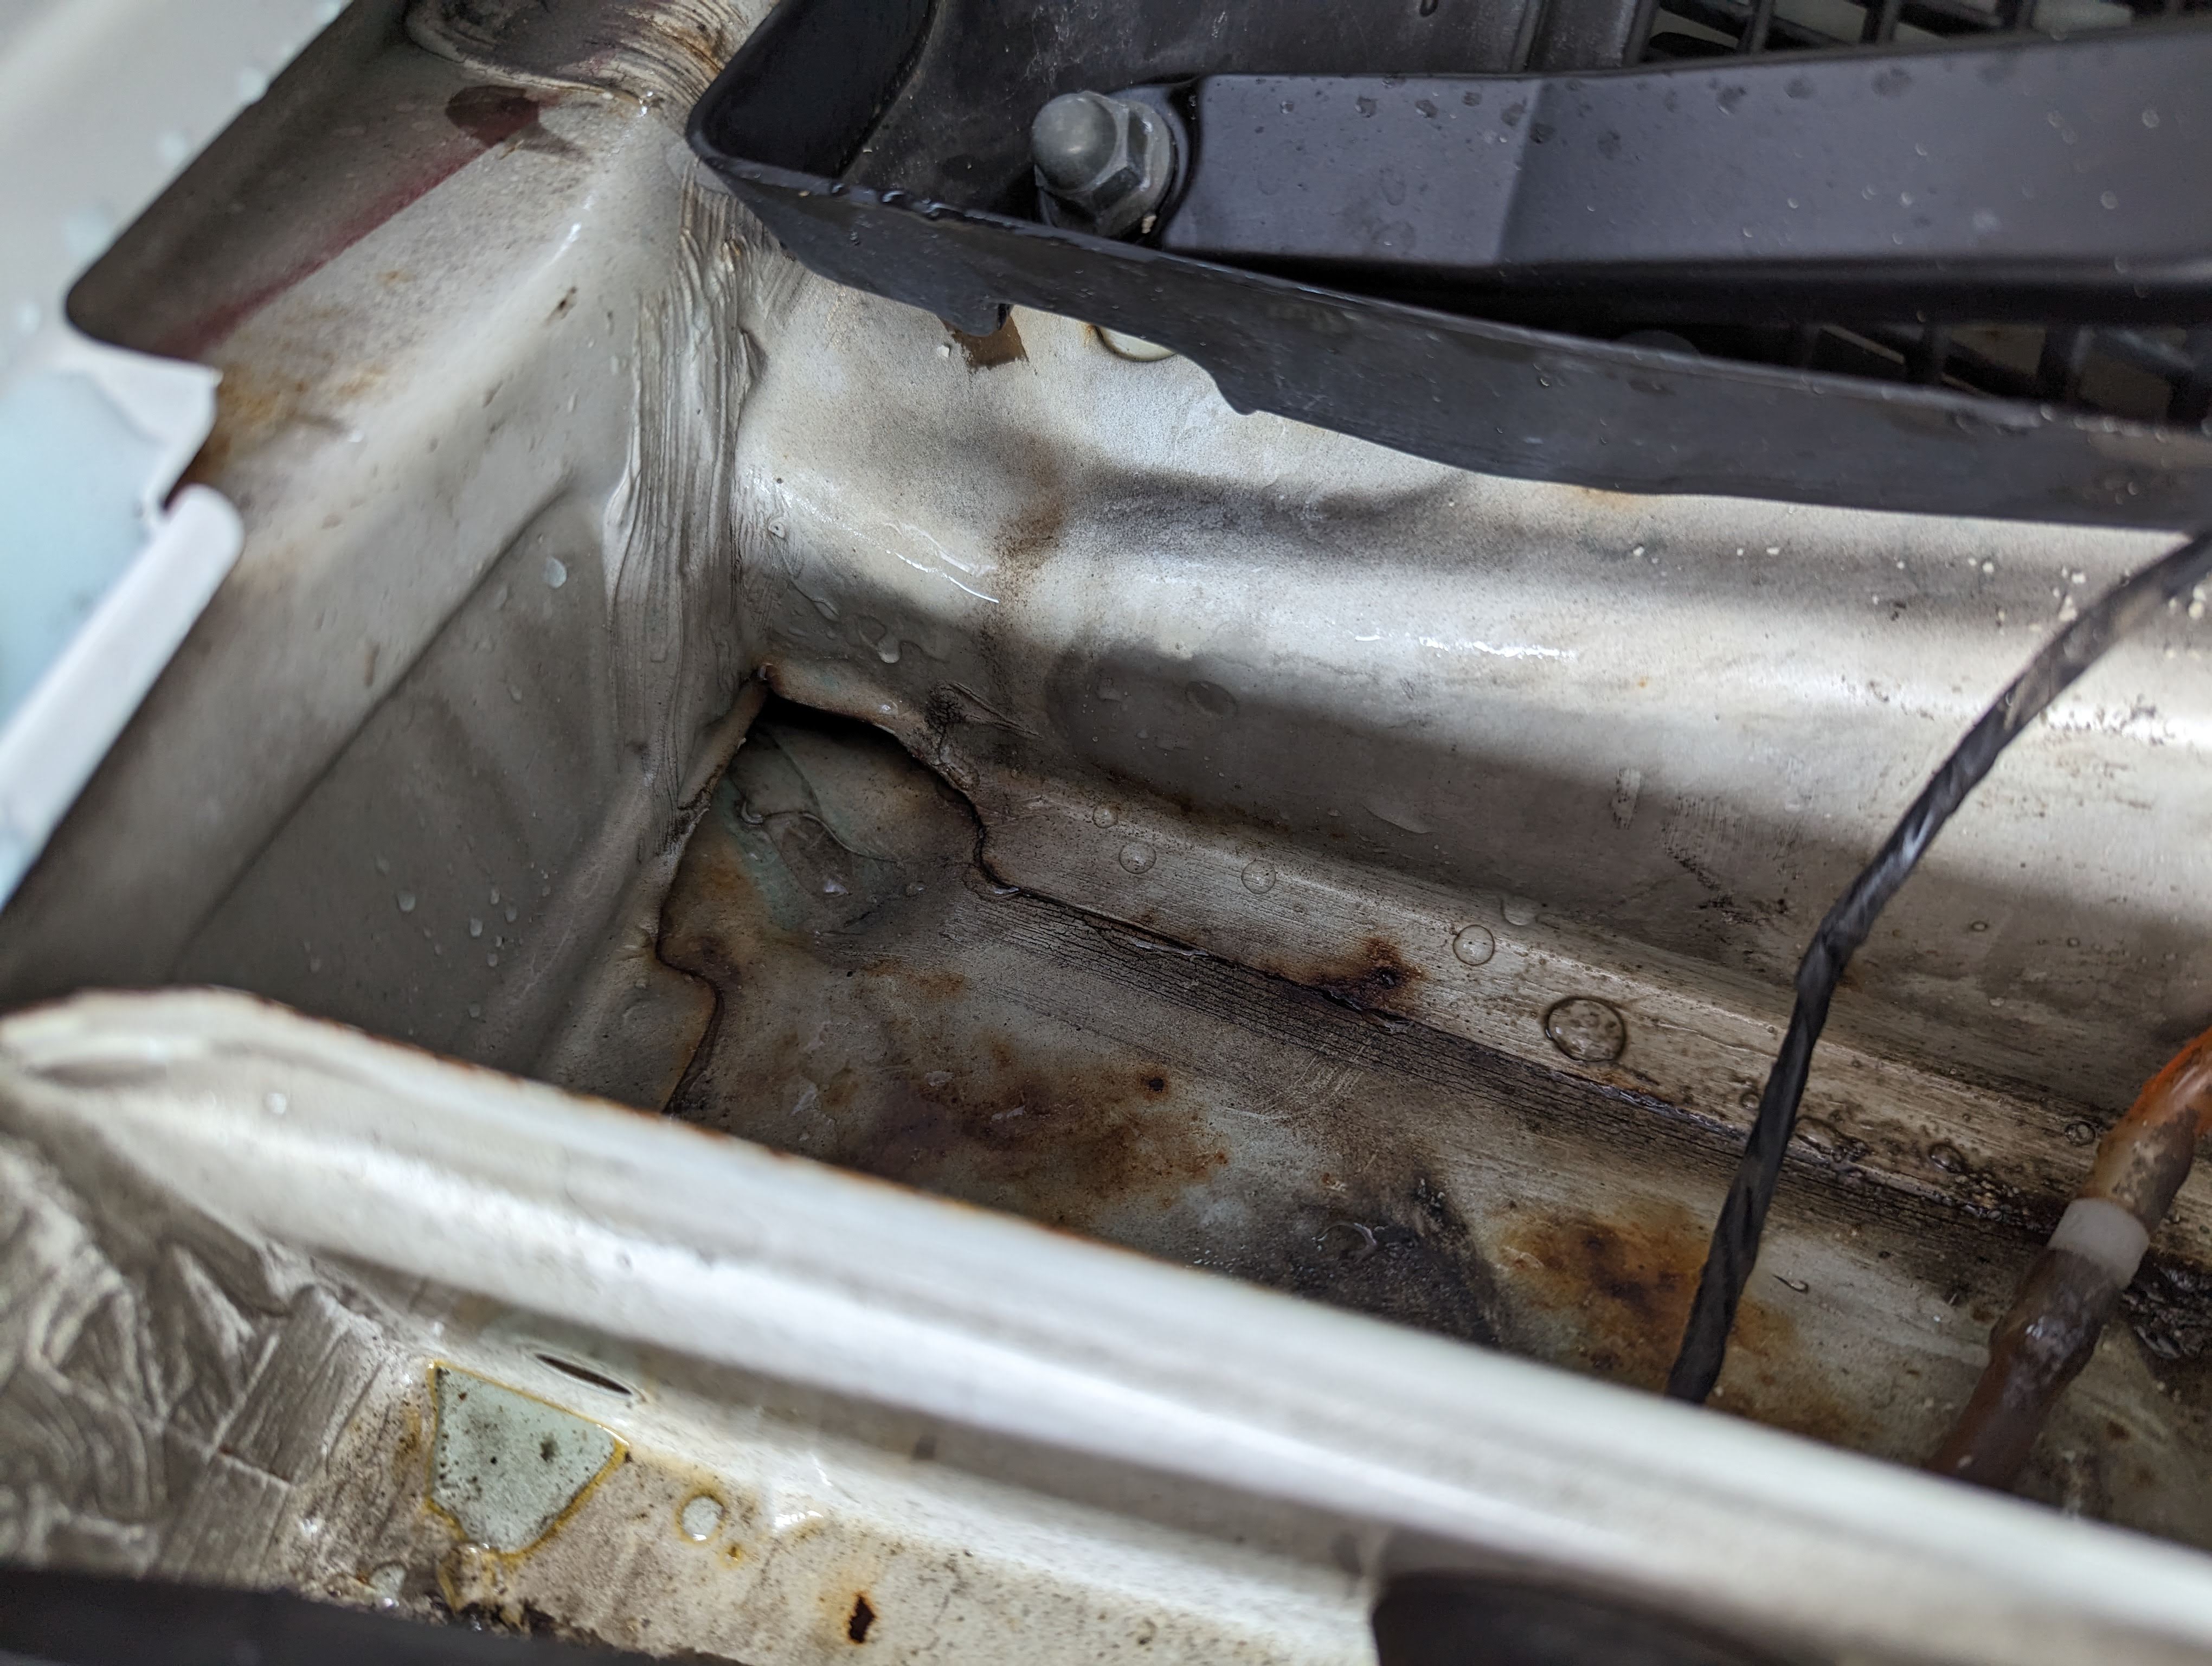
 Then you can remove the old tank. There was one clip on the passenger side of the tank I had to remove and put on the new tank.