
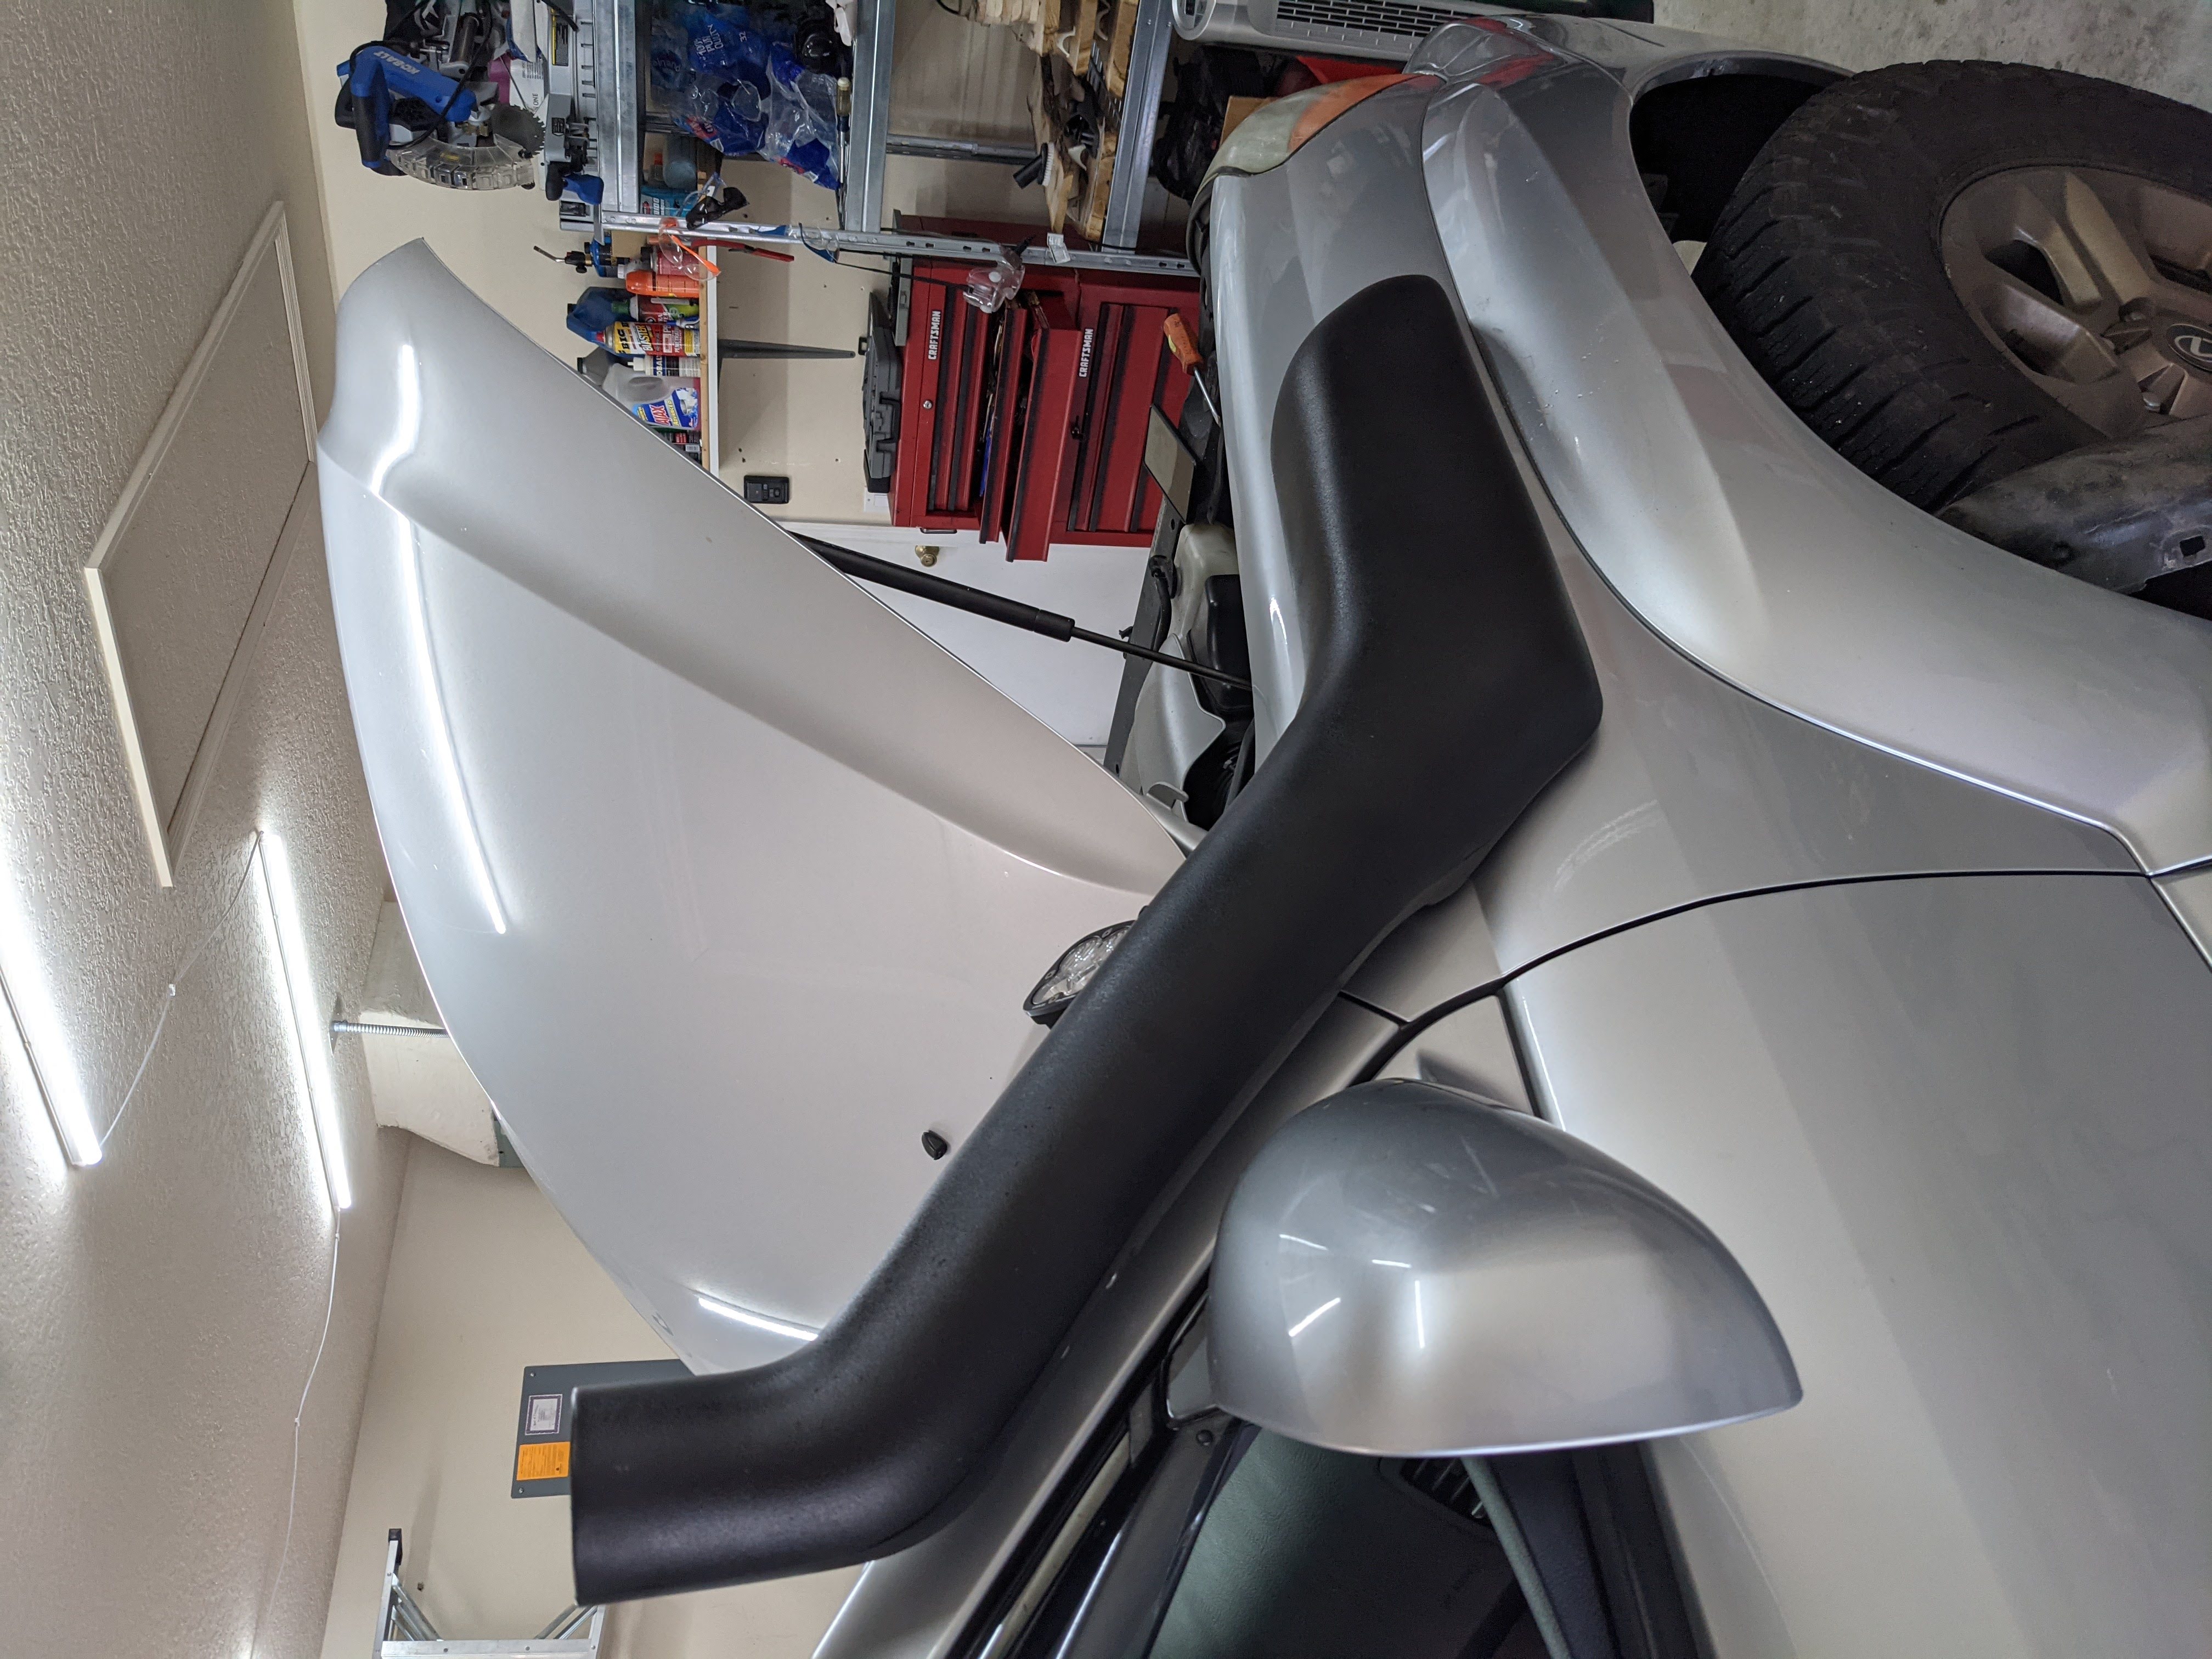
Lexus GX470 - ebay Snorkel Install
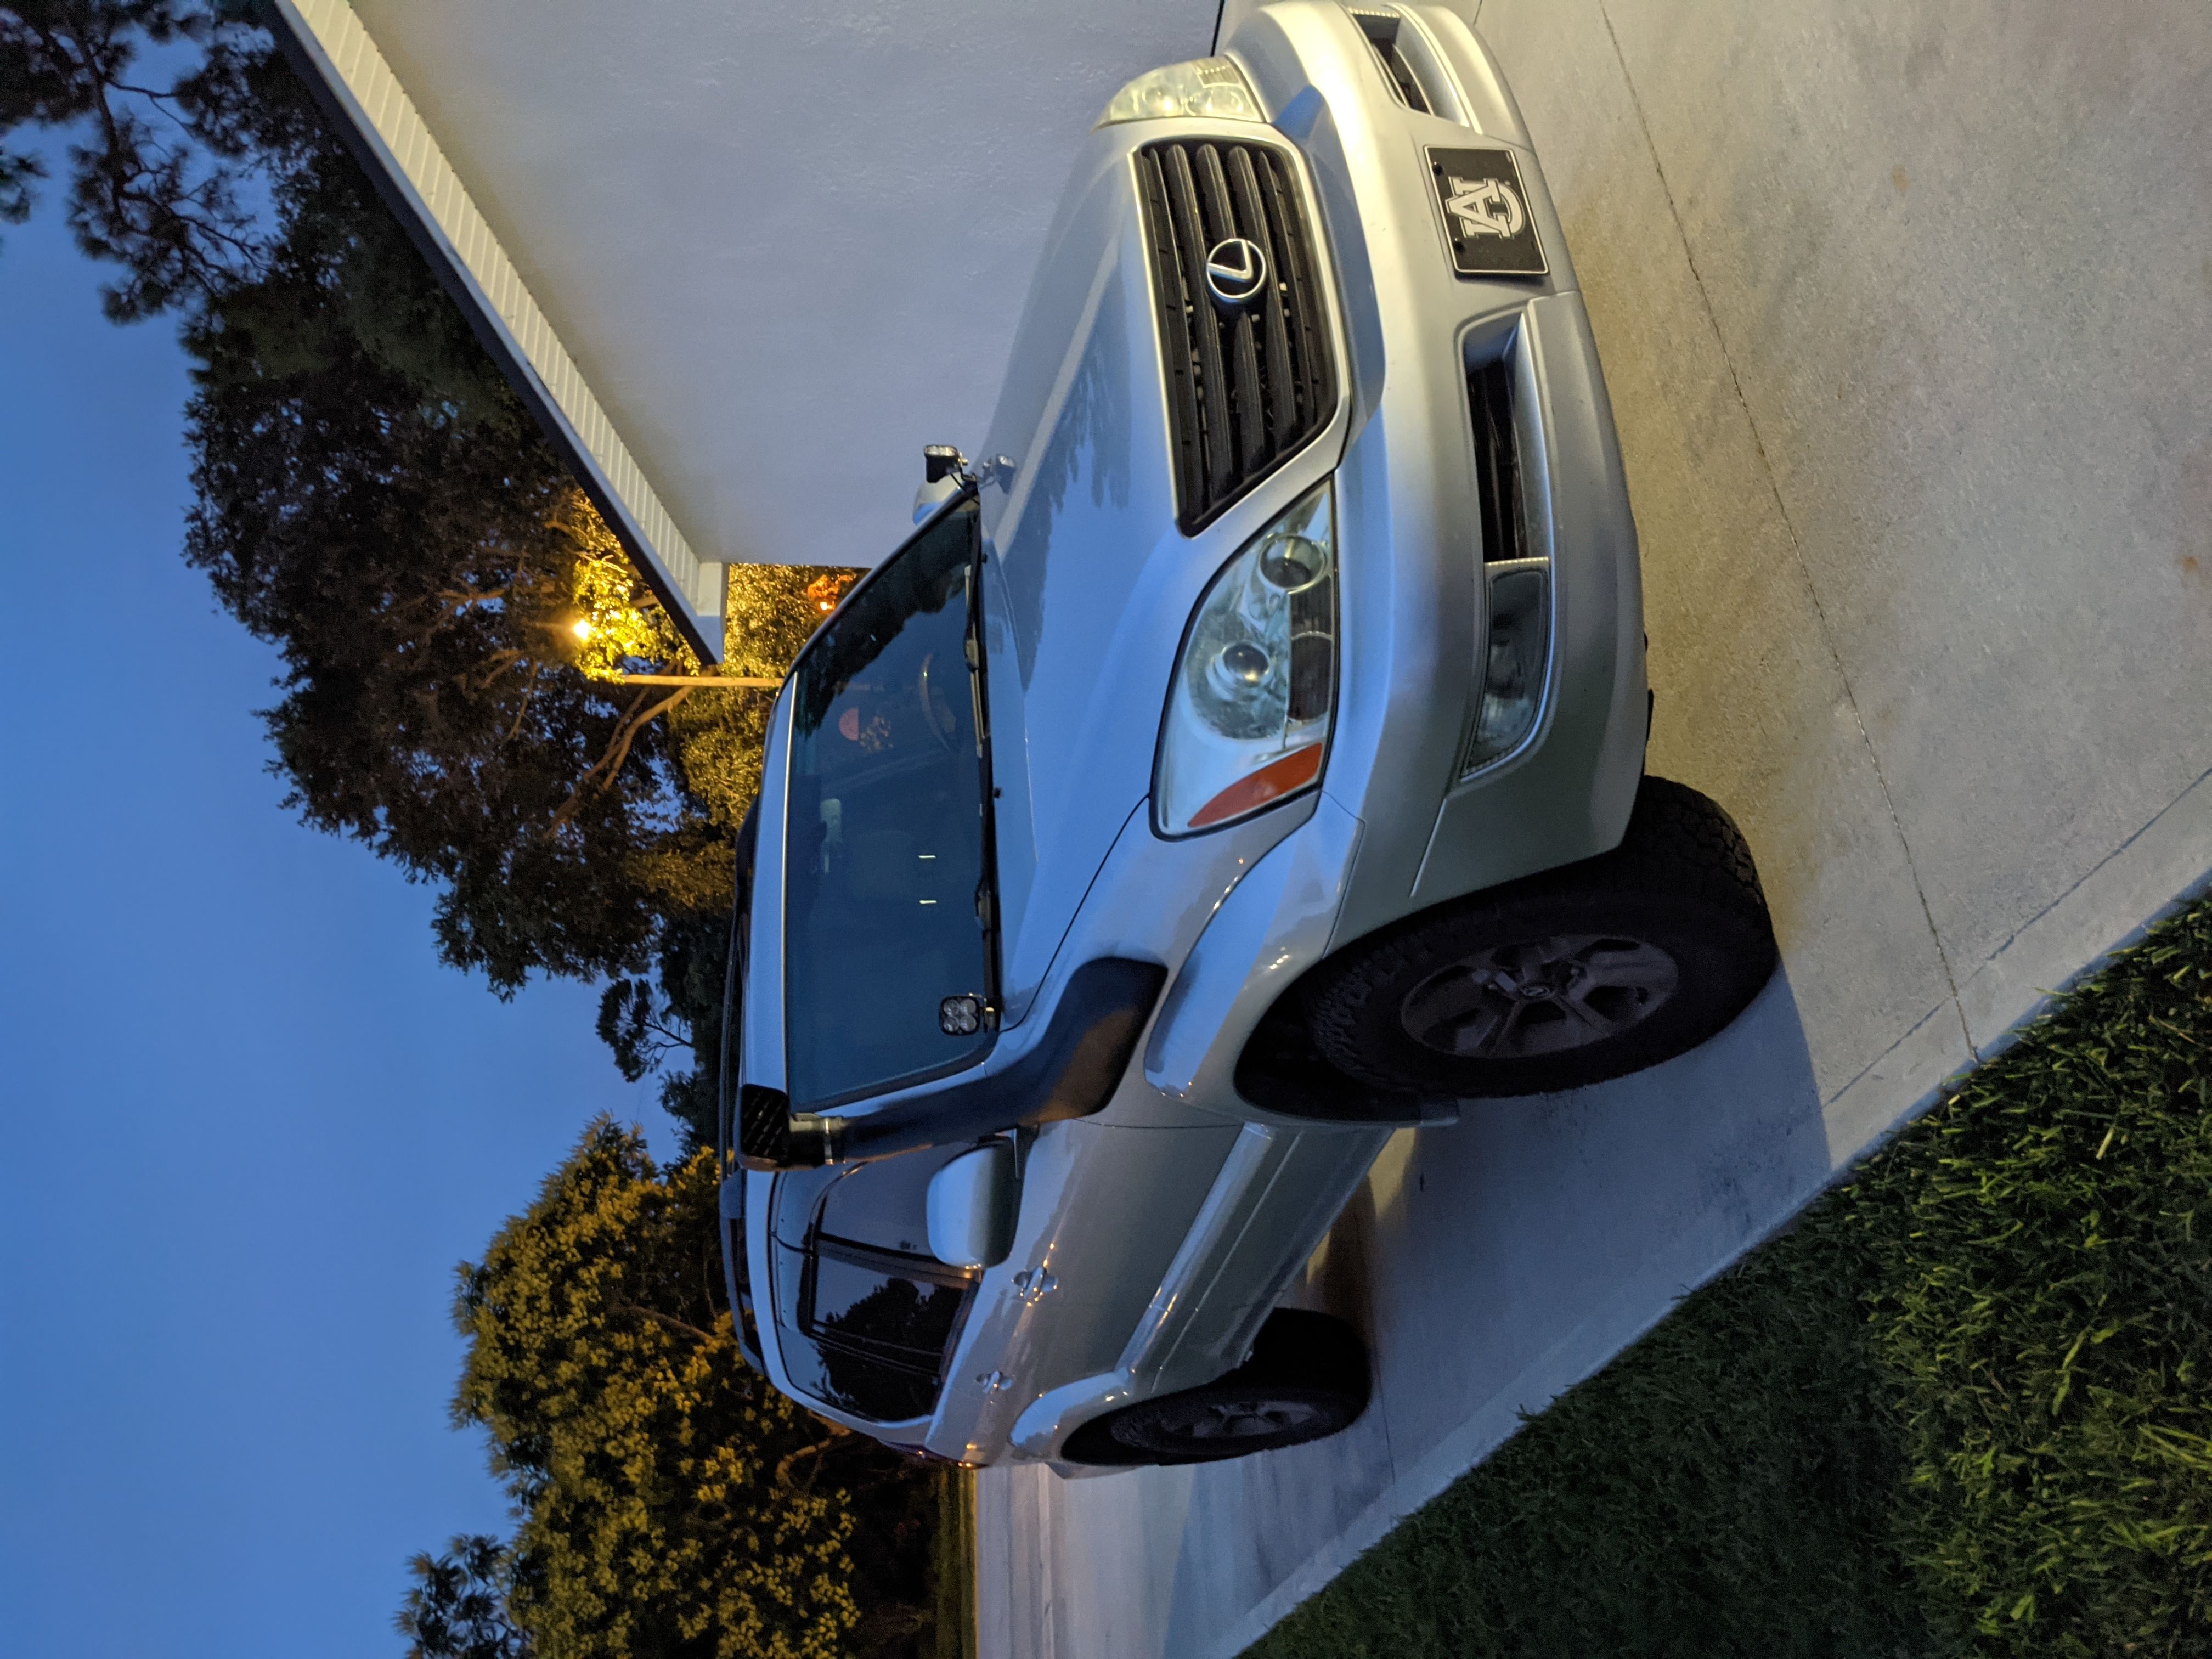
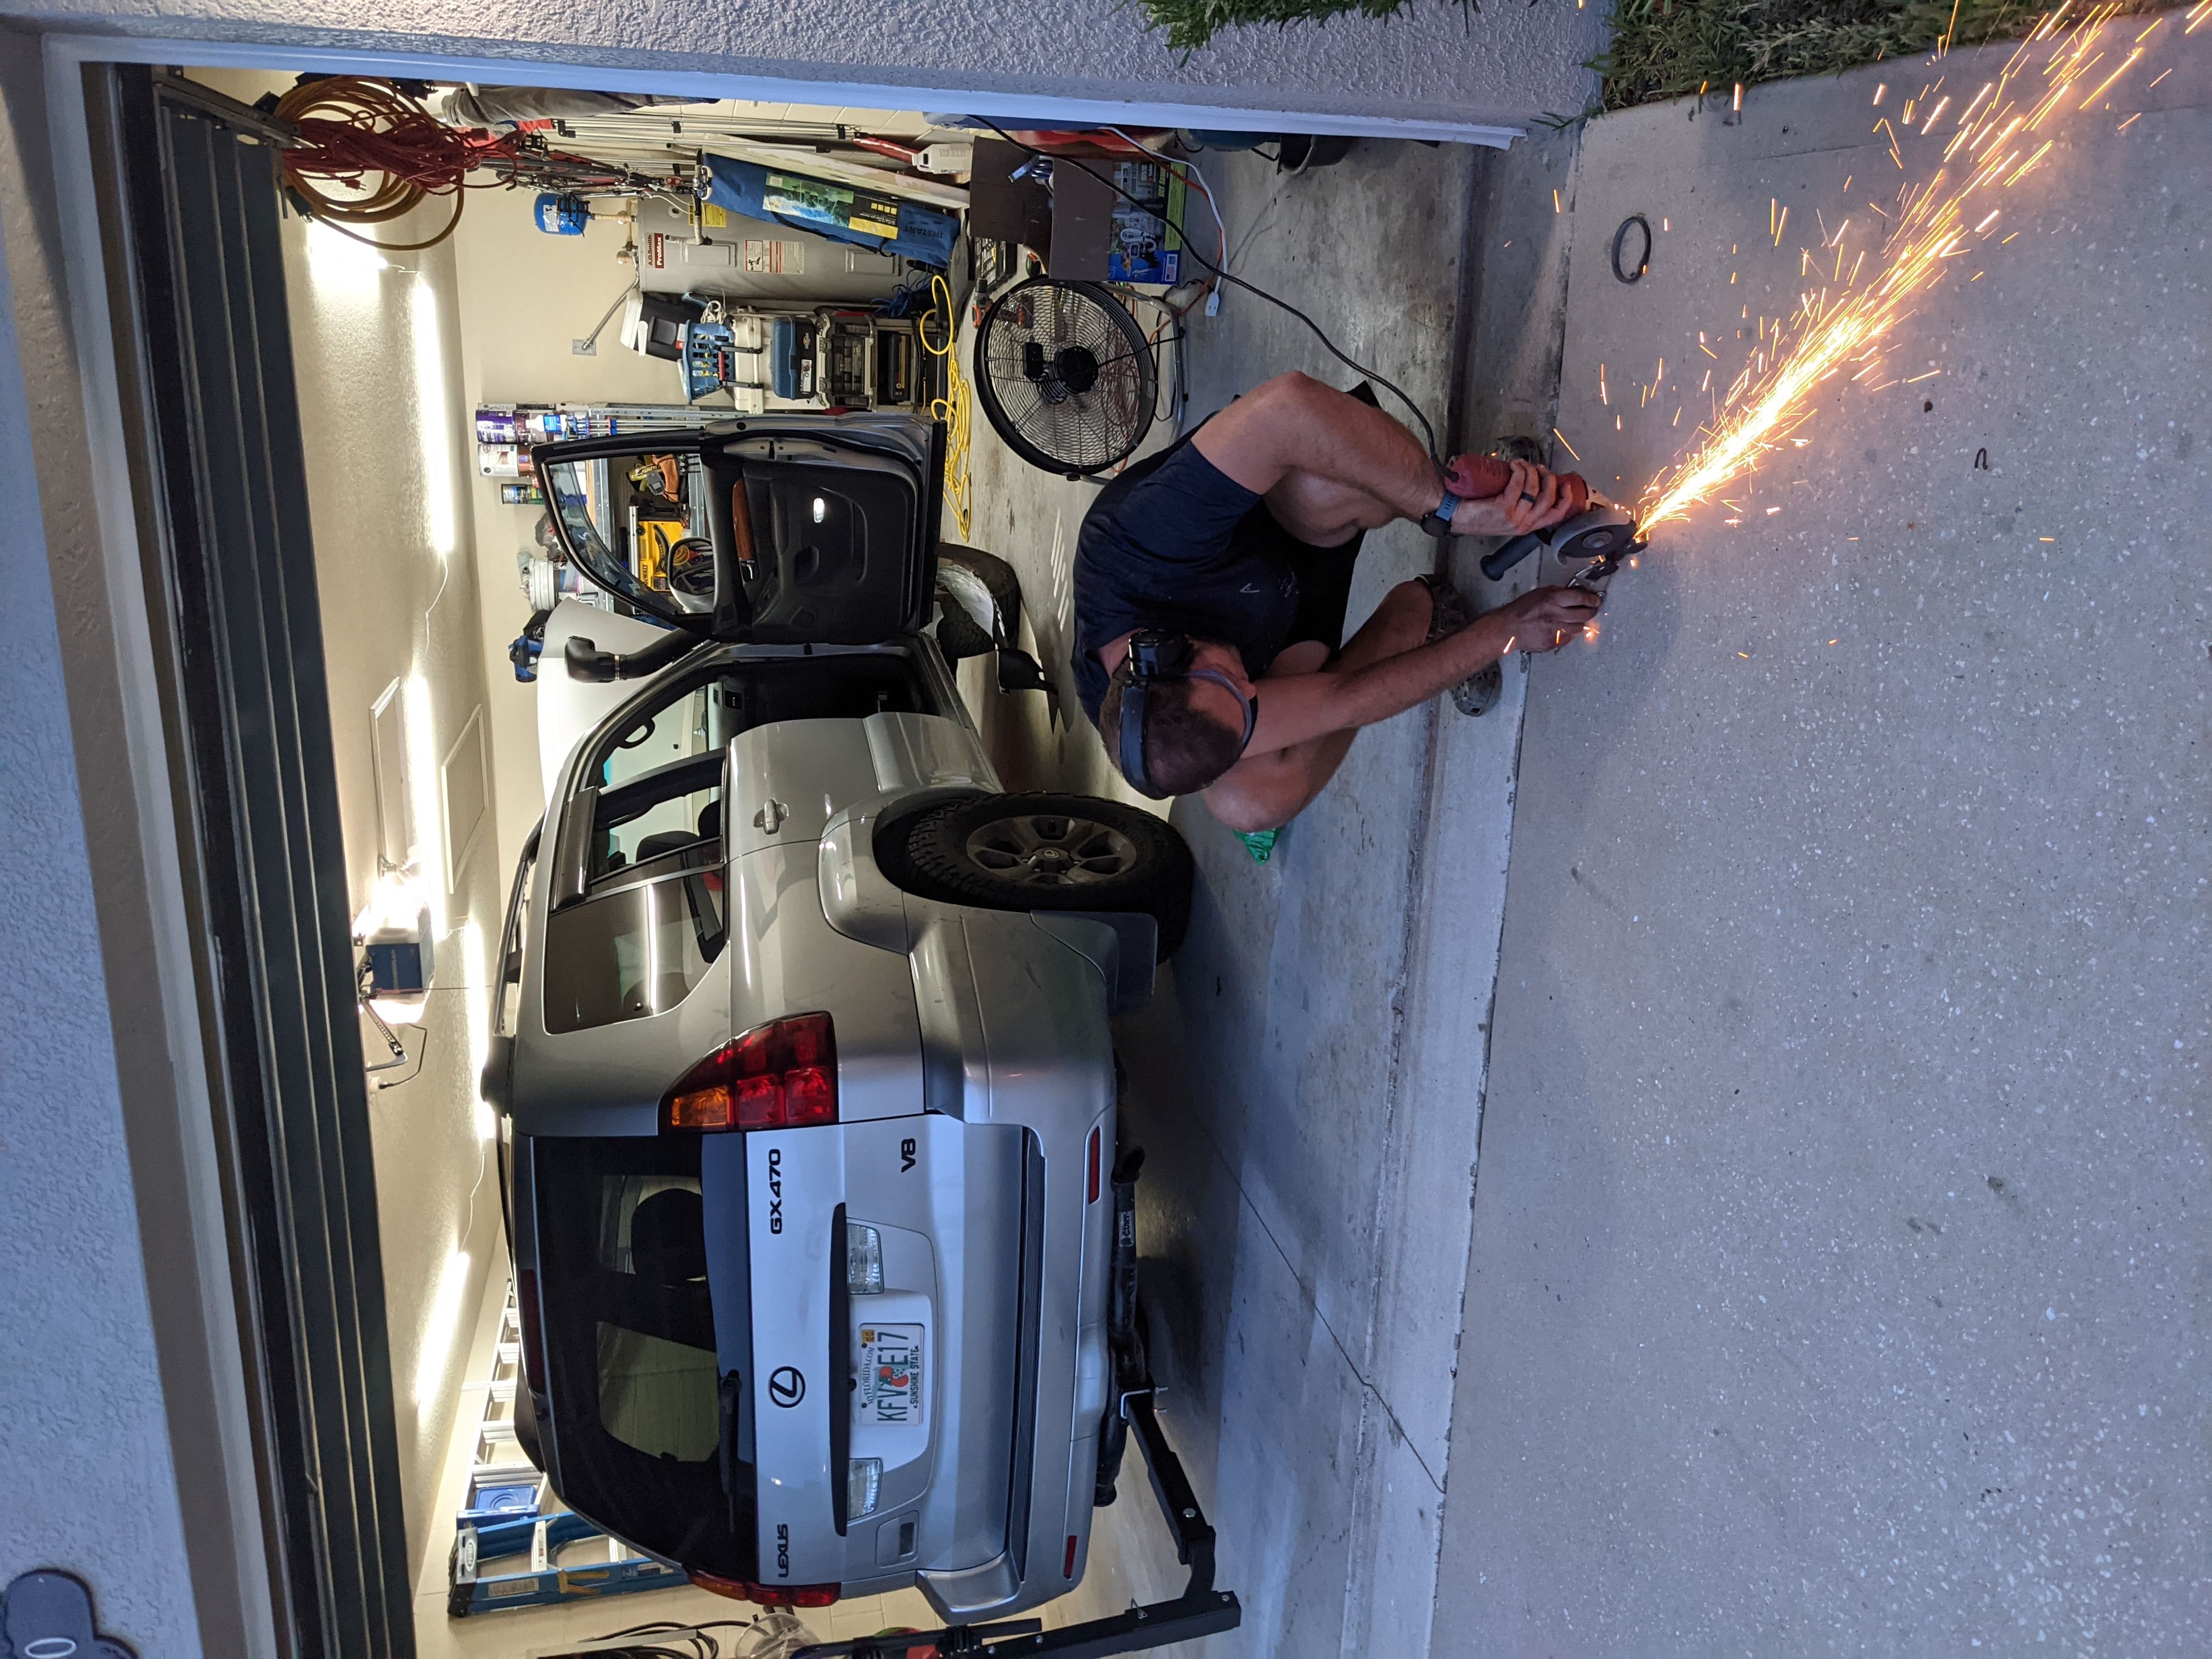
I installed my ebay Snorkel with the help of John Gregulak. As an eBay Partner Network Affiliate, I earn from qualifying purchases. This is a cheap mod that looks cool, but it is a pretty big hassle to install. It took about 4 hours to install, and $145 of parts and materials.
I used the writeup on Zack’s blog and some other posts on GXOR to choose the ebay snorkel and how to install. This snorkel fits with the Rago Ditch lights bracket
Other options include the Ironman Snorkel, the ARB Safari Snorkel, and the JW Offroad Snorkel. These cost much more, and the general consensus is that the more expensive snorkels are just as difficult to install, so I went the cheap route.
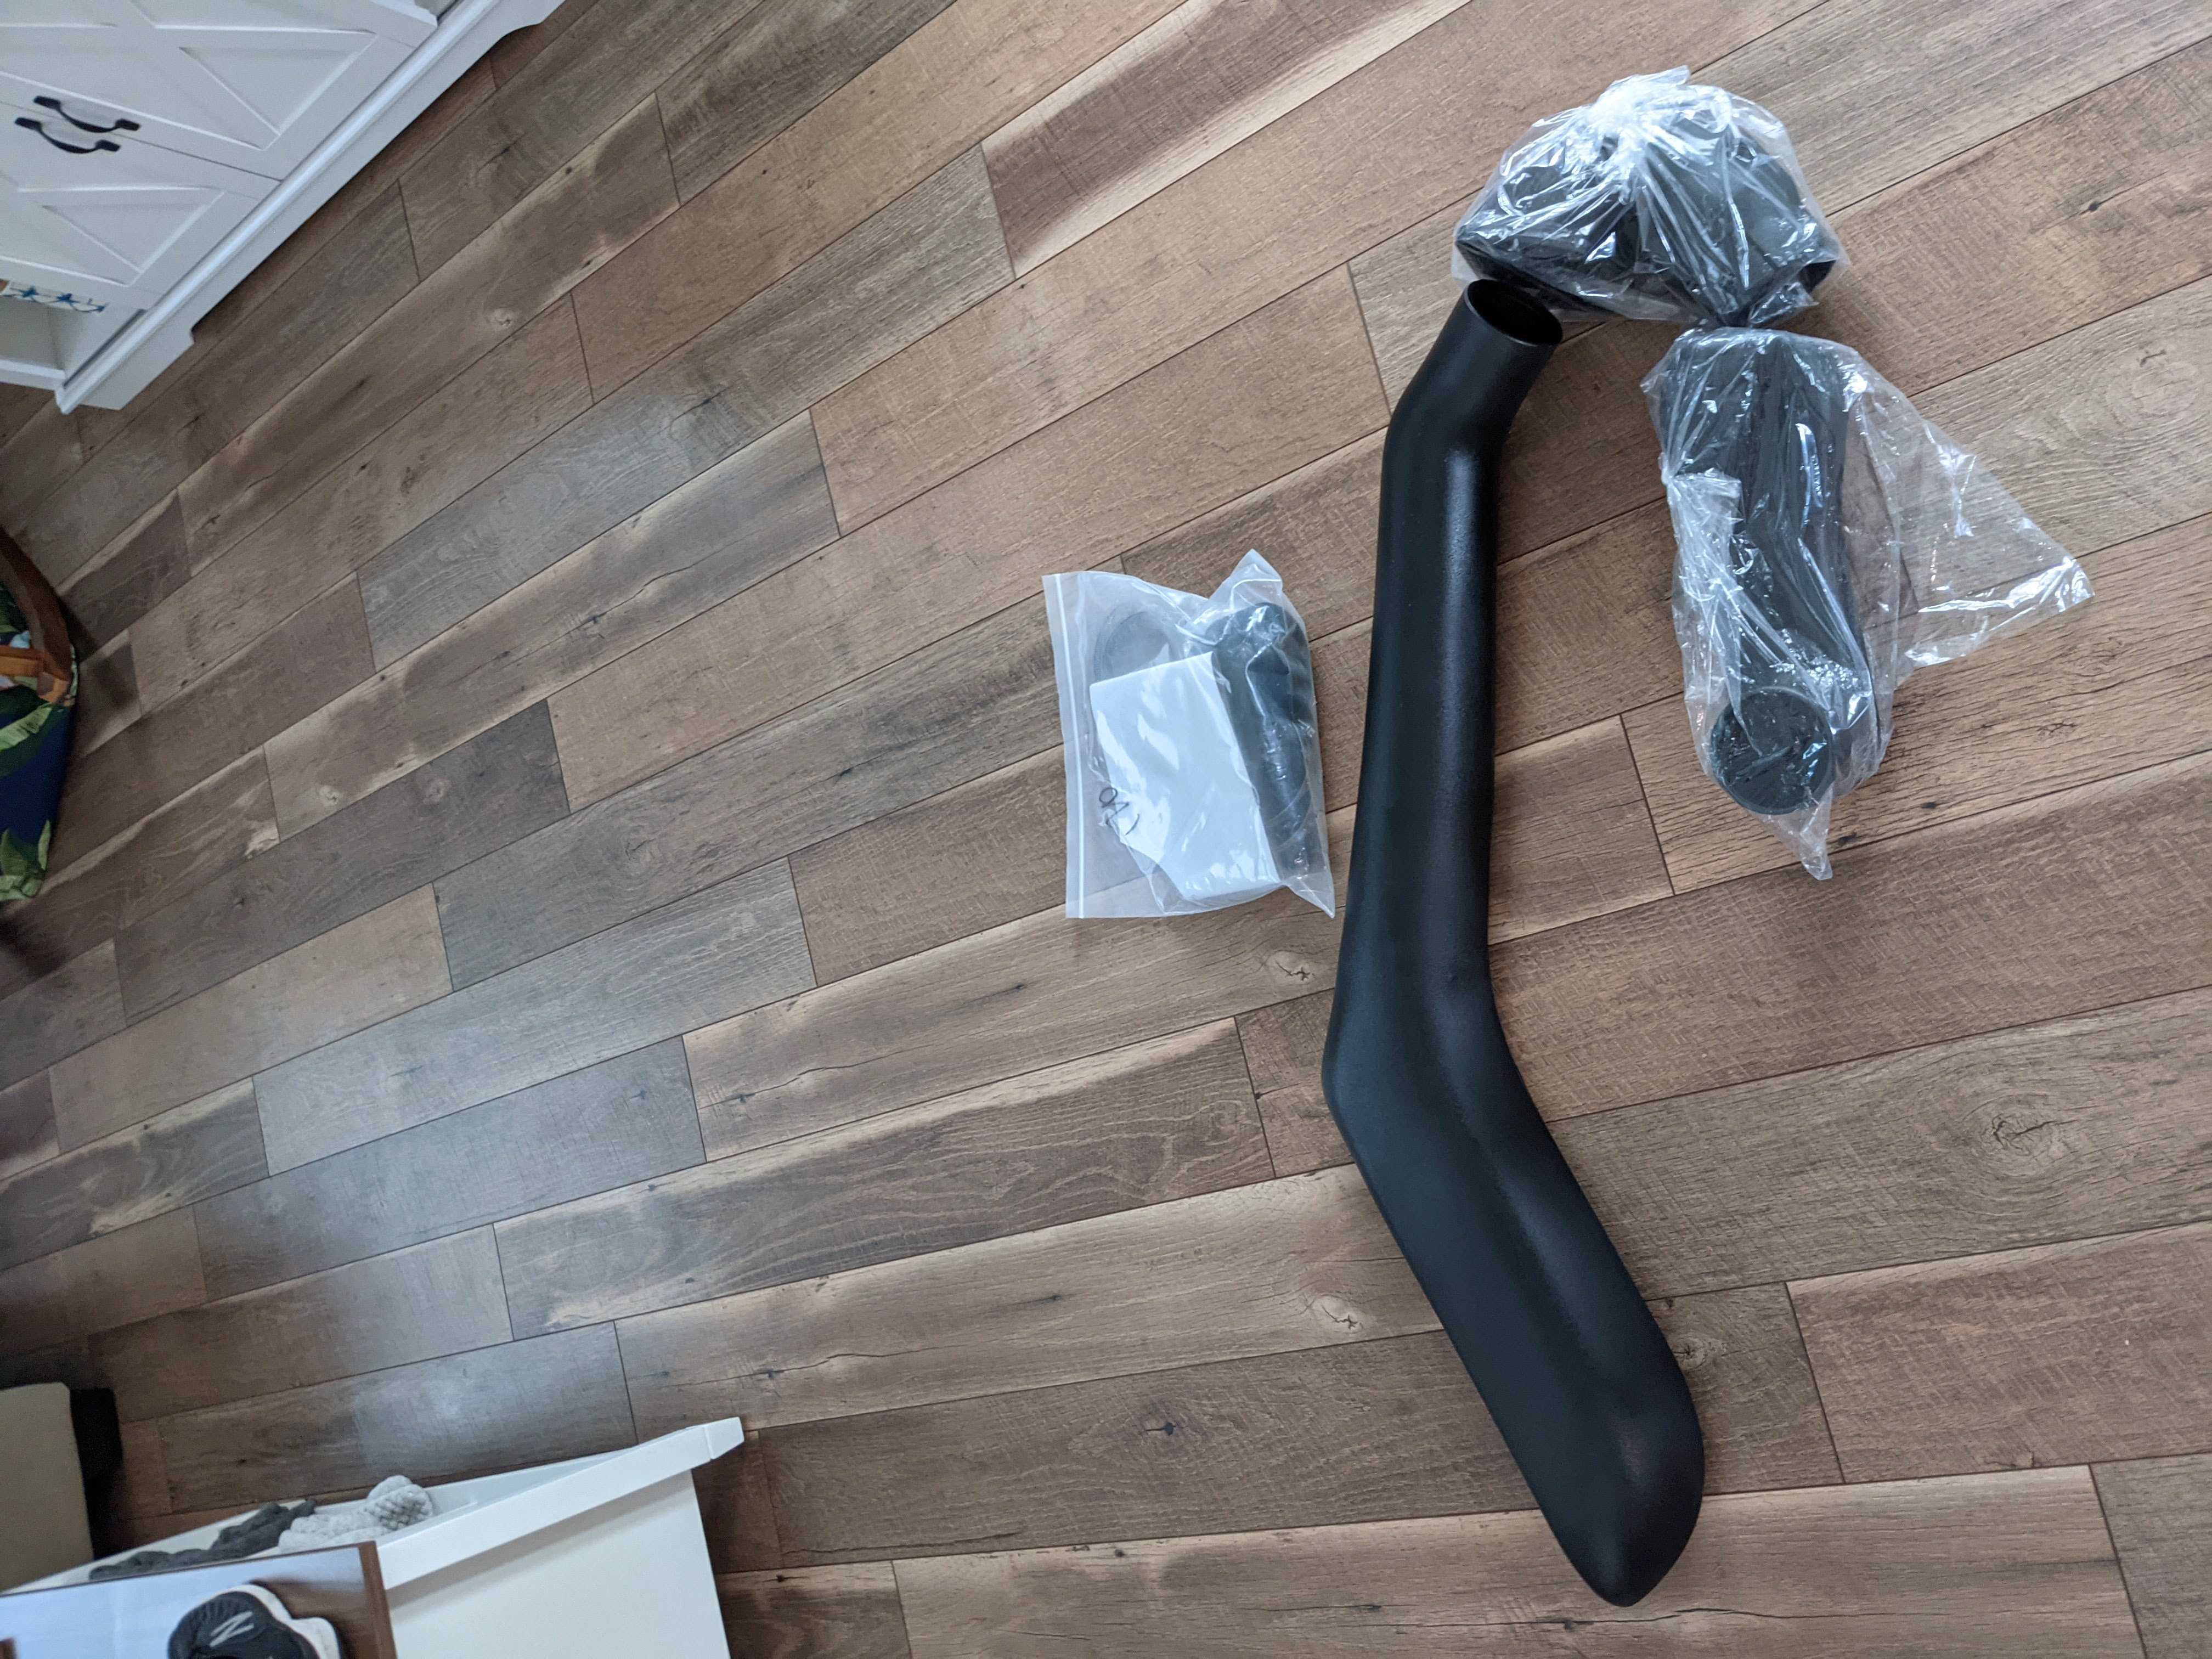
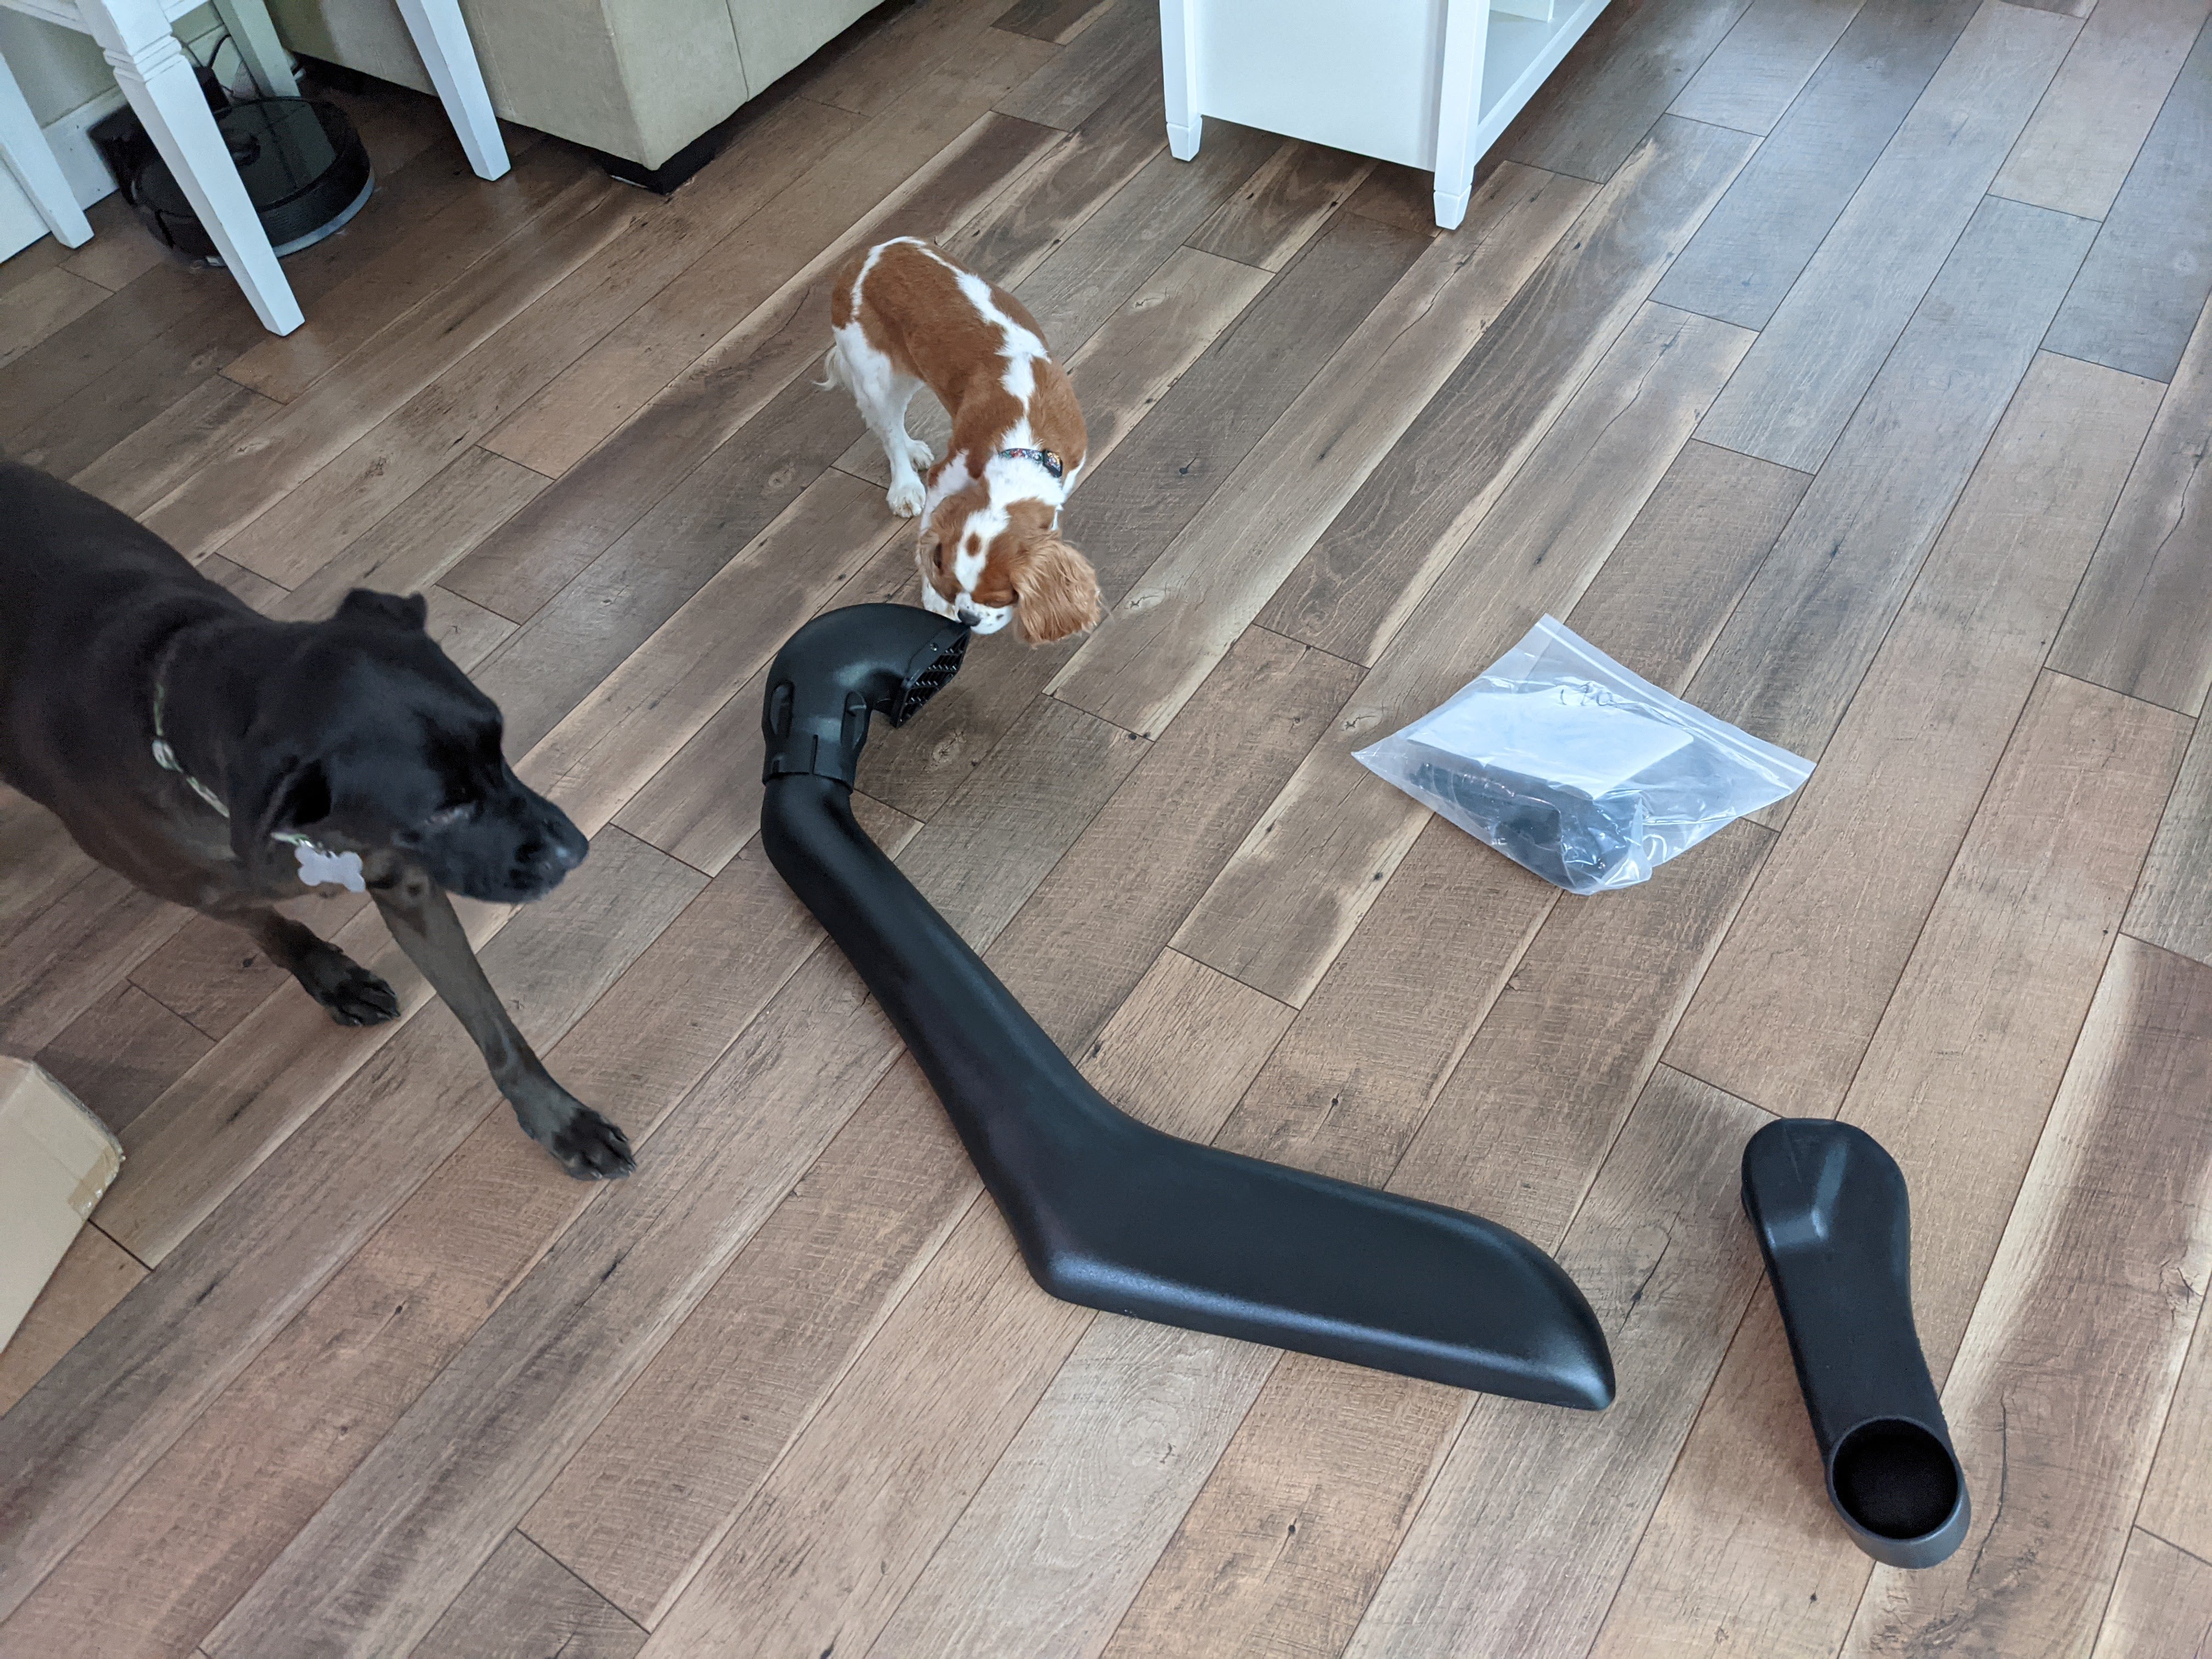
Parts Used:
- ebay Snorkel or Amazon snorkel
- 2x Rare Earth Magents
- Electrical tape, painters tape, drill bits, power tools, etc.
Notes:
- Have the allen head side of the 5 bolts you put into the snorkel facing out
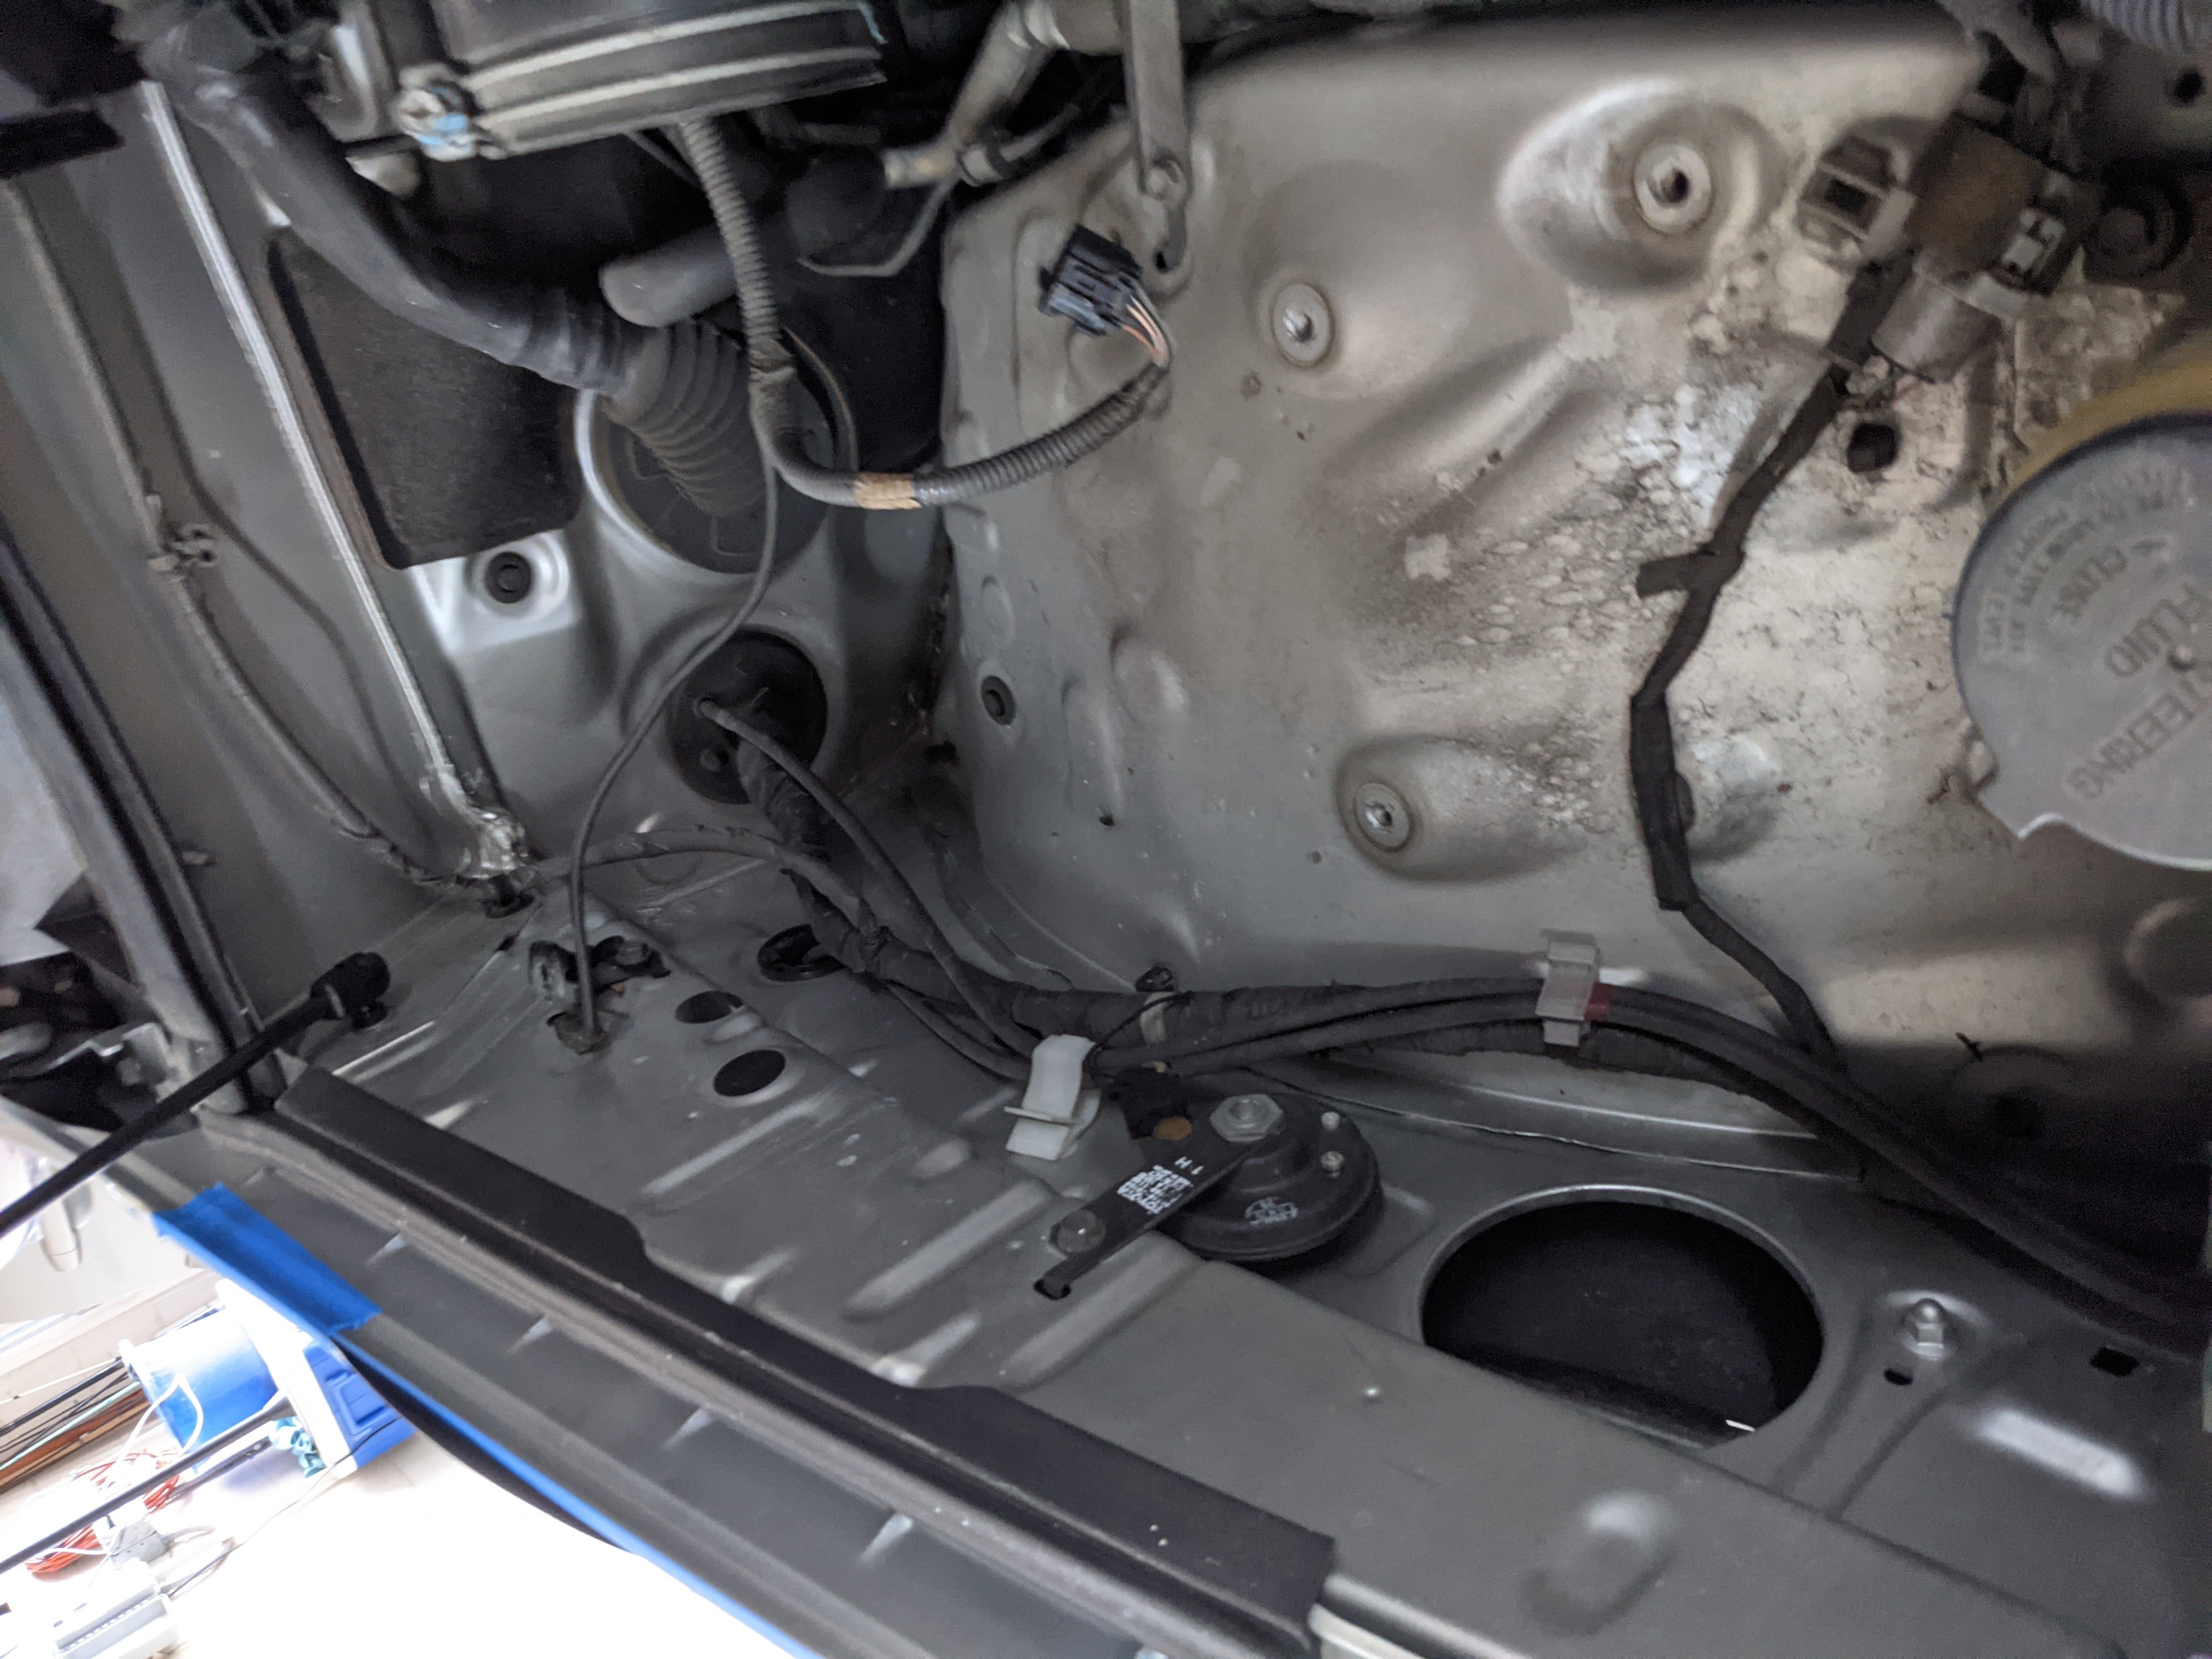
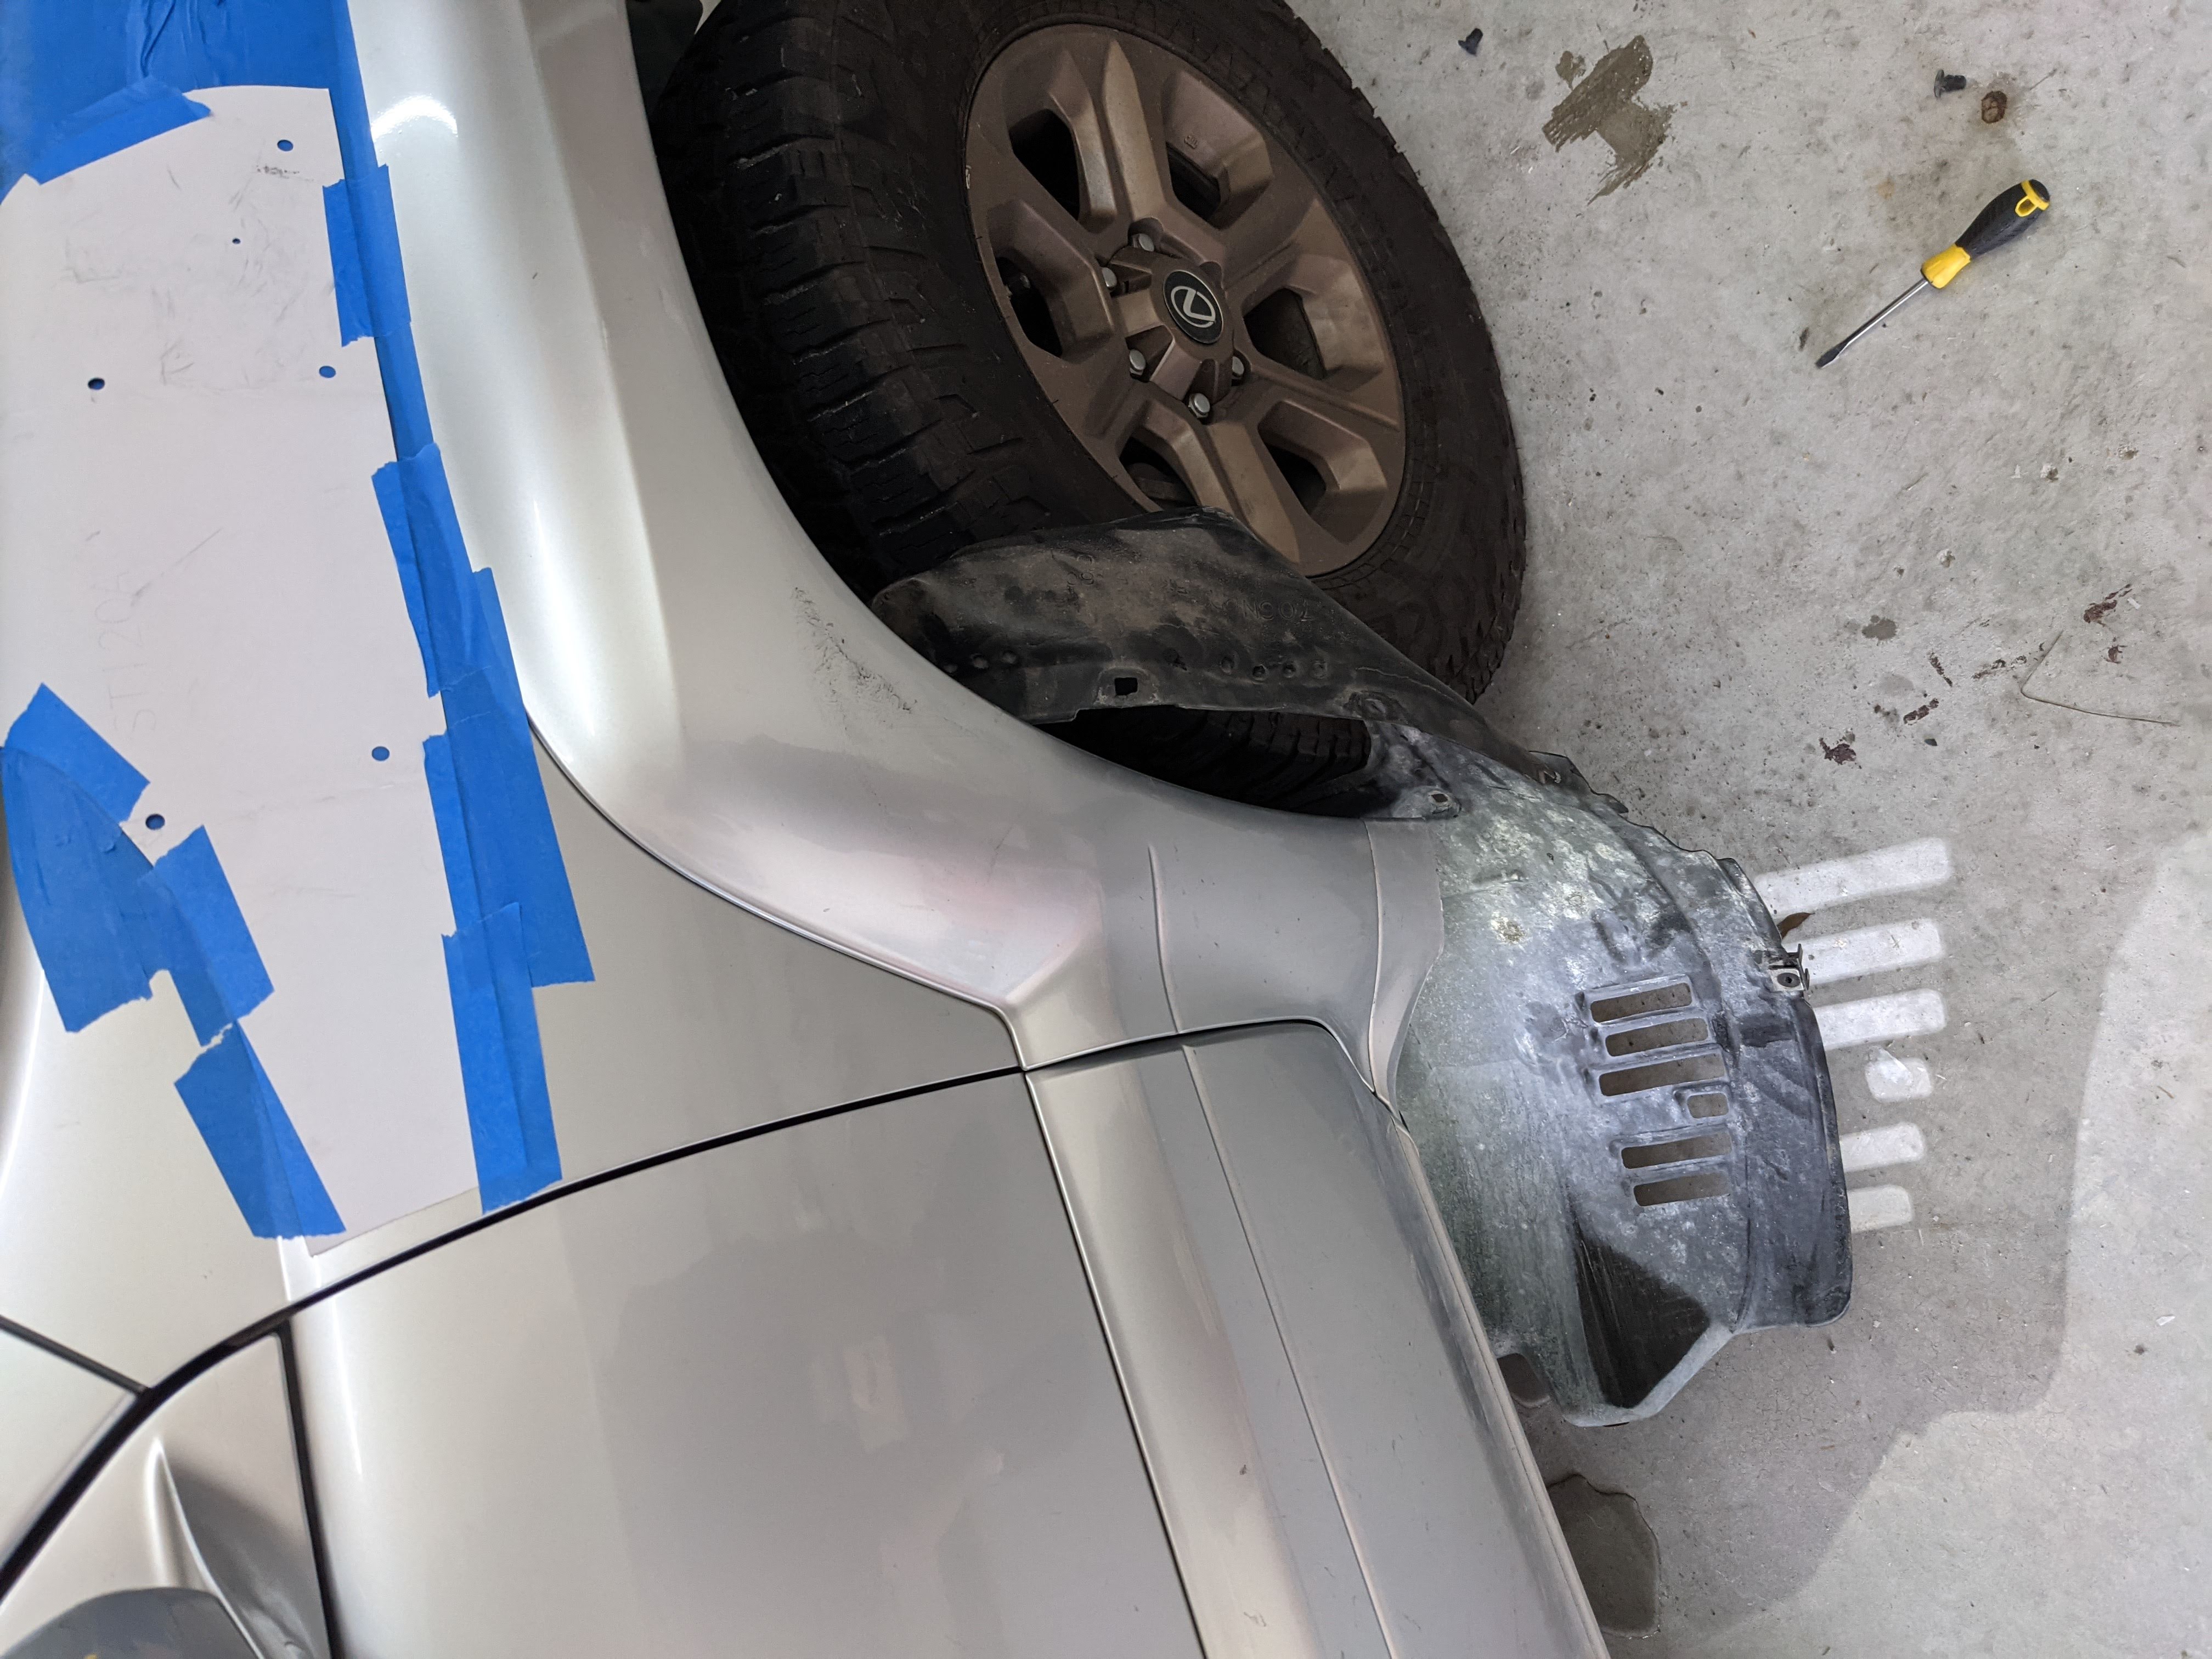
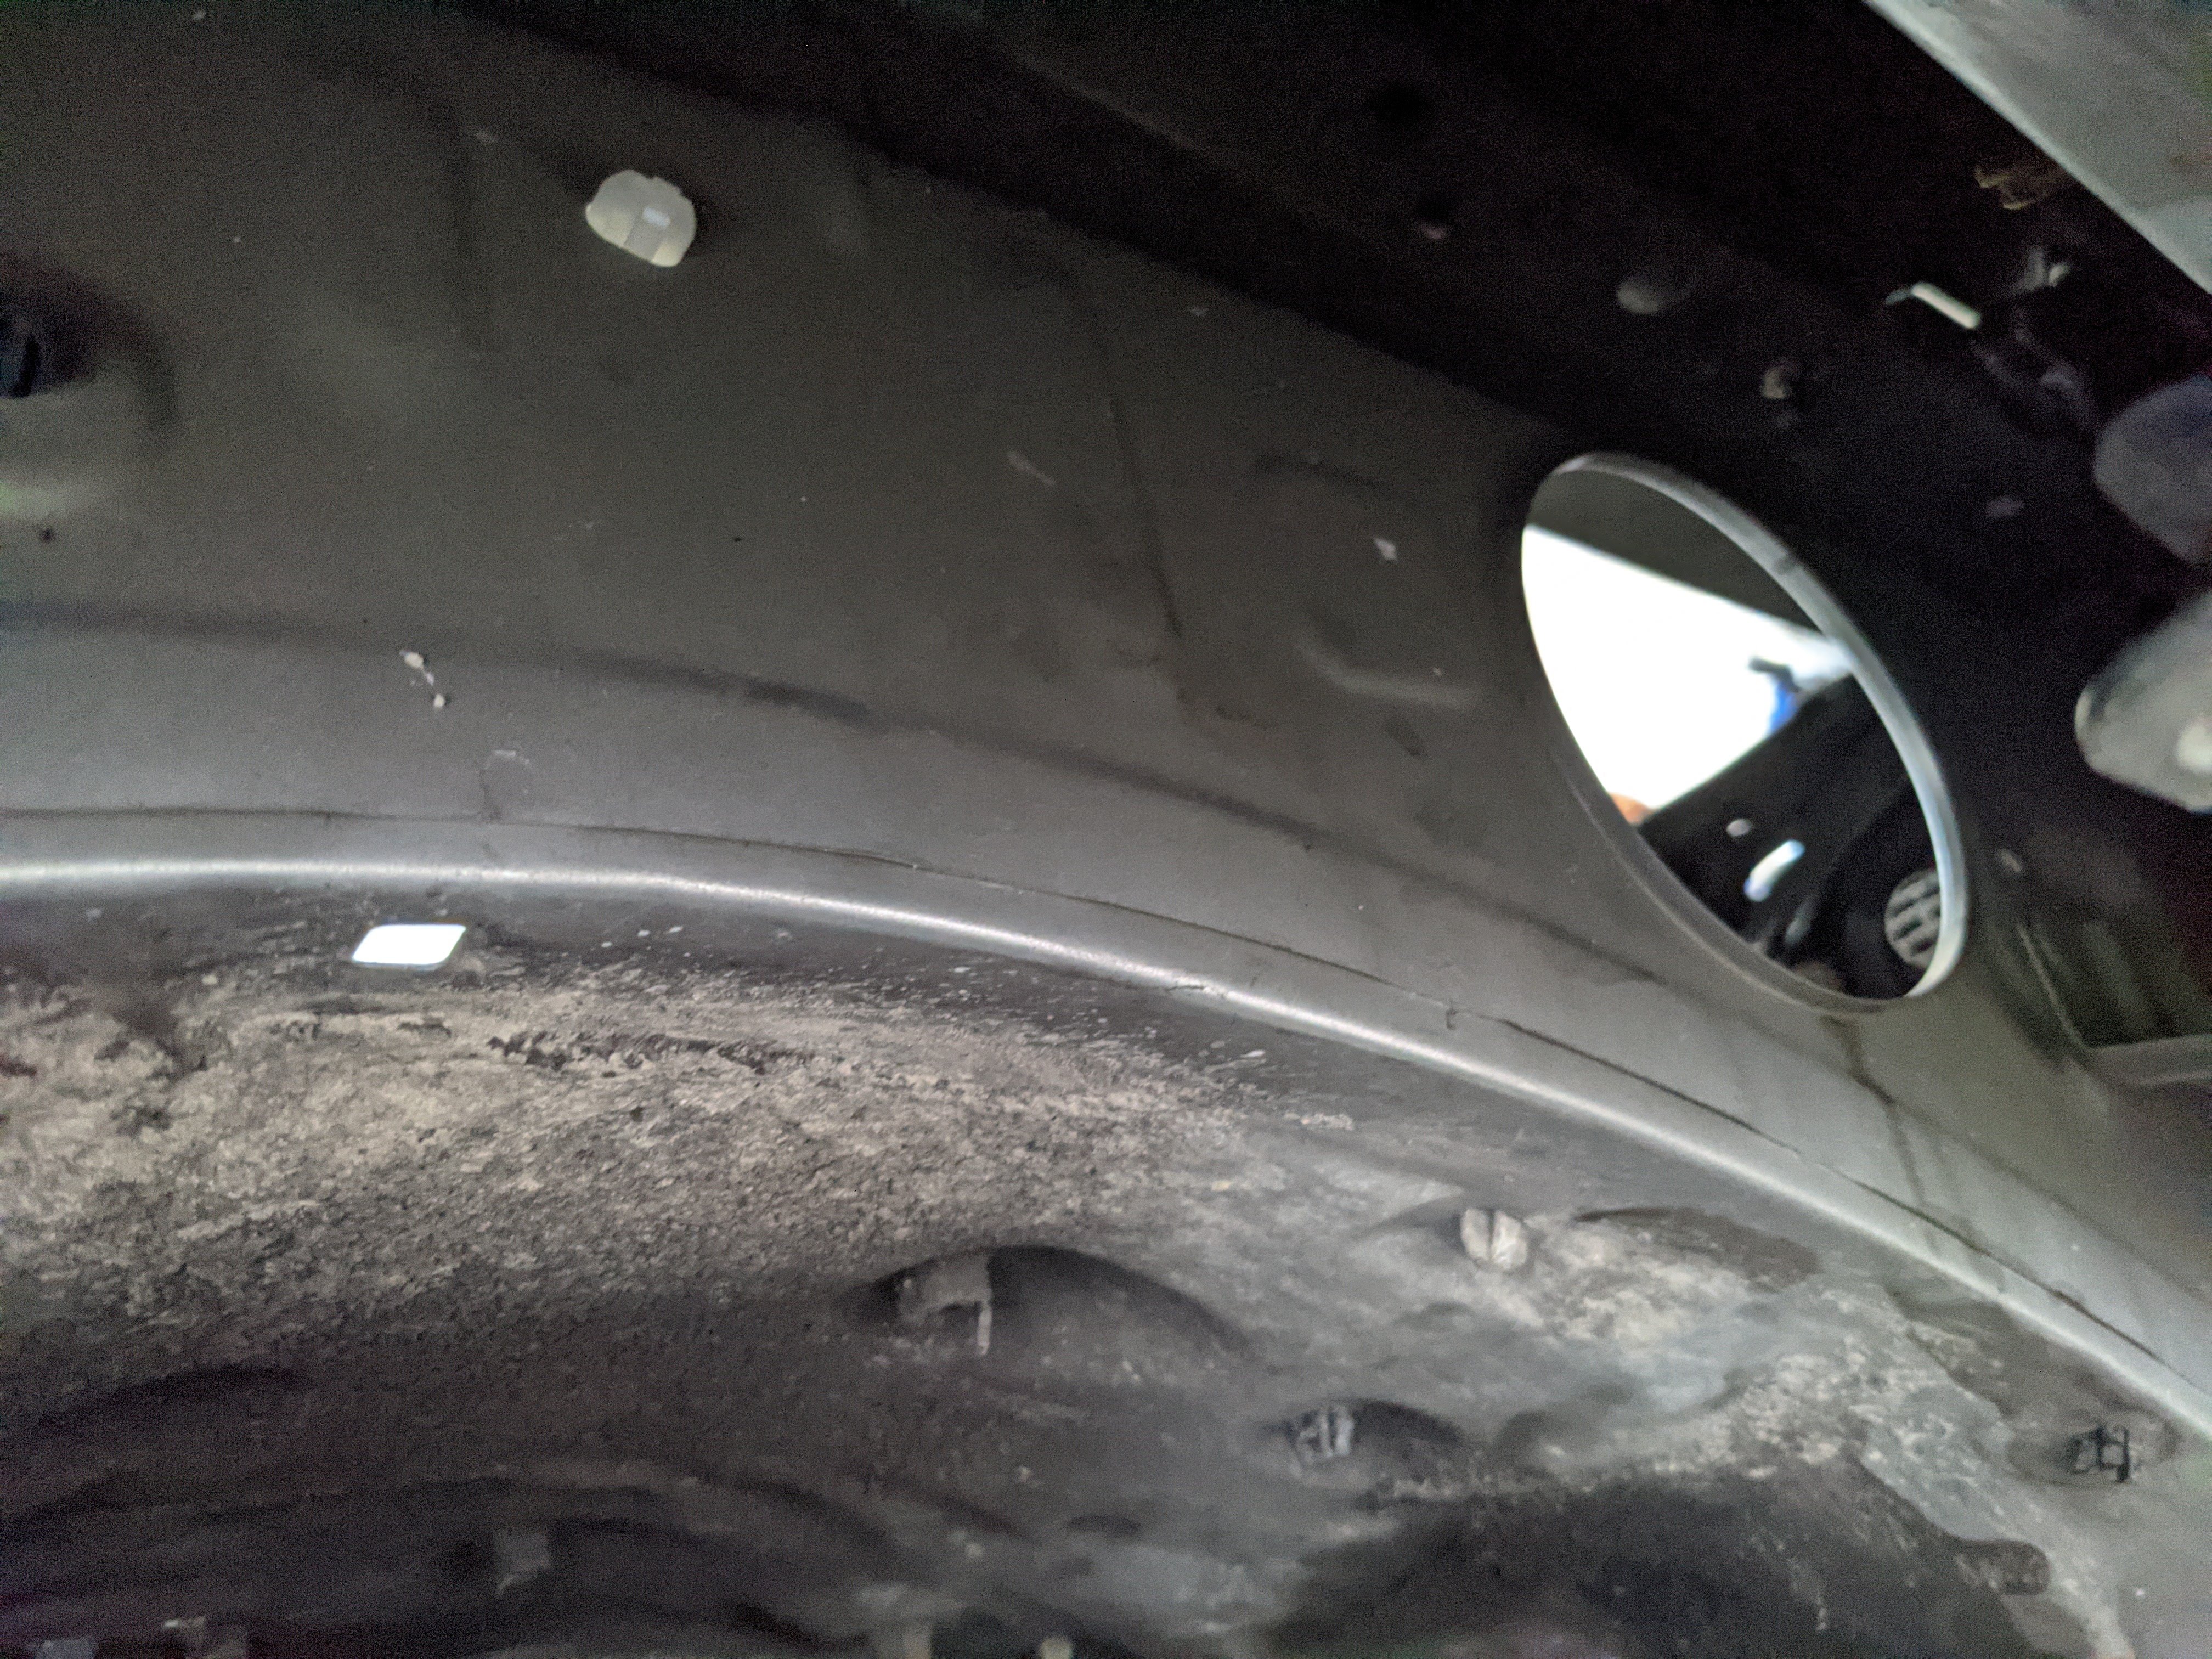
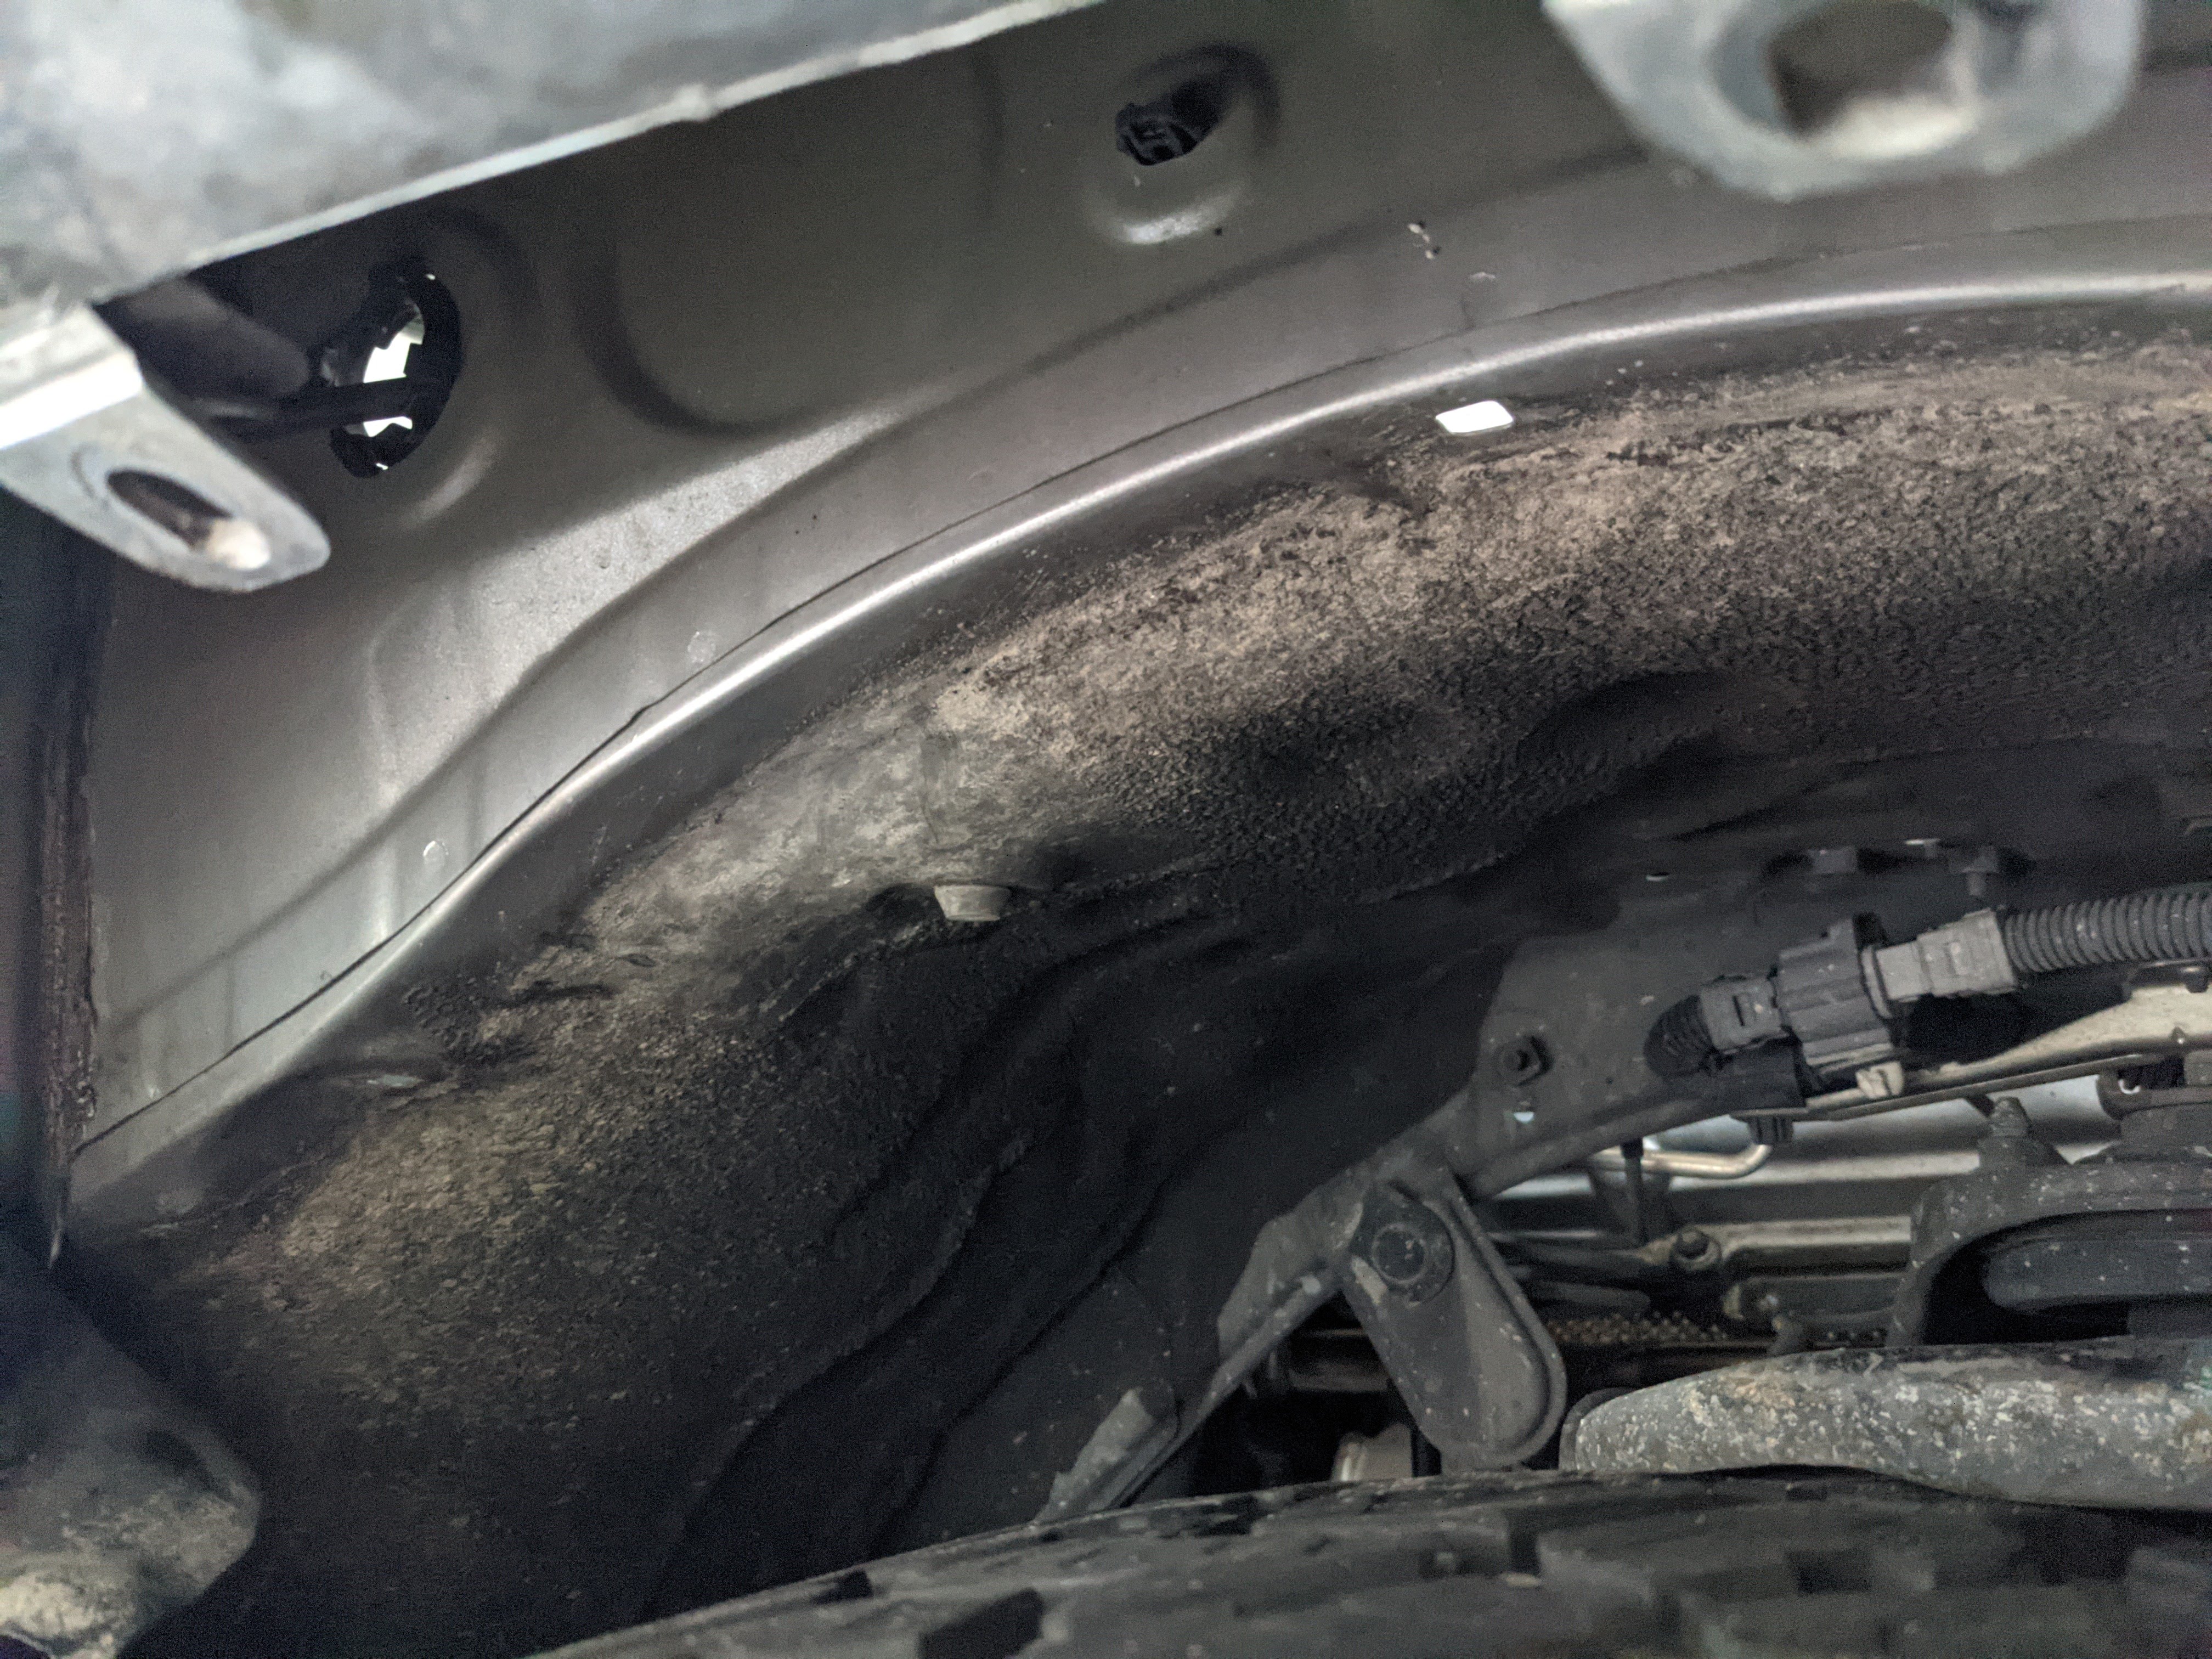
- Take off your entire fender liner, this is annoying to do
- Taking off your passenger front tire or jacking the GX up will help a TON
- The biggest hose clamp goes on the air box, under the hood.
- I had to trim every piece of plastic, and one of the rubber boots
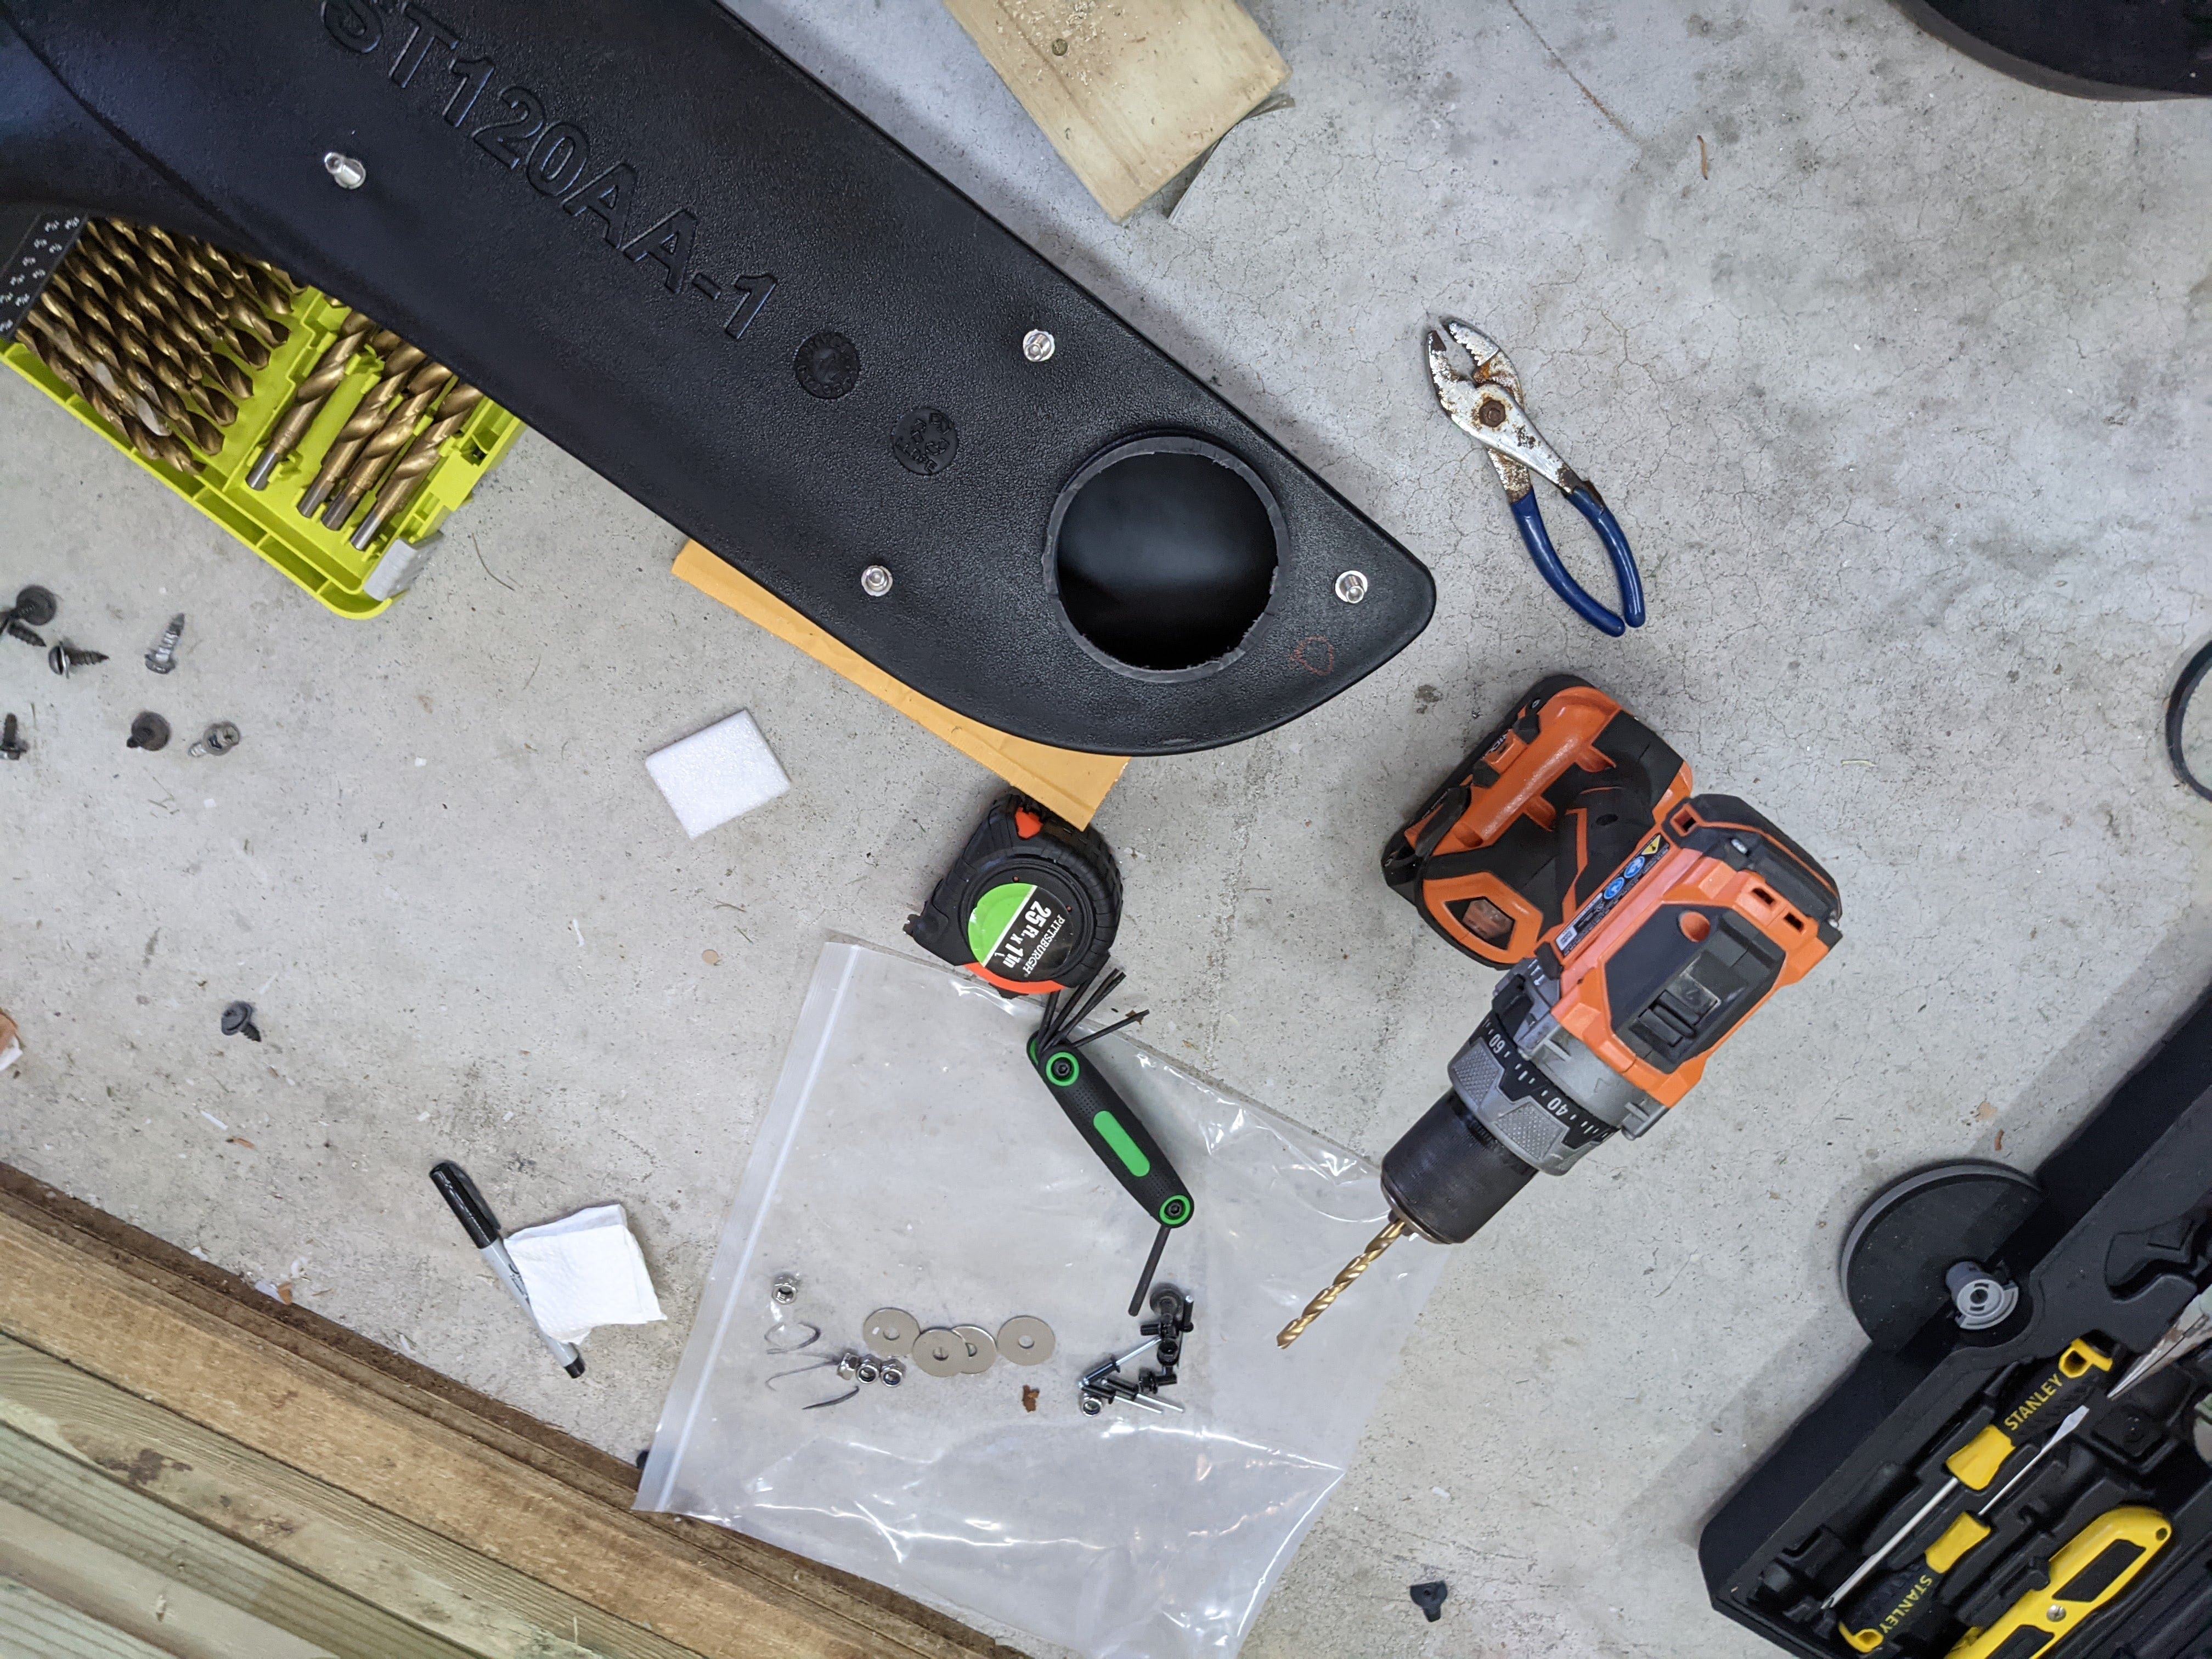
- I had to drill out the A-pillar mount holes to be larger, and did not use the rivets
Alright, here is the install. Remove your passenger front fender line. This involves 3x T25 screws, 2x T30 screws, 3x 10mm bolts and a ton of annoying clips that I broke all of.
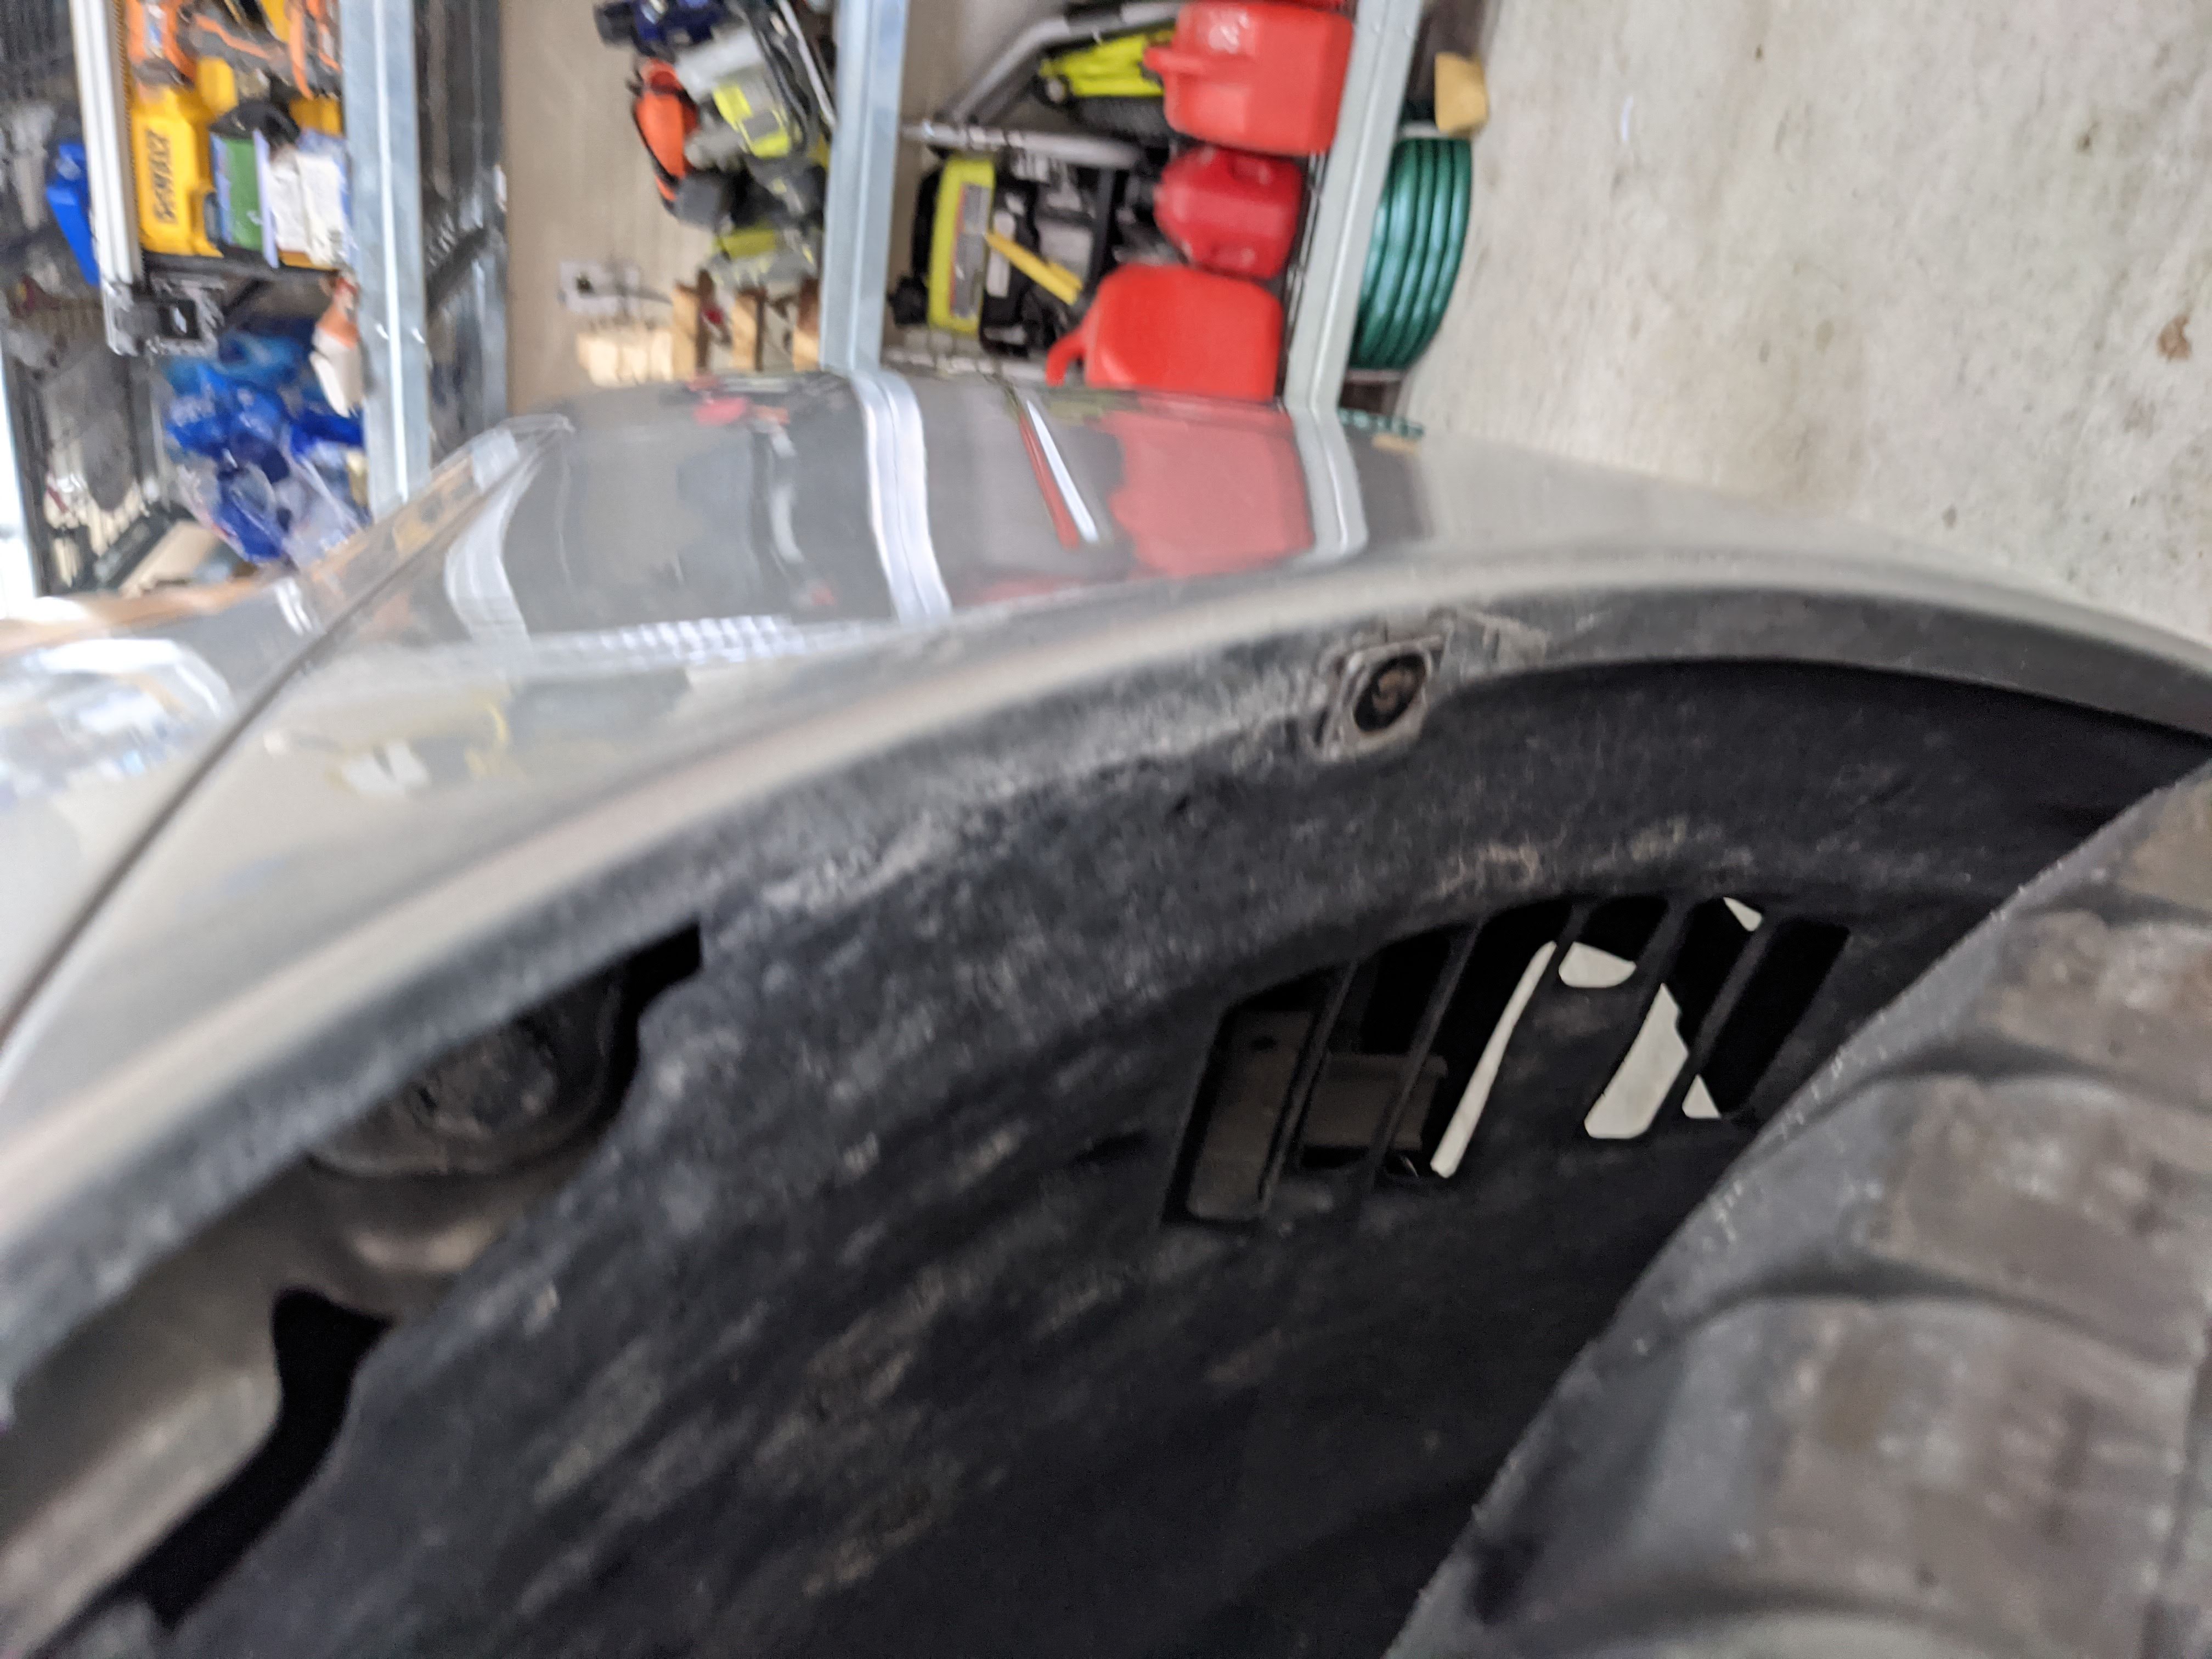
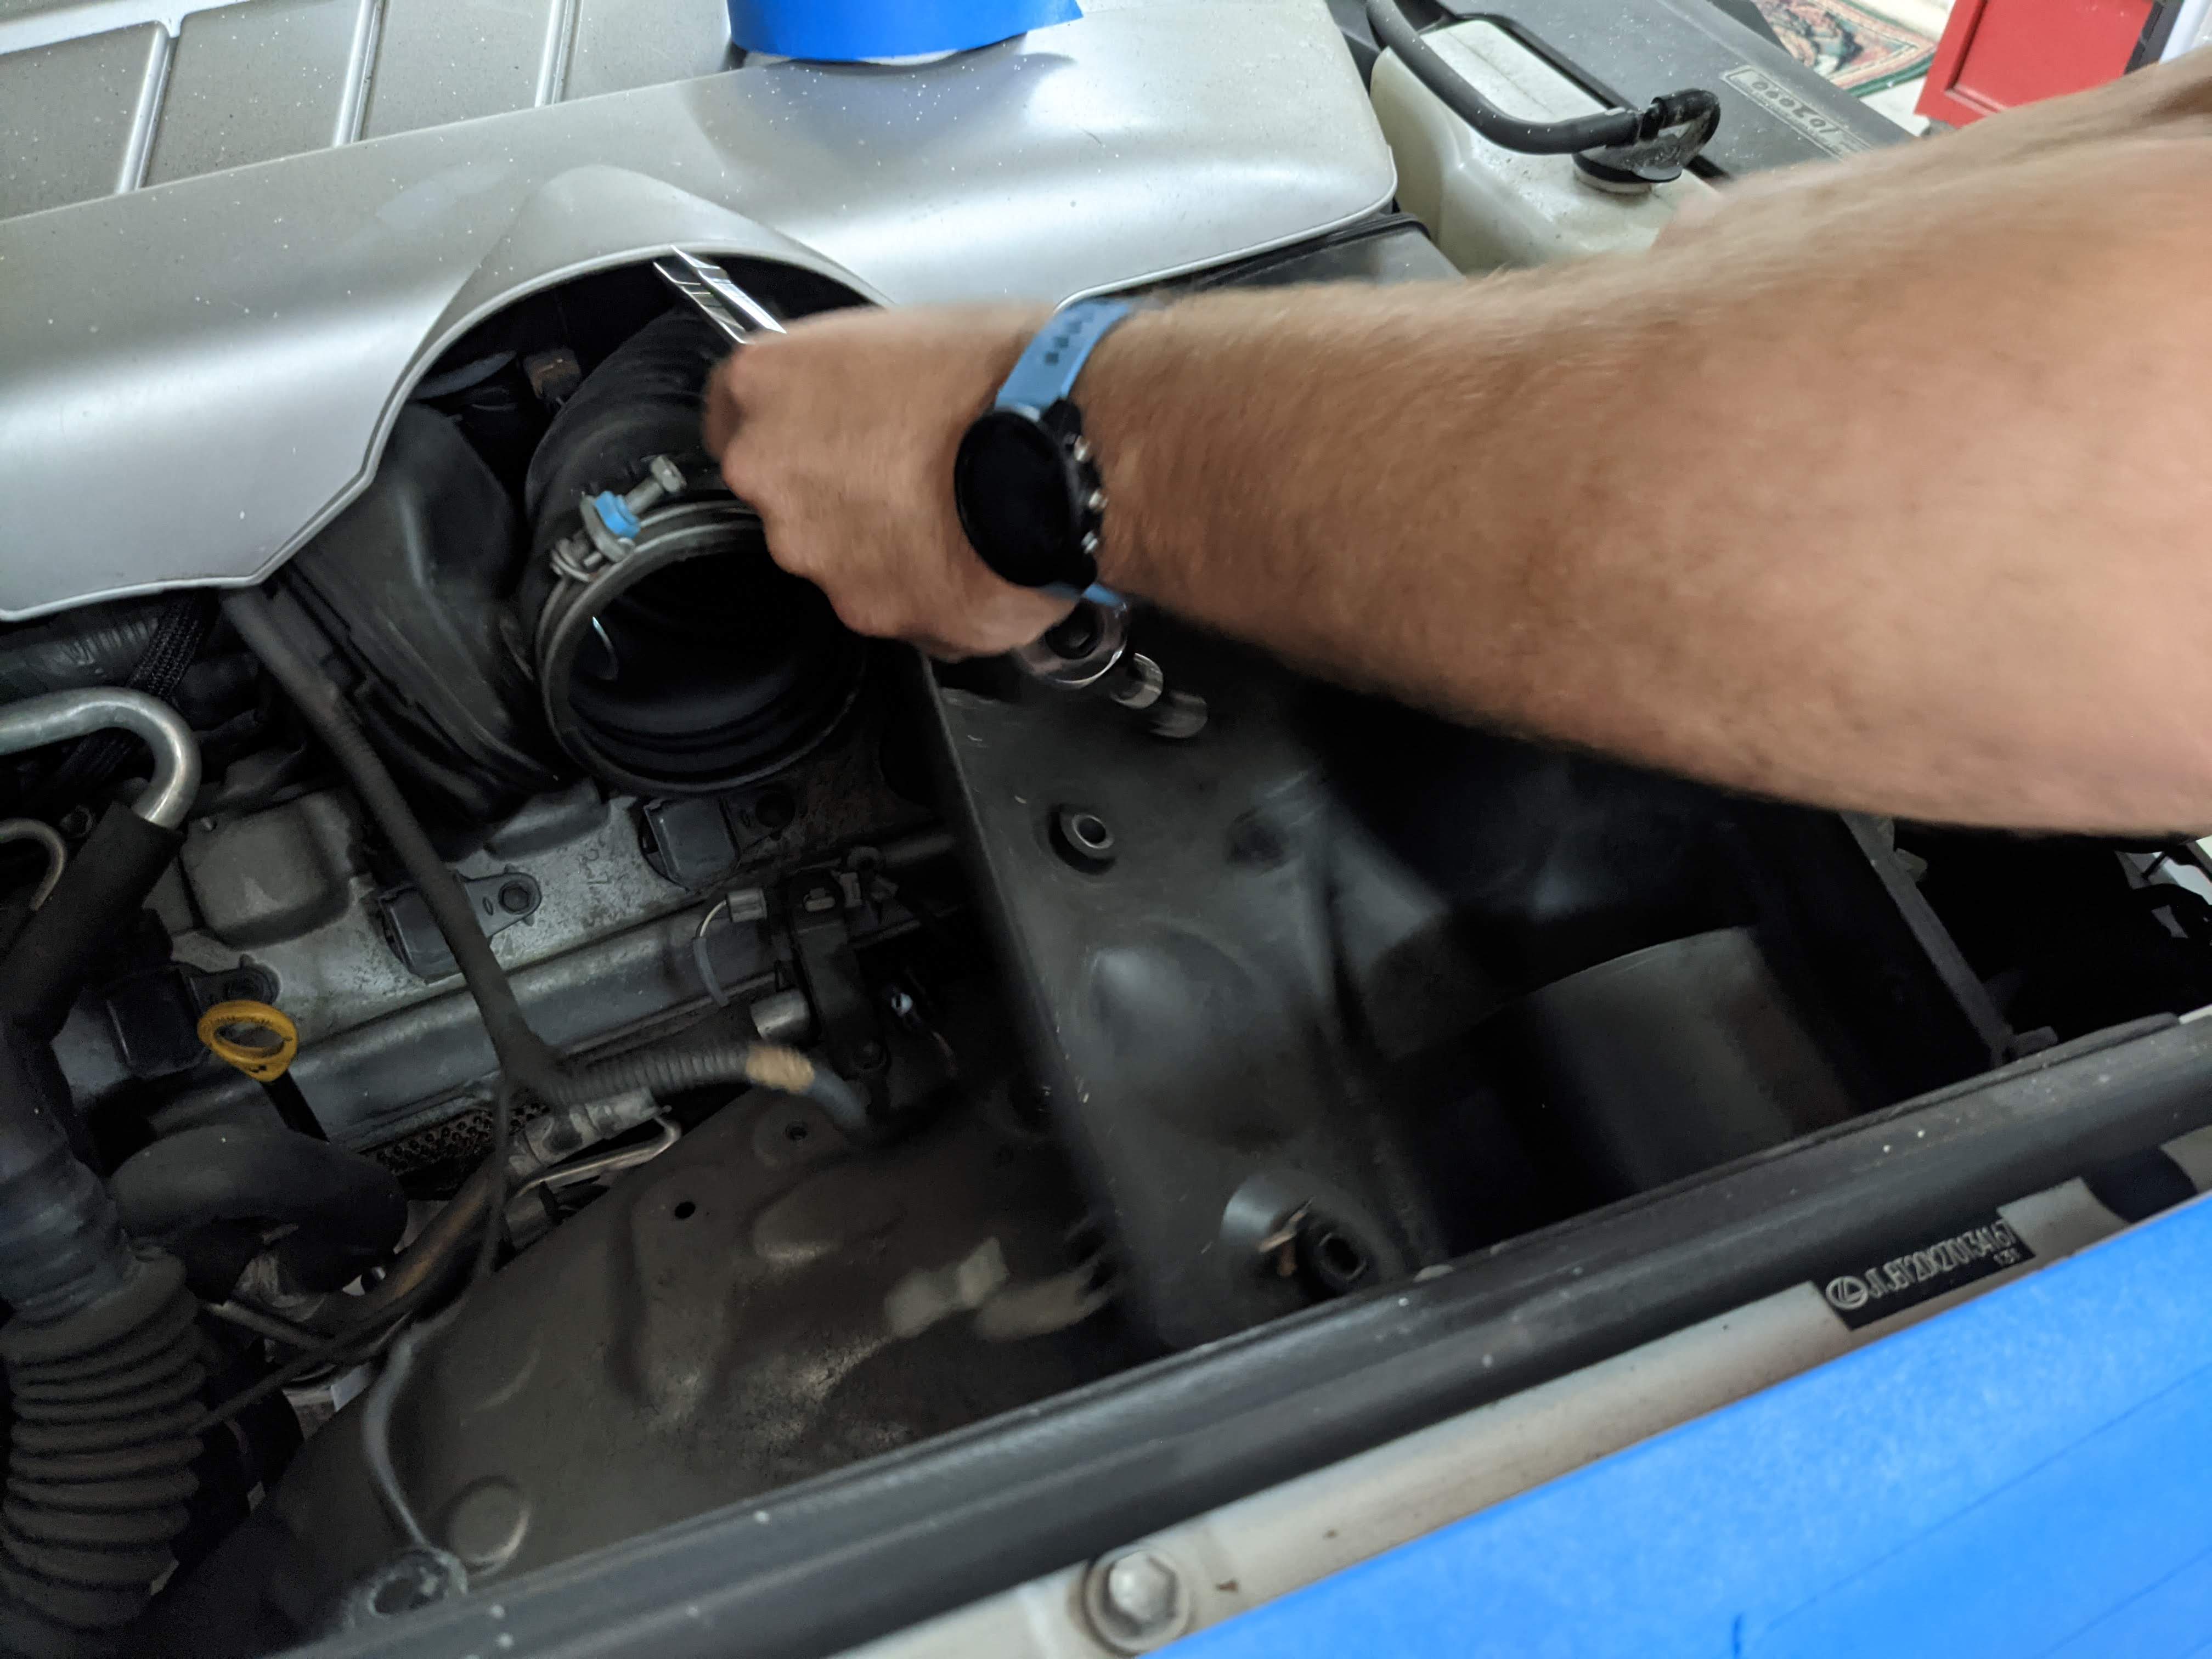
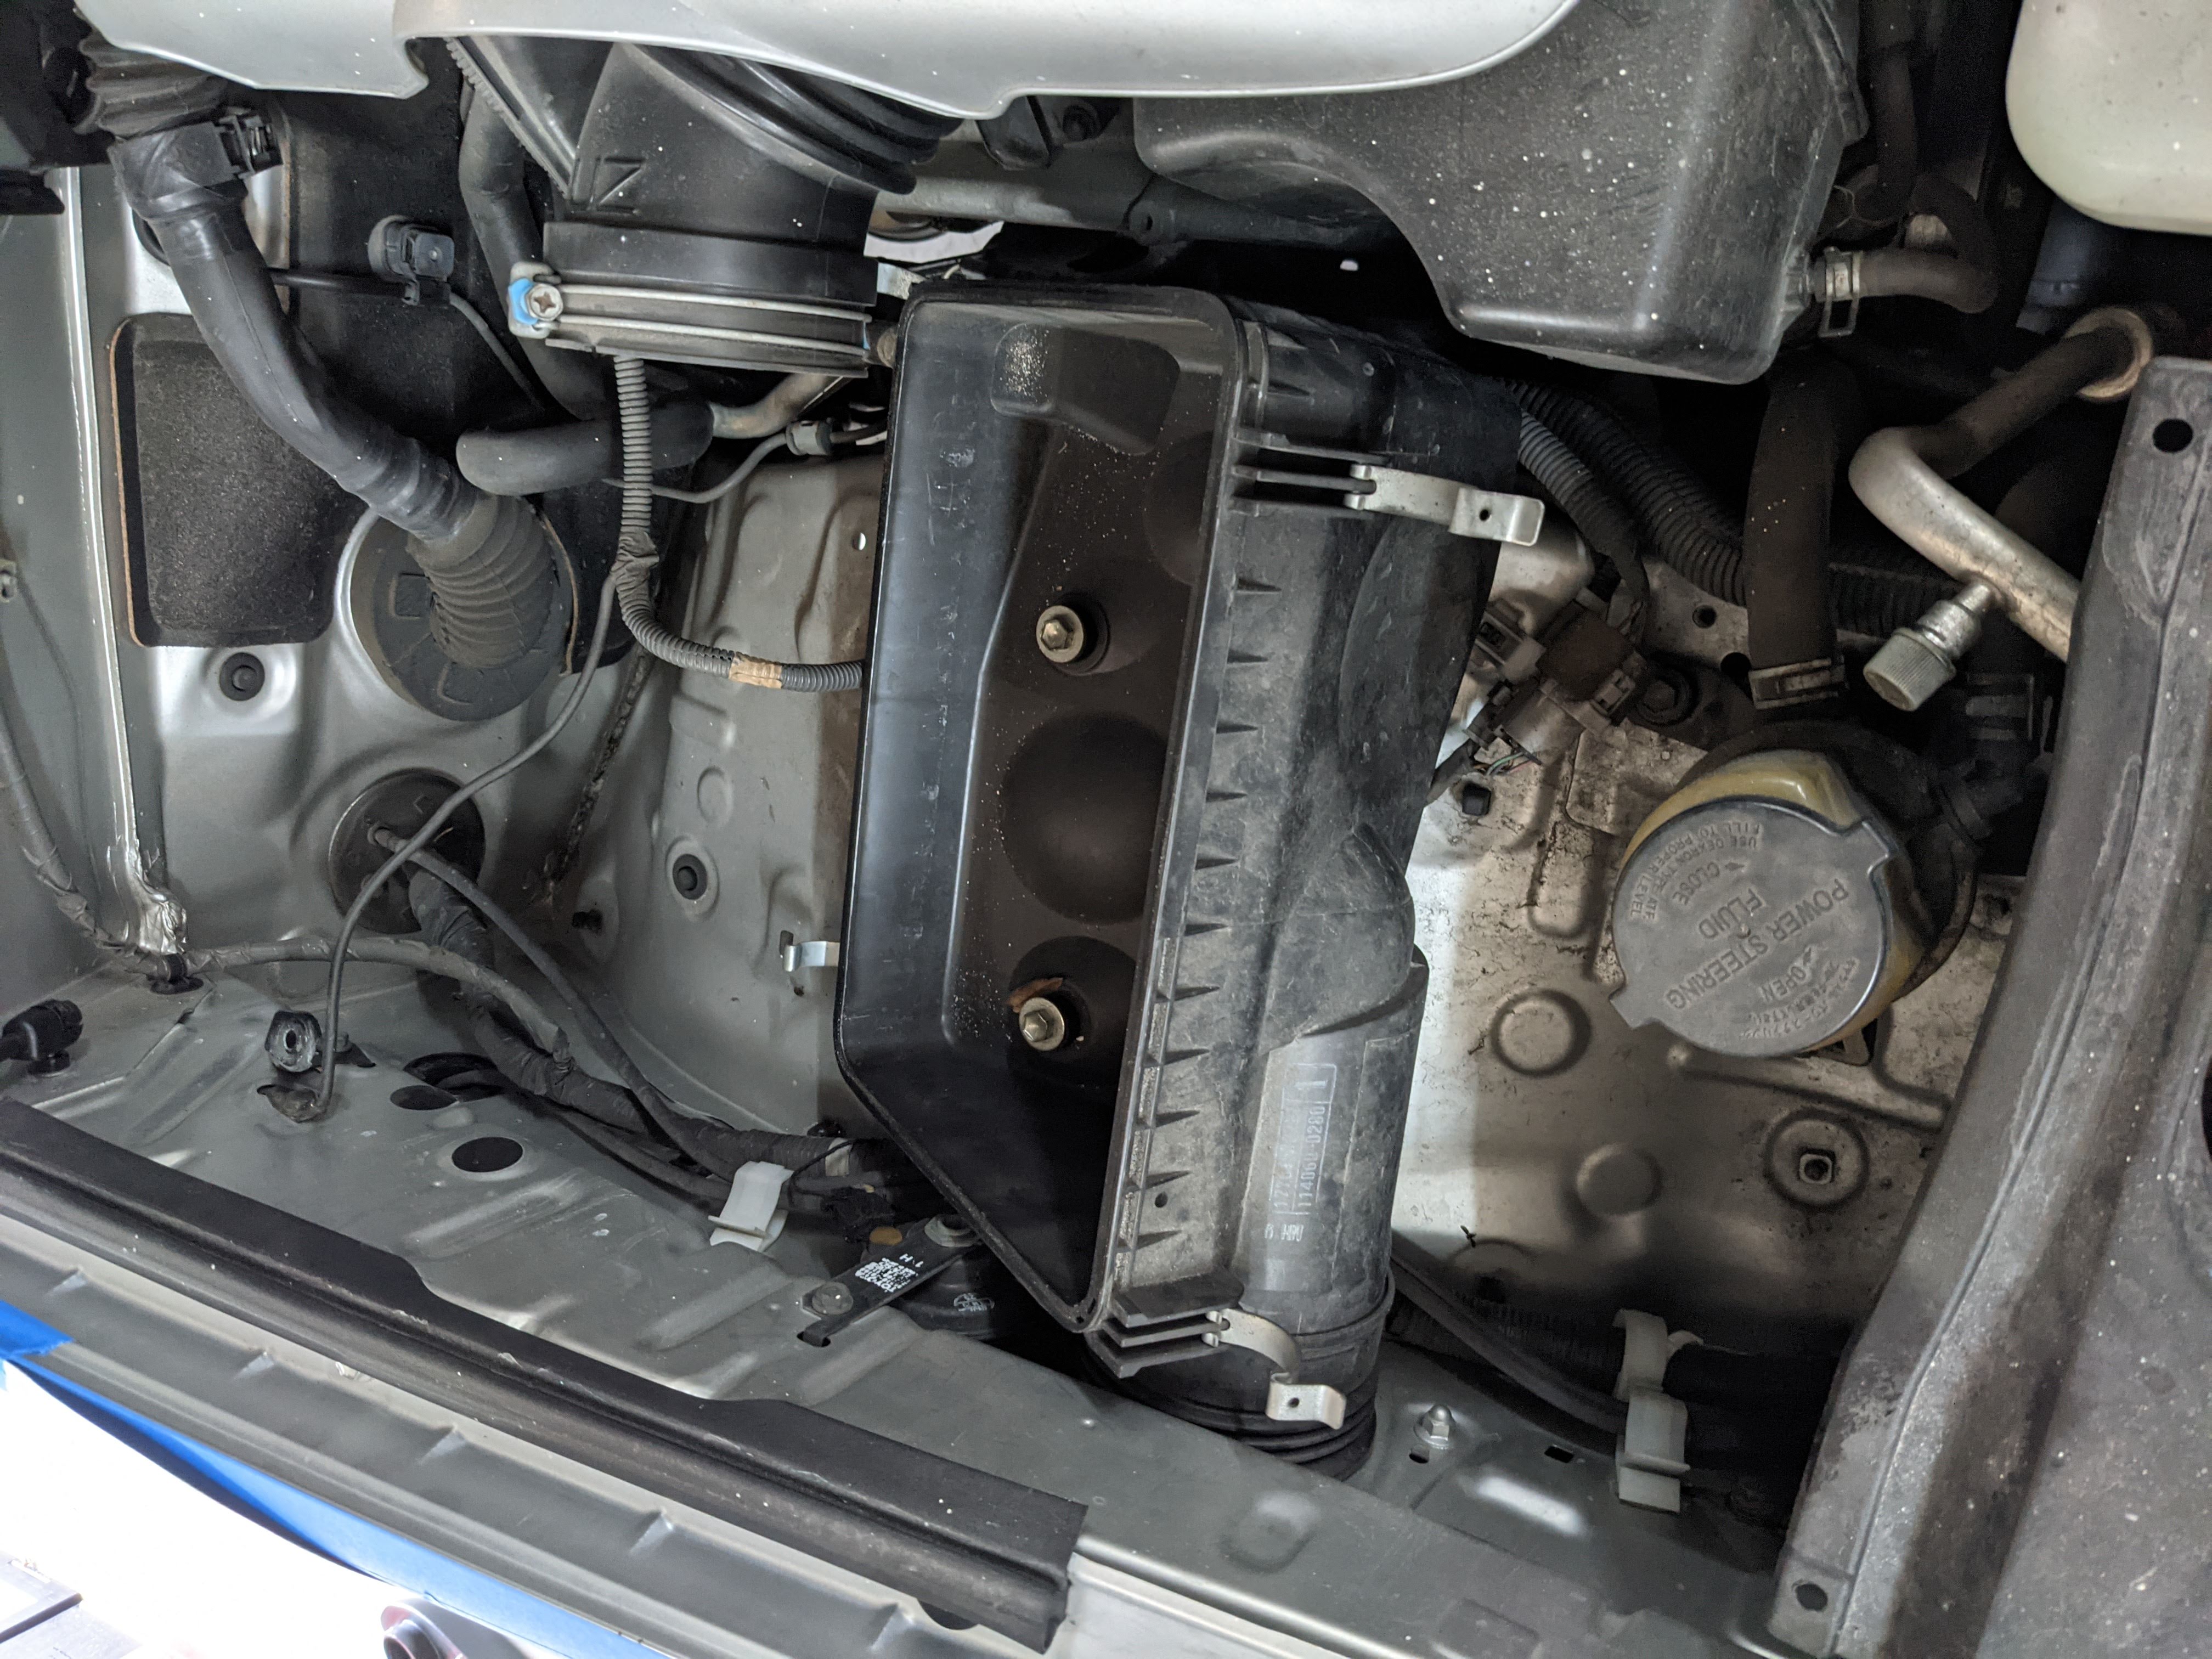
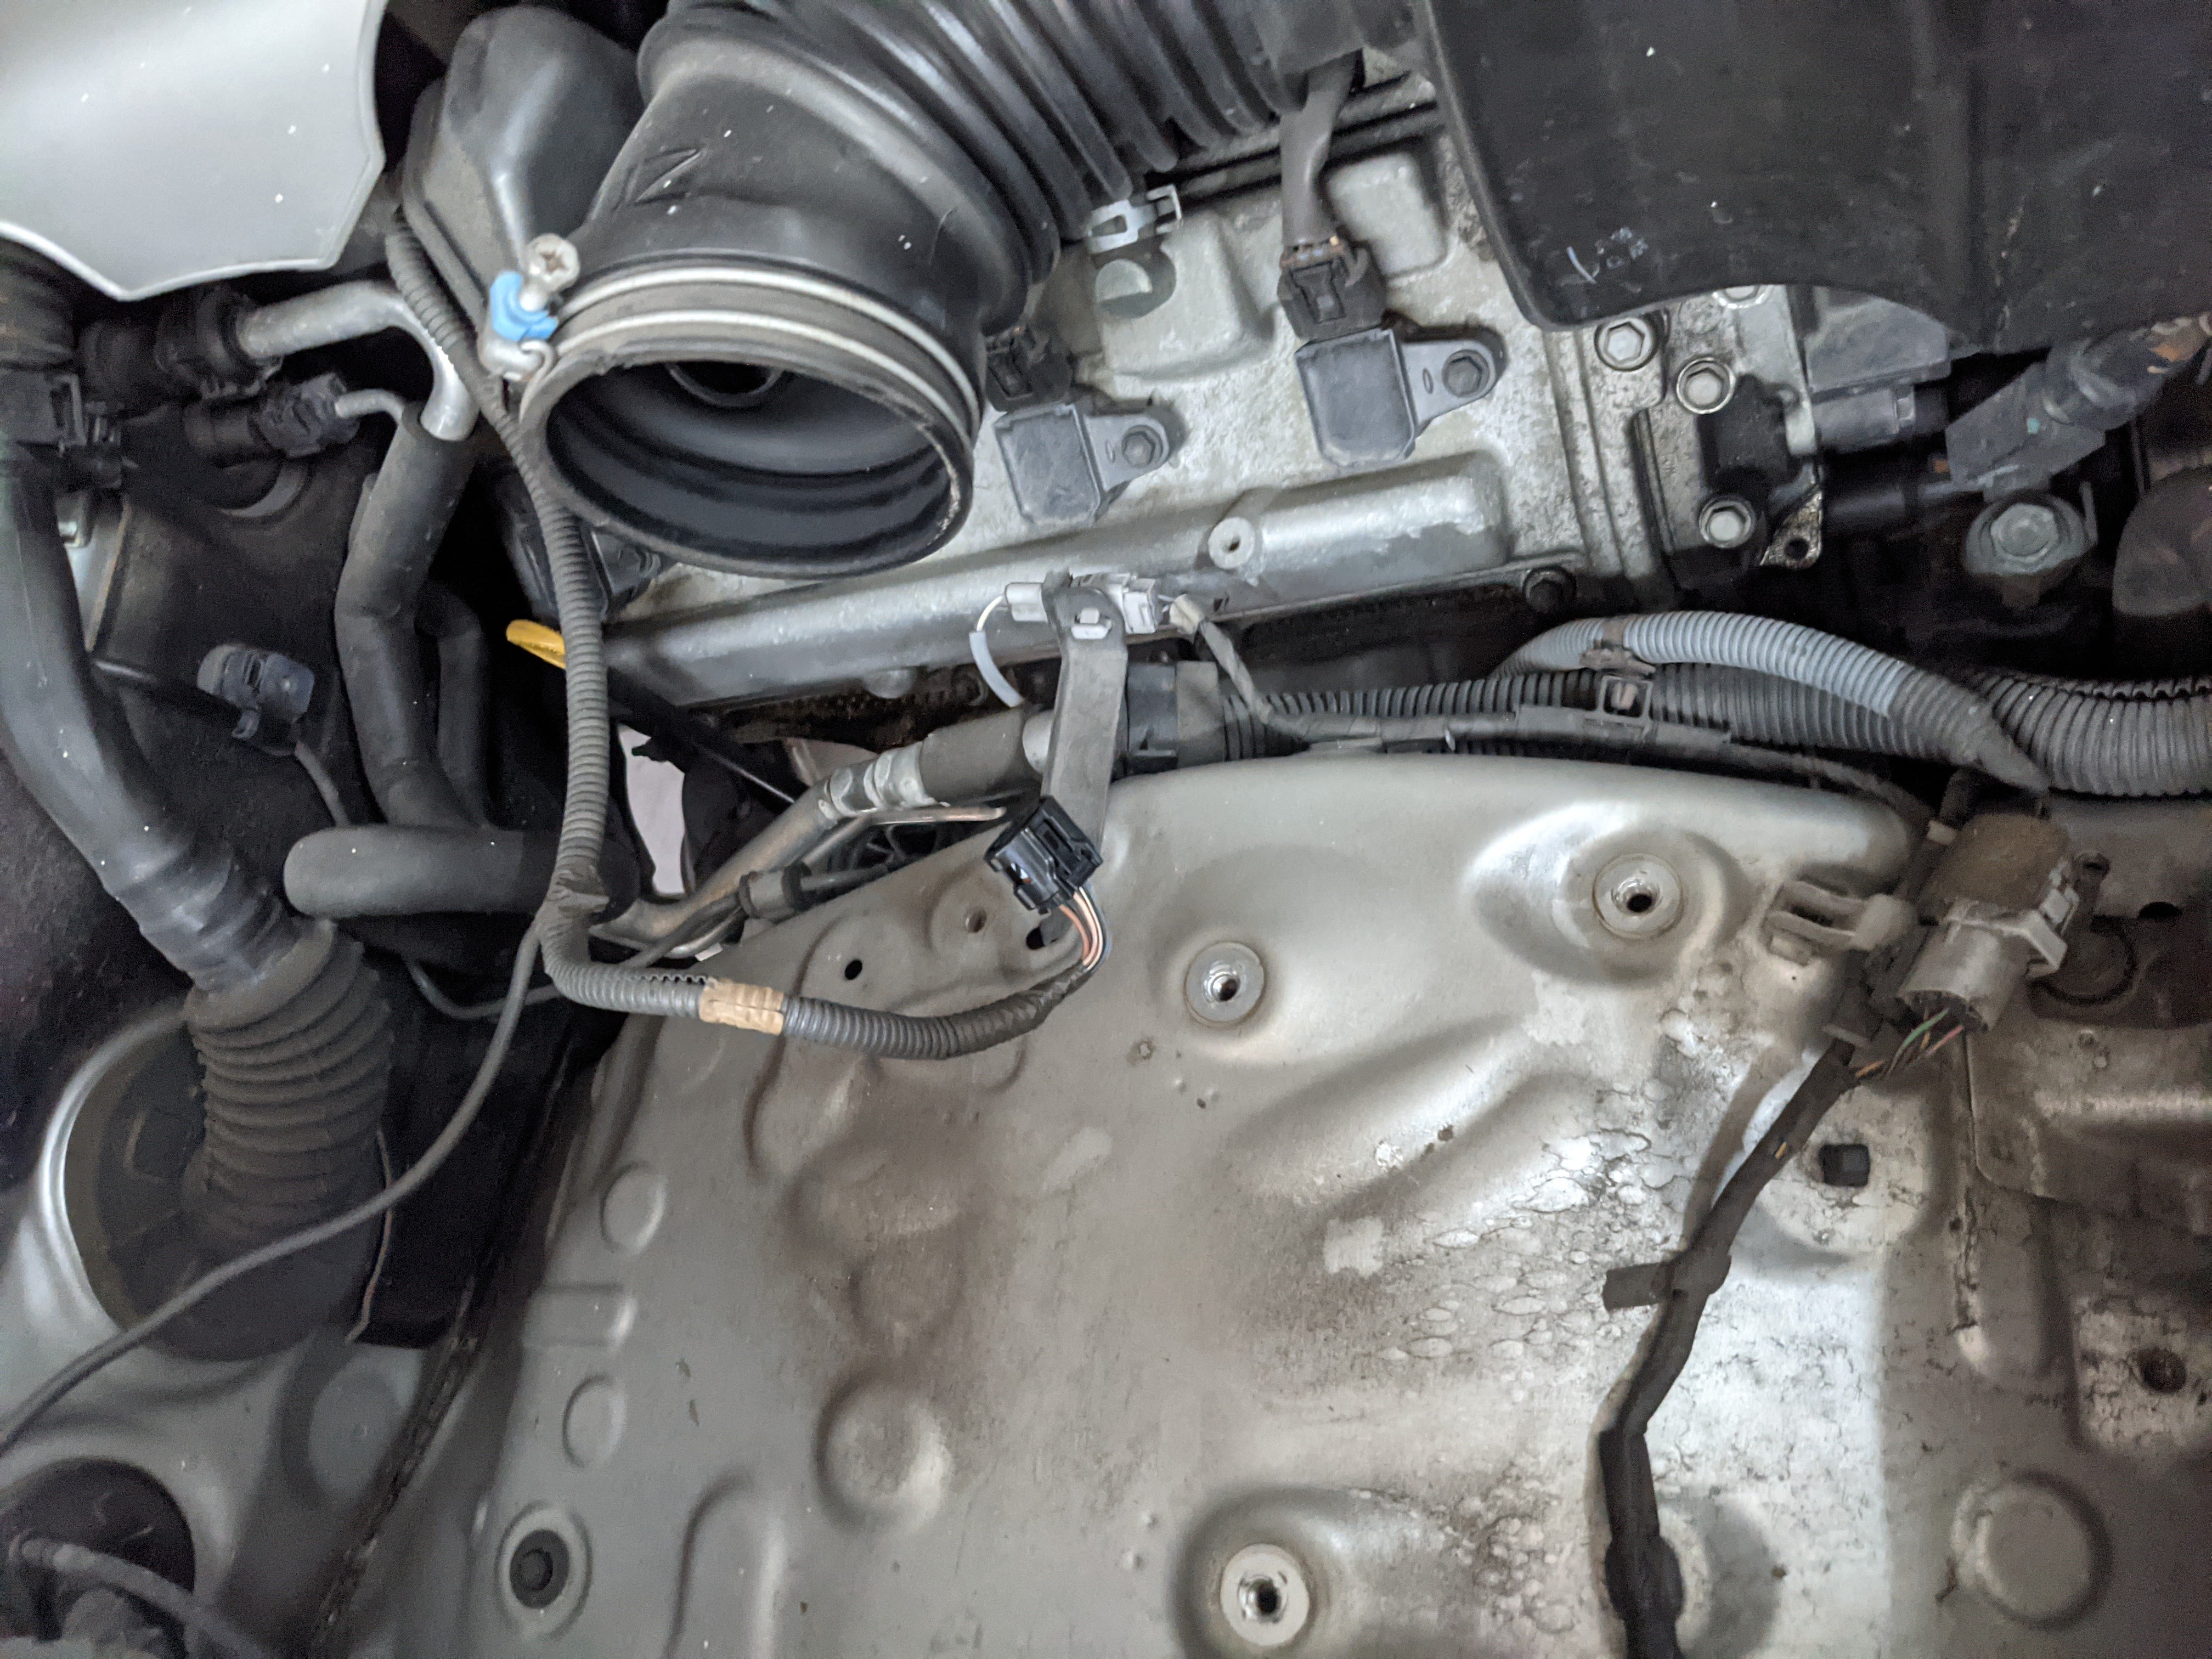
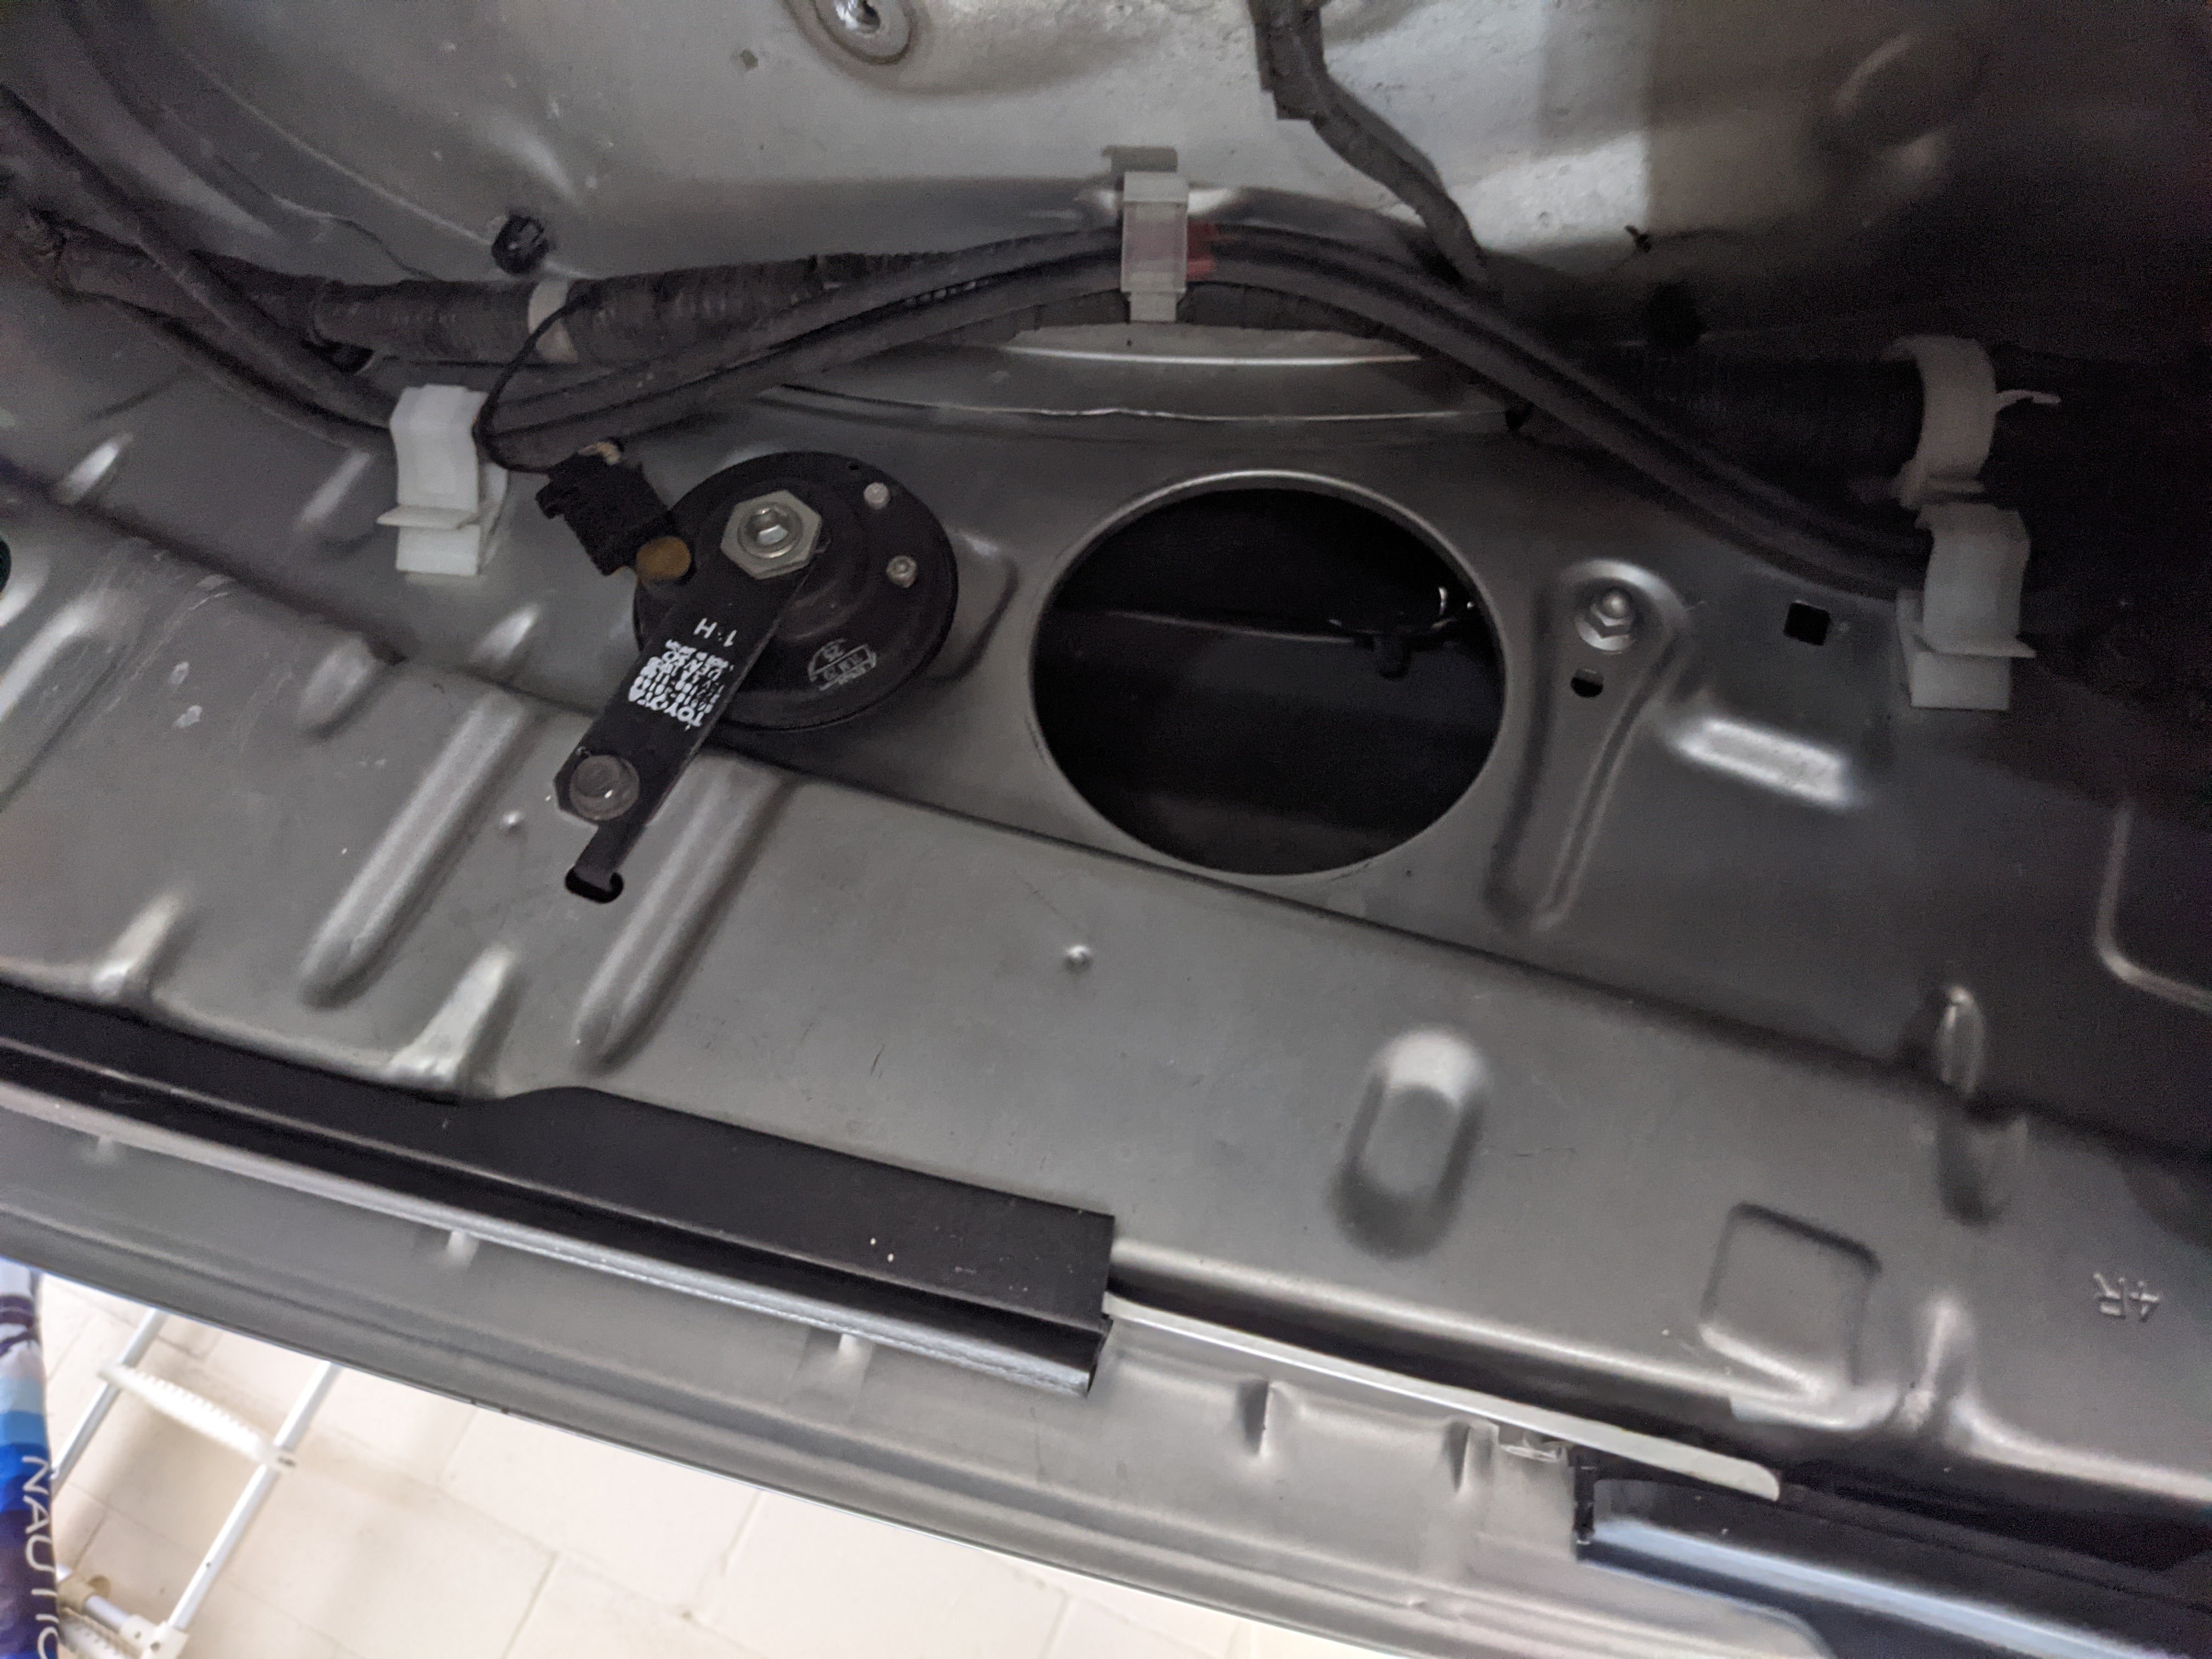
Remove your air intake and filter box from the intake. That’s one sensor, two hose clamps, and 3x 12mm bolts at the bottom of the air box.
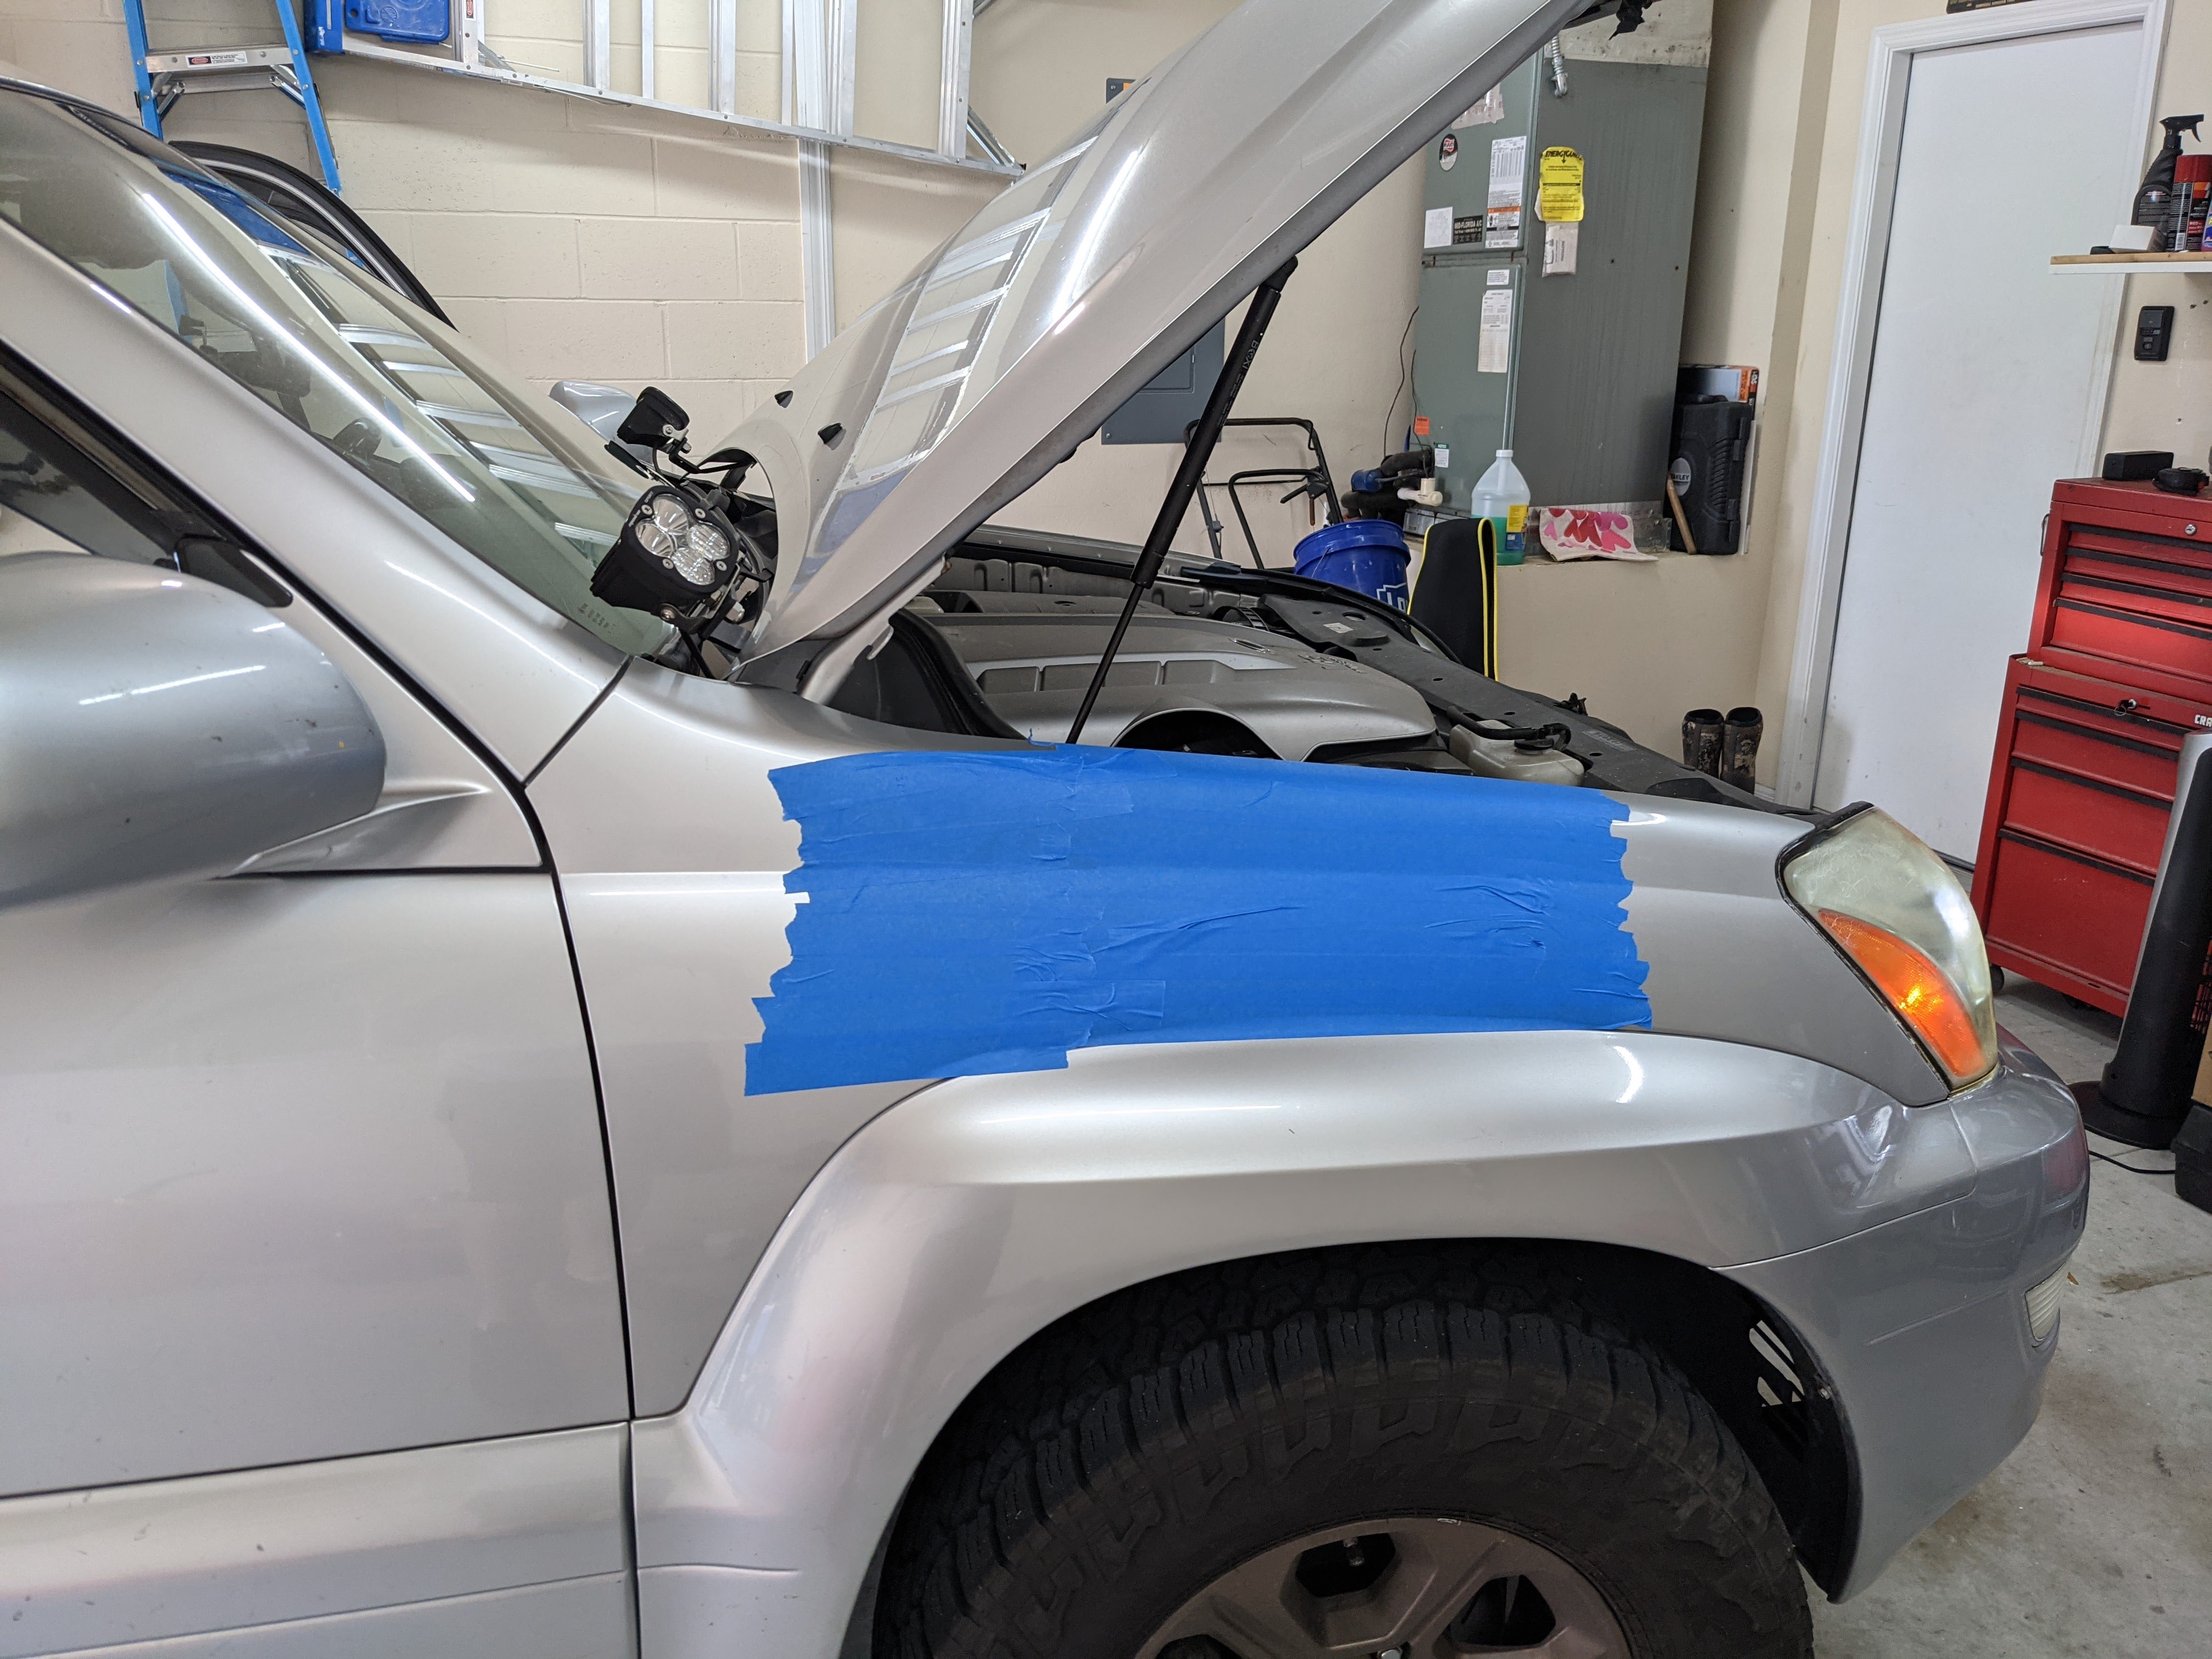
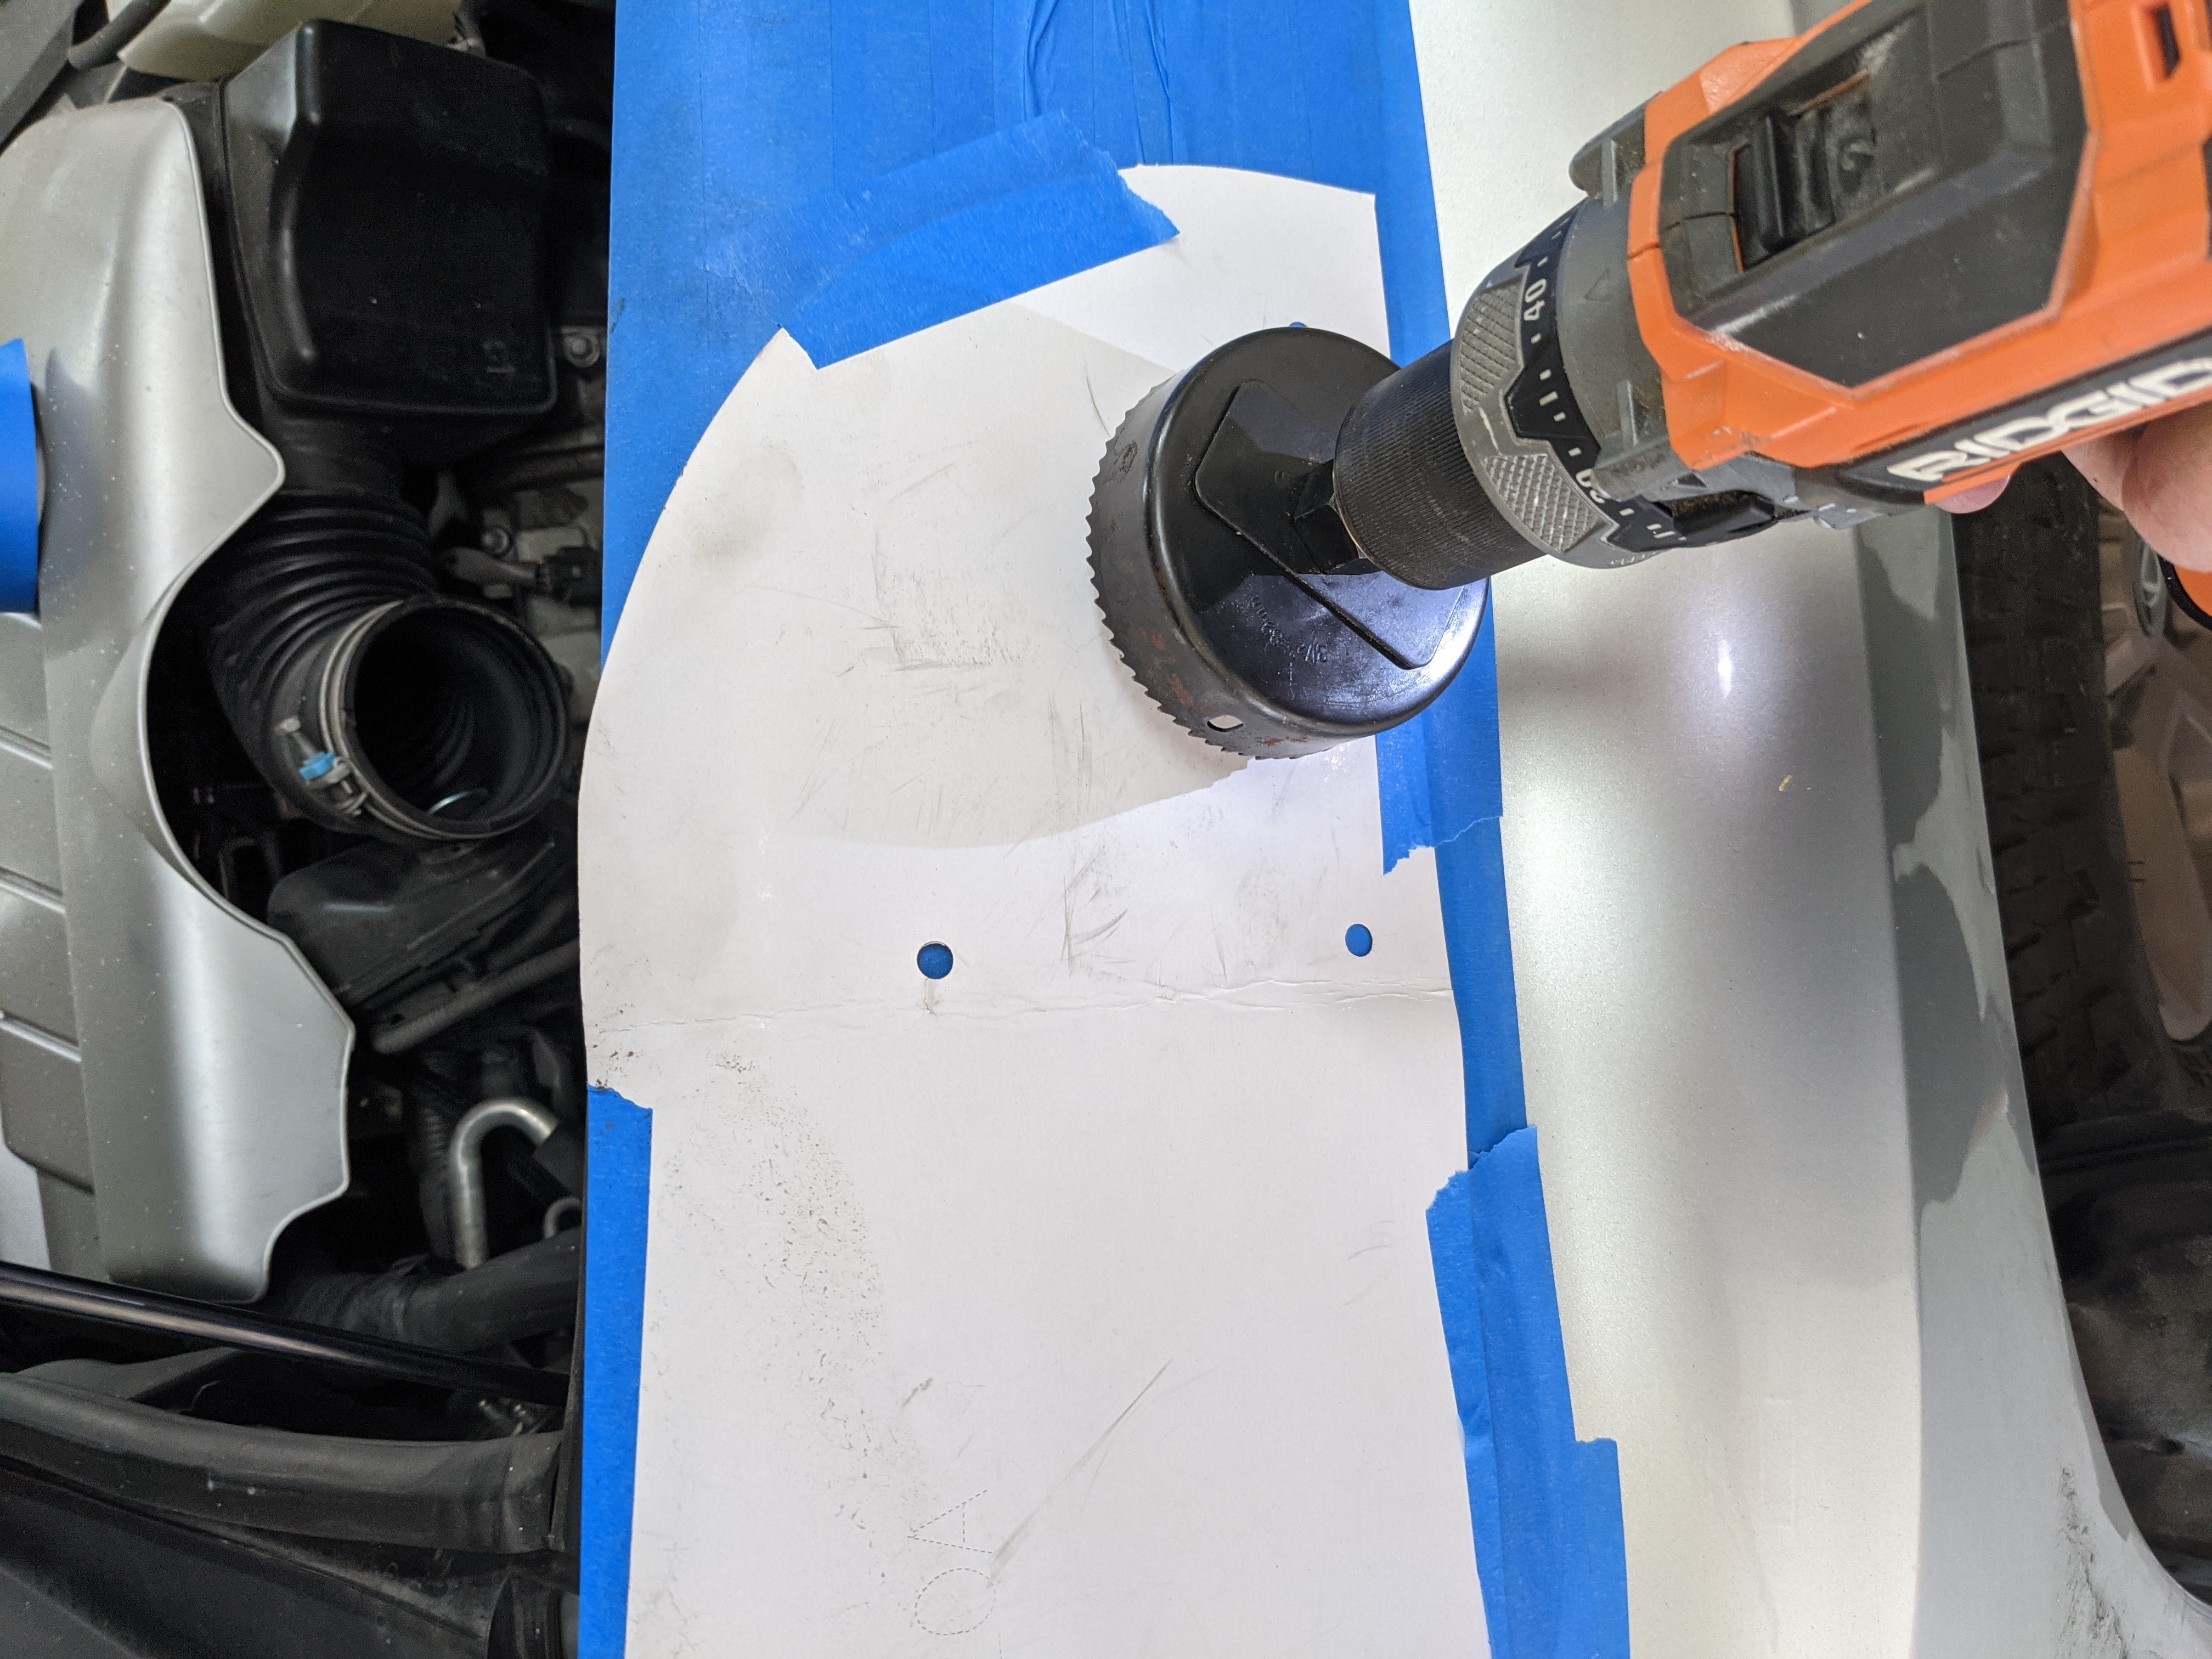
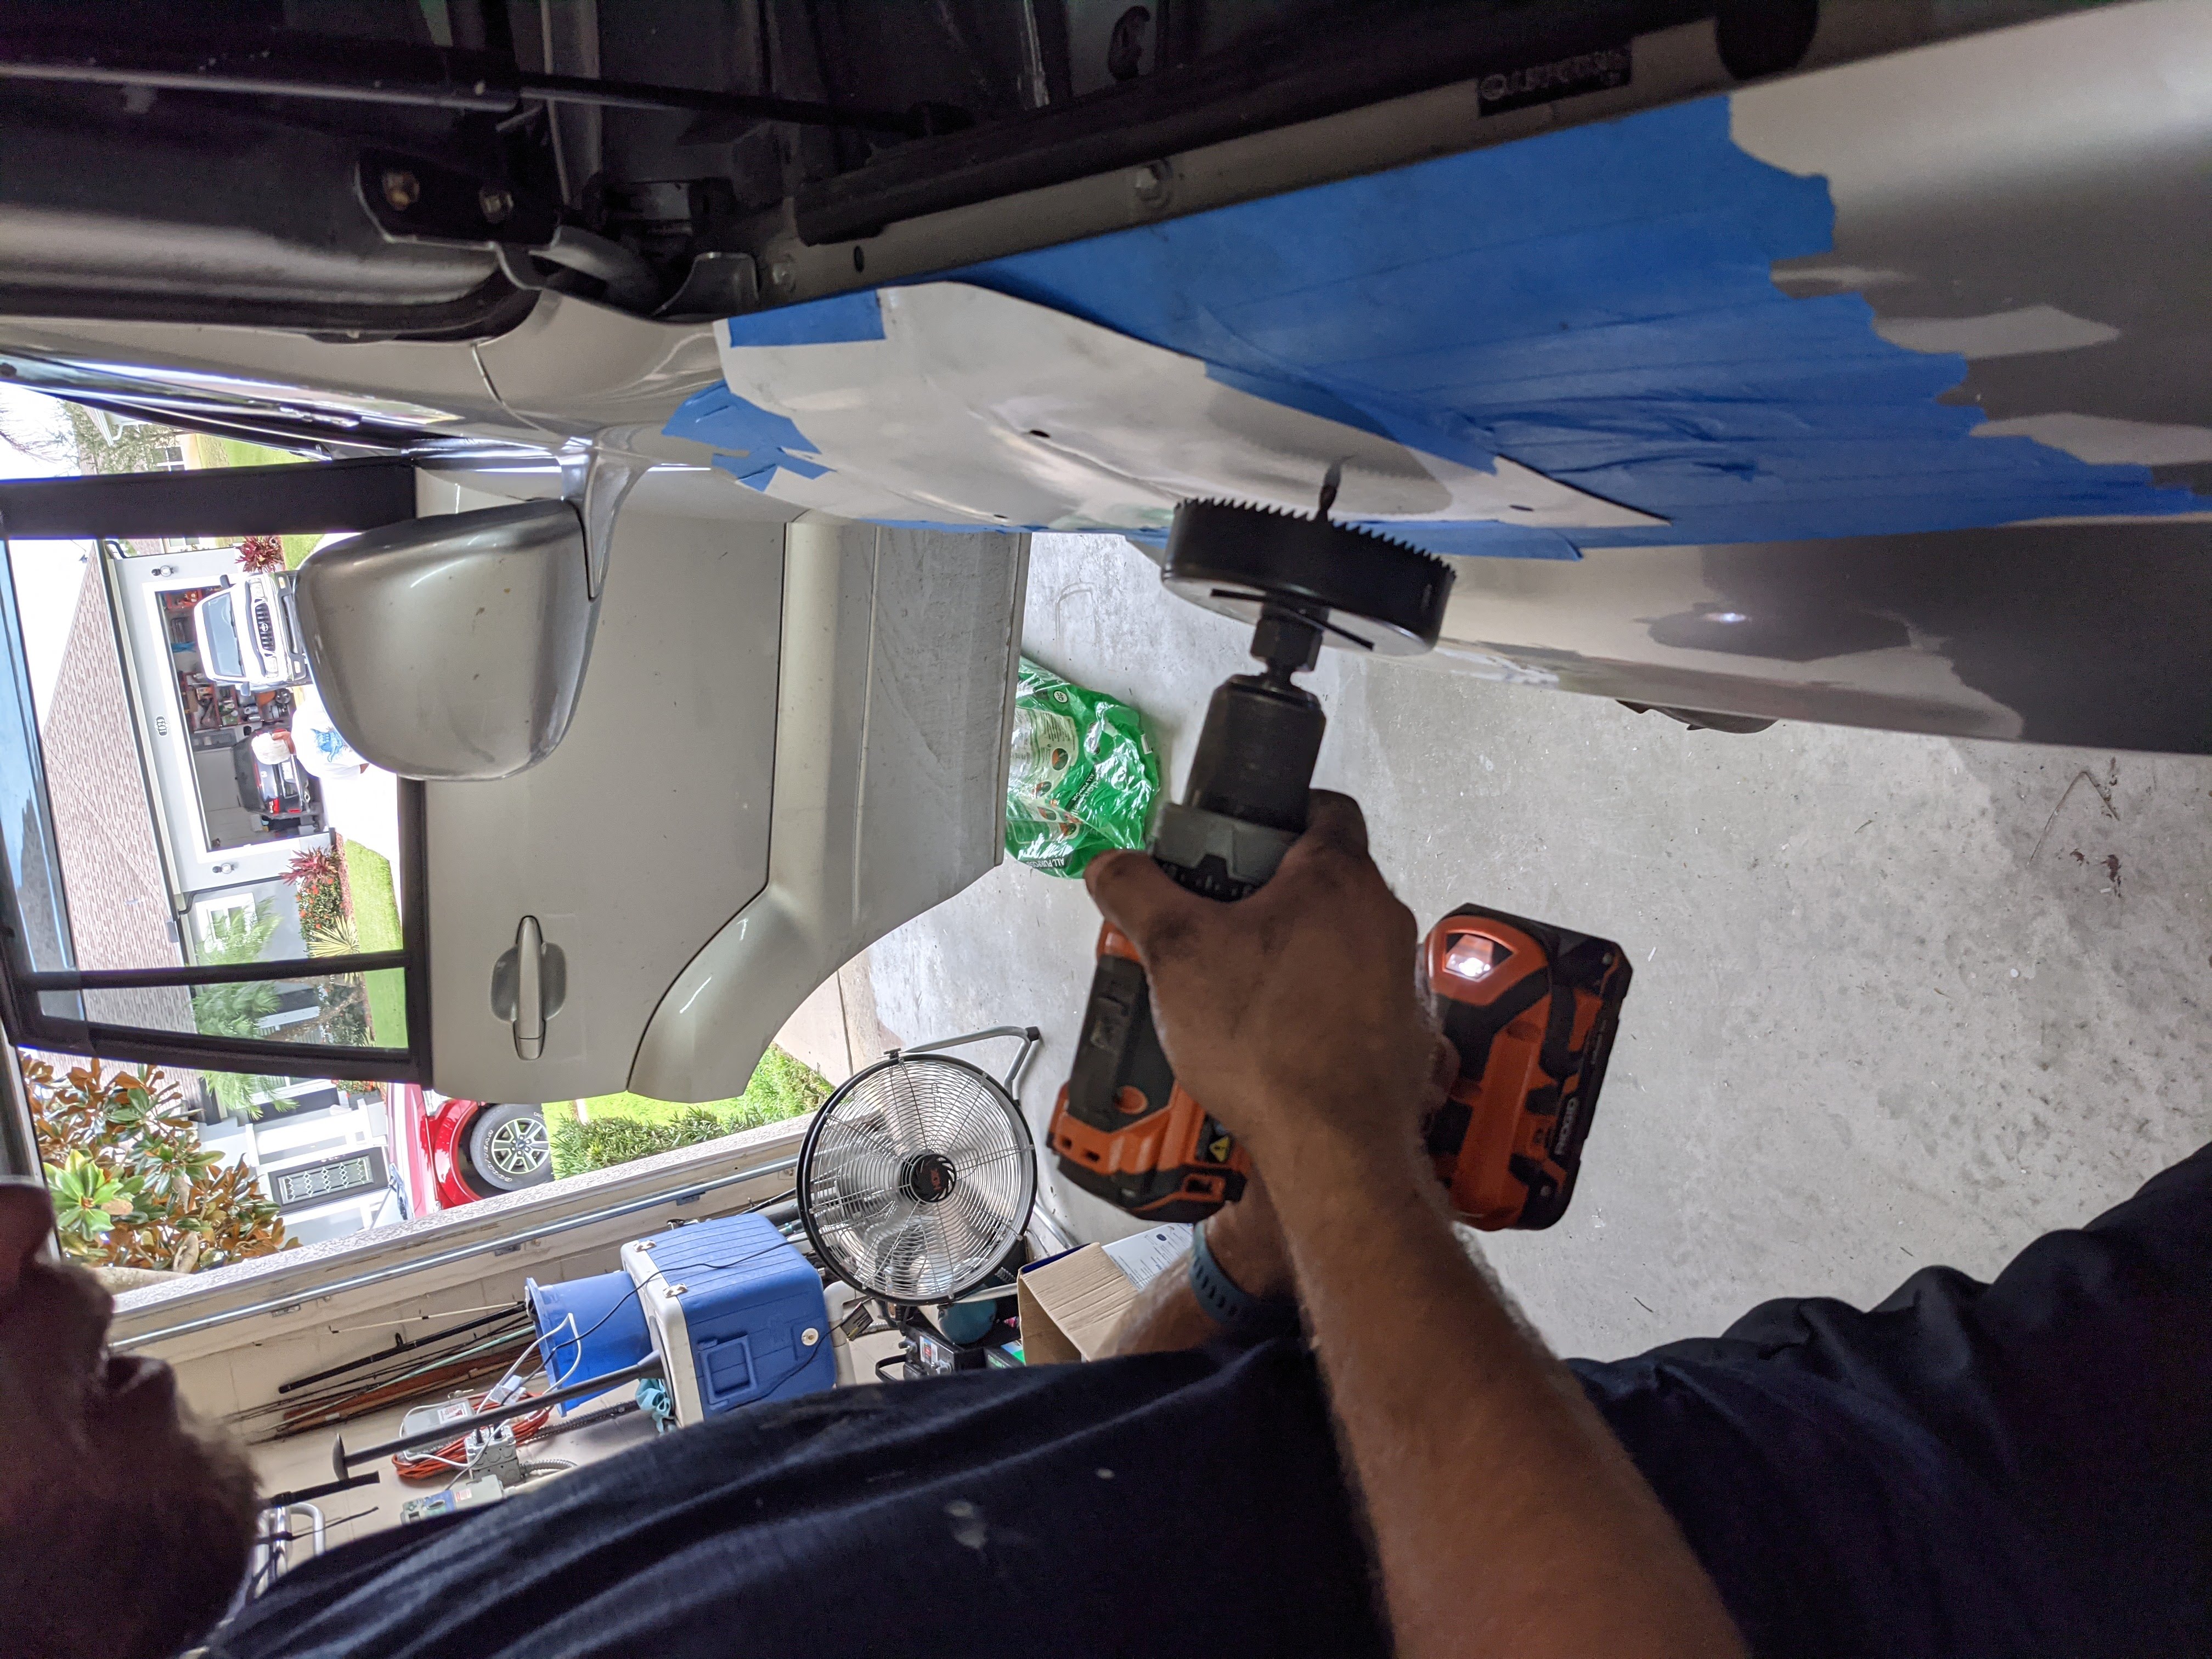
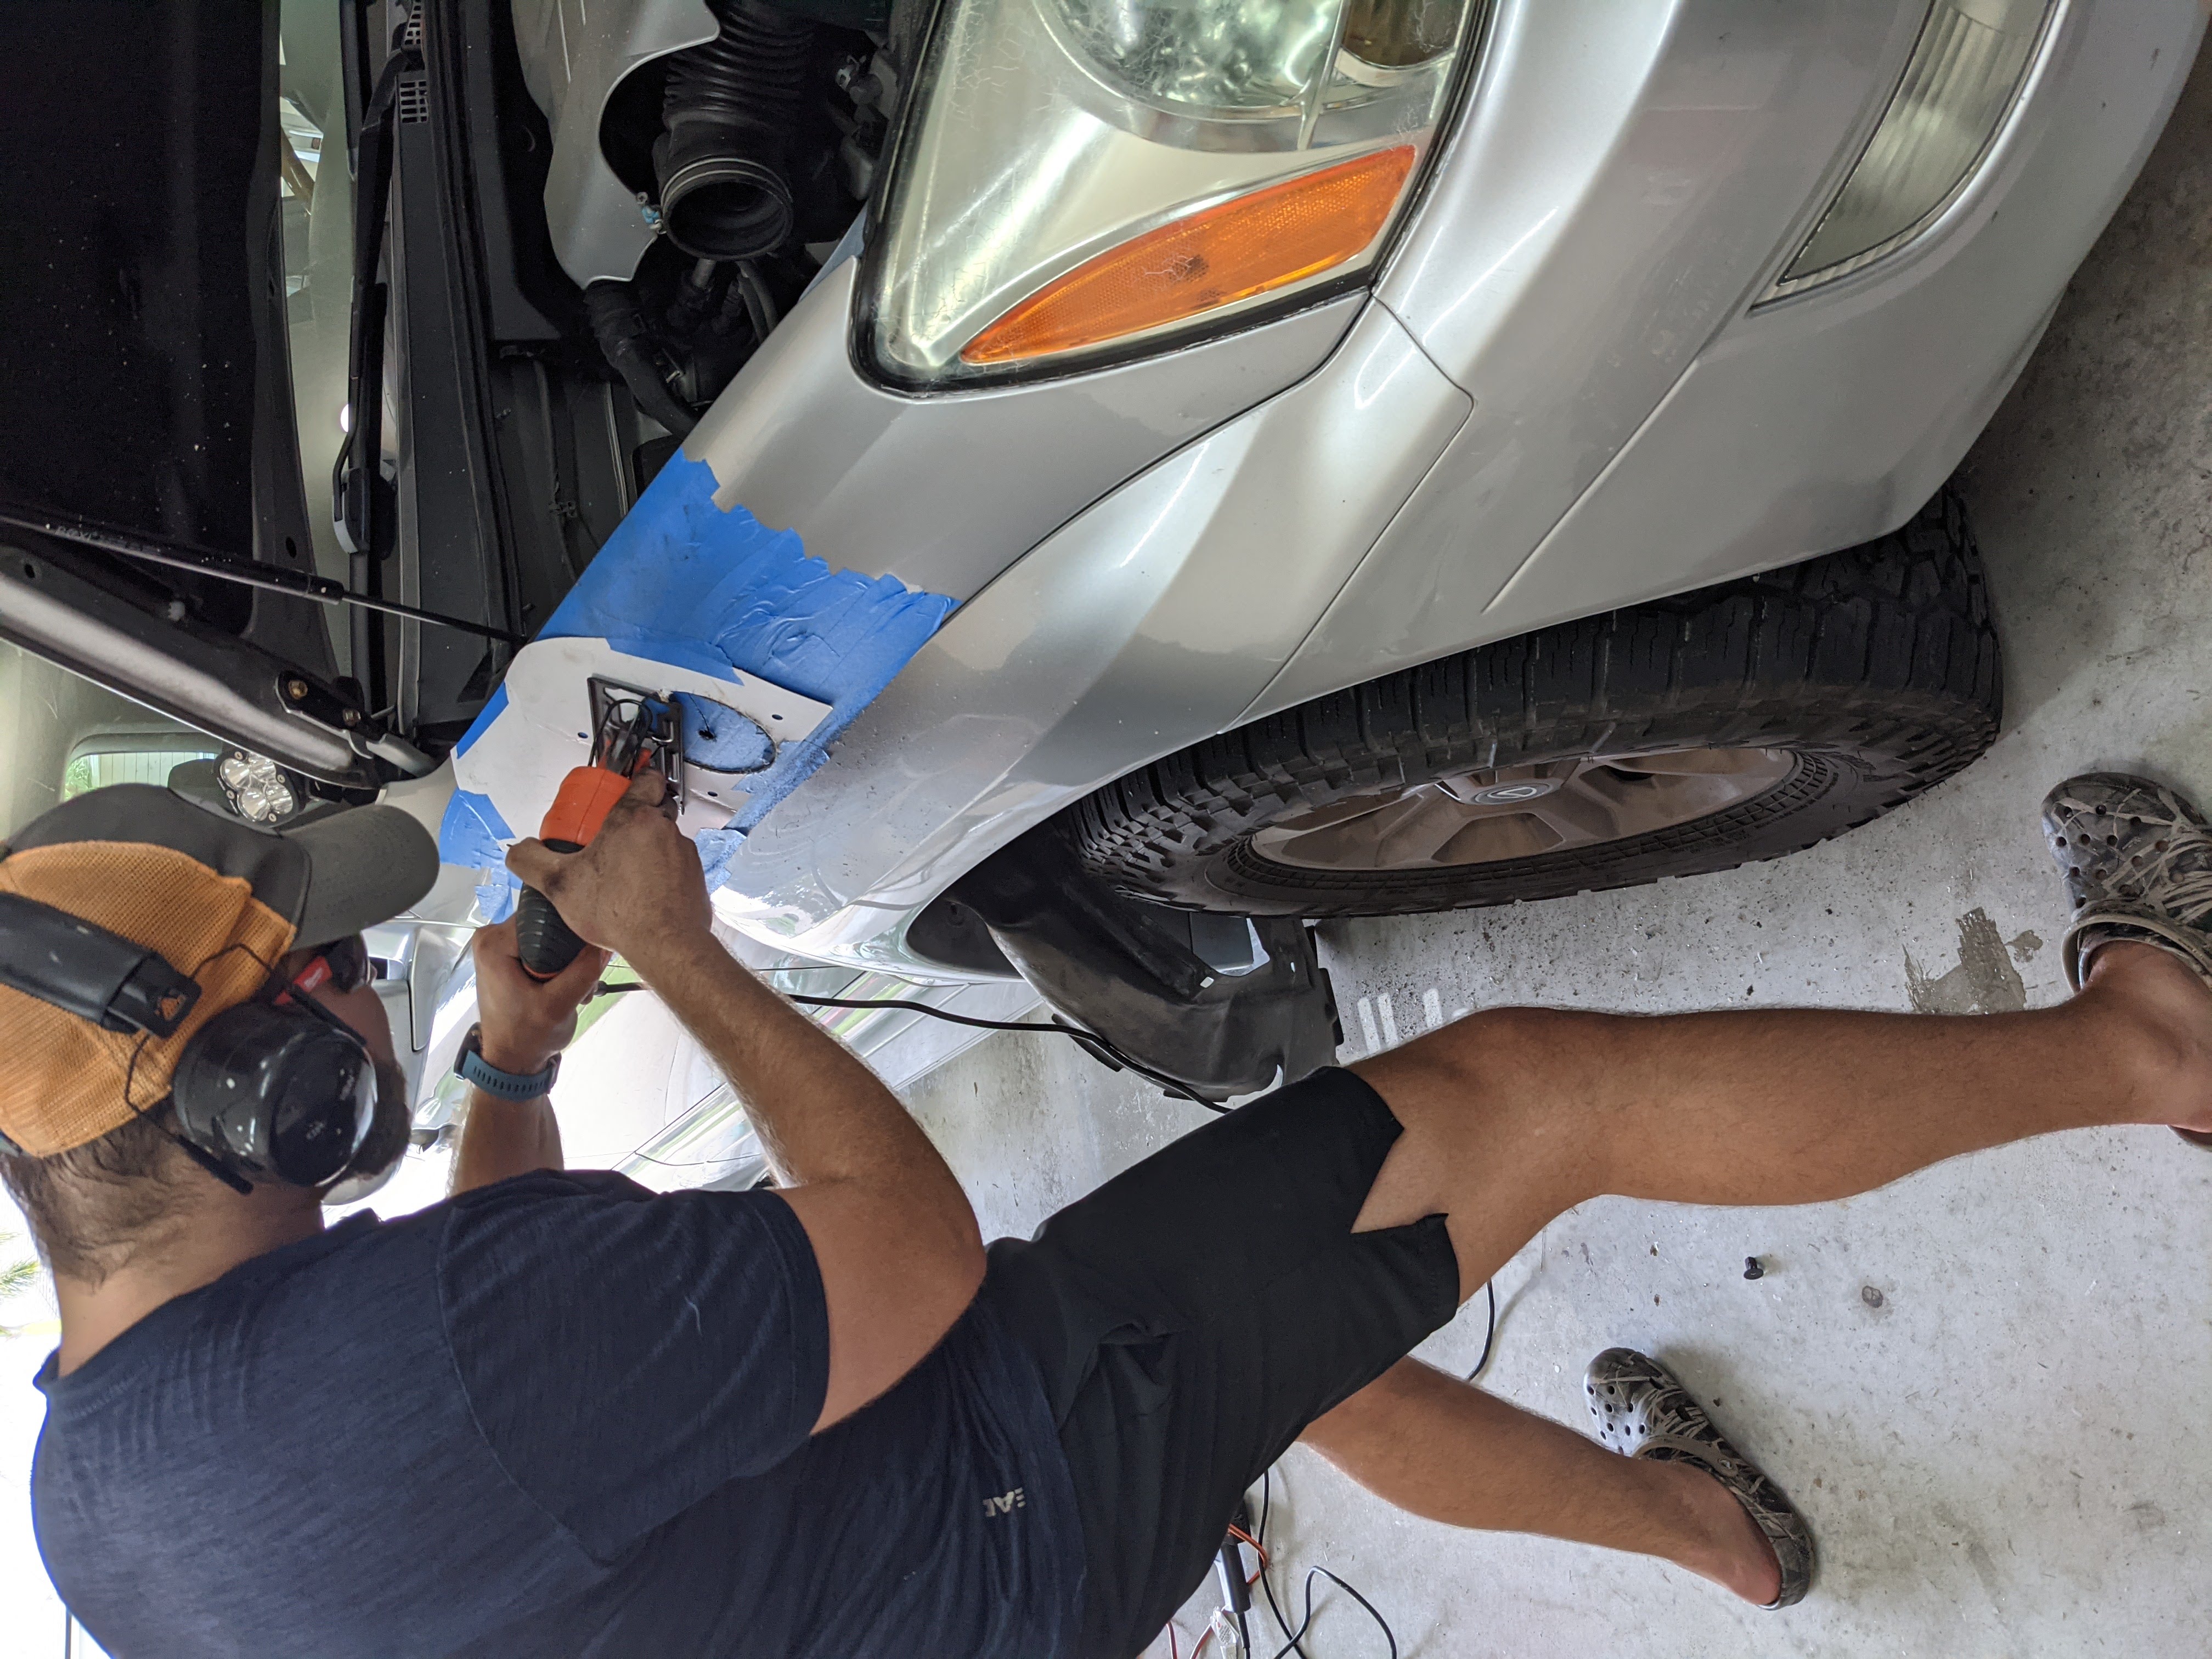
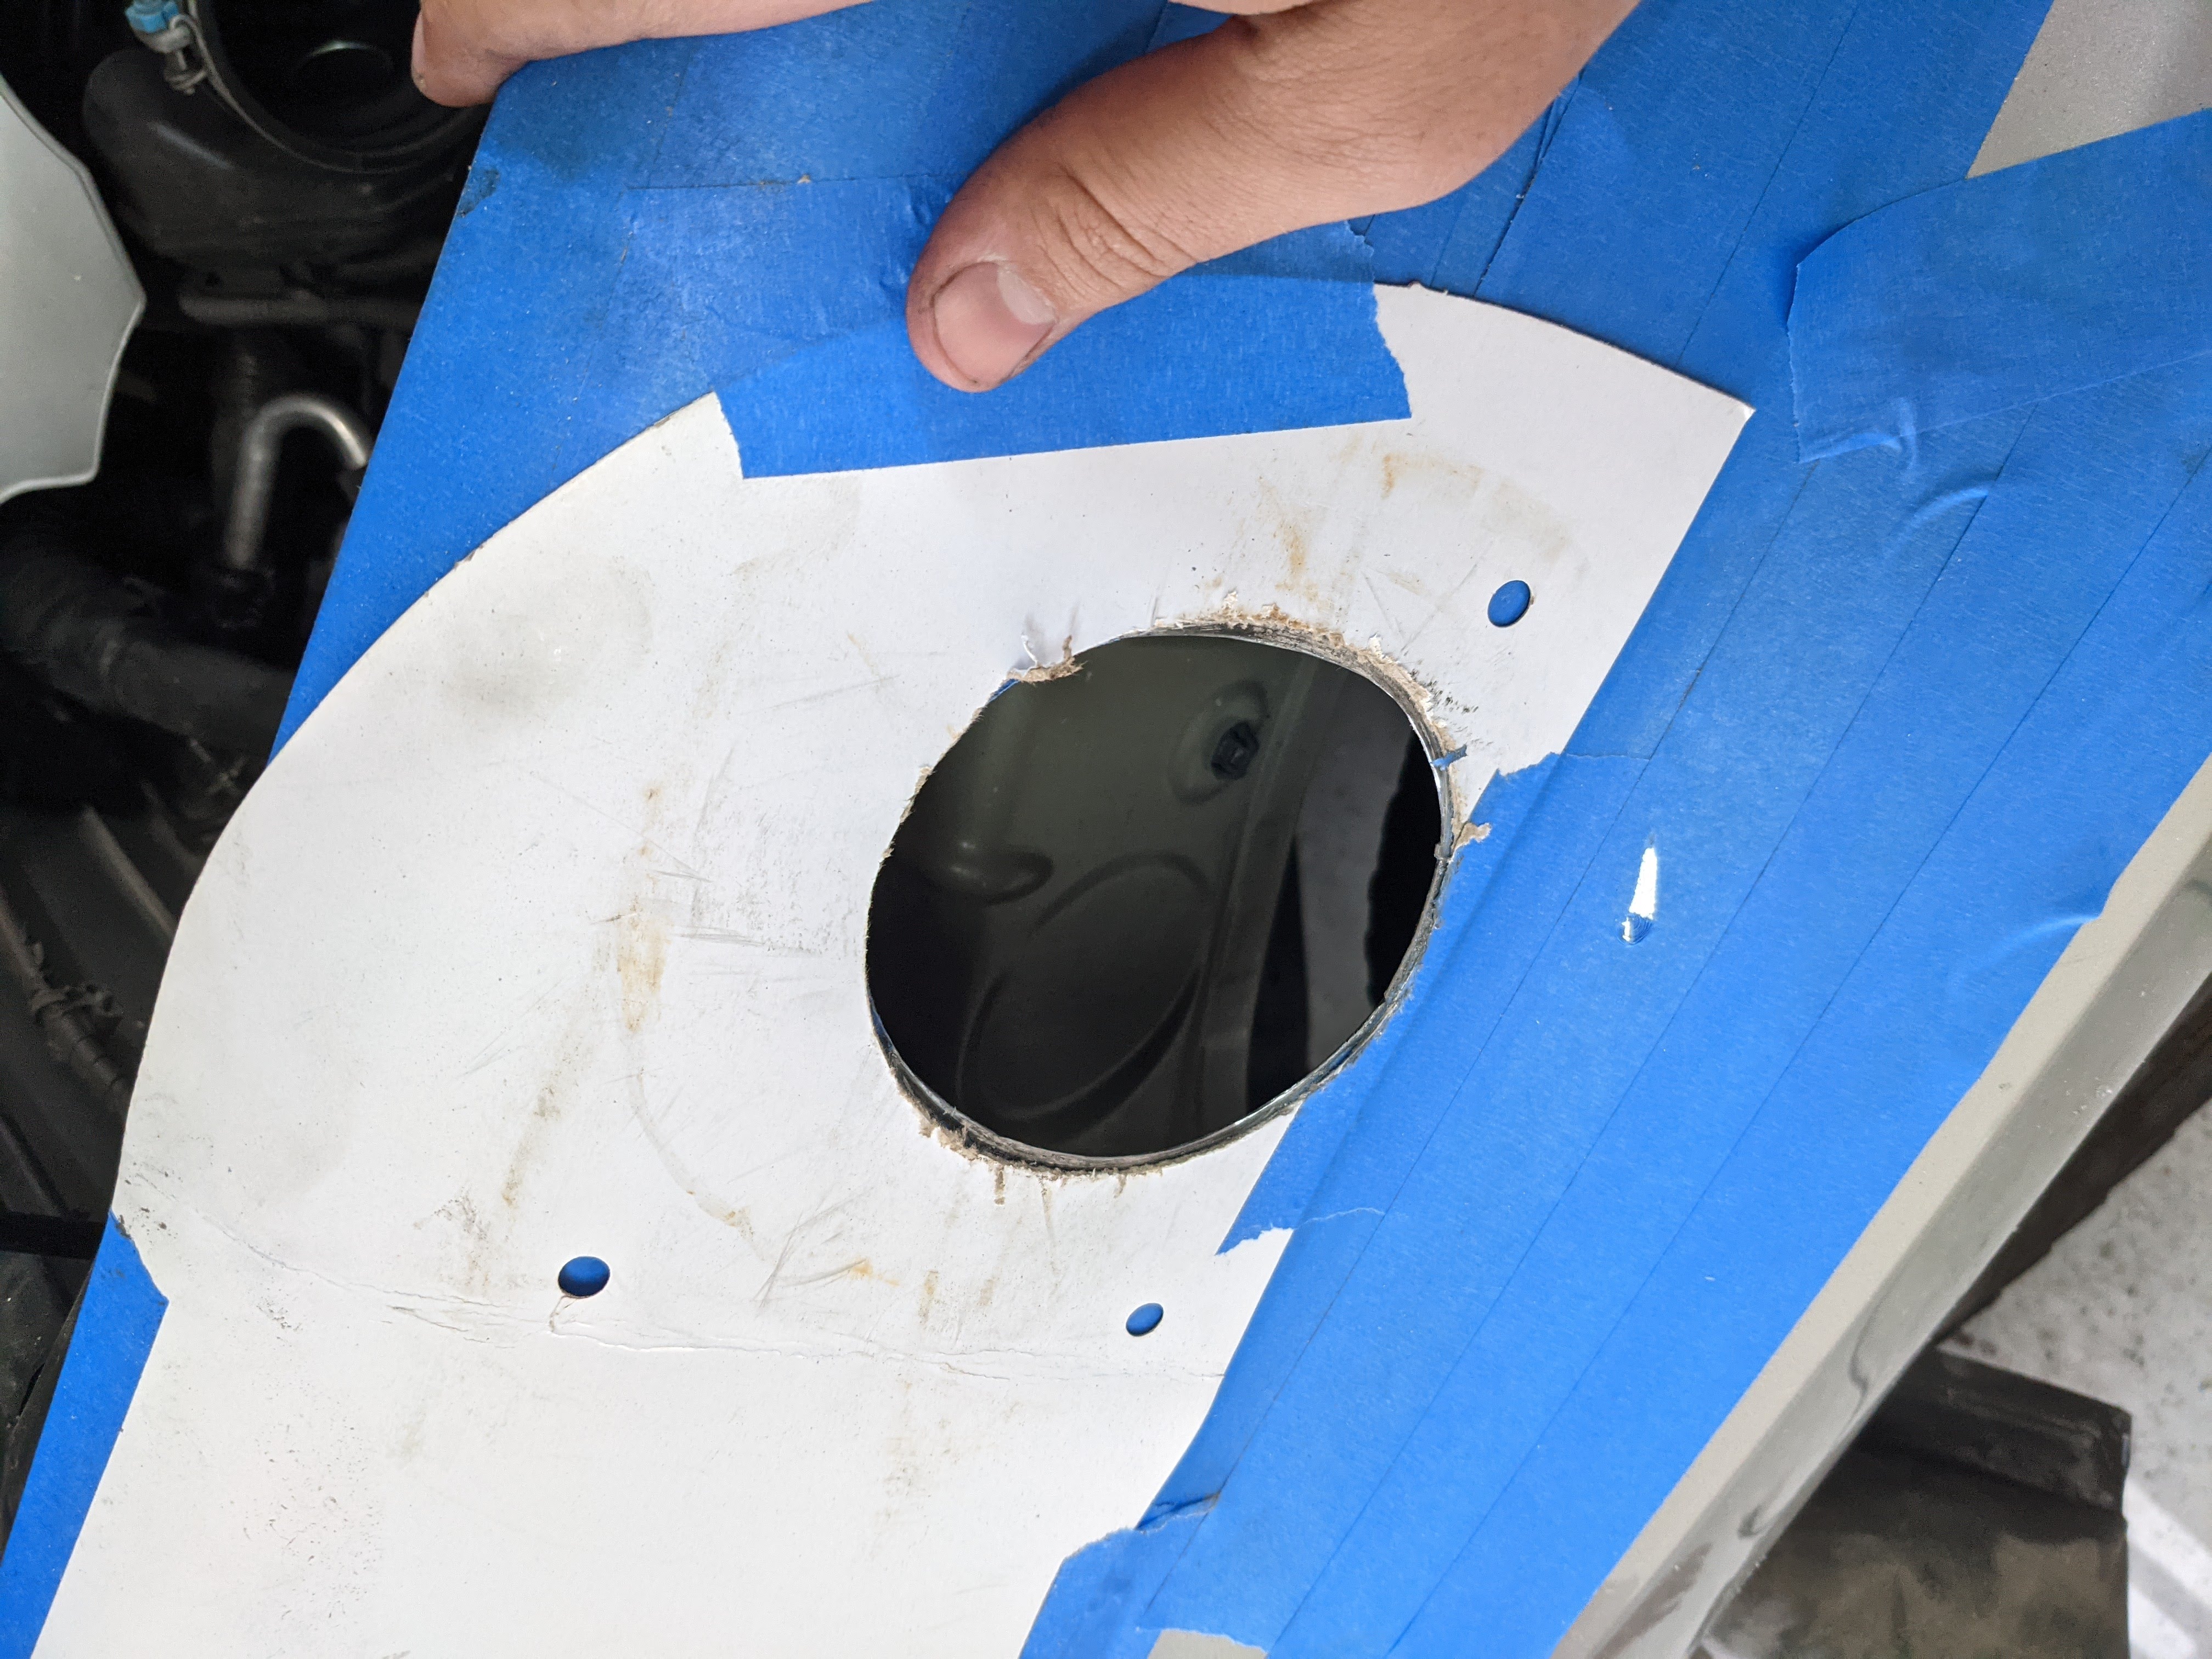
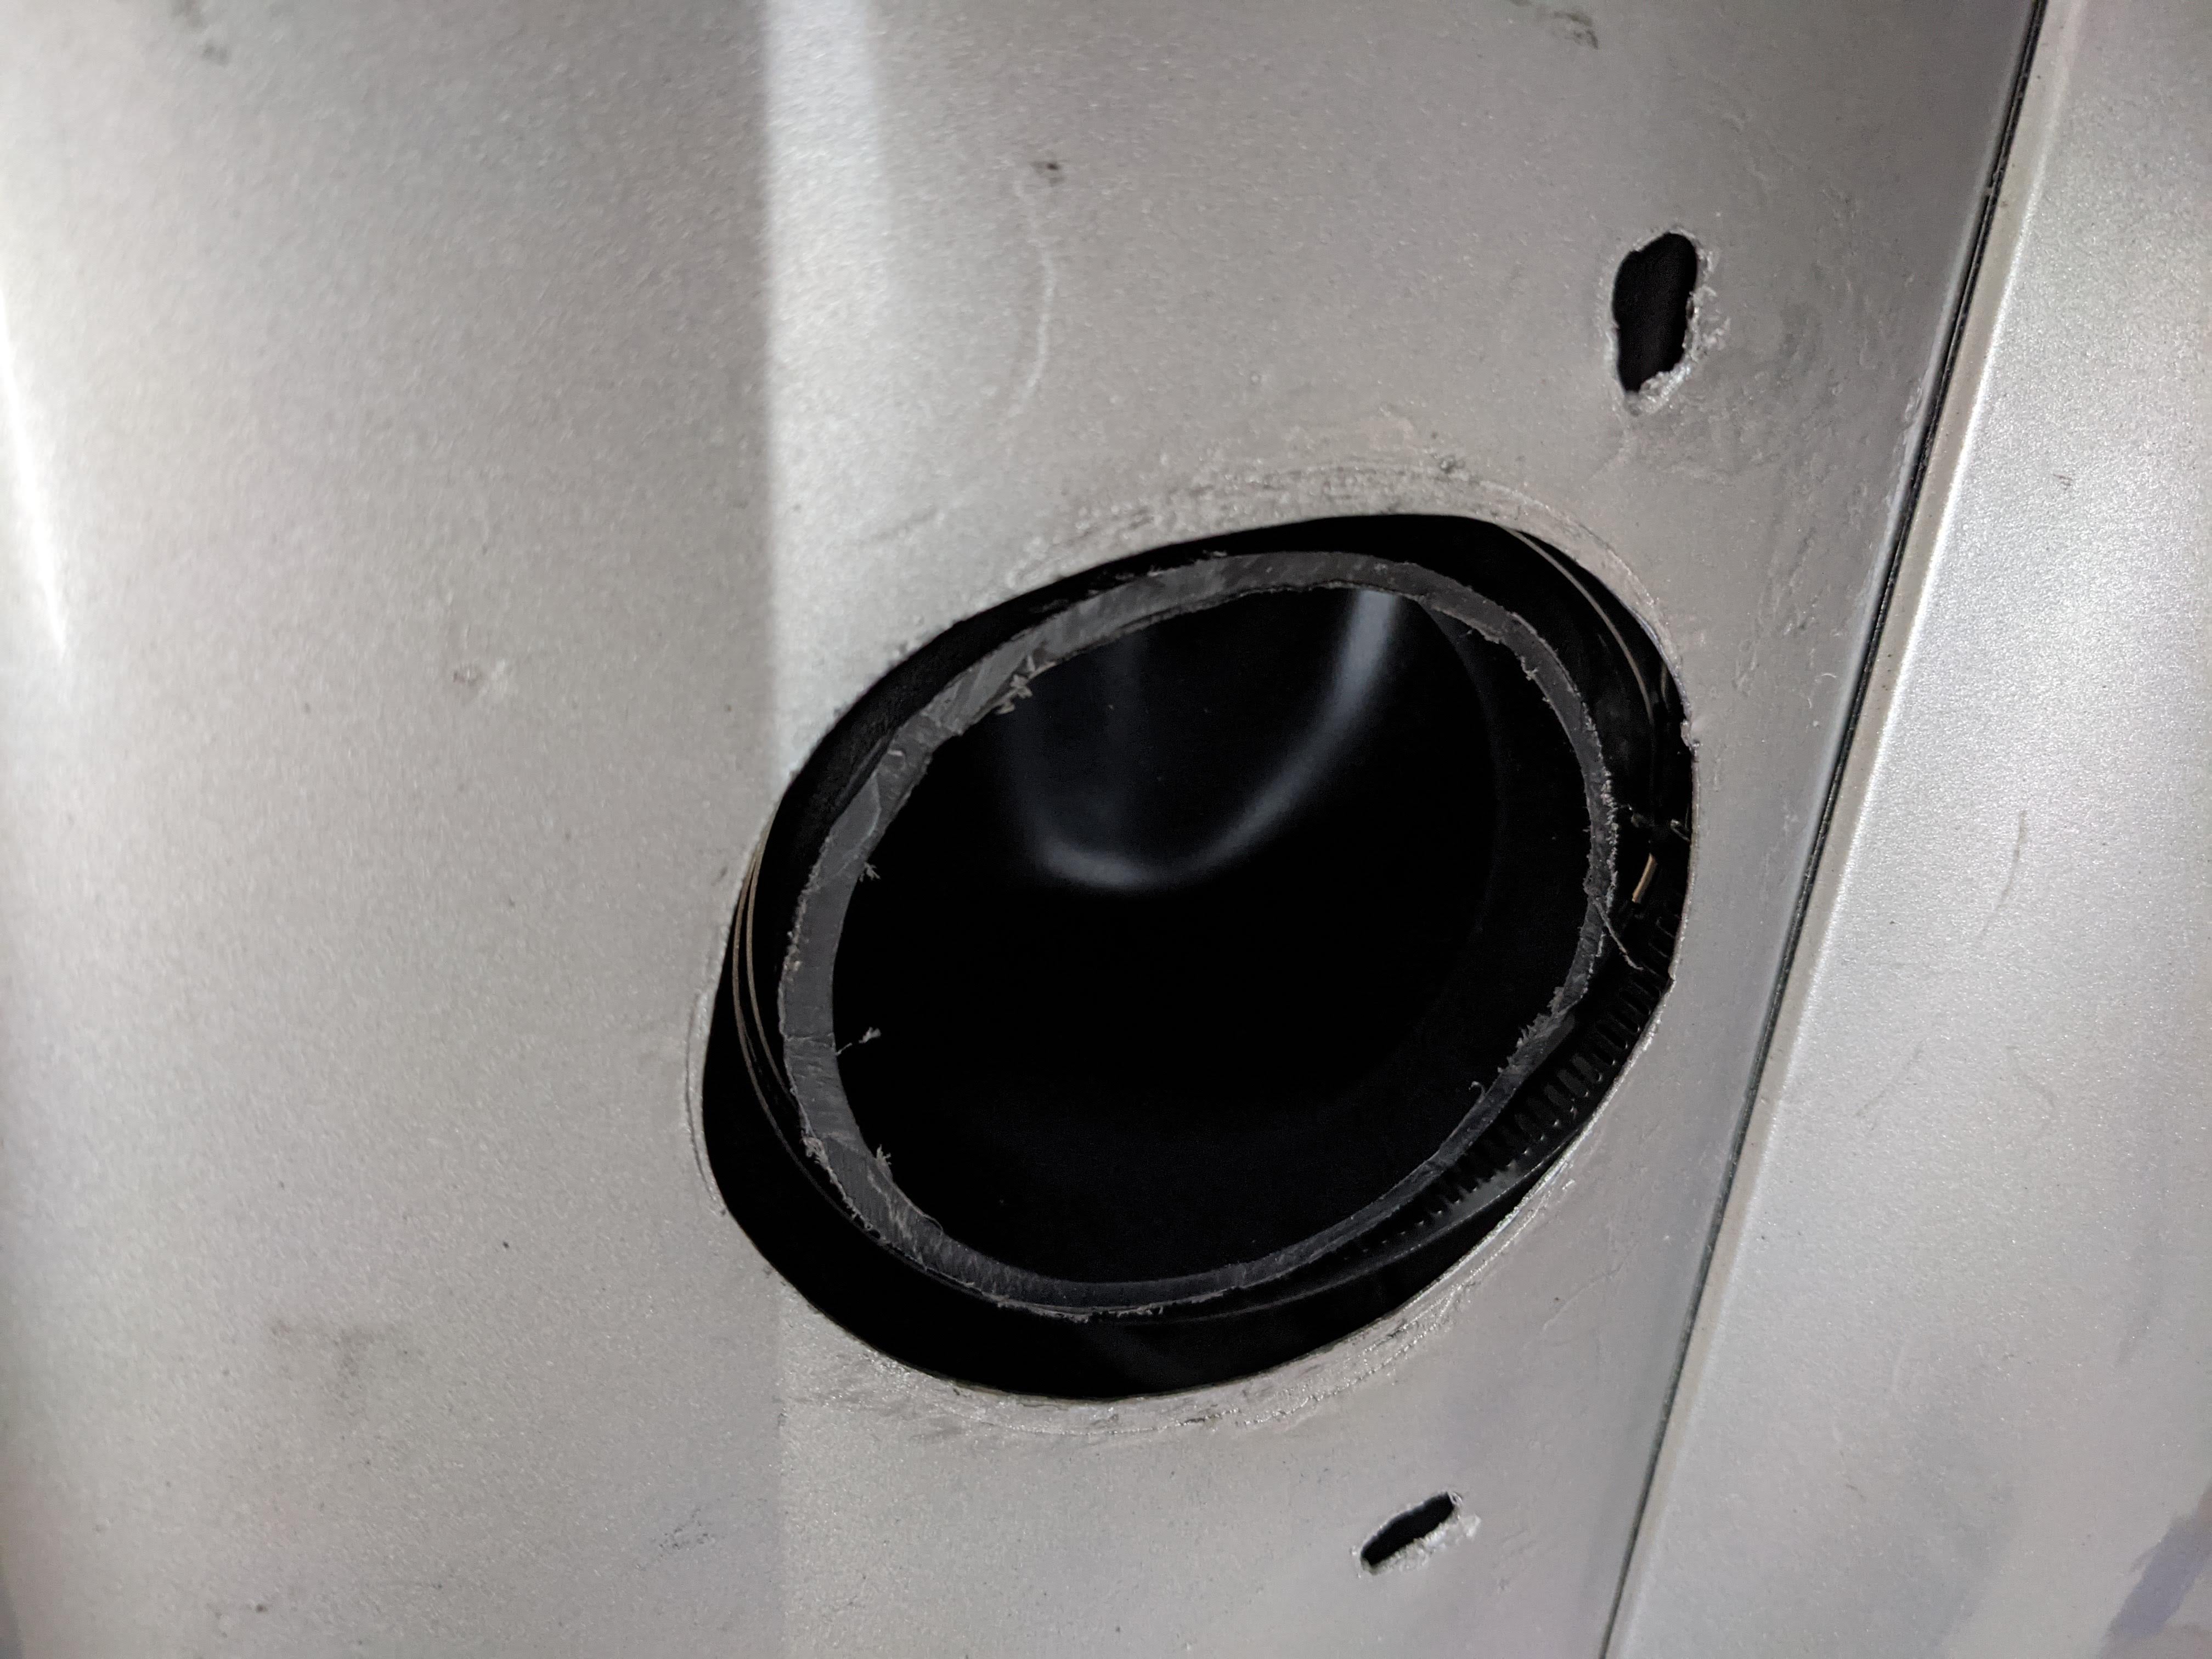
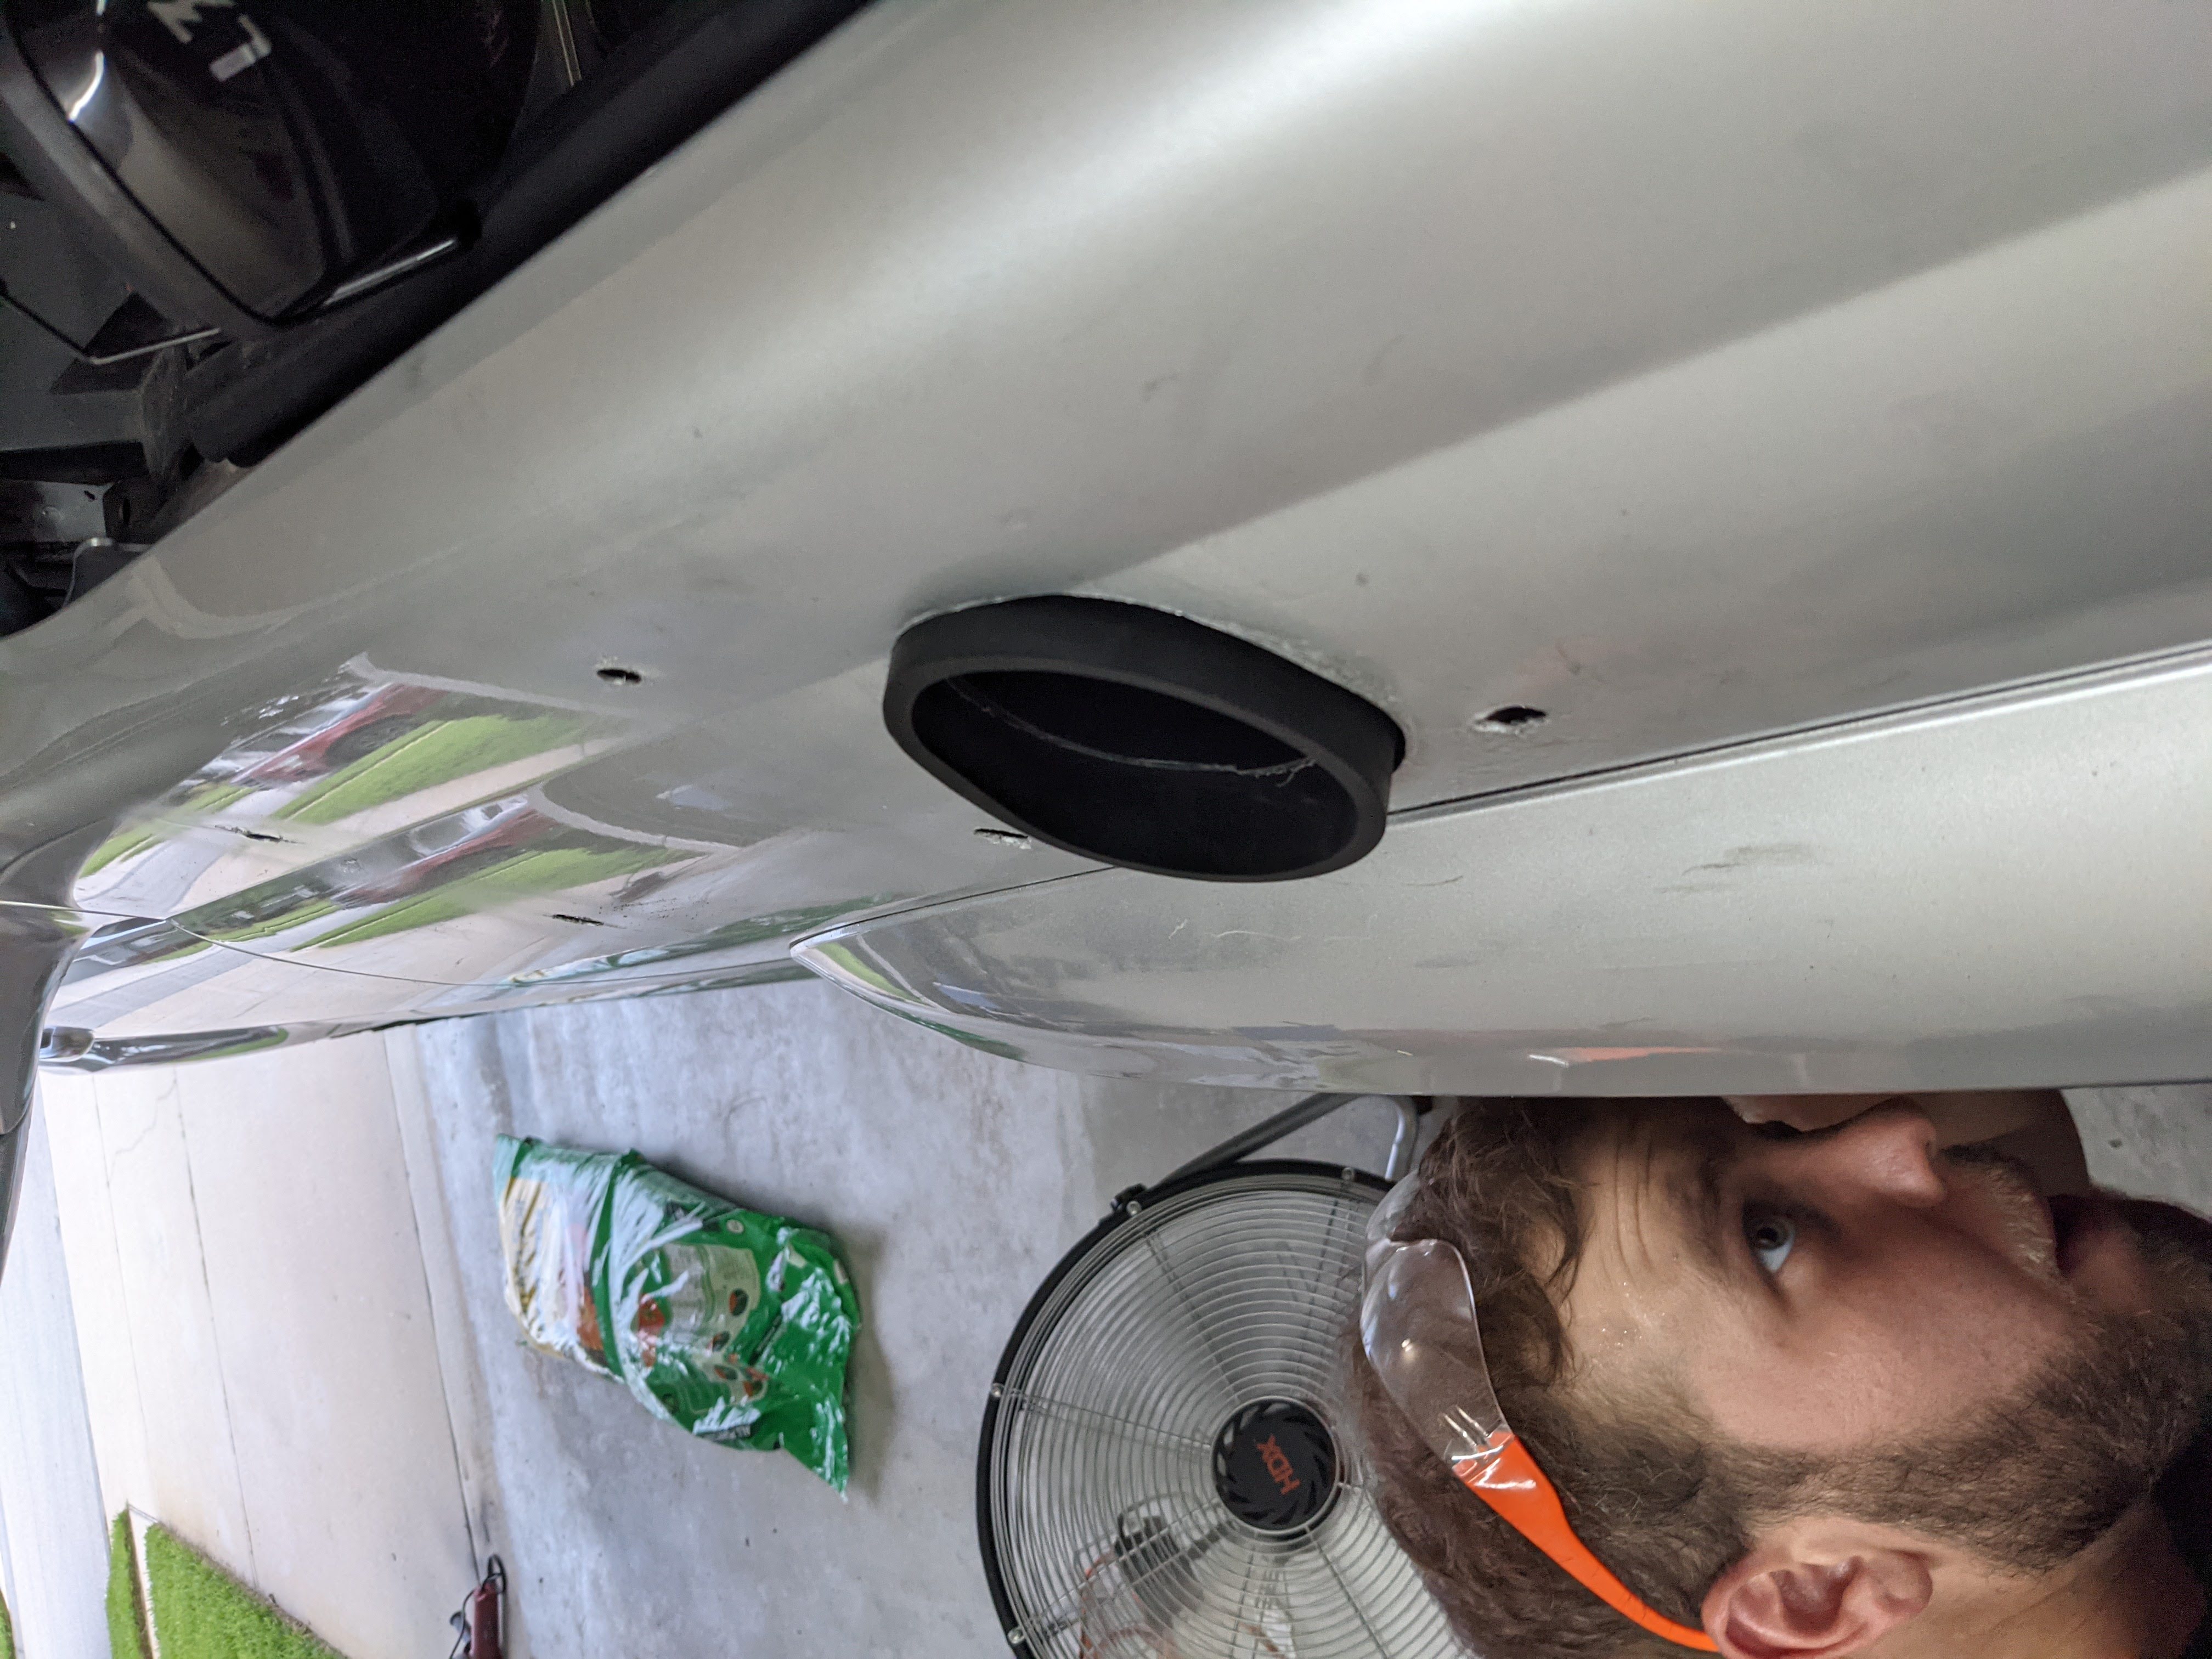
Mount your template on the fender. I ended up pushing mine .5 inch towards the front of the car so that the passenger door could open easier, as many others have done. Use lots of painters tape to make cutting and drilling easier (use more on the bottom than I did, since I still got some scratches).
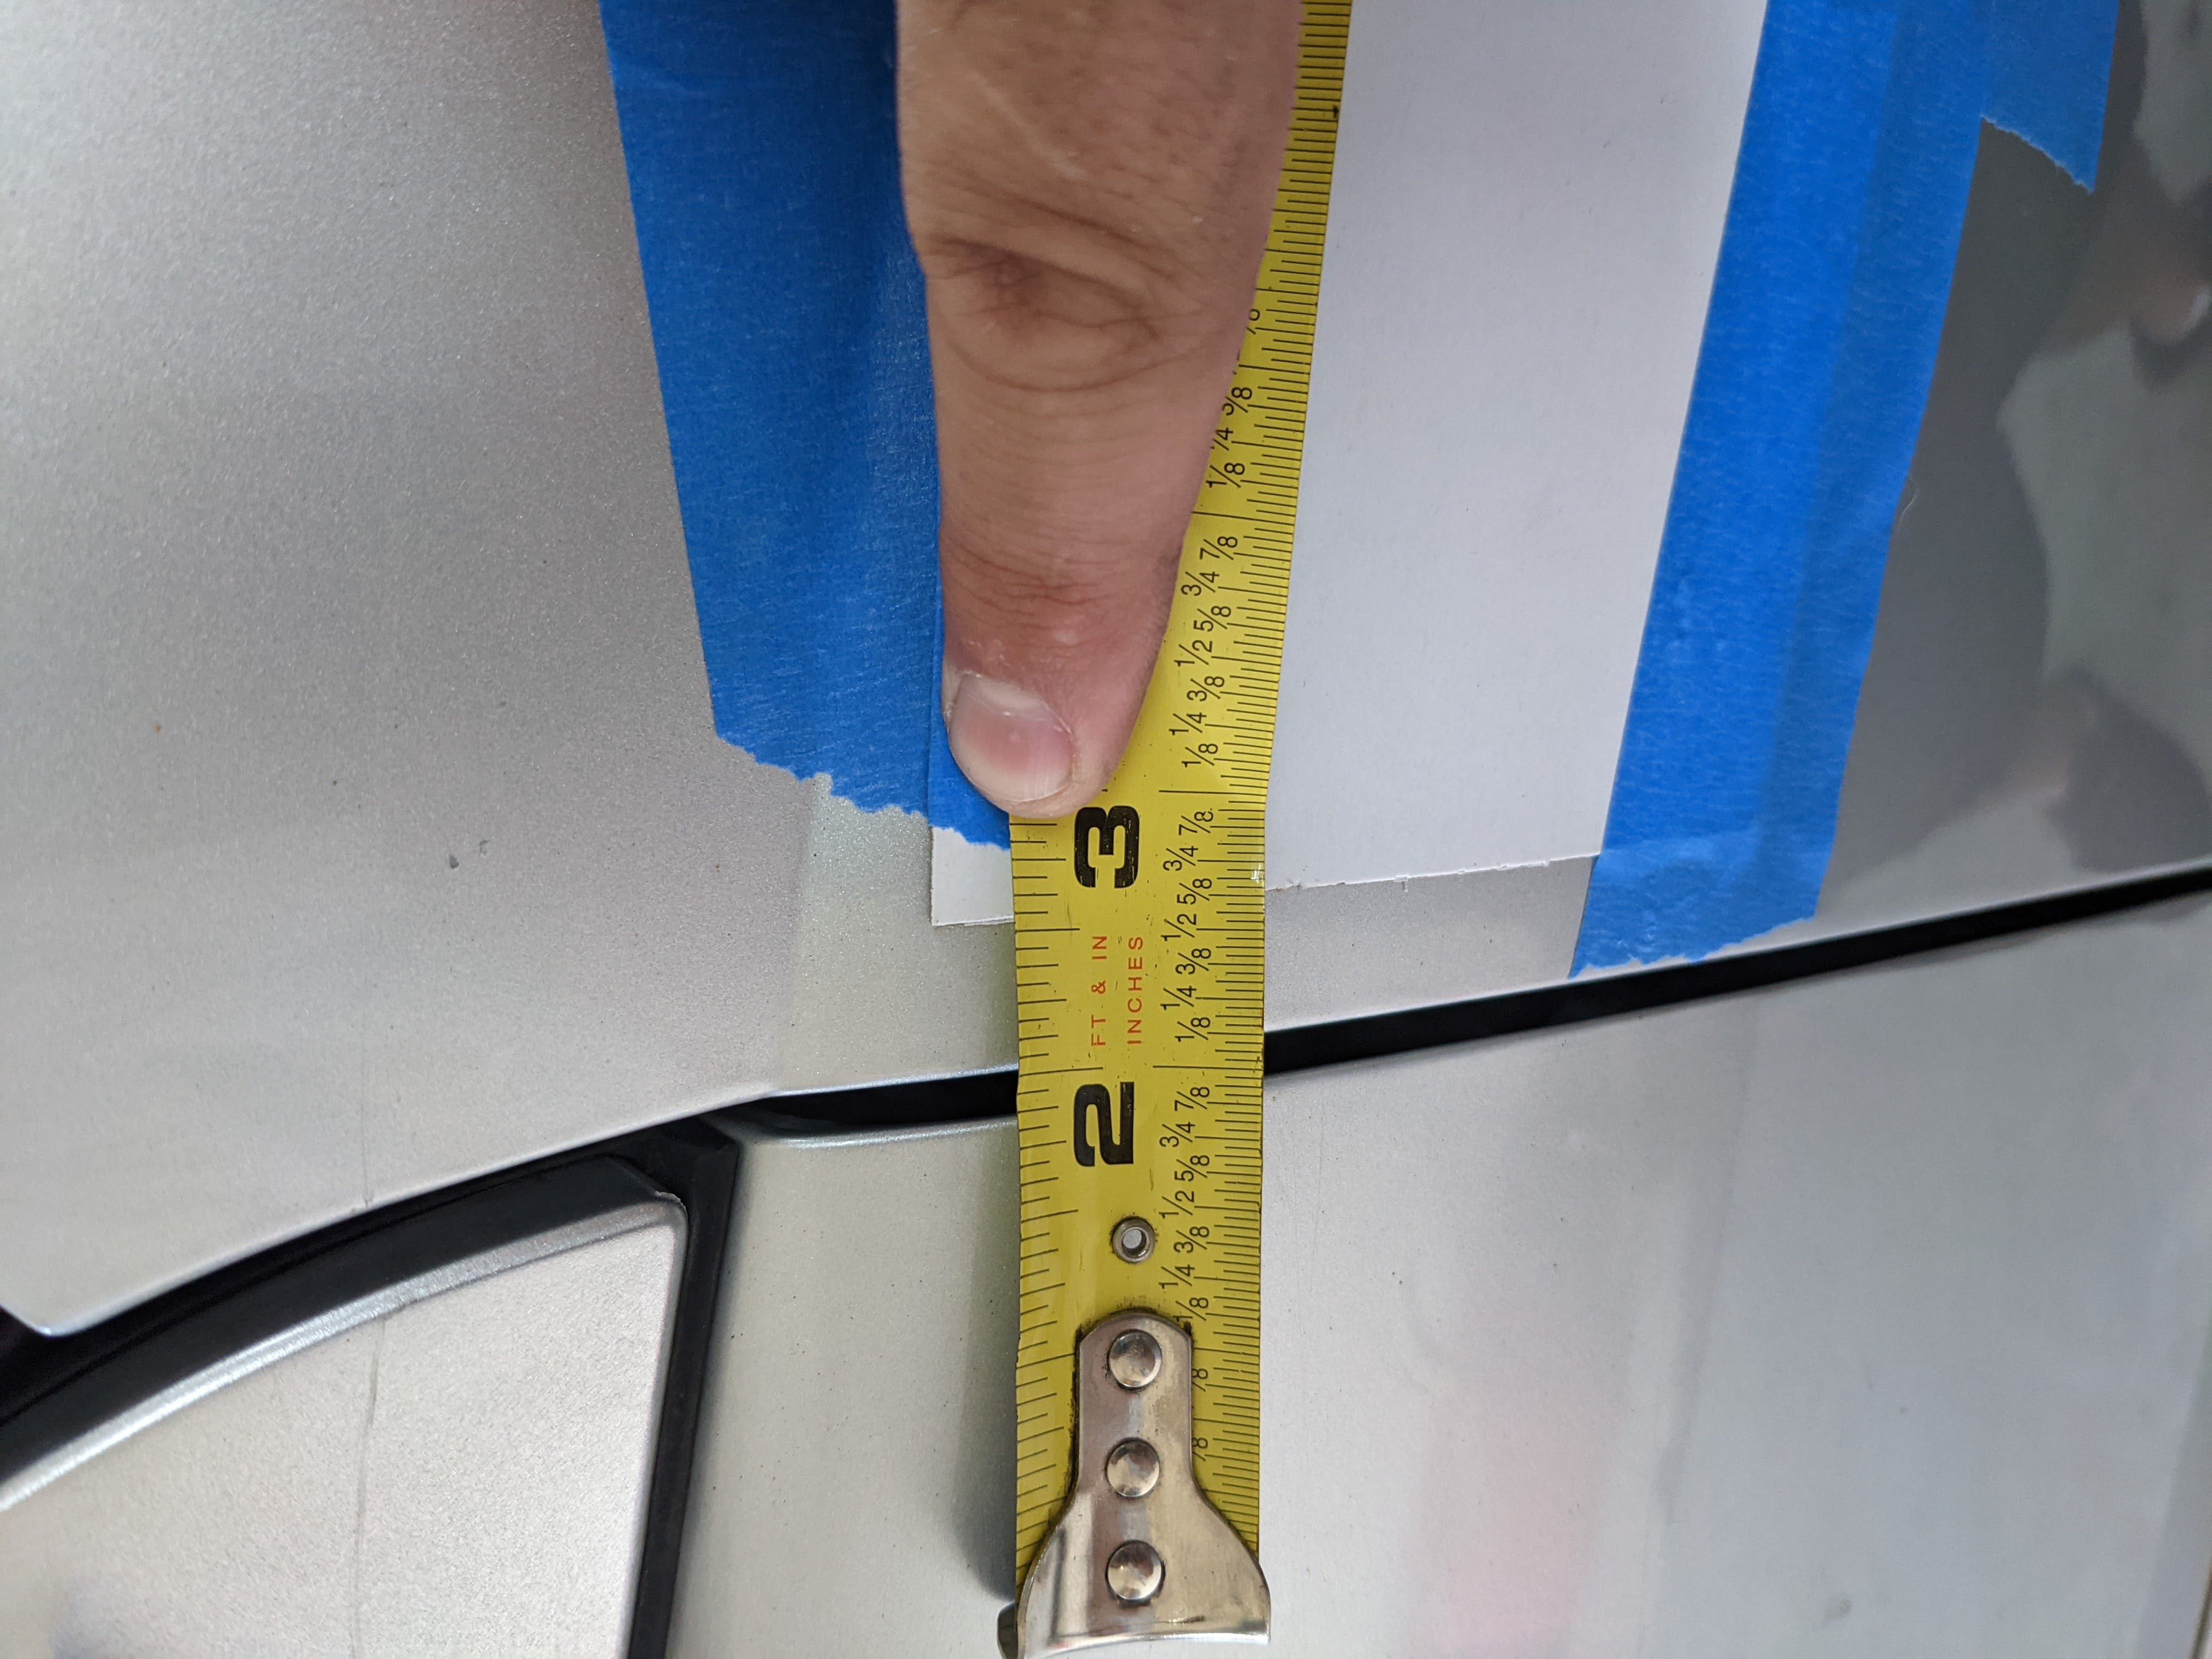
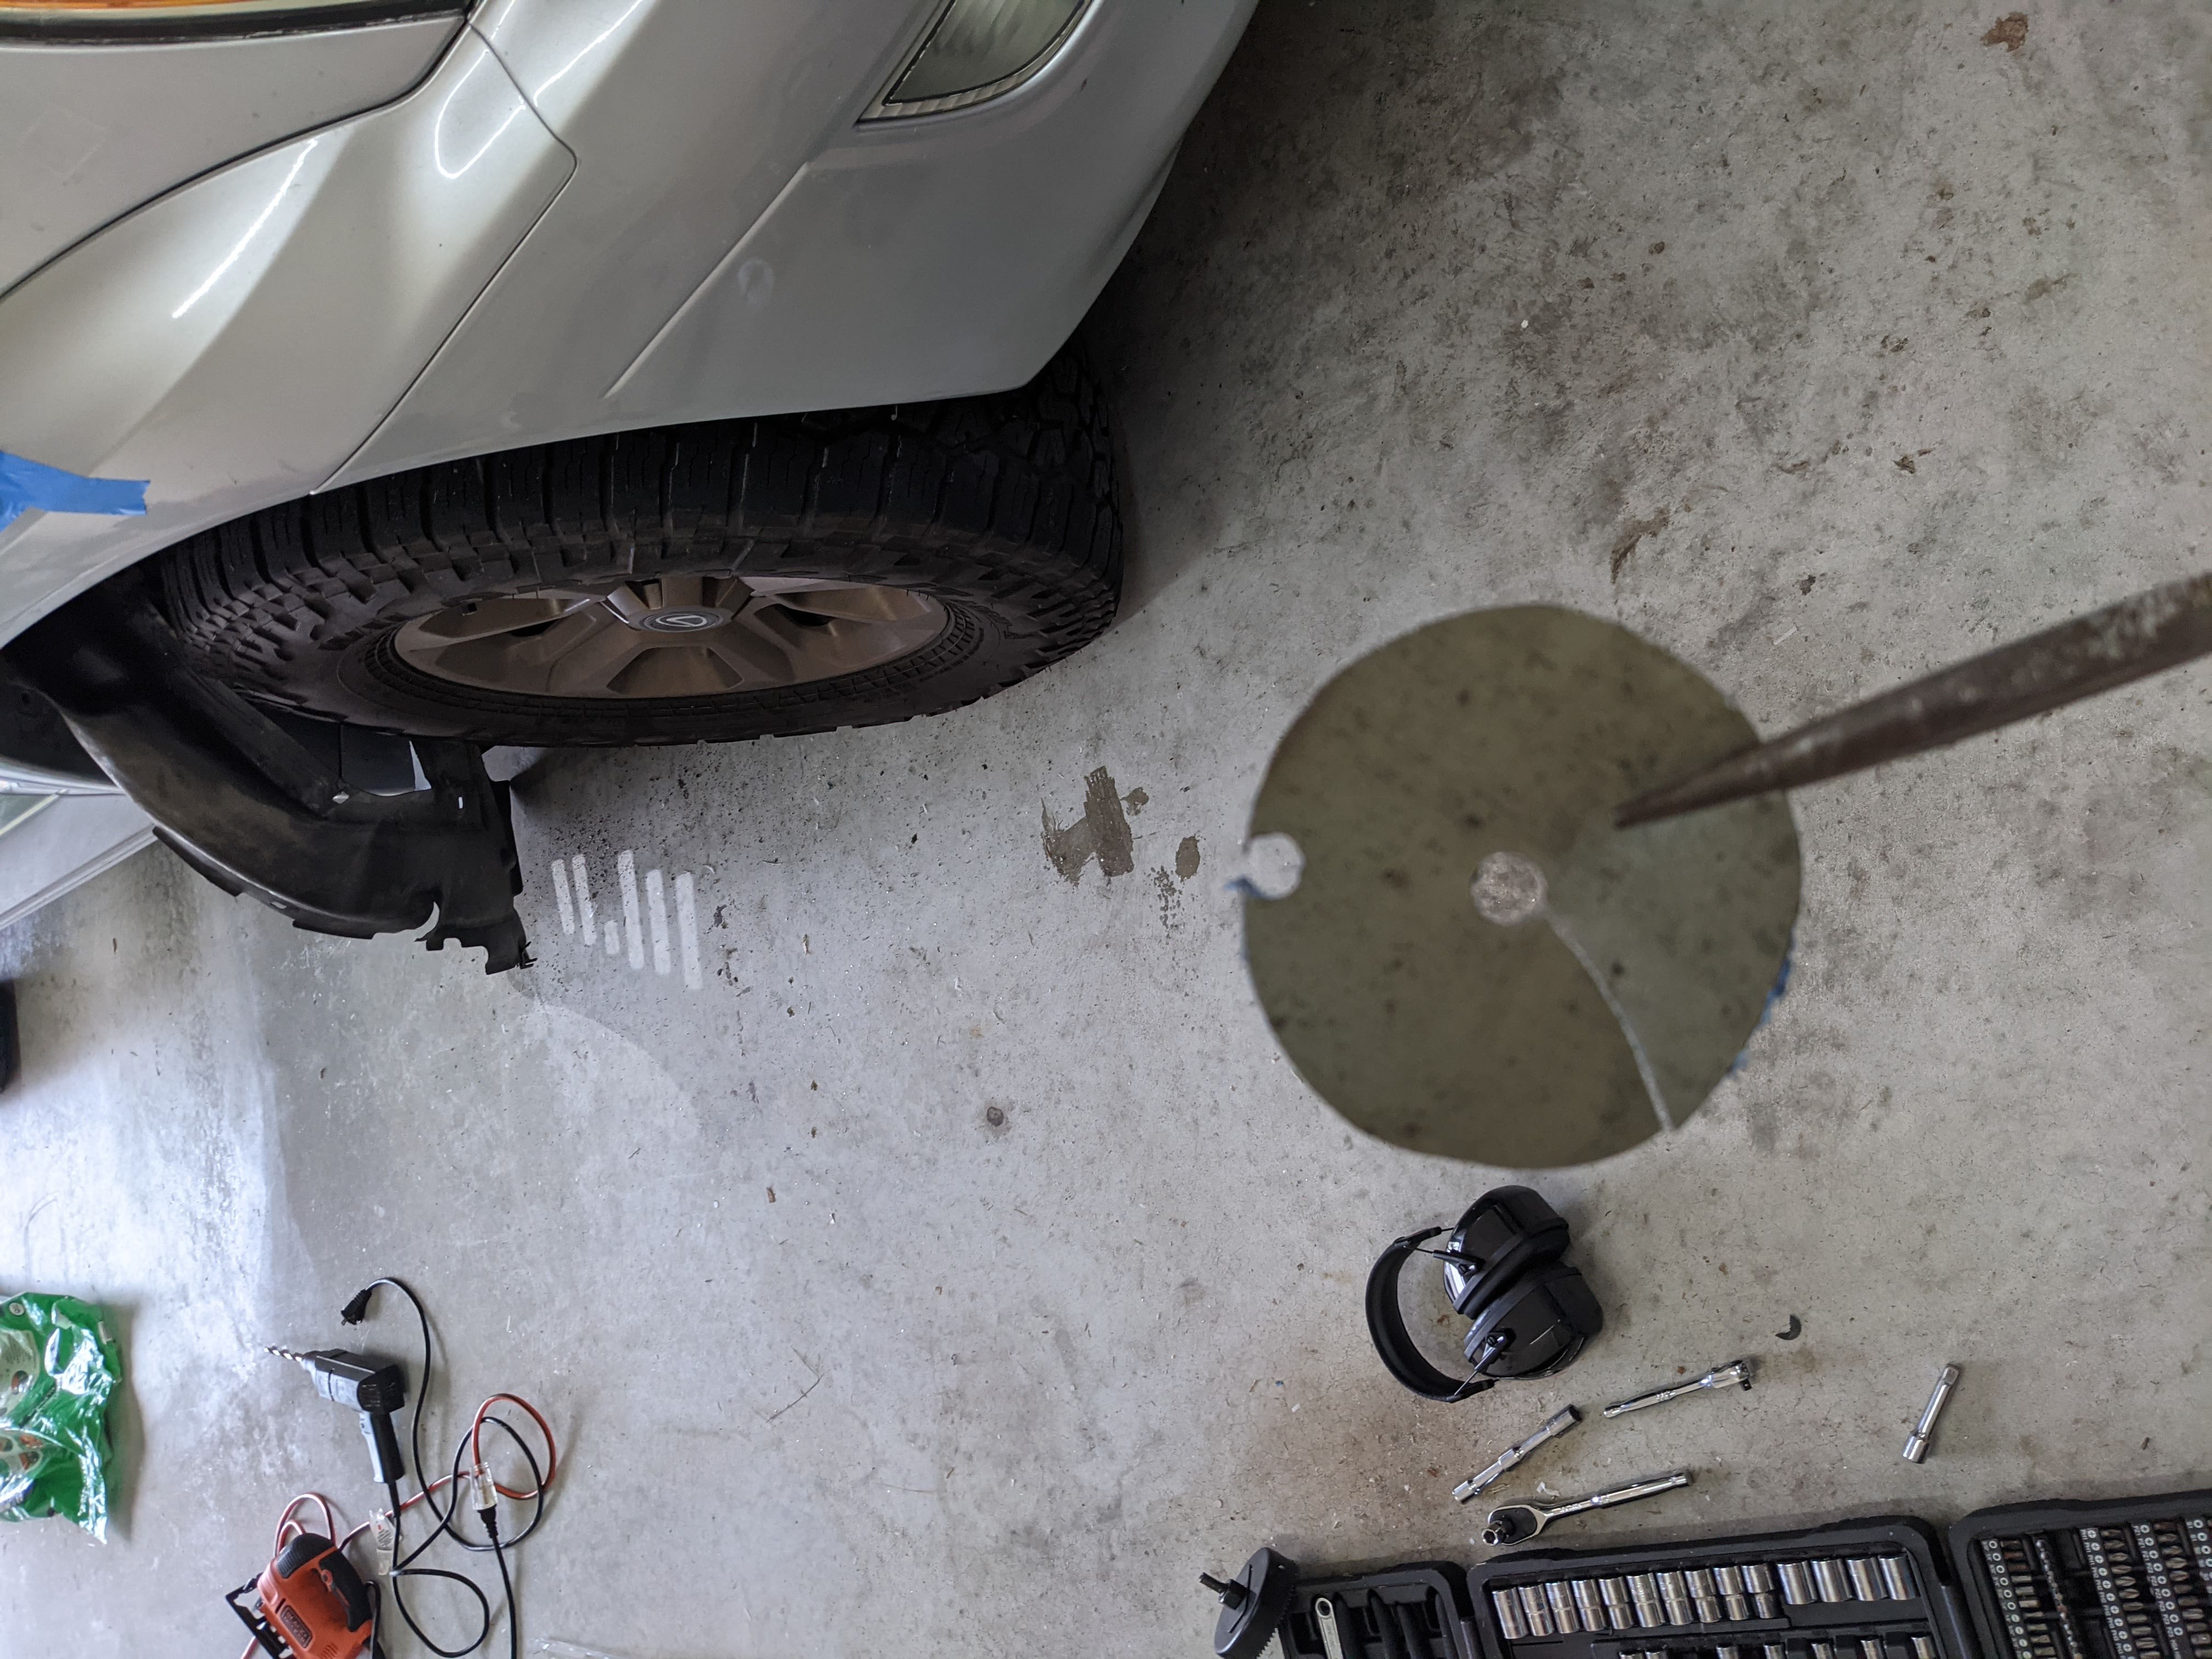
Cut the big hole in your fender using a 4” metal hole saw, or a jig saw. Drill the holes for the mounting bolts using a metal drill bit. I’ve seen step bits used here, We ended up using 19/64” bits, and drilled them bigger or wider in different spots.
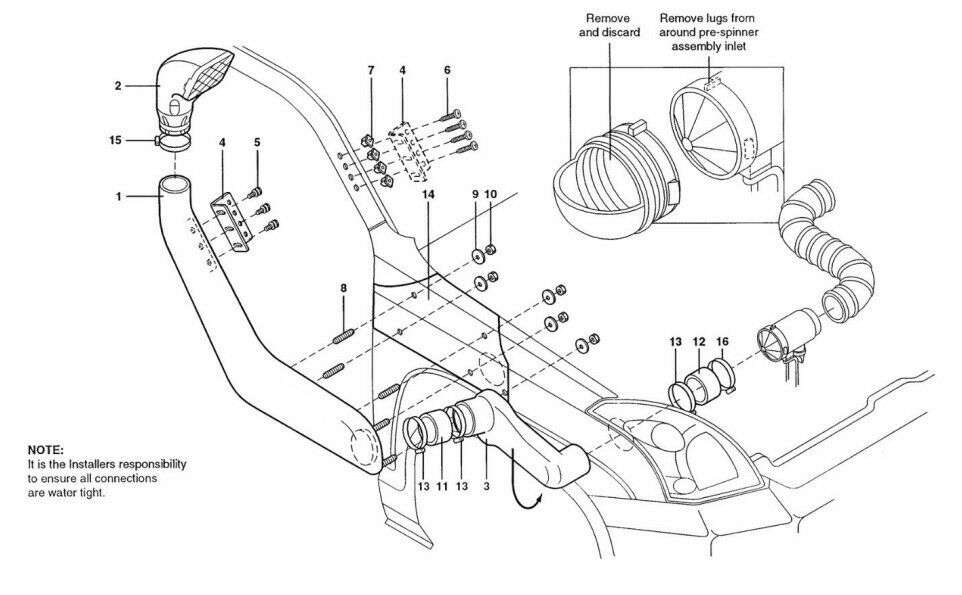
This is the diagram of how it is all supposed to fit together.
Next, you can dry fit the snorkel with the 5 mounting bolts. Once you’re satisfied there, you’ll want to paint and/or clear coat the exposed metal to prevent rust. I used a Dremel to sand down the edges, did 1 coat of touch up silver, then 2 coats of clear coat.

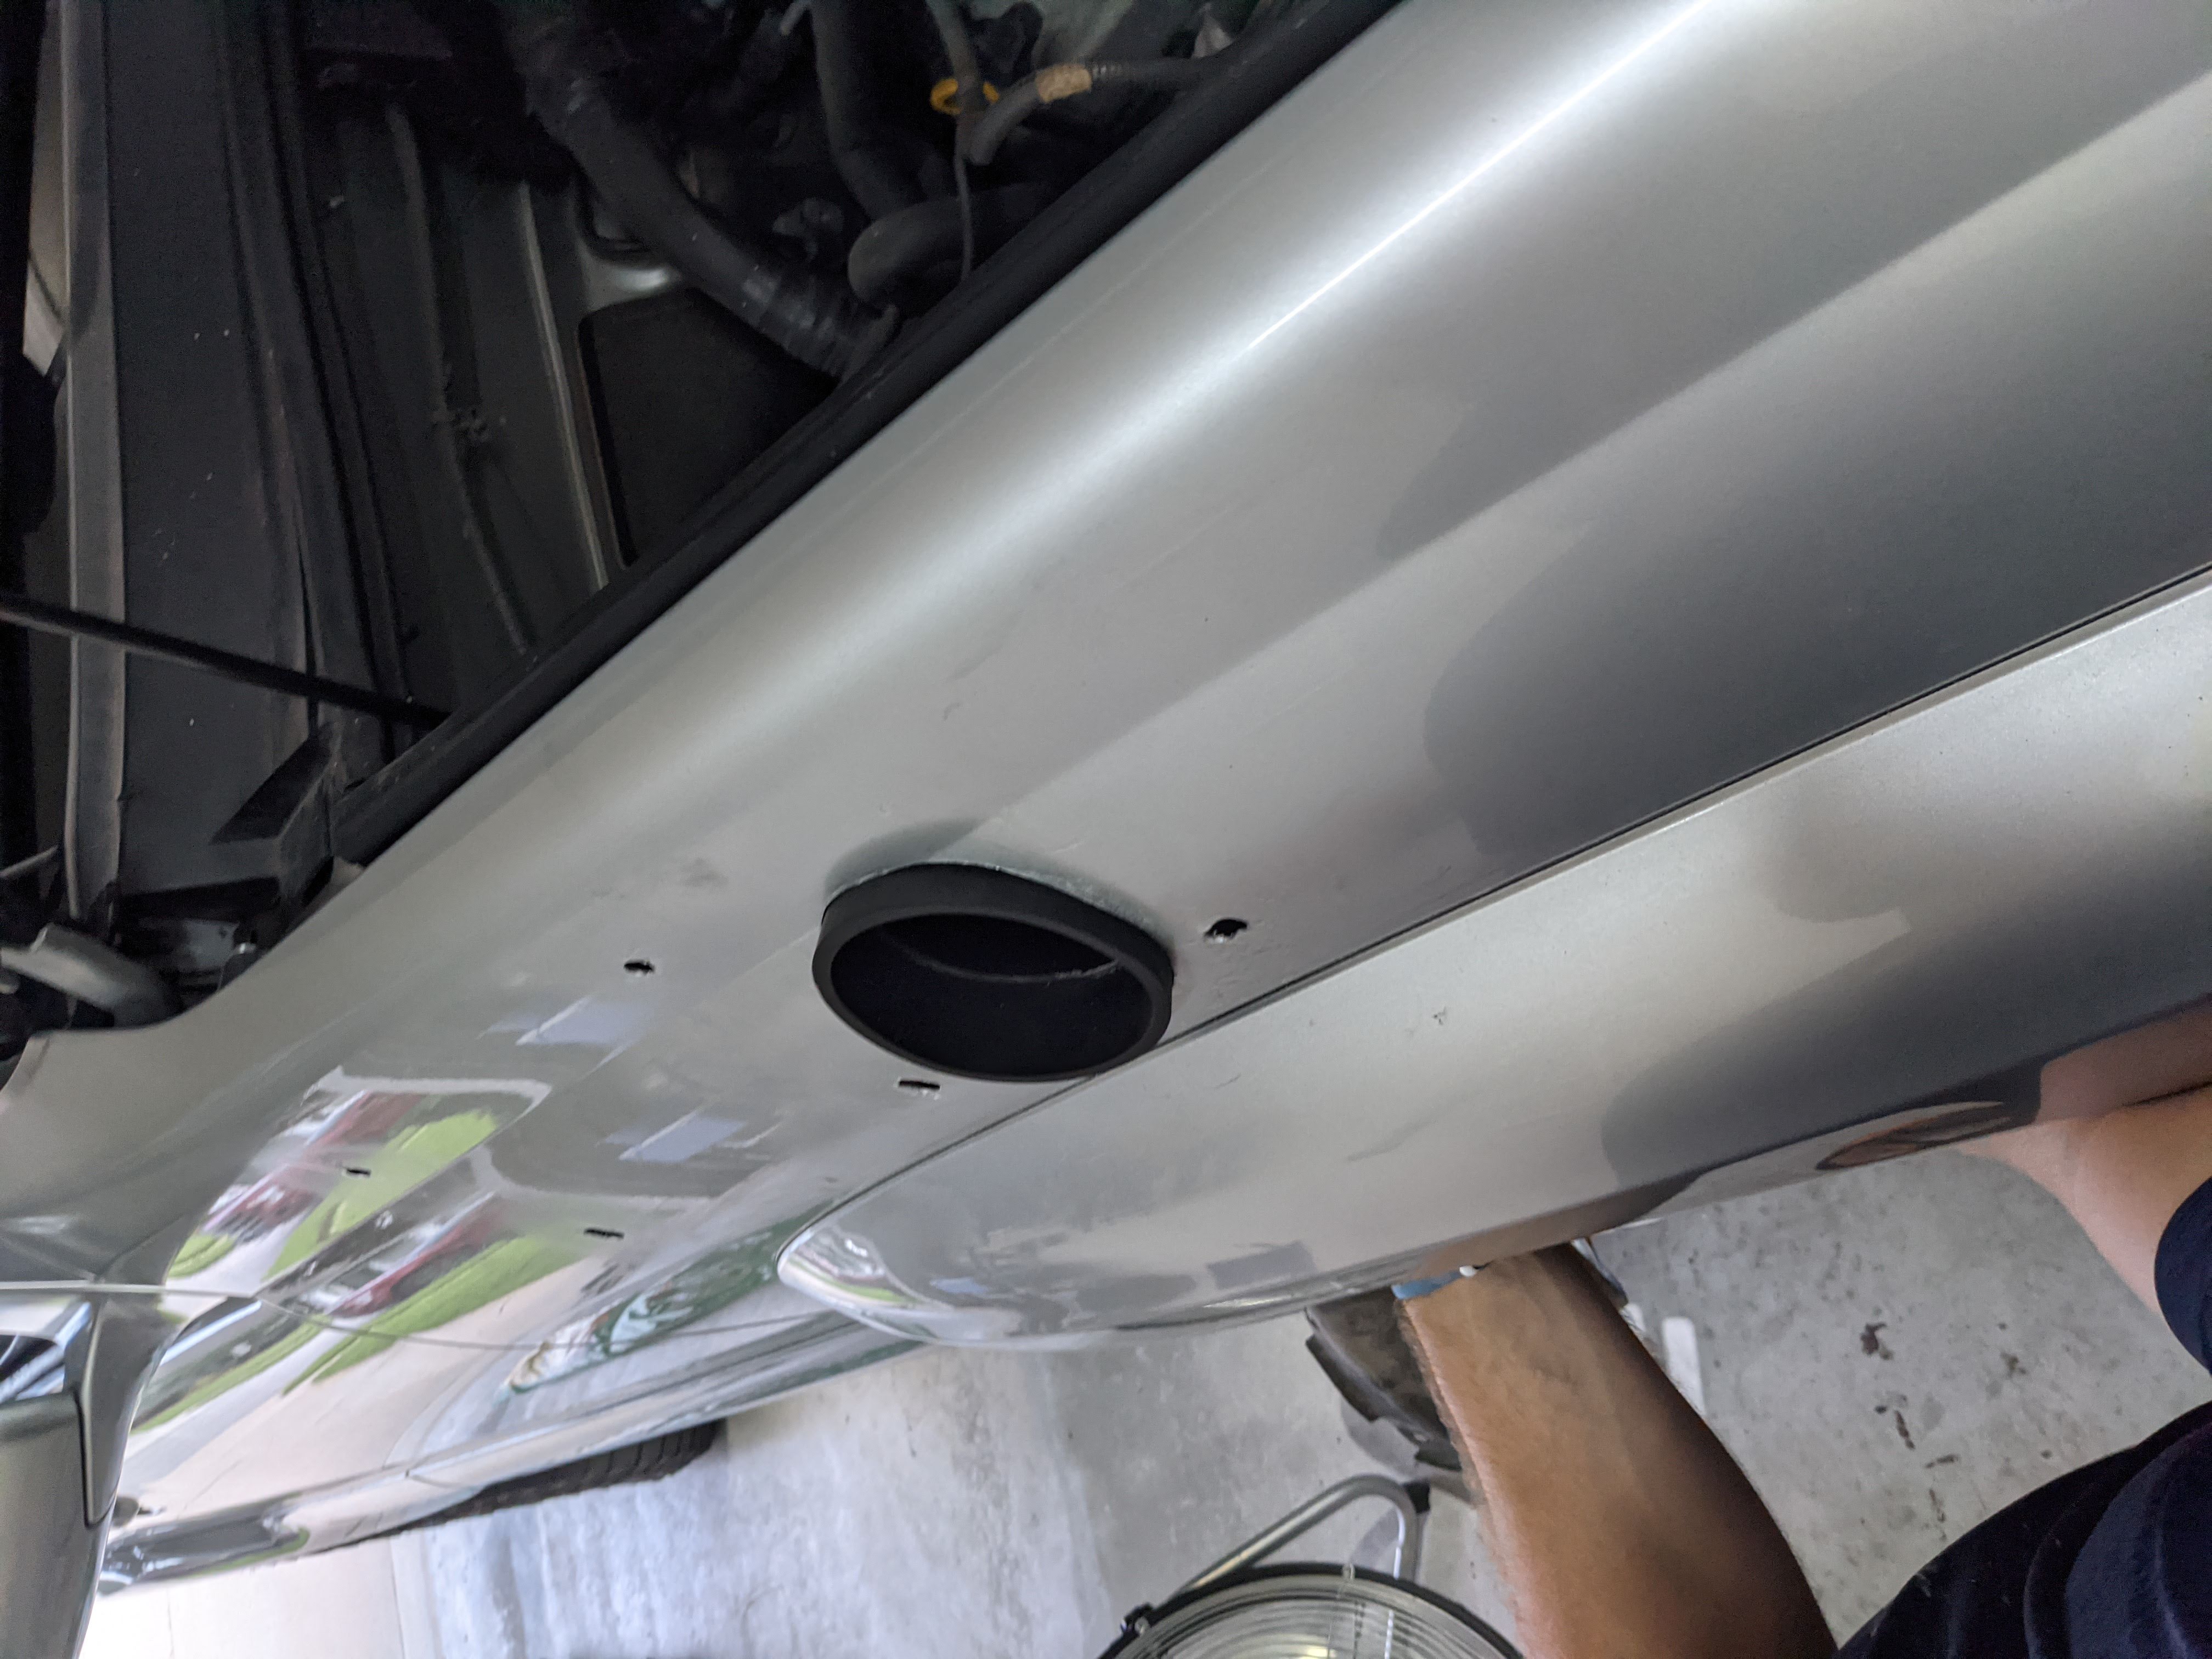
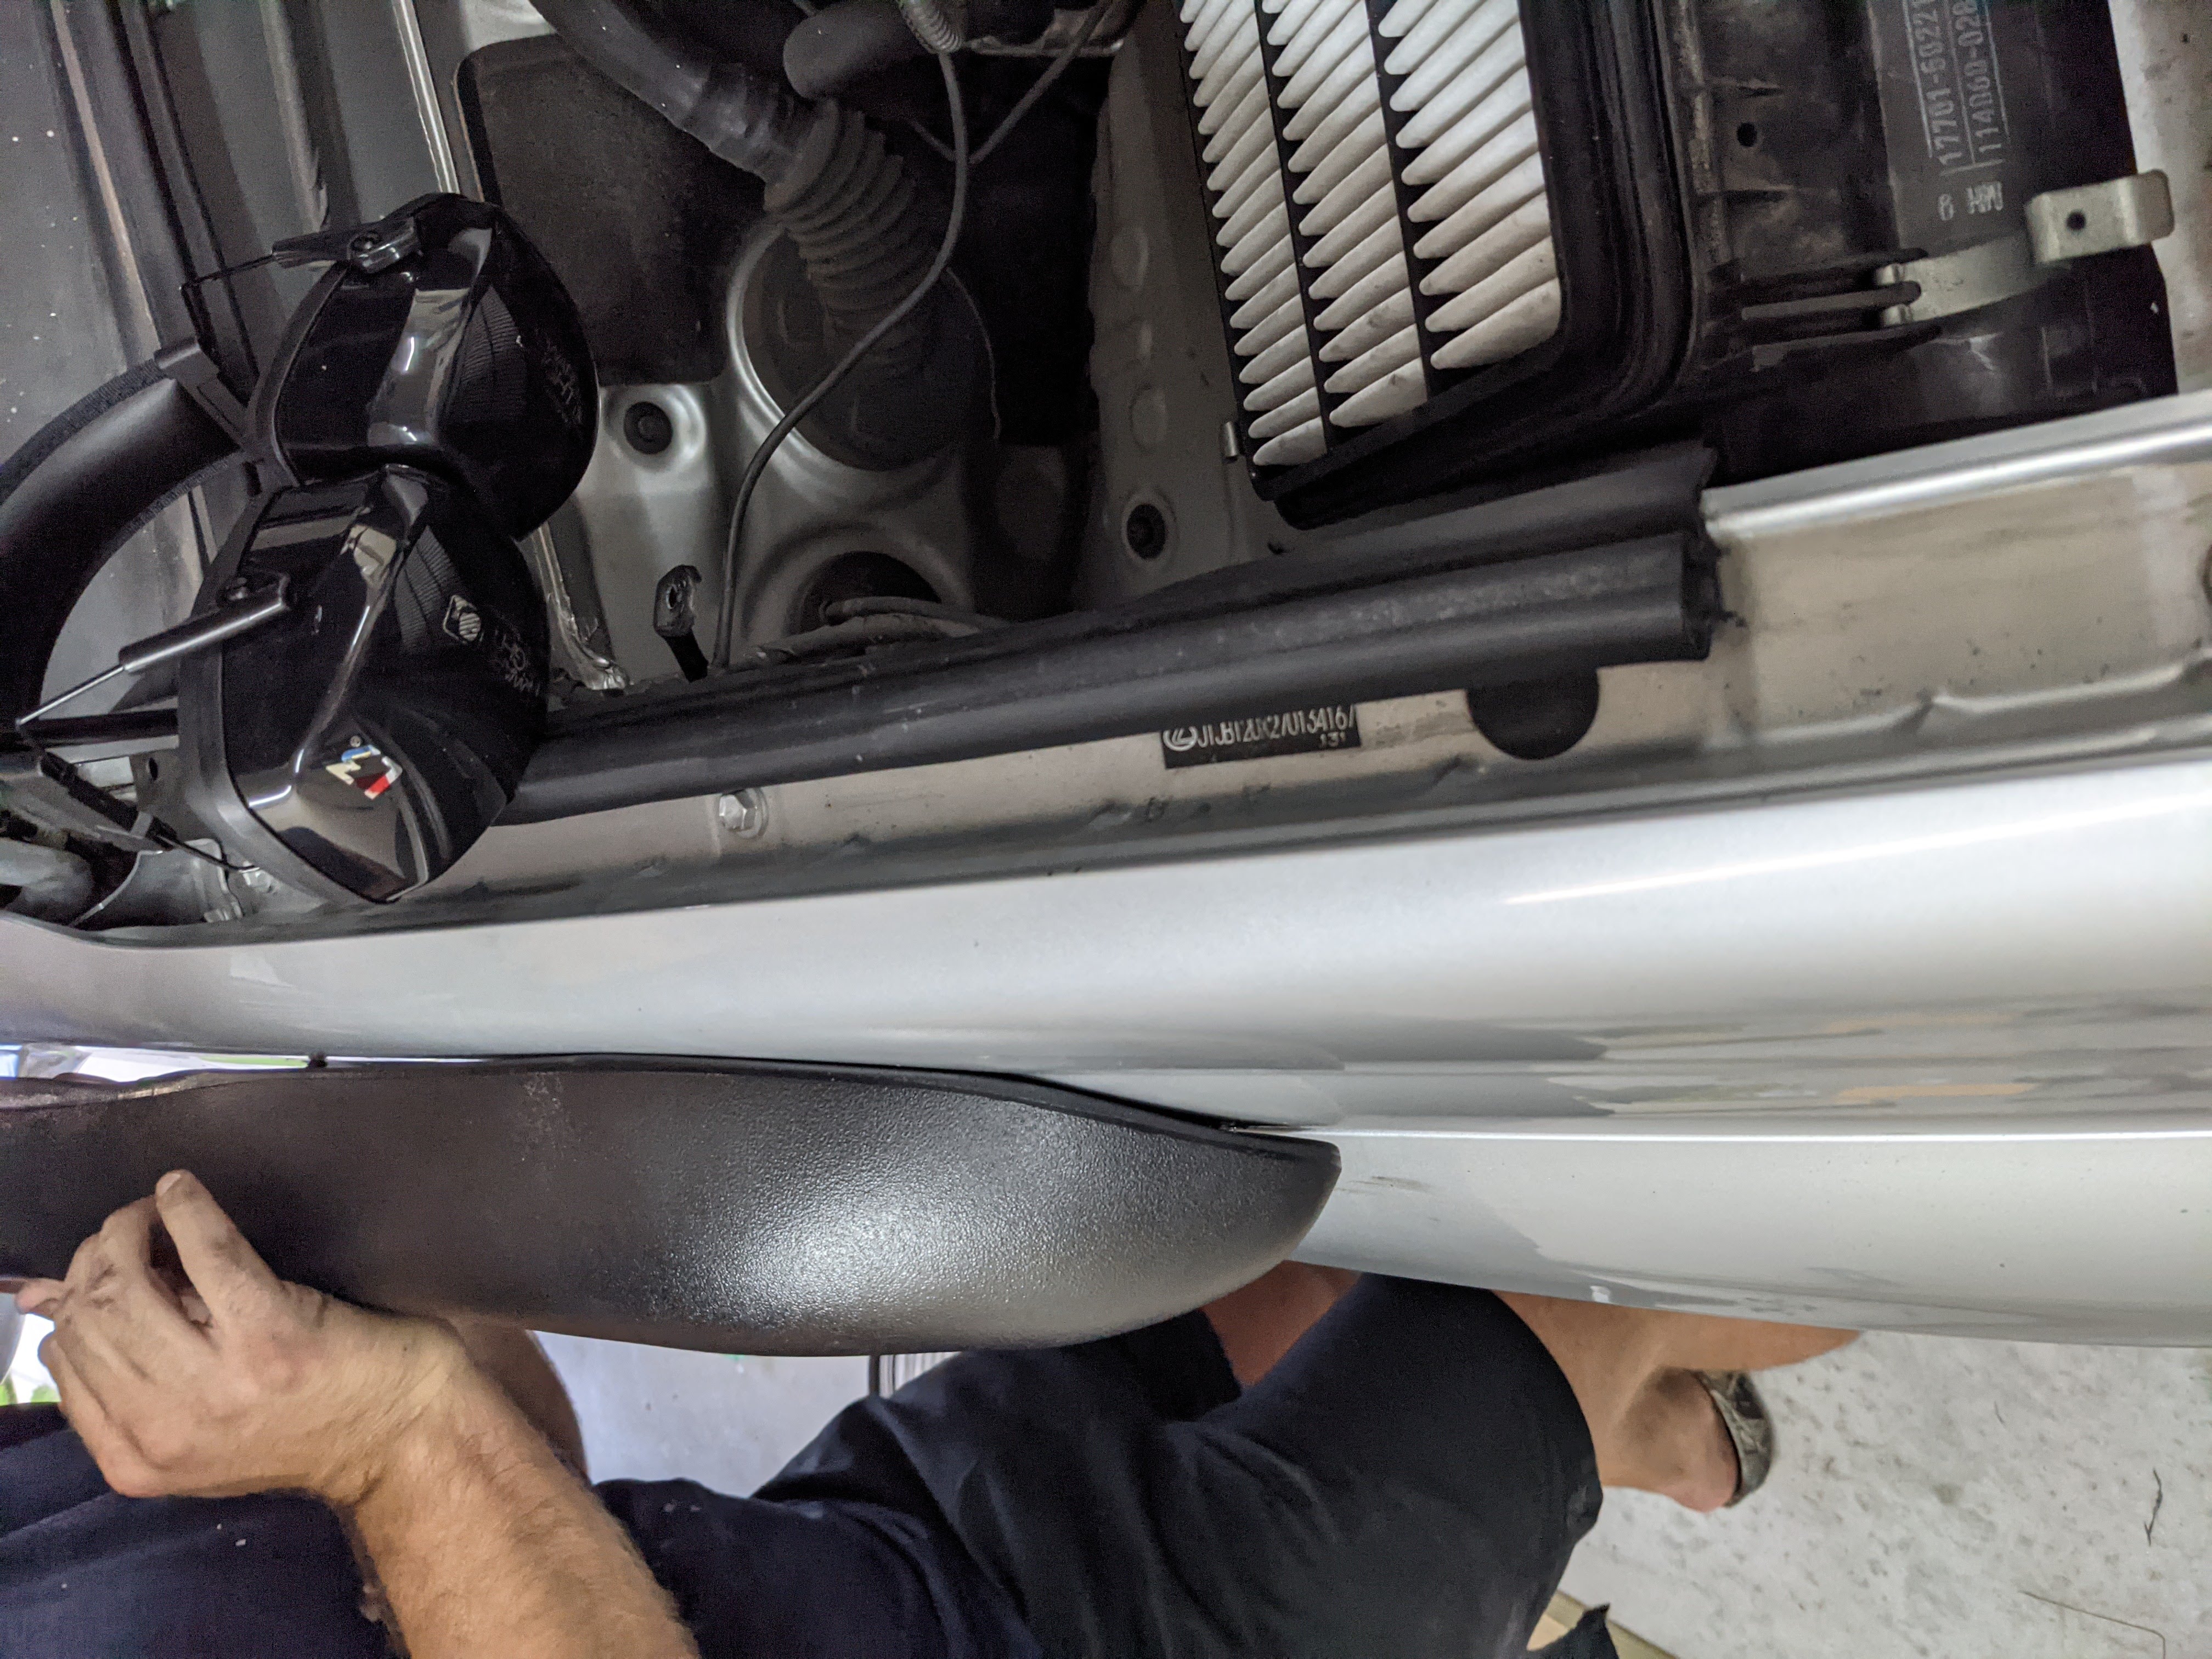
While waiting for that to dry, you can test fit the middle piece, up under the fender. I had to cut about 1/2” off each side of this, plus another 1/2” off the snorkel and even a bit off the rubber boot.
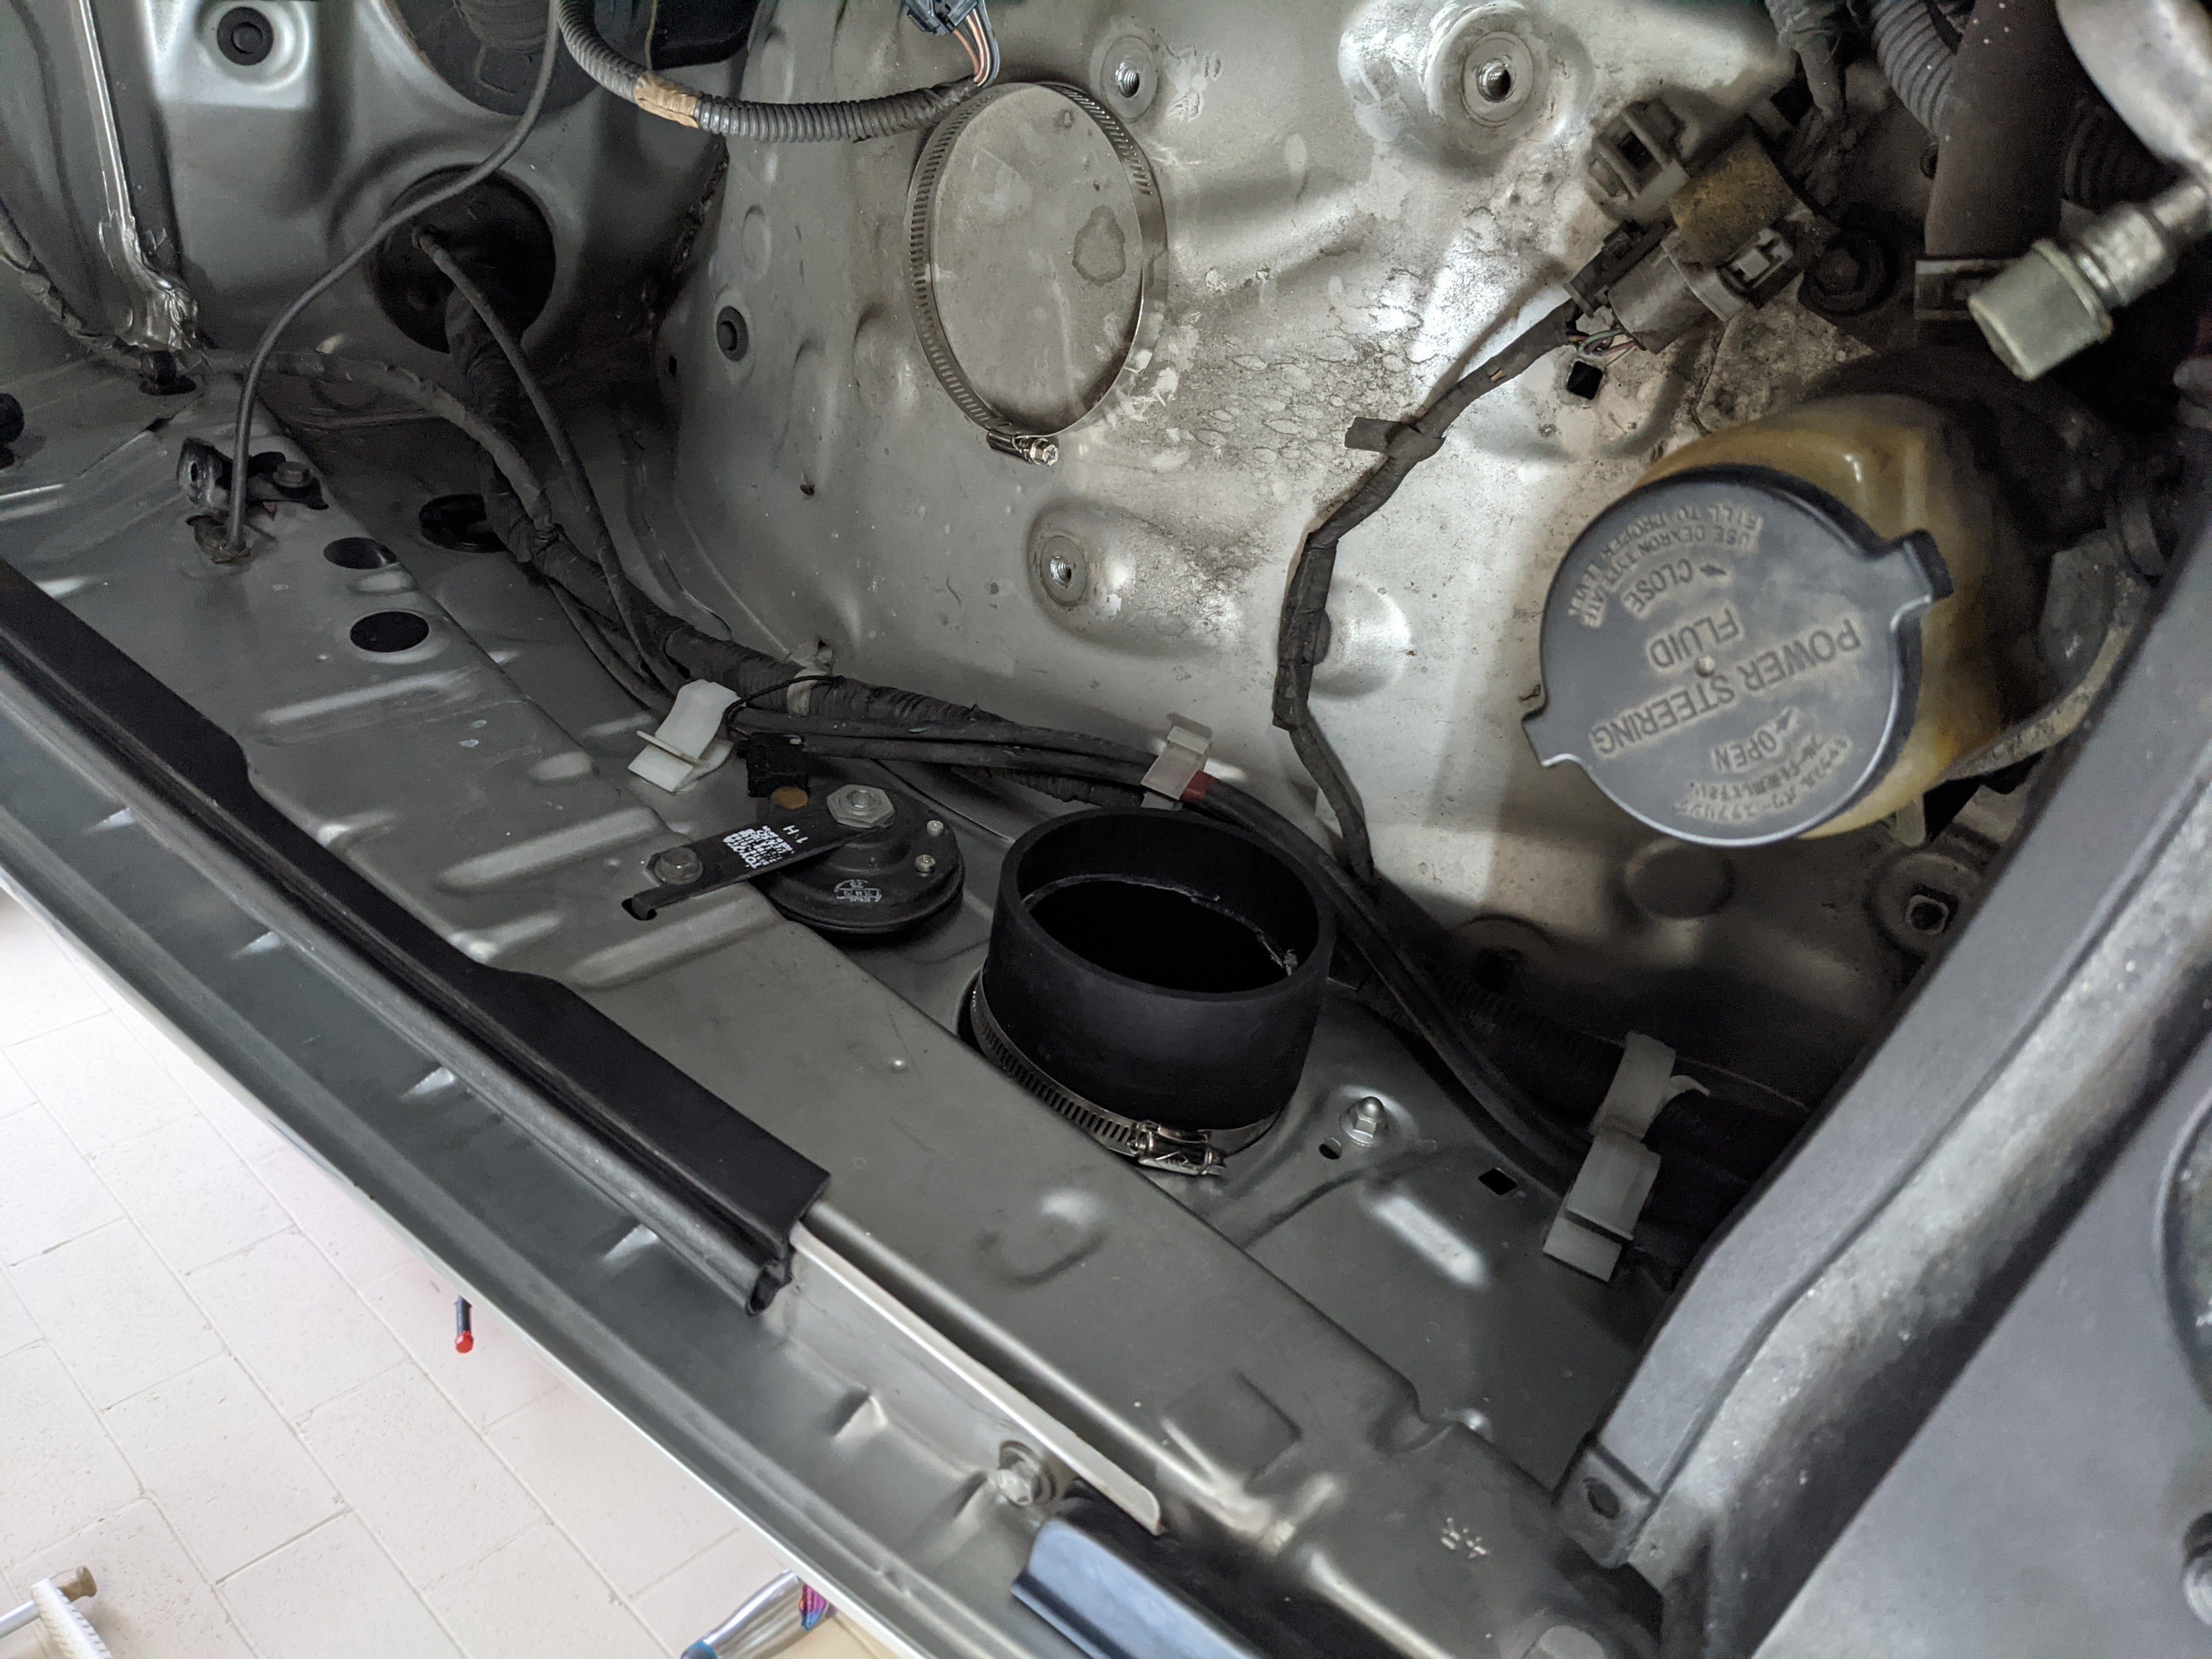
Once you’re all ready to go, run the middle connecting plastic piece under the fender line and get the 2 rubber boots and 4 hose clamps on it. To attach to the snorkel, both hose clamps sit behind the fender. To attach the air box, both hose clamps can be in the engine area. I used the largest hose clamp on the boot to the air intake box.
Once you’re good there, you can fit the snorkel onto the rubber boot, aligning the 5 bolts in their holes. This part was very difficult, and you’ll definitely need two people. Once it fits, add a washer and nut onto the bolt, behind the fender, so it will stay. Repeat for the other 4 bolts, which is nearly impossible. If you need to, you can adjust the length of the bolt using the allen head.
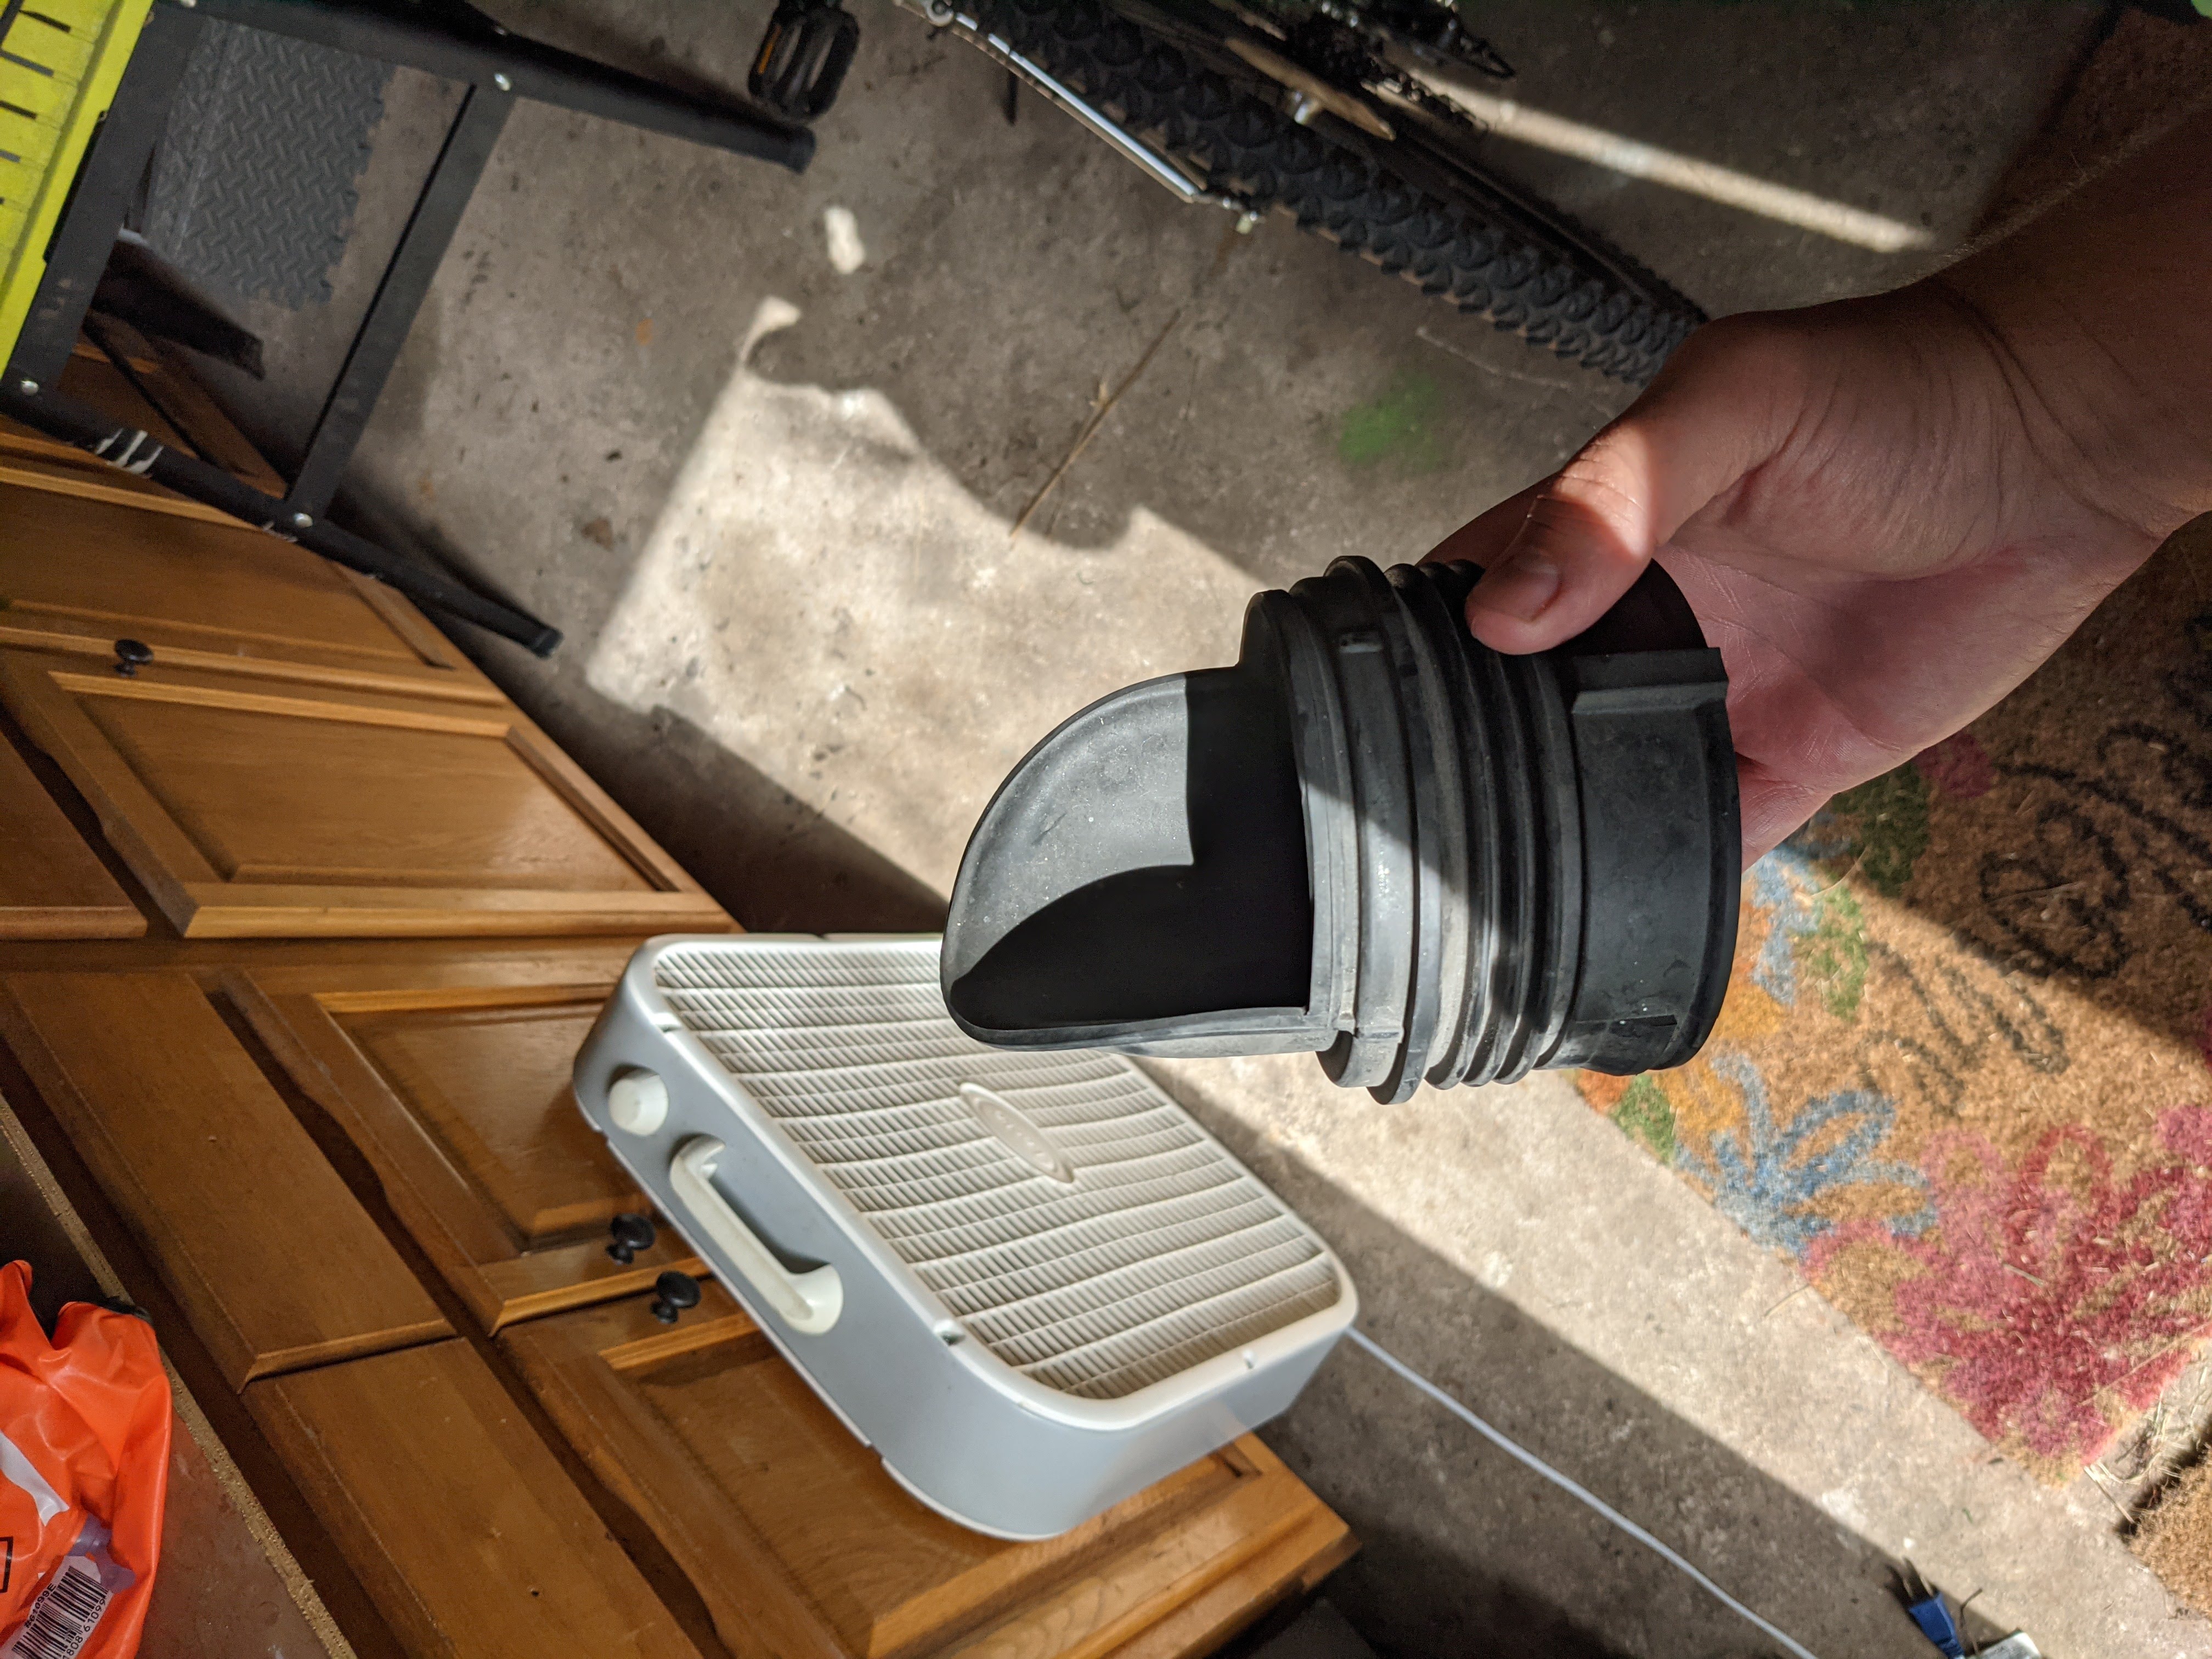
Tighten all the hose clamps on the rubber boots. Re-install the air box and all hardware and sensors. You won’t need this one piece on the air intake anymore, shown below. Save it for resale value hahahahahahaaha
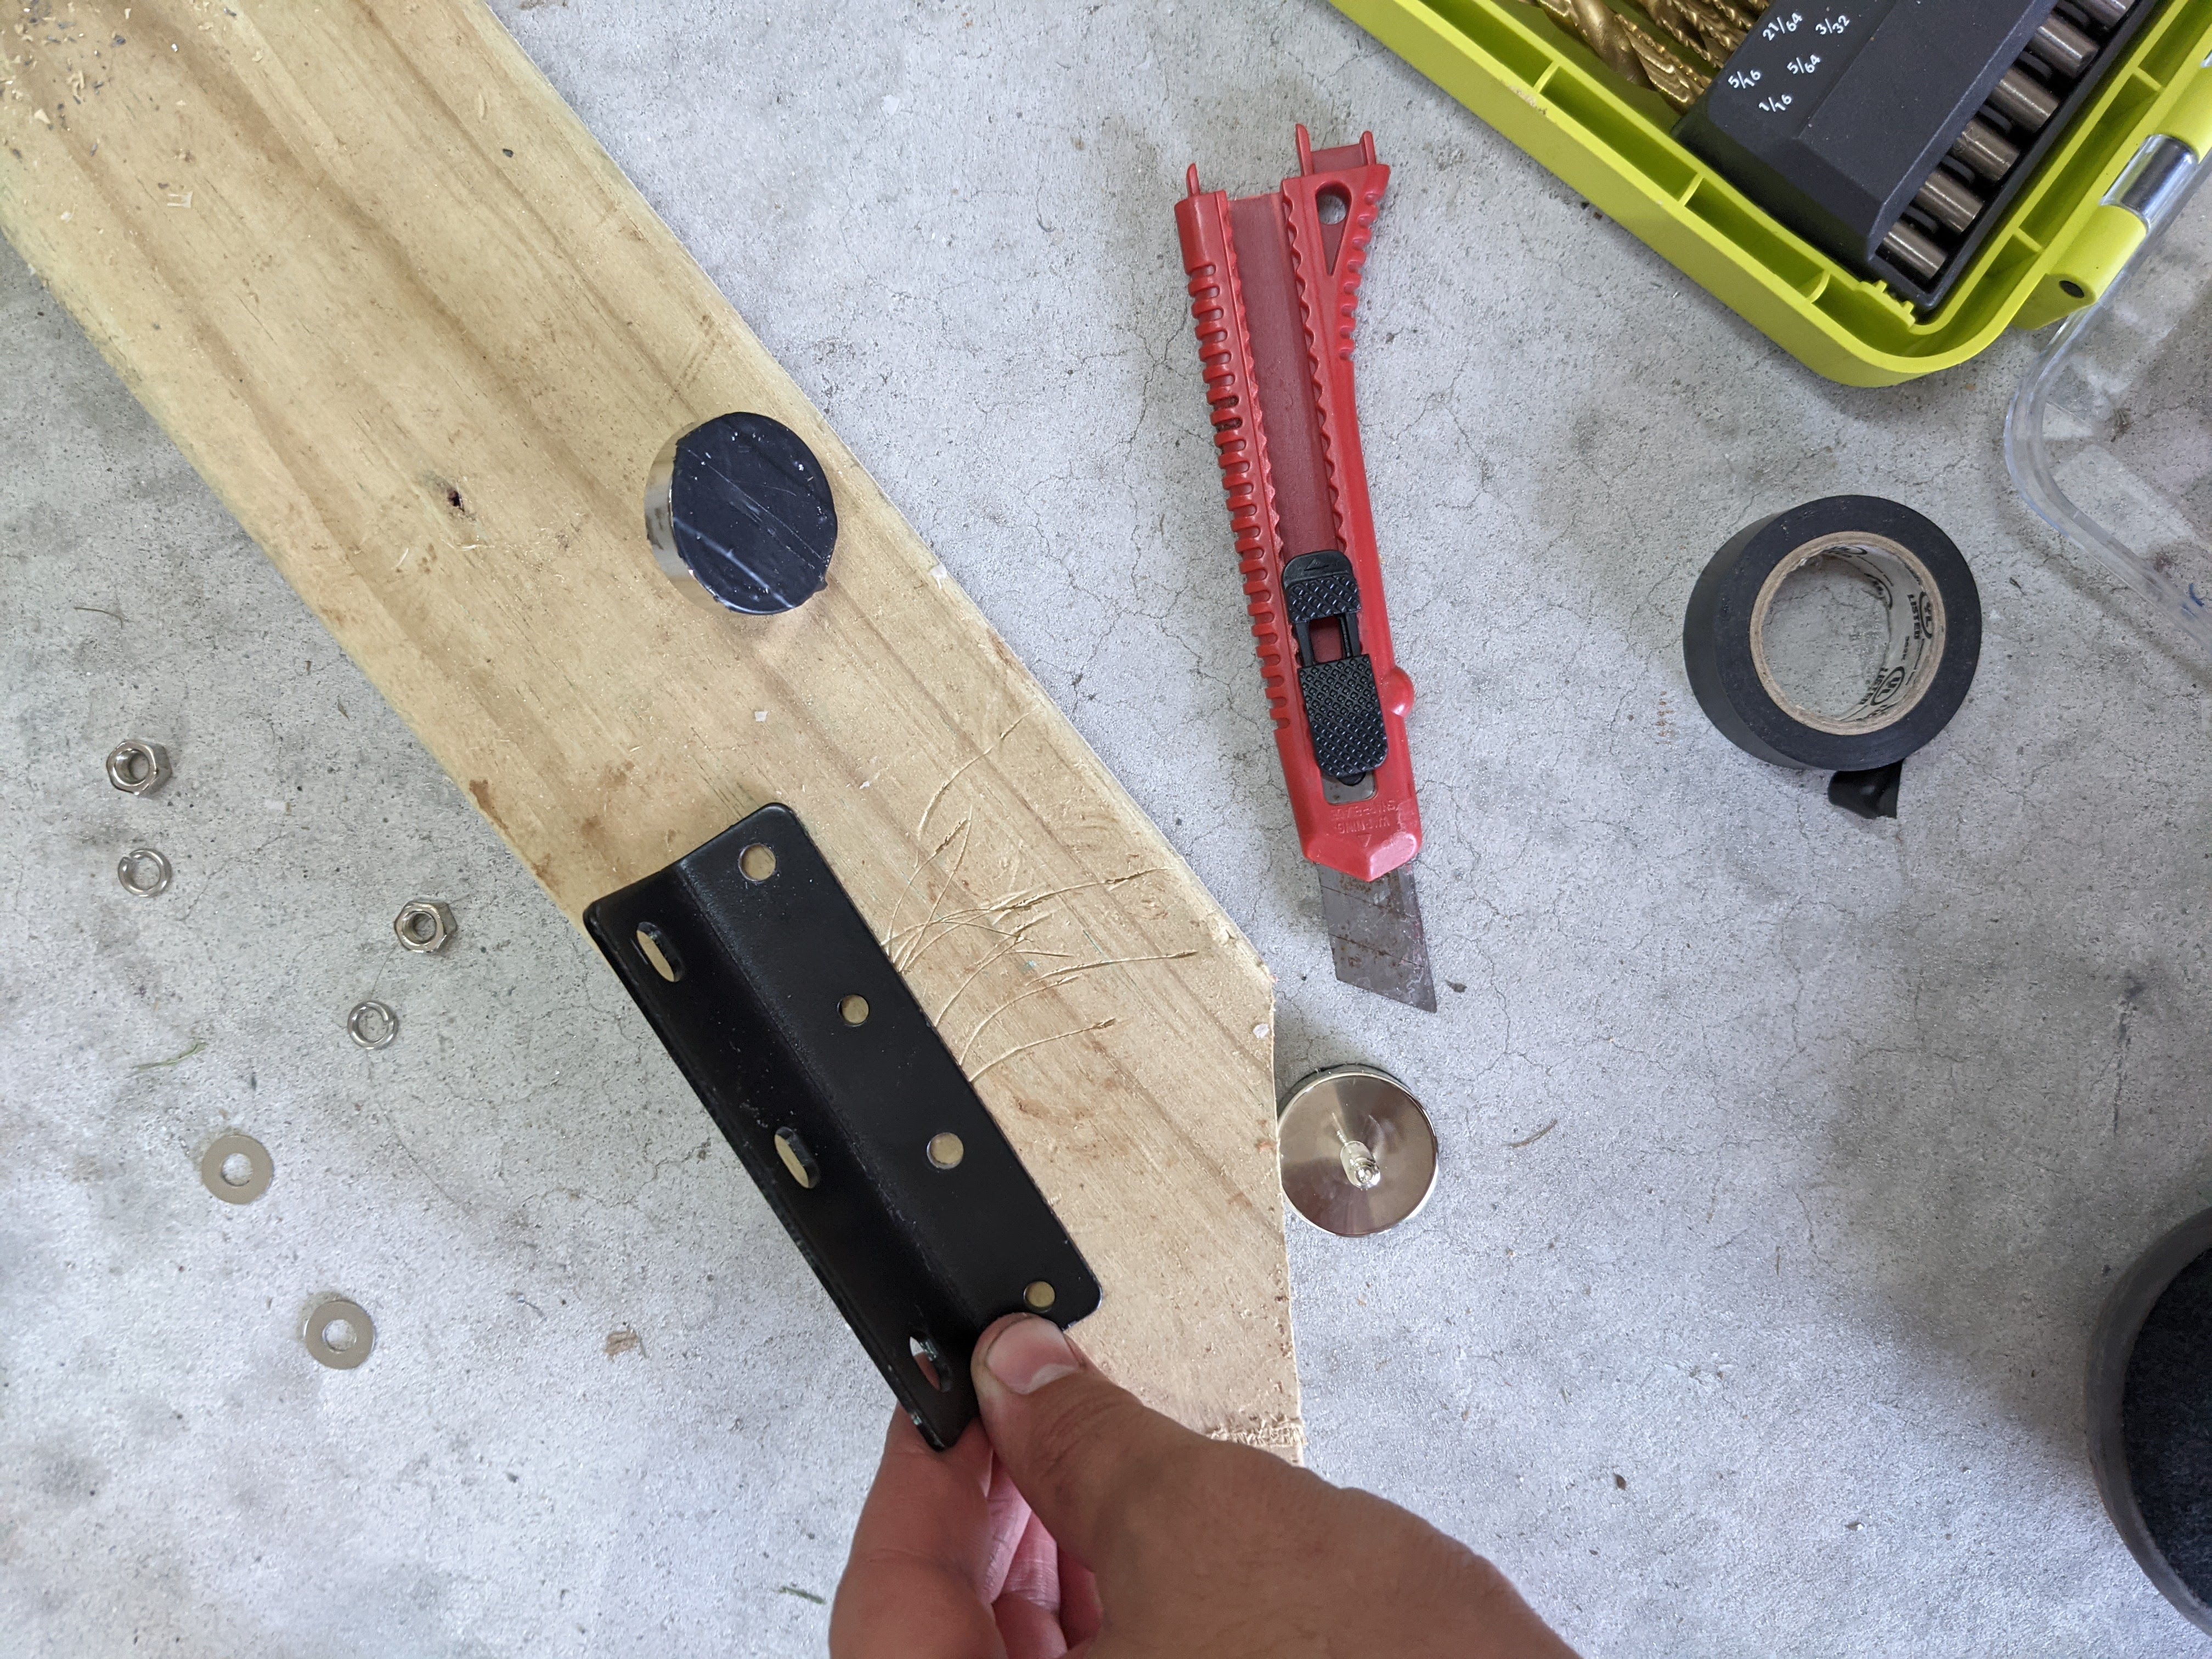
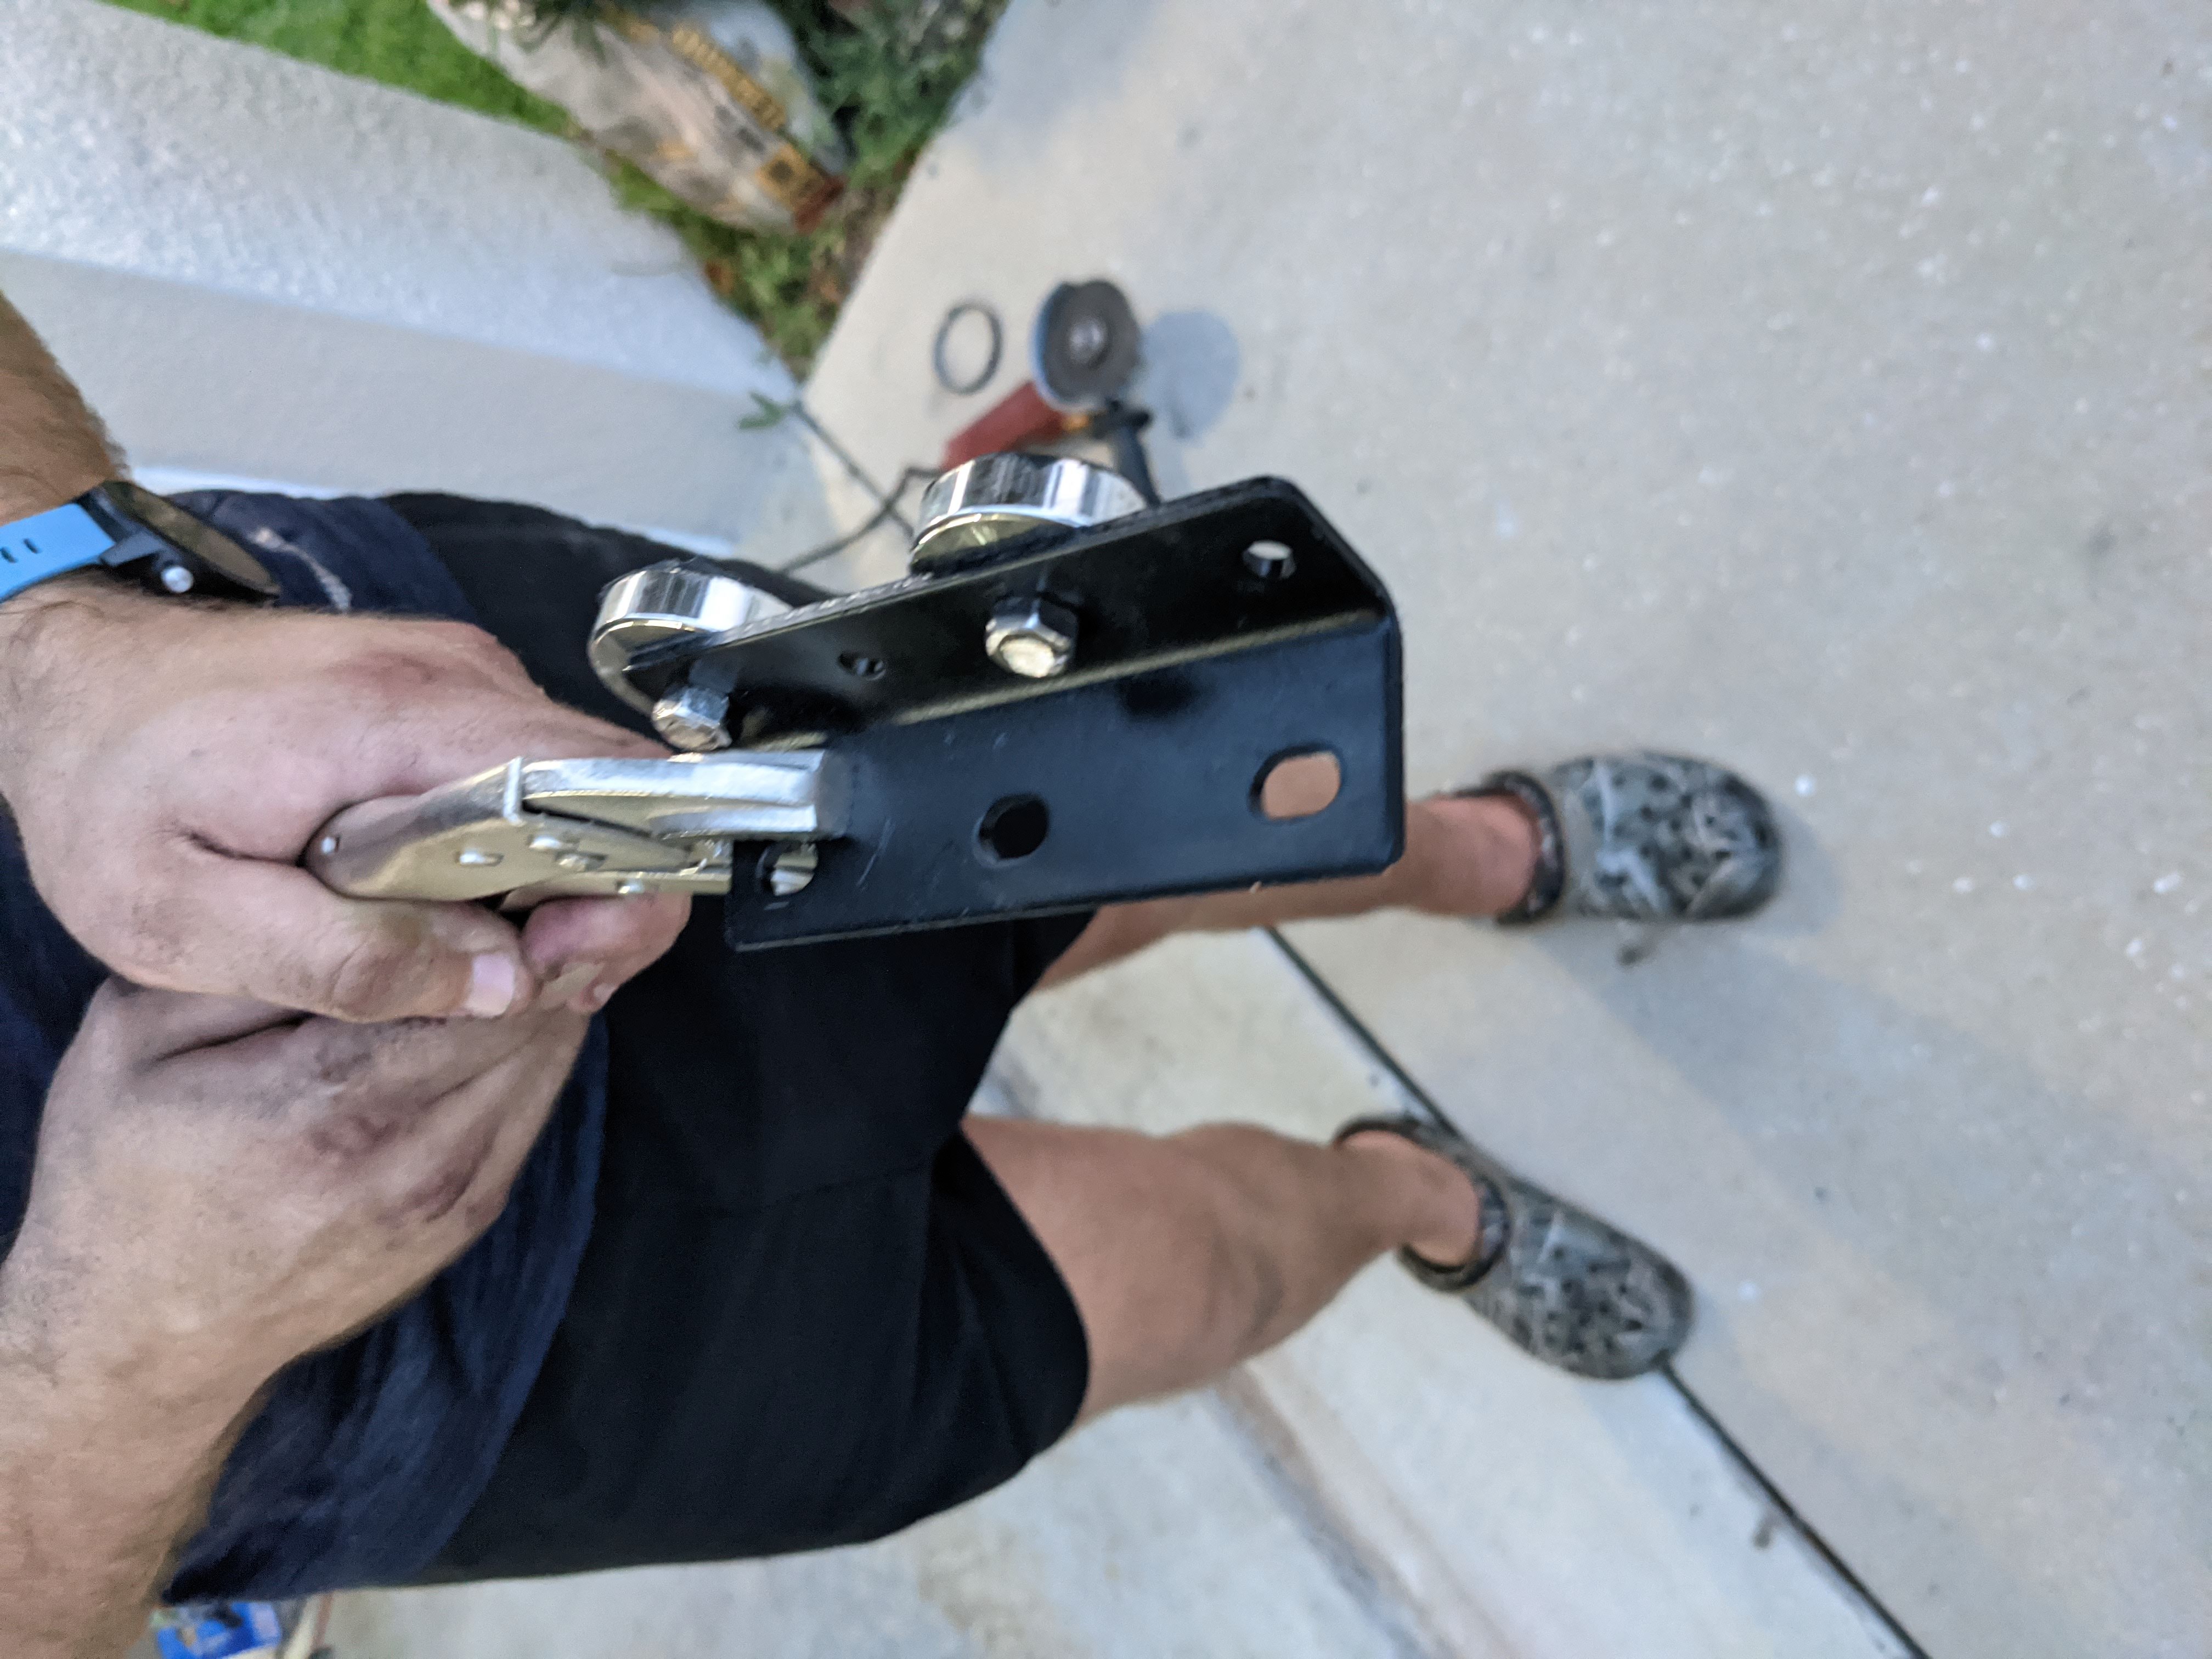
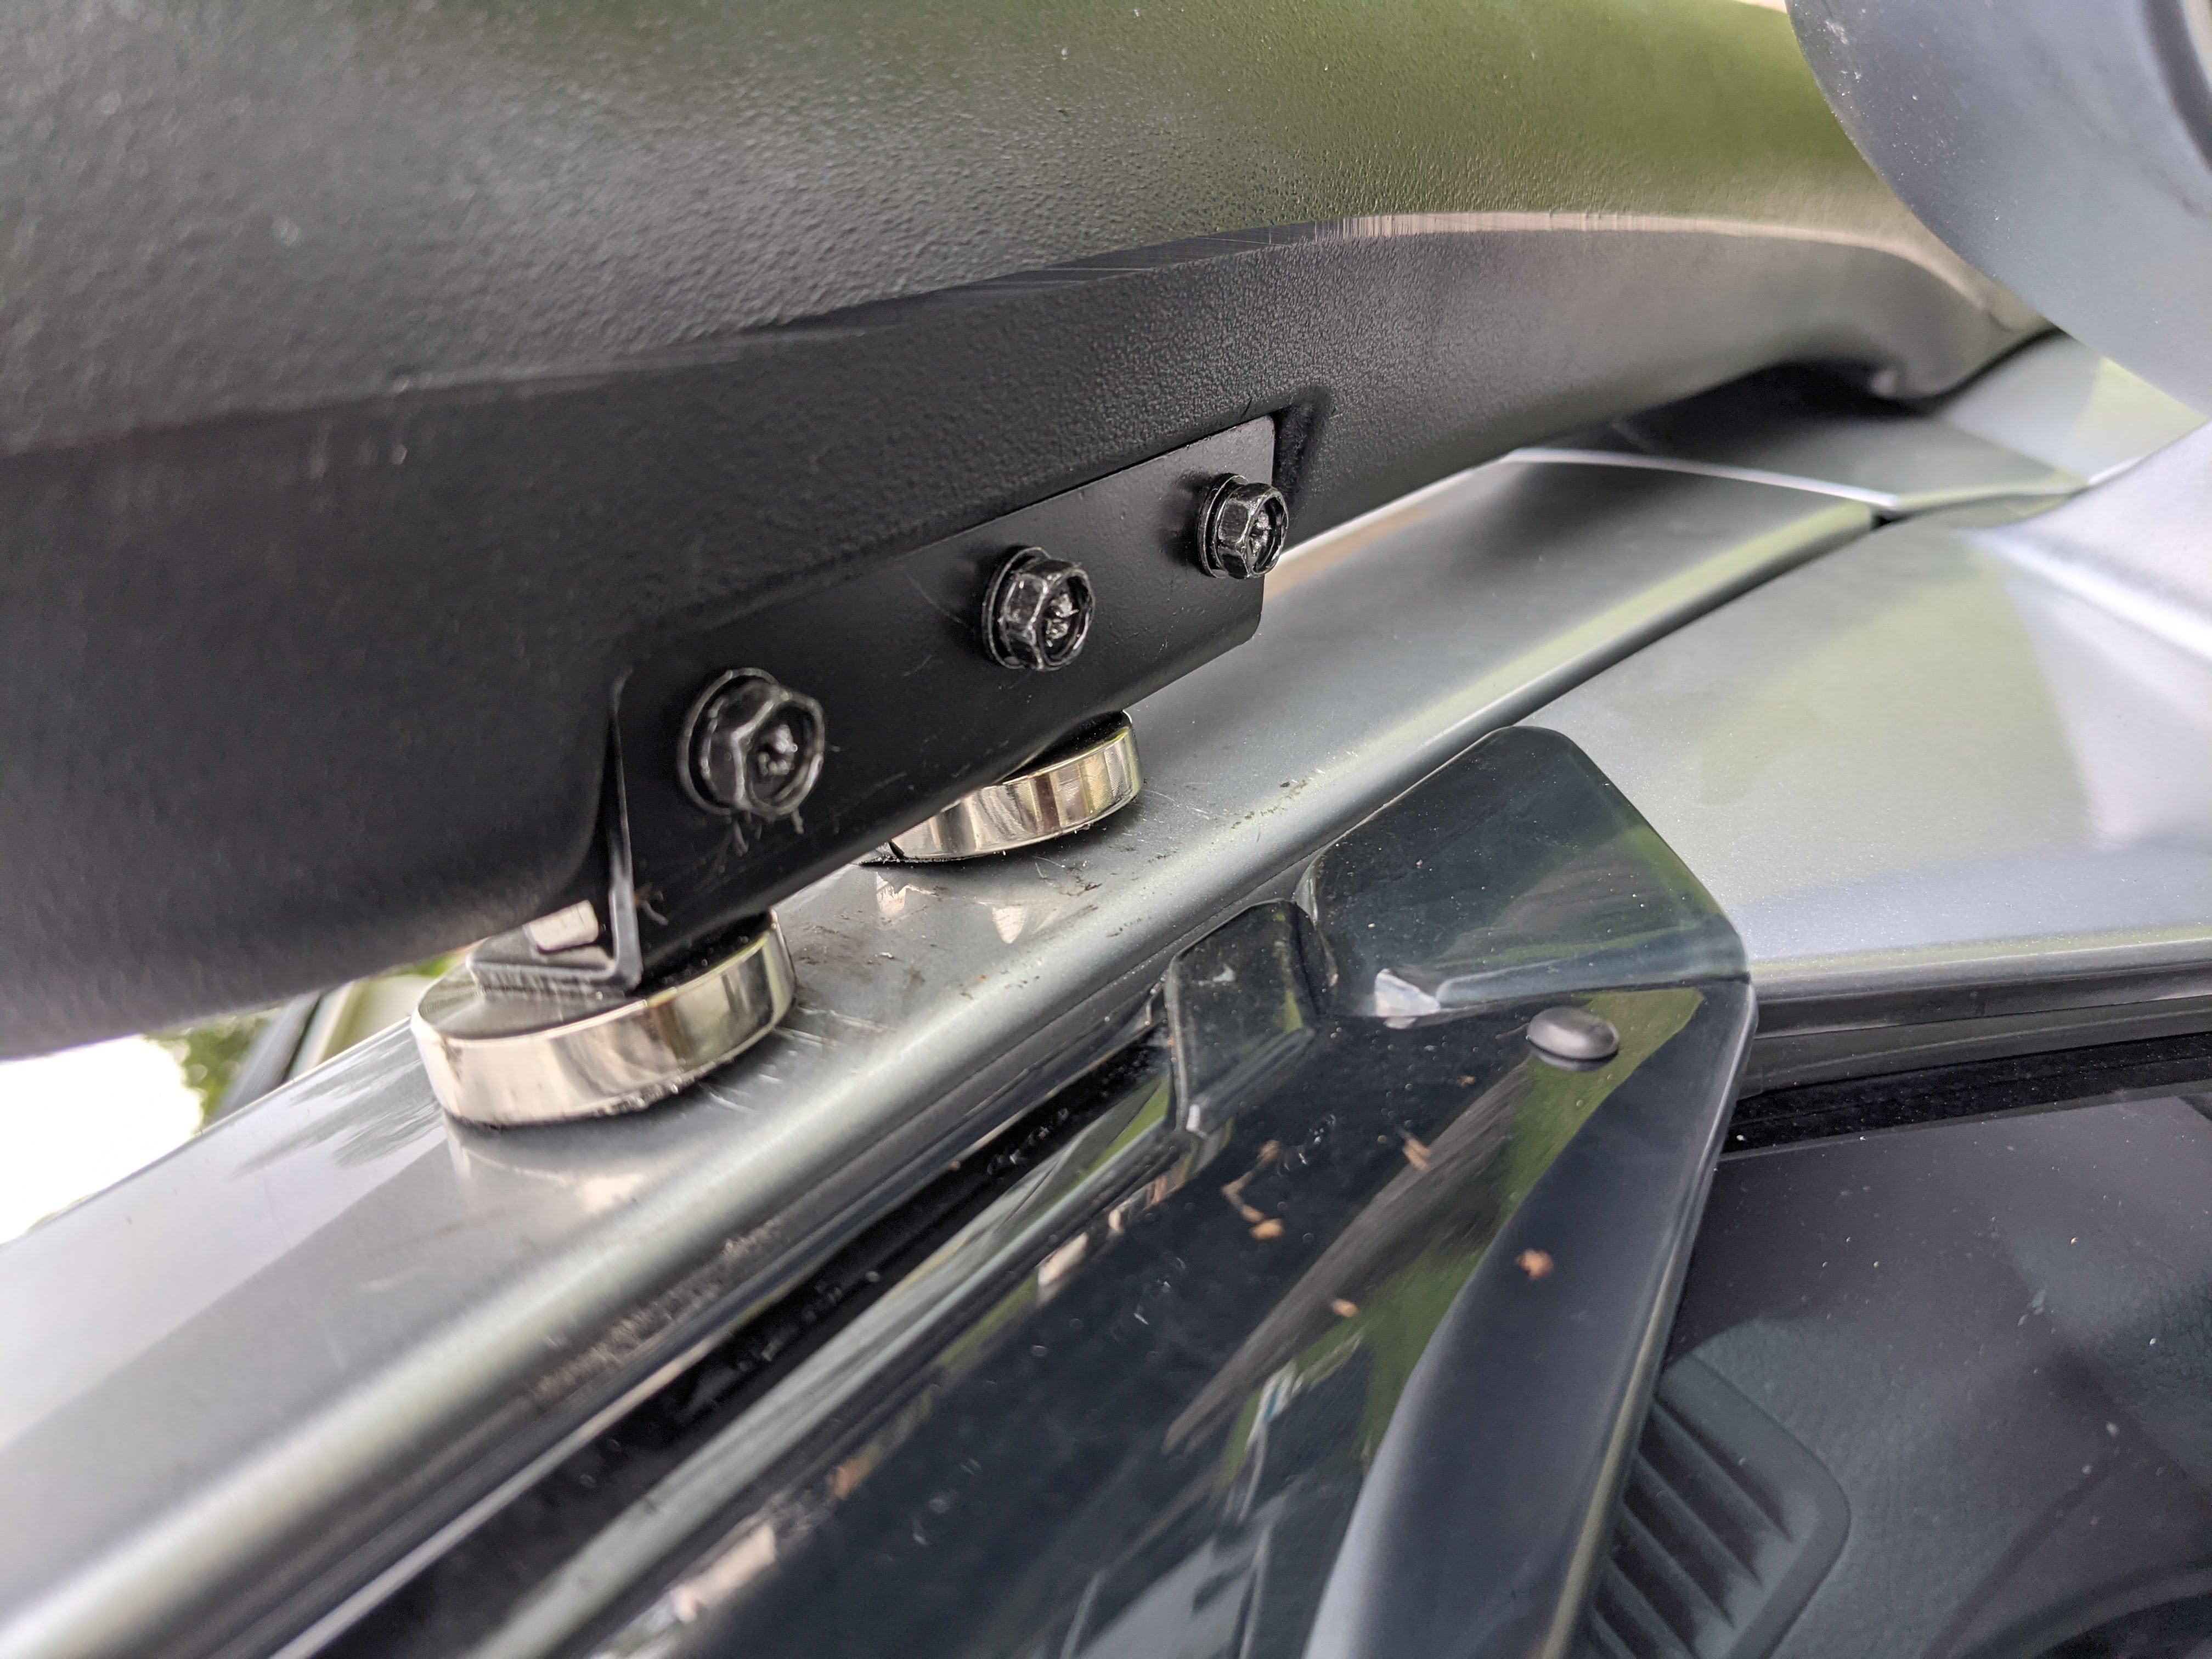
The A-pillar part is next, this makes your snorkel more secure. The included instructions say to use rivets and put them into your A-pillar, but the A-pillar is not very replaceable, so Rare Earth Magents are recommended. Put electrical tape on the bottom of the magnets to prevent scratching the A-pillar paint (I did a bad job at this). These 2 magnets can go through 2 of the holes on the 4 hole side of the A-pillar bracket. I did have to drill those holes out a bit, and also chop the stems of the magnets to be shorter. Then, mount them and install the 3 screws into the snorkel to get some more stability.
Attach the top of the snorkel air ram with the last hose clamp. Re-install the fender liner. Turn on the engine and verify the snorkel is sucking in air, you can just put your hand or a napkin over it.
If that’s all done, button everything up, go drive through some water. Long term, I might upgrade the air ram to a pre-cleaner system
Here is a Google Photos album with all pictures from the install.