Lexus GX470 - Android Headunit and Backup Camera Install
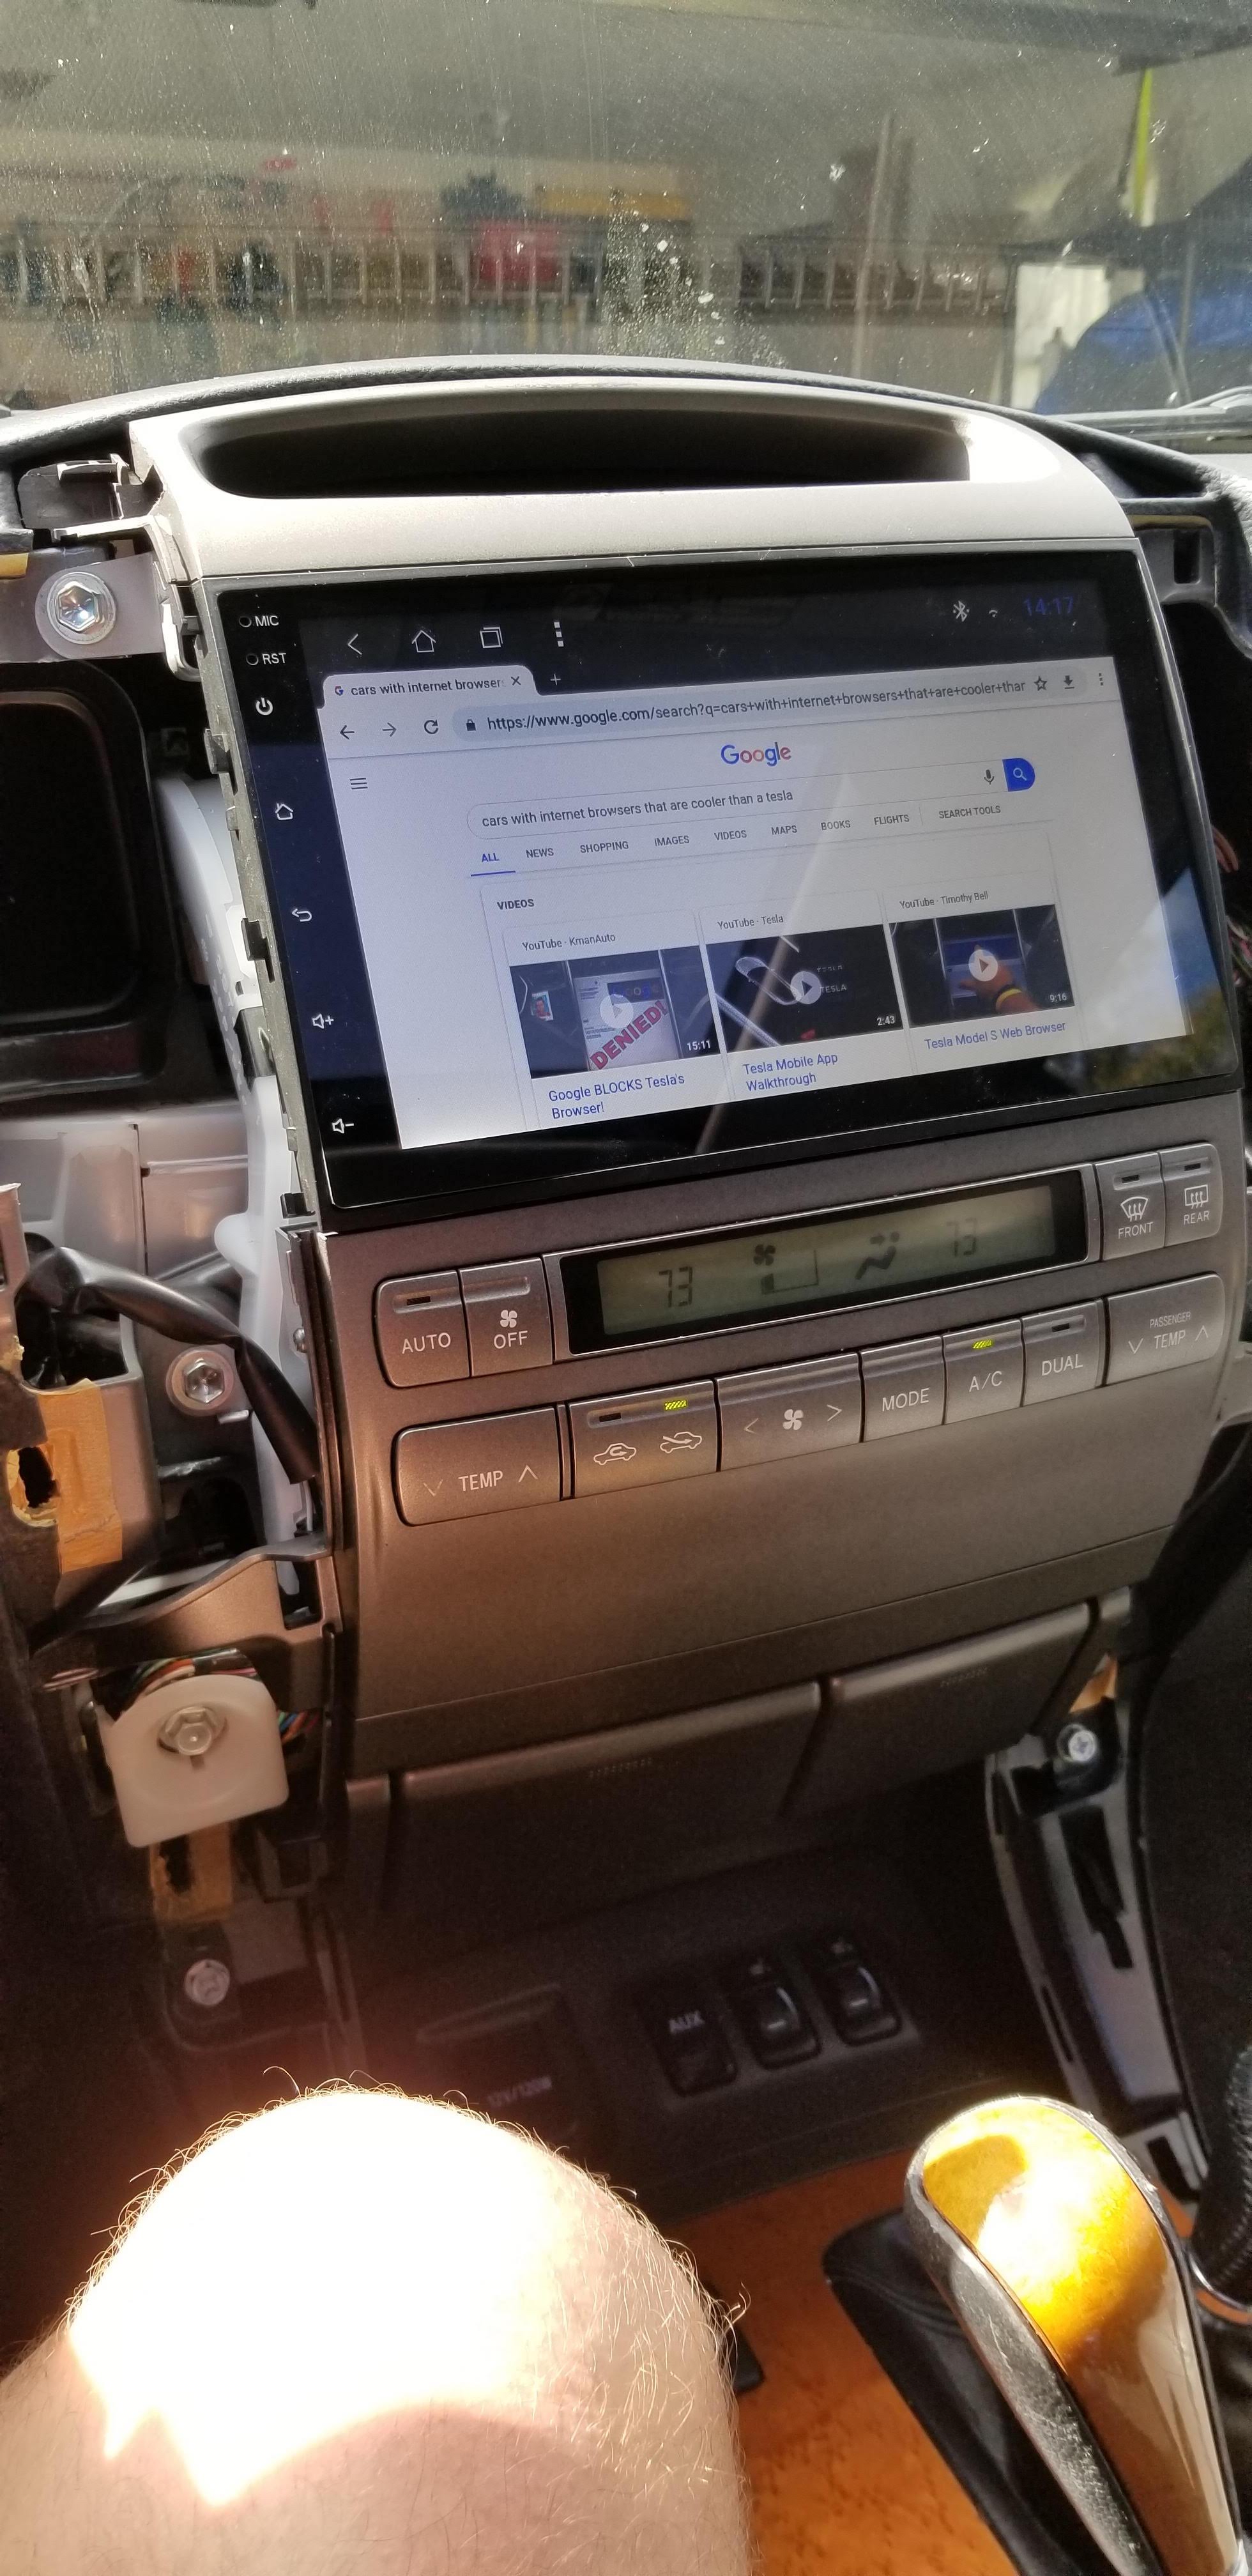
I installed a new Android headunit in my 2007 Lexus GX470, complete with a reverse activated backup camera. The install took about 5 hours over the course of a few days, and here is how I did it.
2021 Update: the backup camera I recommended in the post died - here is an updated post on how to install a better backup camera.
Parts Needed:
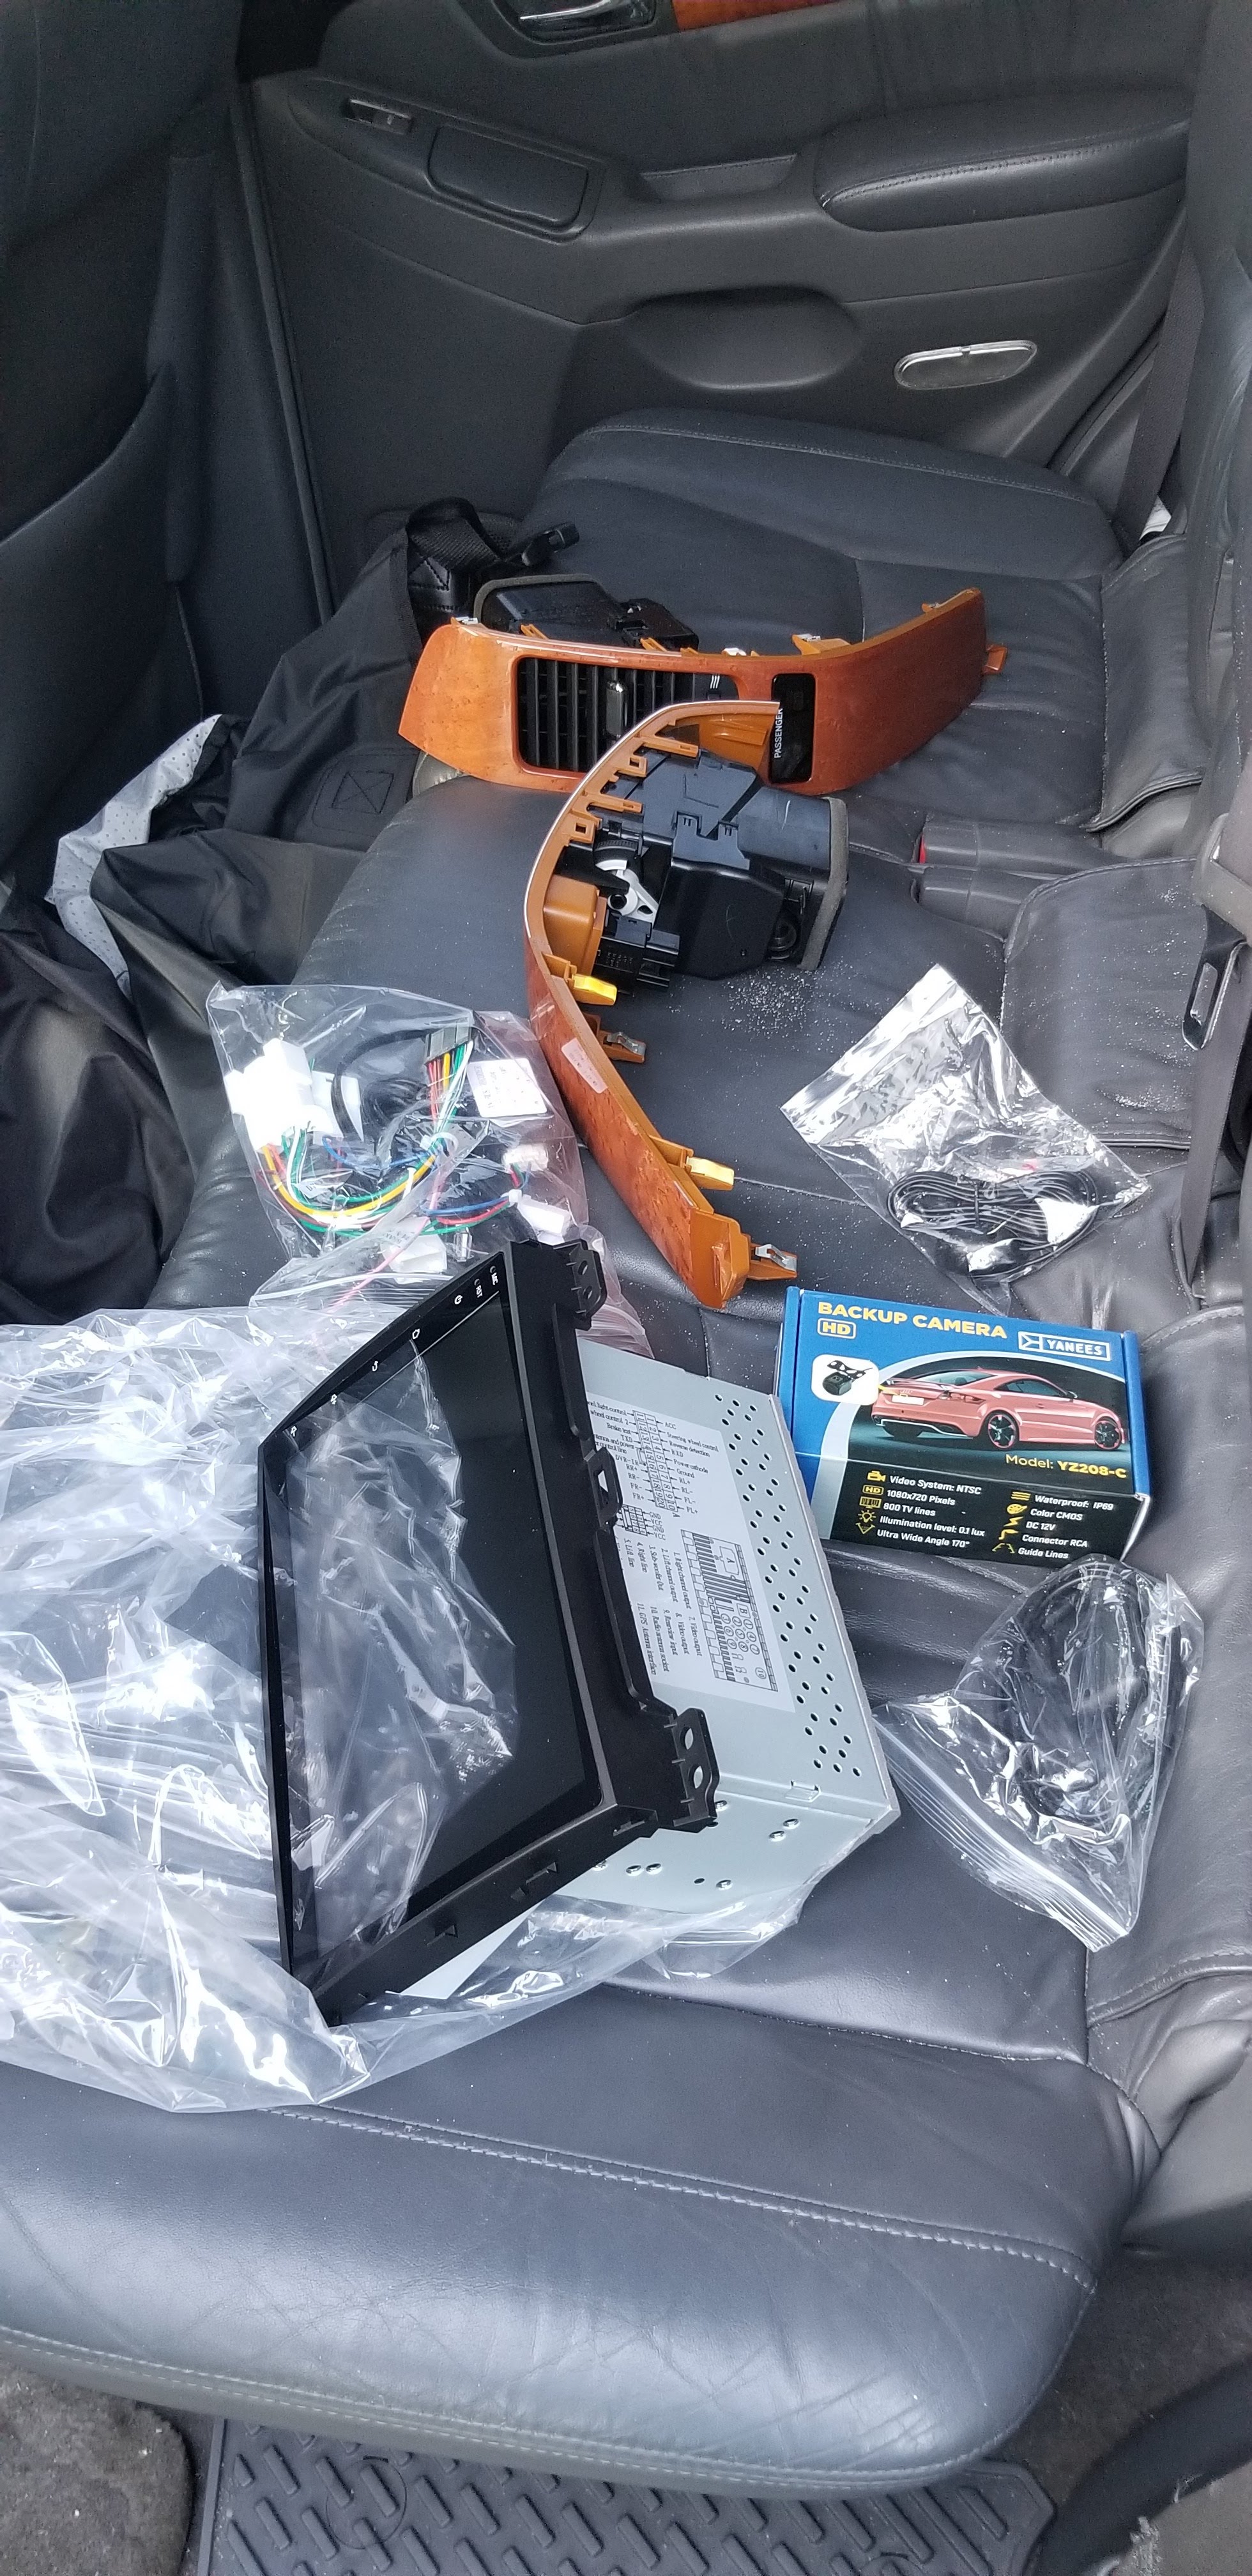
So ordering the headunit is a little sketchy. It’s from Aliexpress in China, and will take 2-4 weeks to arrive. This one comes with external GPS, microphone, a WiFi antenna, works with the existing aux input, and has 2 USB female cables to attach.
There seems to be only a few aftermarket headunits made for the non-Nav GX470, and the fine folks on GXOR seem to think this is the best option. If you have a navigation equipped GX470, the best option is a Tesla-style massive screen. It costs quite a bit more and makes the air conditioned buttons integrated into the touch screen, which I would hate. Luckily I don’t have that model!
Install
First, take out any CDs in your current headunit. I forgot to do this. If you want to buy my old headunit, it comes with 6 great CDs!
Then, remove the two trim pieces on either side of the shifter, using a flat head screwdriver or a plastic trim puller. I used a screwdriver.
Then remove the 2 air conditioner vents. Lift gently from the bottom, where the trim pieces were holding them in. These 2 pieces are supposed to be very expensive to replace, so be very careful.
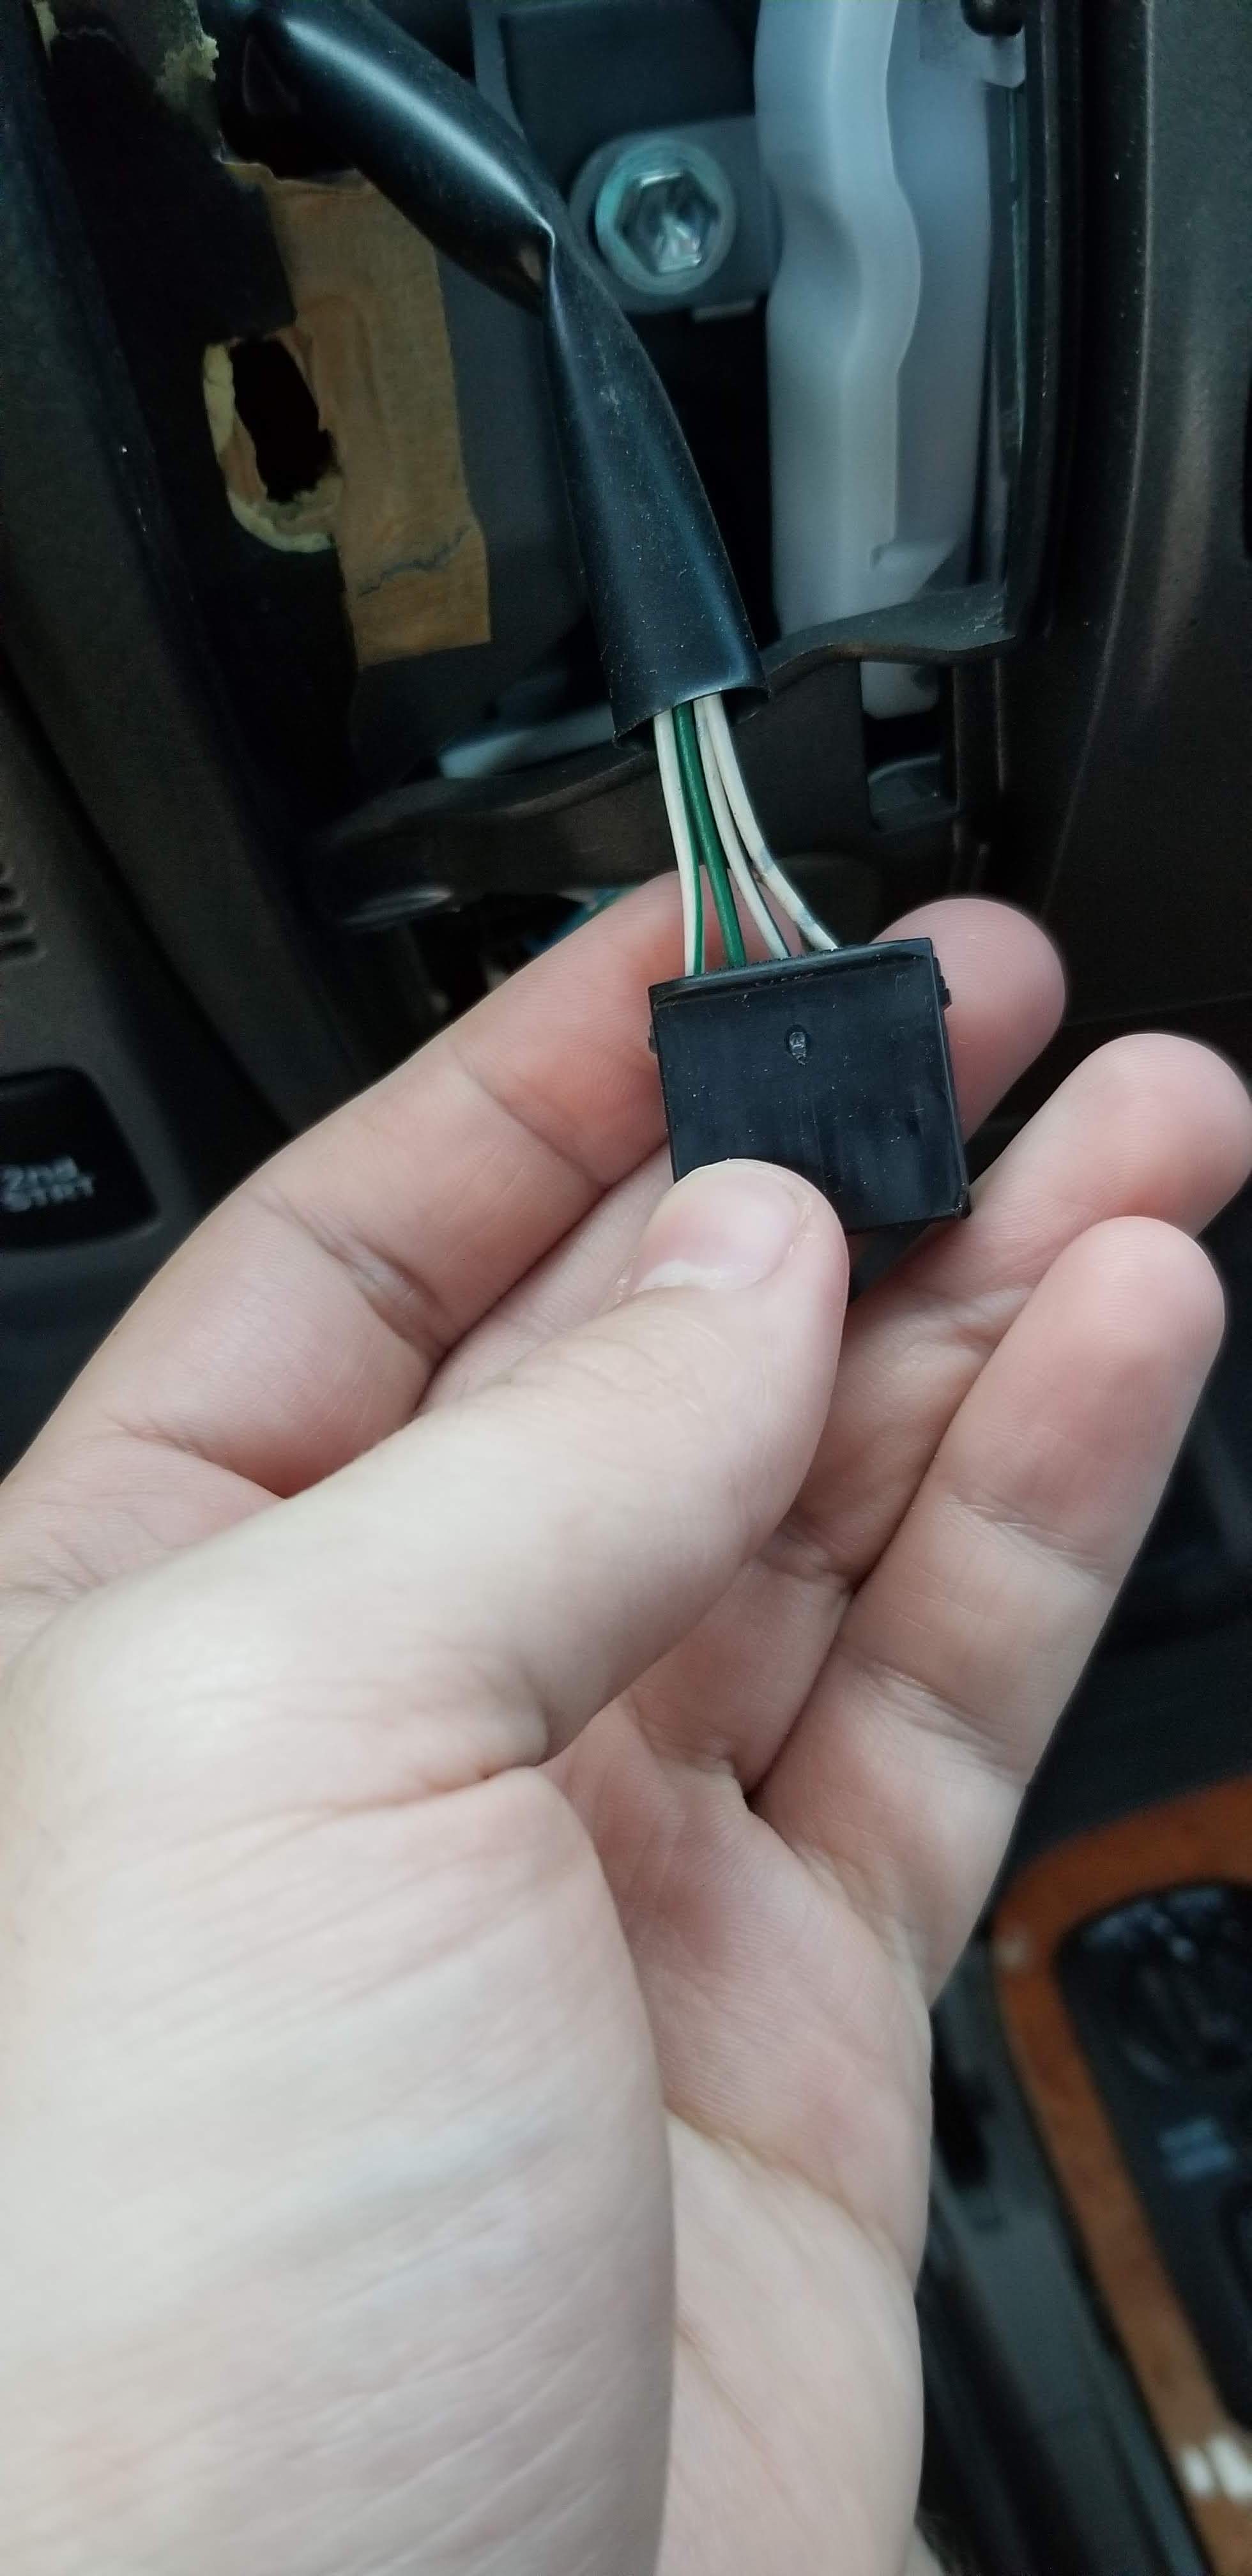
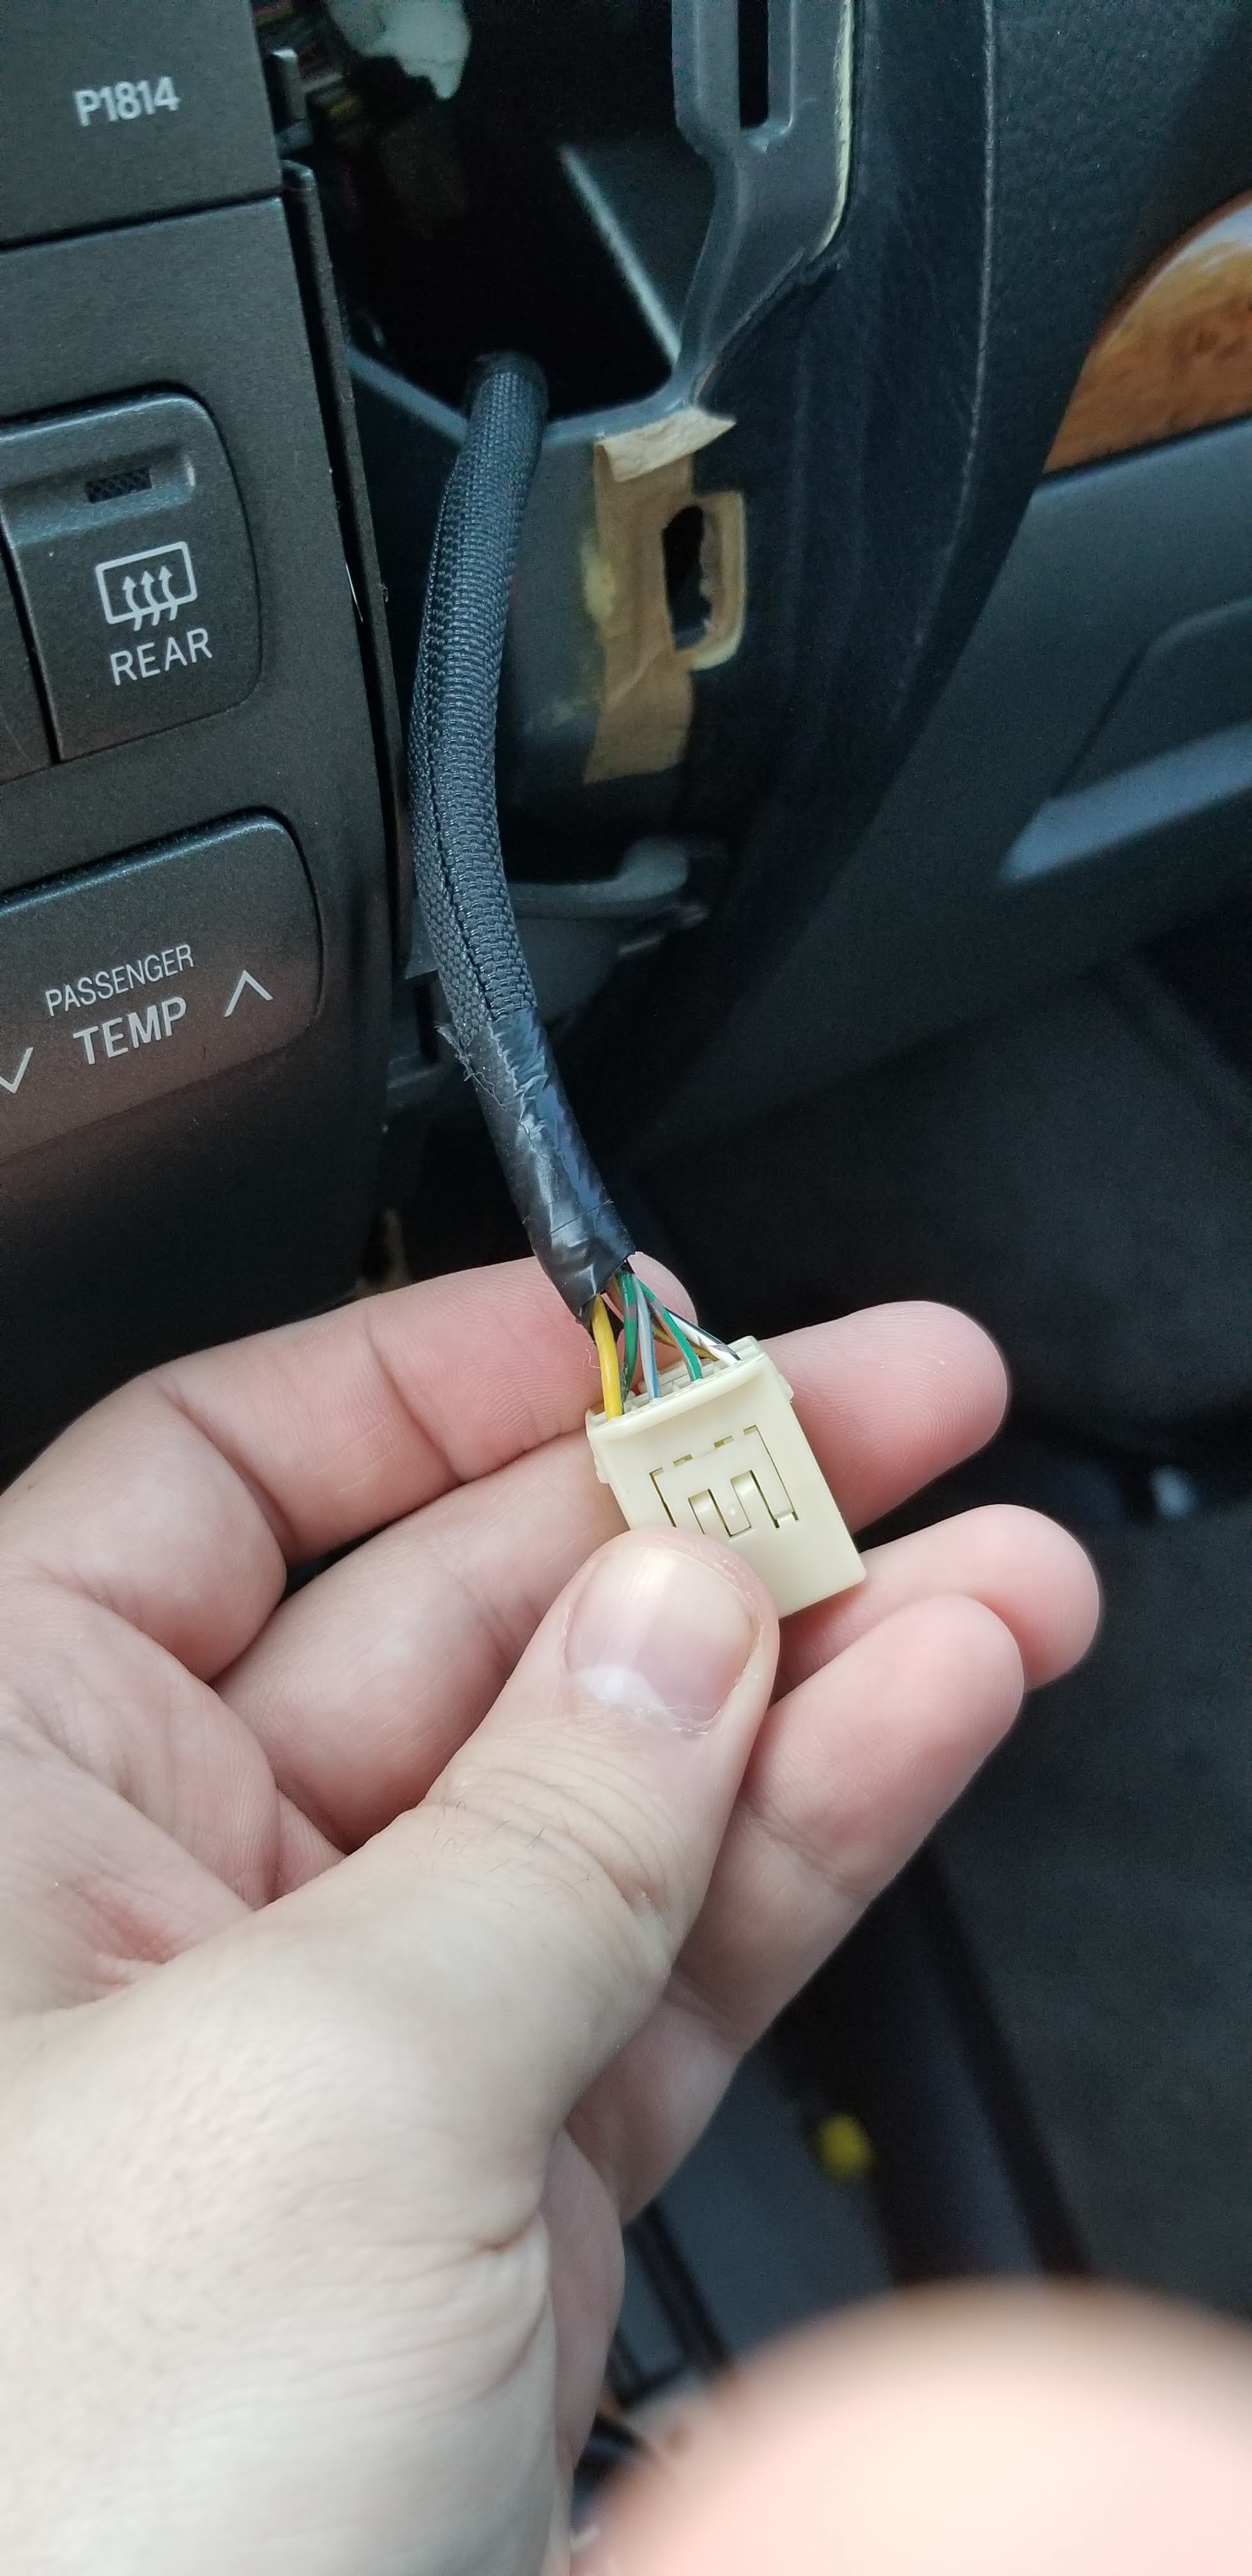
Then, remove the connector from each side. The drivers side has the hazard light connecter, the passenger side has the passenger air bag light.
Now you can pop out and unplug the coin/ash tray and the cigarette lighter, located below the air conditioning controls.
Take the 6 10mm bolts out of the radio harness.
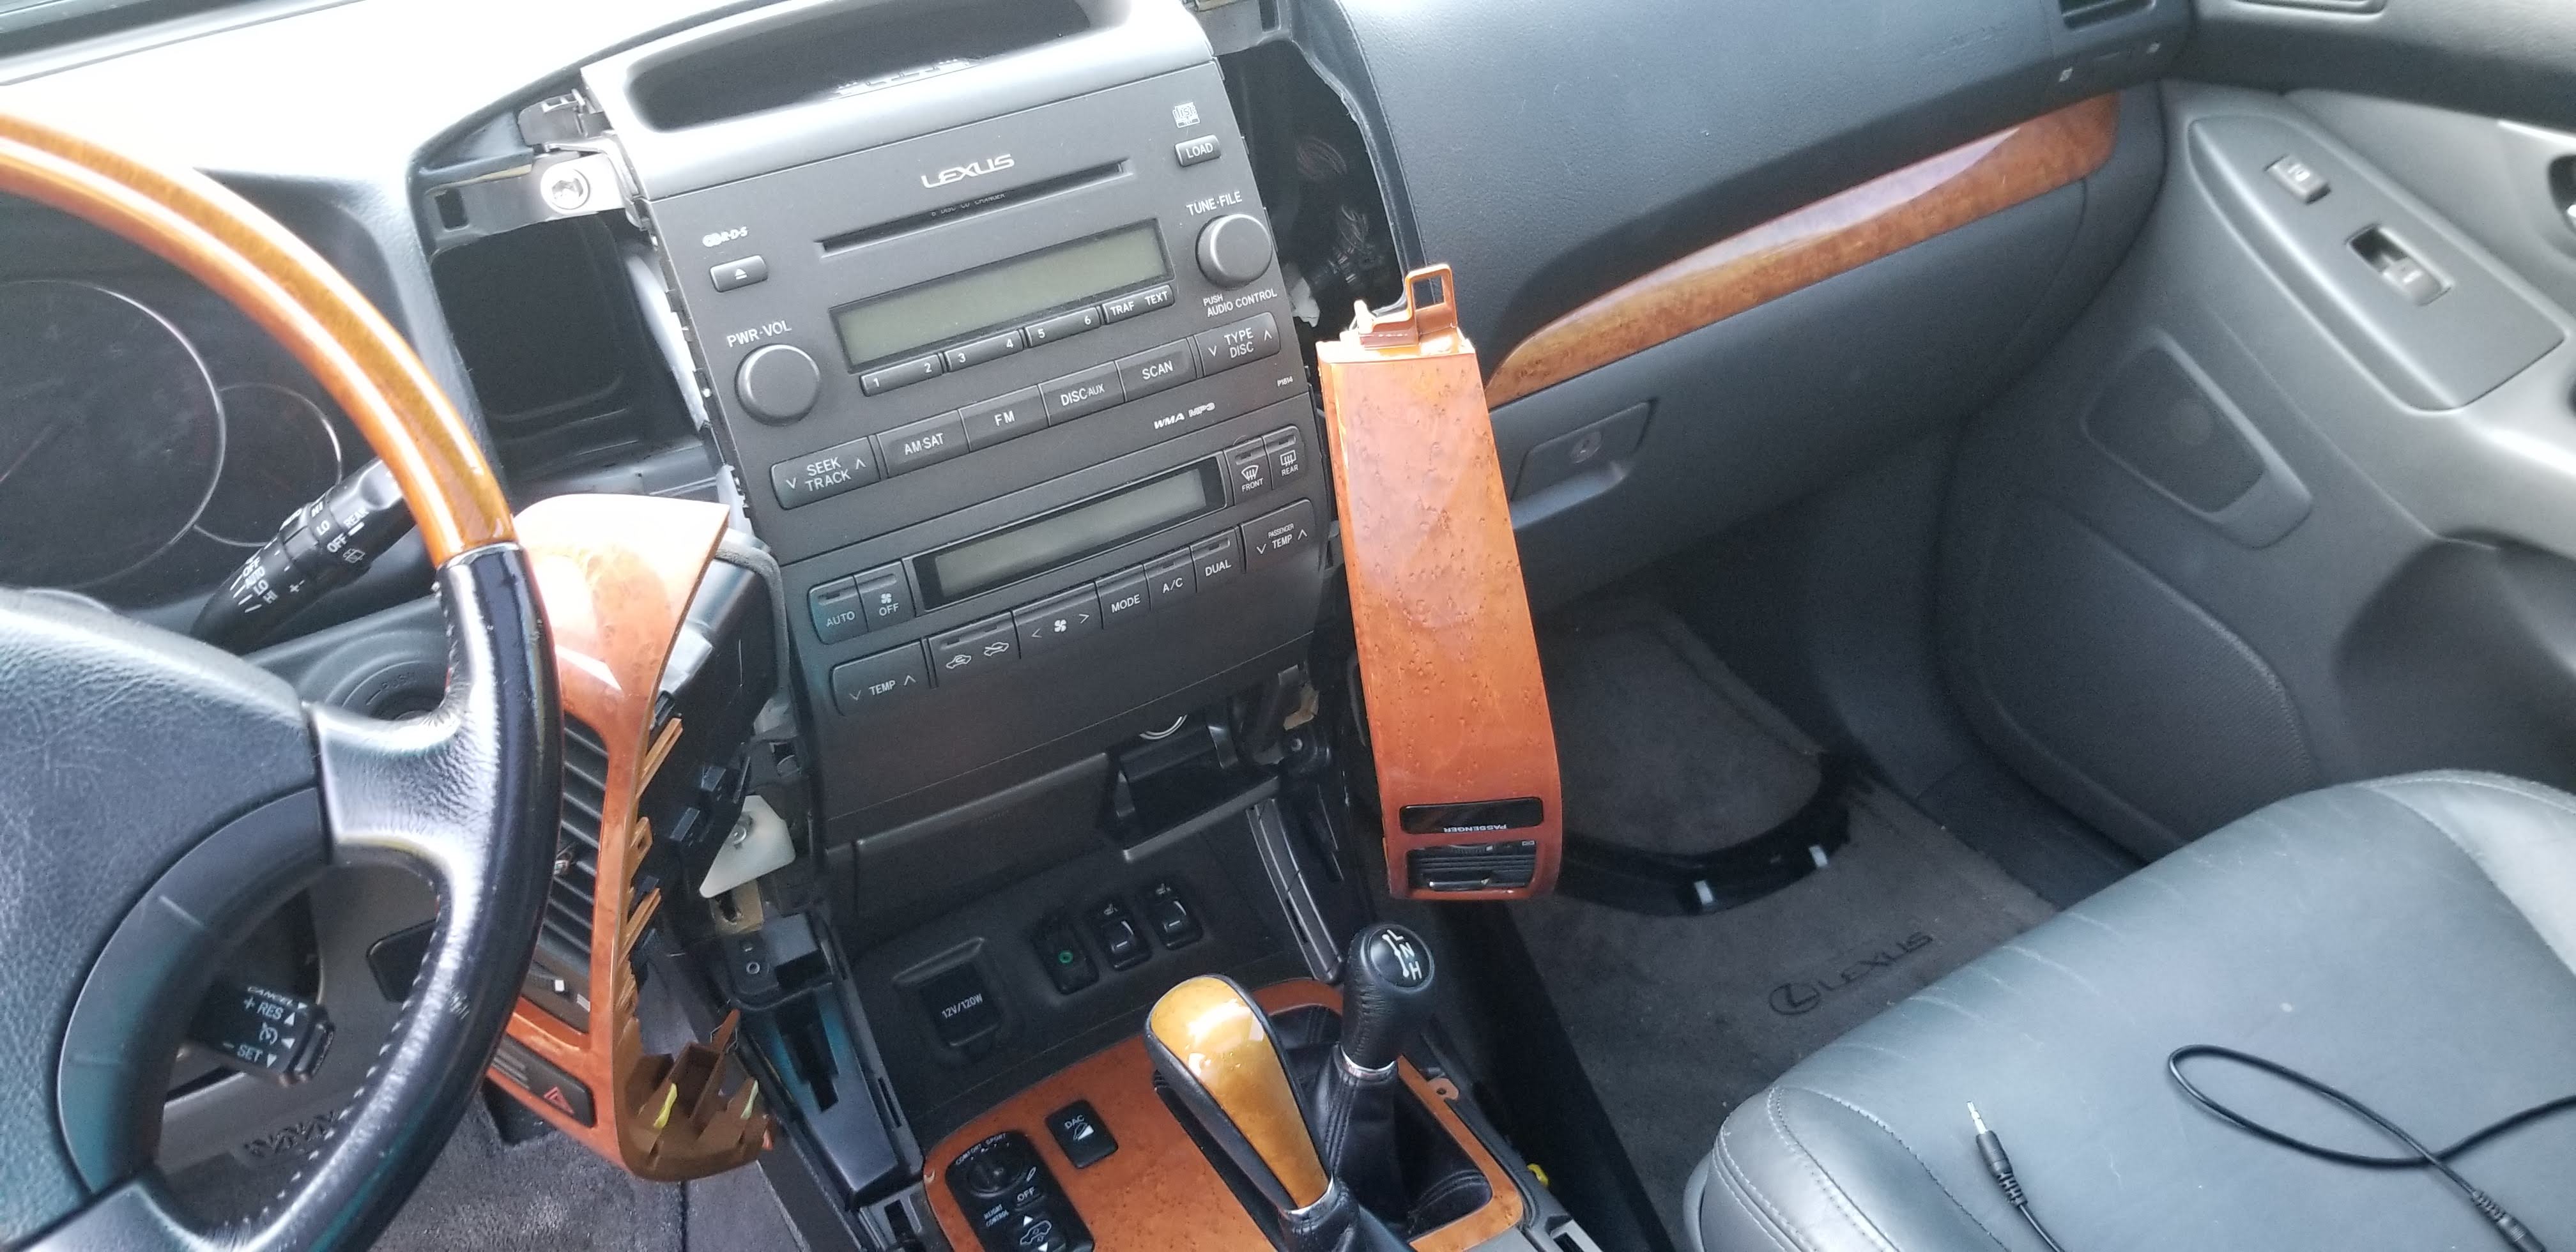
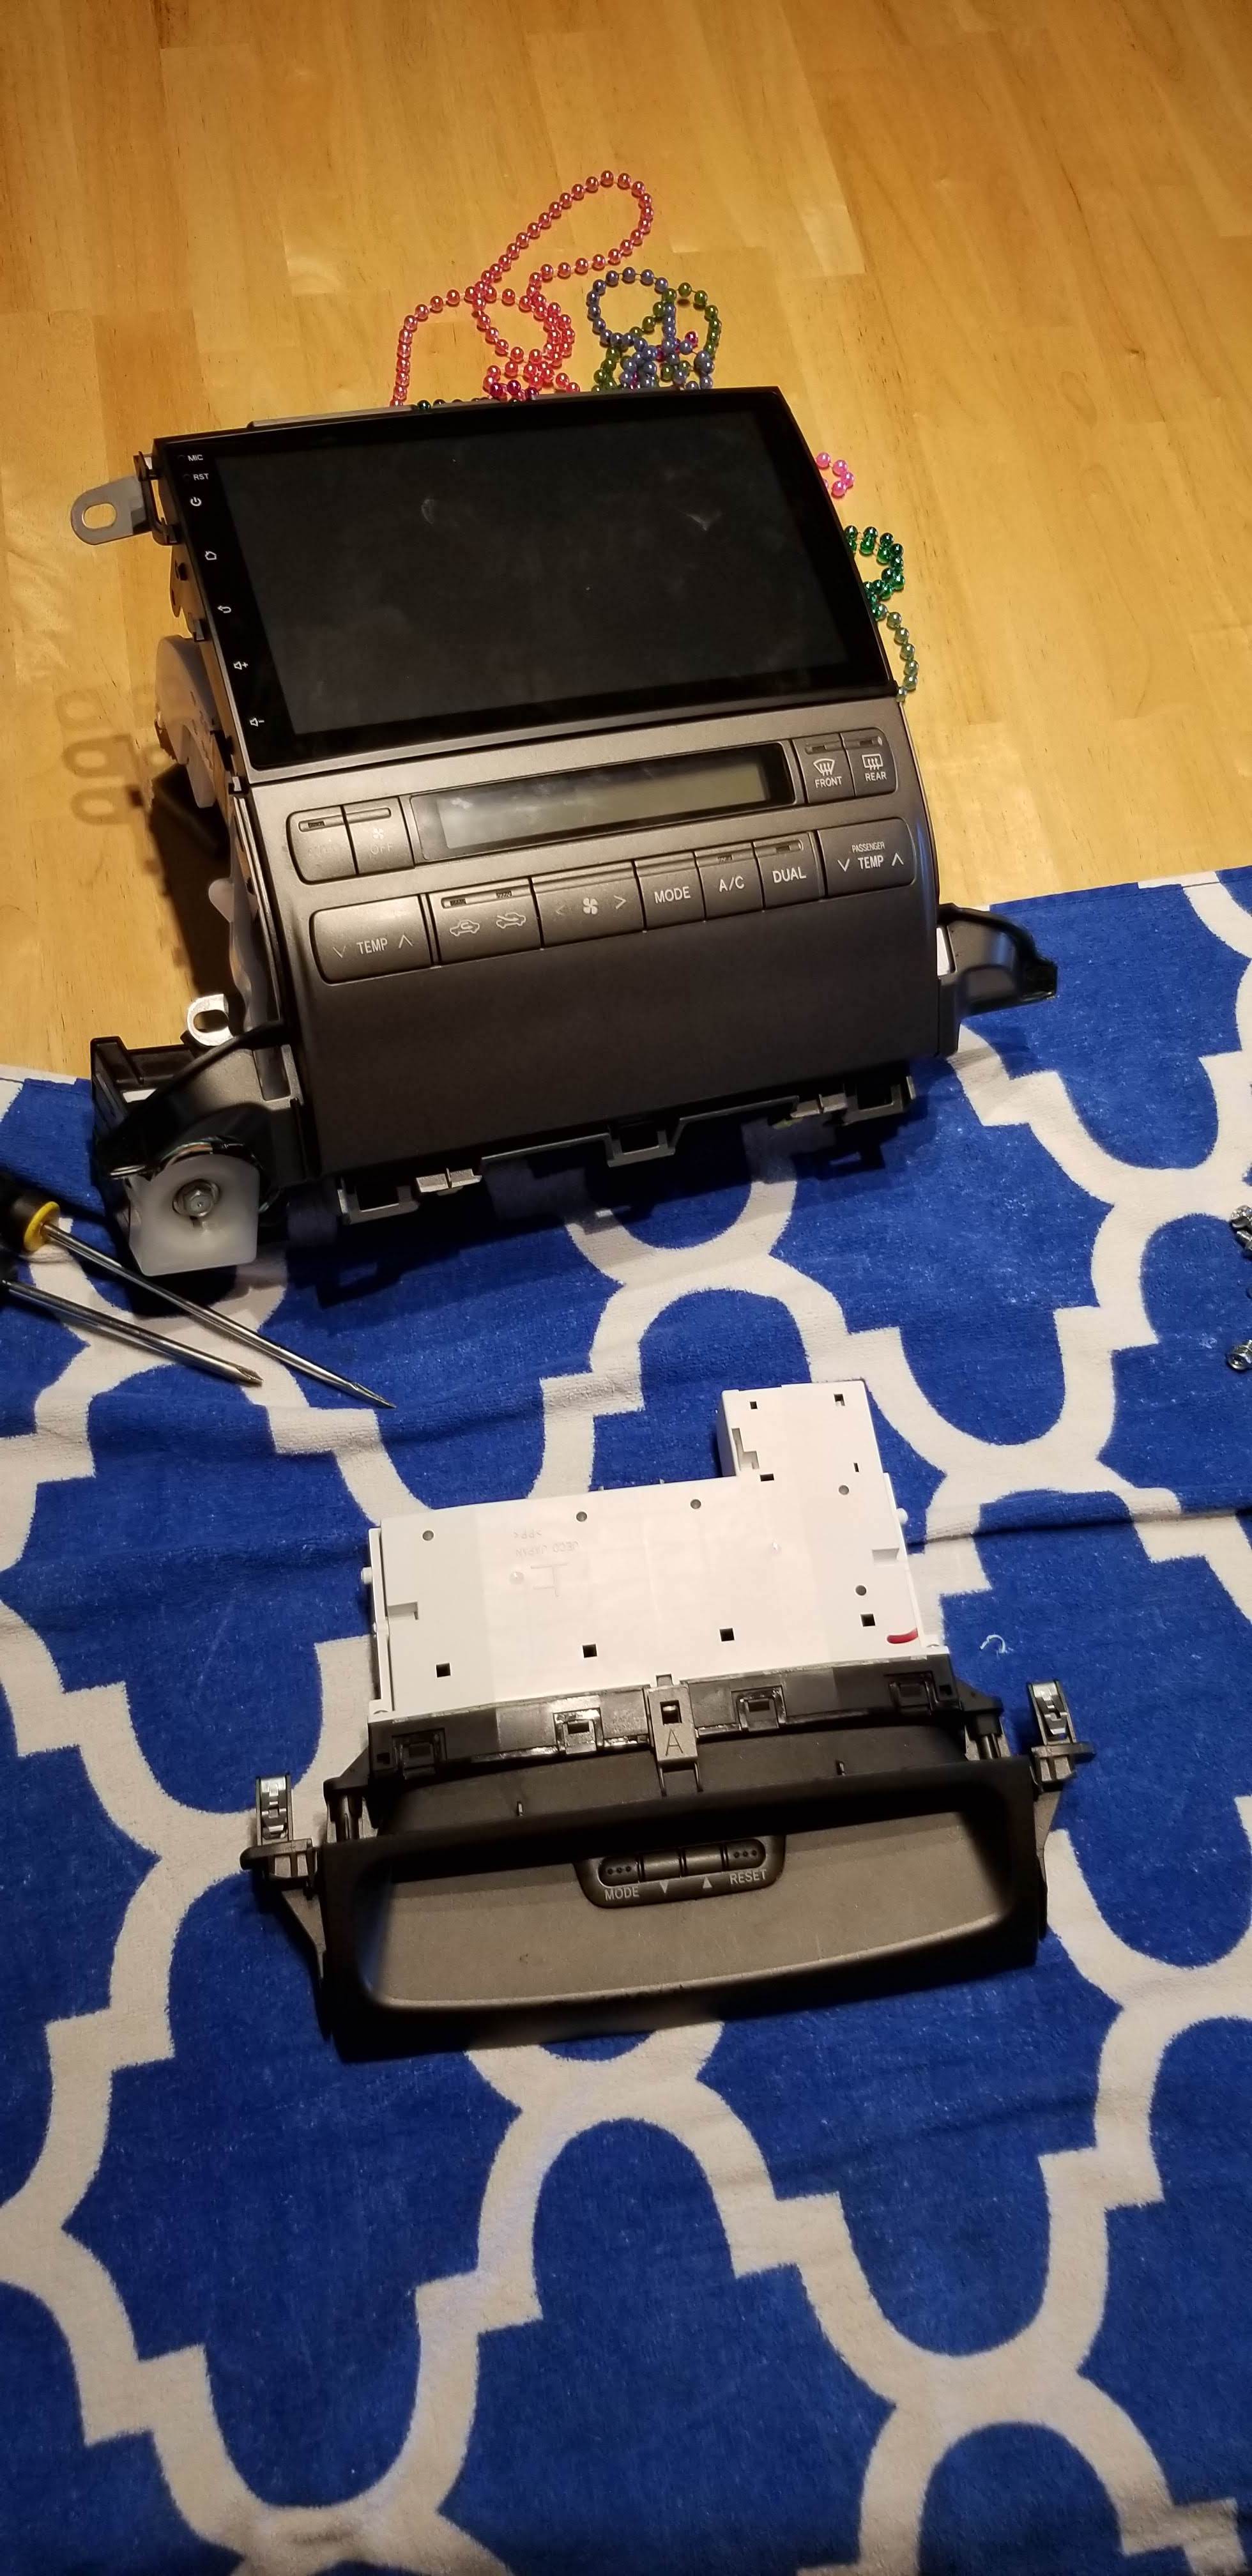
You basically have 3 pieces to your center stack.
- Top - Clock/MPG display
- Middle - Headunit, what we’re replacing
- Bottom - A/C controls
Start taking screws out of the existing Lexus headunit. There were a lot of screws to remove these 3 parts, and I didn’t document it, but prepare to spend a while on this. Also, you don’t reuse MOST of these screws, I had a ton left over. Once done un-screwing, remove all the connecters and remove the whole thing from the car. I did this, and it made it much easier to install the new head unit into the metal harness.
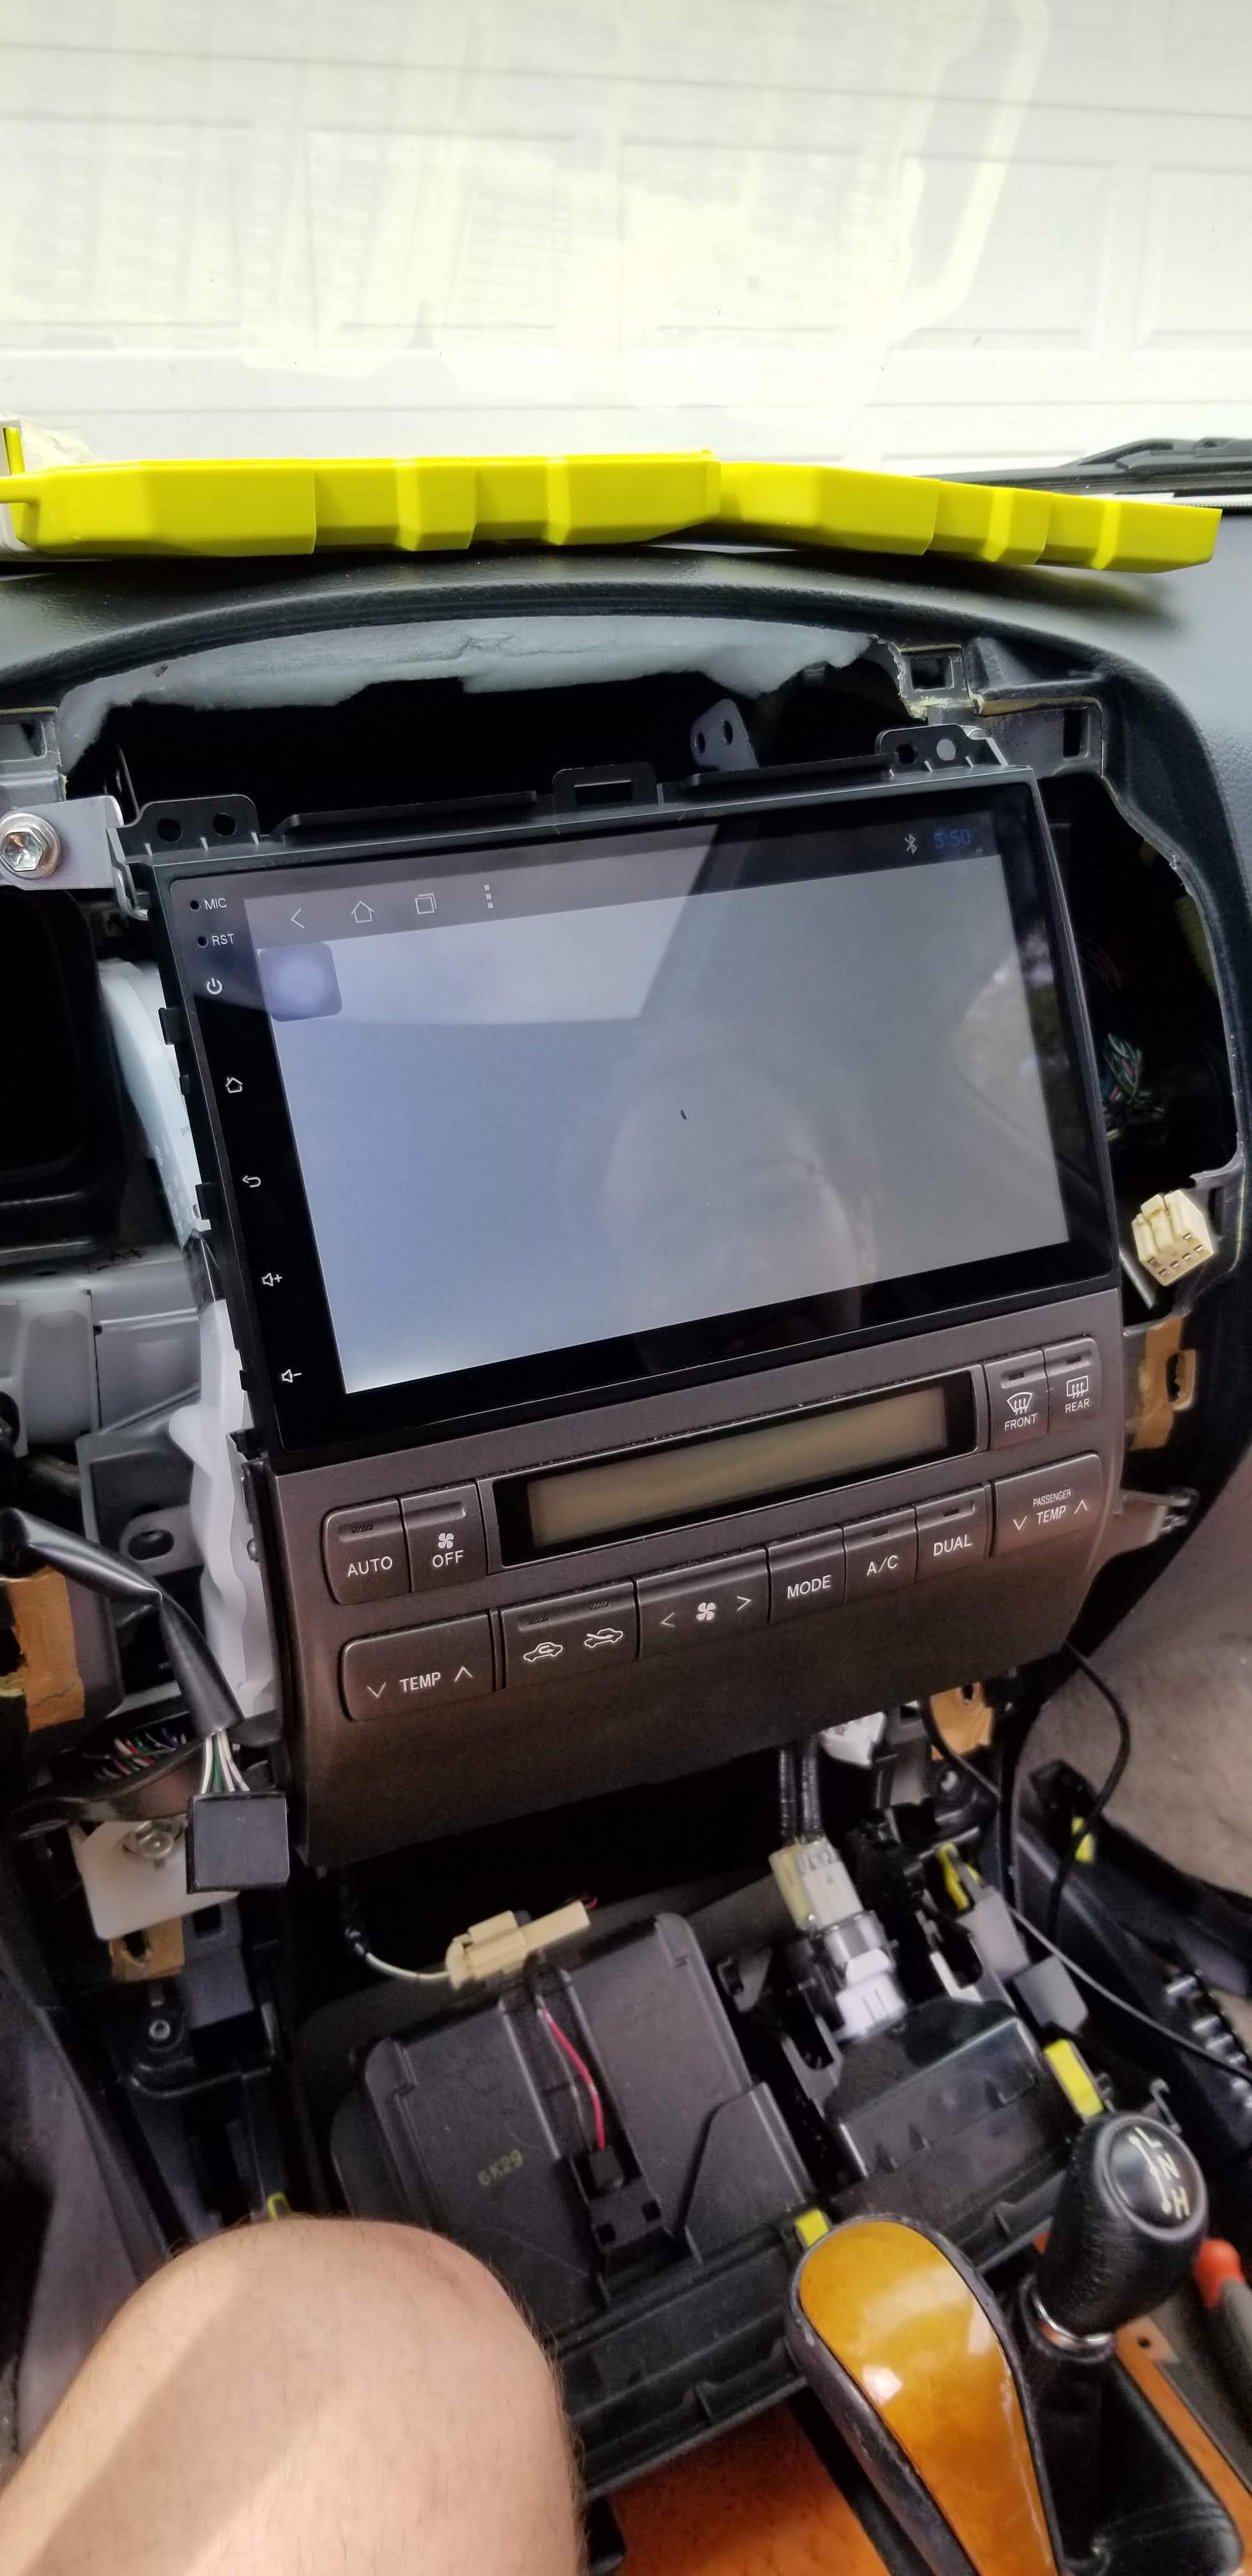
Note that the 10mm bolt, about where your knee is when driving (and shown just above my knee in the following picture), connects the harnesses that supply power. When testing your install, you’ll need to screw that in all the way. This is something I found out later while debugging.
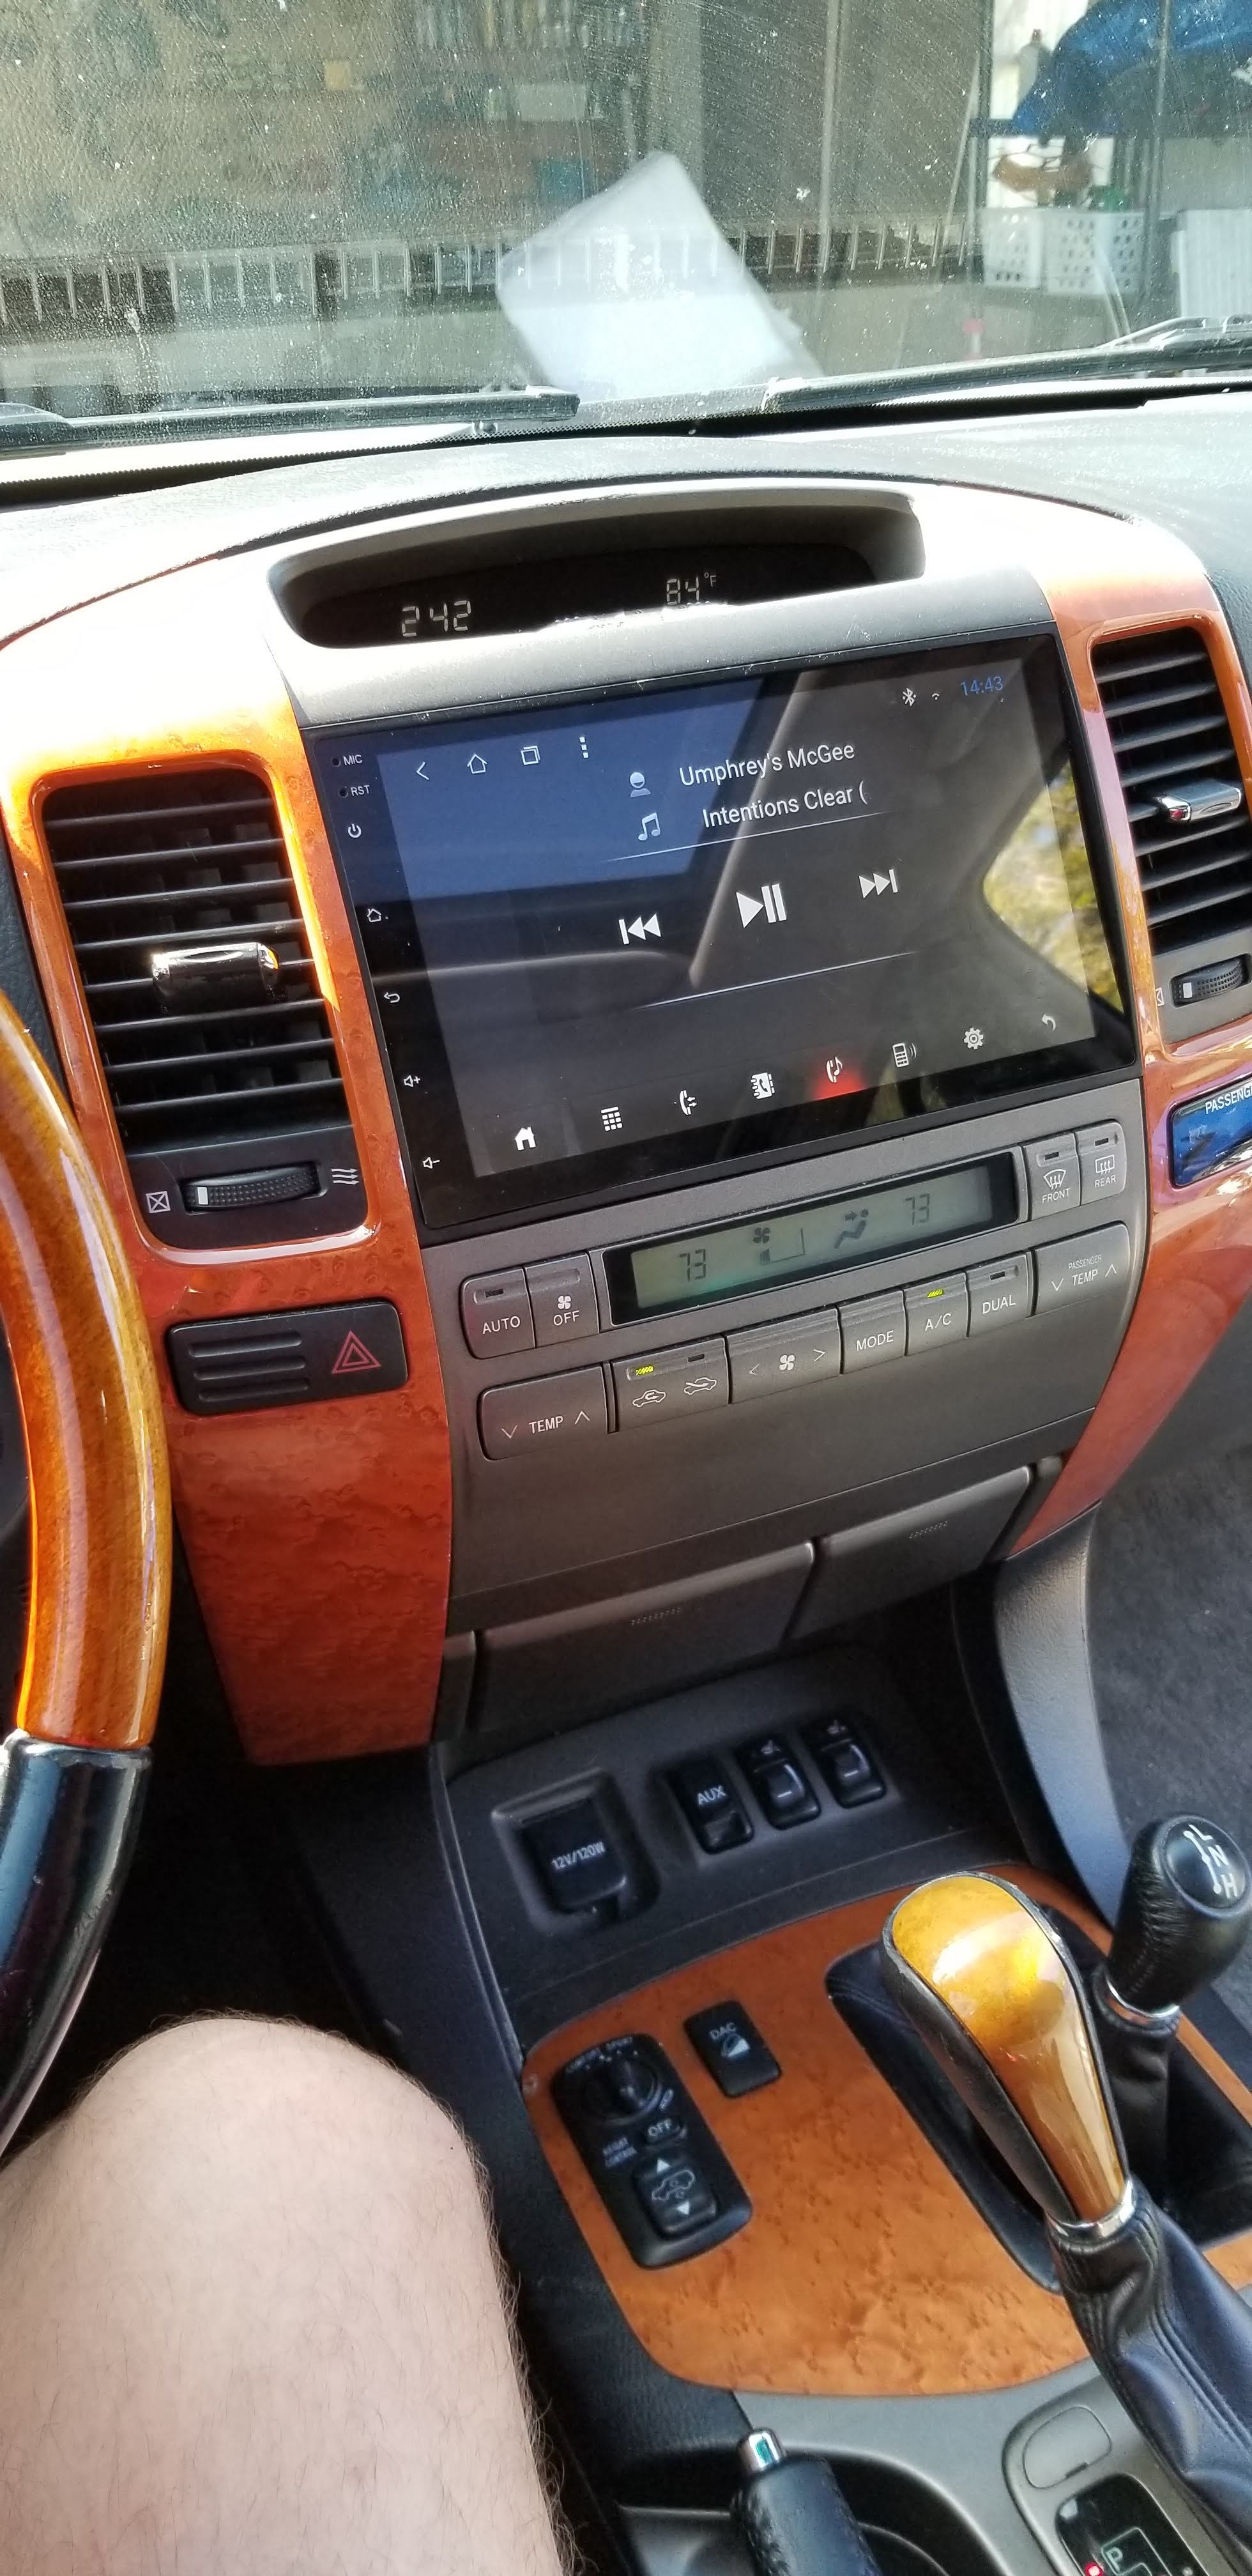
Once you have the pieces out of your car, you can install the new headunit into the same spot. To do this, you’ll need to do a small amount of plastic removal on the A/C controls in your Lexus. I used a dremel, as shown below.
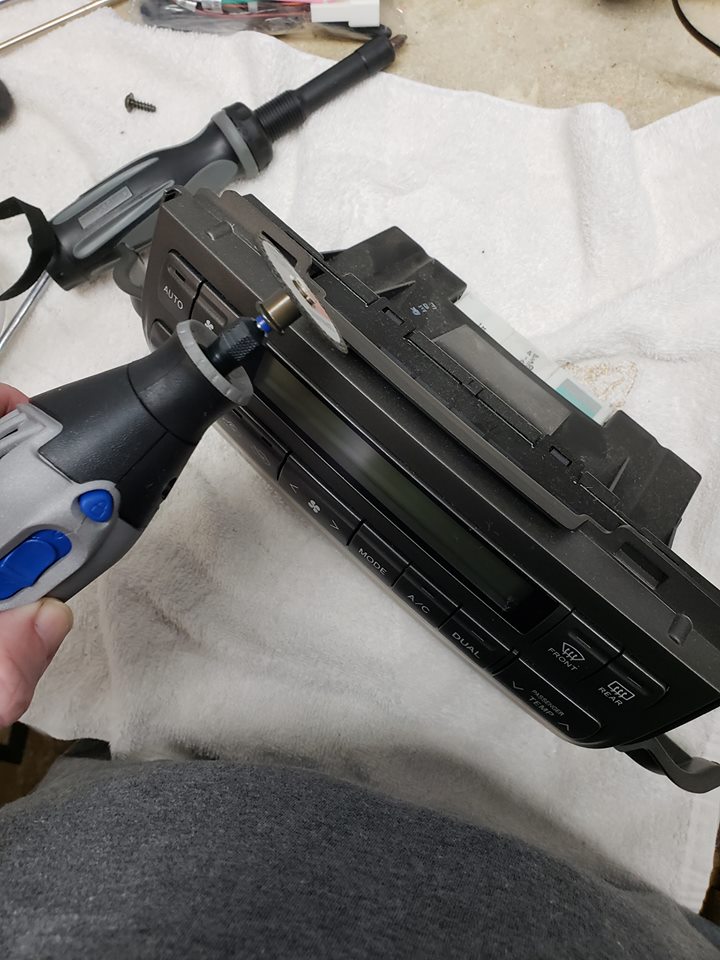
Cut the top tab just a bit on the A/C controls. These tabs protrude too much for the new head unit to clip in and fit flush.
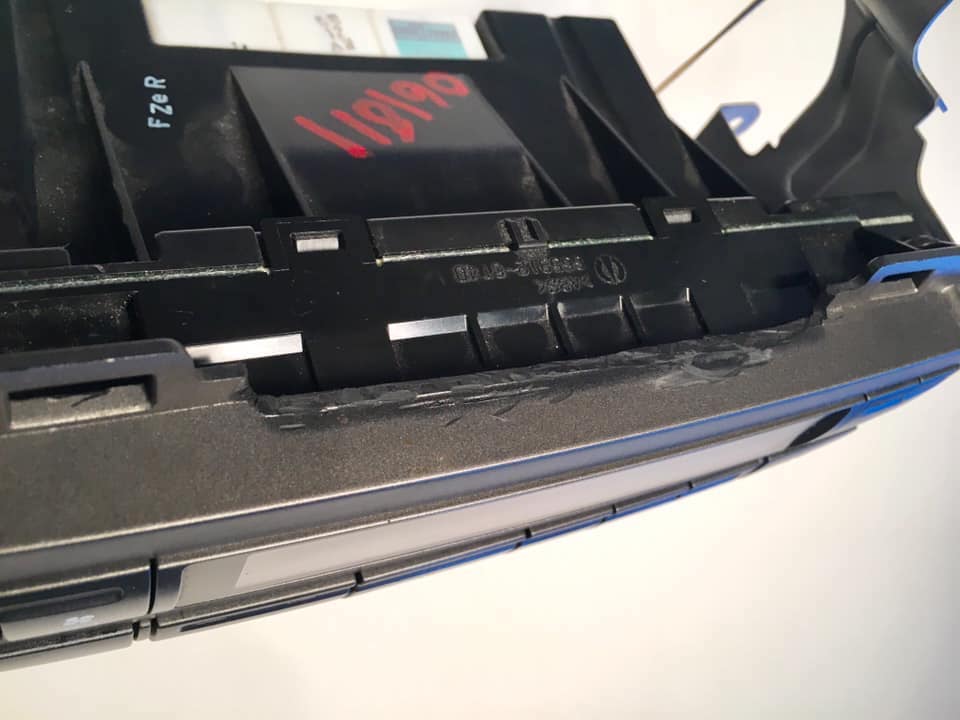
After some cutting, the air conditioning controls will clip in below it. I installed the top piece after I had inserted the rest back into the car.
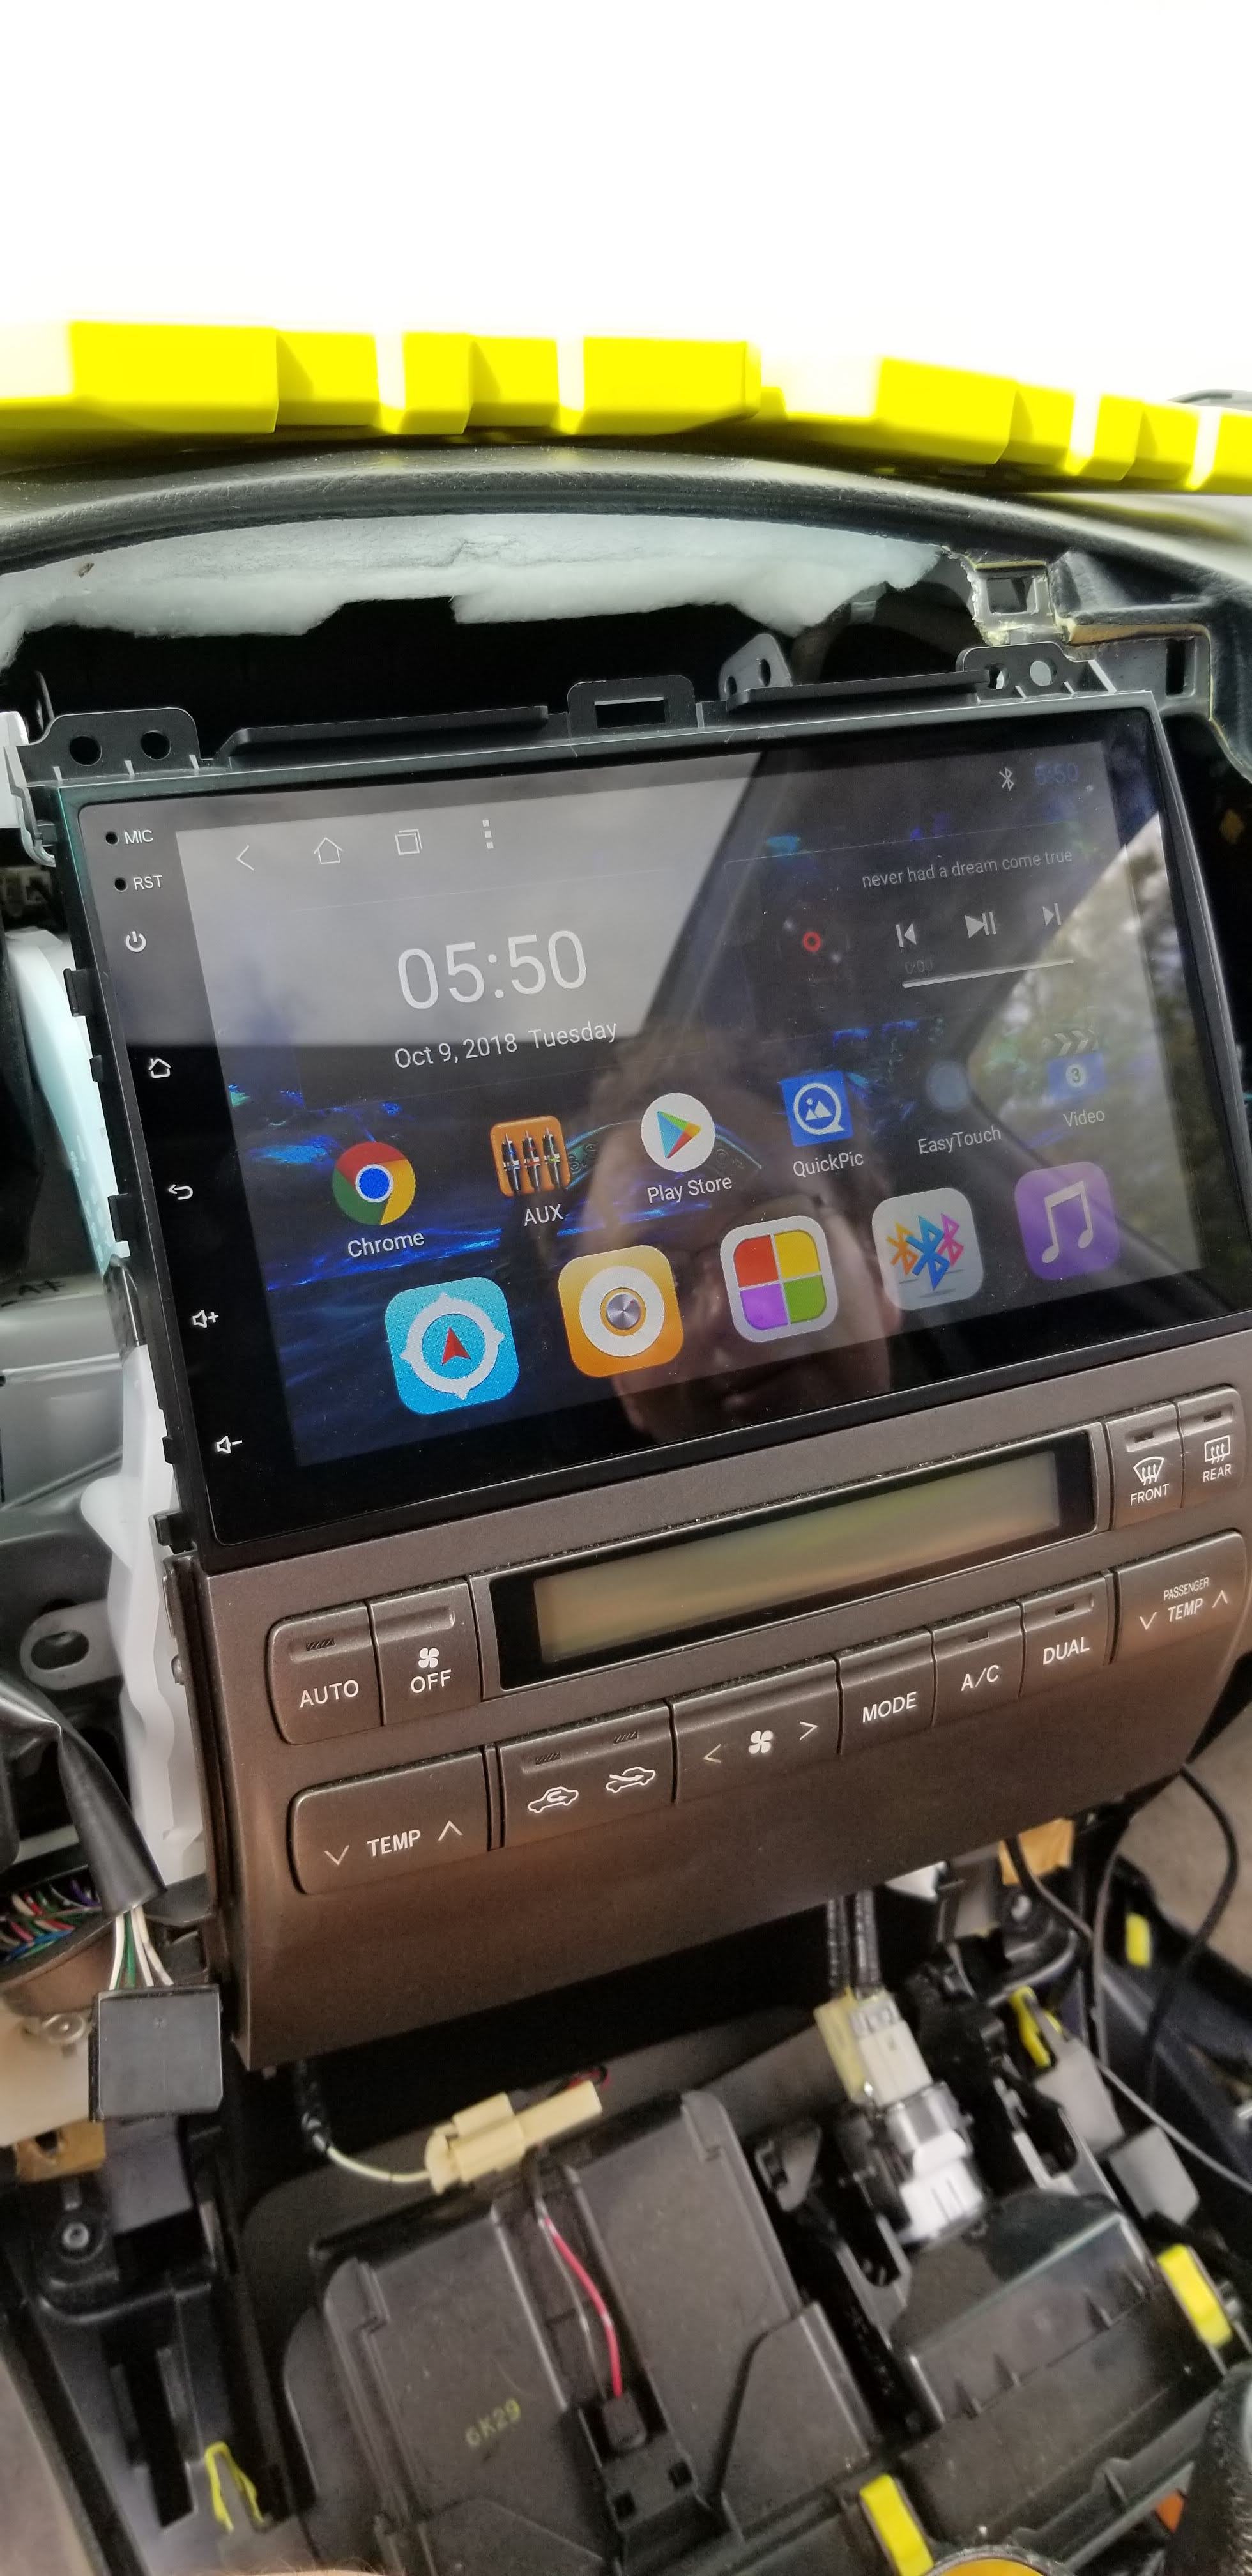
As far as connections go, this was pretty simple. Connect like to like connectors where you can find them. I ran the USB female connectors into the glove box, since I won’t use them often and didn’t want to mount them. I ran the GPS module behind the dash, and stuck it up as high and far back as I could, then used the supplied 3M backing tape. It gets a very good signal, even when not exposed. I chose not to mount the microphone that was included with the headunit, as the included mic on the front of the headunit seemed to do a good enough job for my uses. The WiFi antennae is short and is attached to the back of the headunit.
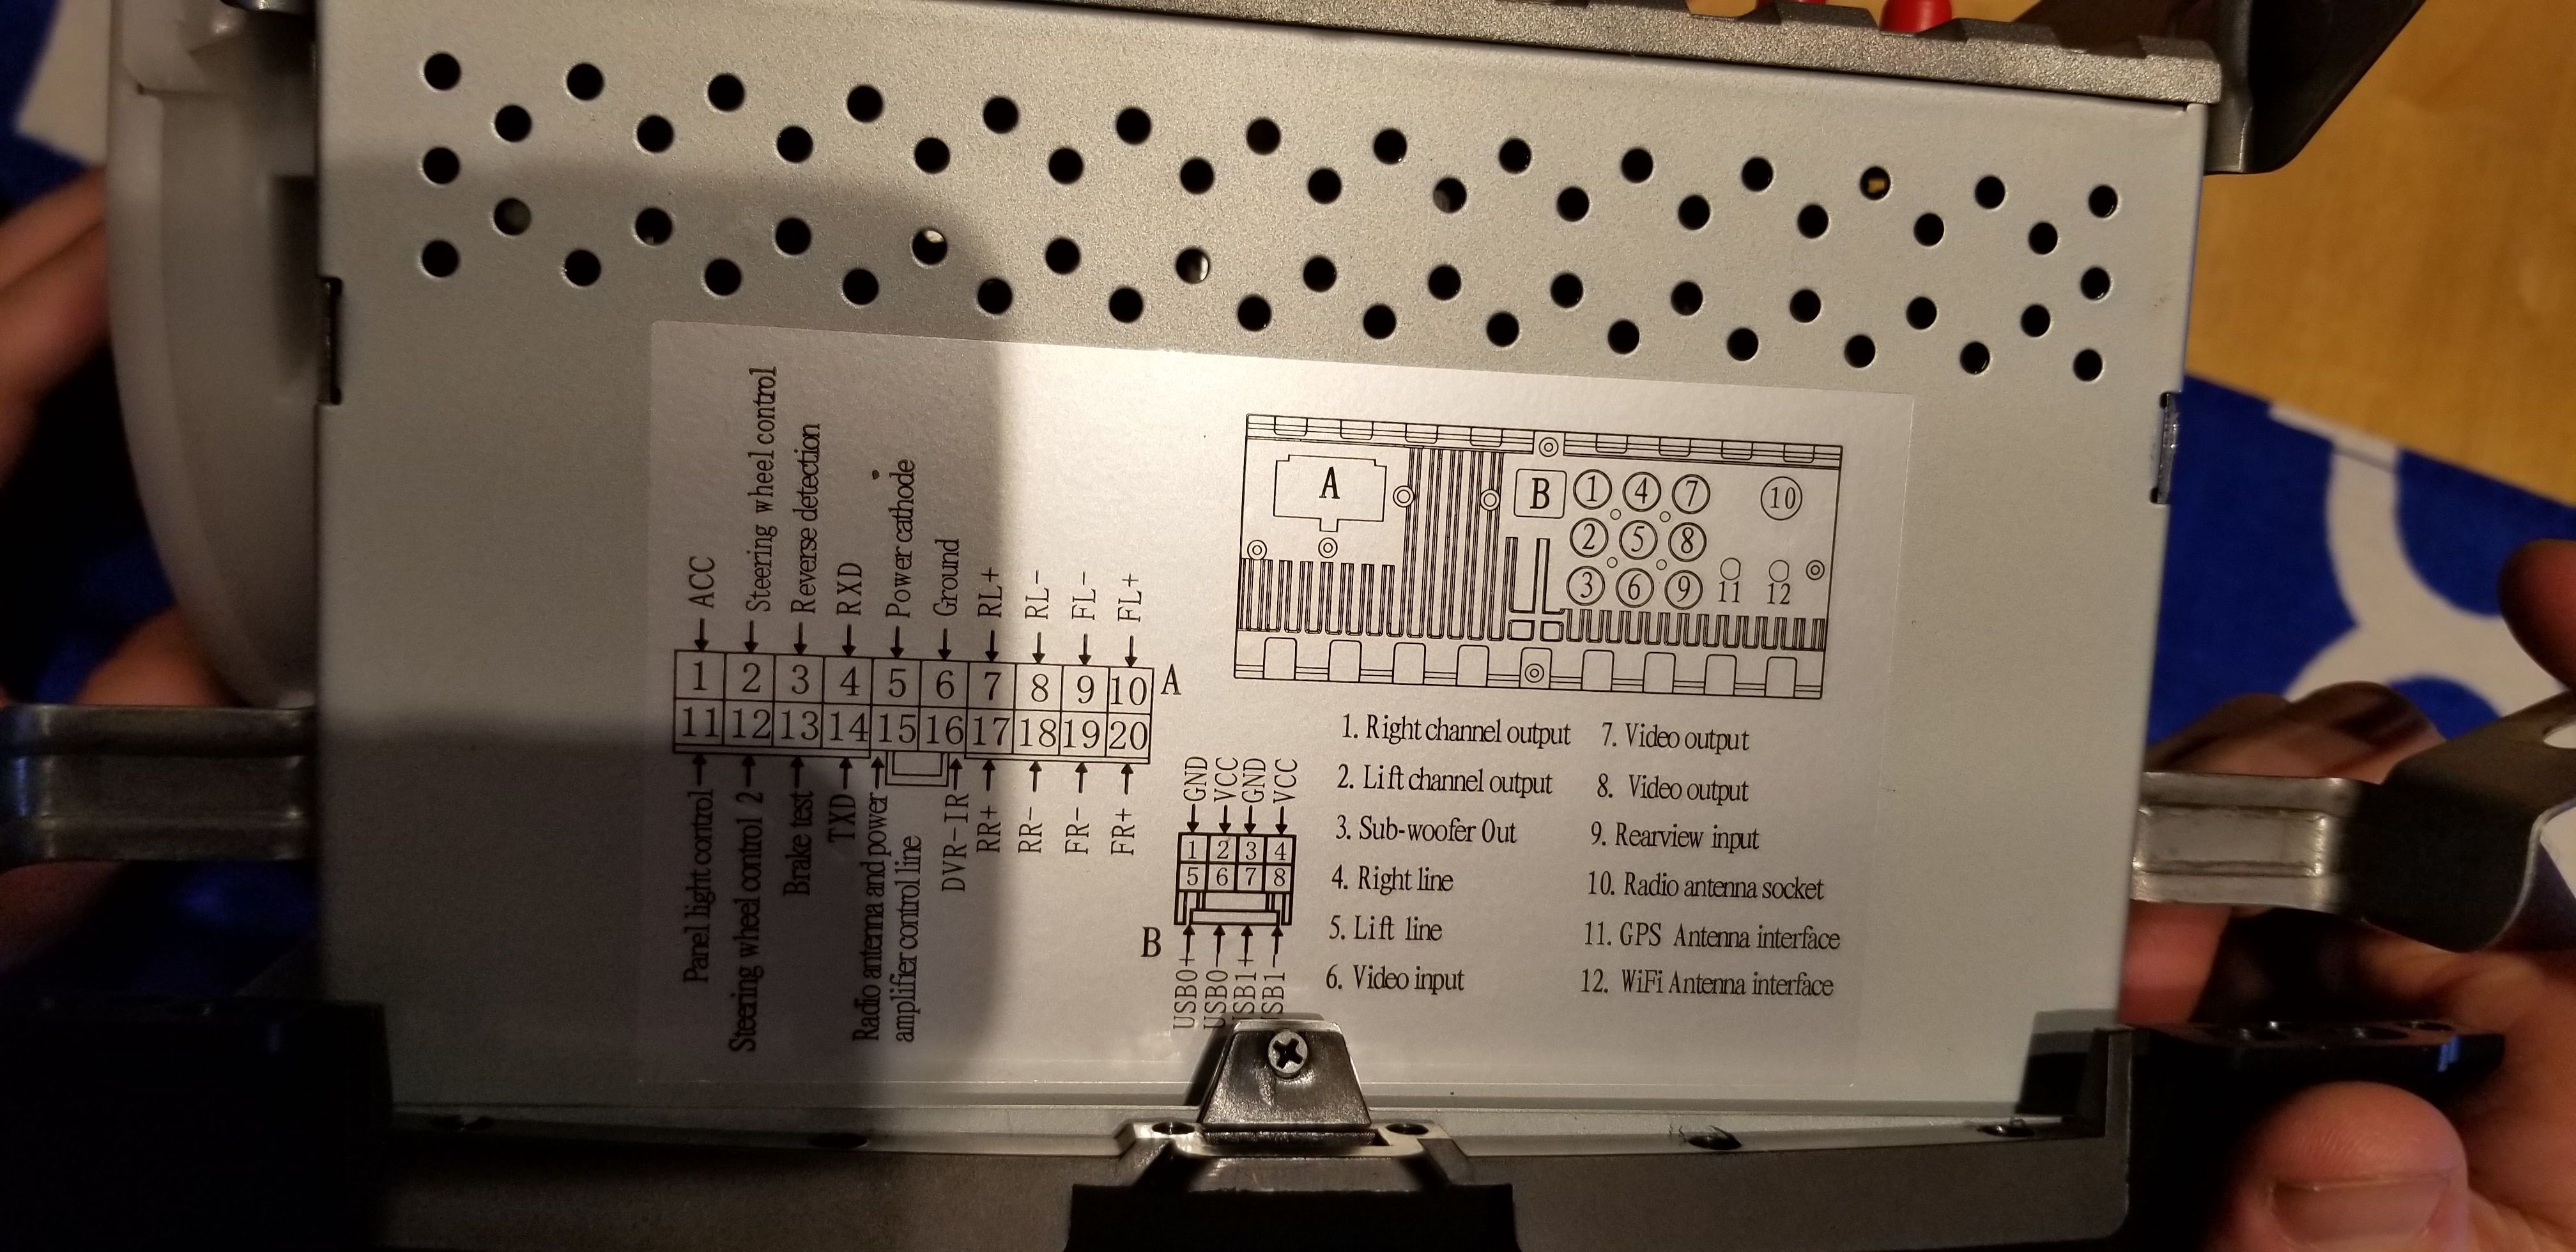
You’ll also want to run your wiring for the reverse camera. For the part behind the headunit, wire the yellow into the backup camera input (9) and tap the reverse cable in. For the run to your back door, you’ll need to do this on the passenger side, because of the way the rear door swings open on the passenger side. I ran my wire behind the glove box and under the plastic tray on the seats, all the way to the 3rd row area.
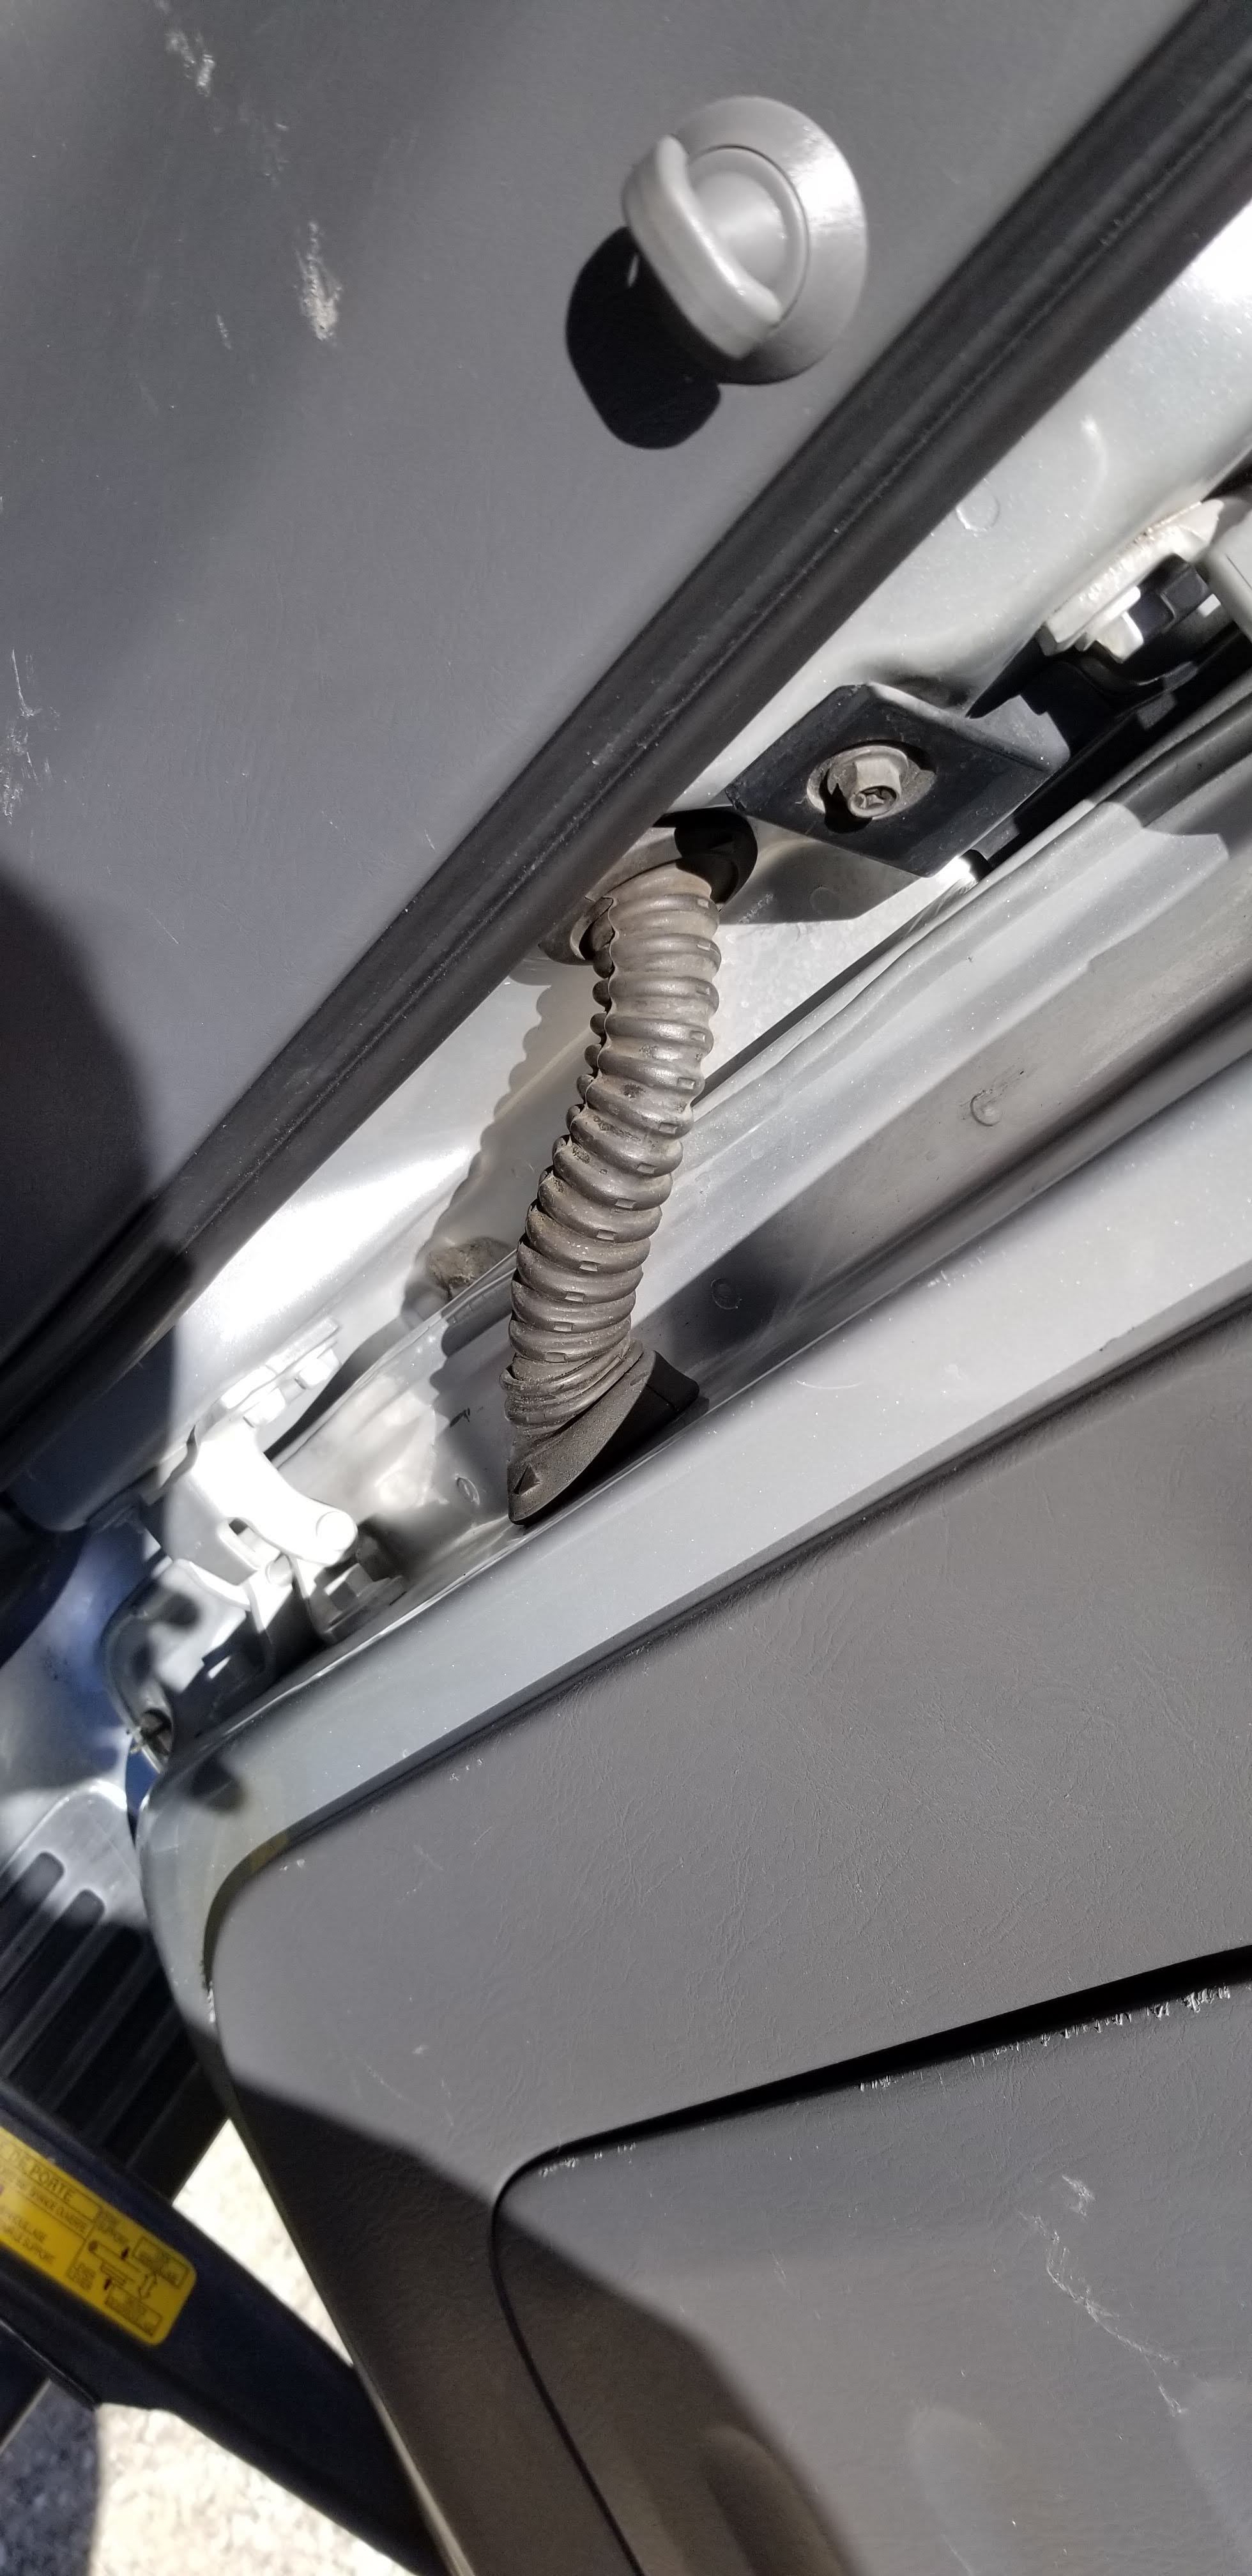
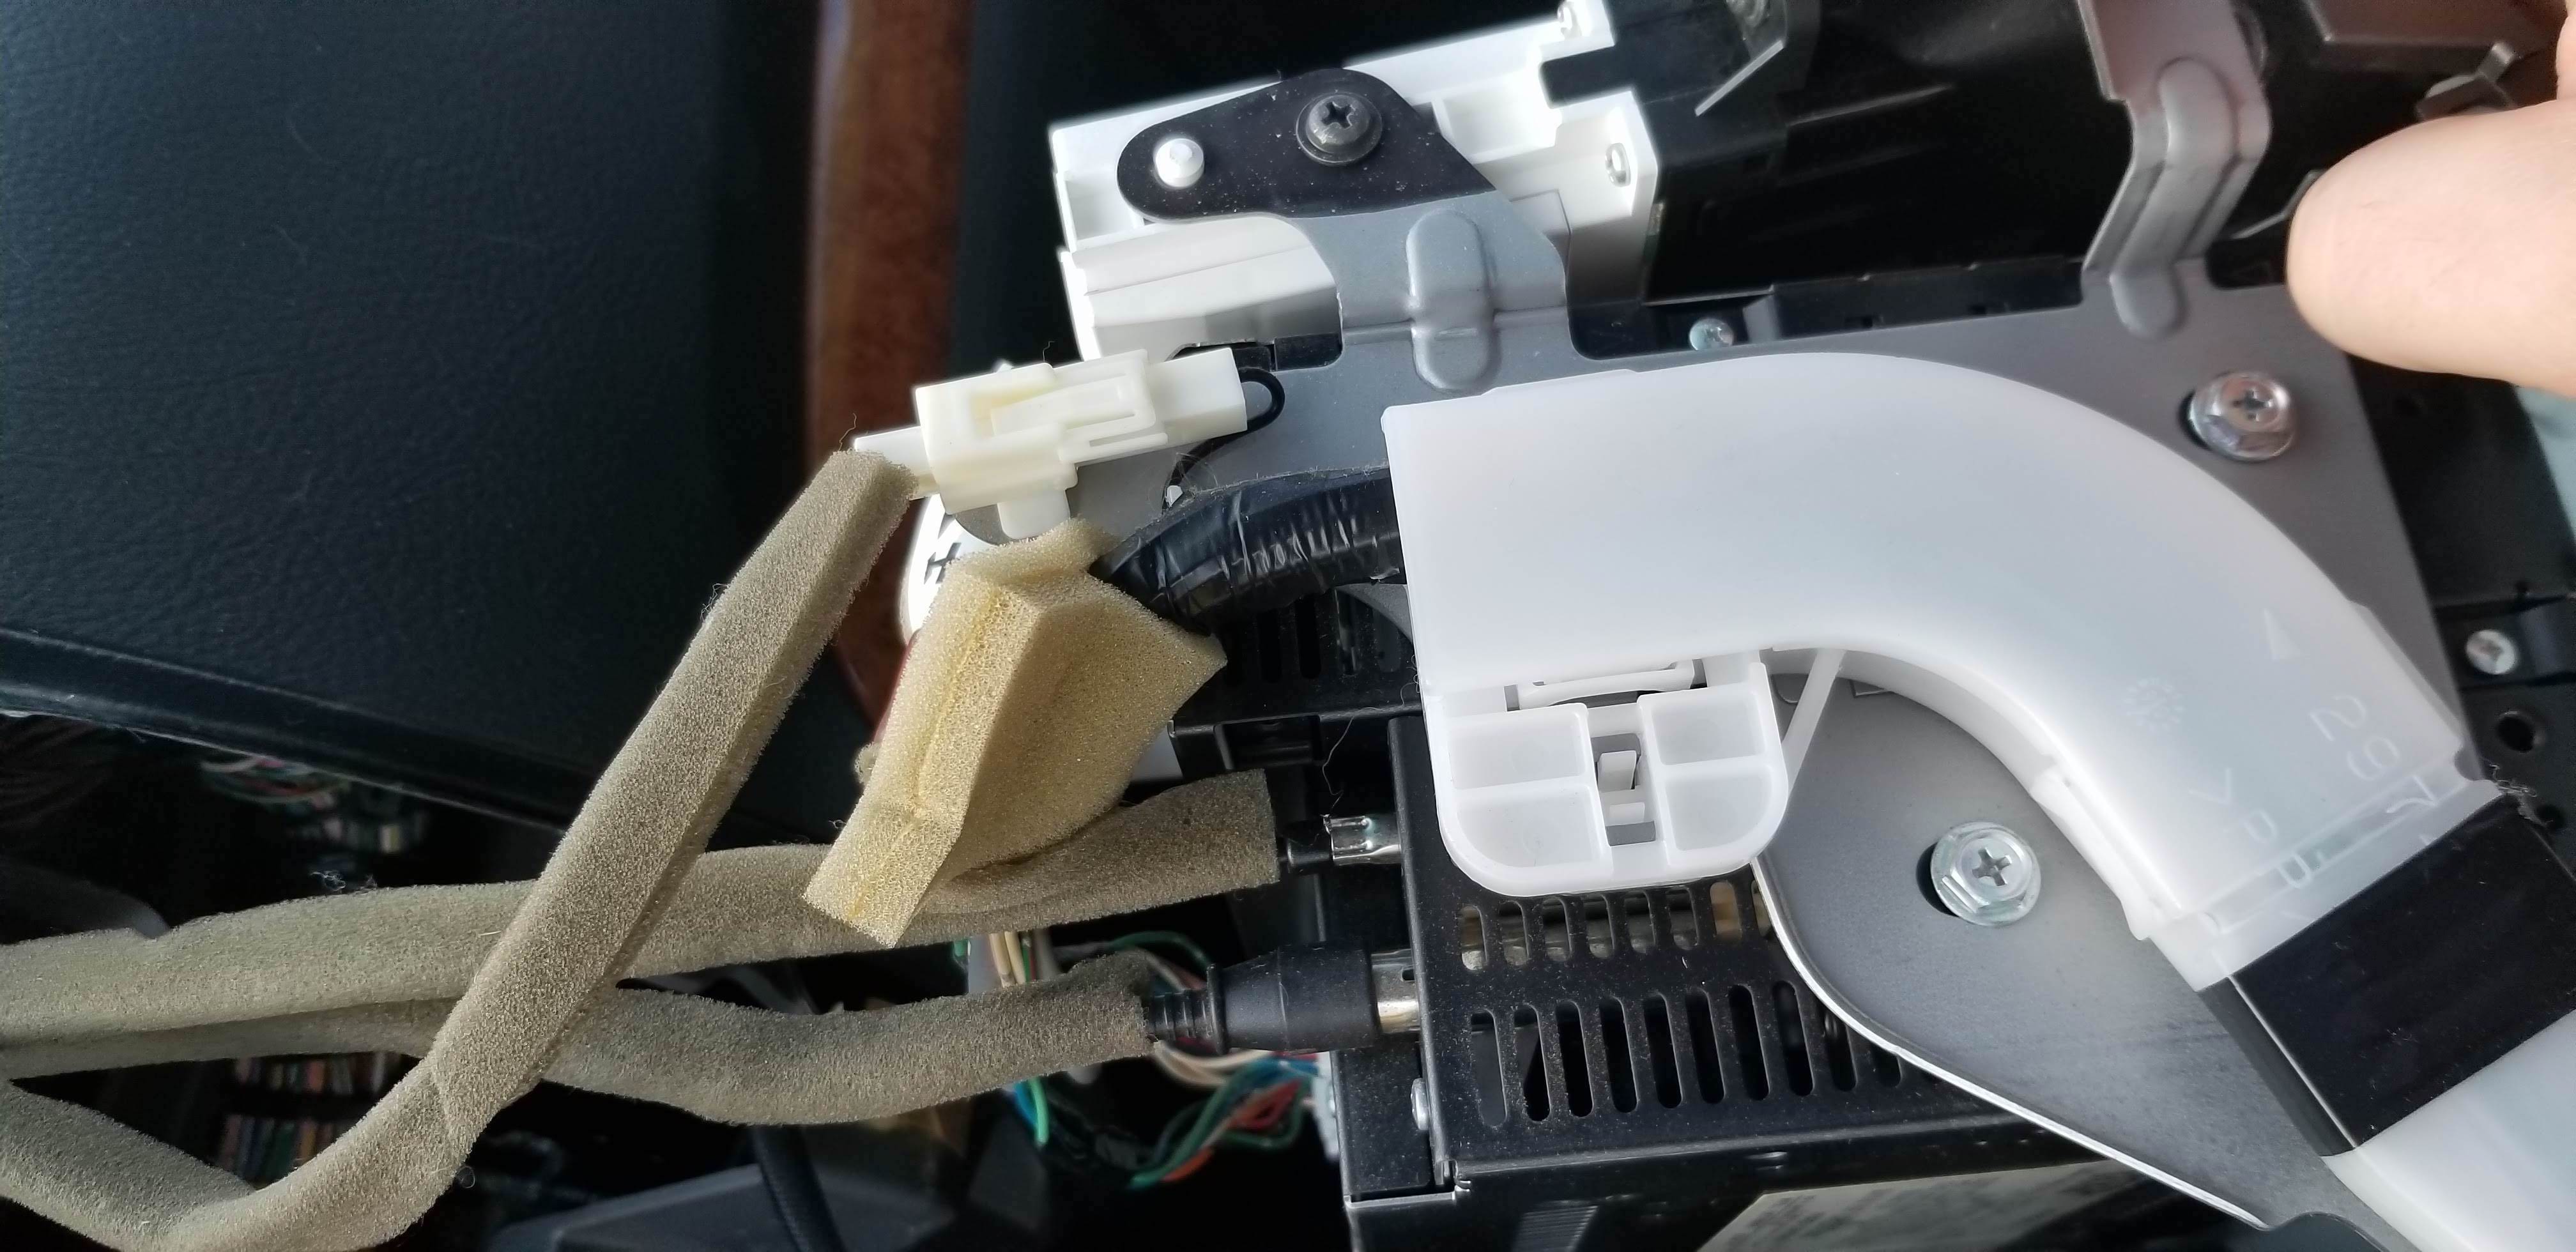
This is where it gets more complicated. You’ll need to run the wiring through the grommet thing seen above(hardest and most painful part of this whole project), and into the rear door area. There is almost no room inside the grommet to run the cable, so this will take some time. The rear door paneling should be removed, which is pretty easy.
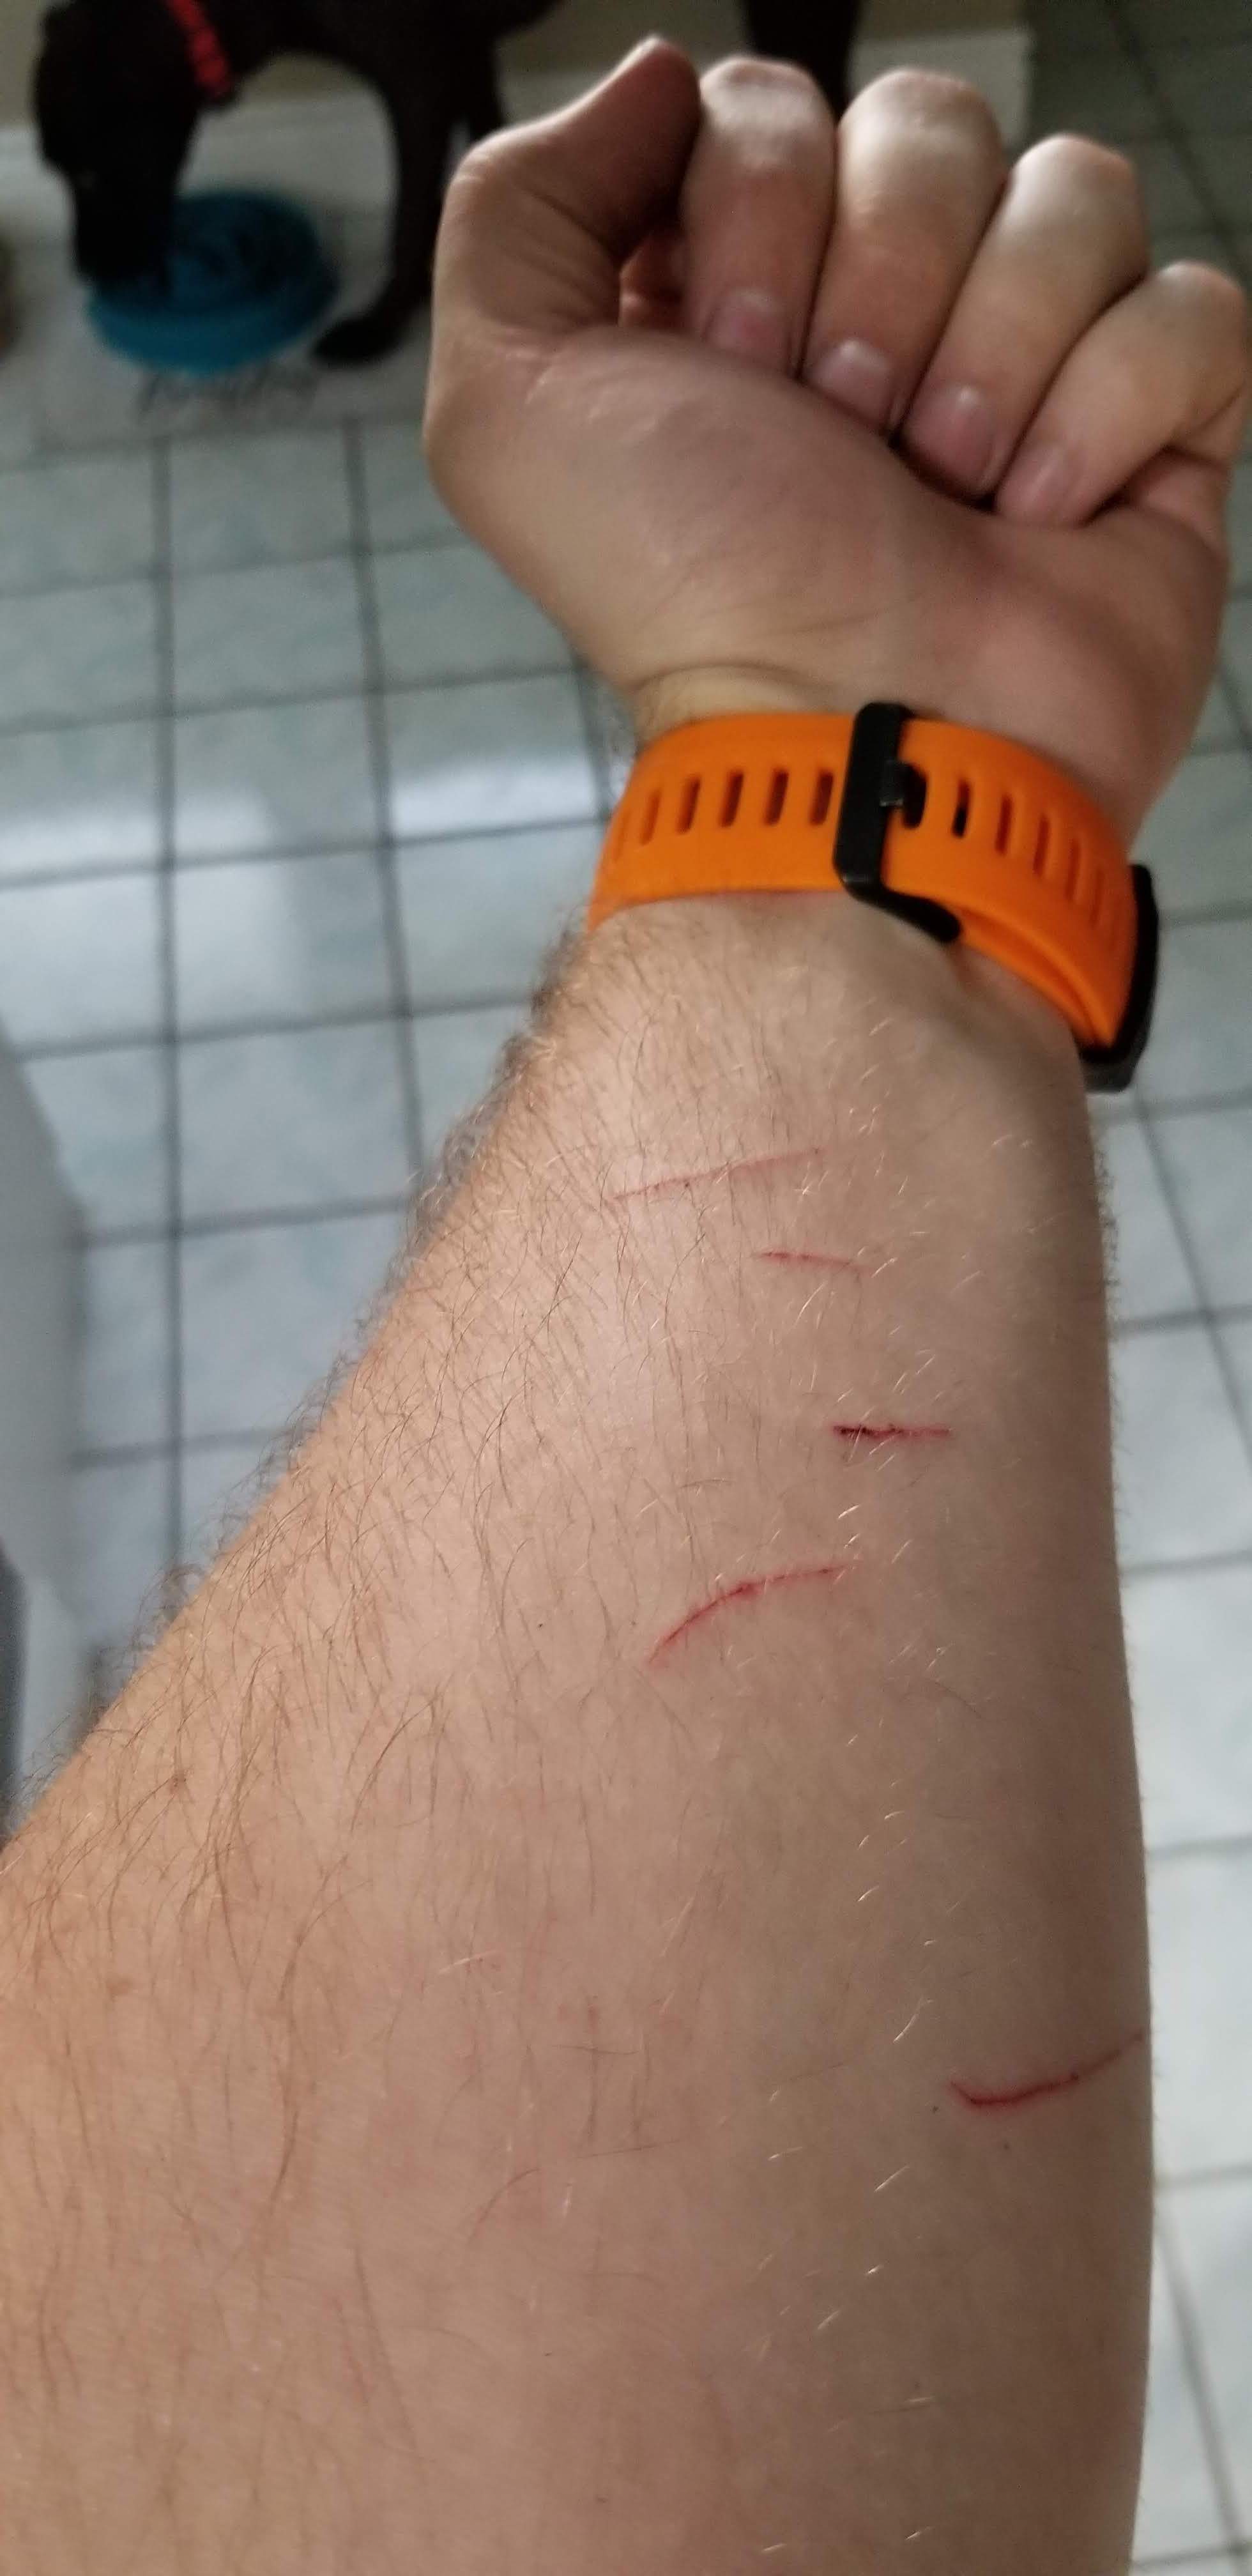
Damage from running the wiring through the grommet into the rear door.
The wiring for the rear camera is simple. Connect the reverse power wire that you ran from the headunit (red), and the power wire (red) from the camera to the reverse light power wire, which is red with blue stripe. I used the passenger side reverse light since it was closer. Seal that connection with some solder.
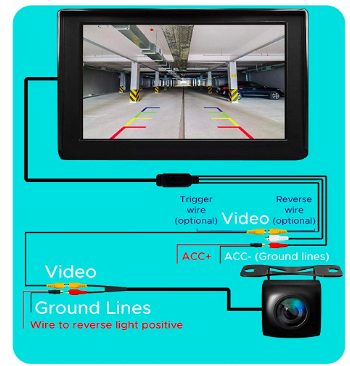
The yellow video cable from the camera connects to the RCA that you ran from the headunit. The ground (black) from the camera connects to any ground on the rear door, there are a quite few bolts you can use.
At the headunit side, make sure you plug the yellow from the rearview camera into the correct video input. I did not do that the first time, and had to take apart my dash again. You want to use input 9, the rearview input.
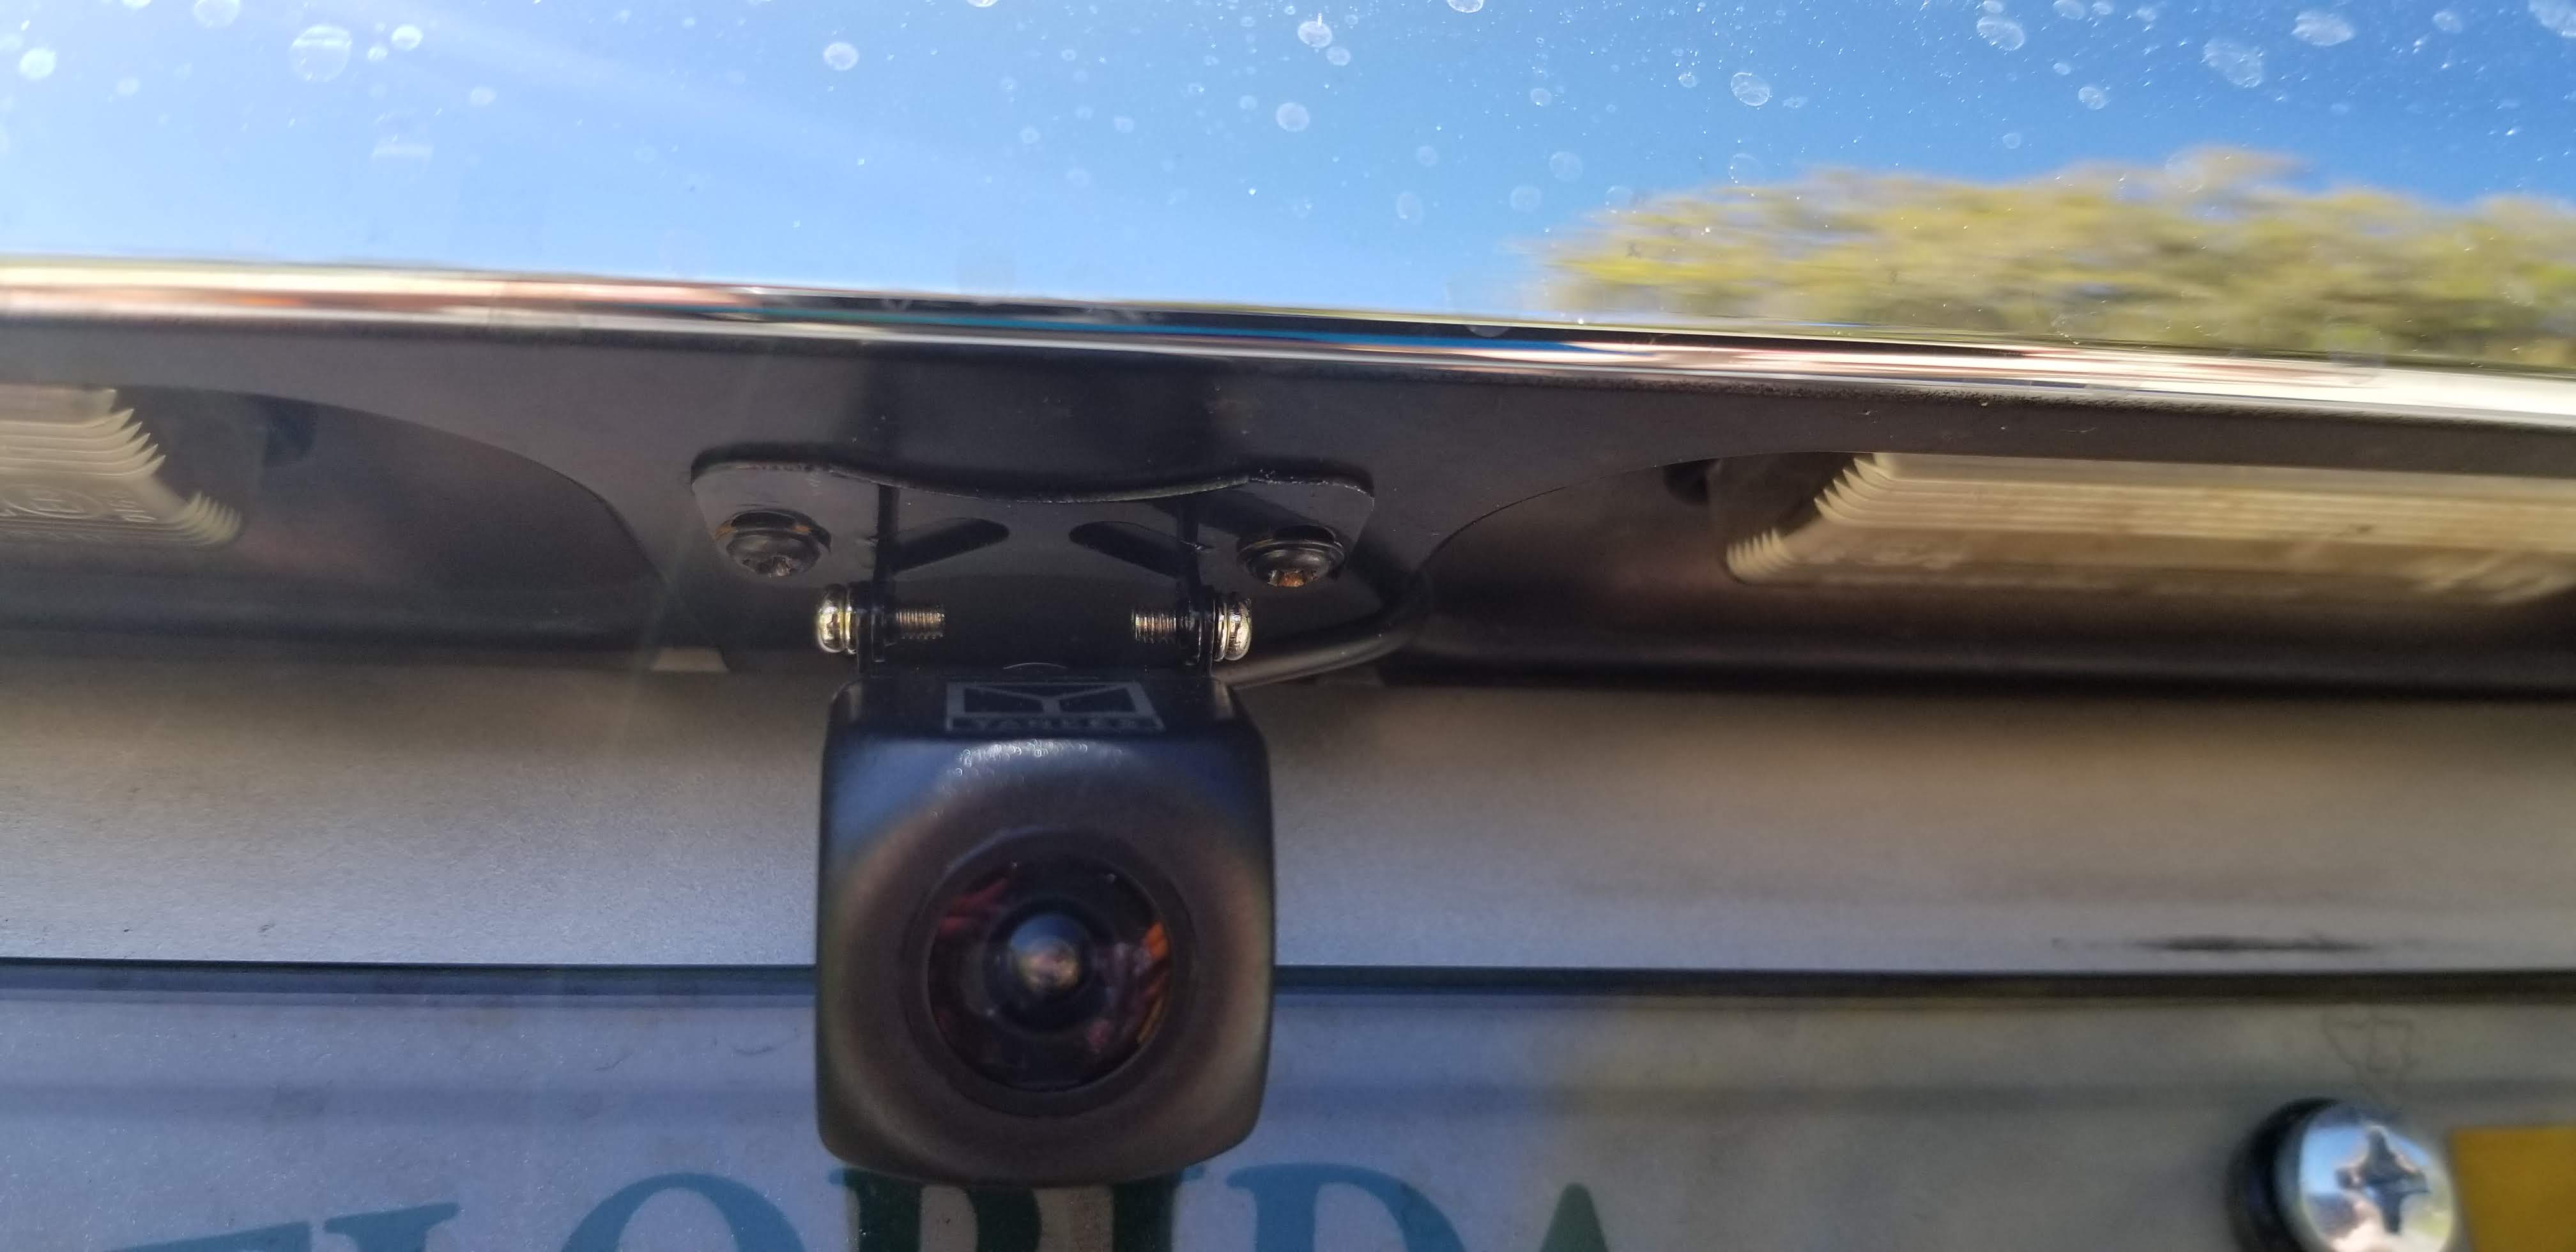
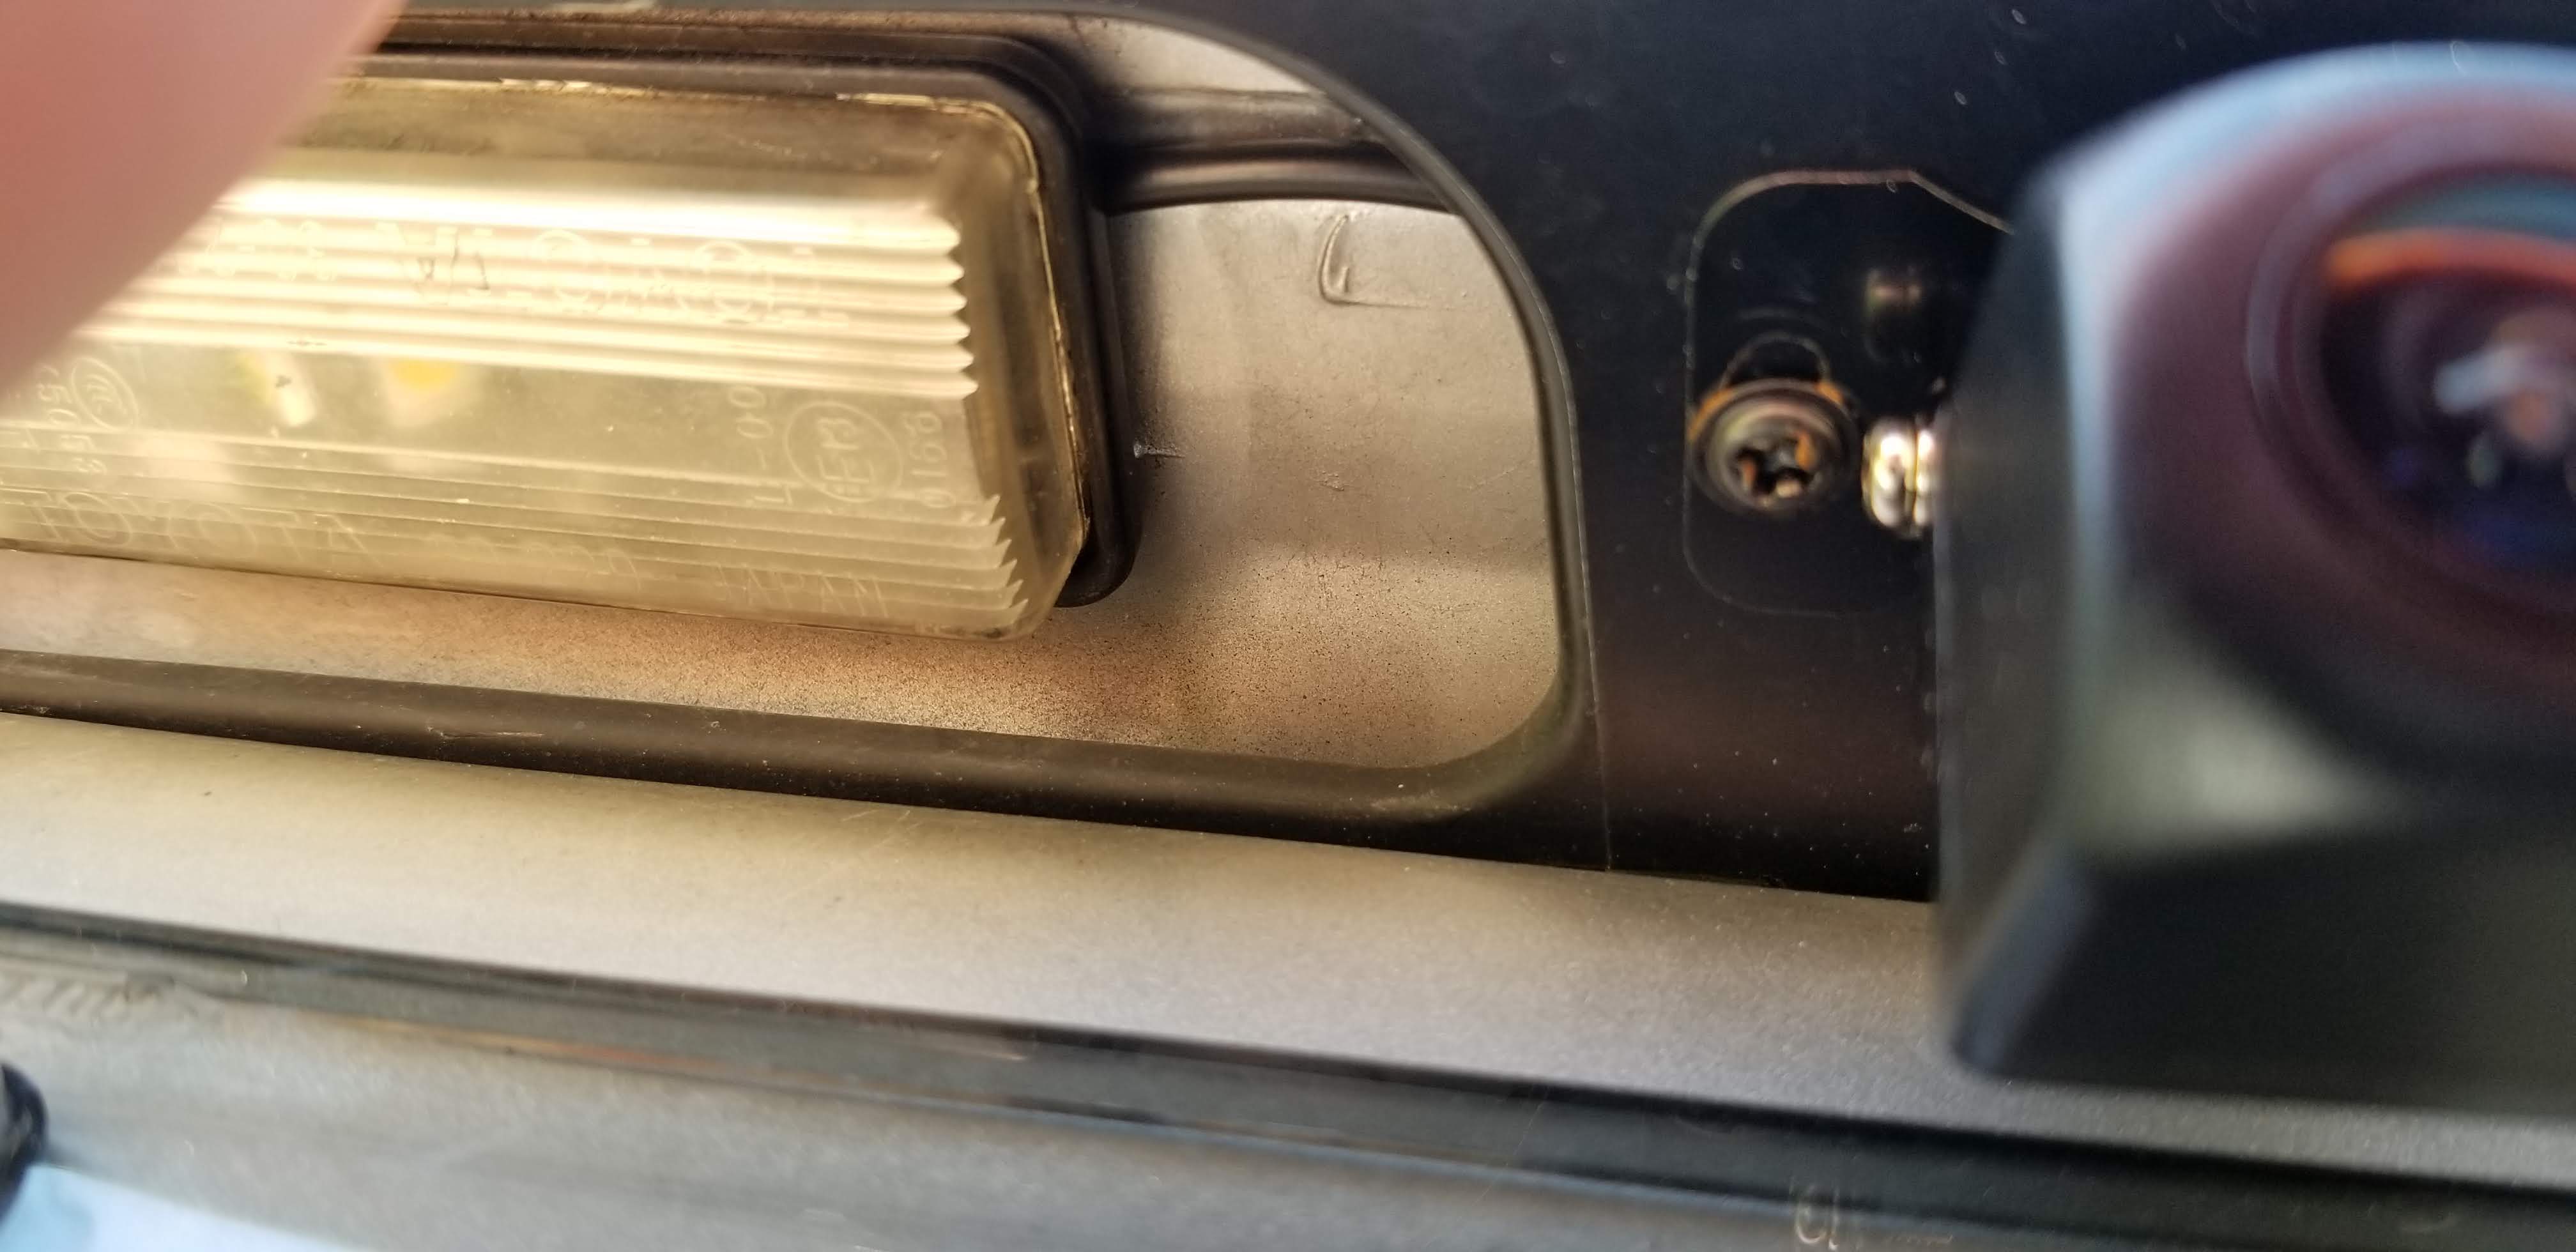
To mount the rear camera, I drilled 2 very small holes in the black plastic part directly above the license plate. I put the 2 camera screw in there with the camera, then ran the wire through where the drivers side license plate light was at. However, then the light wouldn’t stay in its spot, since it had a wire blocking the seal. I drilled out a very small notch into that opening for the light, just big enough for the wire to run through. I placed the wire in there, seen below, then the light would stay.
Finally go into your Android settings and configure the steering wheel controls, so you can control the volume and skip tracks from the steering wheel.
Thoughts
I love the headunit. This was my first car audio install other than replacing speakers. The install was relatively easy, the inside of the car looks much nicer, and the audio is much better than flipping through radio stations or CDs. I have a 2007 GX470, which means it came with an aux port, and that is still functional with this headunit. The only downsides so far are that the screen became slightly unglued in the bottom left, probably because of the Florida heat. Maps are a little tricky, since this headunit is not always on an internet connection. So far, I’ve had success using Google Maps with a large portion downloaded locally onto the Android headunit. Still, this was a great $300 spent.
Apps I recommend
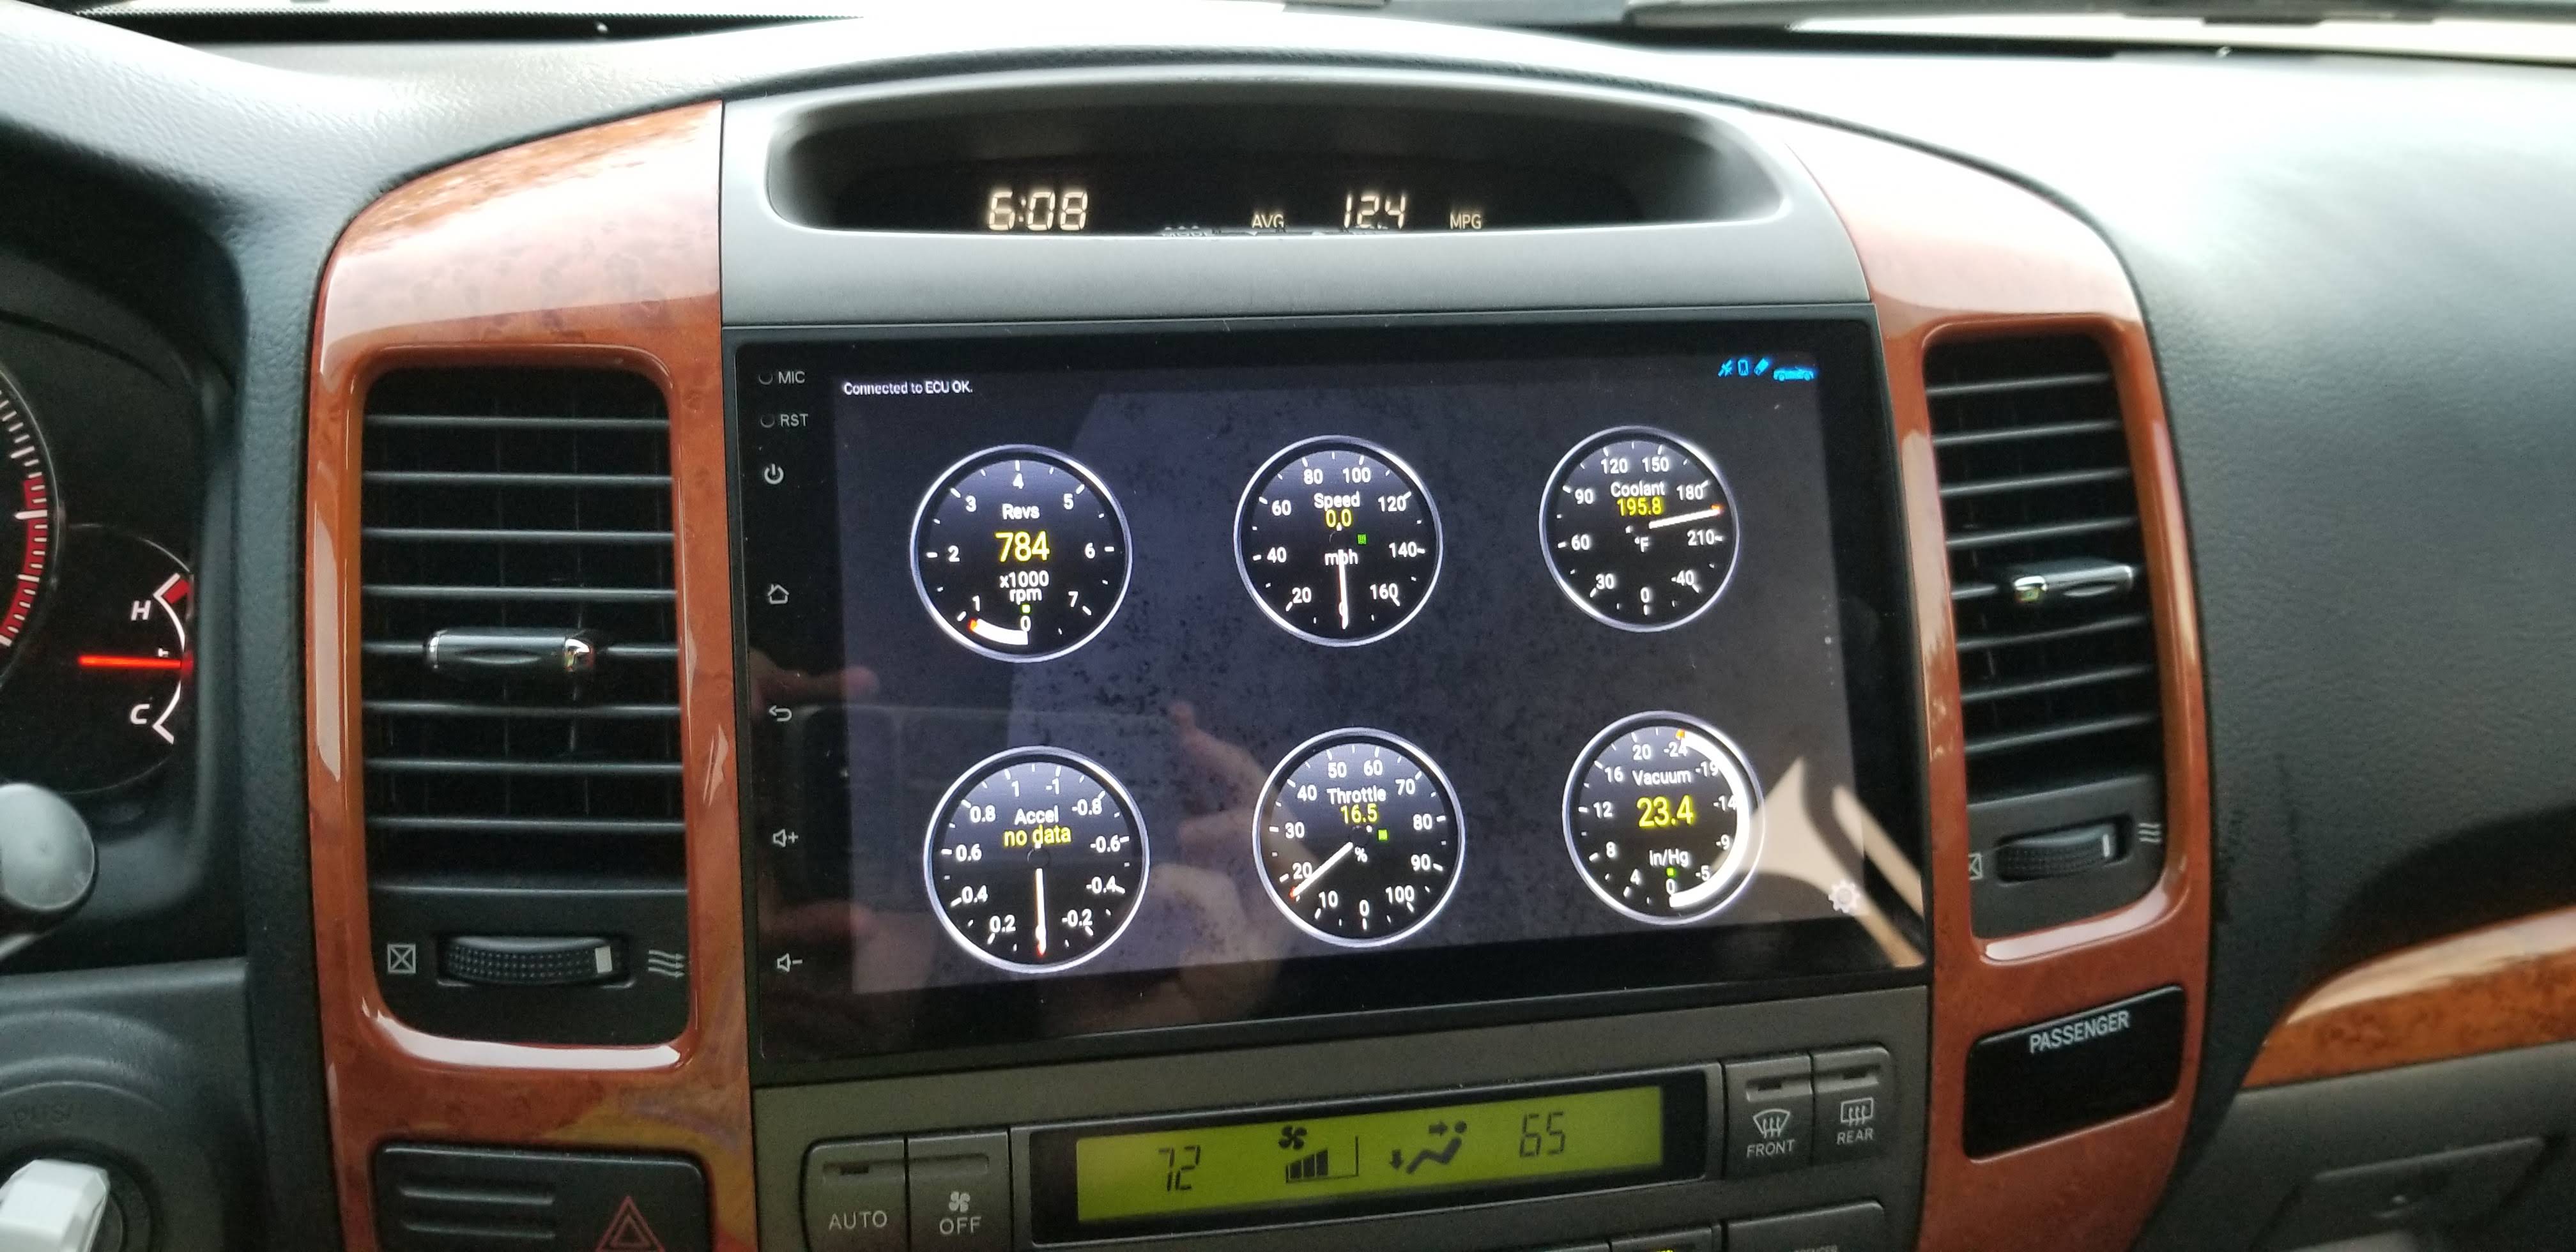
Torque is an awesome app for reading car diagnostics. I bought Torque Pro in 2011, and it has been used very often to read, diagnose, and clear engine codes, as well as get real time statistics from your car. You can connect to Torque using the OBDII interface in your car, and by using a Wifi or Bluetooth OBDII adapter.
AGAMA Launcher is a simple launcher application that makes the Android interface a little more car friendly. The buttons are bigger and you can set the few applications you actually use on your home screen. It works well for me. The layouts are also customizable.
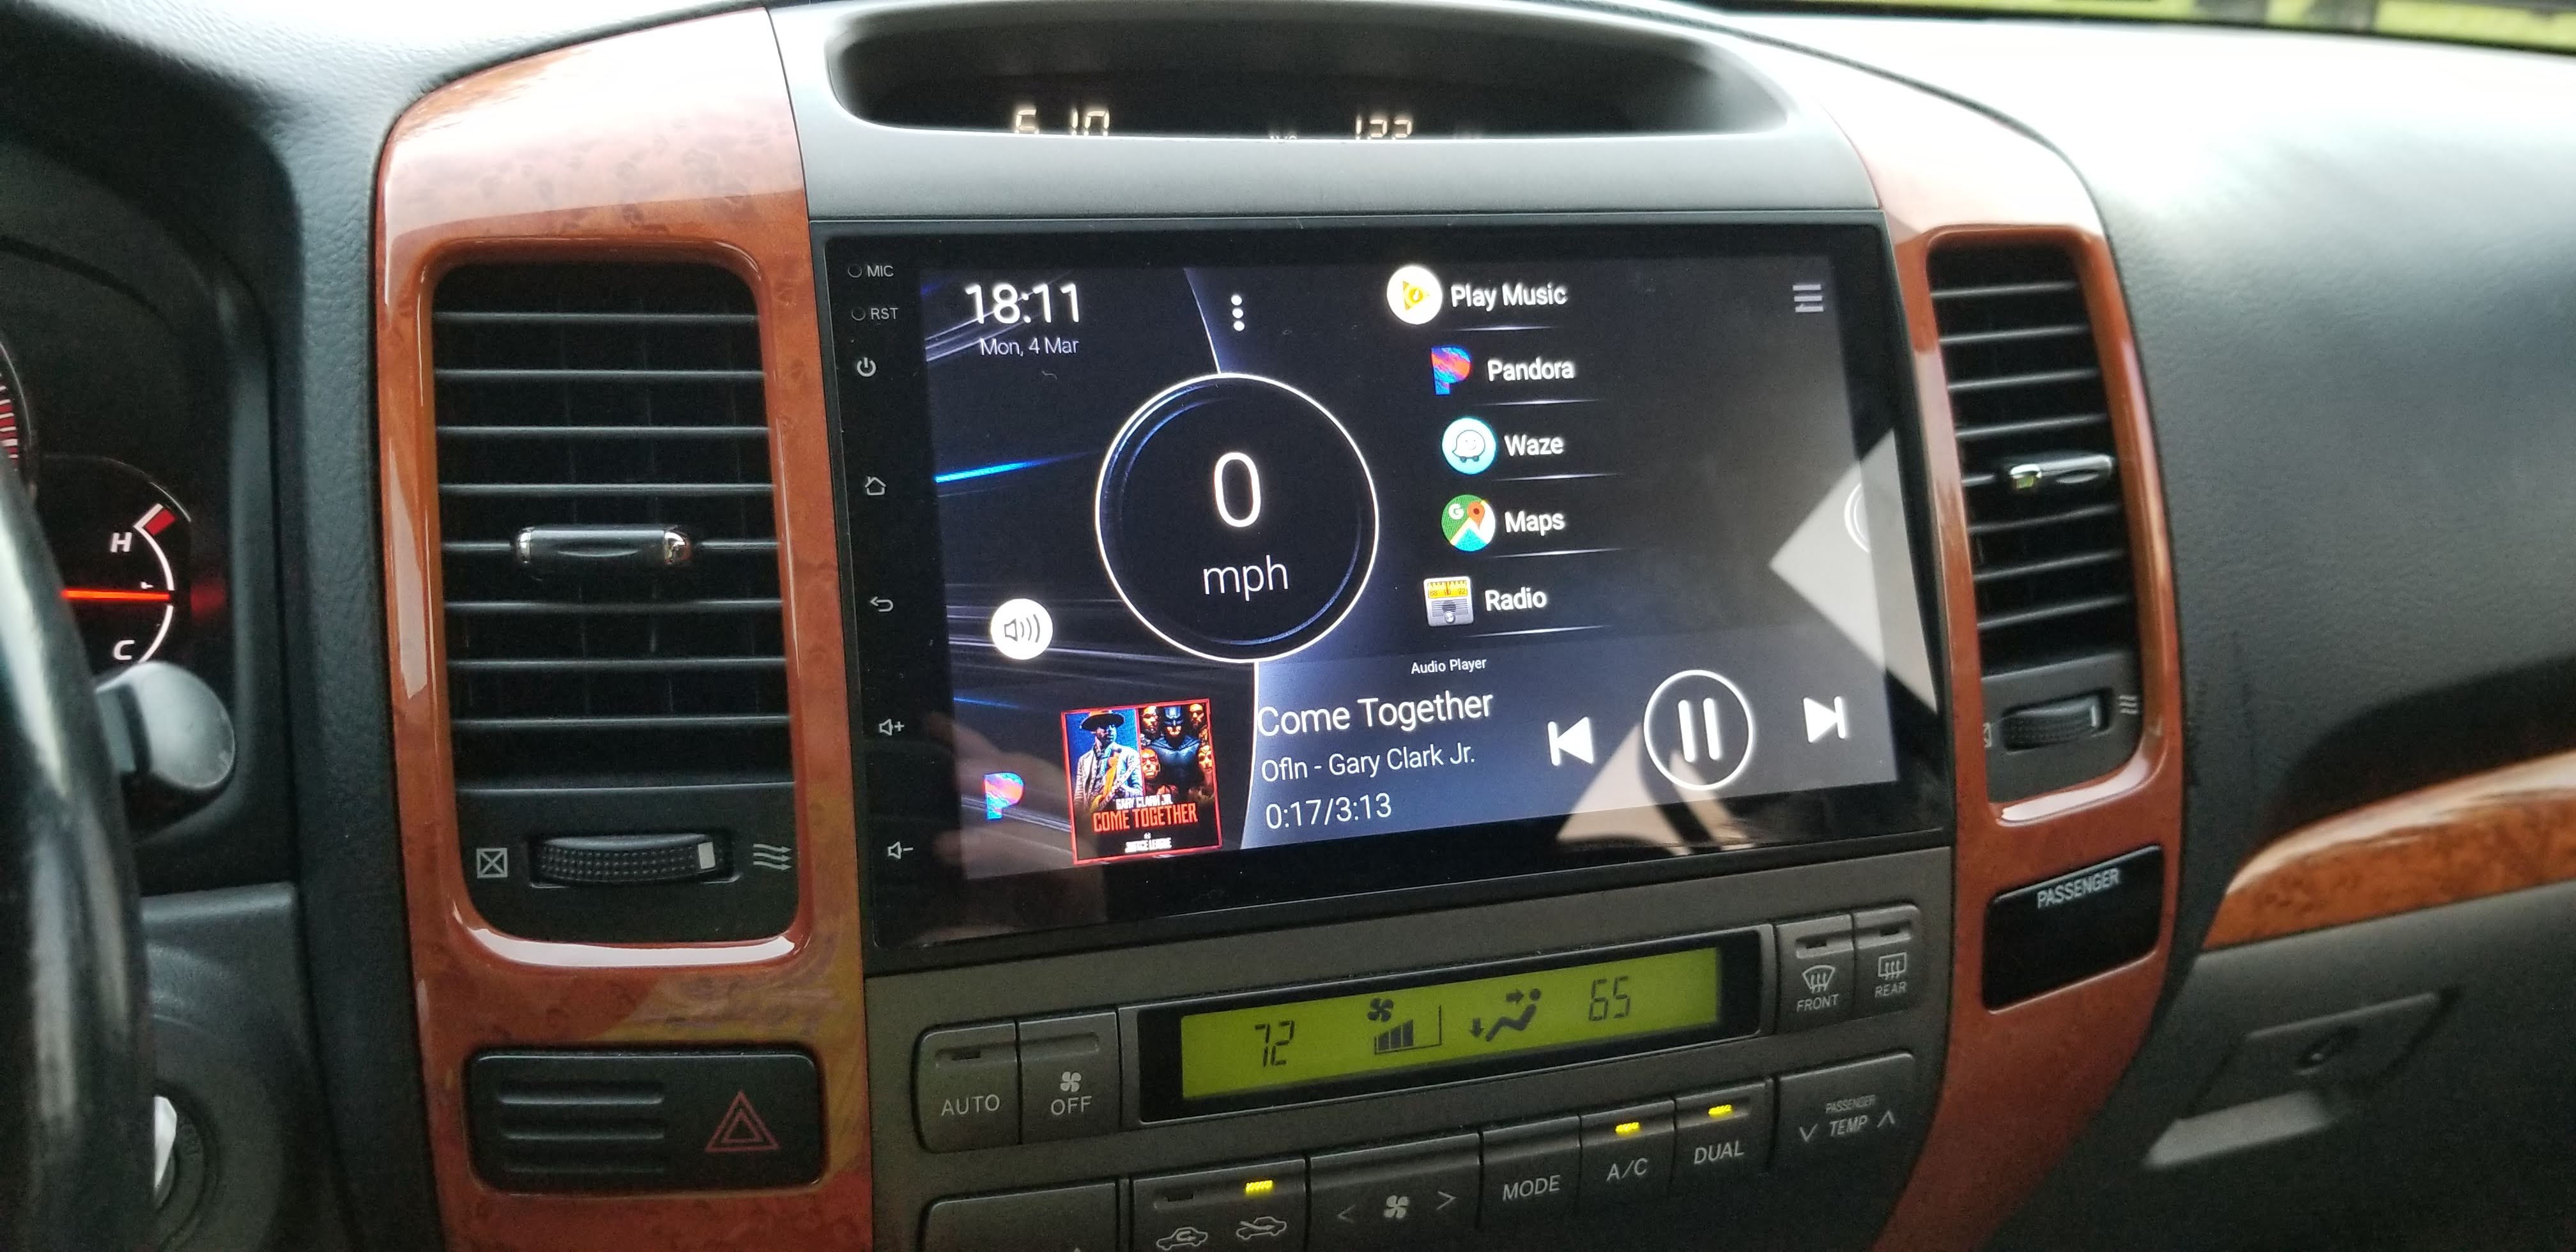
Spotify, Pandora, and Google Play Music can download music and play offline. You can also plug in a USB filled with music into your USB inputs, play music on your phone over Bluetooth, or Wifi tether to your headunit and let the headunit stream the audio while online.
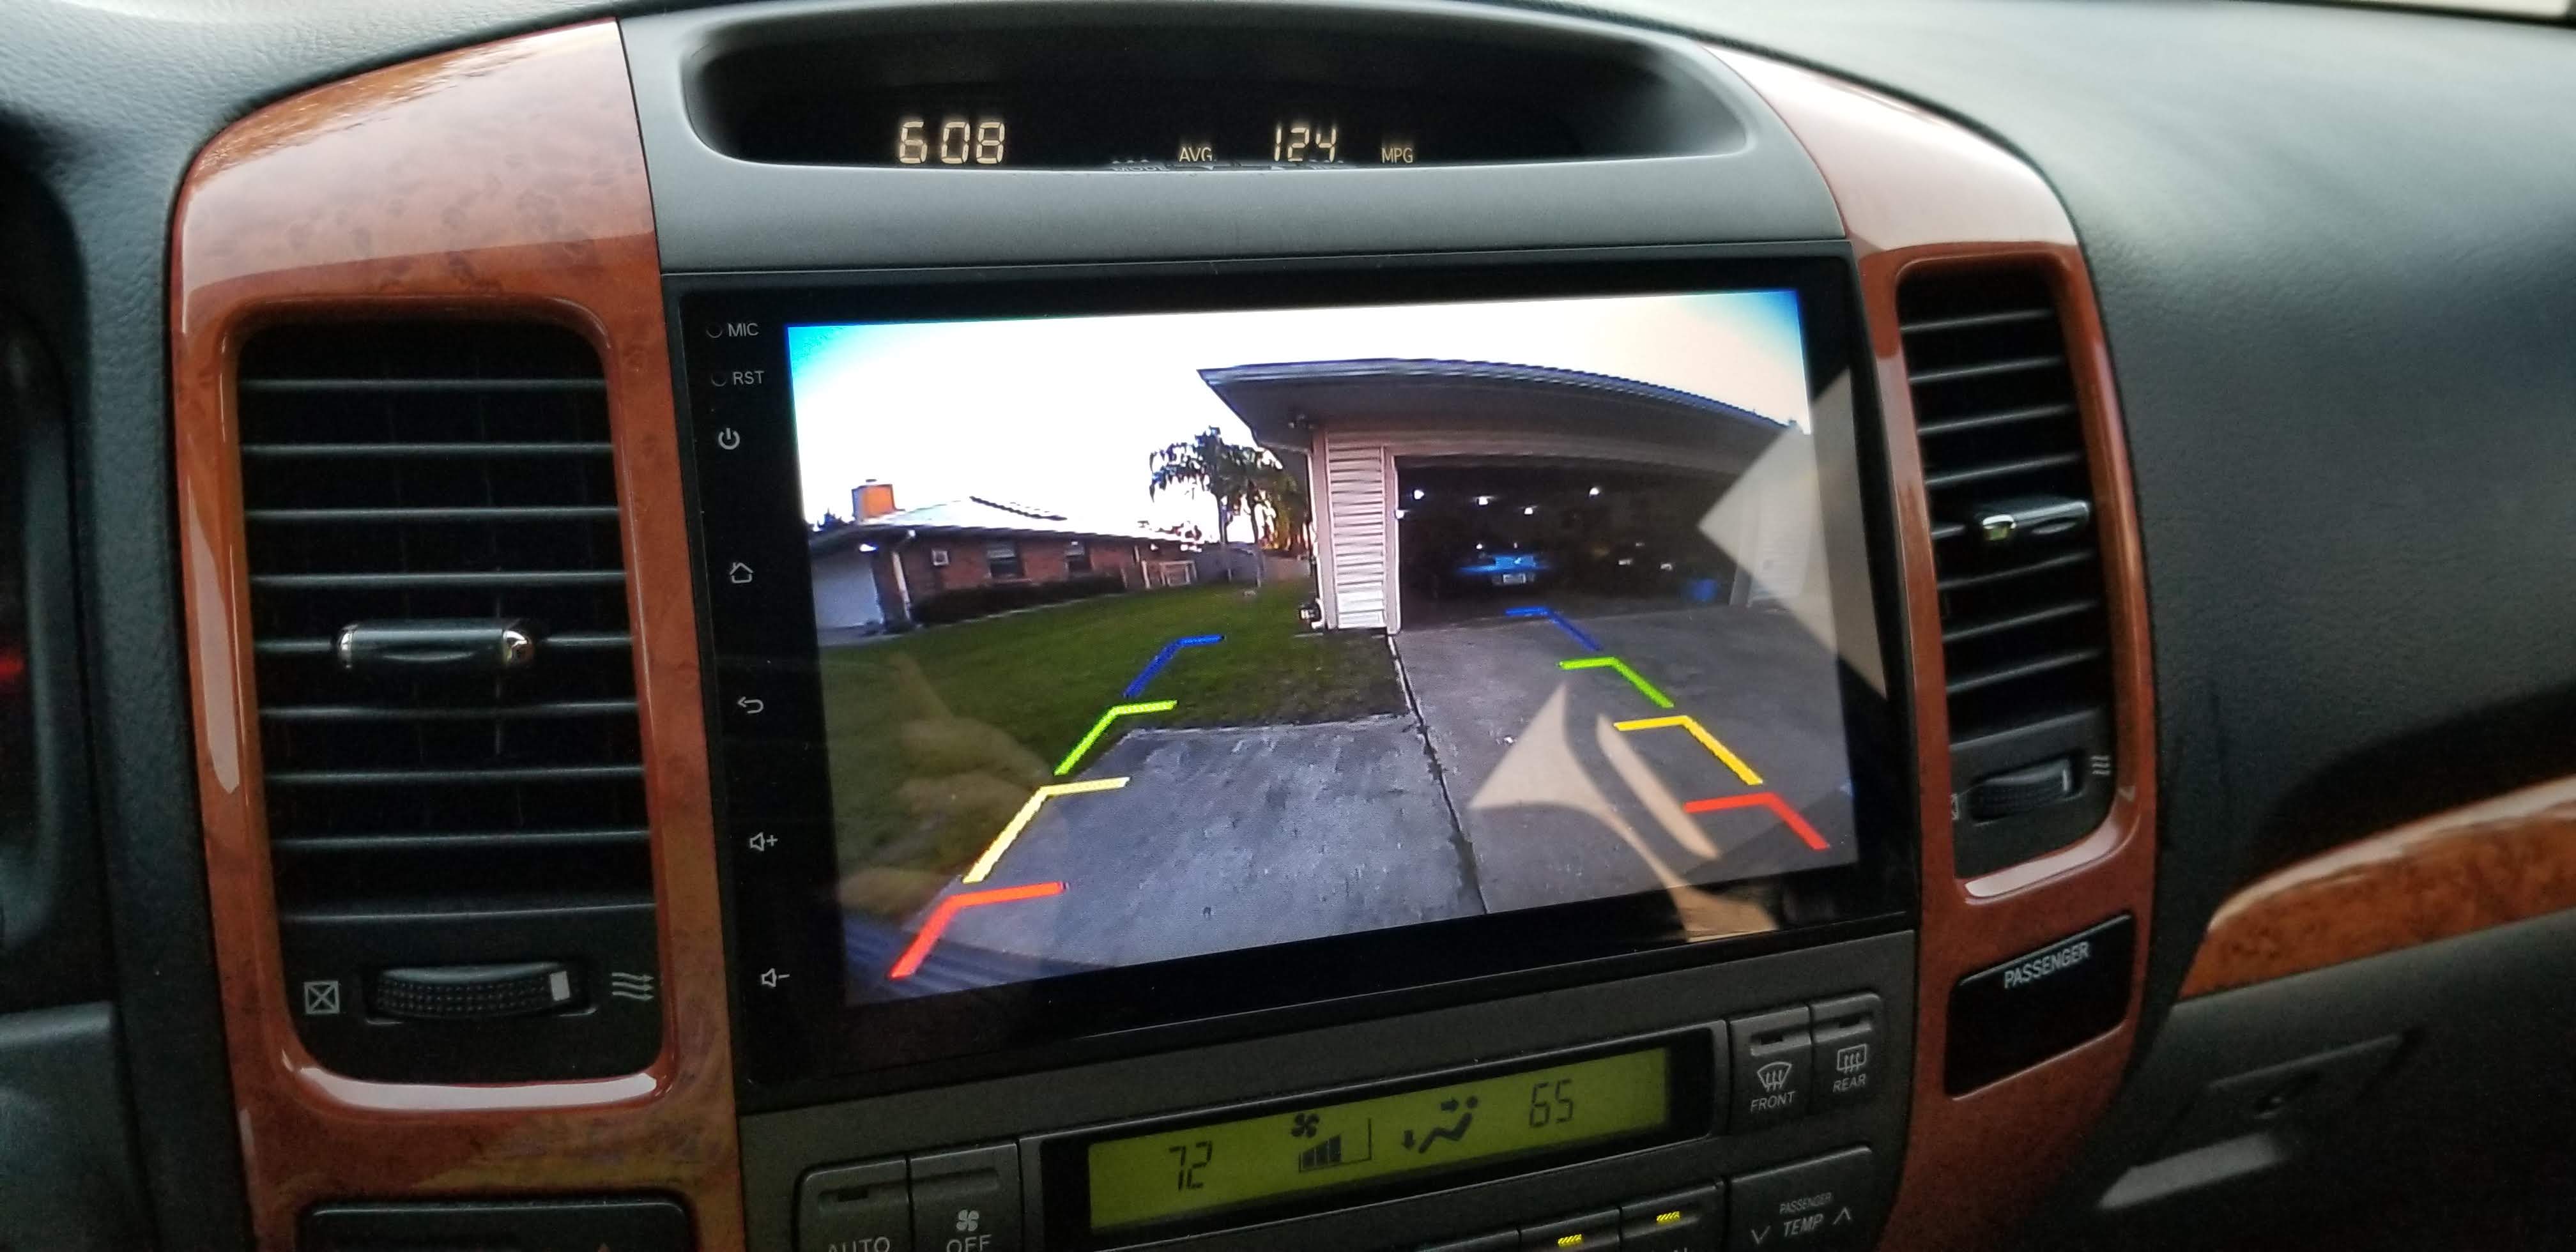
The backup camera is great so far. I think every large car should have one, and this one works especially well with the reverse lights I have. This camera also has the backup lines built in to the camera feed, so you don’t have to enable them in the Android settings
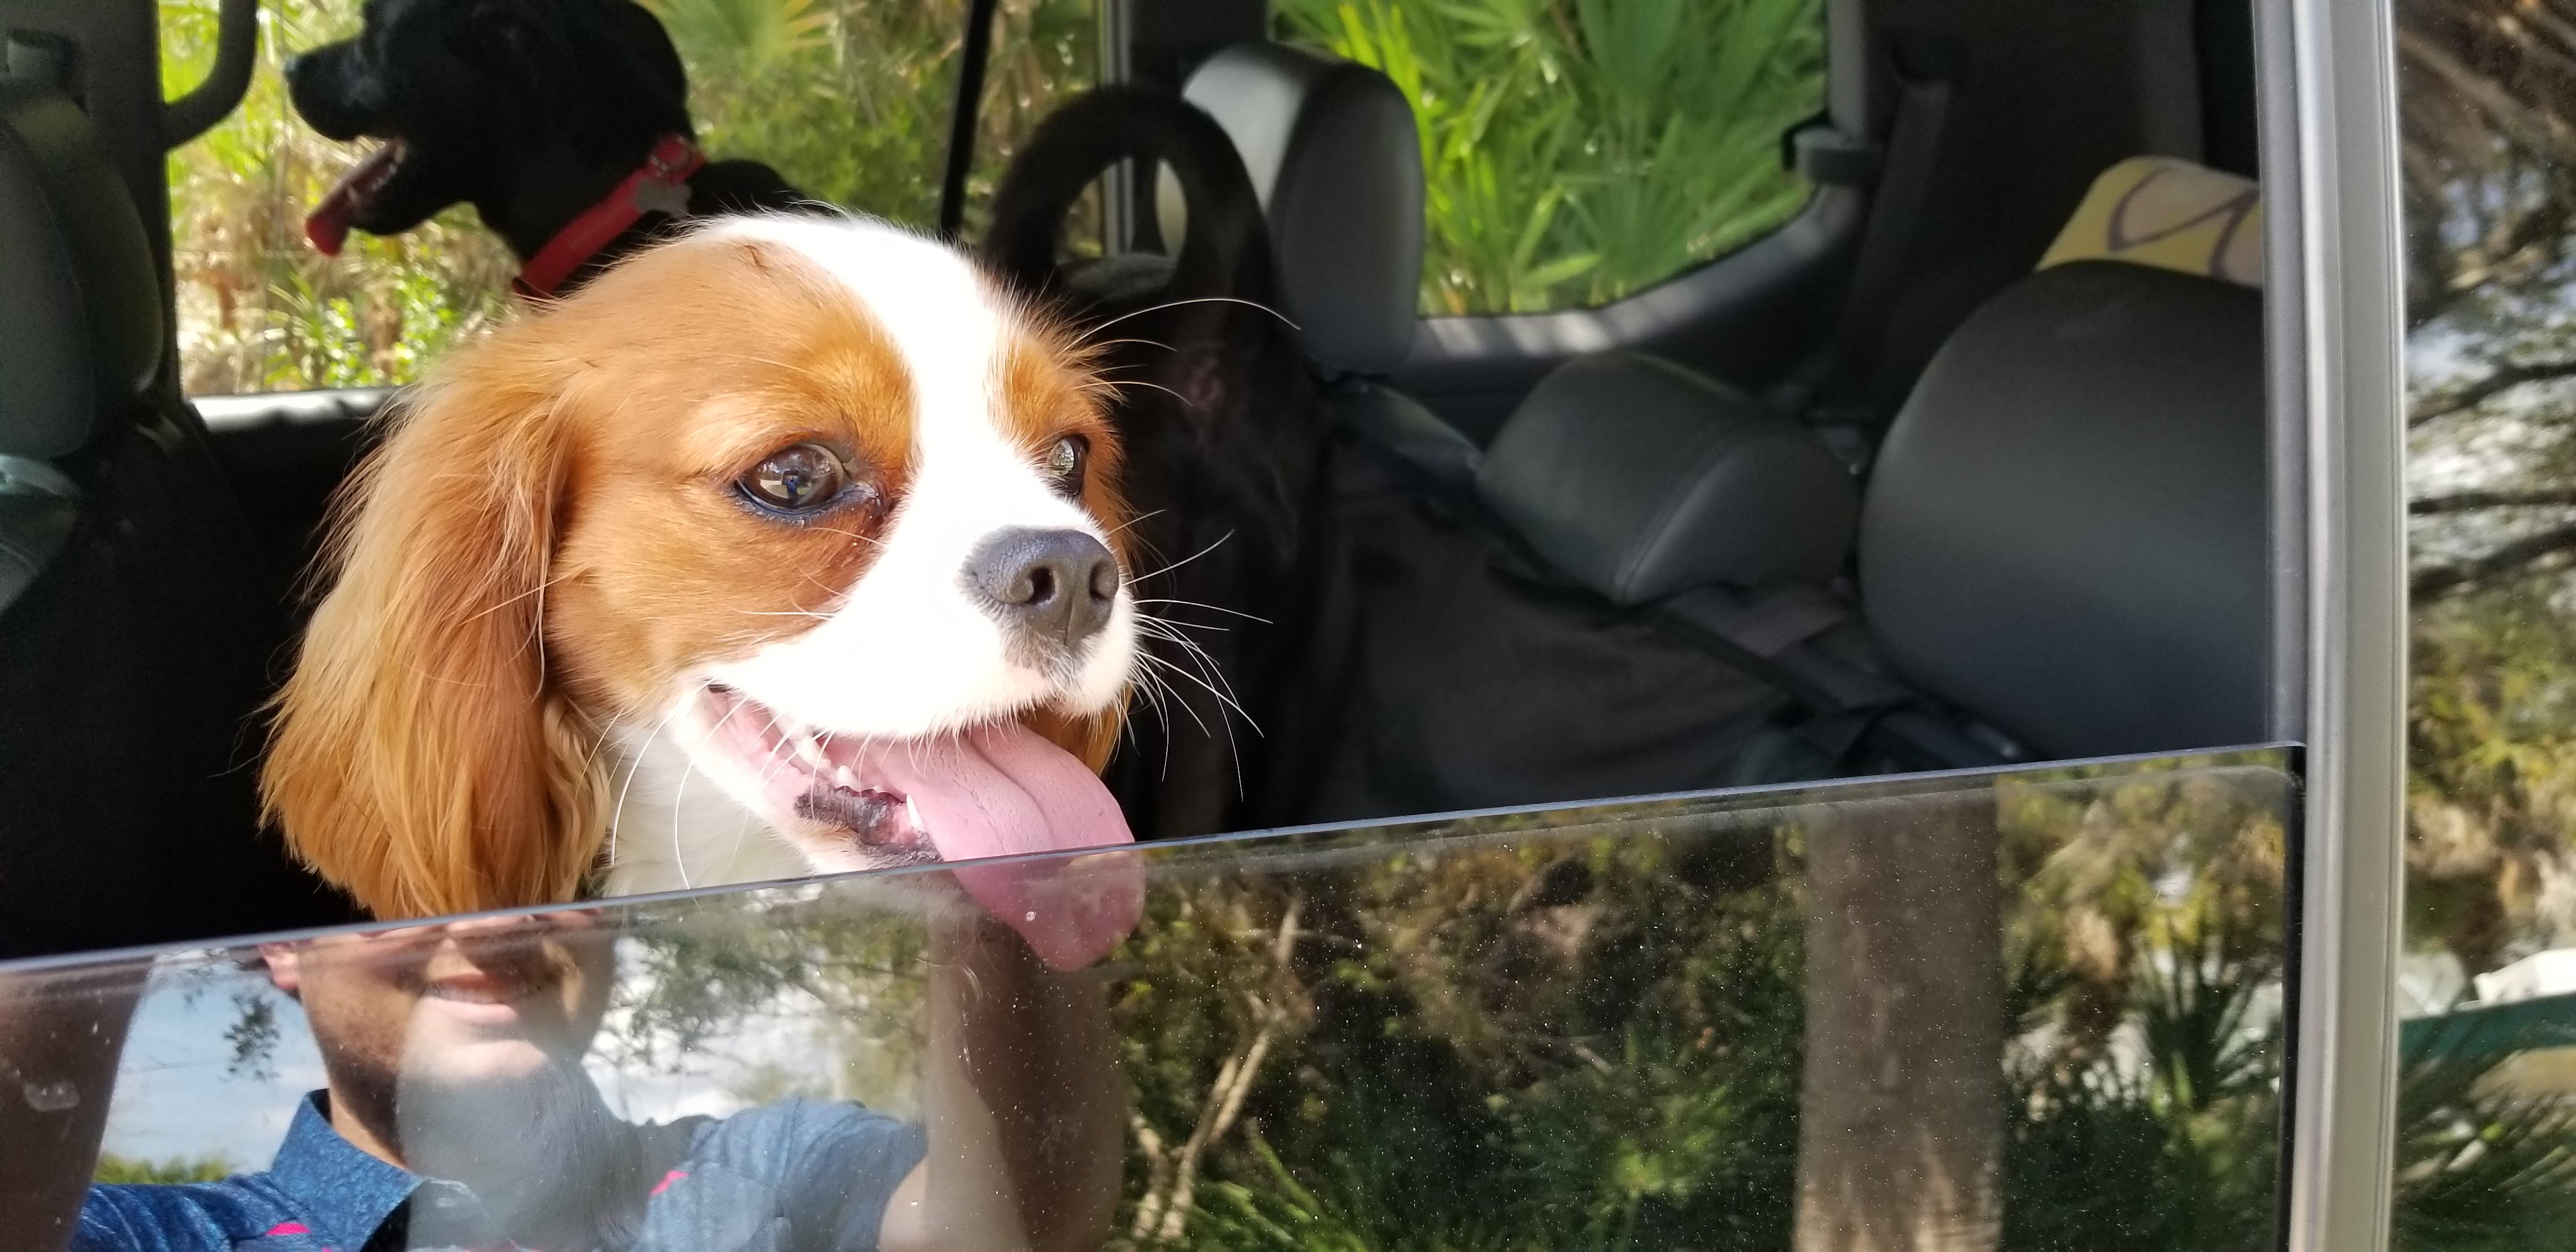
Plus the dogs love it.