Pool Enclosure Replacement
I had a pool enclosure on my house, it was likely built along with the pool in the 80s or 90s. These enclosures are common to have over Florida pools to keep leaves and bugs out. Some people call them screen, cages, bird cages, enclosures, etc. I had a few screen panels blown out in 2016 during Hurricane Matthew, and the guy who replaced them said I’d be lucky if my enclosure lasted 5 more years. It lasted 1.
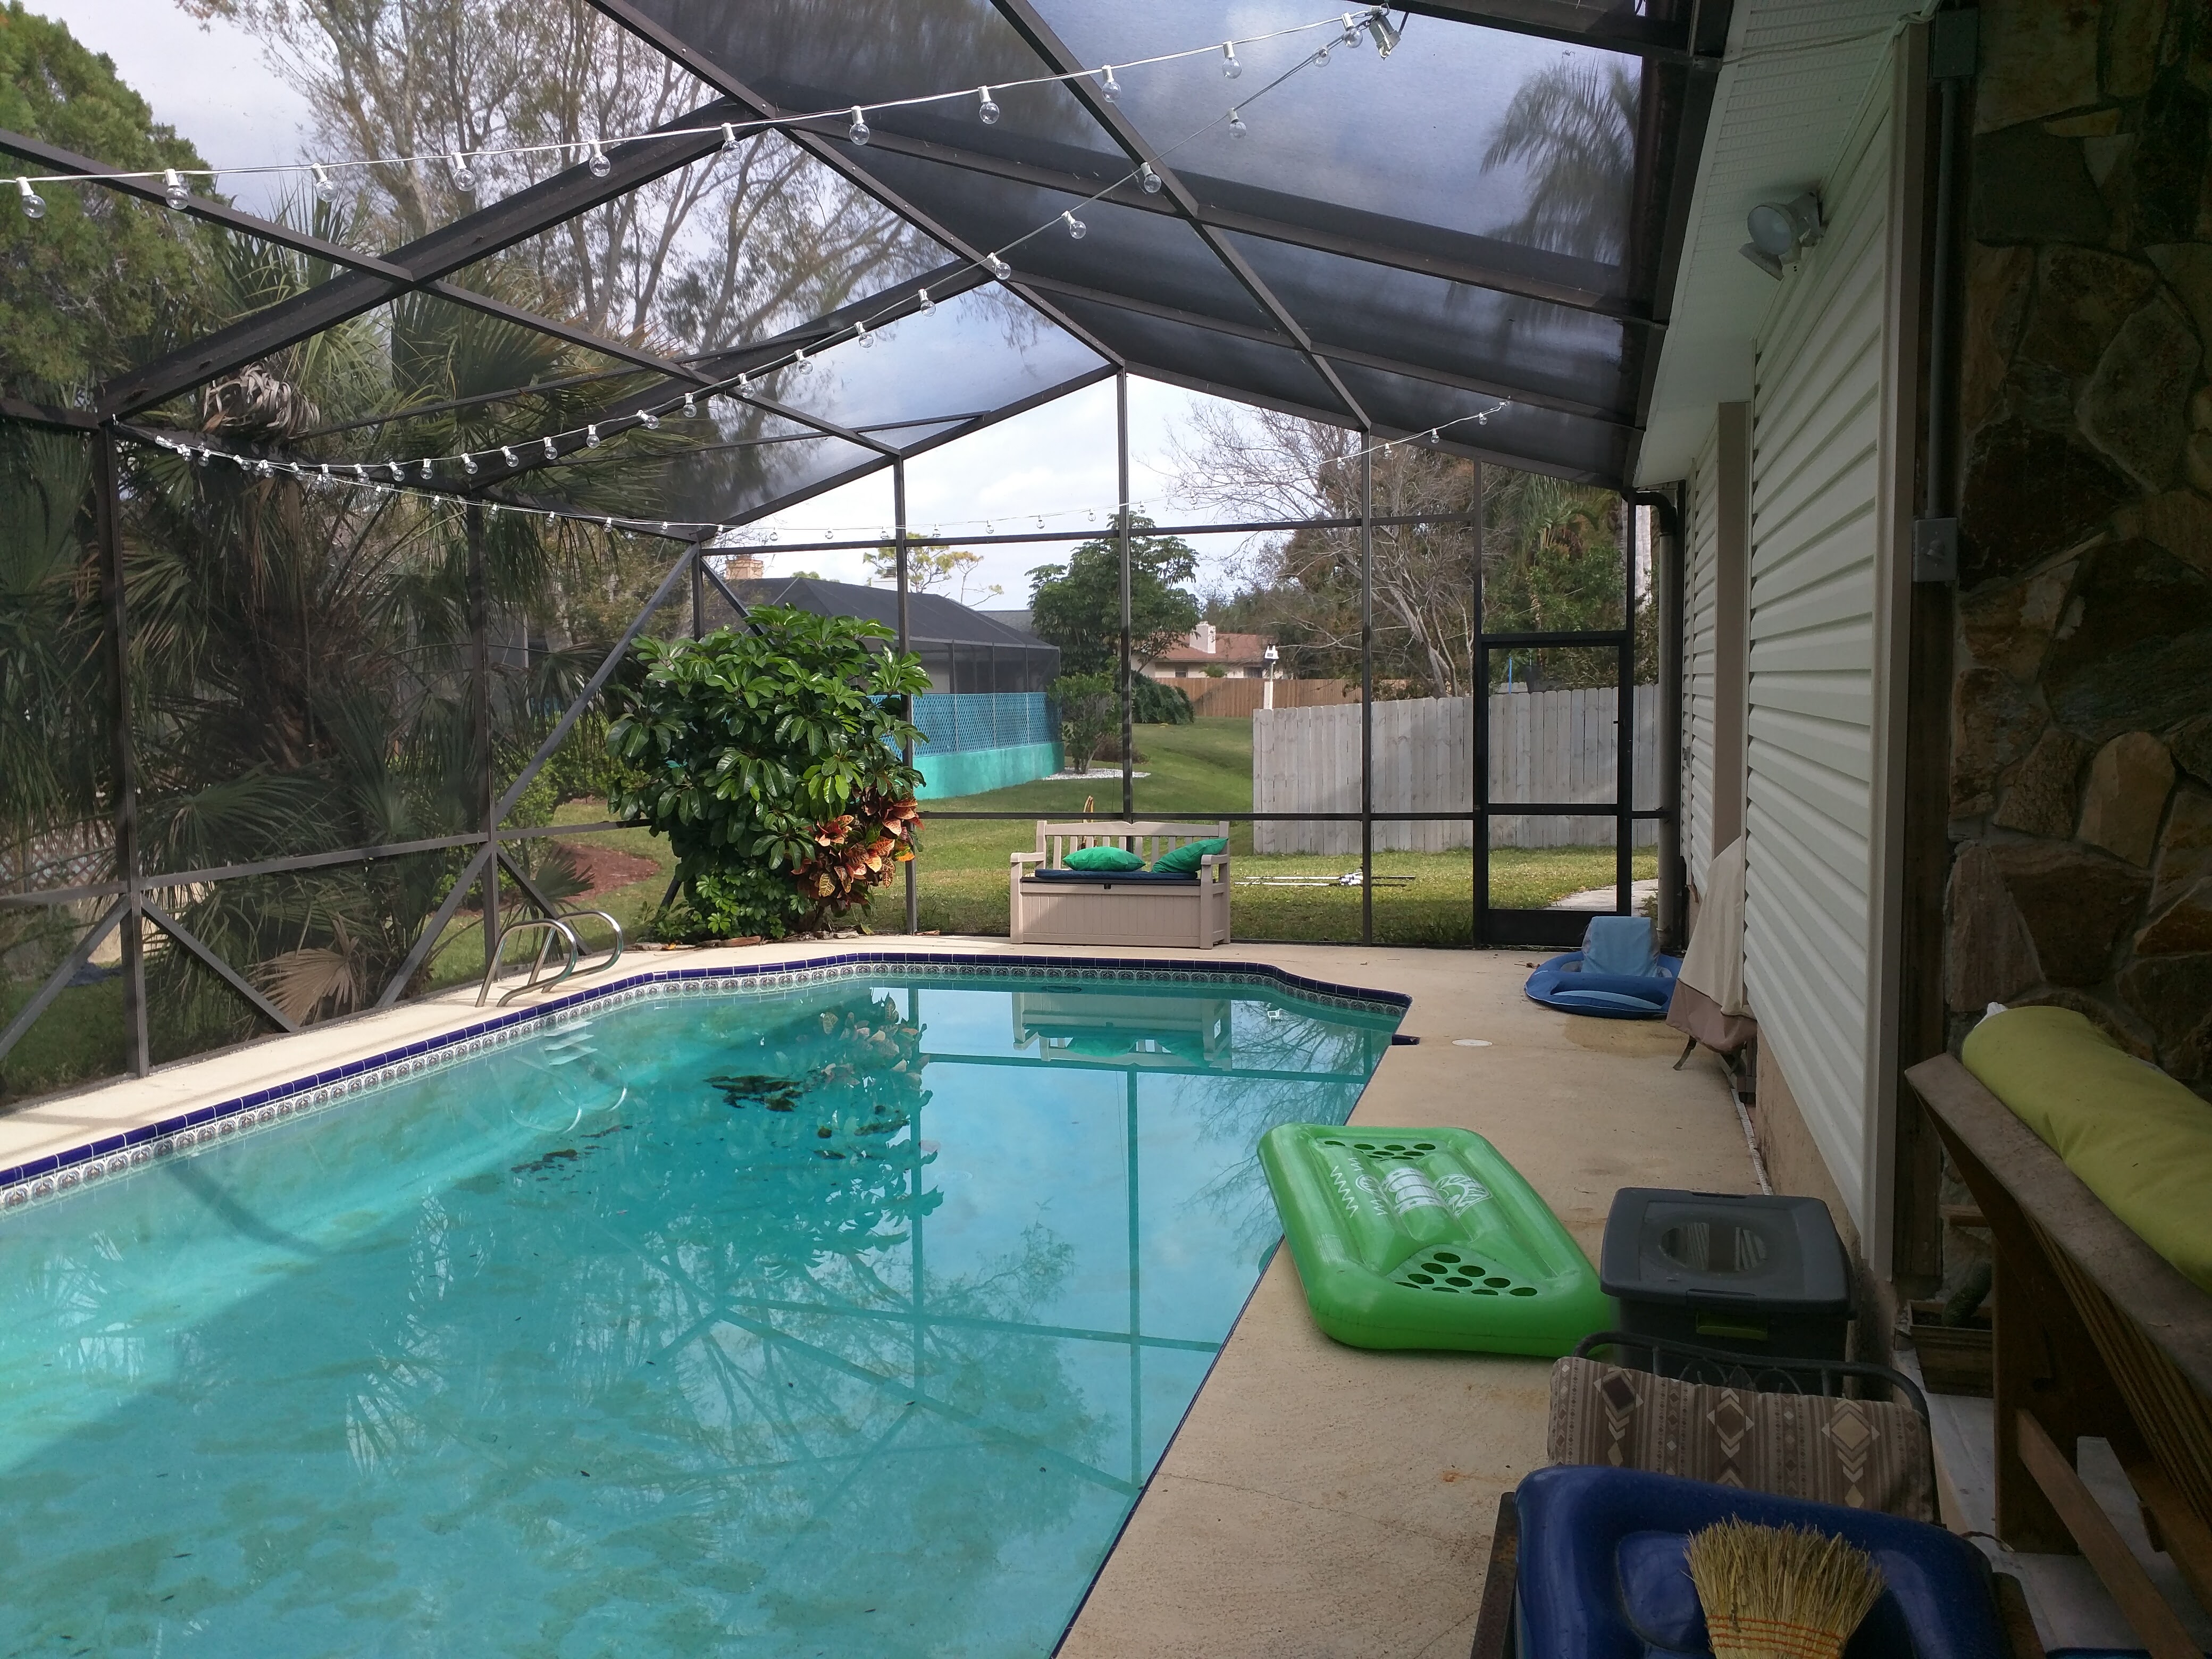
My old pool enclosure.
After Irma destoryed that enclosure.
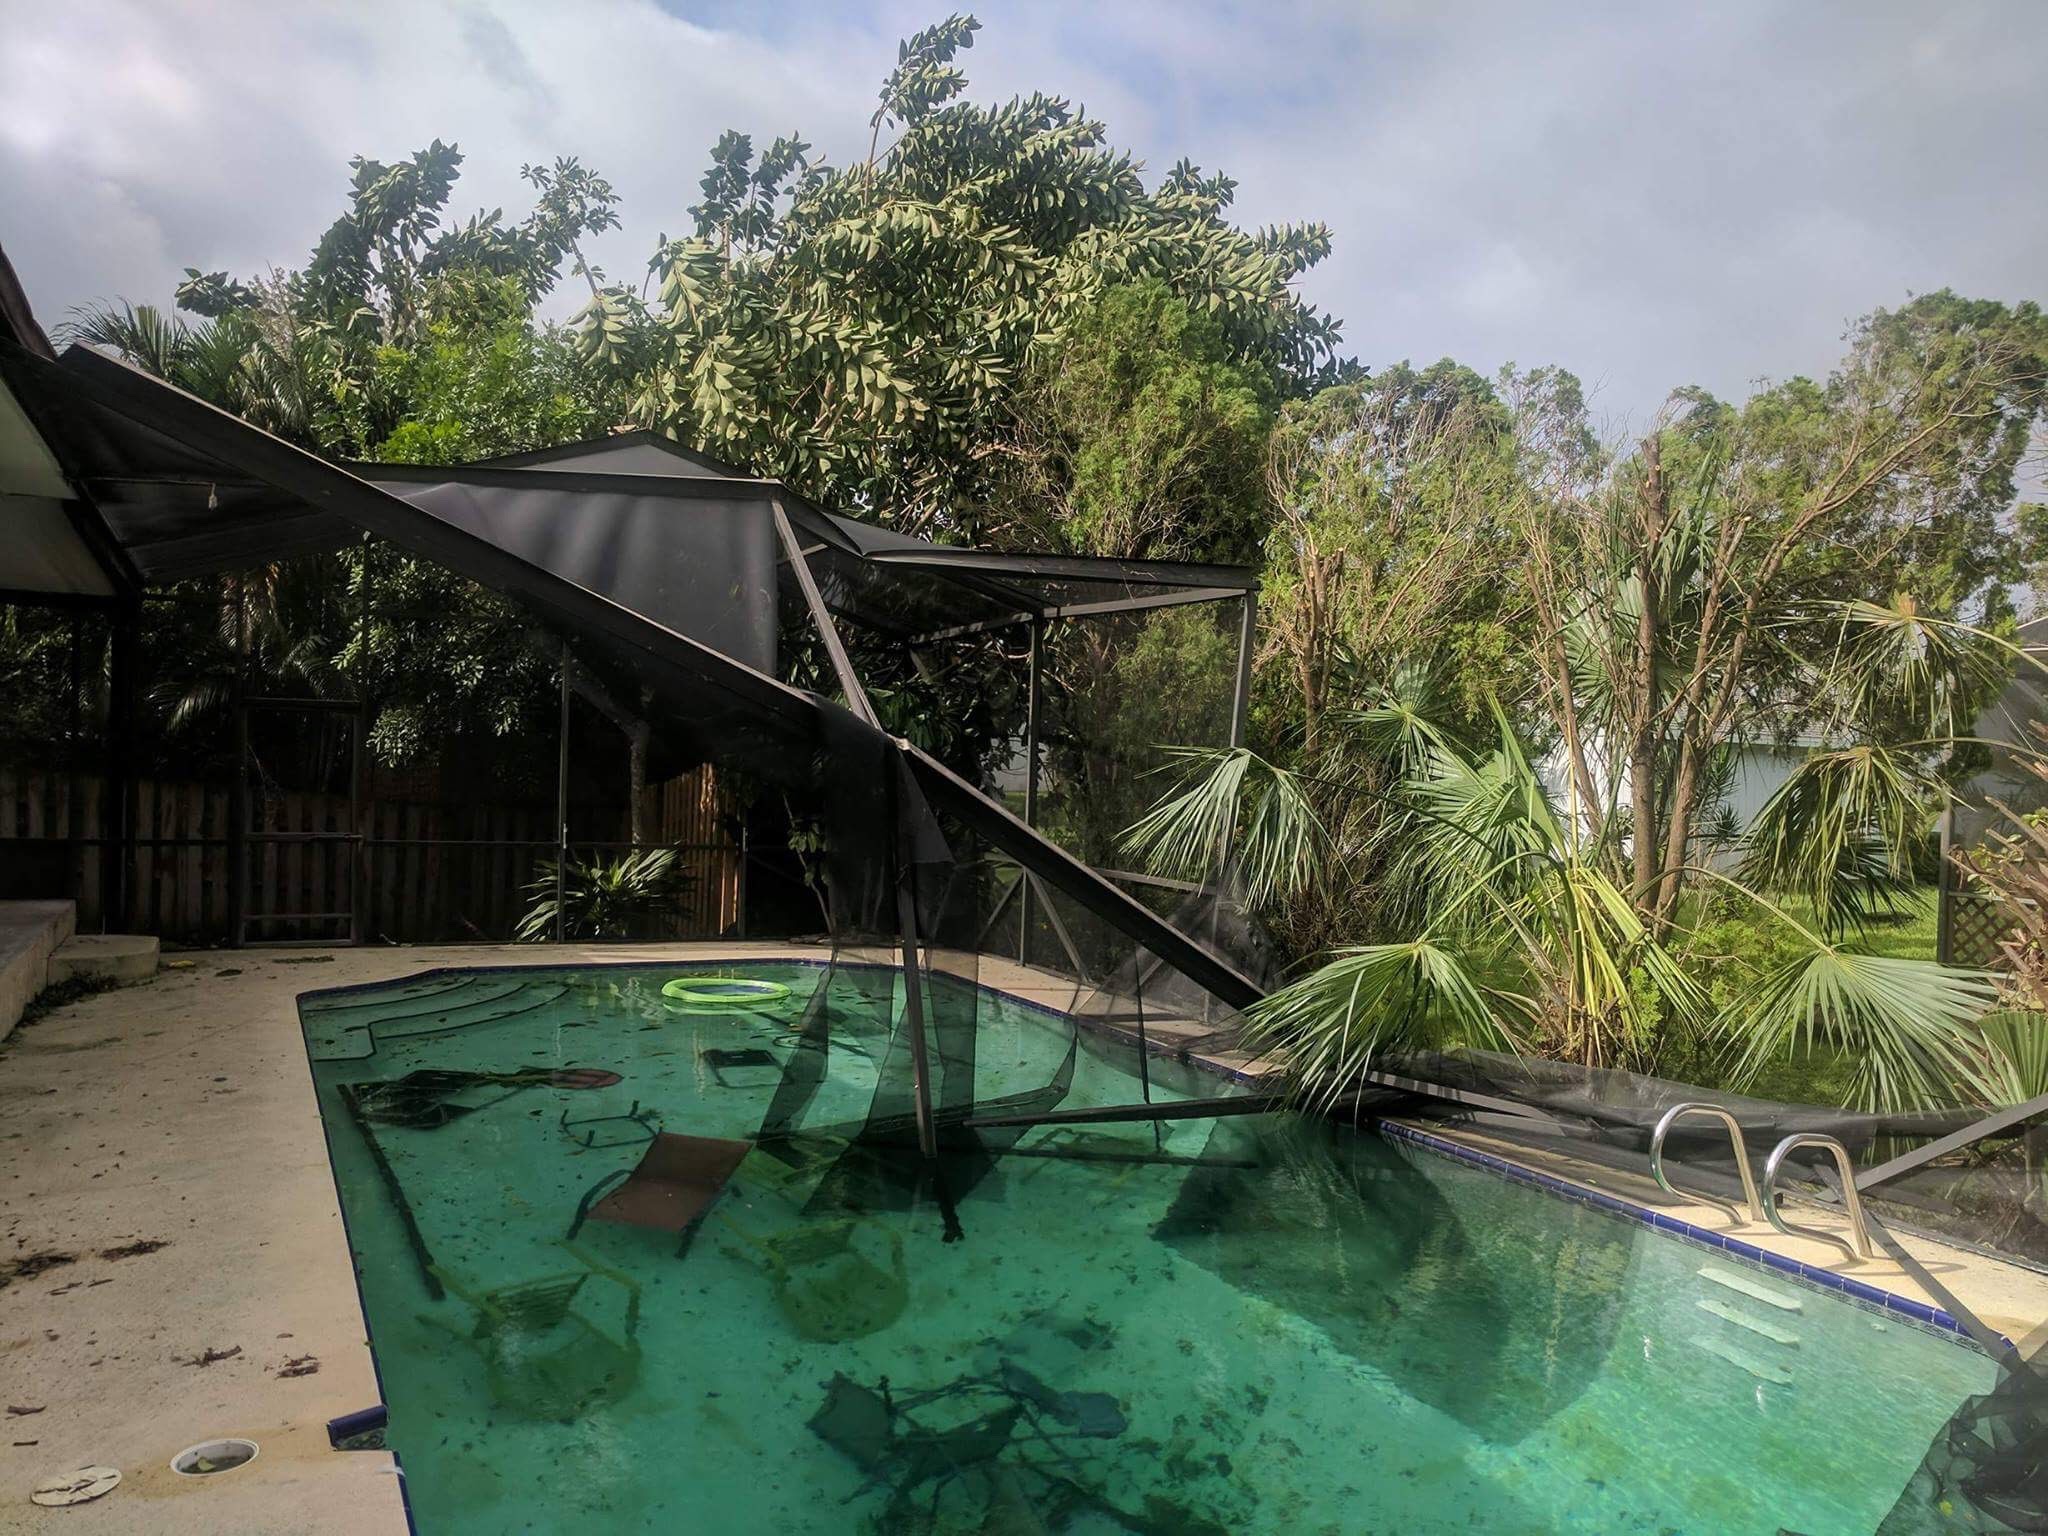
Hurricane Irma destroyed my original enclosure in September 2017. I got 4 quotes to replace the enclosure, along with a few screen on my front porch. I finally got an insurance check for about $9,000 in January 2018, and then got 4 quotes. The quotes were:
- $14,242 with a 6 month lead time. 100% down.
- $11,940 with a 4 month lead time. 10% down, 90% due at completion.
- $9,985 with a 4 month lead time. 60% down, 40% due at completion.
- $10,685 with a 3 month lead time. 0% down, 100% due at completion.
I went with the 4th company, Palm Bay Aluminum, even though they weren’t the cheapest. The cheapest required 60% of the cost up front, but Palm Bay Aluminum asked for 0% down and 100% at completion. Leaving my money invested for those 4 months earned me about $200 interest anyways, so the price difference was about $500 after factoring that in. Not having to carry the risk of some aluminum company having lots of my money before even starting a project was worth it for me!
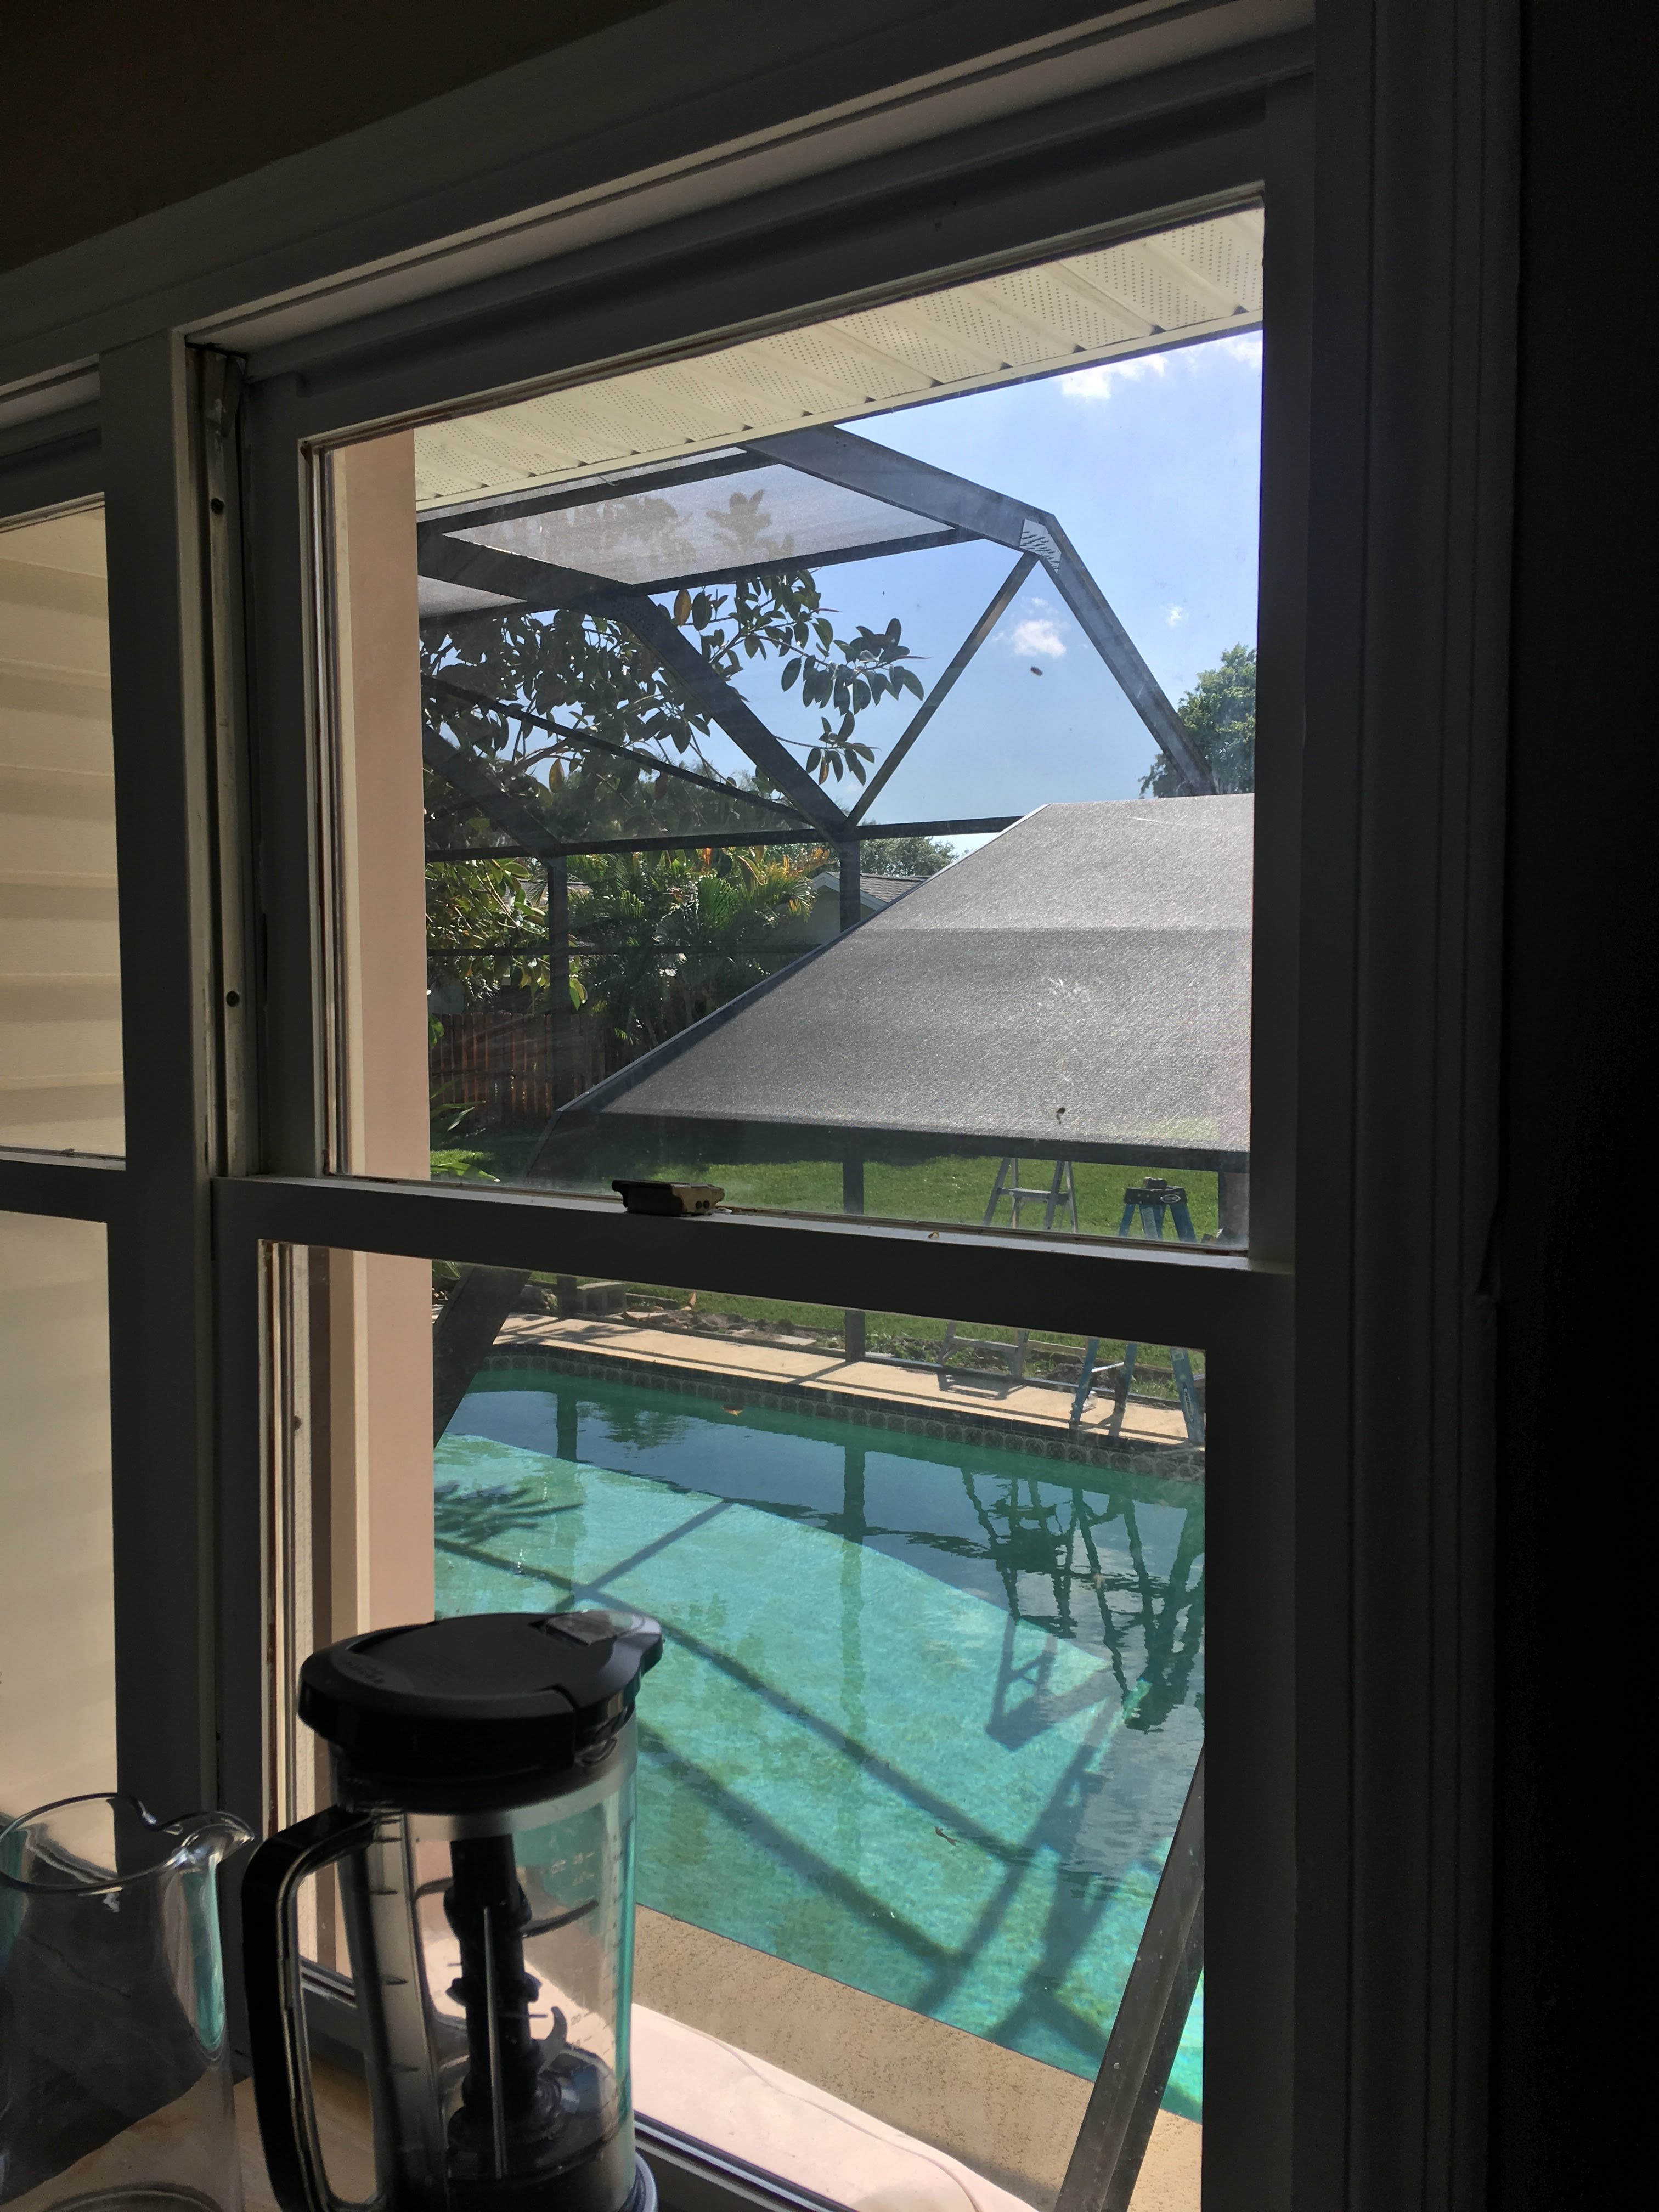
My screen was started on April 17 and took about 4 days to finish the install. The front screens were completed shortly after, and the permit signed off and inspected on May 4, 2018. Until the screen was started, I had this chicken wire fence around the pool, to keep the dogs in and because it is a law to have some sort of fence around your pool. It looked terrible.

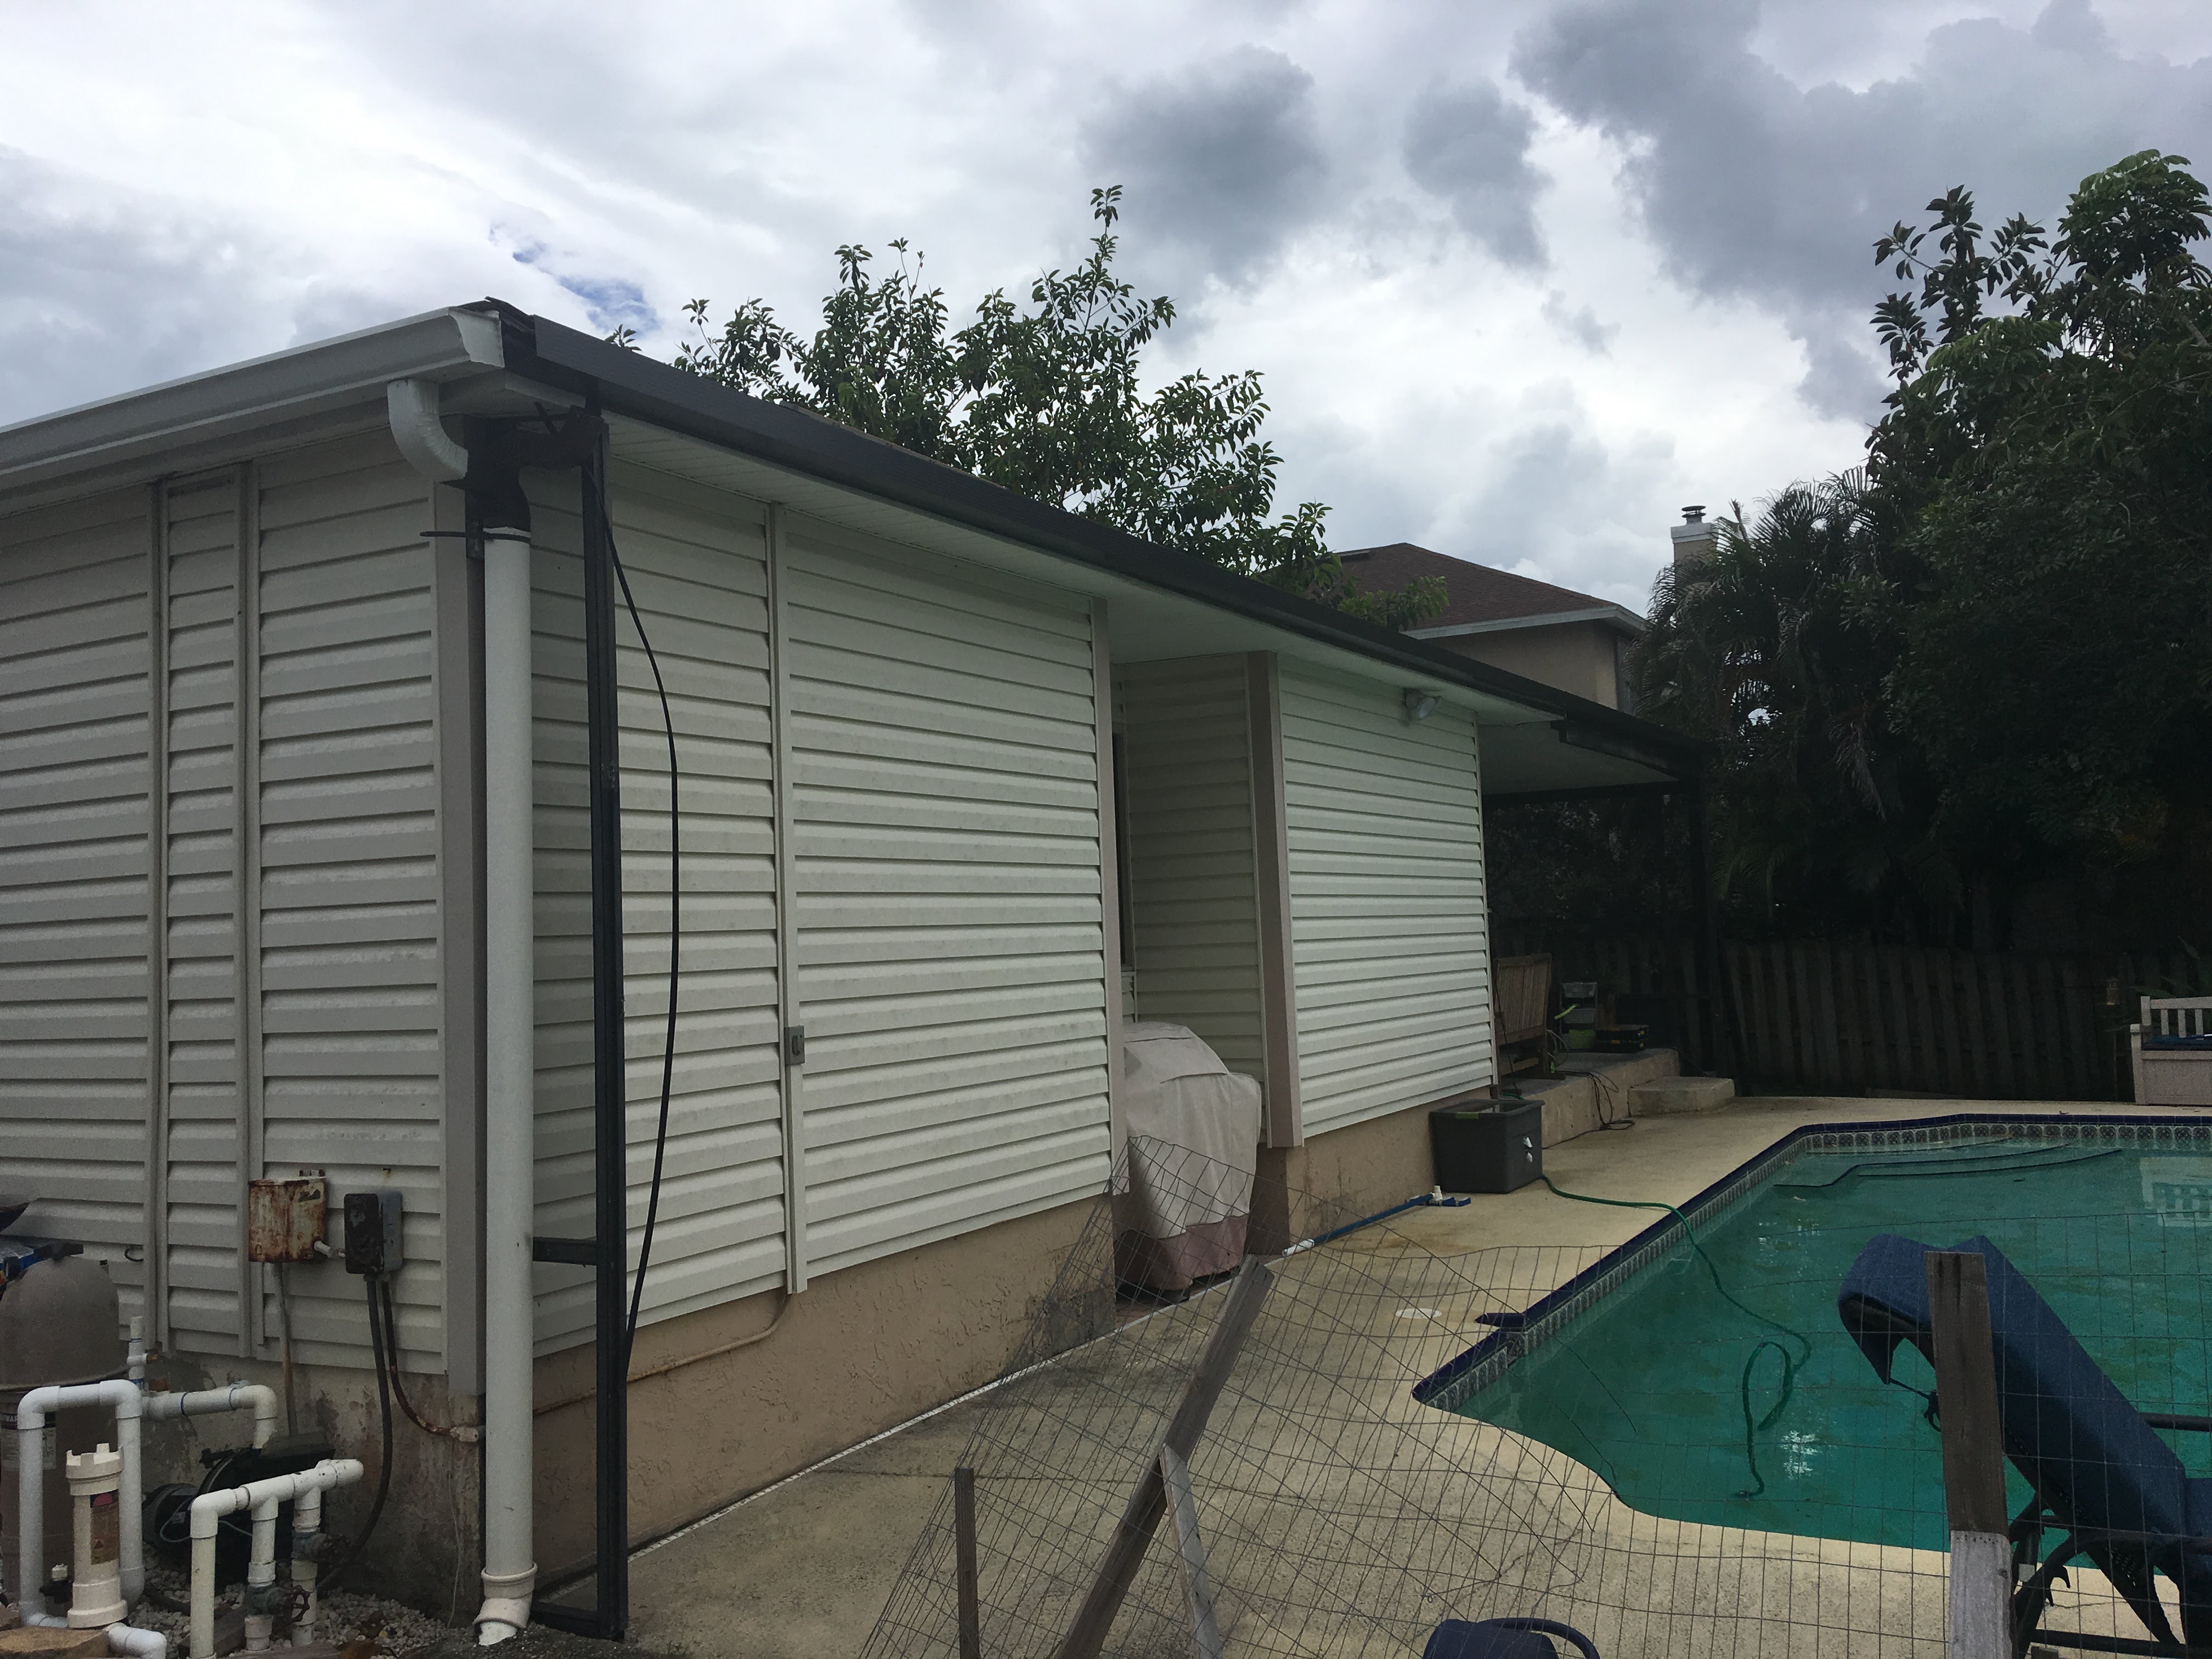
Palm Bay Aluminum started by removing the old gutter and prepping the existing metal roof area for attachments. They ended up adding a 3” beam of aluminum for better structural integrity.

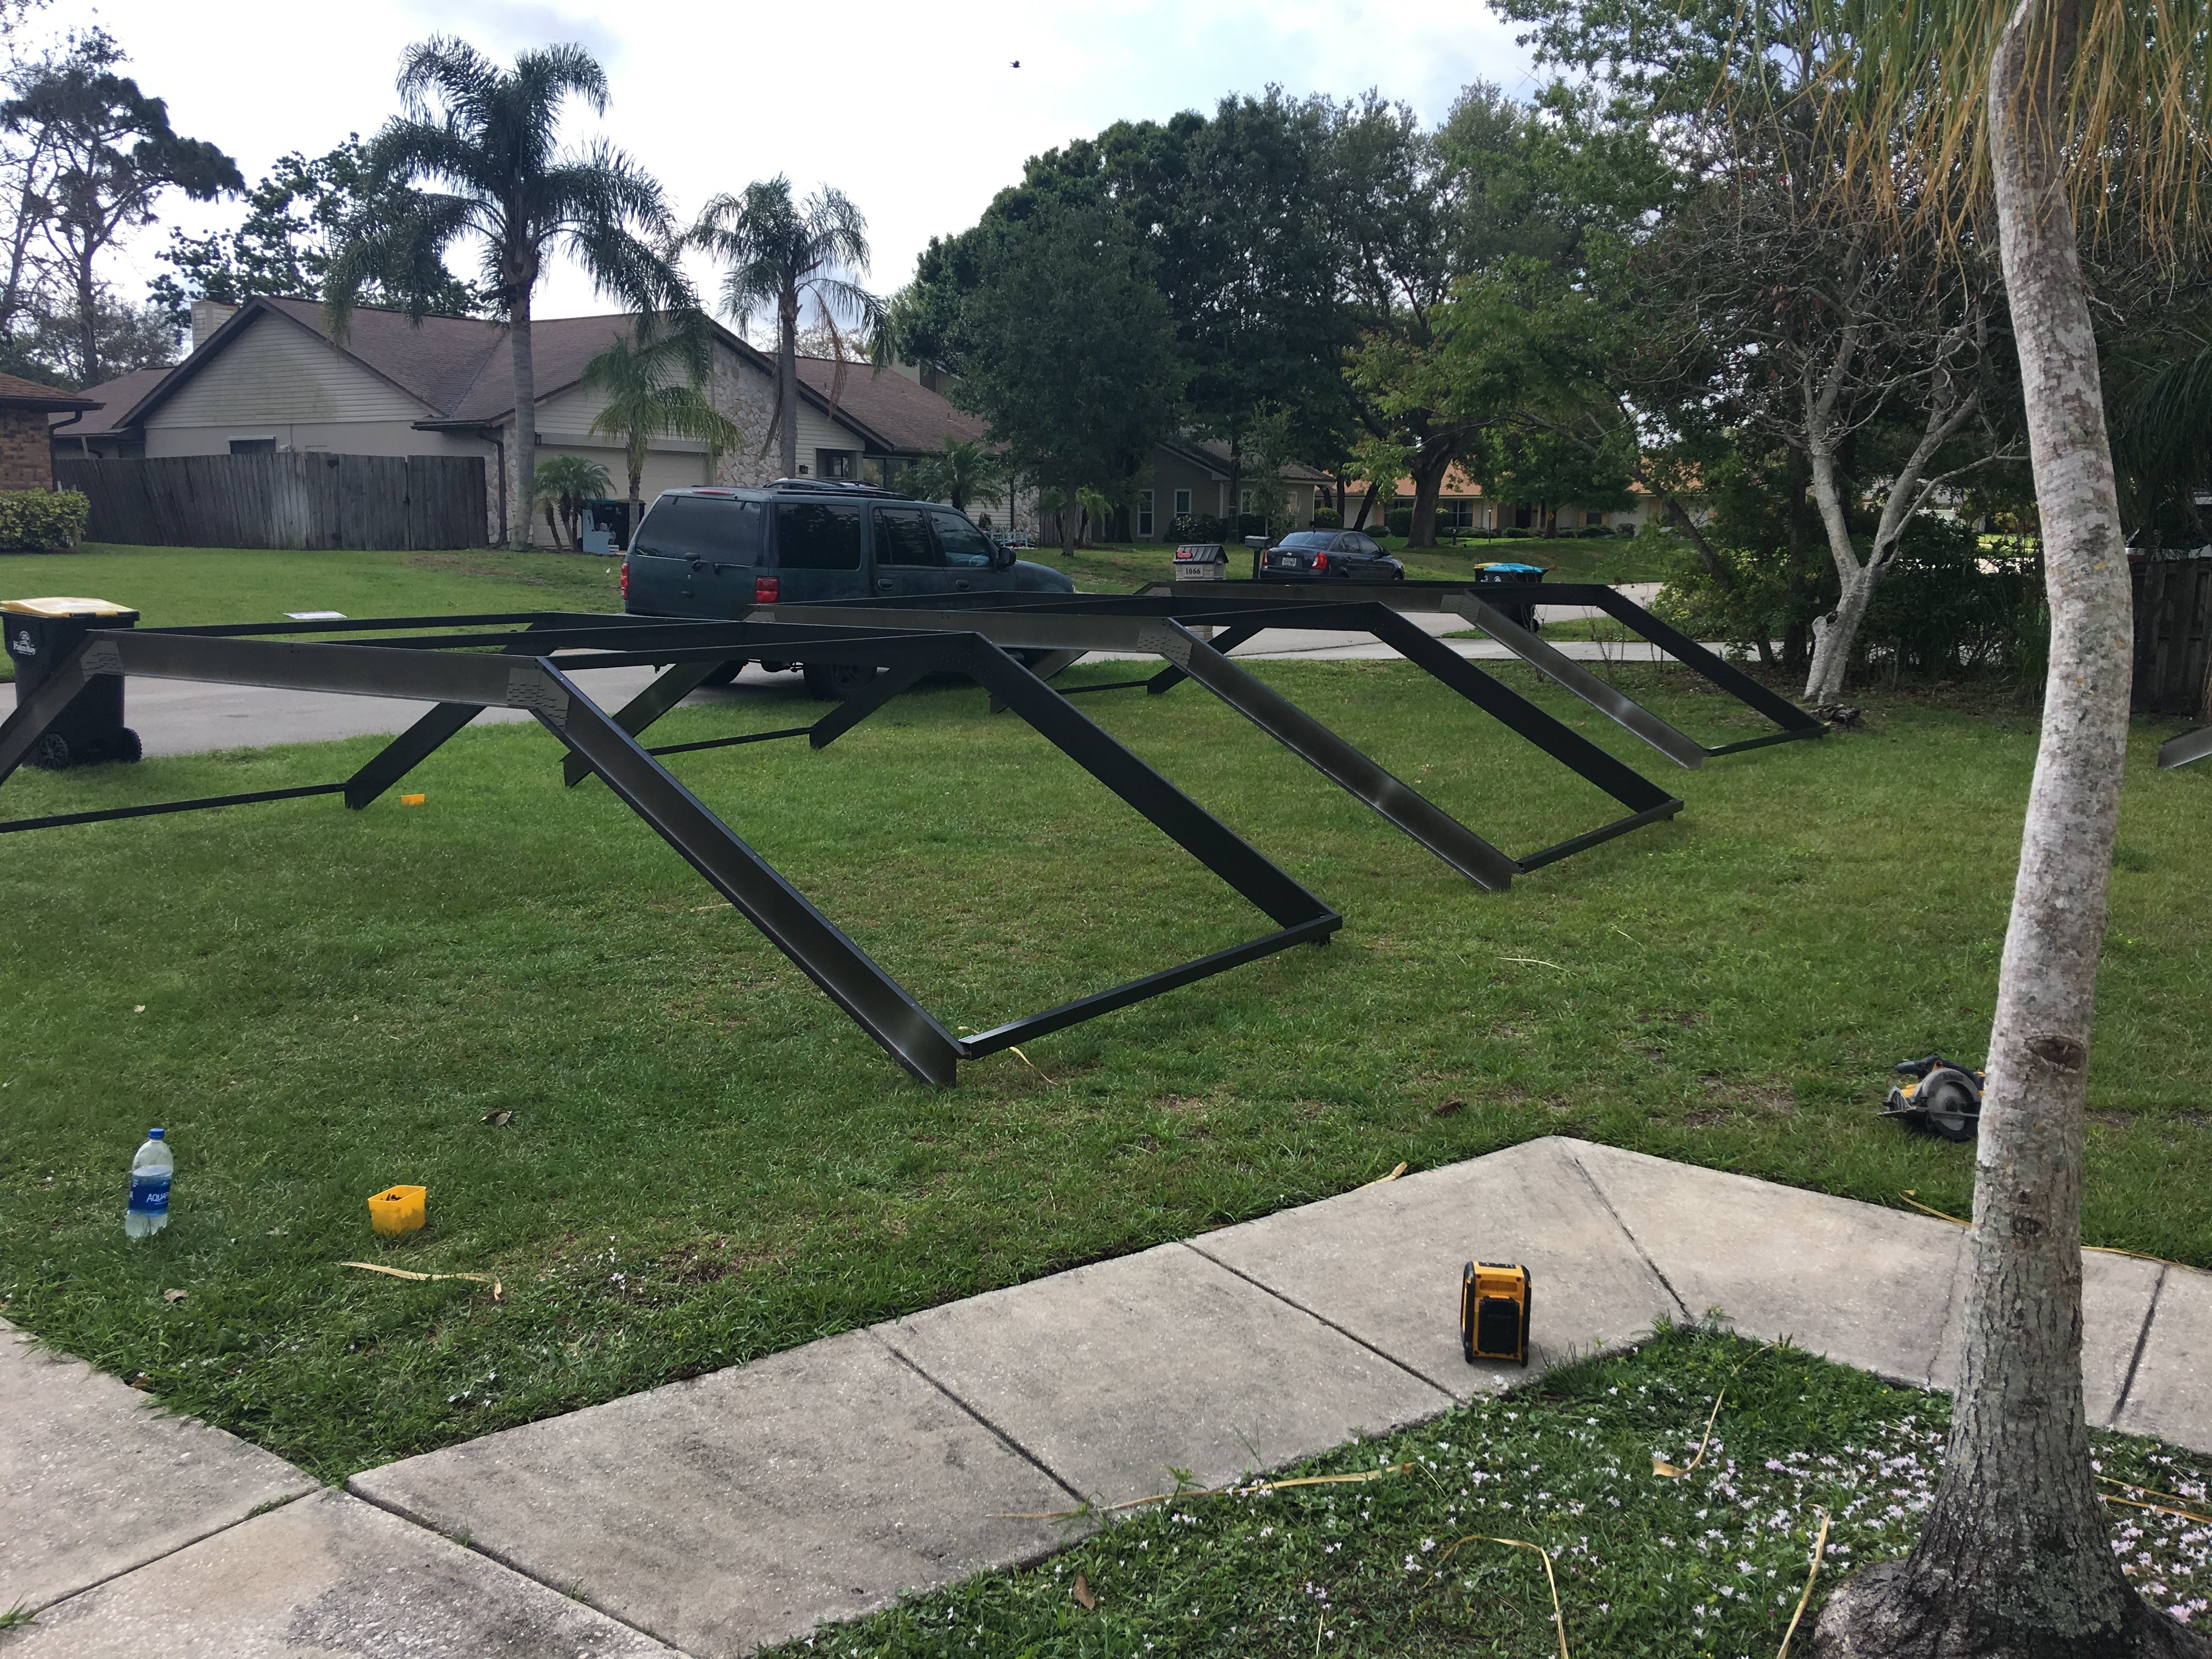
Here’s all the aluminum and parts they needed.

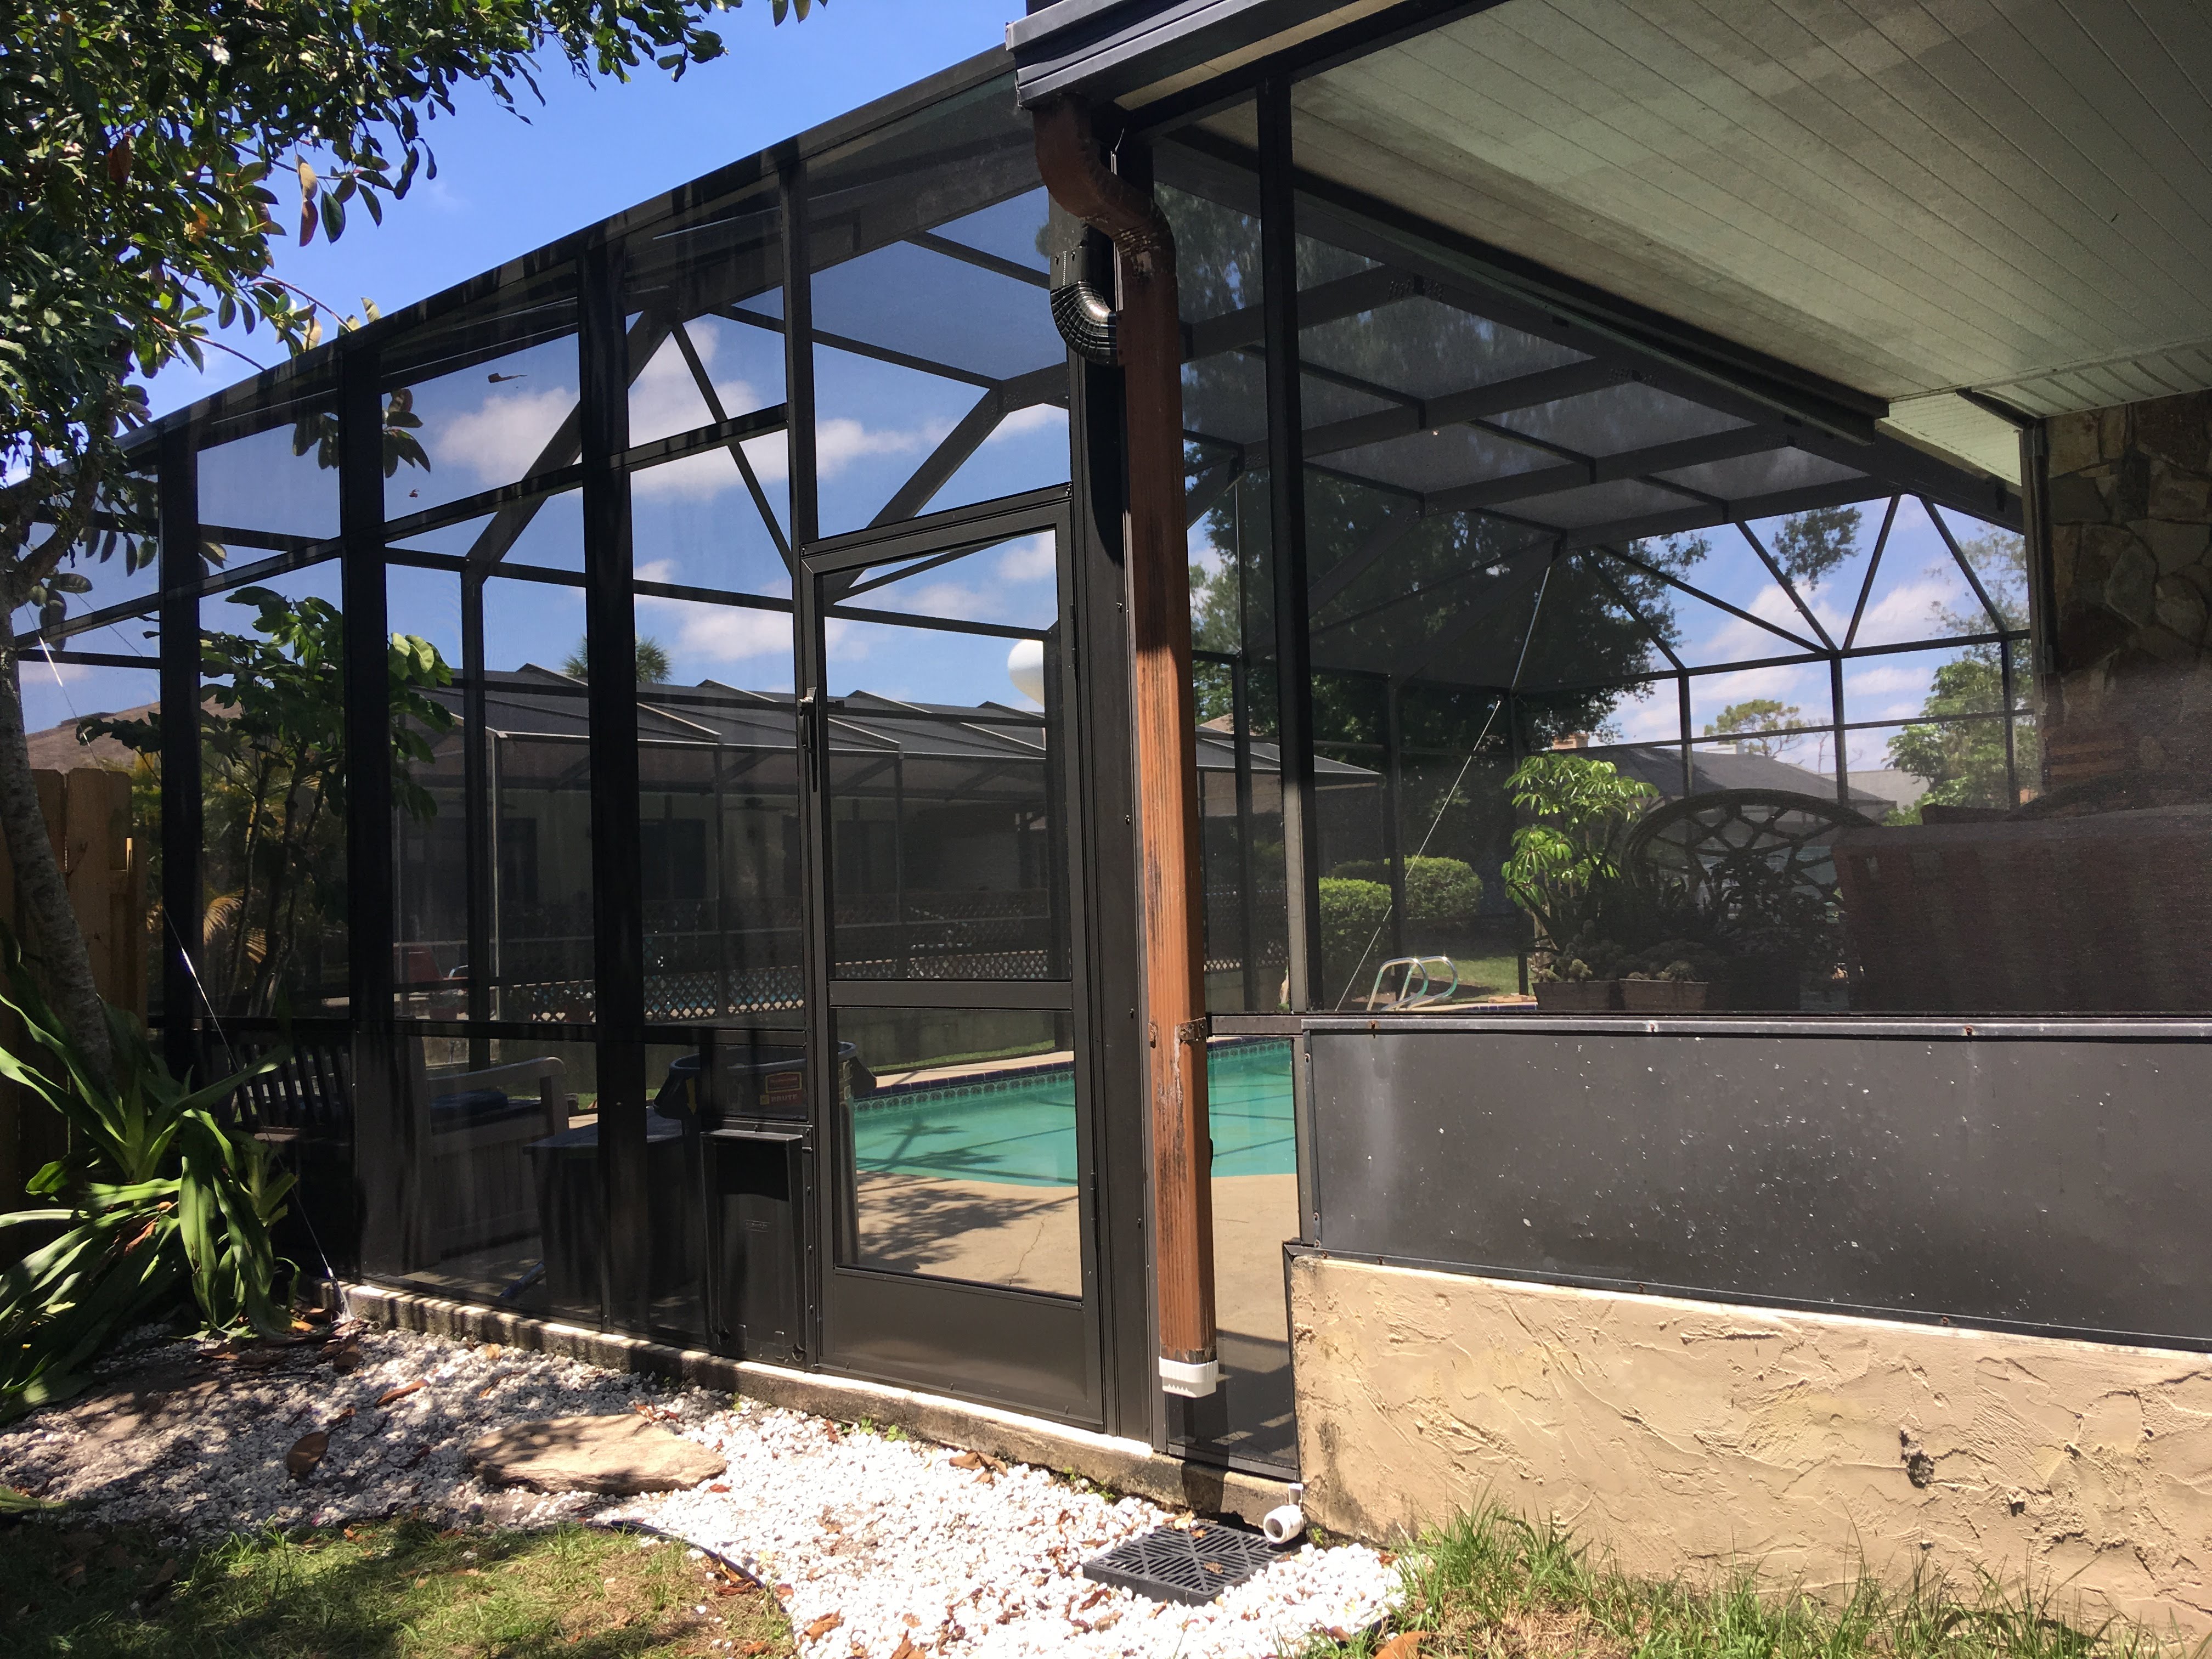
And the new “super gutter” installed. The old gutter only went the length of the roof on the house, and didn’t have a gutter attached to the metal roof area above the Florida room (where you can see the step). The new super gutter runs the entire length, which is stronger, better for water flow, and looks way better.
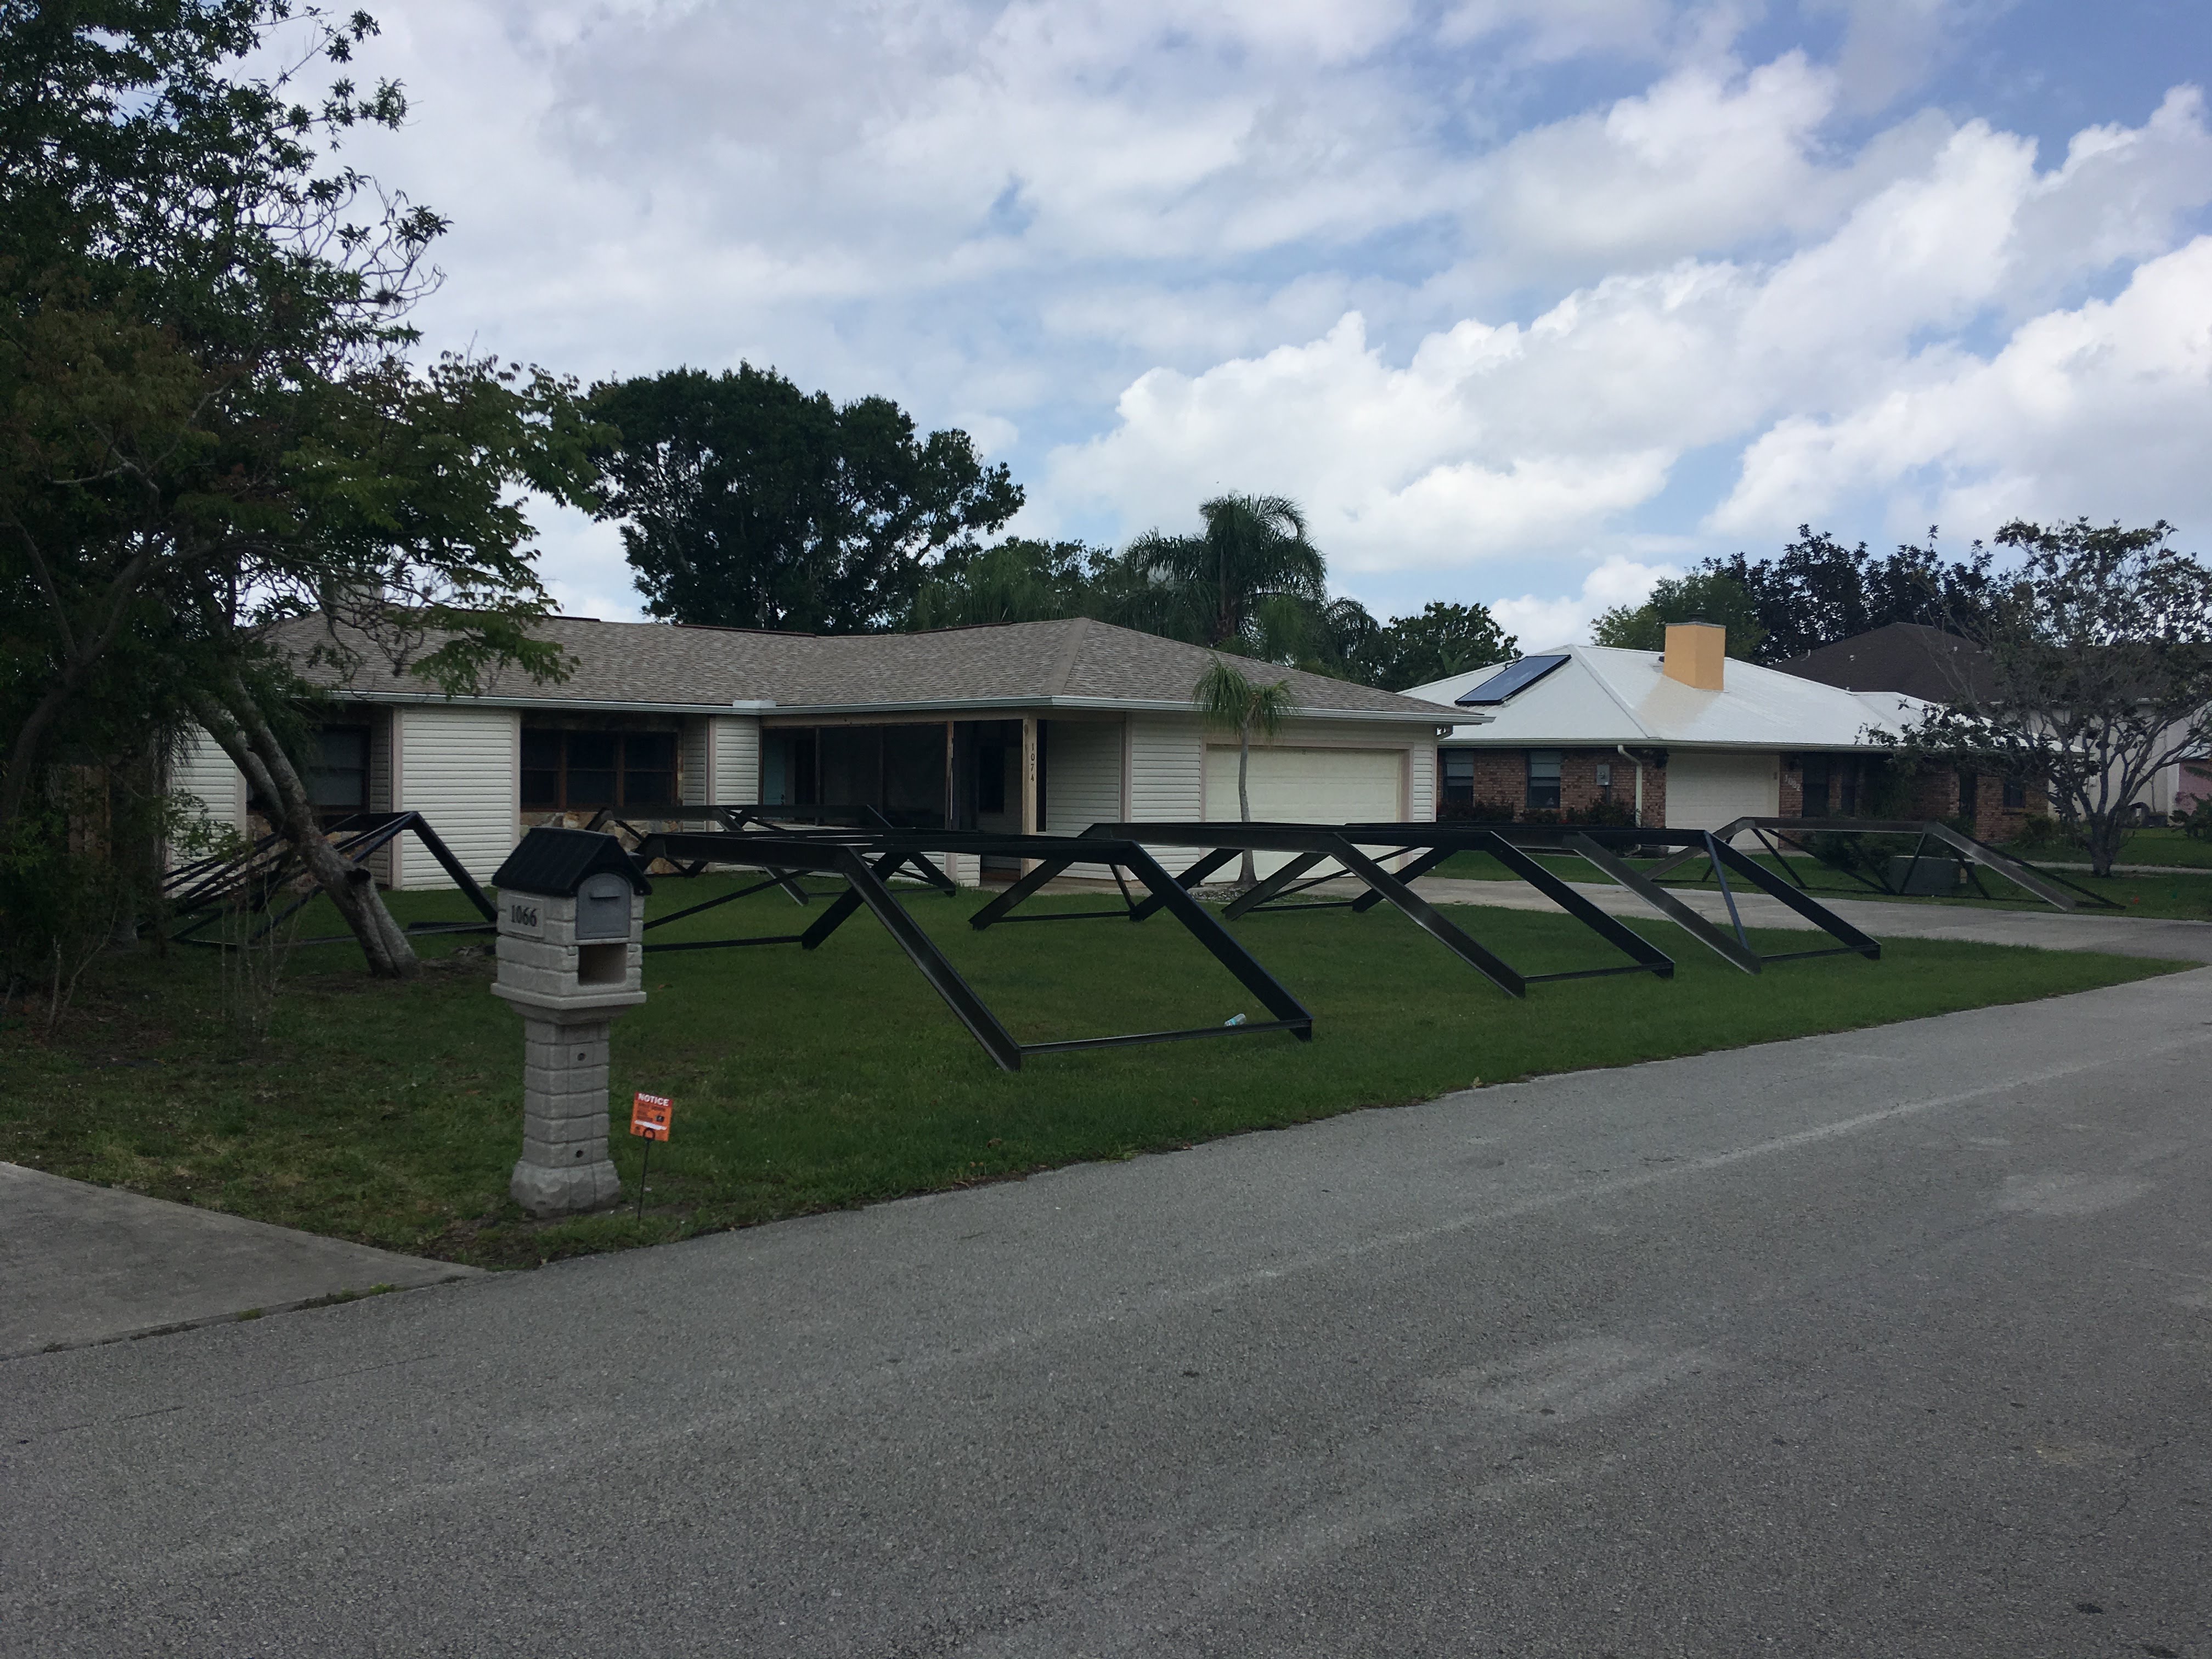
What I thought was interesting is that the assemblers build the entire roof in the front yard in pieces, then walk it to the back and and raise it, then place a wall under it. The roof is screened before being raised into place. It makes a ton of sense! The new roof is a Mansard style, which is stronger than the box gable style that the old screen was.

I got them to install a dog door for Bentley, and it is super sturdy. It’s a Magnador, which is framed in with aluminum. It has magnets on the bottom and flap in order to keep the flap at its lowest position. It also has locks so that you can lock the dog in or out, or if you don’t have a dog you can lock it to ensure no other creatures figure out the door. I got the biggest size possible, since Bentley is a pretty big dog at 65 pounds. The additional cost to install and frame the dog door in was $125, on top of the previously stated prices above.

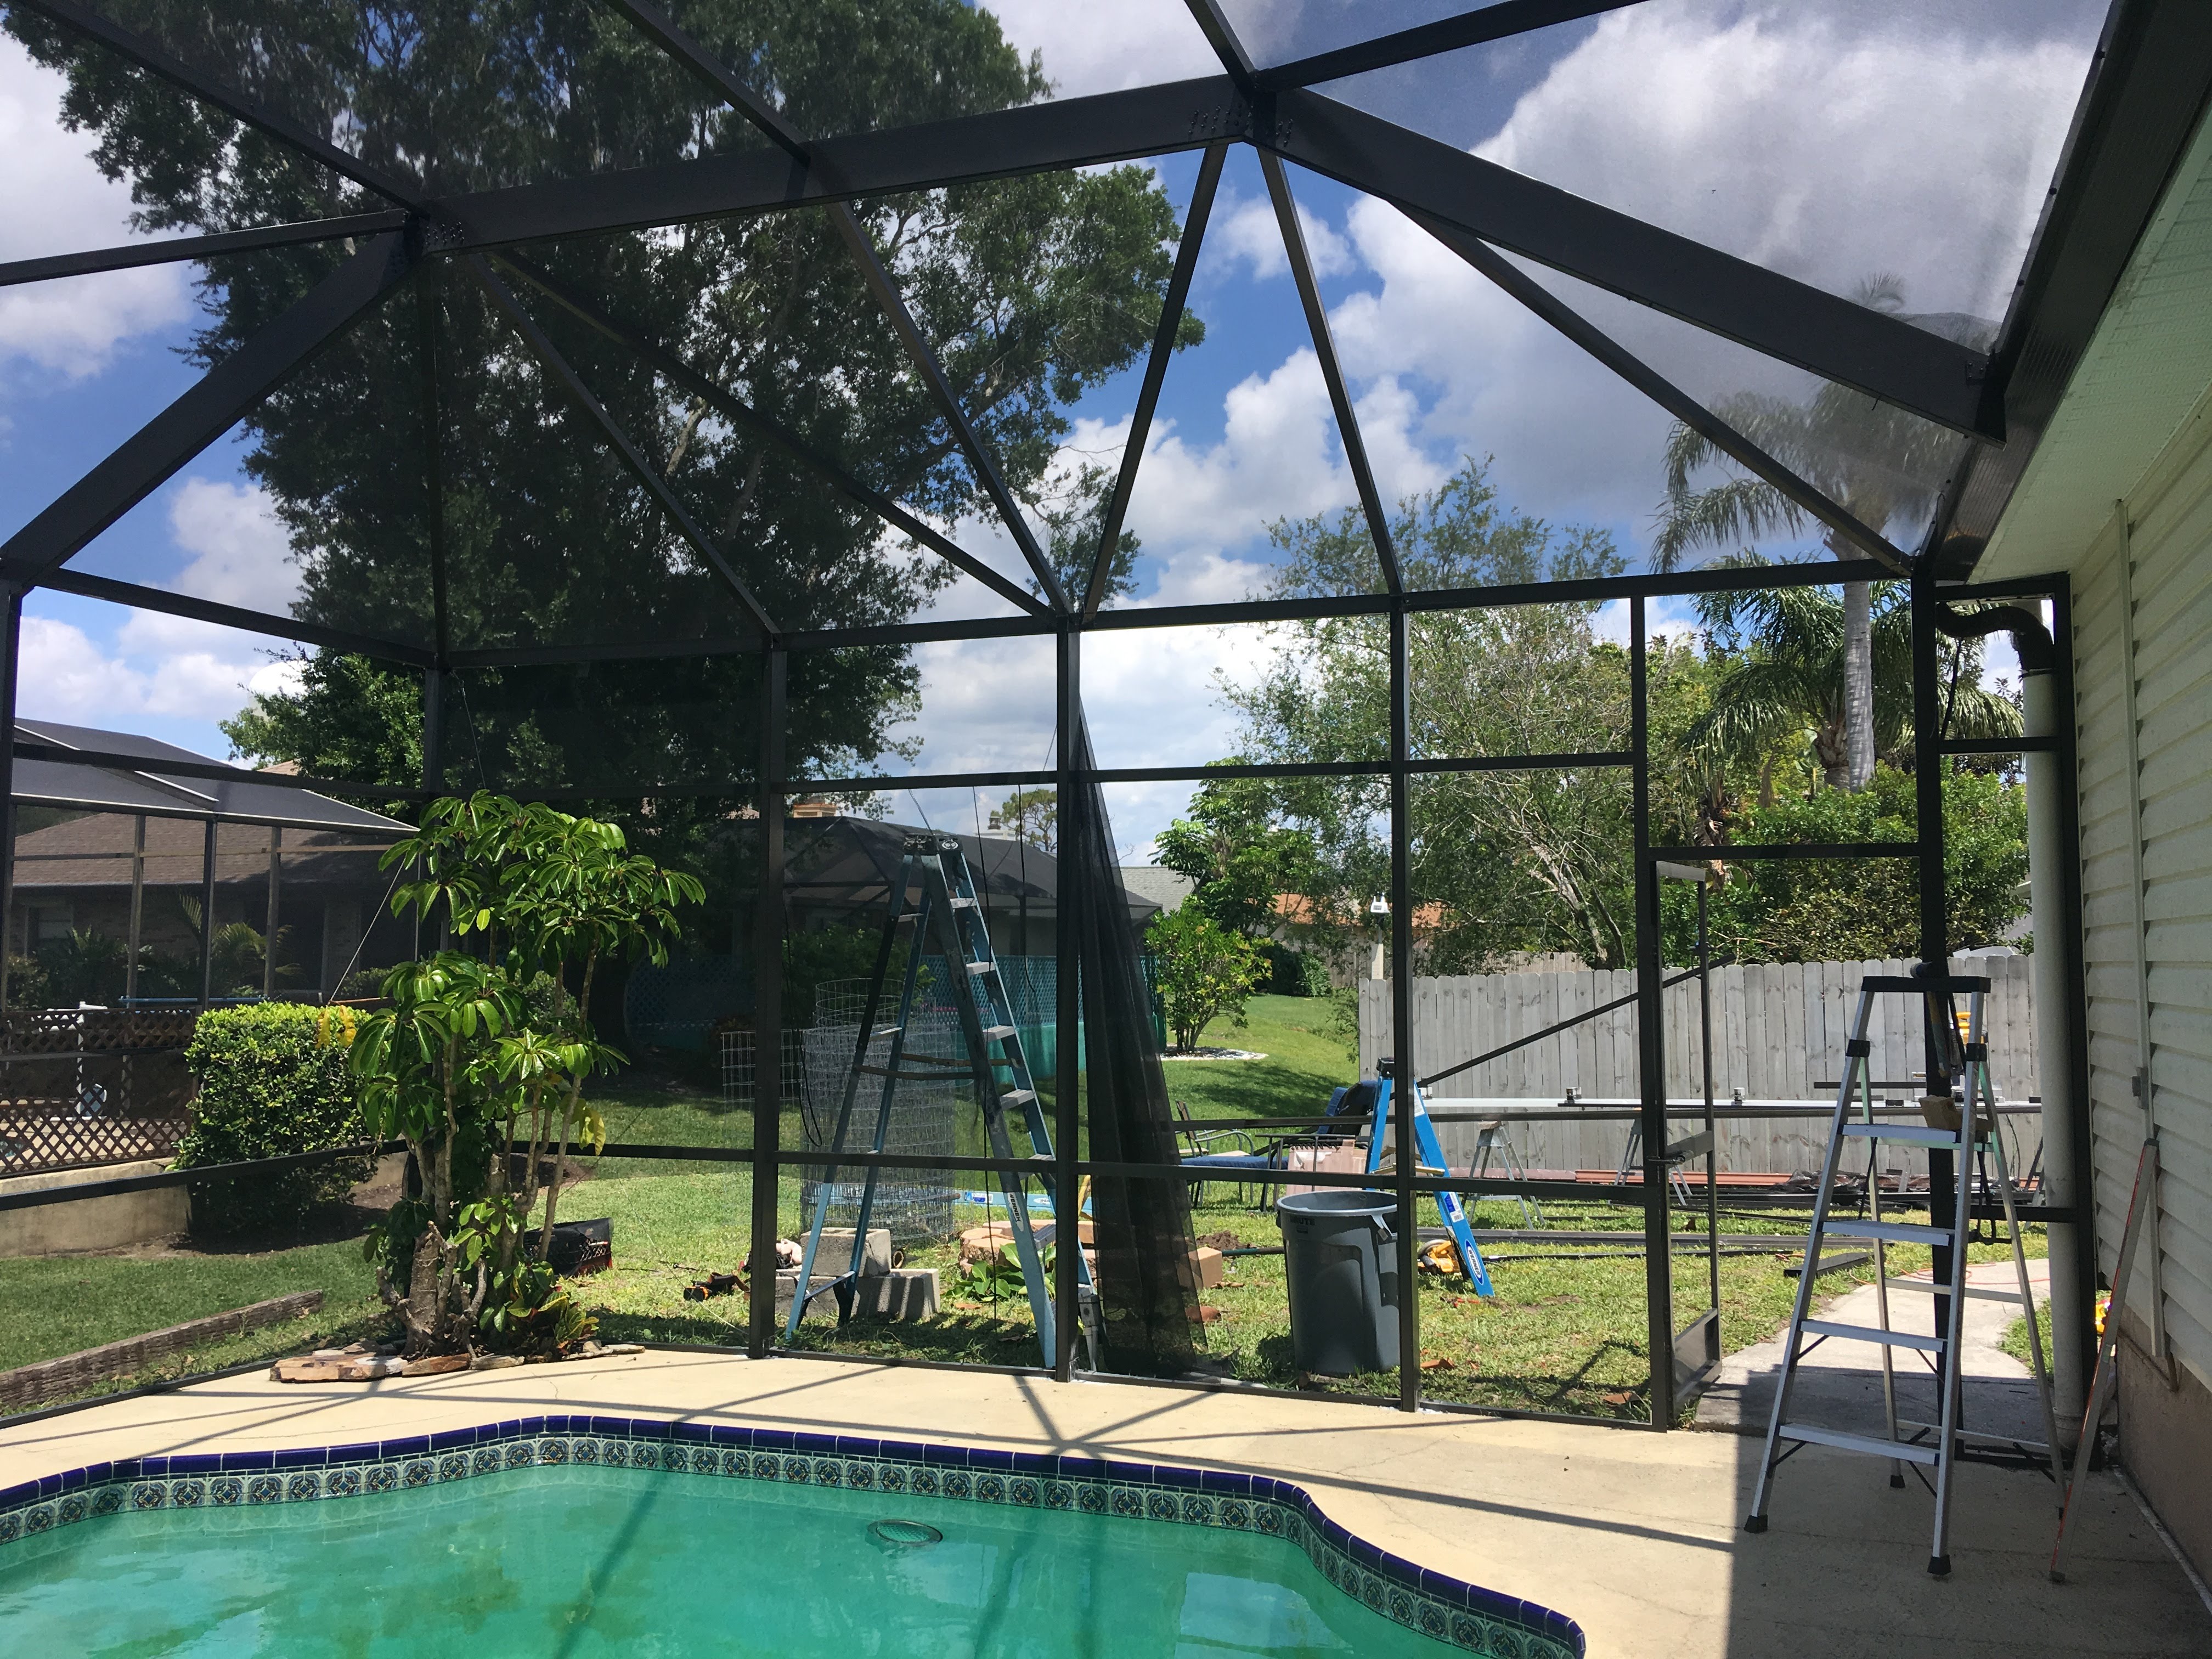
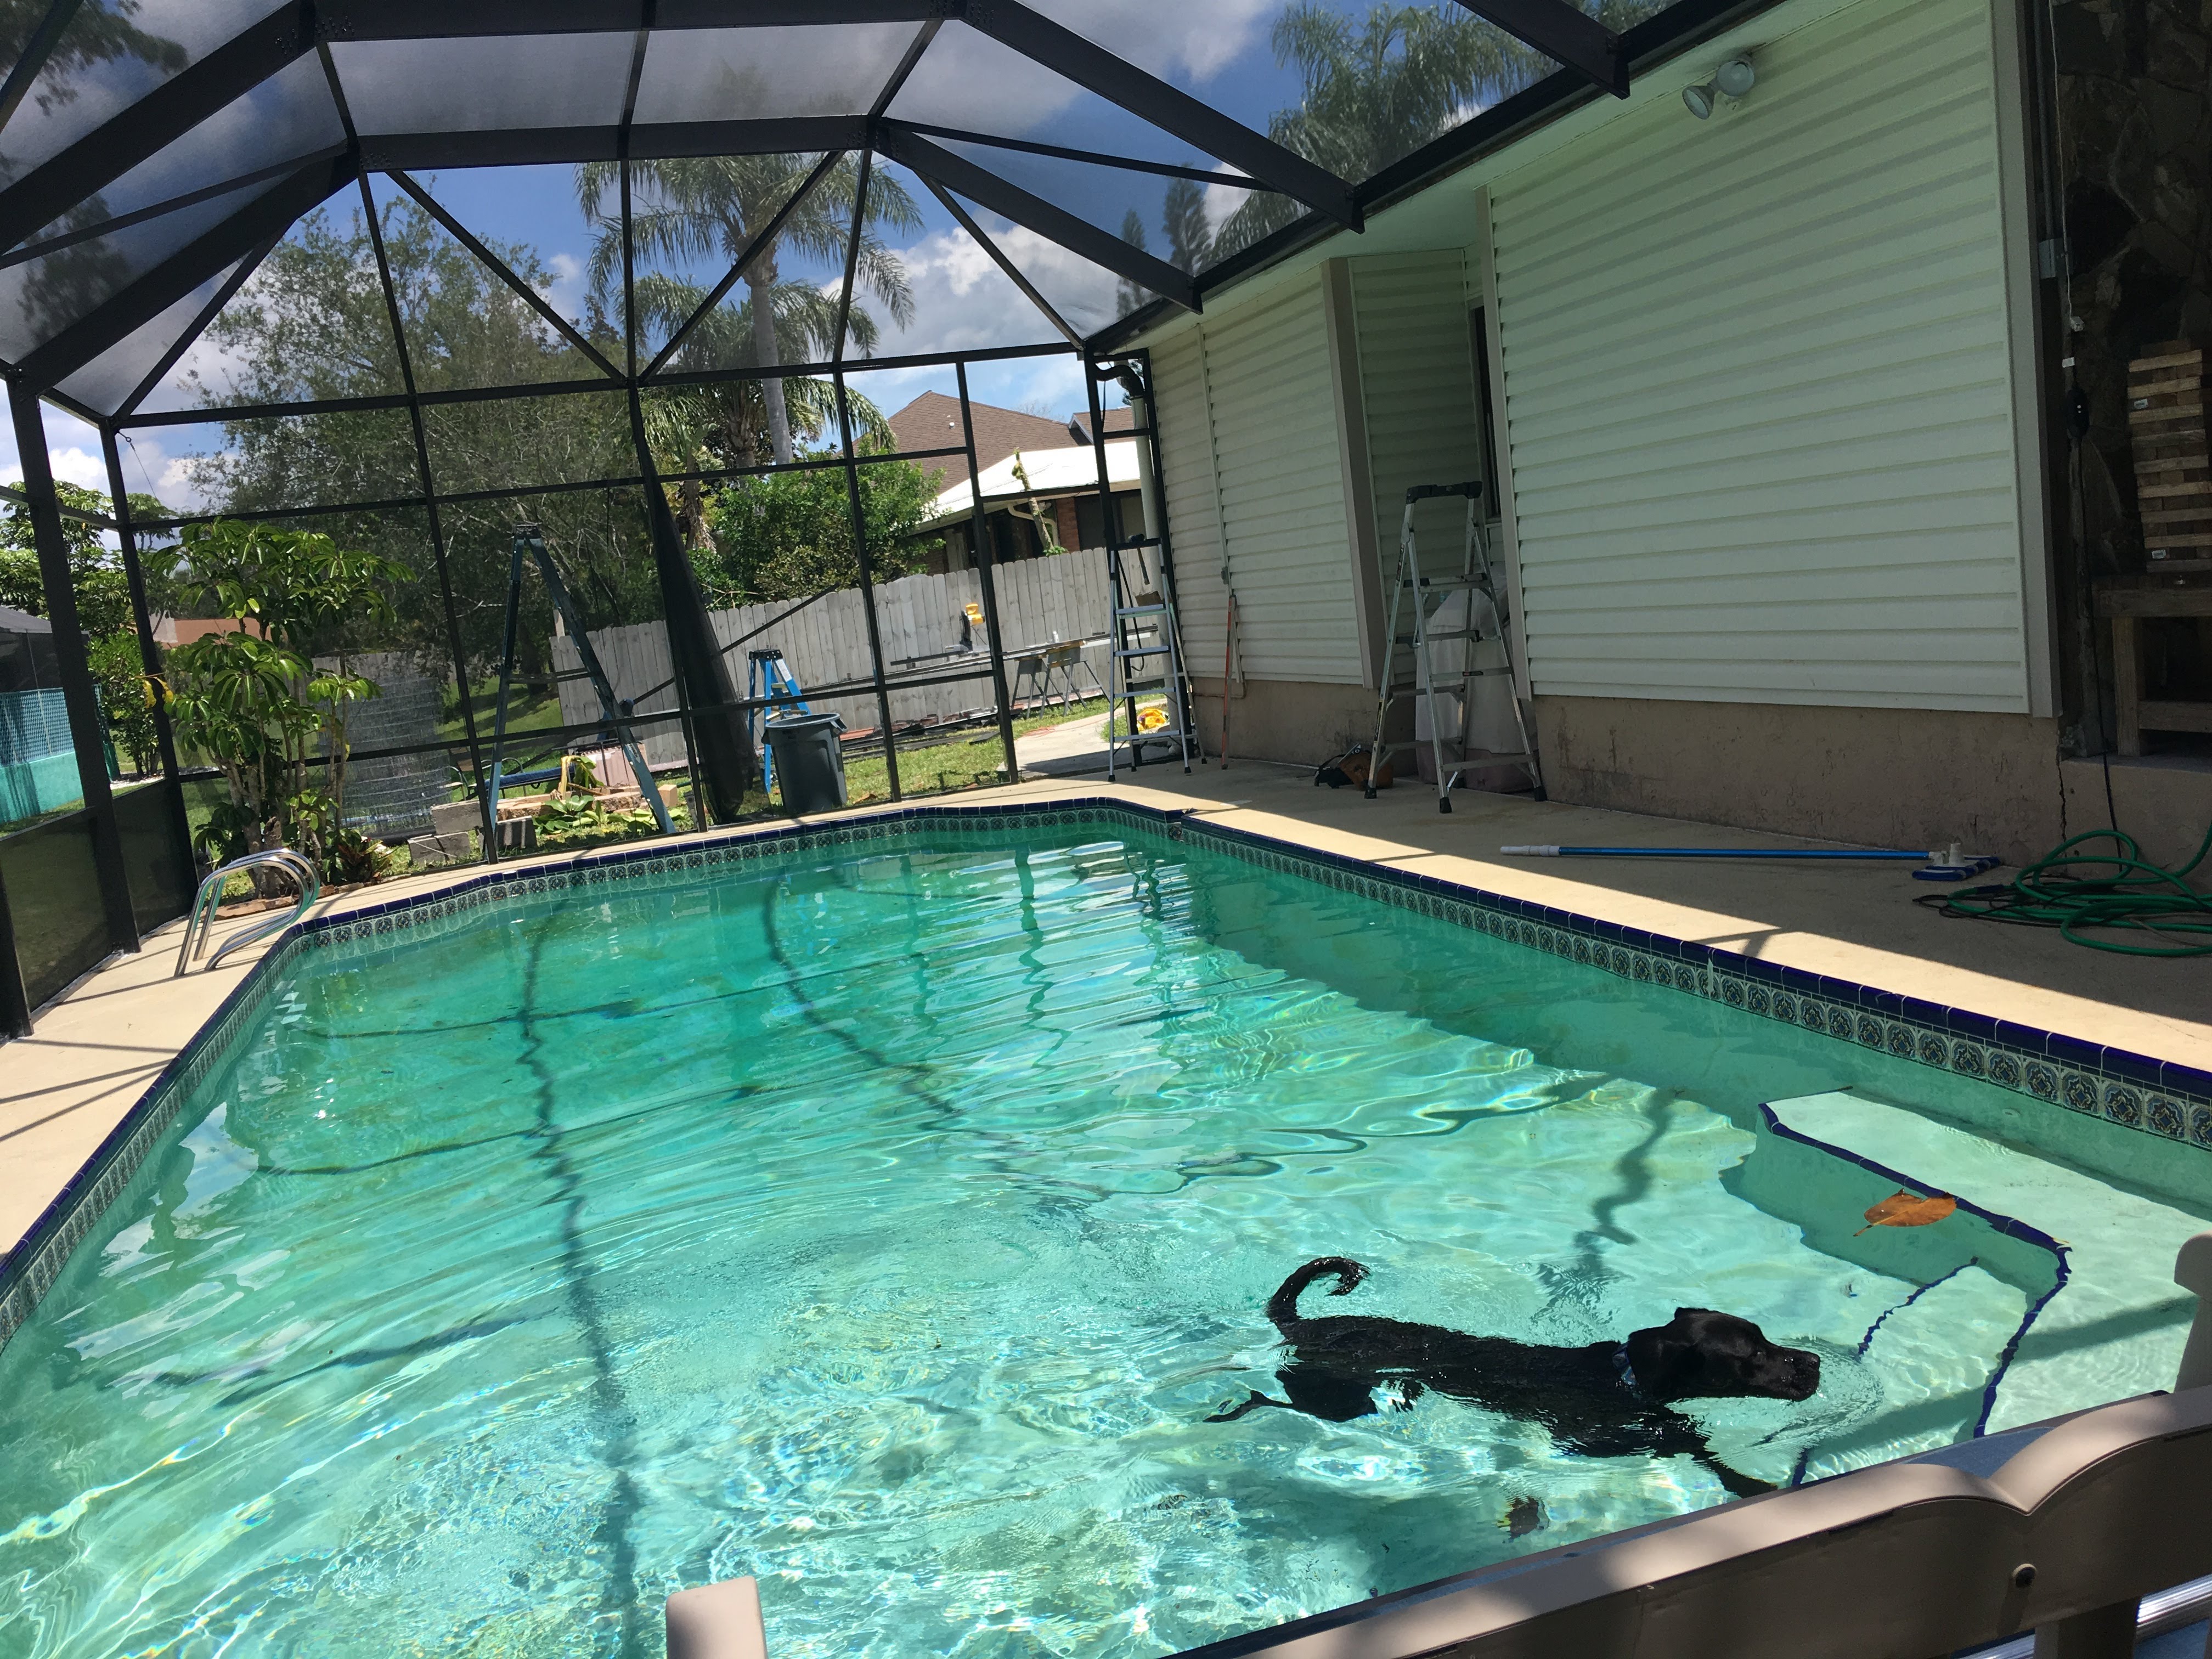
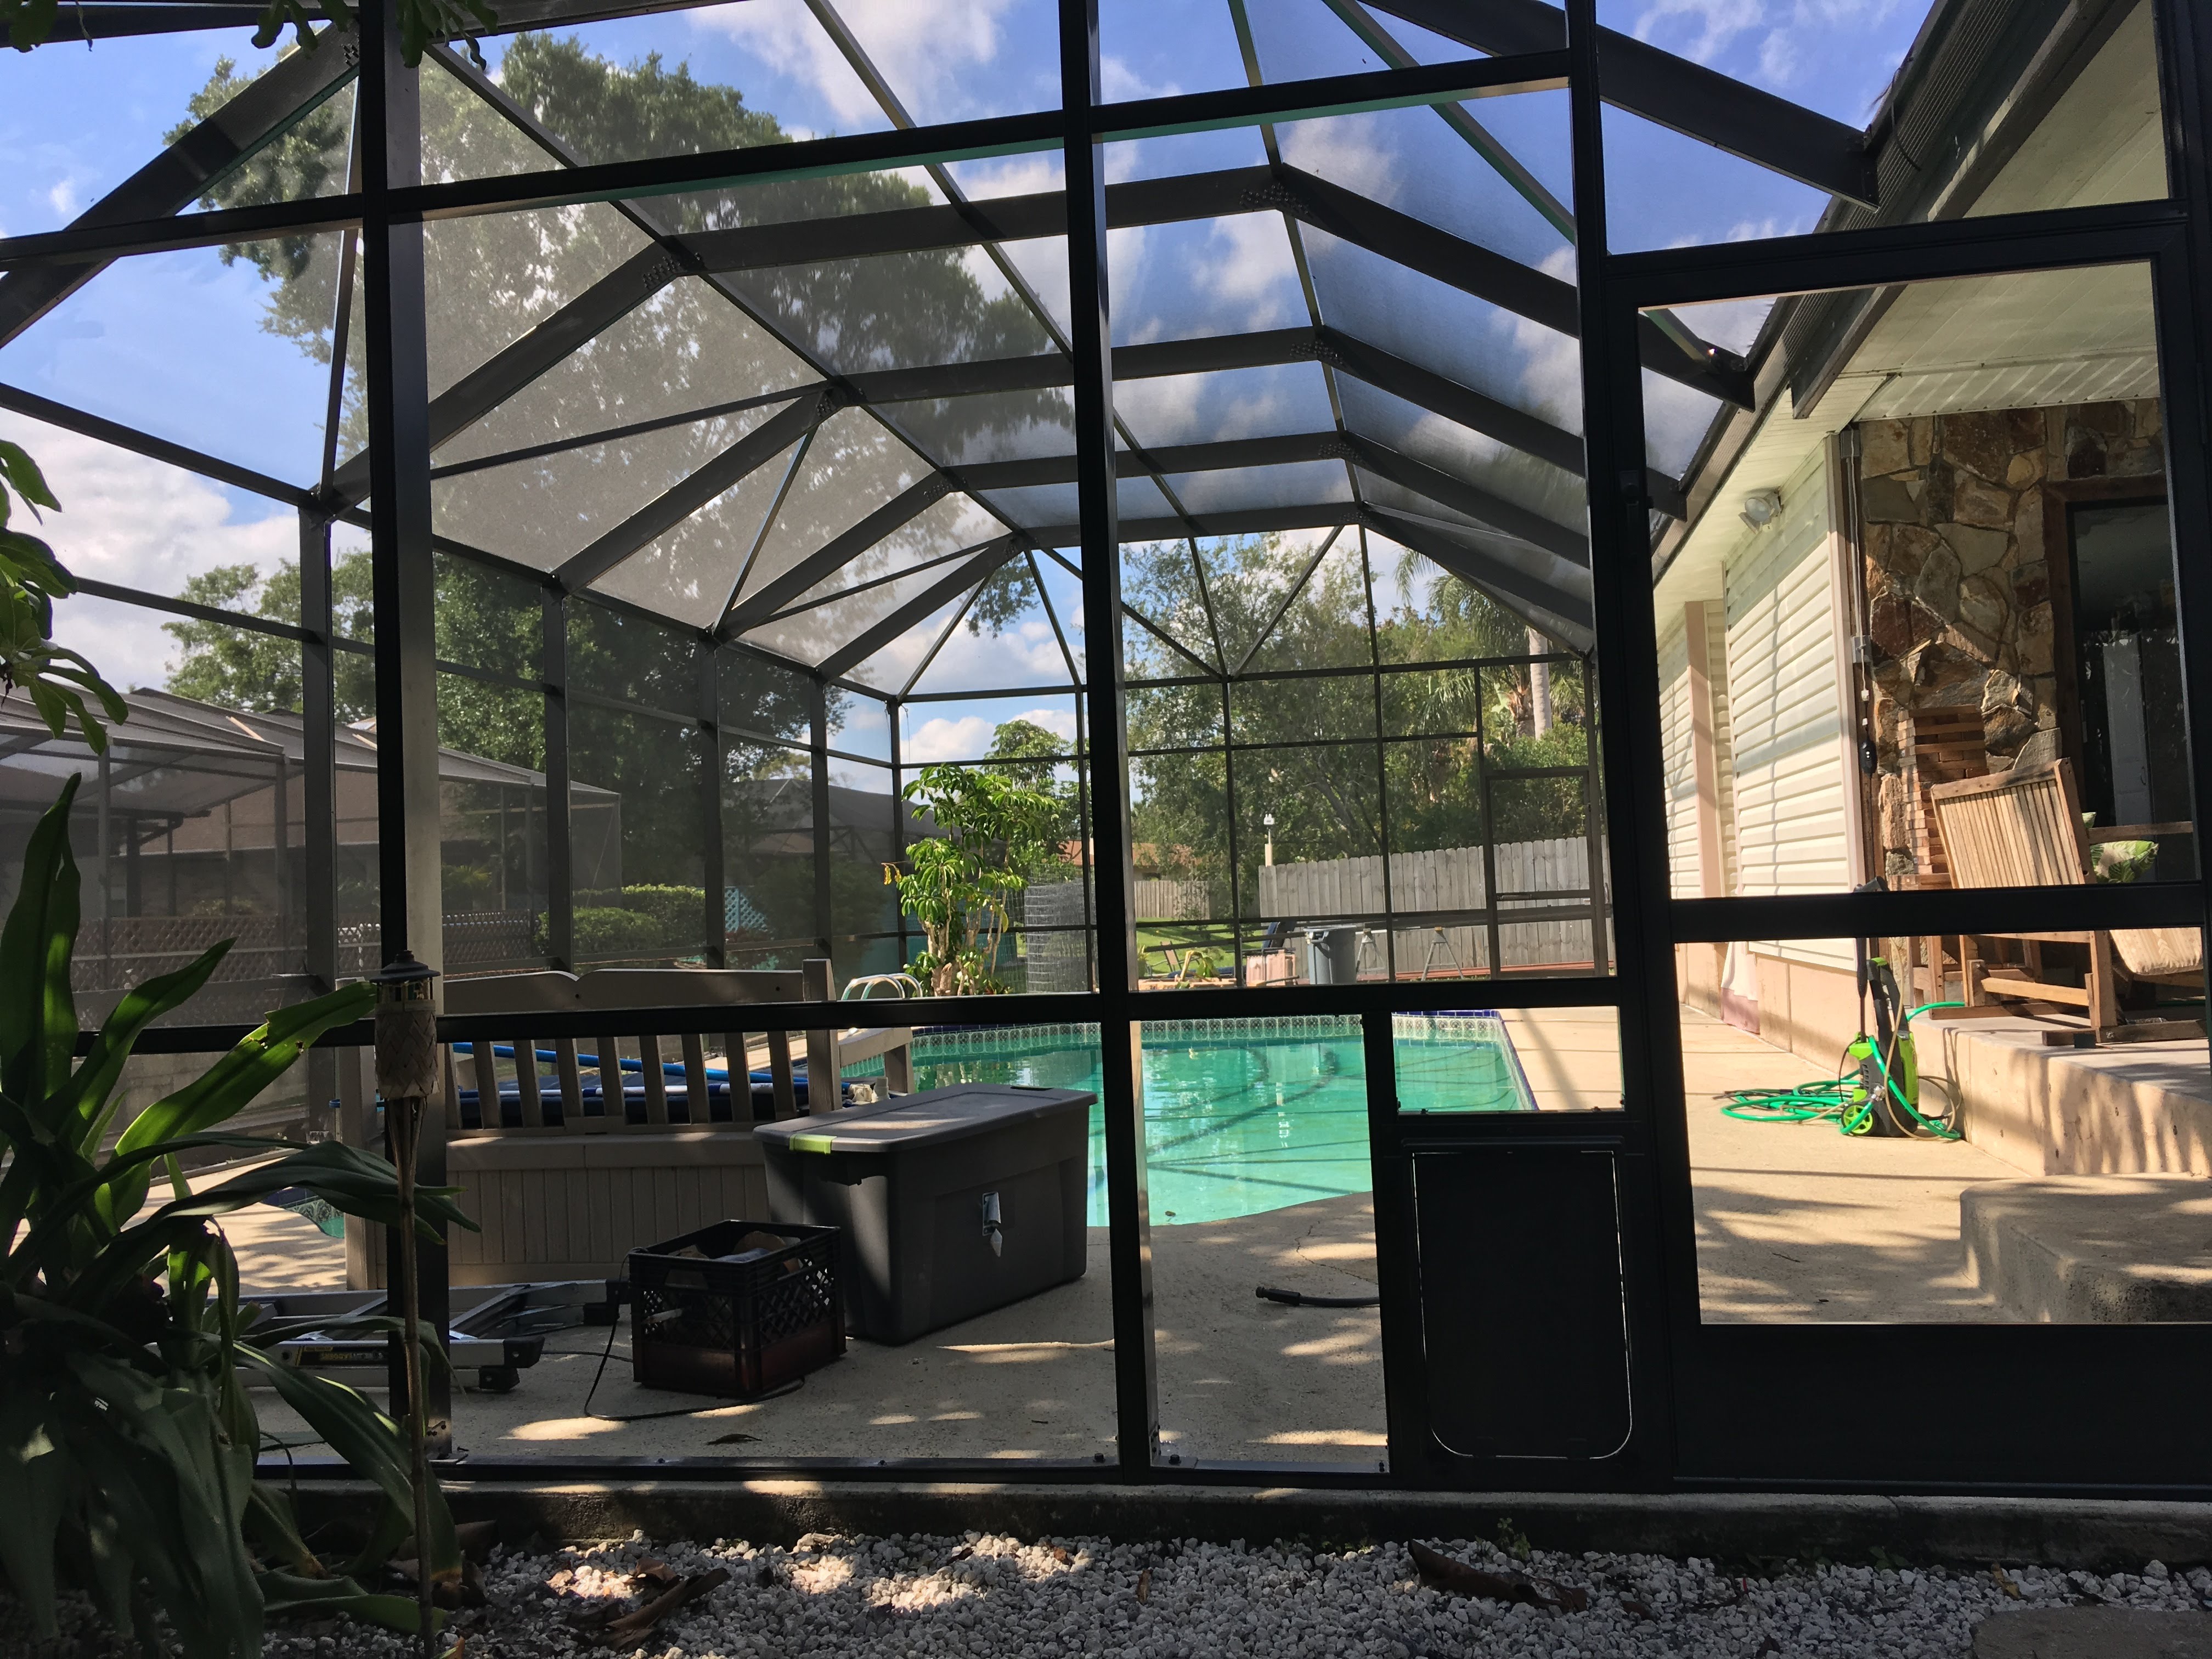
Enjoying one of my favorite beers the first day with a screen!

This is how they joined the super gutter into the existing downspout.
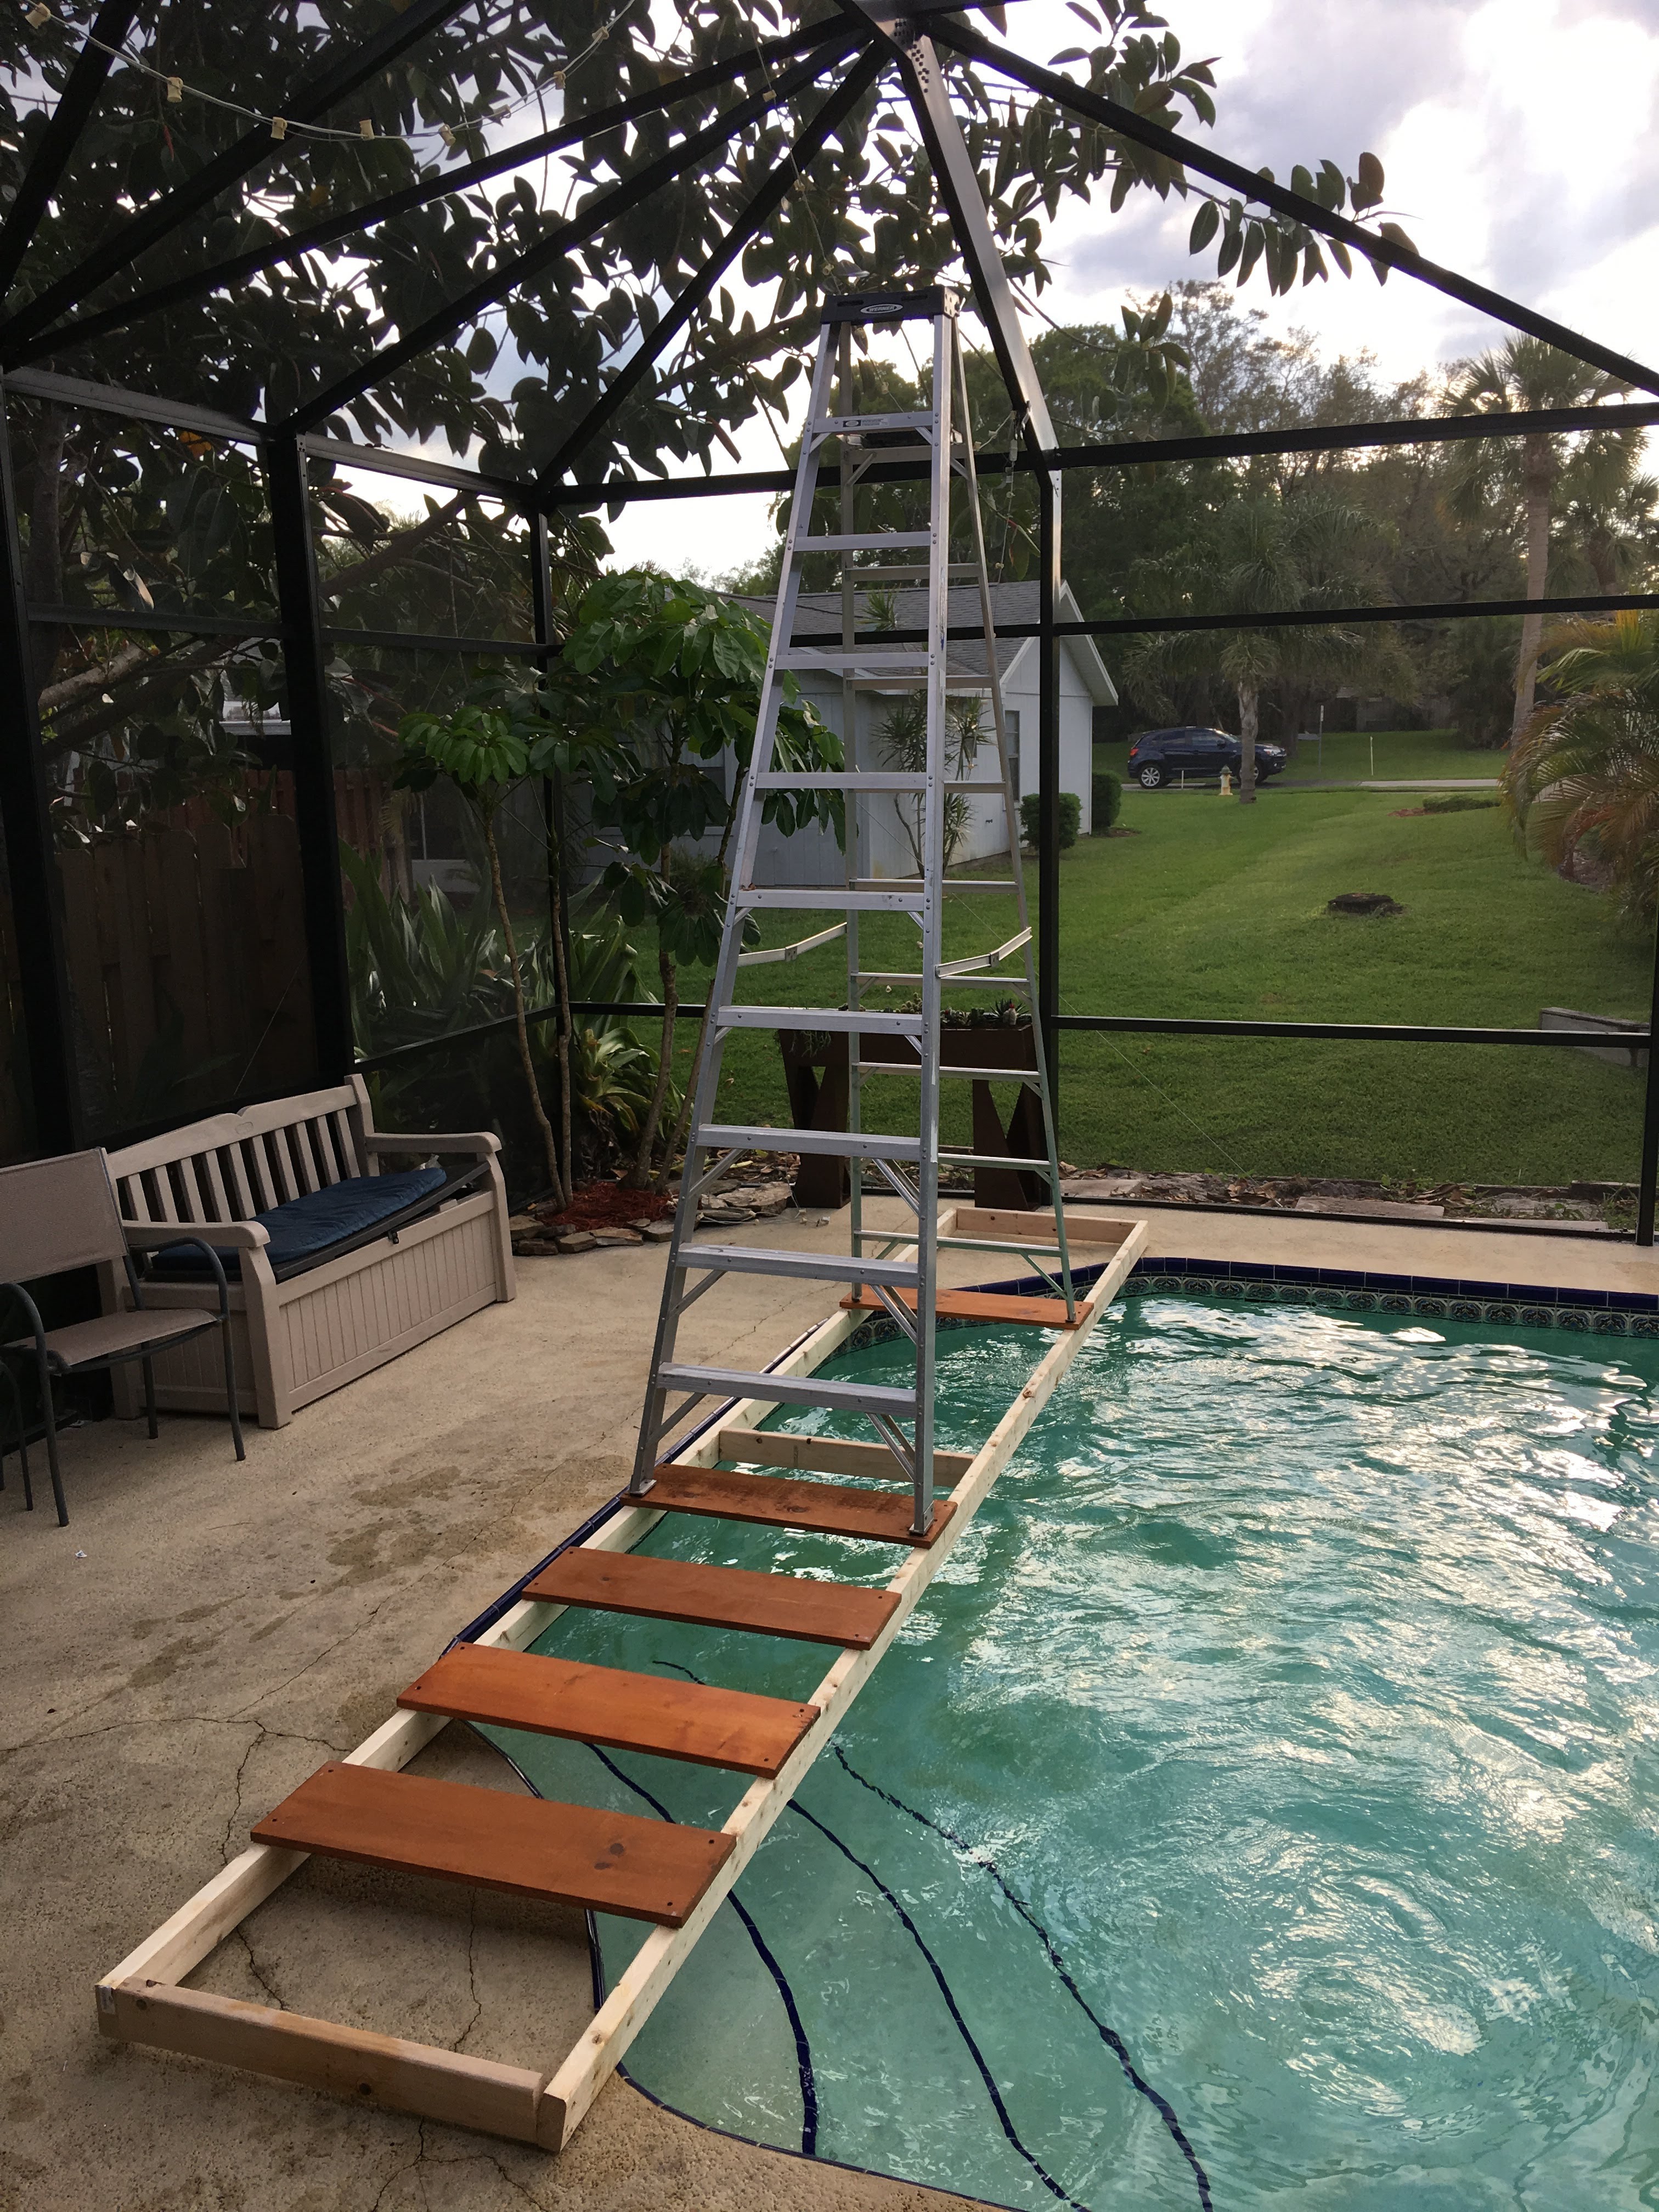
After the screen was up, Alex and I (but mostly Alex) got to work installing lighting. There were awesome string lights in a zig-zag pattern on the old enclosure which were hooked up to an on/off switch, we wanted that same functionality, but better. Alex hooked up a system with pulleys that required attaching hooks at the top most point and a lower point on each side, so we needed to get up there. He made a ladder thing that went across the pool so you could reach the top with a 10 ft ladder. Check it out!

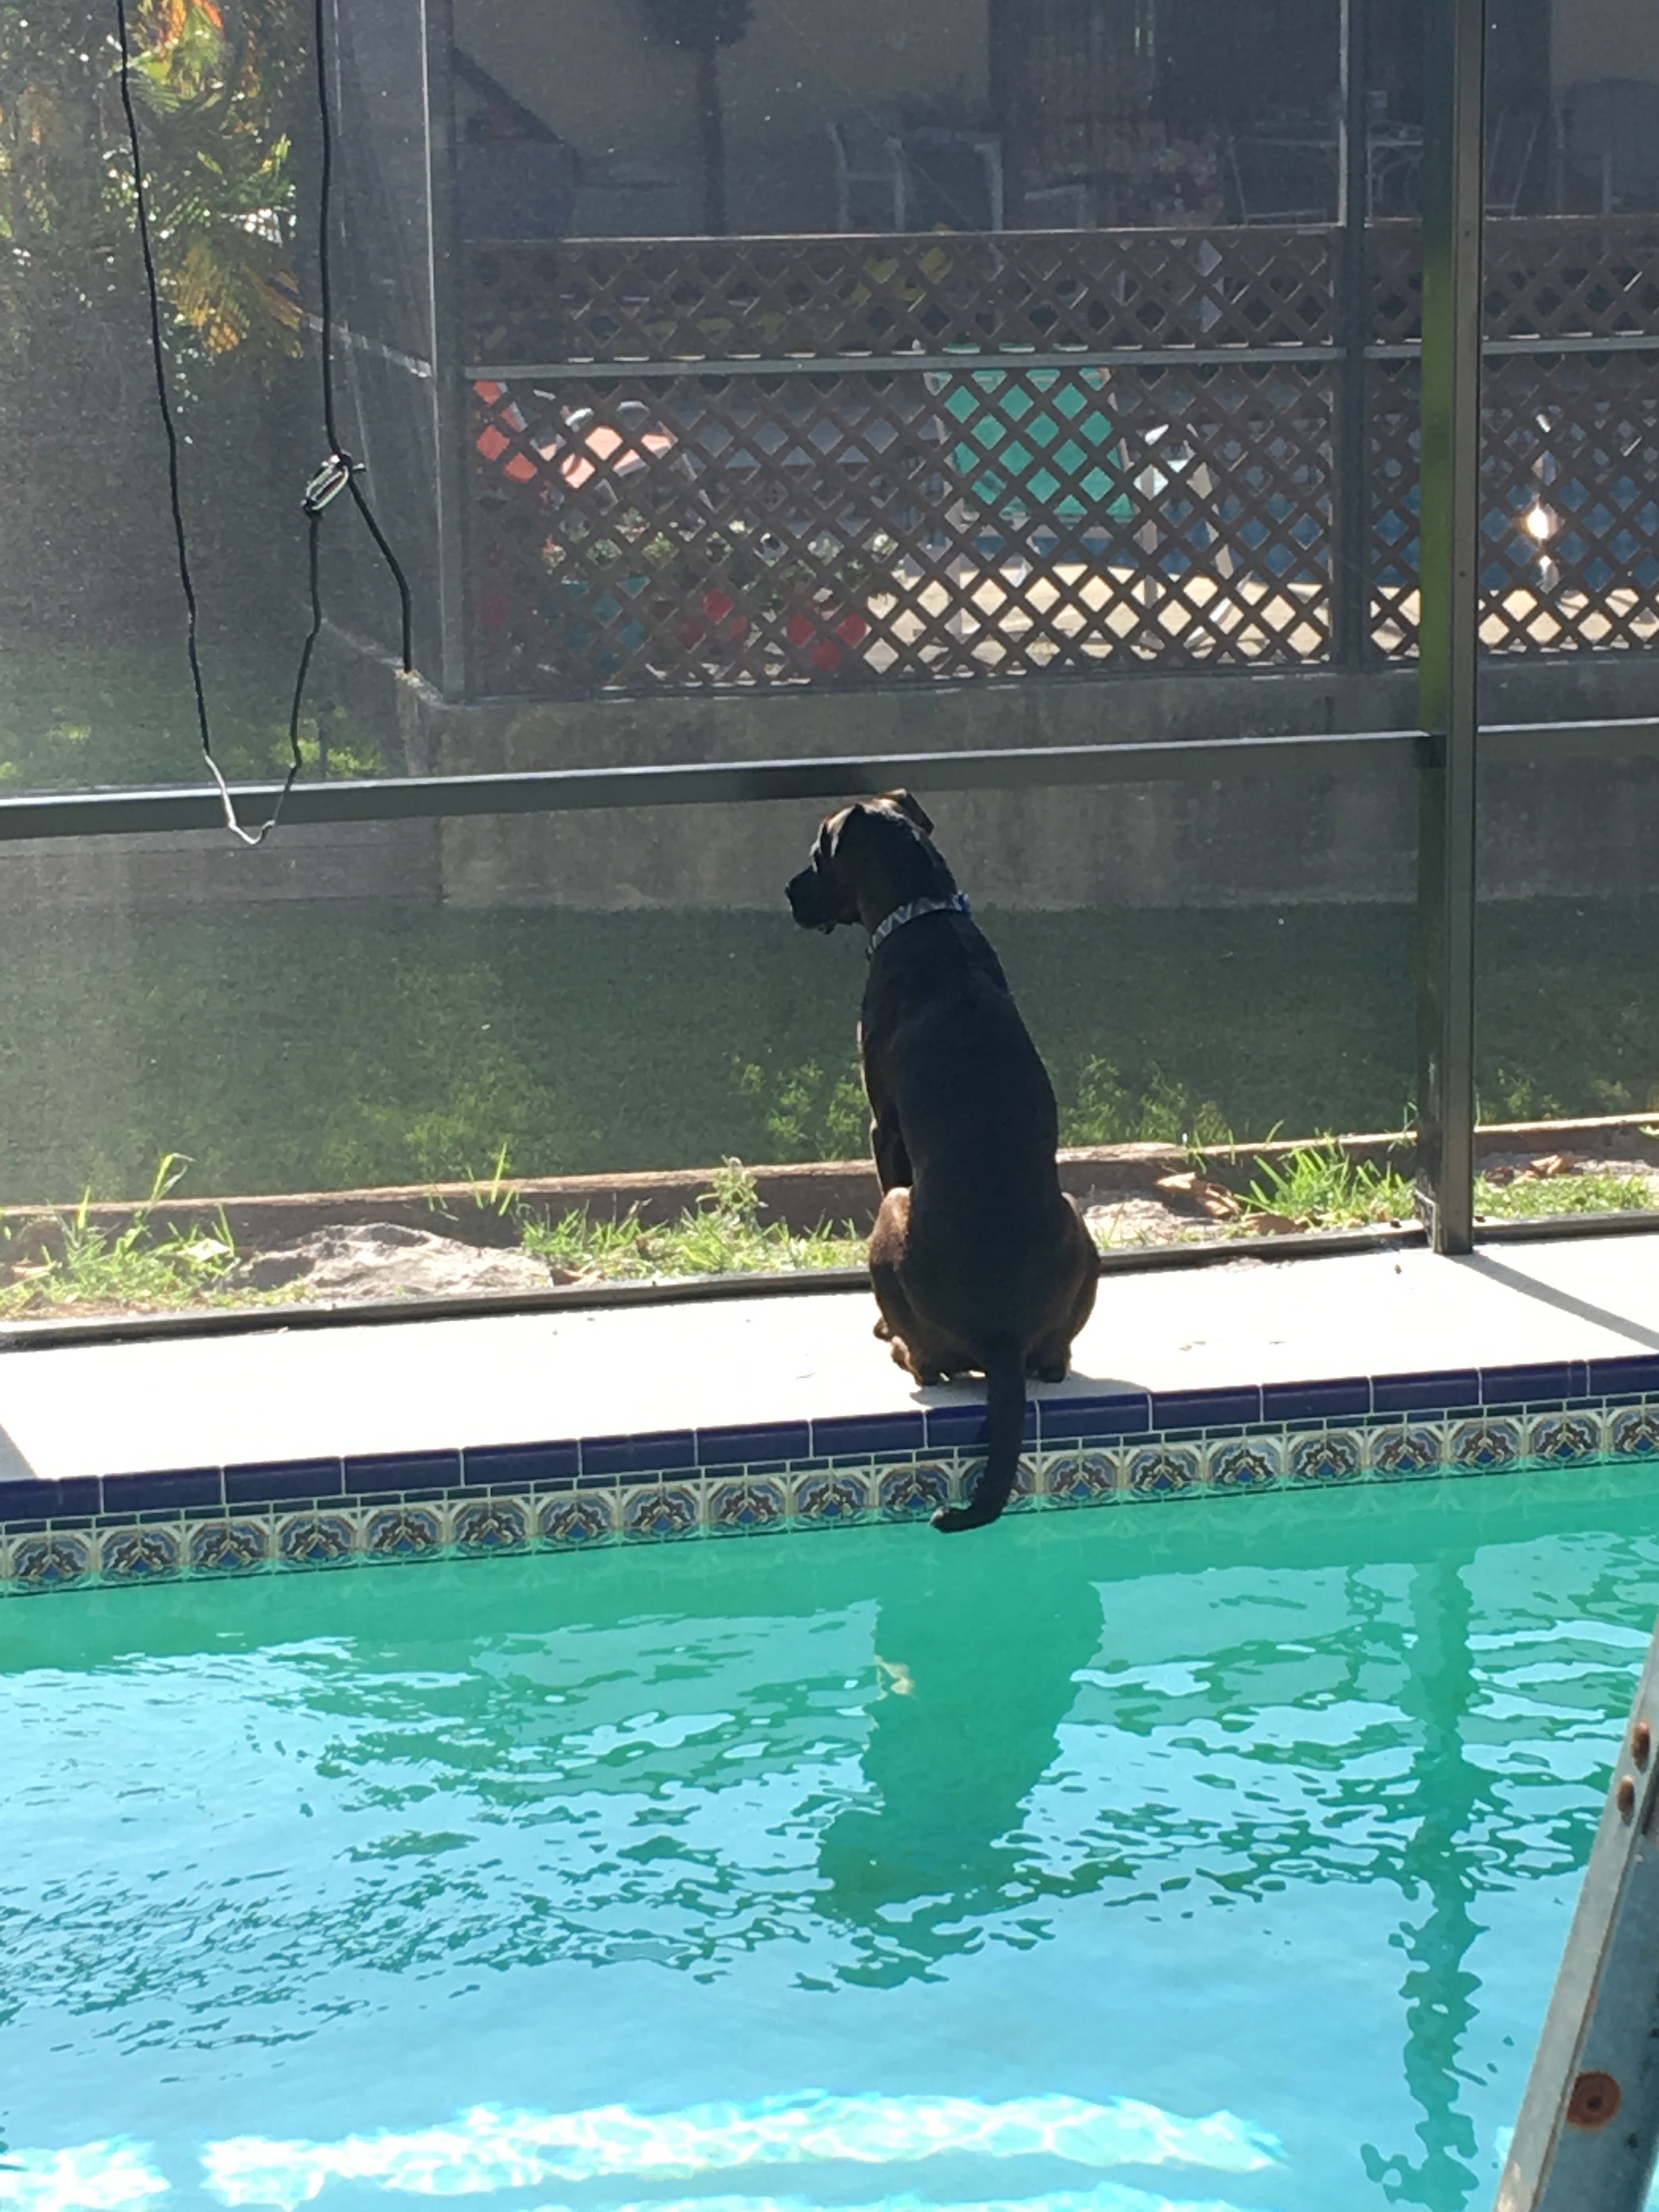
Bentley also found a new way to sit, with his tail just hanging into the water.
As far as the electrical, each beam of the roof has its own outlet, which is run through black conduit. So there are 5 outlets for the 5 strands of lights, and the strands can be pulled in and out easily as they are on wire. The lights are just in a staggered pattern now, no zig-zags like before. I think I’ll replace the light strands with Christmas lights in December!
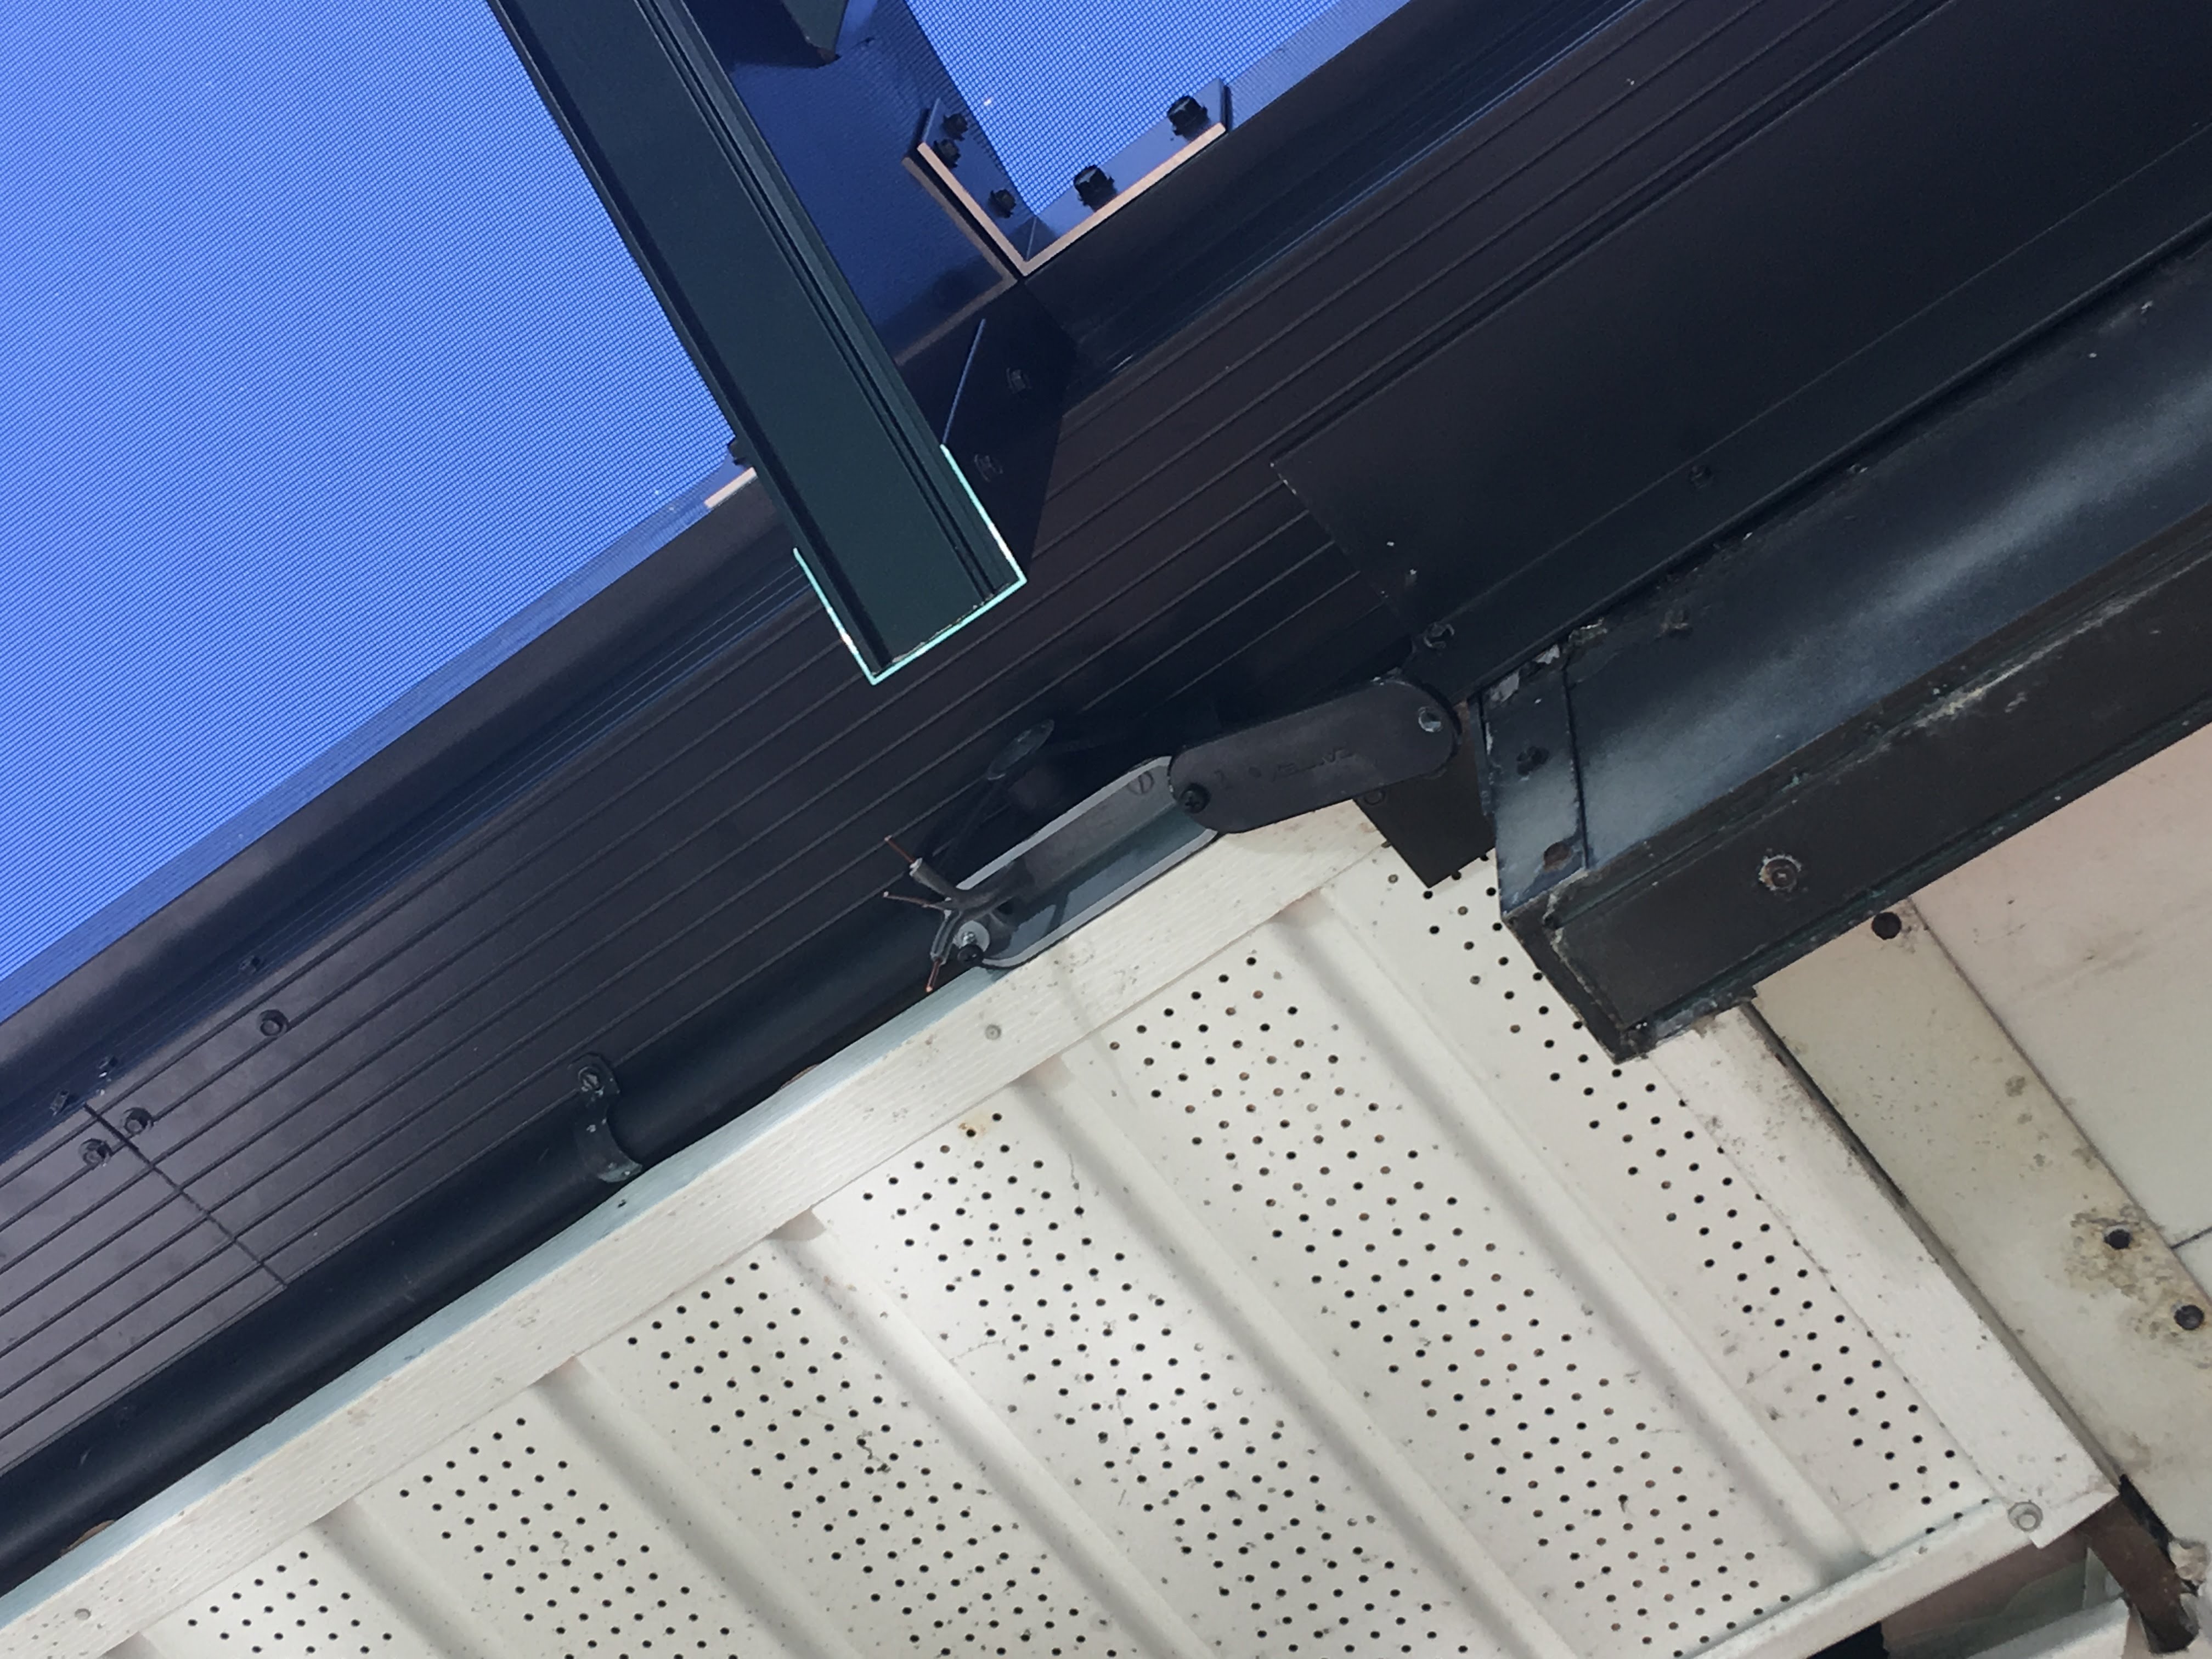
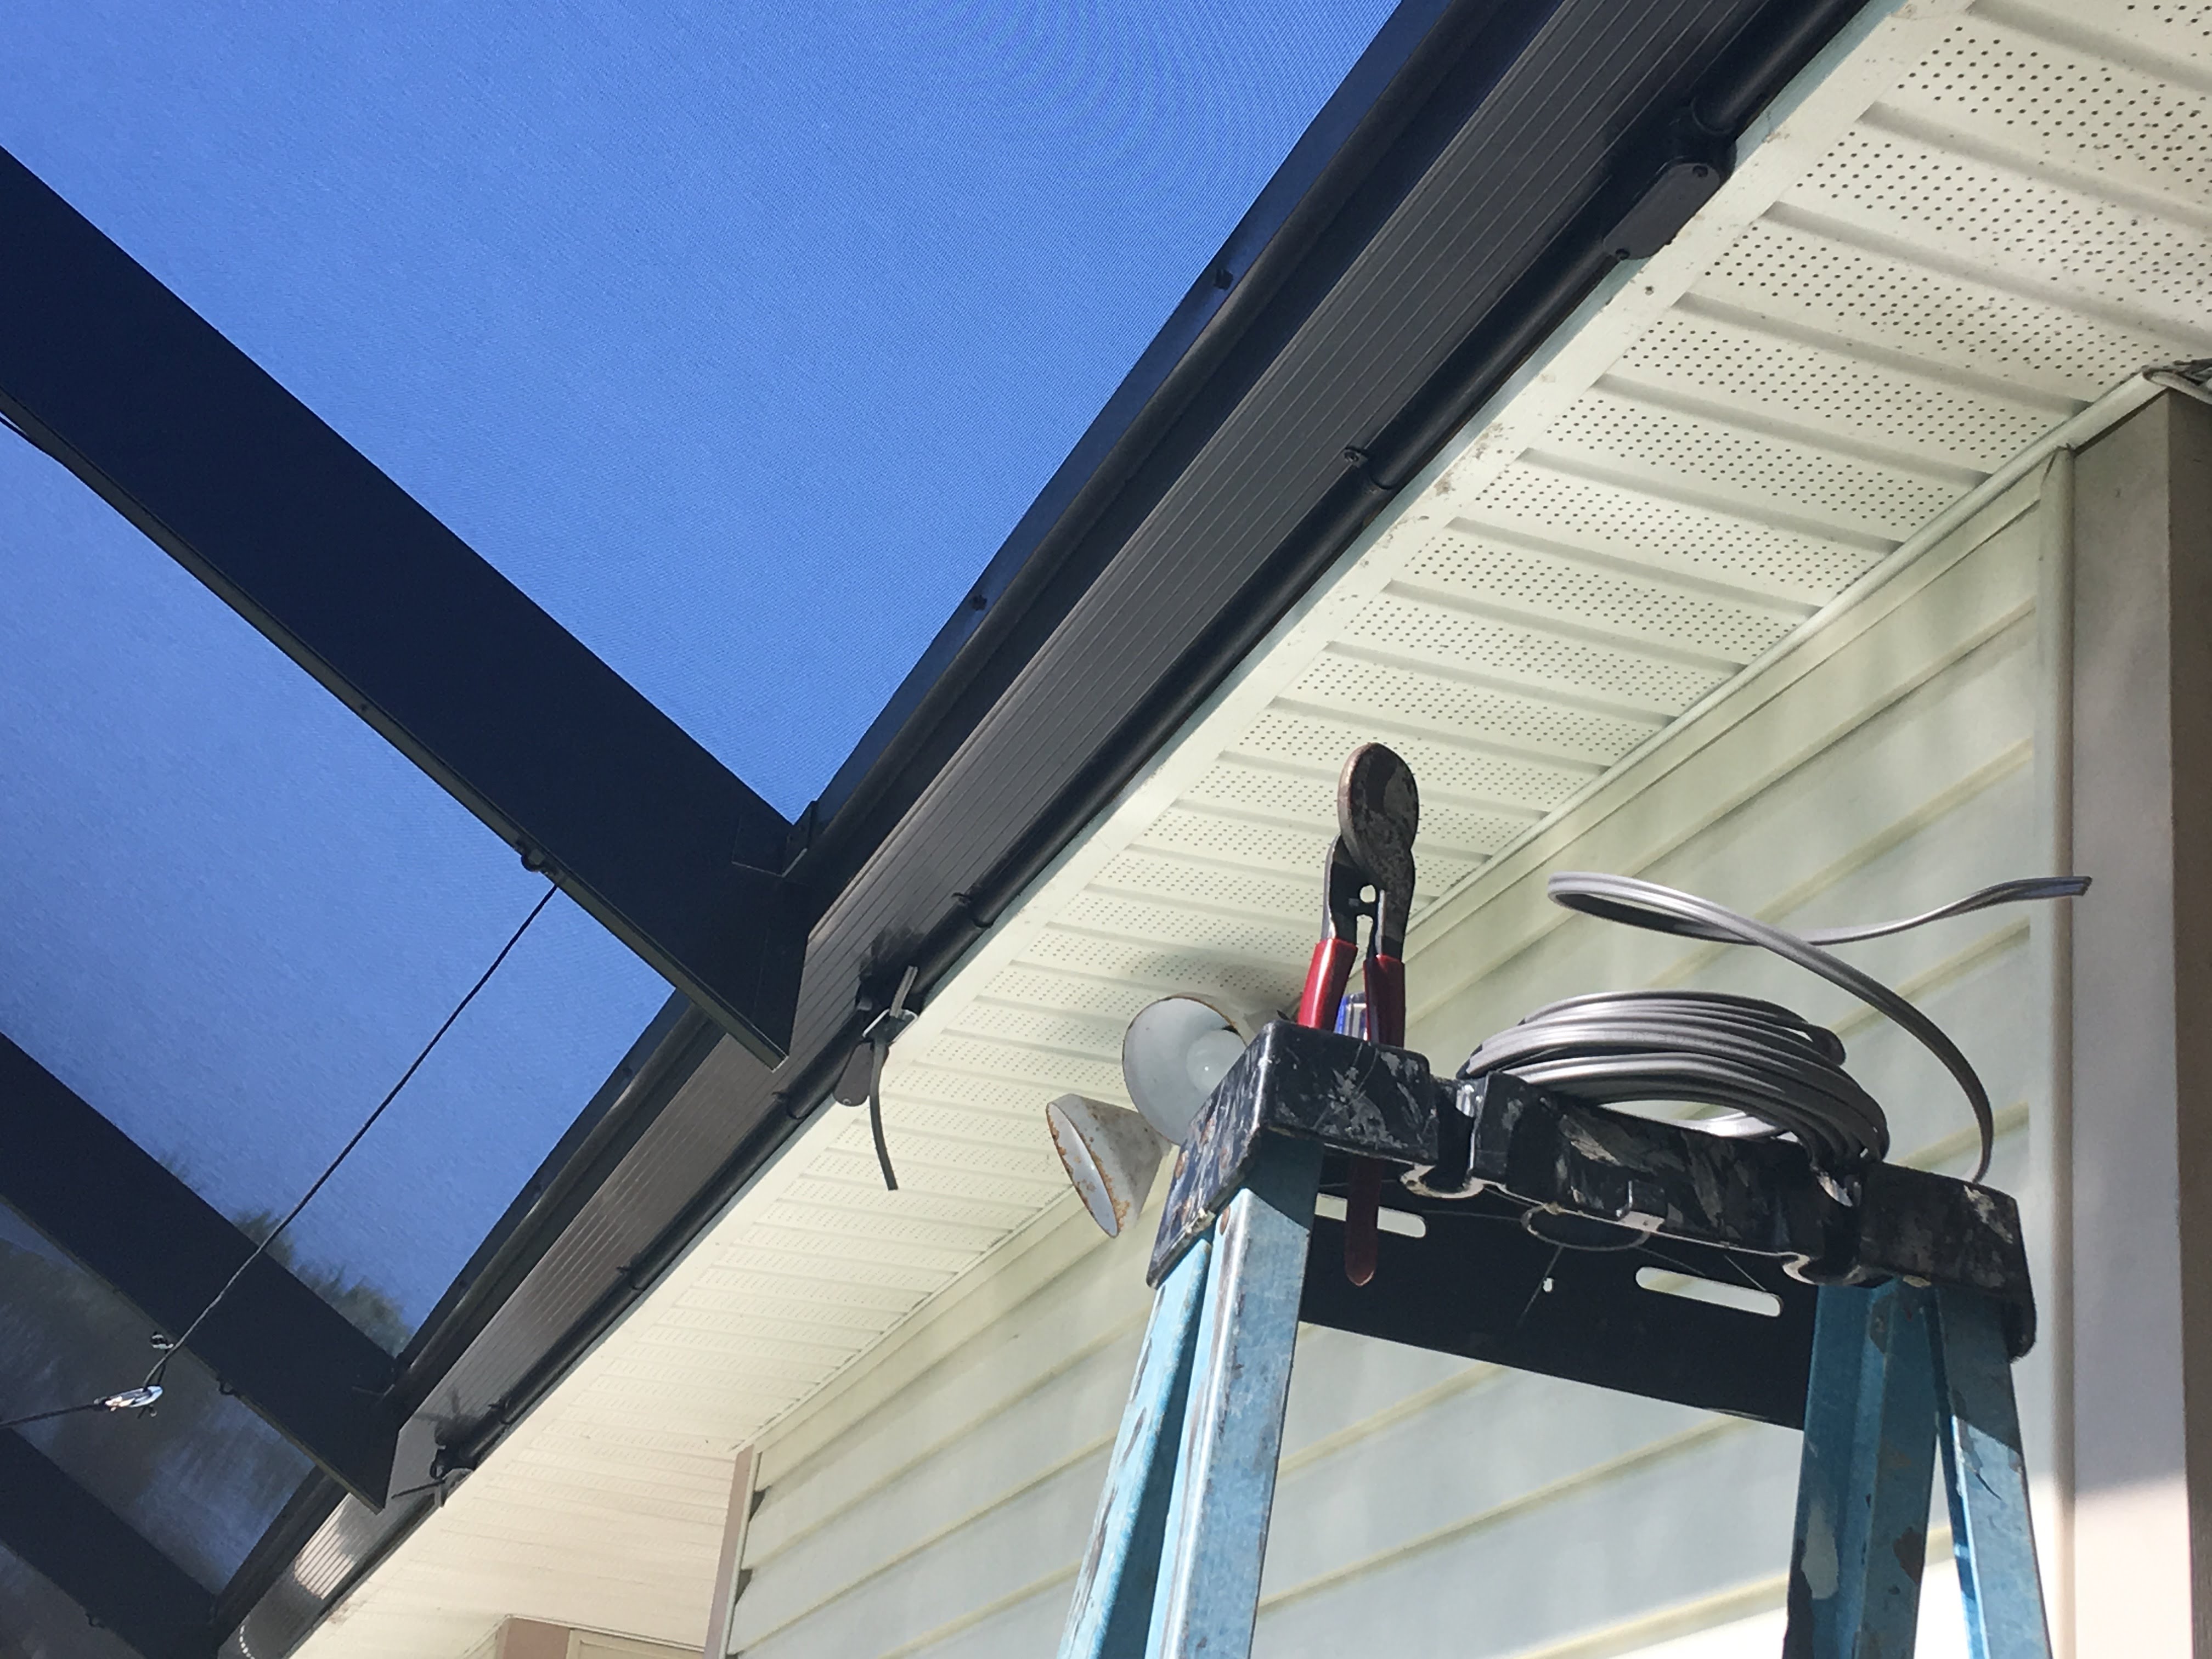
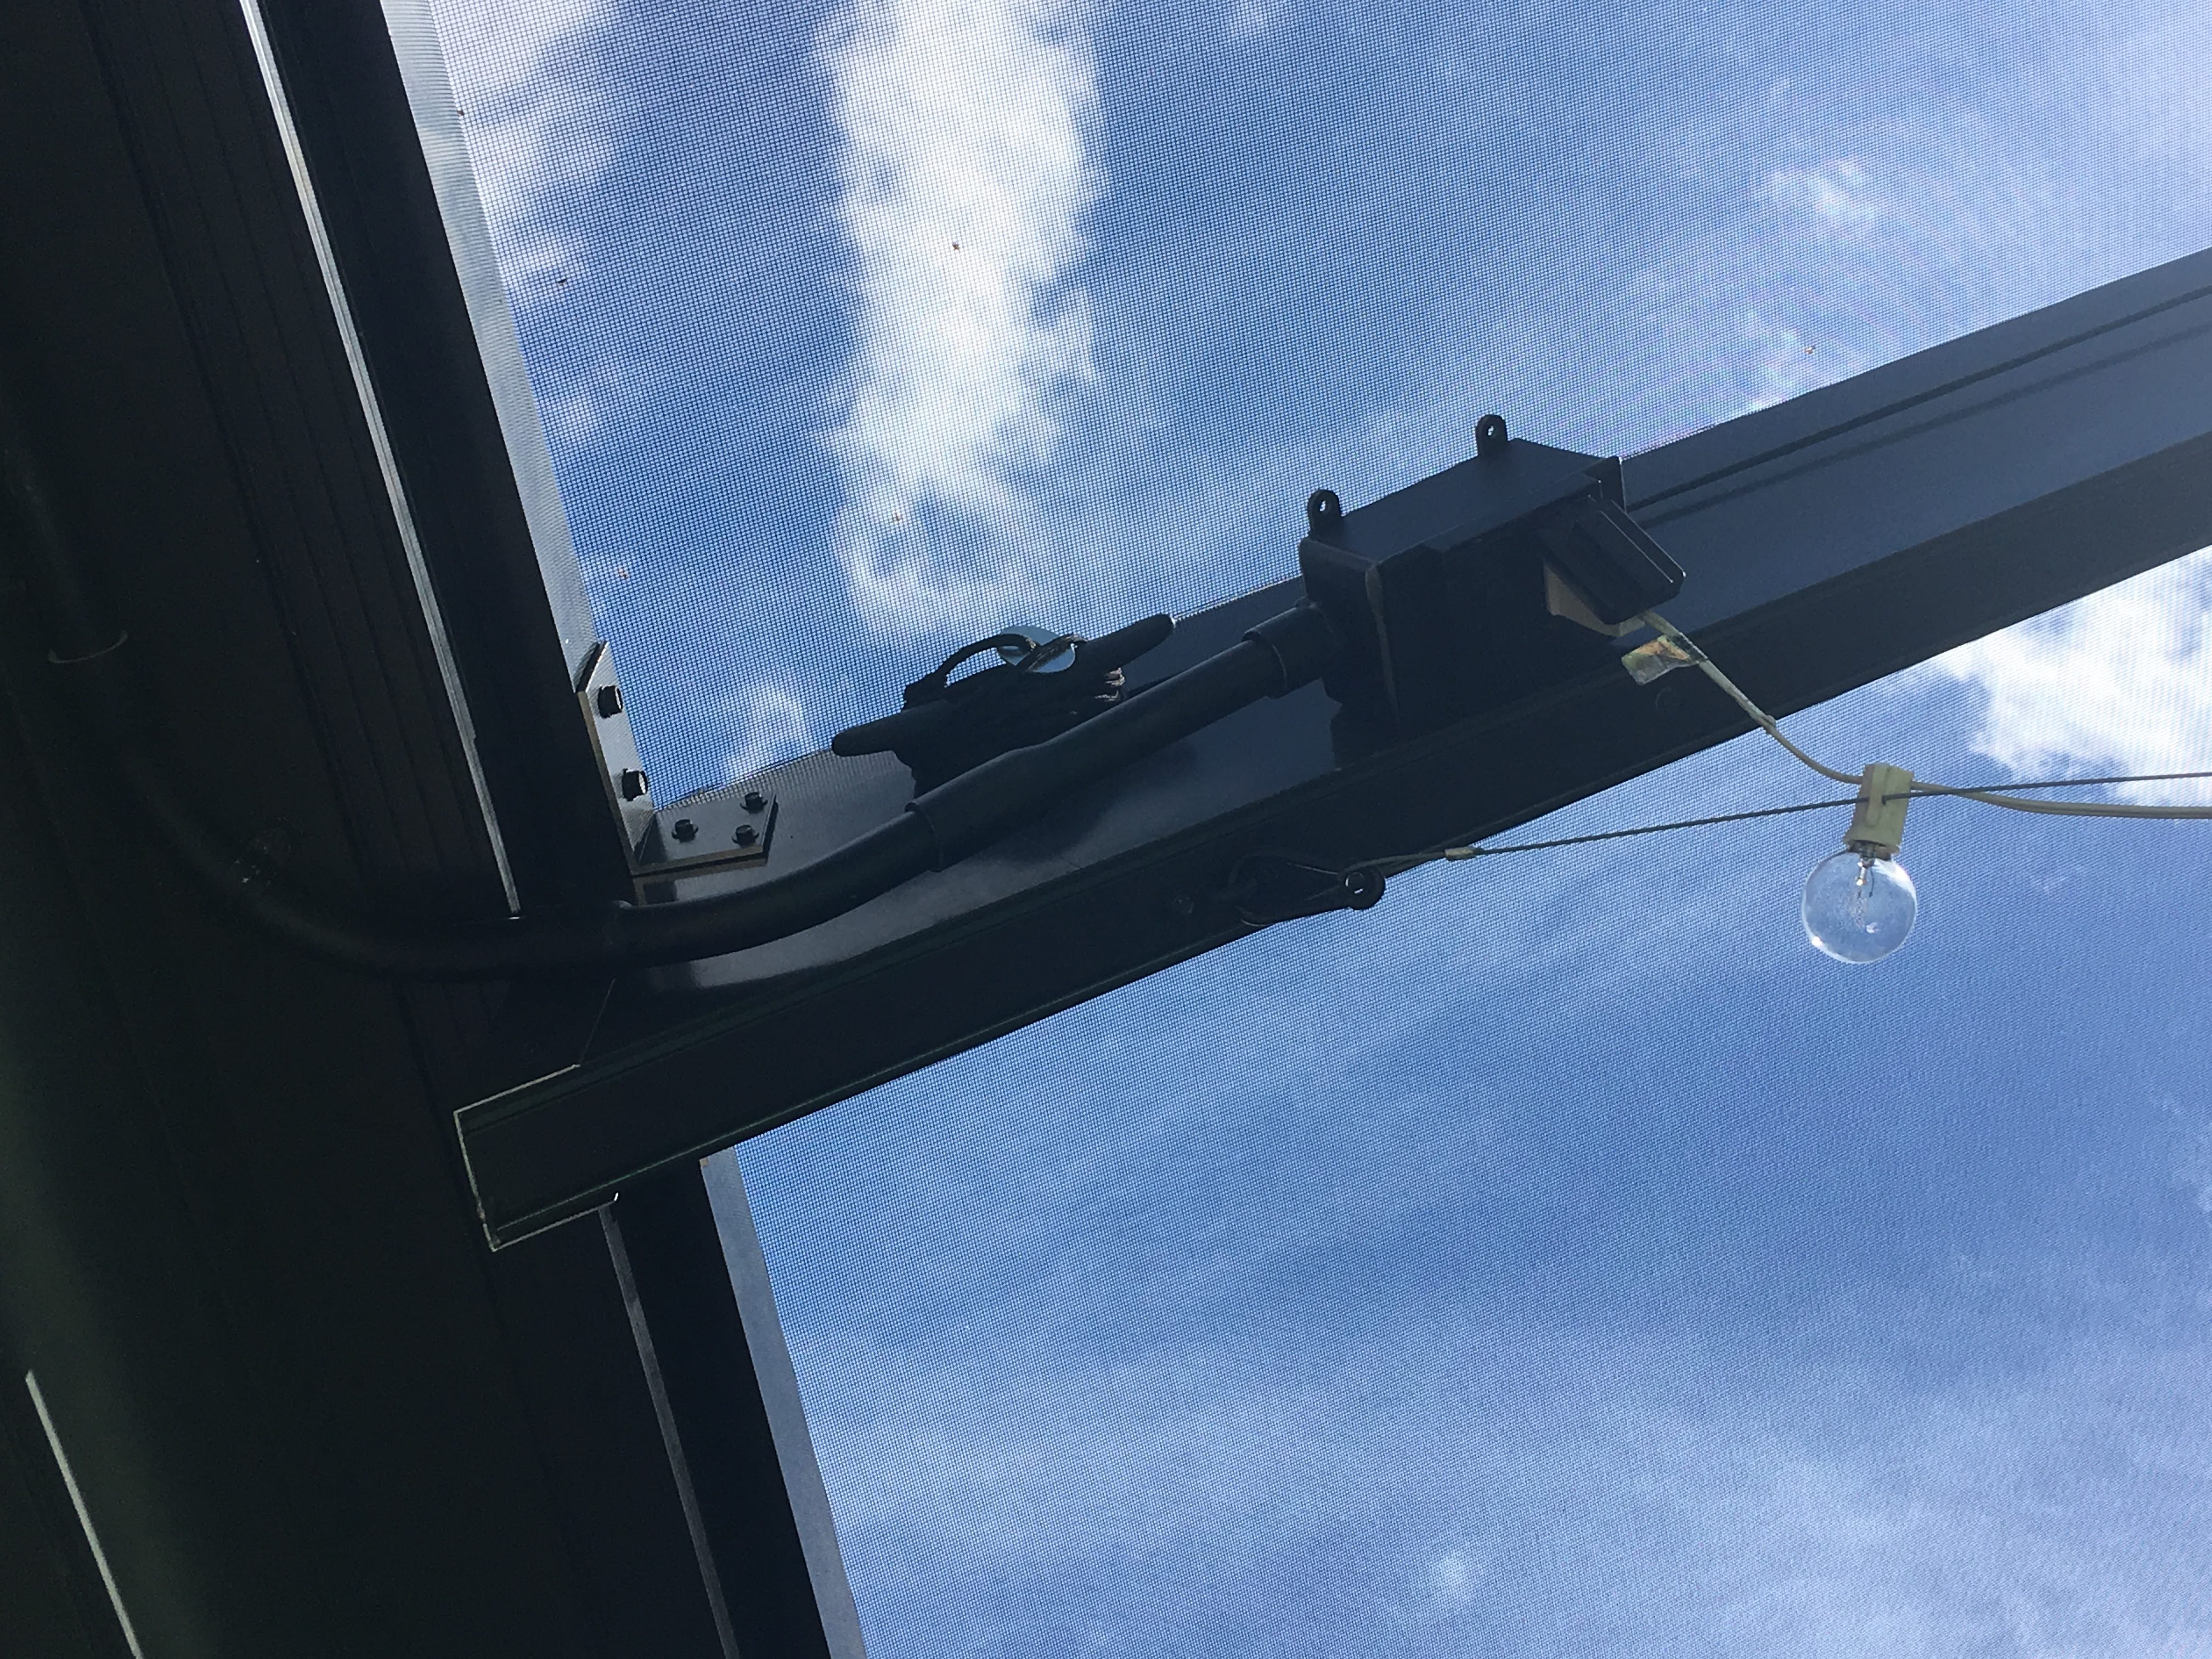
The grey switch is the on/off switch for the lights, and it turns on all 5 sets of lights.
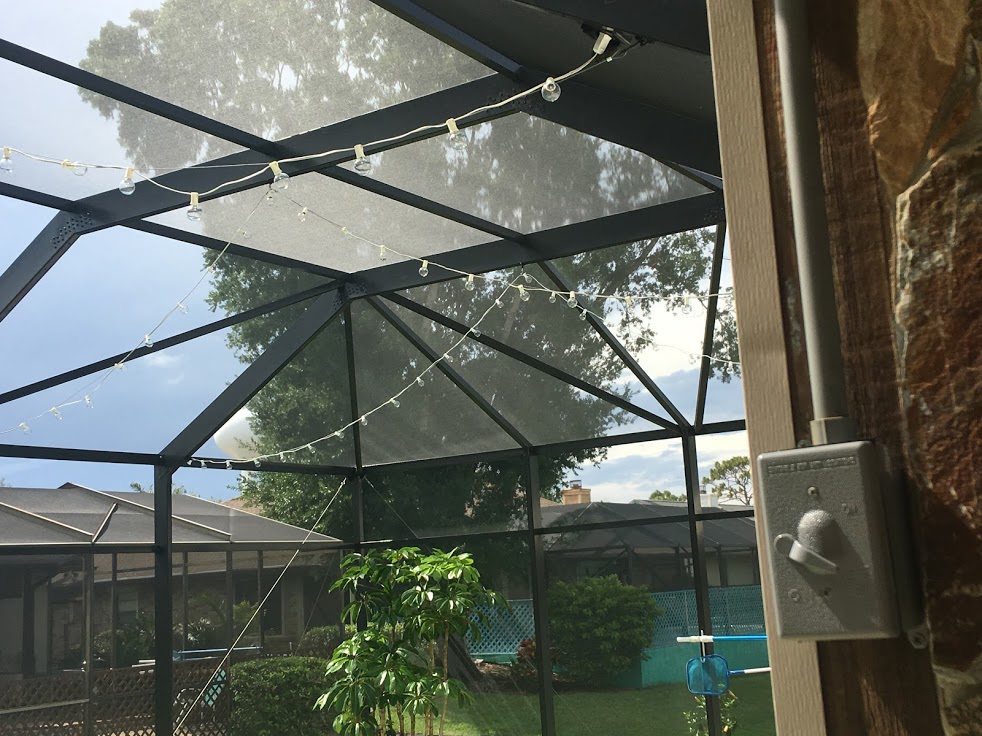
Notice the enclosure opposite mine is a box gable roof, like my old one was. It looks like a triangle at the end. The new style is different, more squared. The result is a higher maximum roof height!
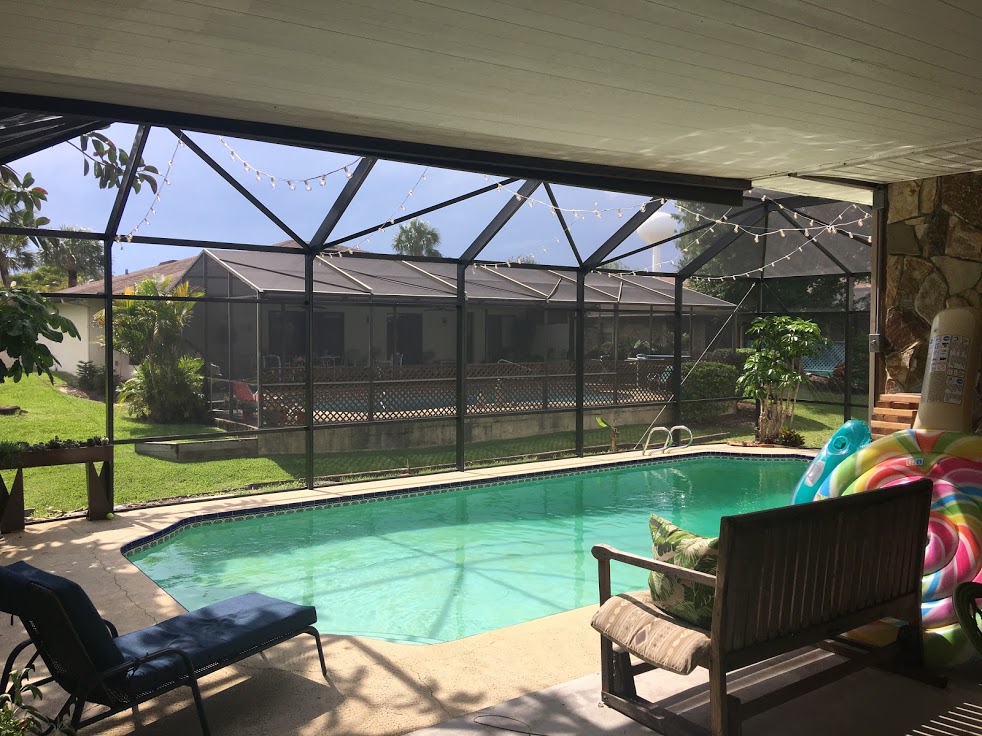
I’m very pleased with the new enclosure, the lights, the dog door, and Alex and Palm Bay Aluminum’s work!
