
Mazda Miata - Remove Airbag Warning Stickers from Sunvisor
My Miata had those annoying stickers on the sunvisor that have an airbag warning, I didn’t like them, so I removed them. They are on there pretty good. Note that this does not work for 2018+ Miatas, they have switched up the type of adhesive used on the airbag sticker.
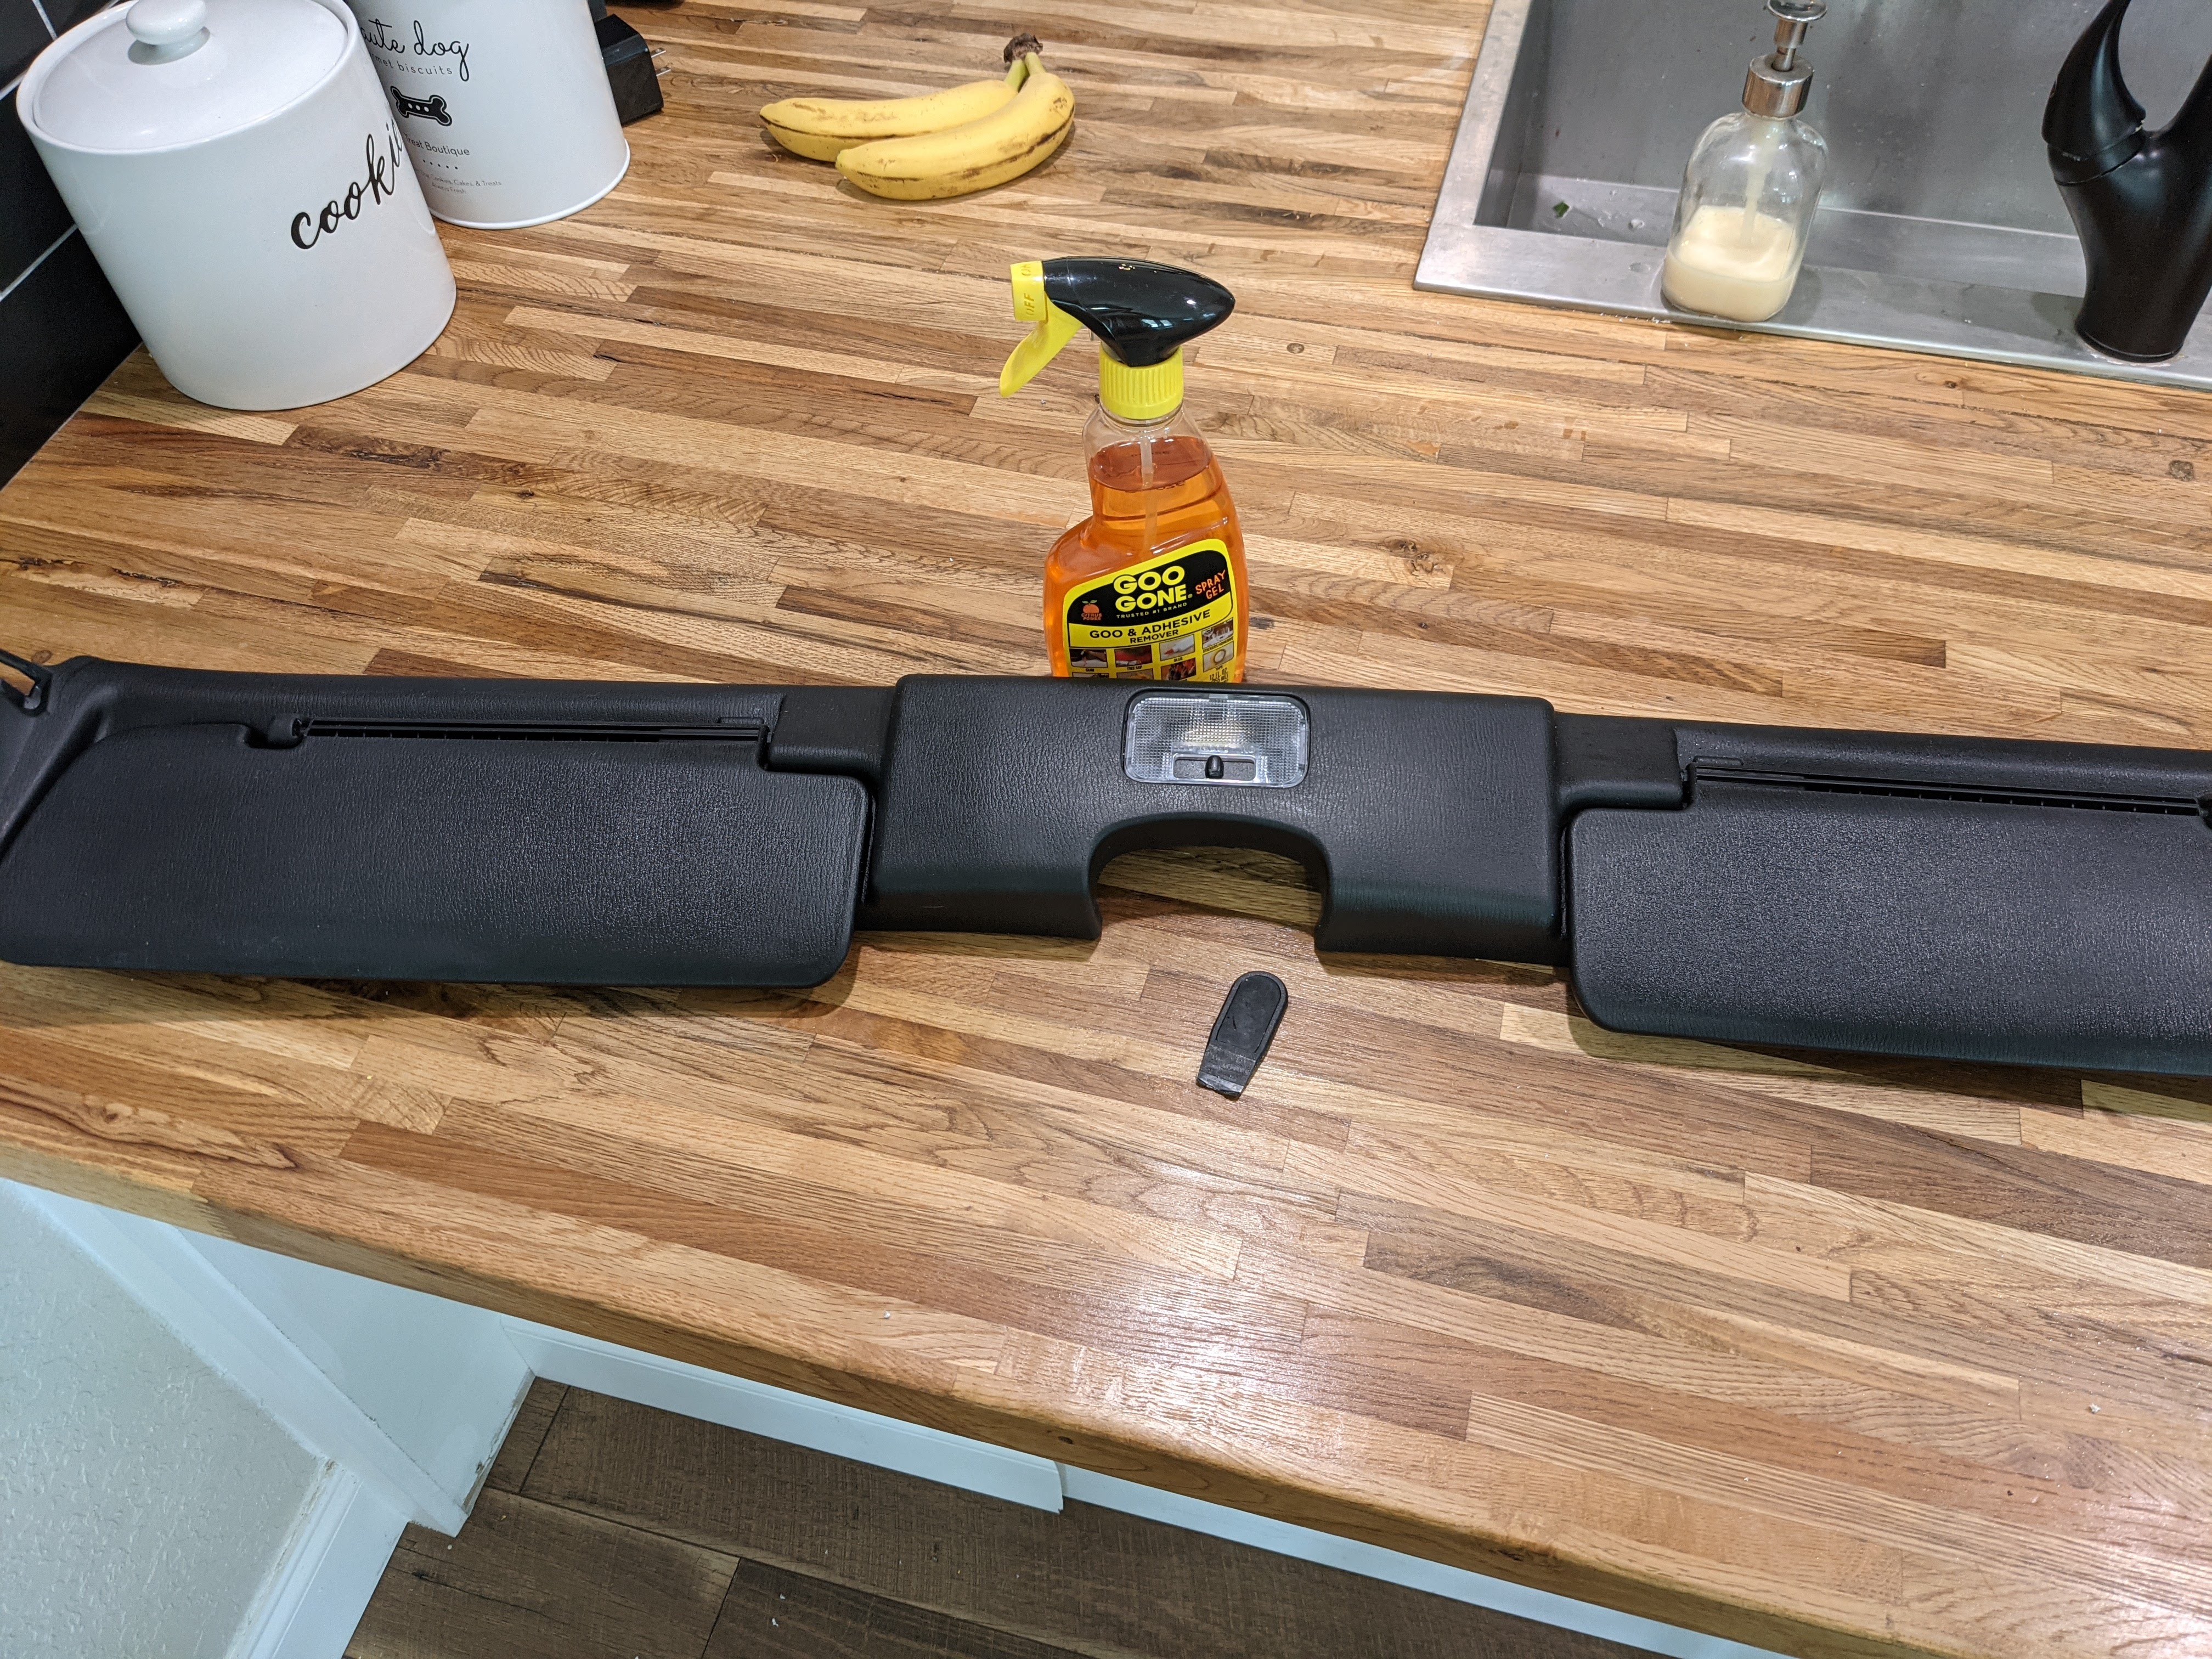
Materials:
- Goo Gone
- Hair Dryer/Heat Gun
- Trim Removal Tool
- T30 drill bit
- Gloves
- Paper Towels
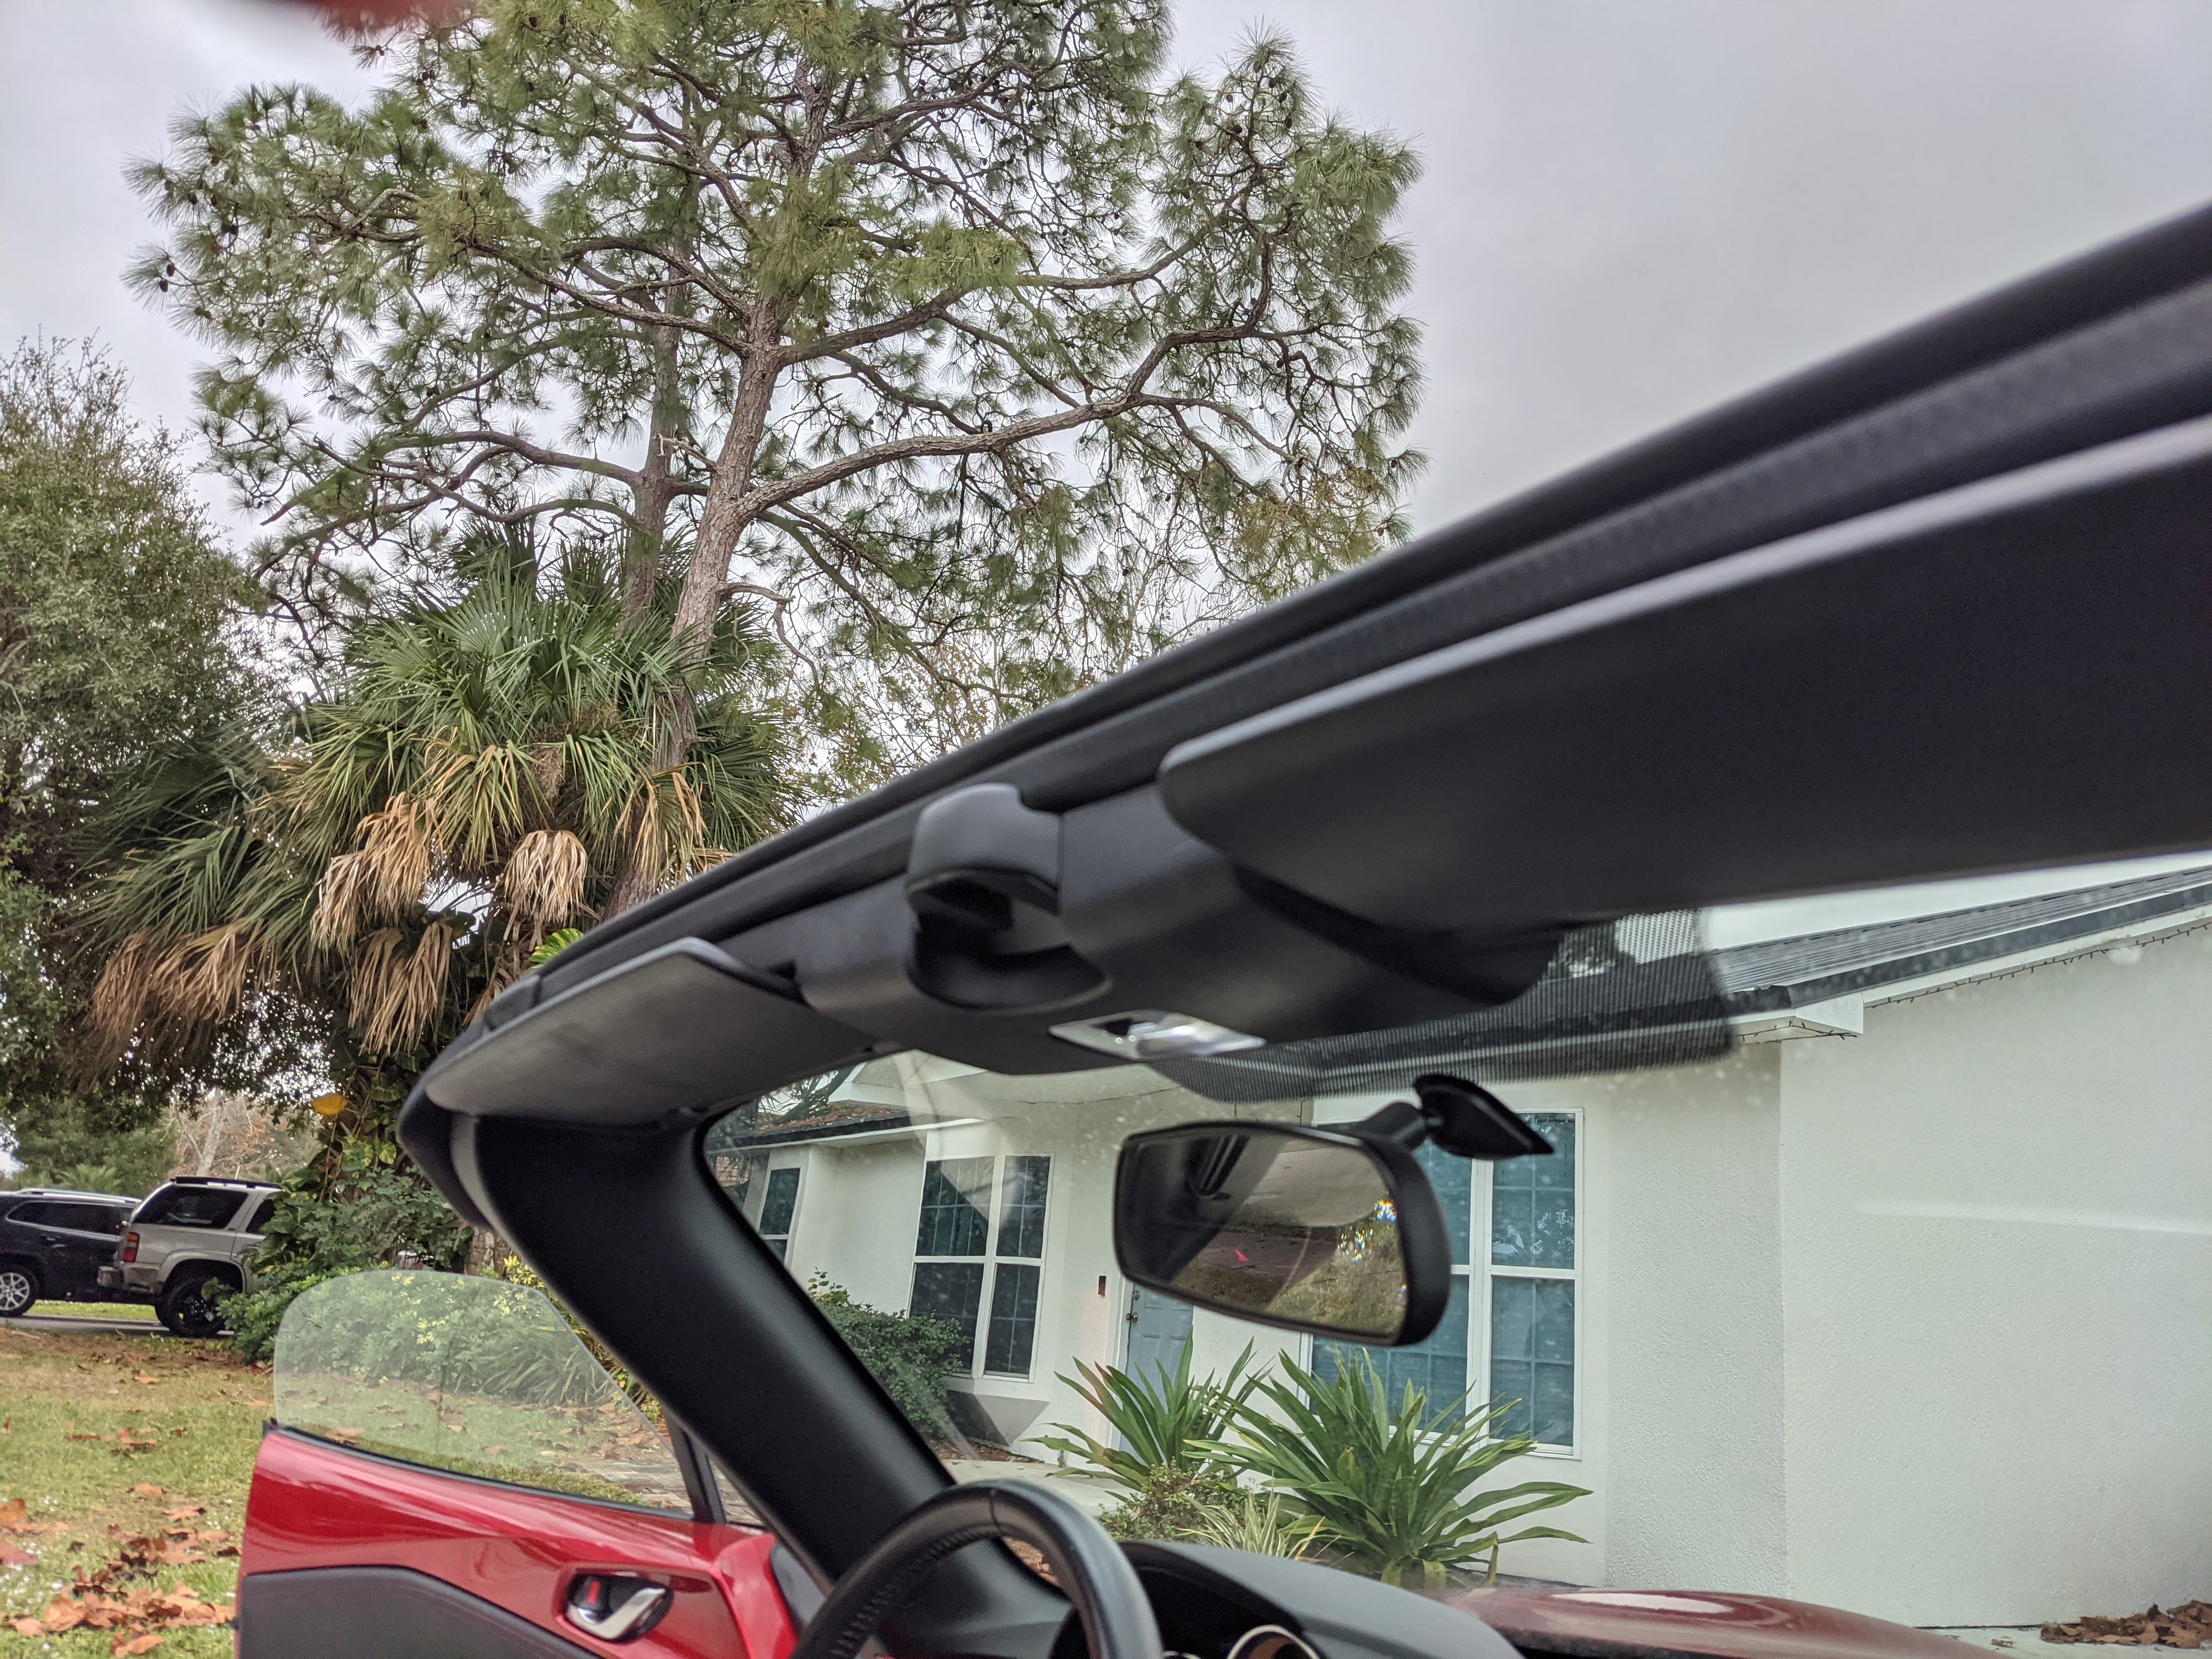
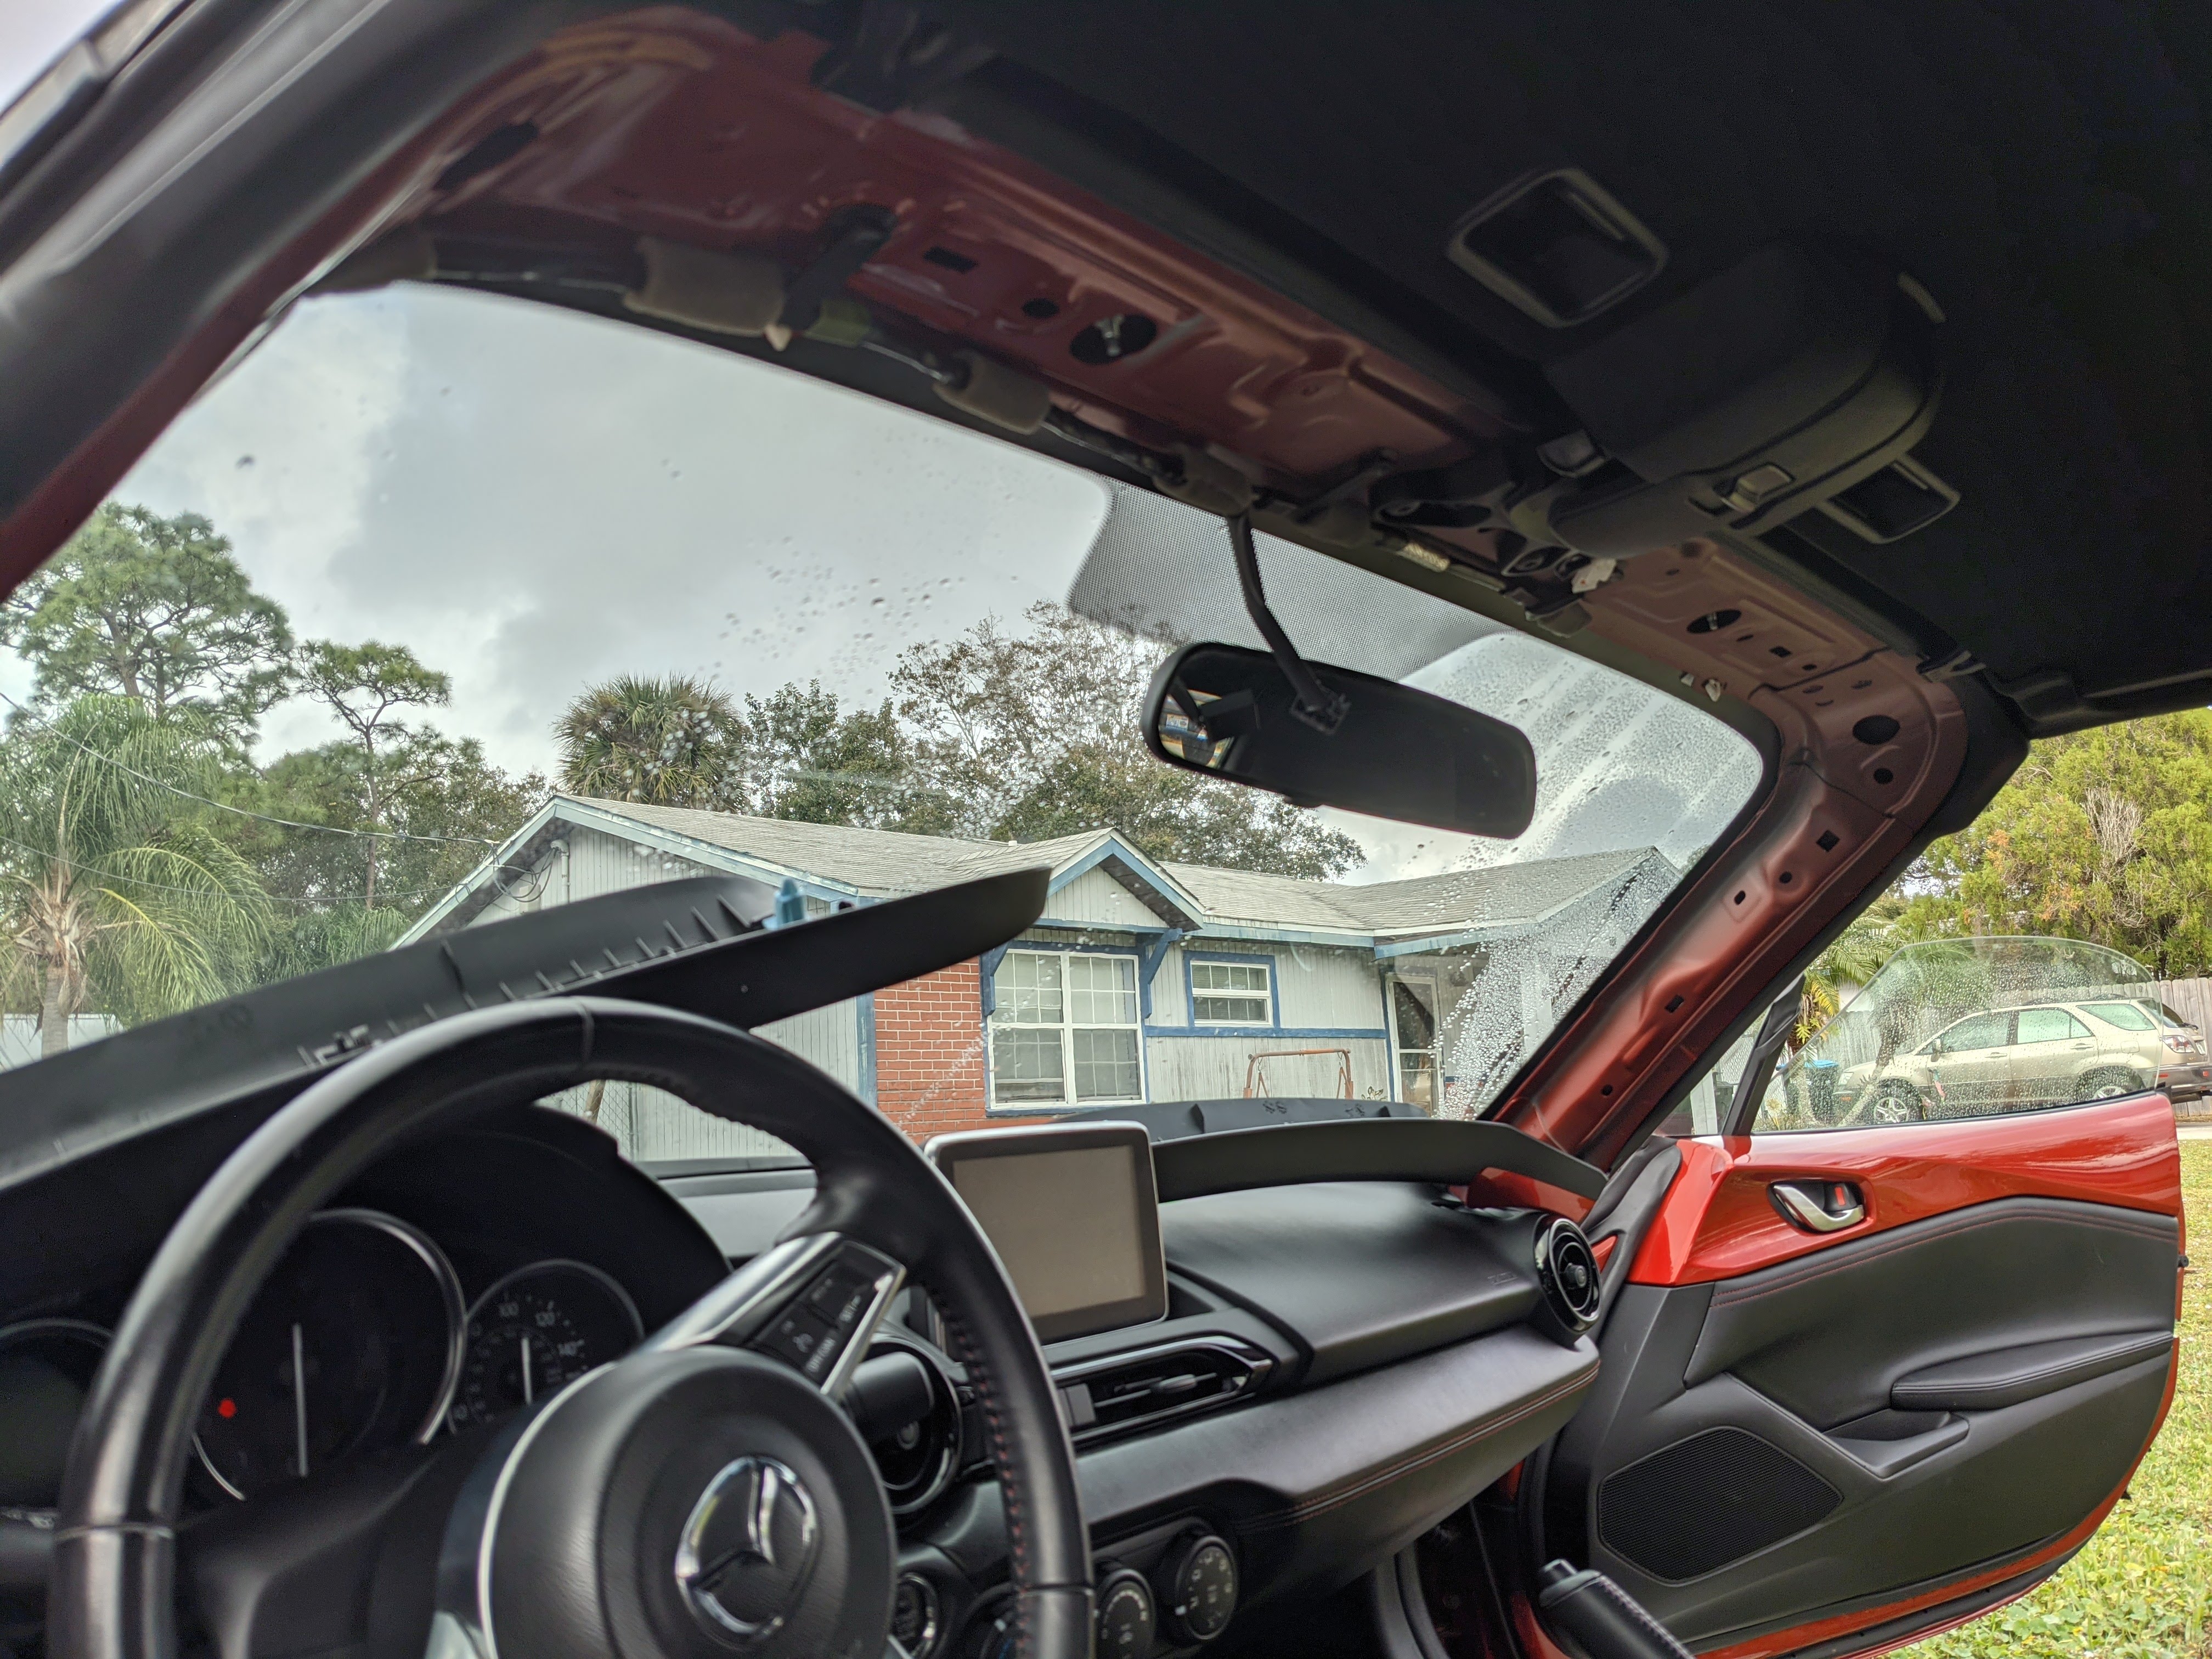
So first step is to take the sunvisor assembly out of the car. If you haven’t seen this website, it is a great resource for Miata how-tos, and this guide is how to remove the sunvisor - relevant parts below.
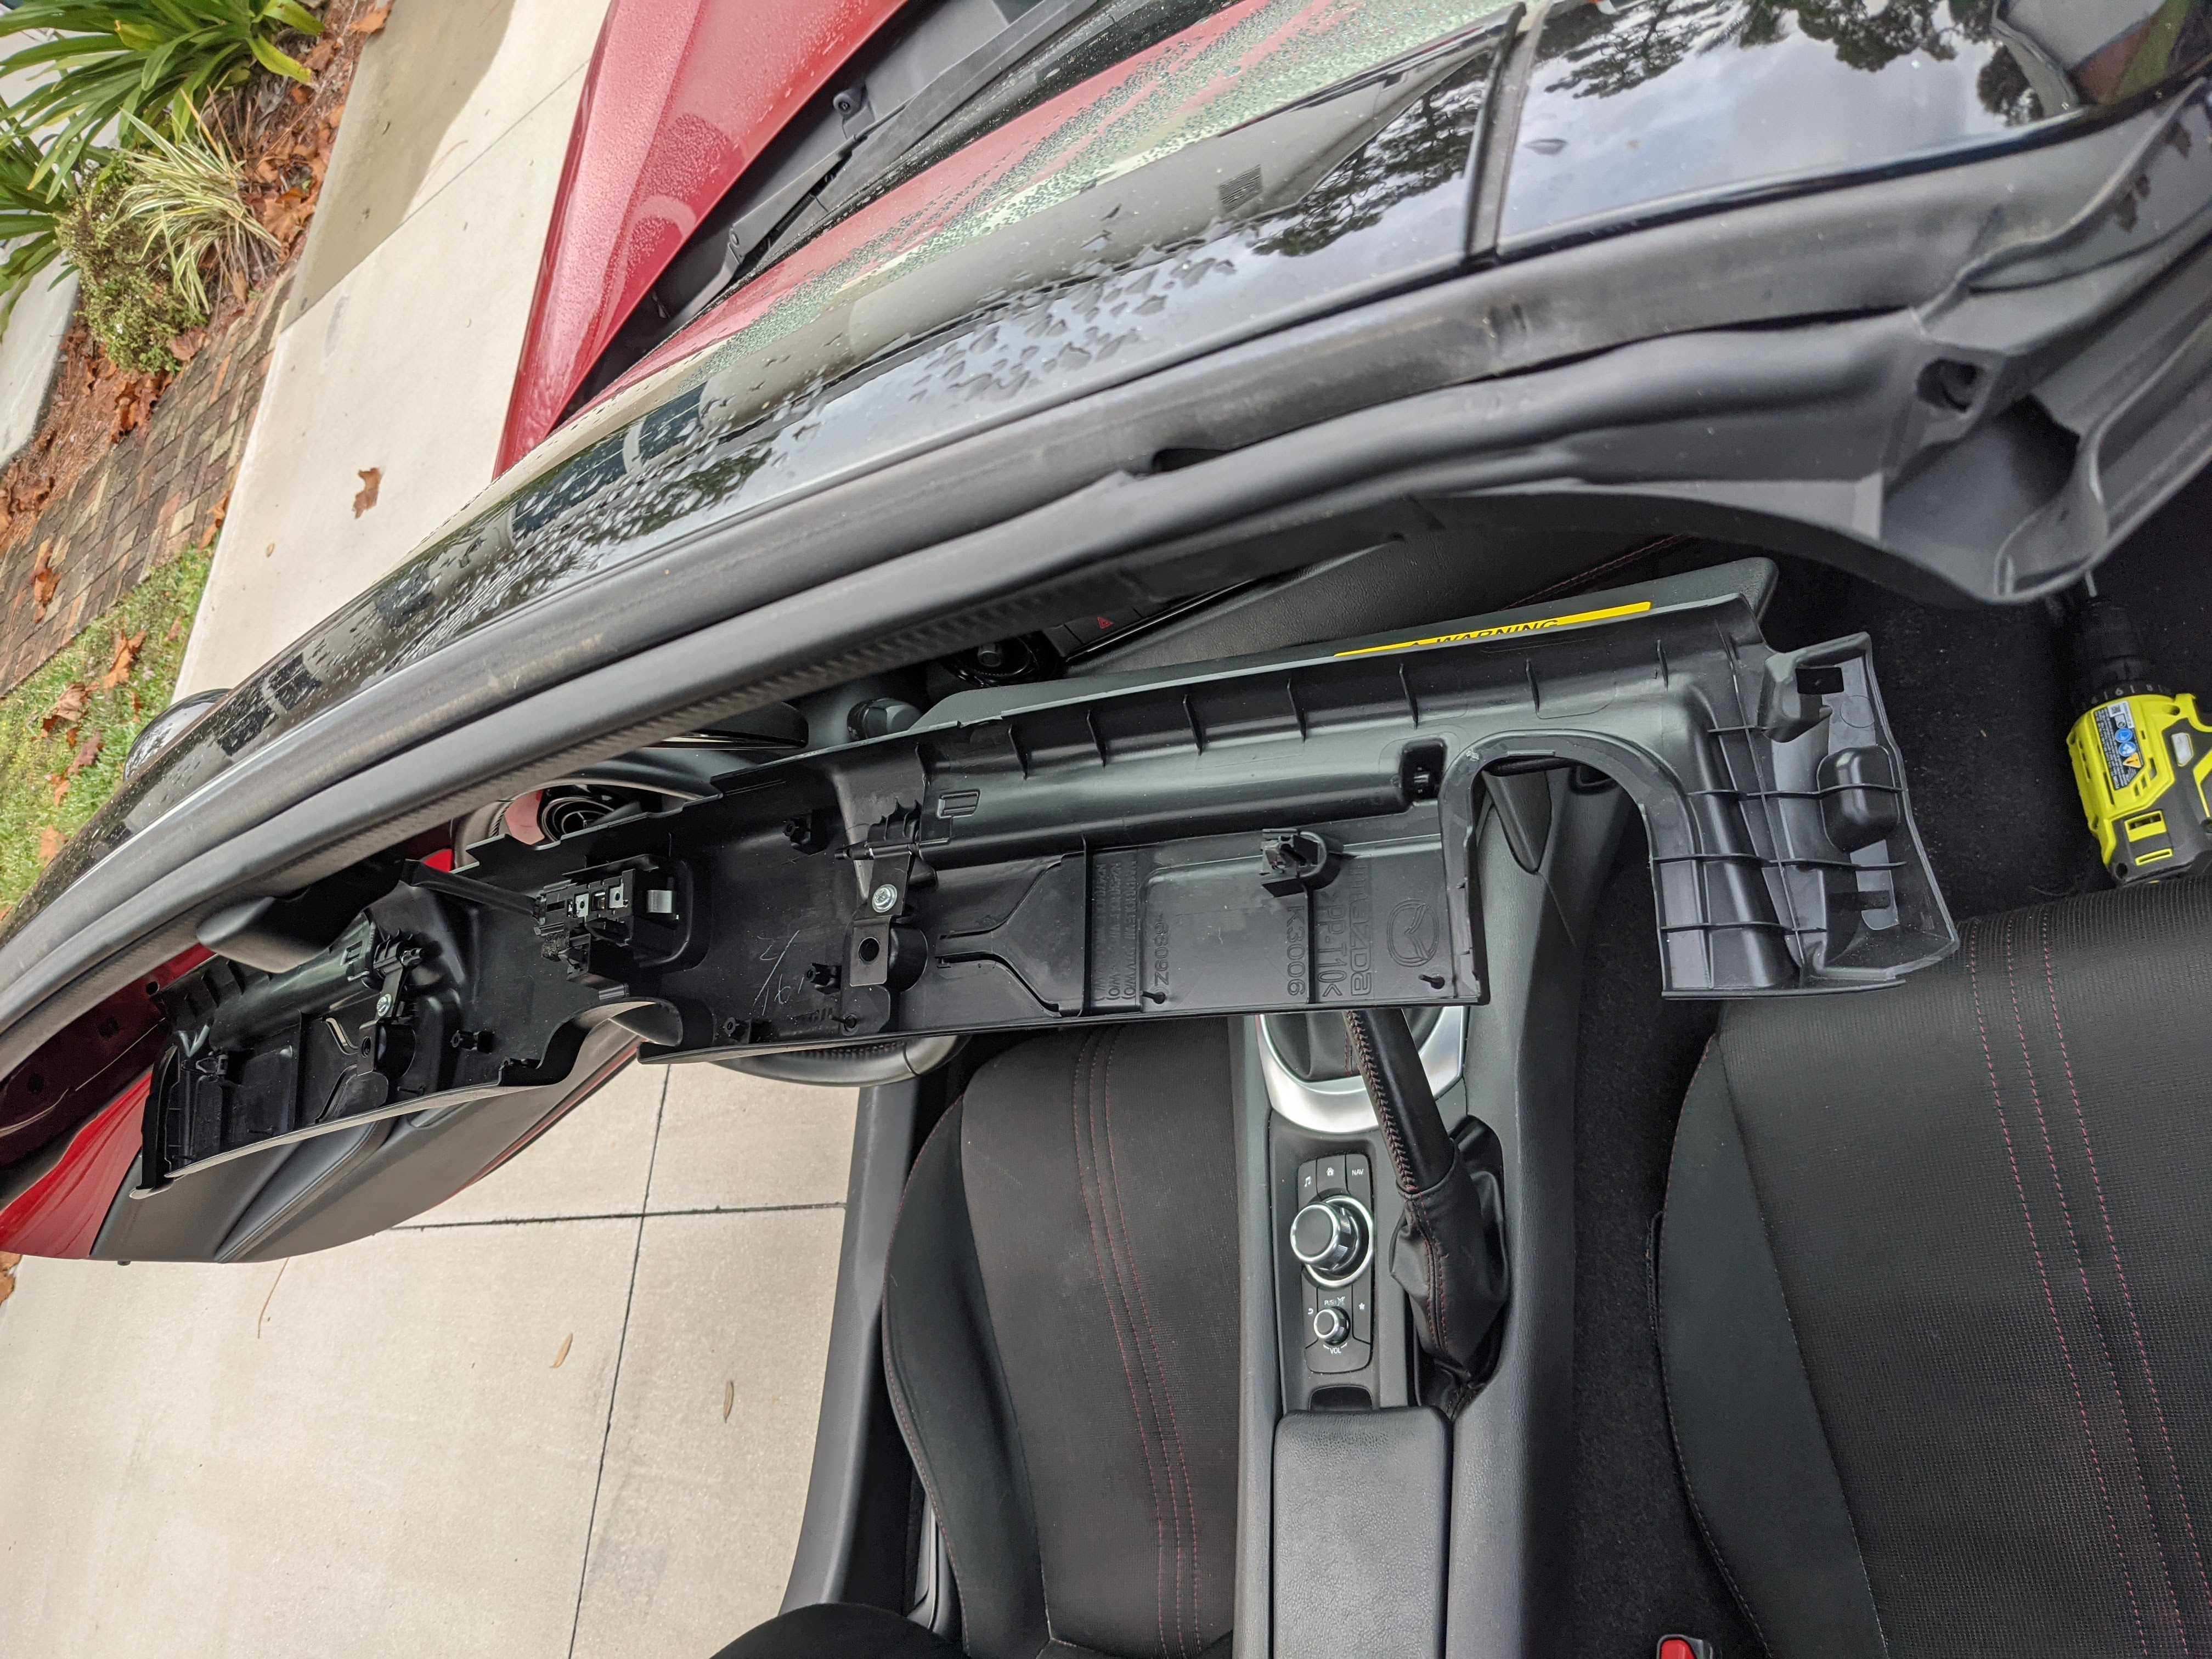
First, take off the two A-pillar pieces, these are just held on by clips, so just pull out. Leave the speakers plugged in and the A-pillars hanging.
There are 3 T-30 torx screws on each side - 2 hold on the soft top hardware, and 1 holds on the trim piece that contains the sunvisors. You need to take all 3 out.
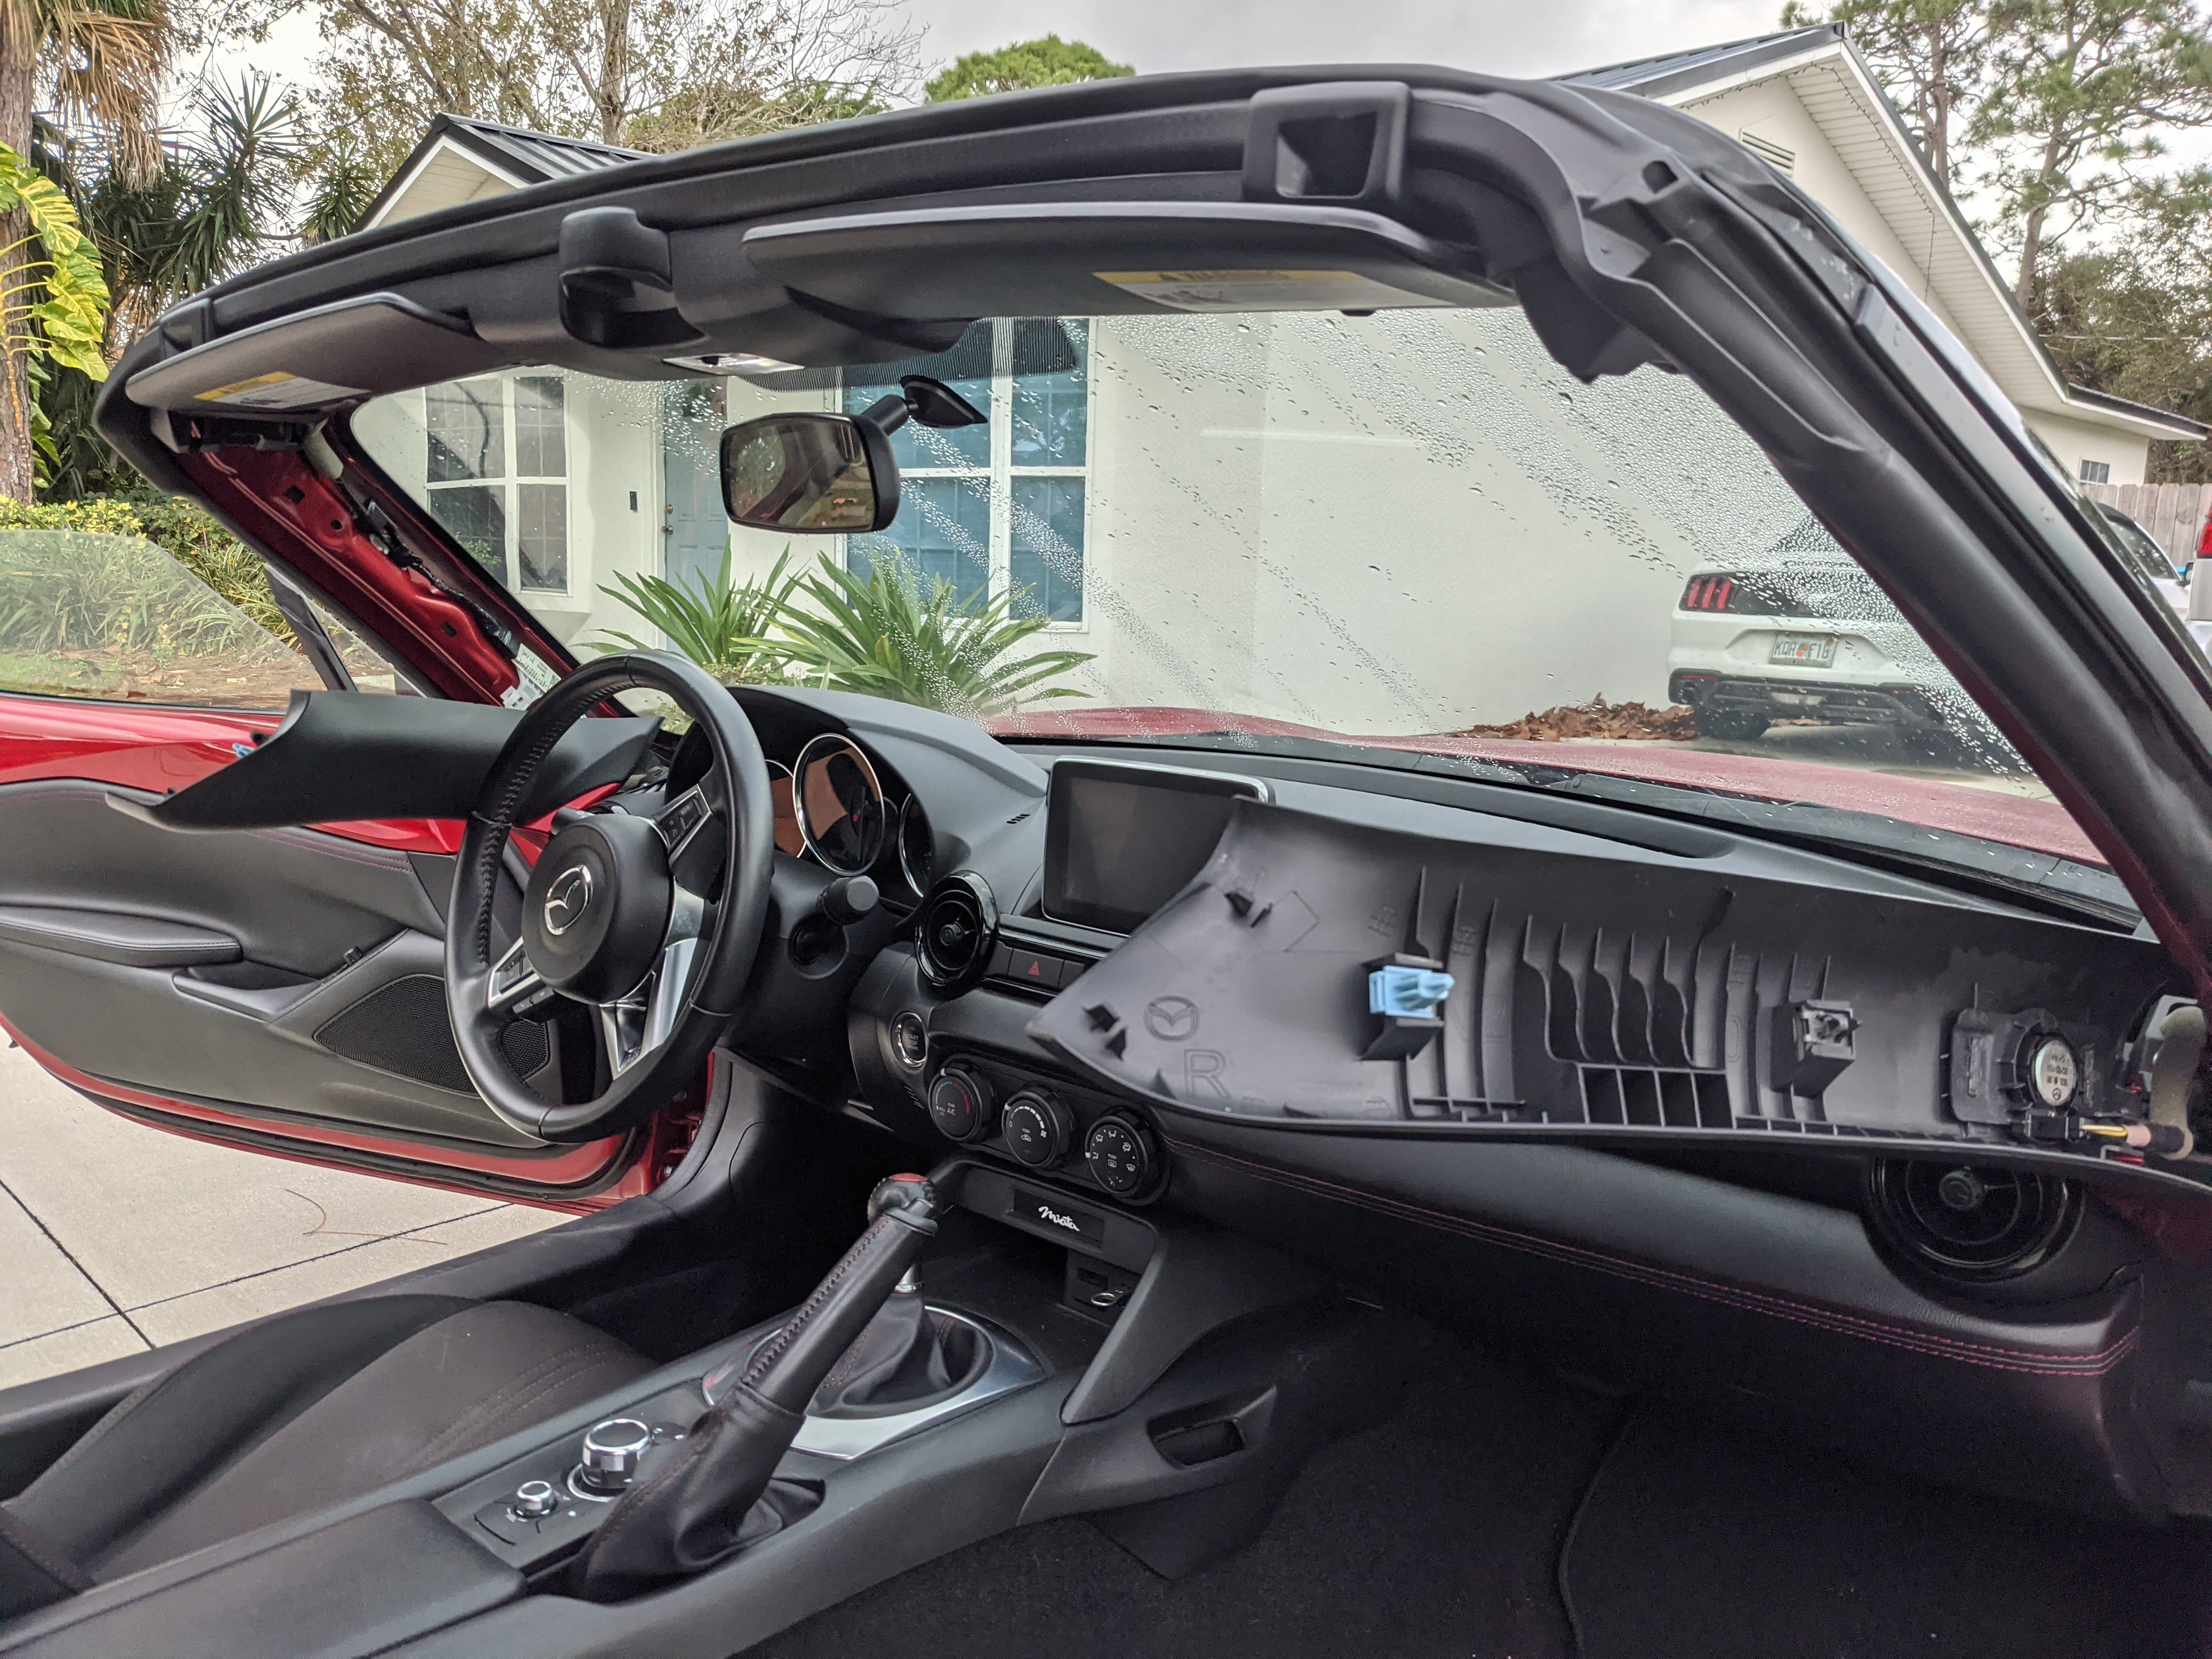
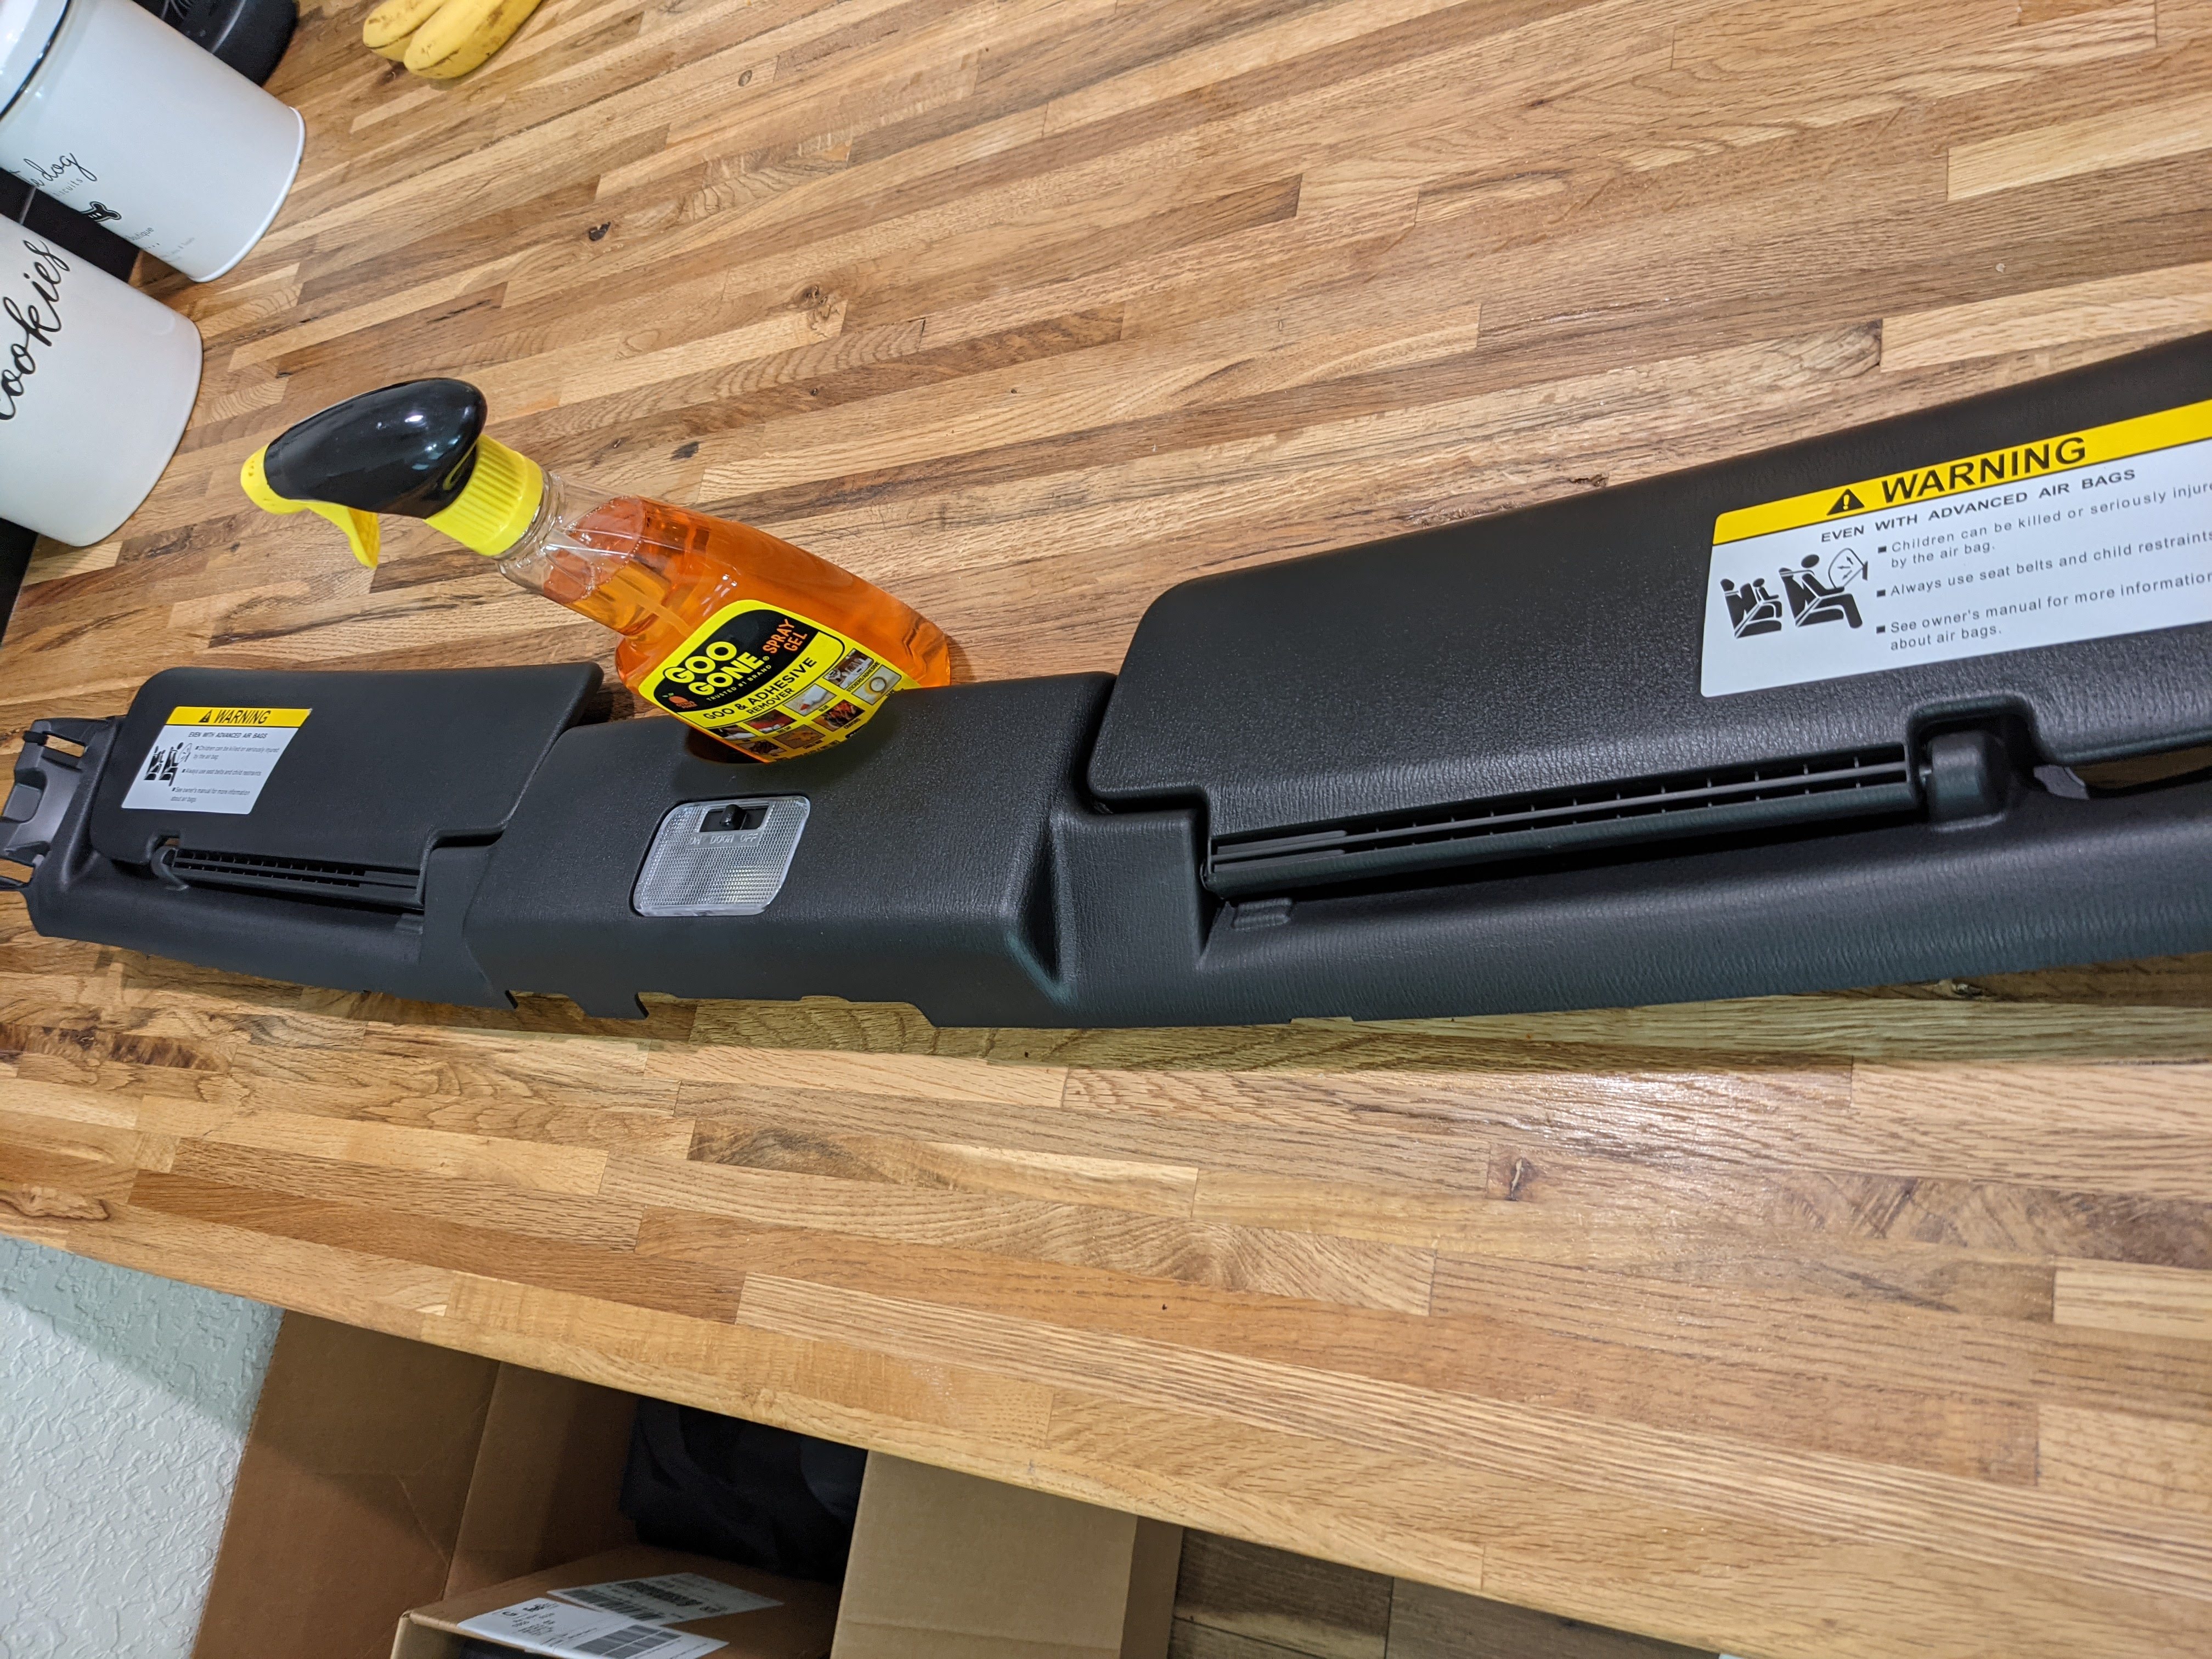
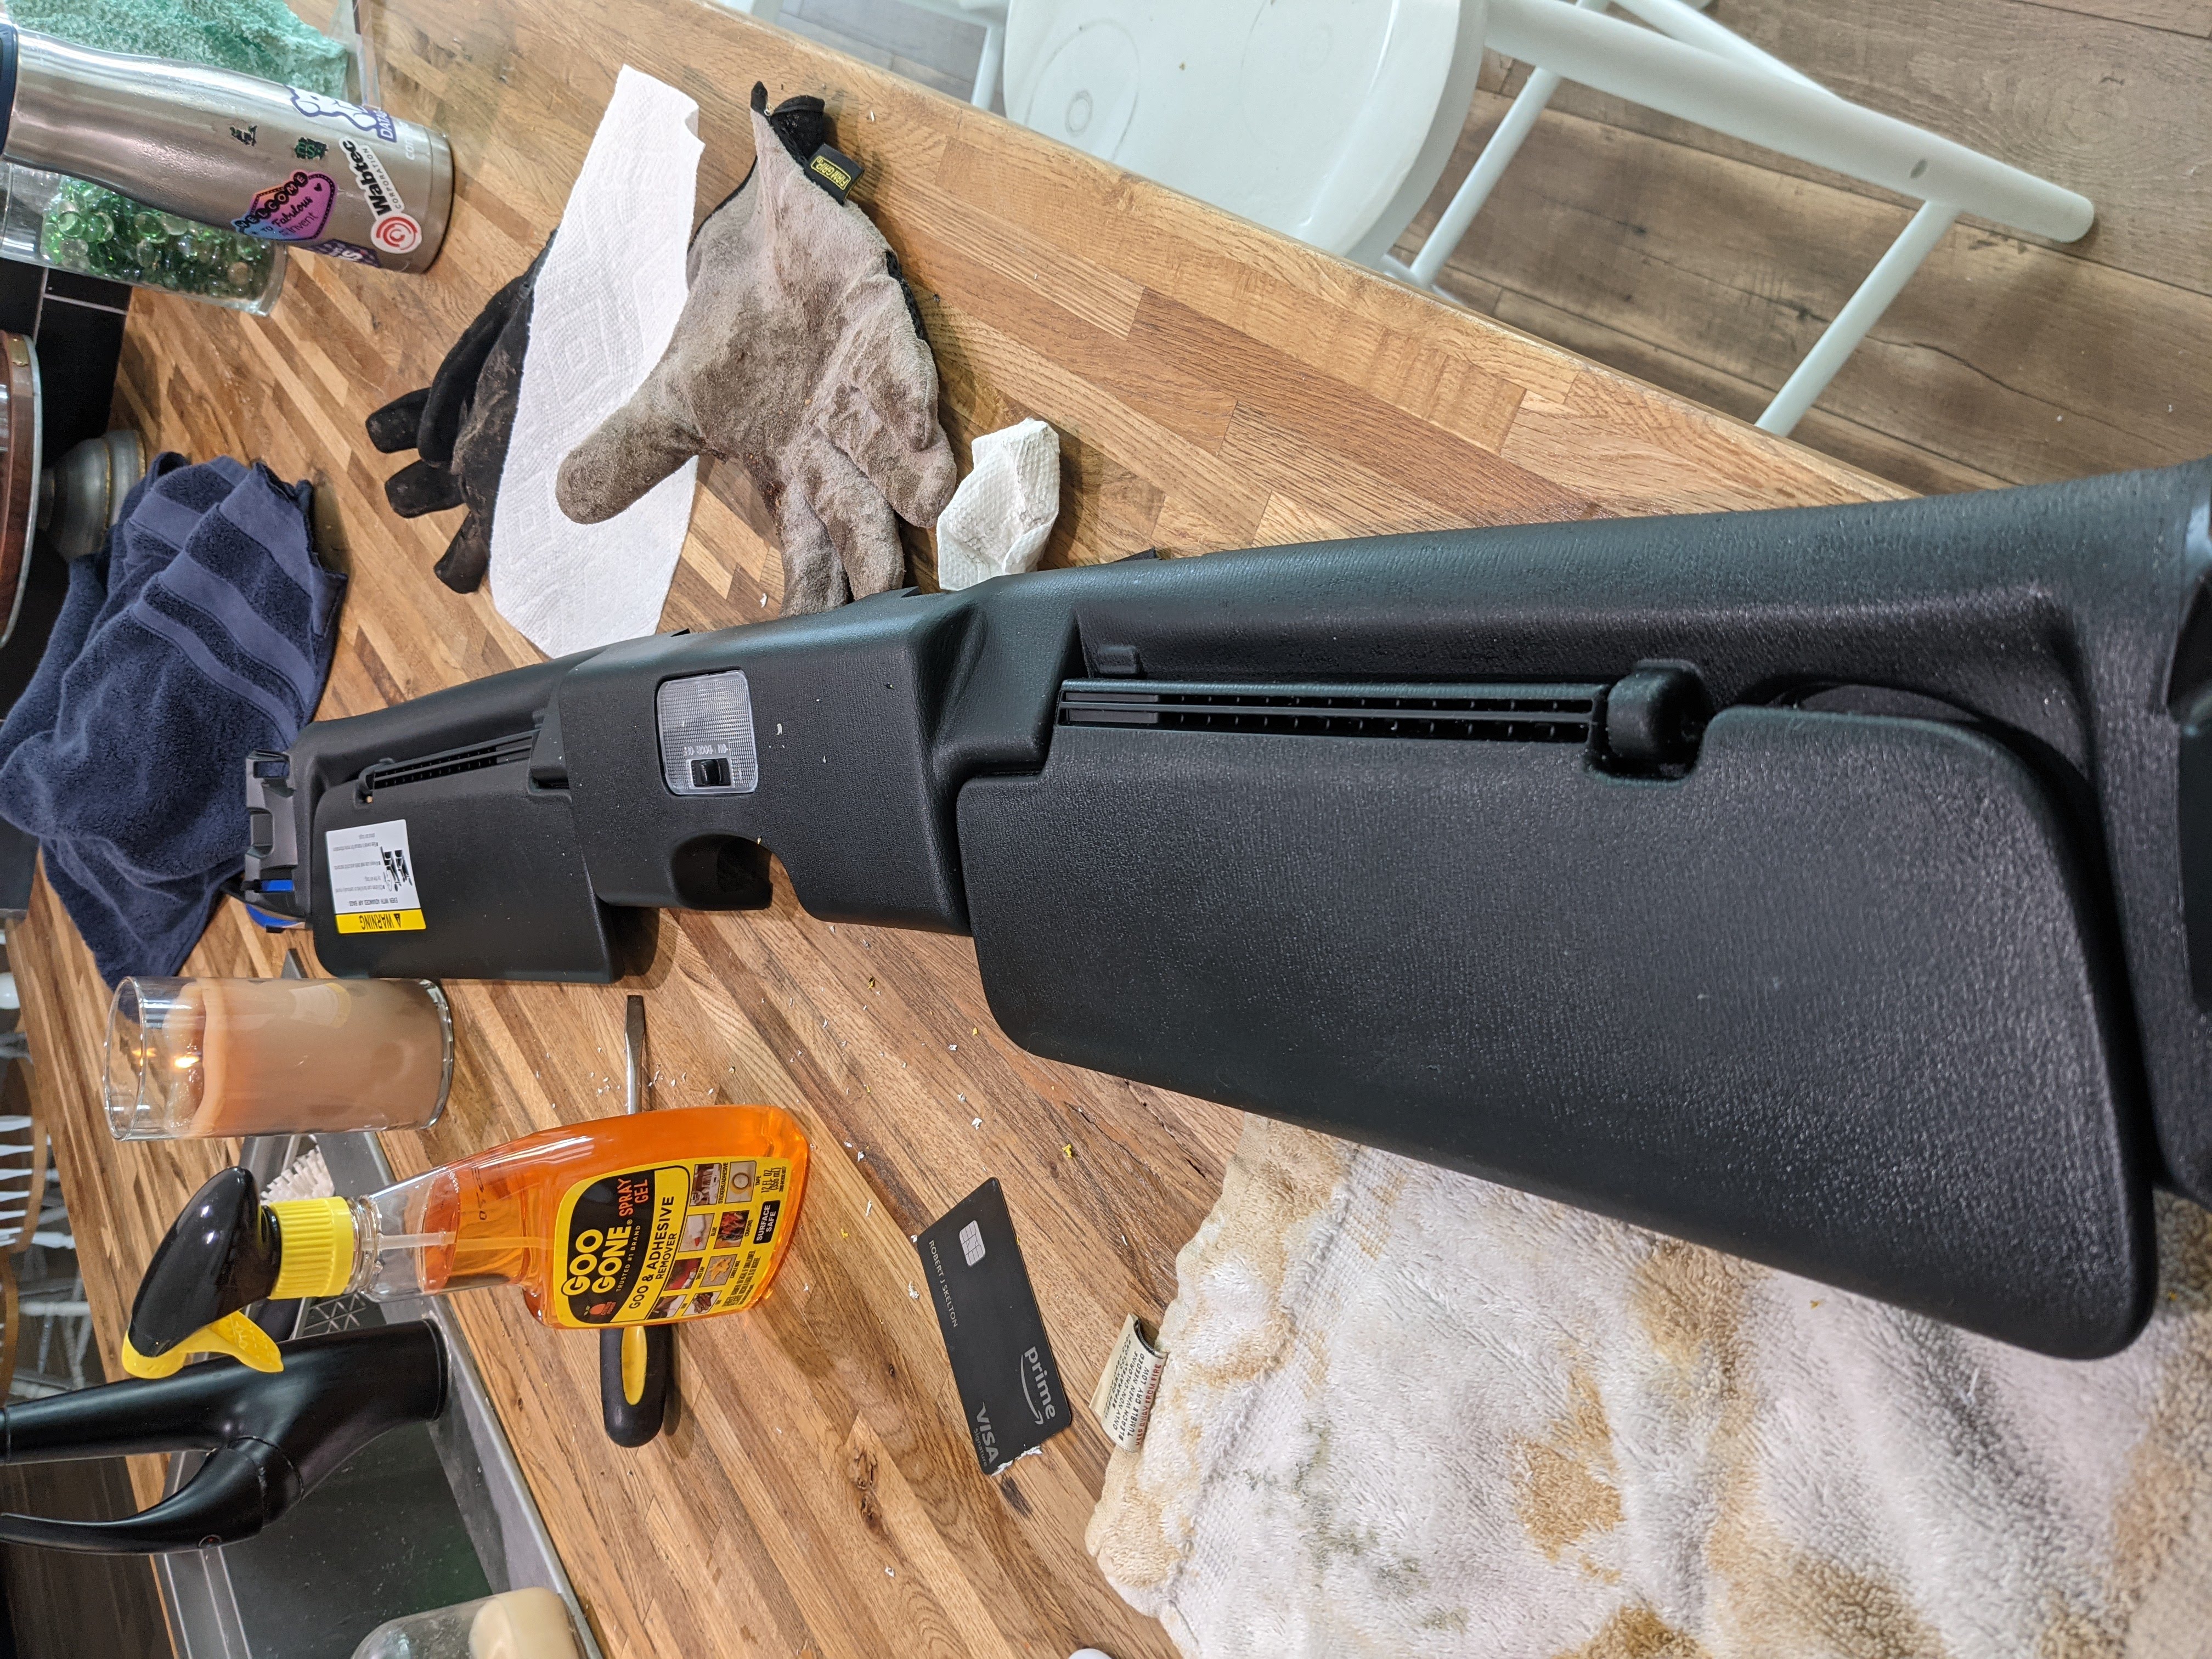
Once those 6 screws are out, you can remove the trim piece. It has 1 connector to the map light, so disconnect that, and take the whole trim piece inside. I didn’t bother removing the sunvisors from the assembly itself because it ins’t required.
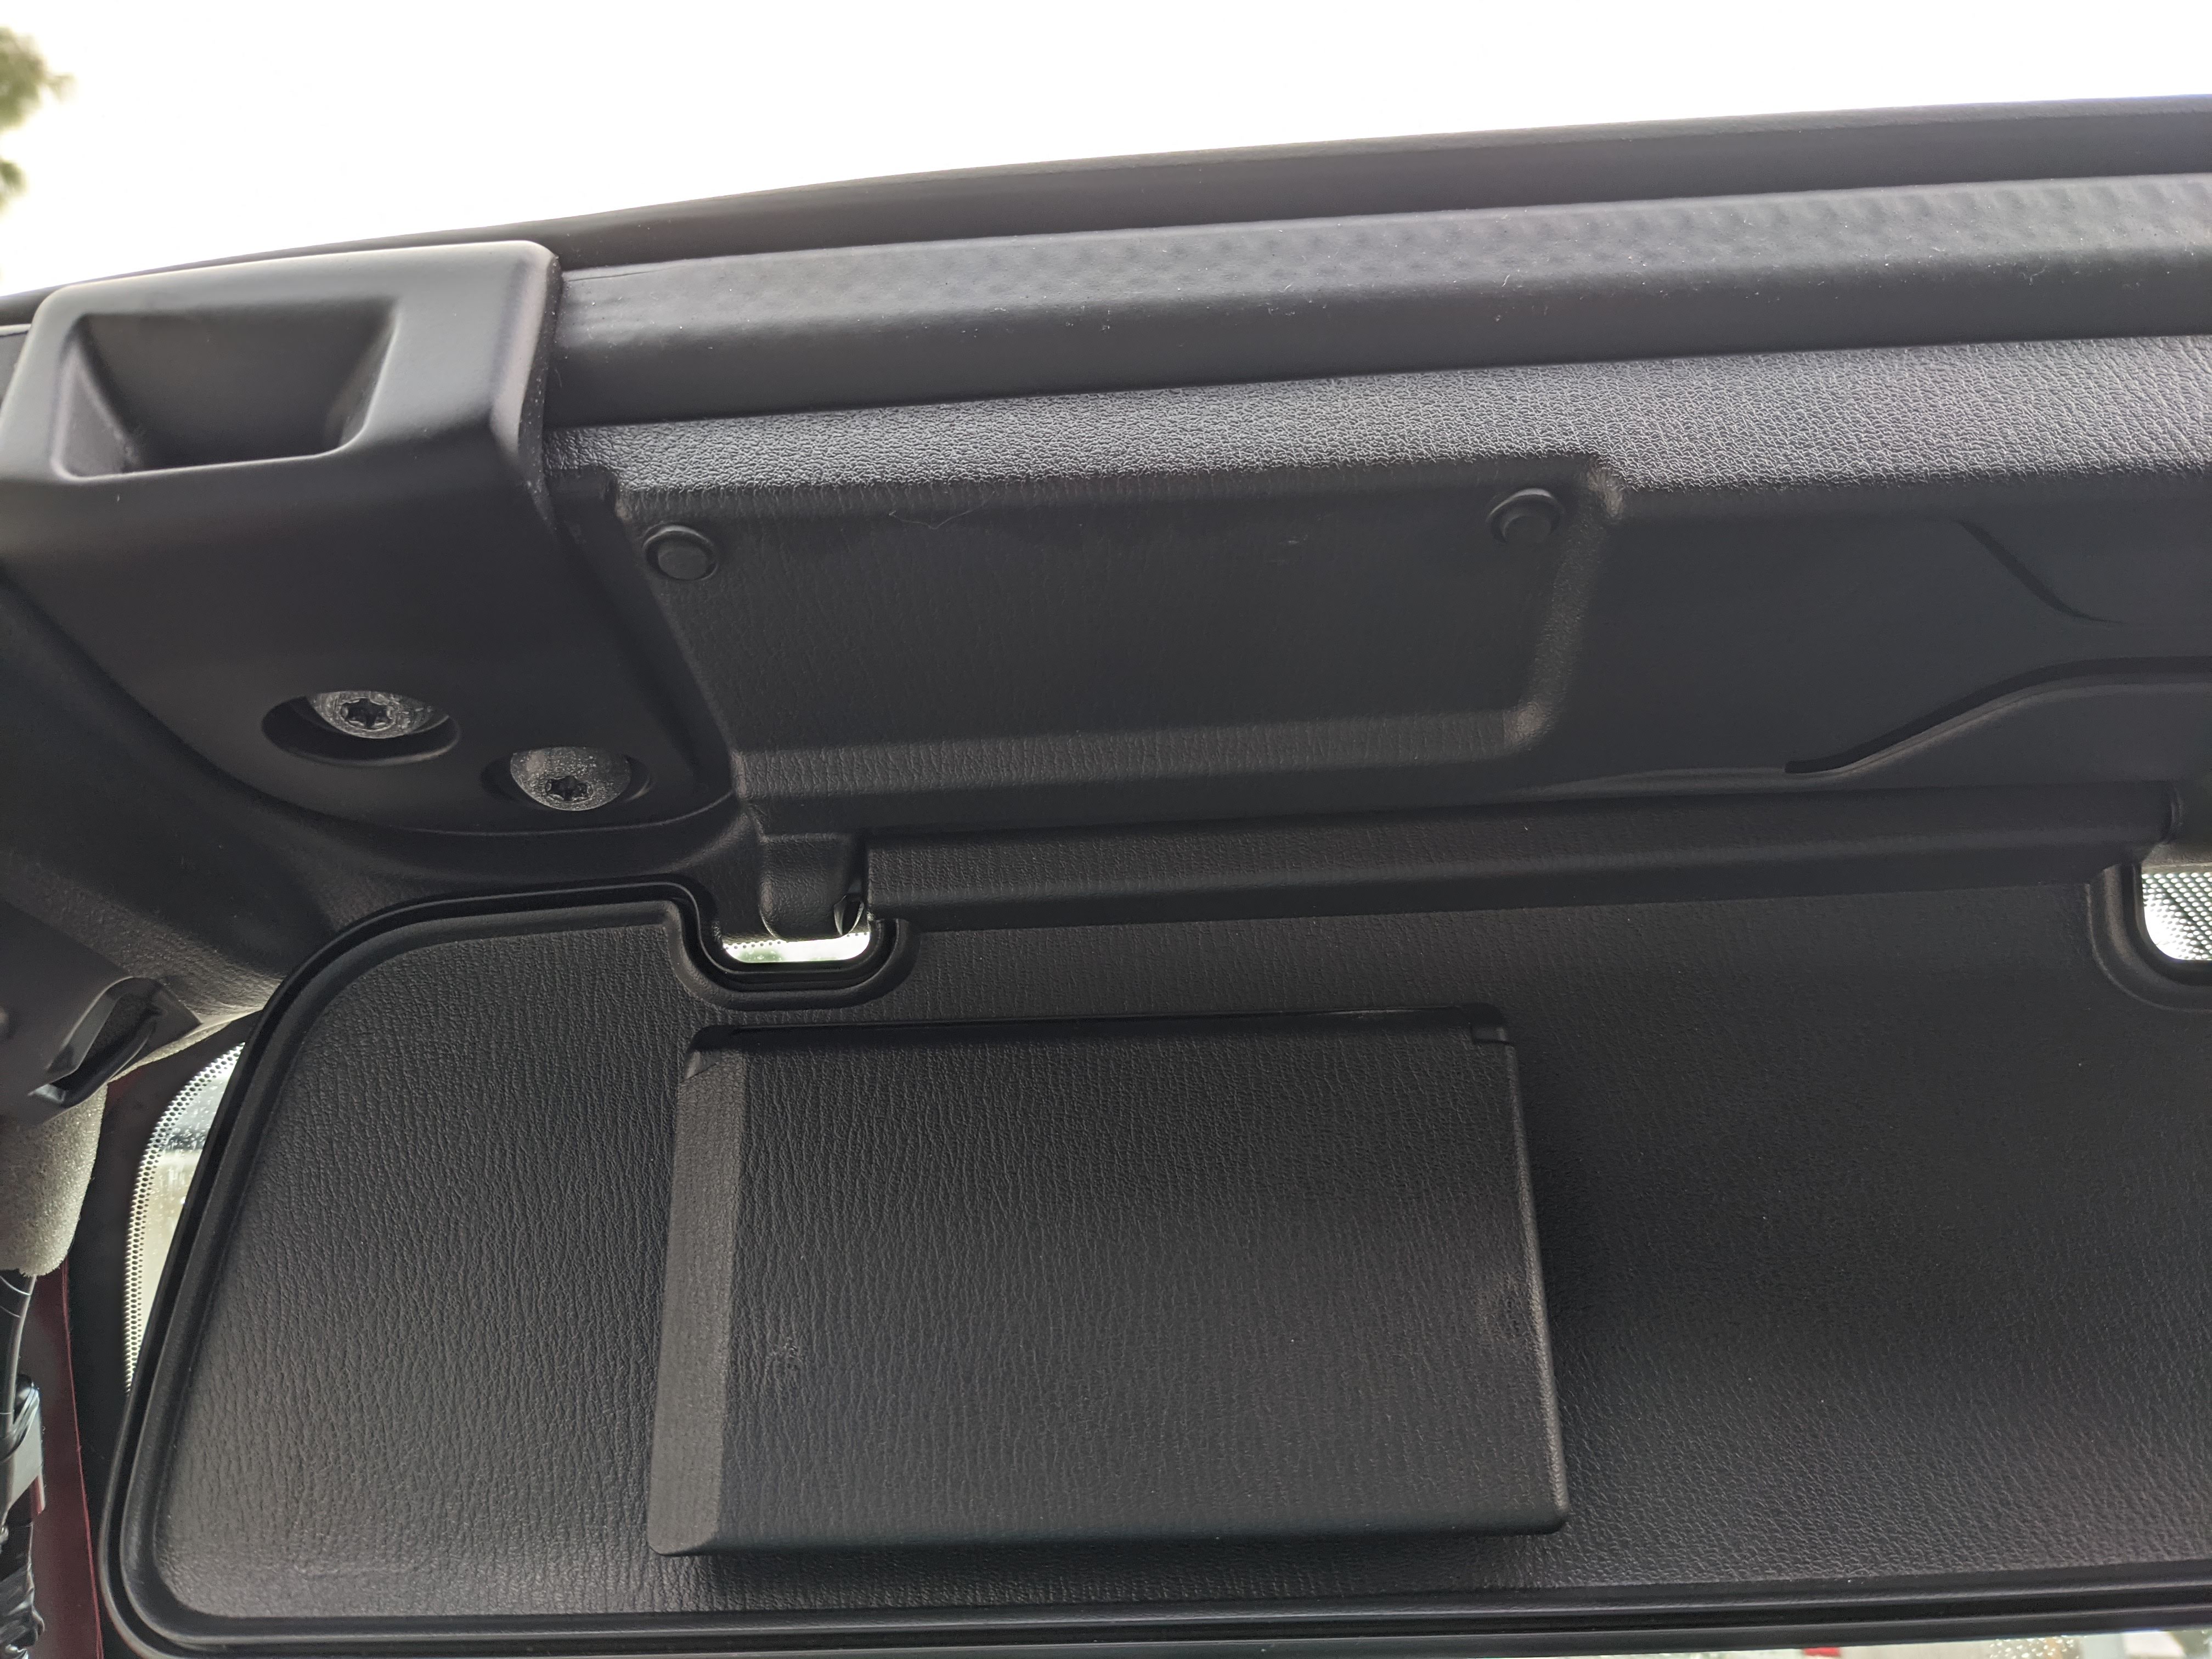
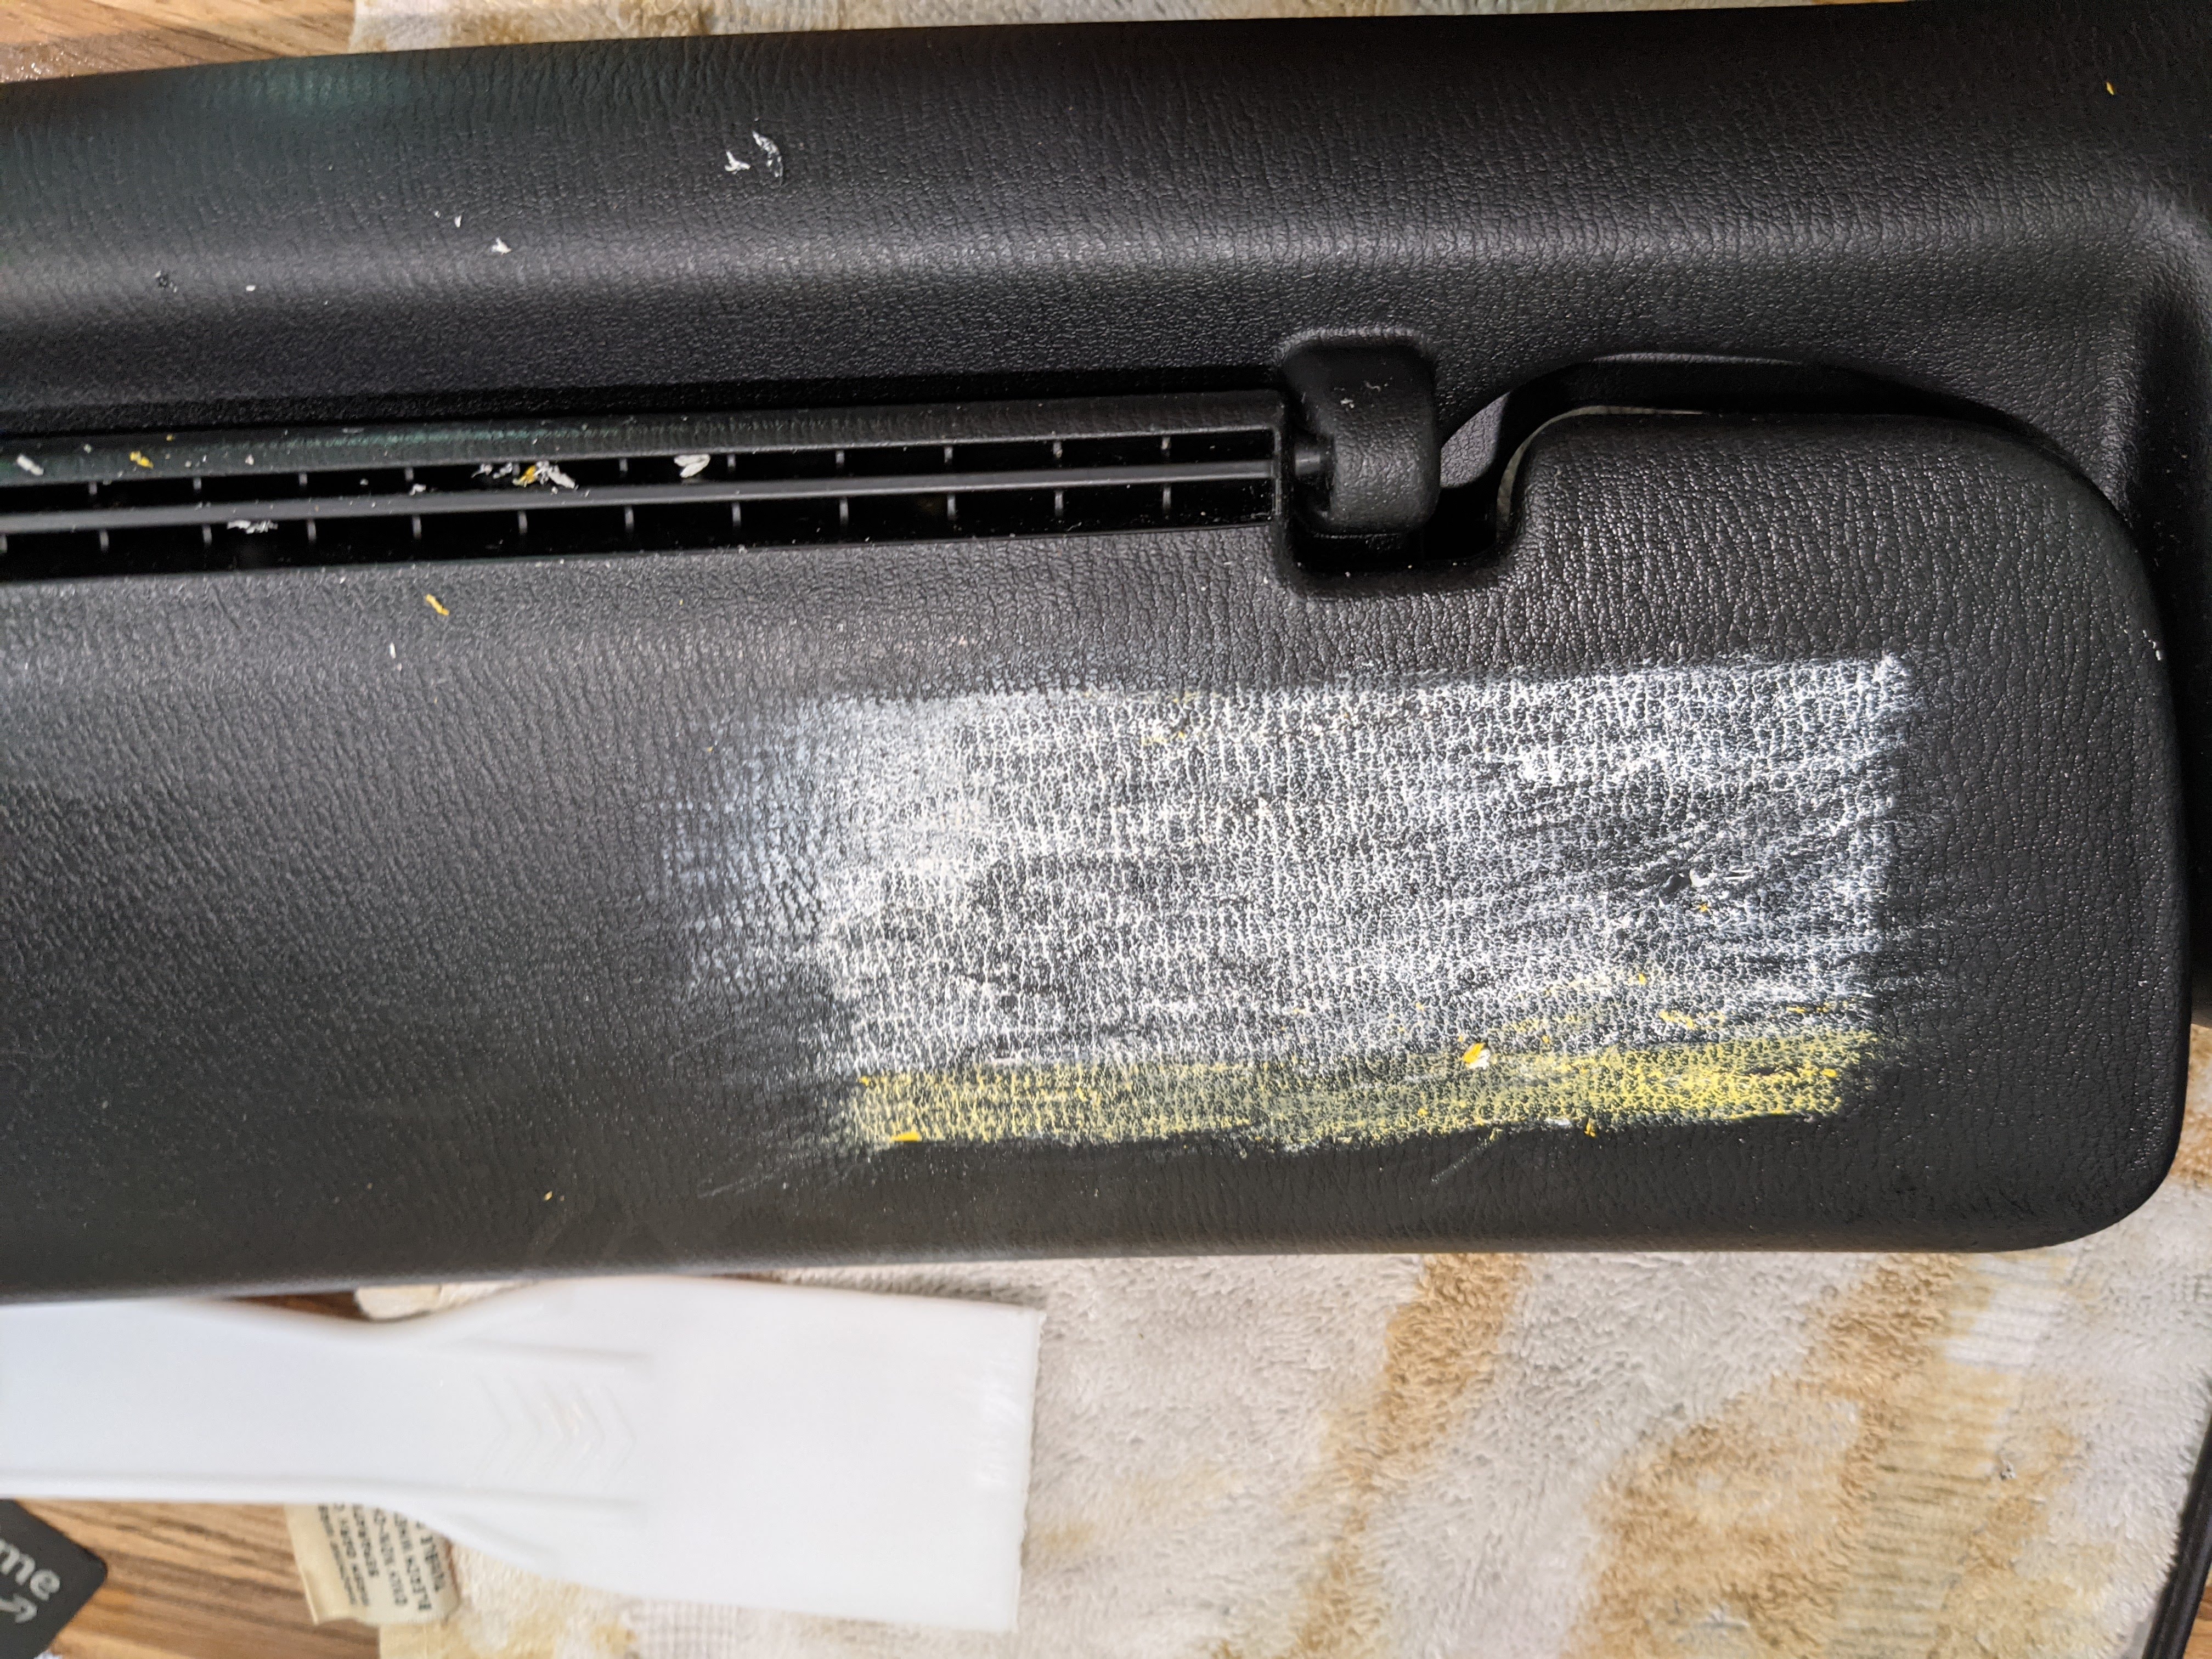
This is where you’ll need Goo Gone and a heat source, I used my wife’s hair dryer (it has a retractable cord, it’s awesome). Do one side at a time, since it takes a little while. Spray a bit of Goo Gone on the sticker, rub it in with a paper towel or the trim removal tool, then hit it with the hair dryer. I also tried used a plastic and a metal credit card, with less success. This YouTube video is a great instructional on this step.
Now start scraping away at the sticker with the trim removal tool. Oh yeah, helps to have a glove here, since I was basically pointing hot air at my hand the whole time. This still takes a few minutes, and you won’t get everything off.
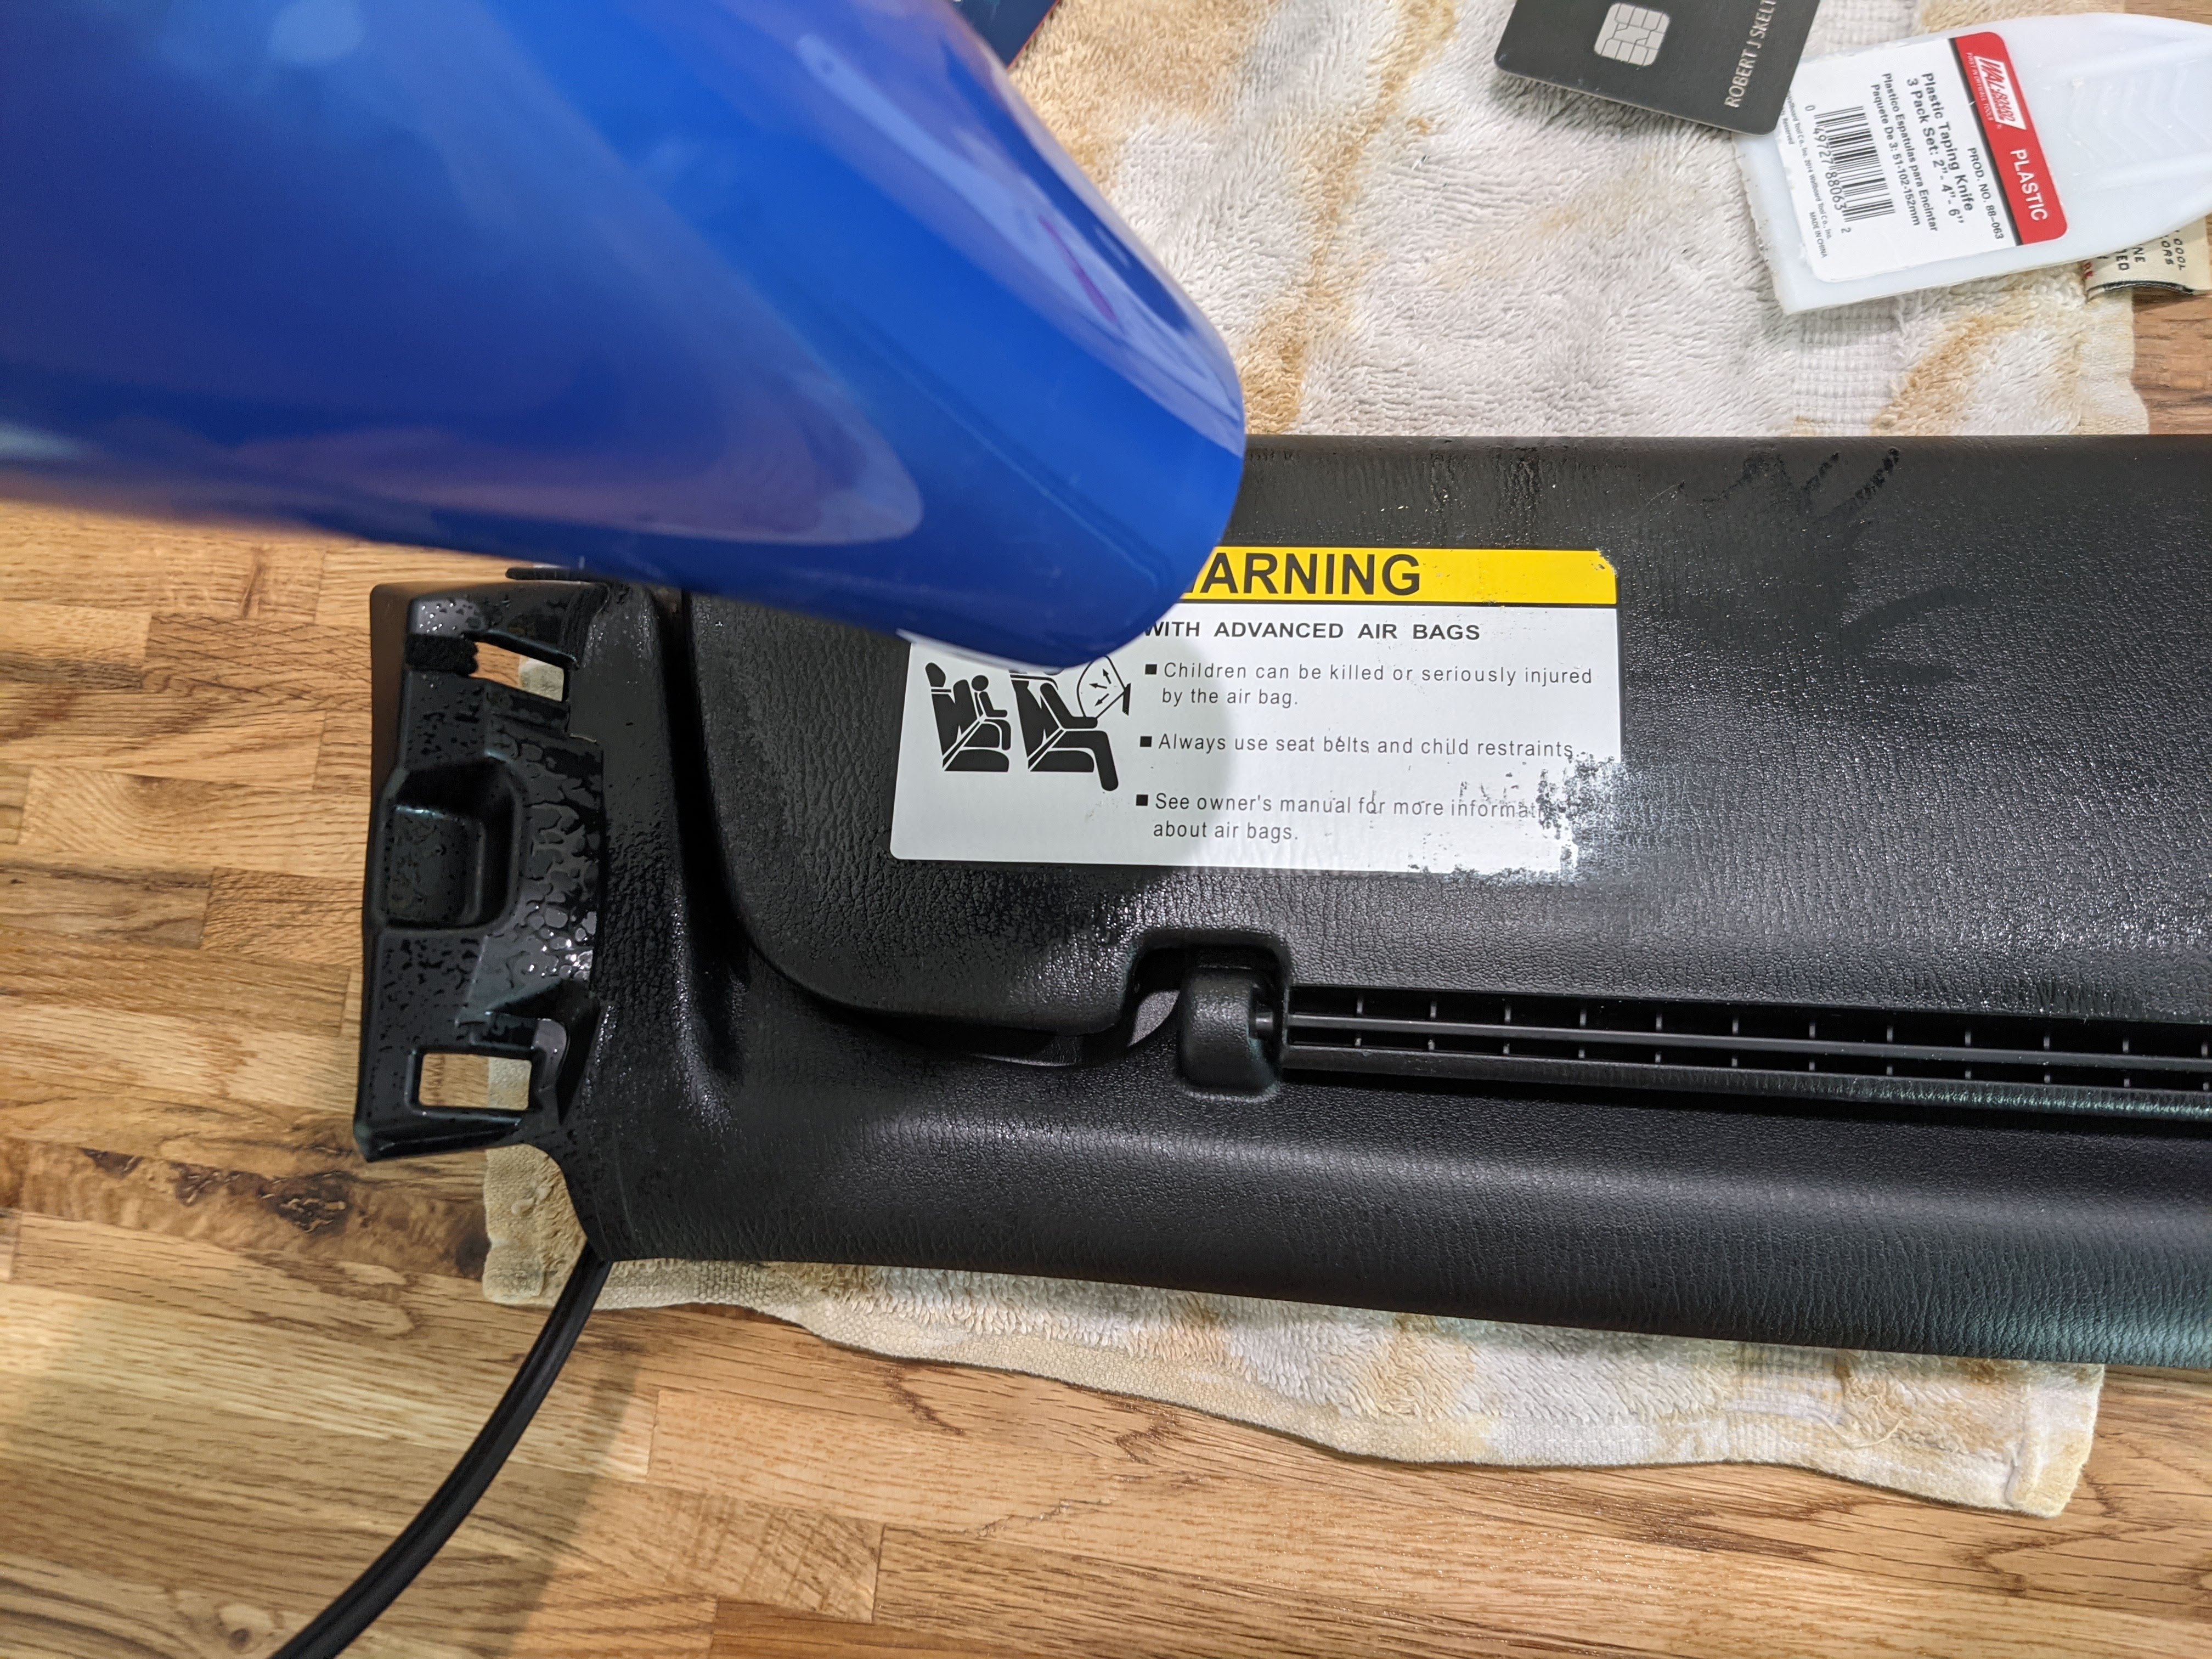
Spray a bit more Goo Gone, wipe all the residue off with a paper towel, then the trim removal tool should be able to get the rest. Repeat with paper towels and Goo Gone til it’s all off.
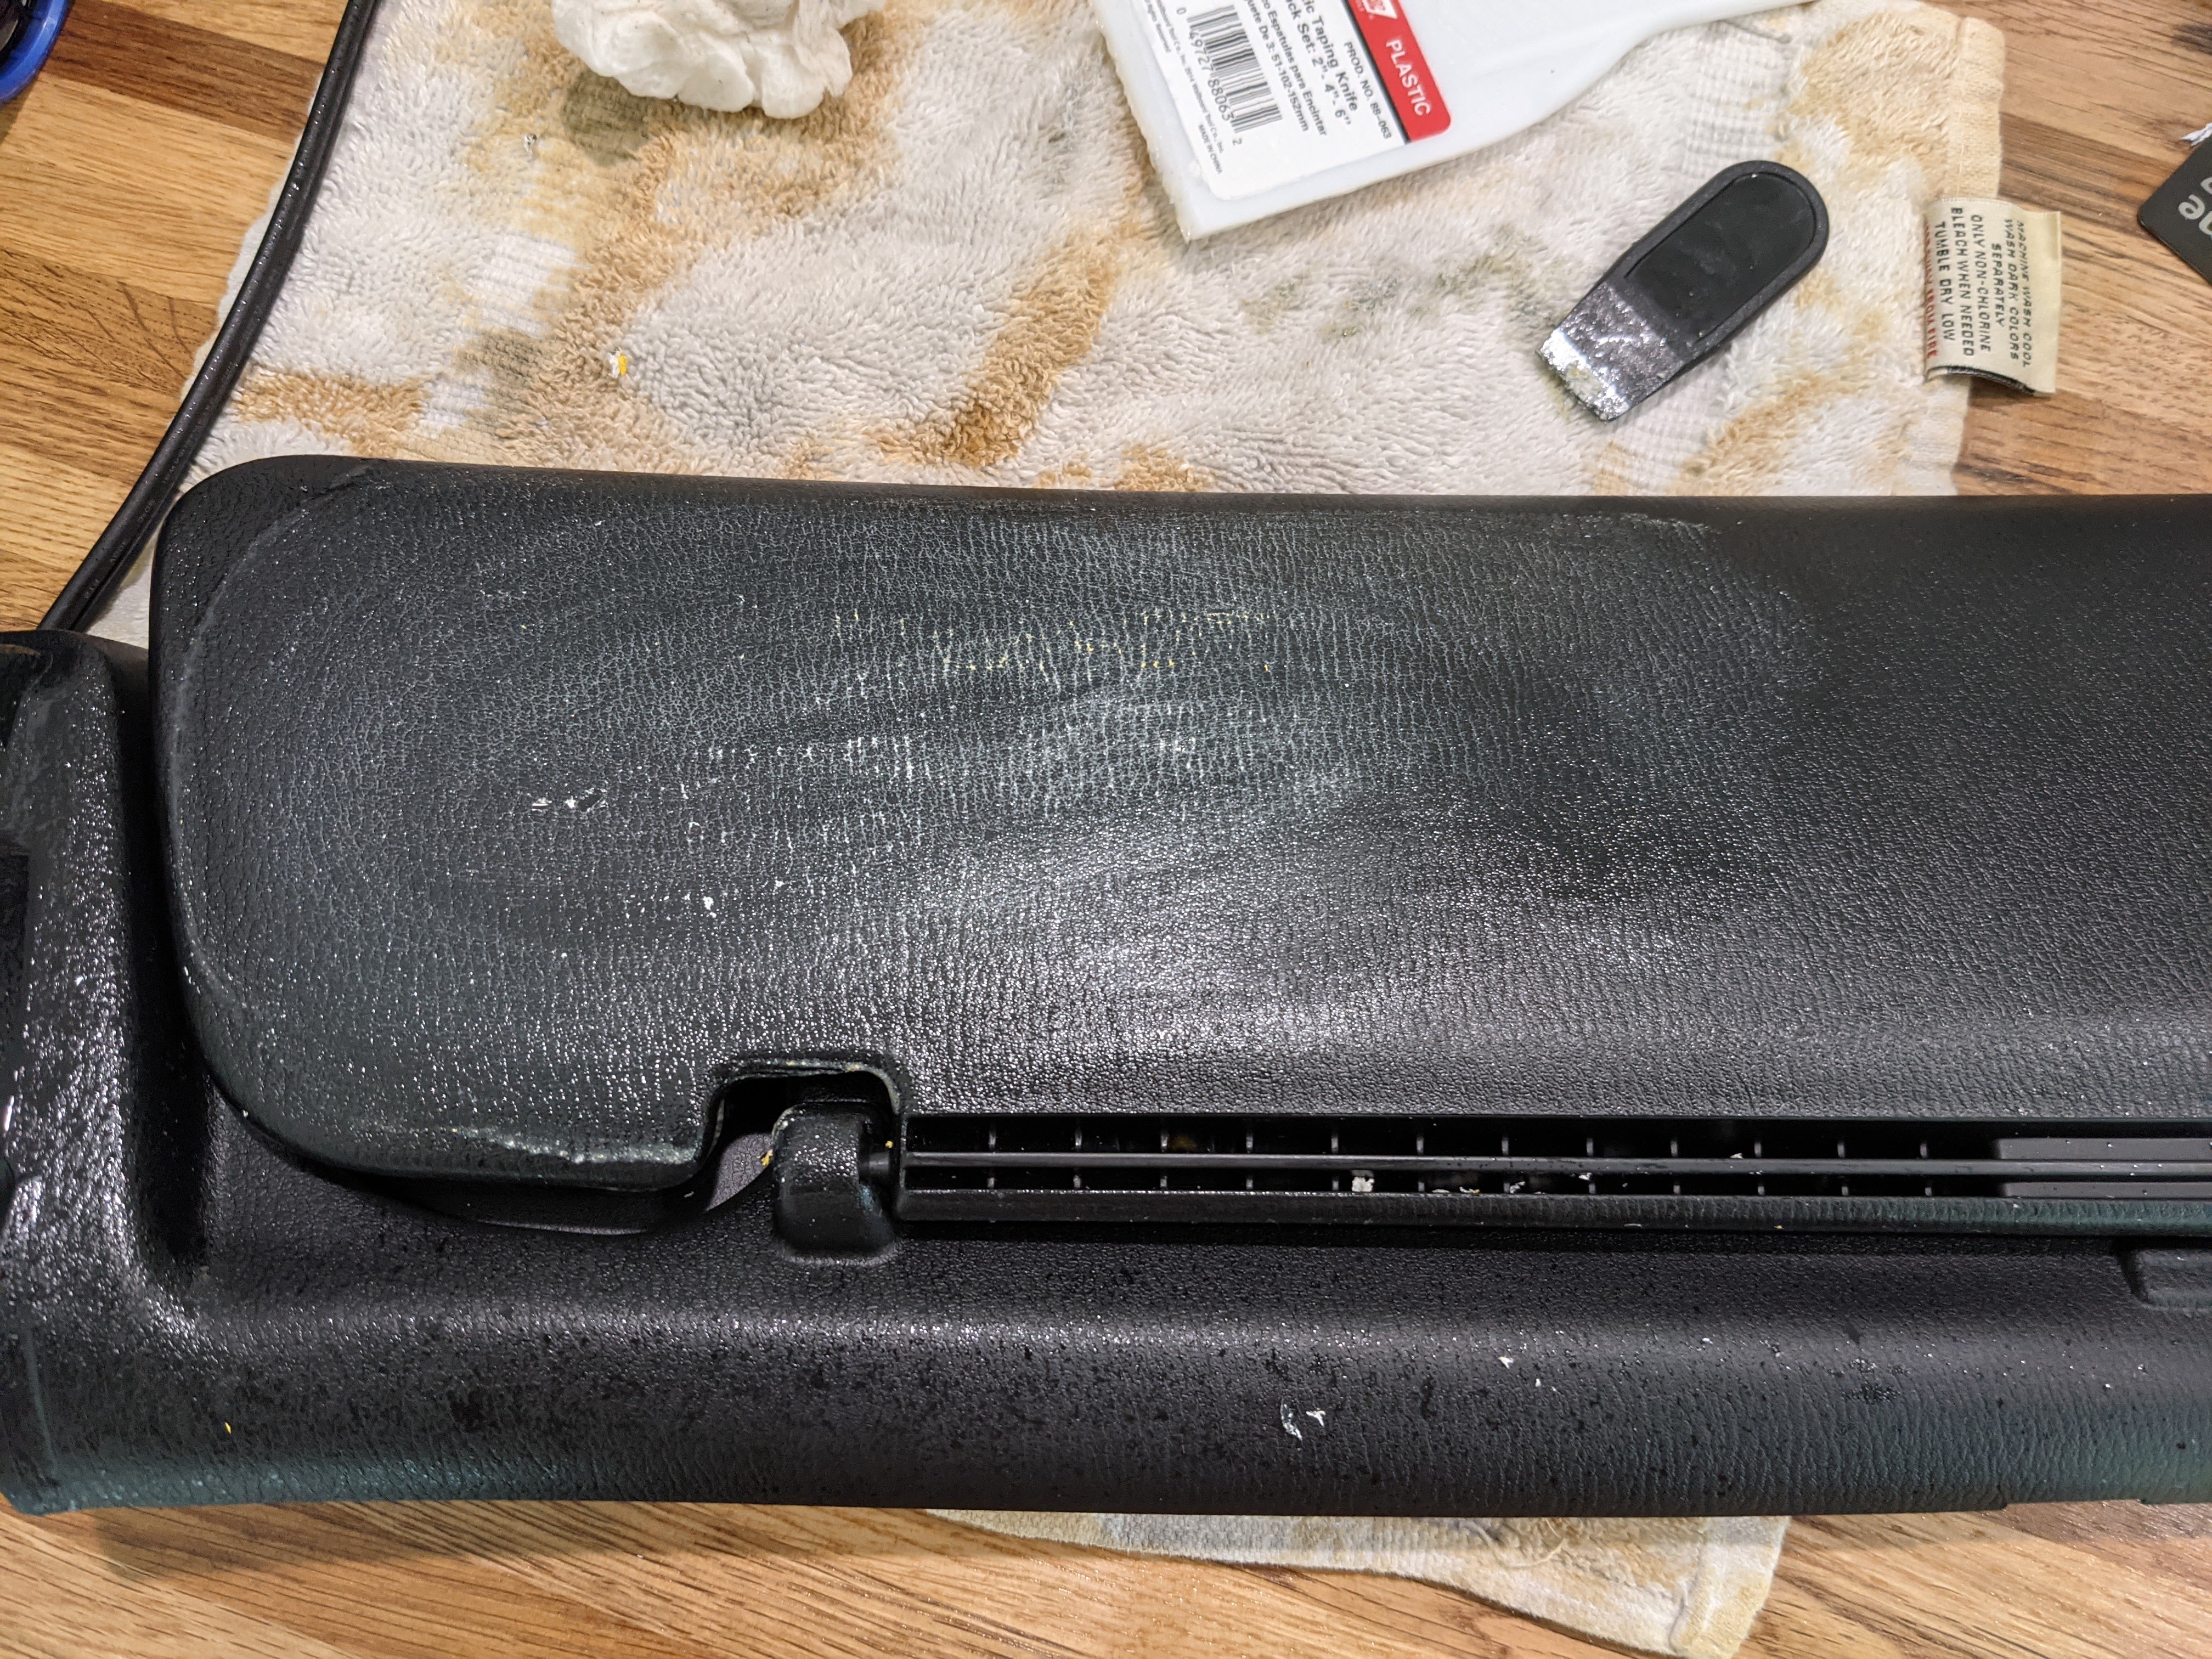
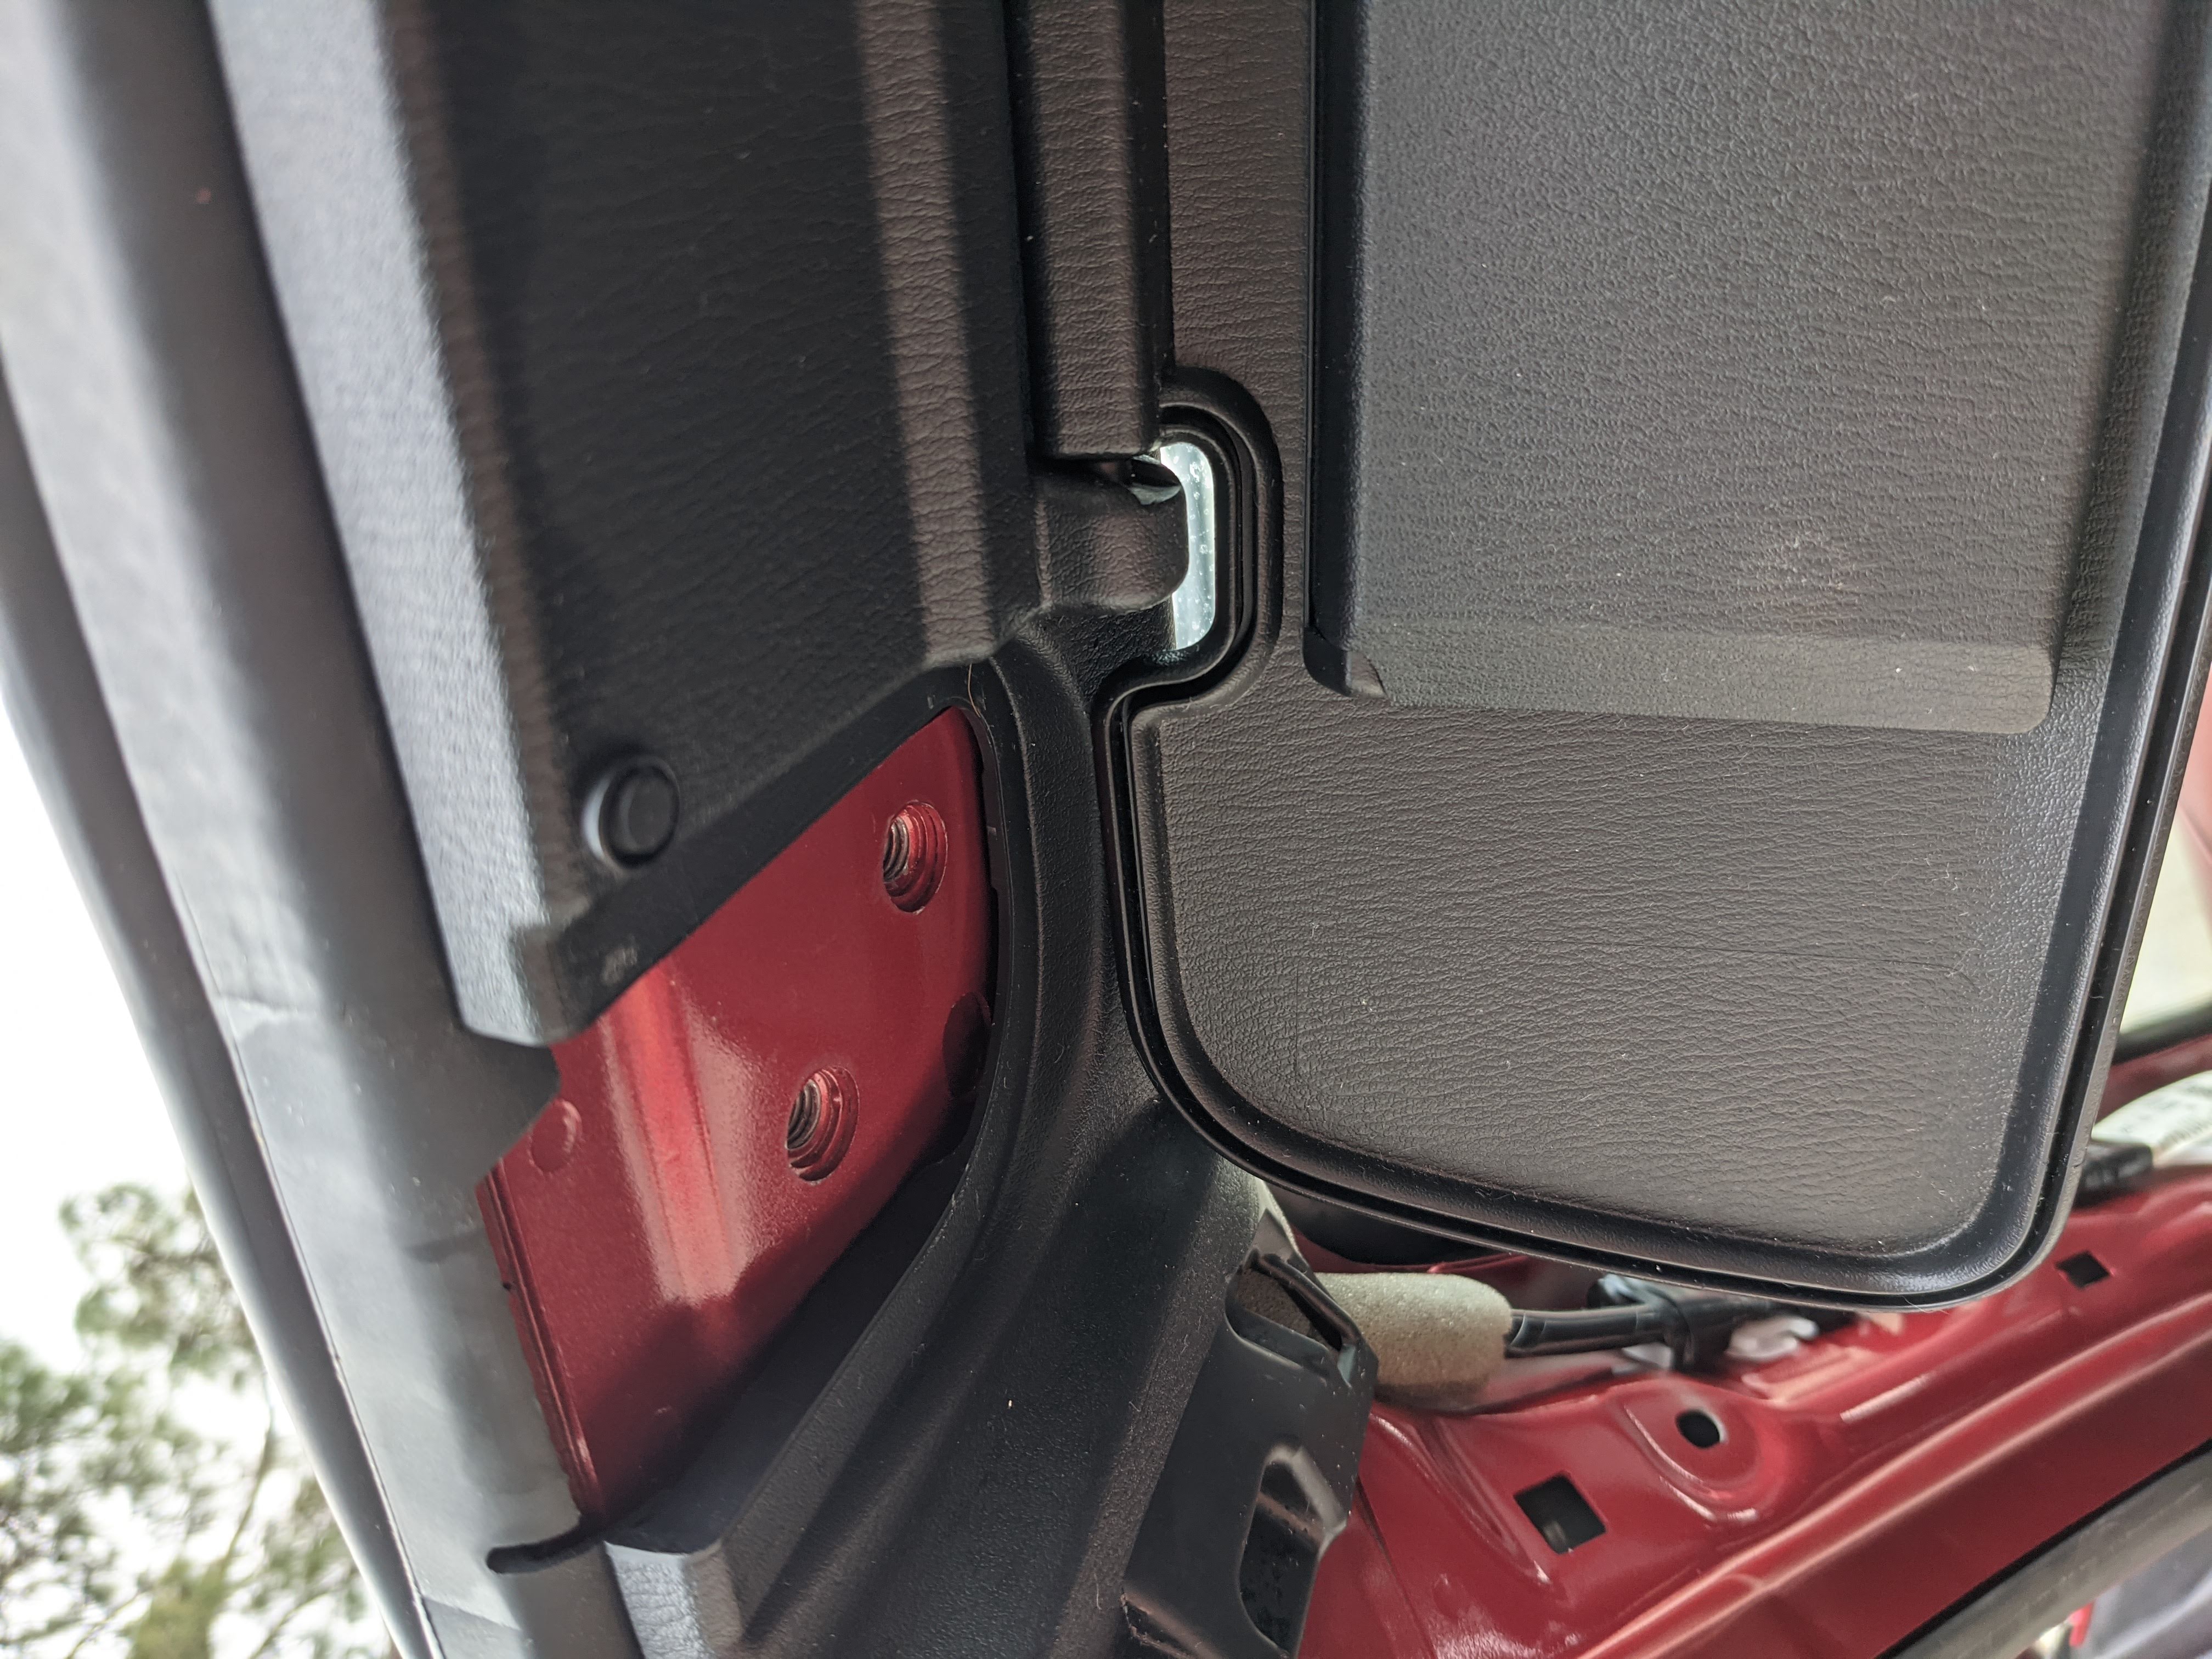
Repeat for the other side. It took about 15 minutes to do both sides. And my hand cramped.
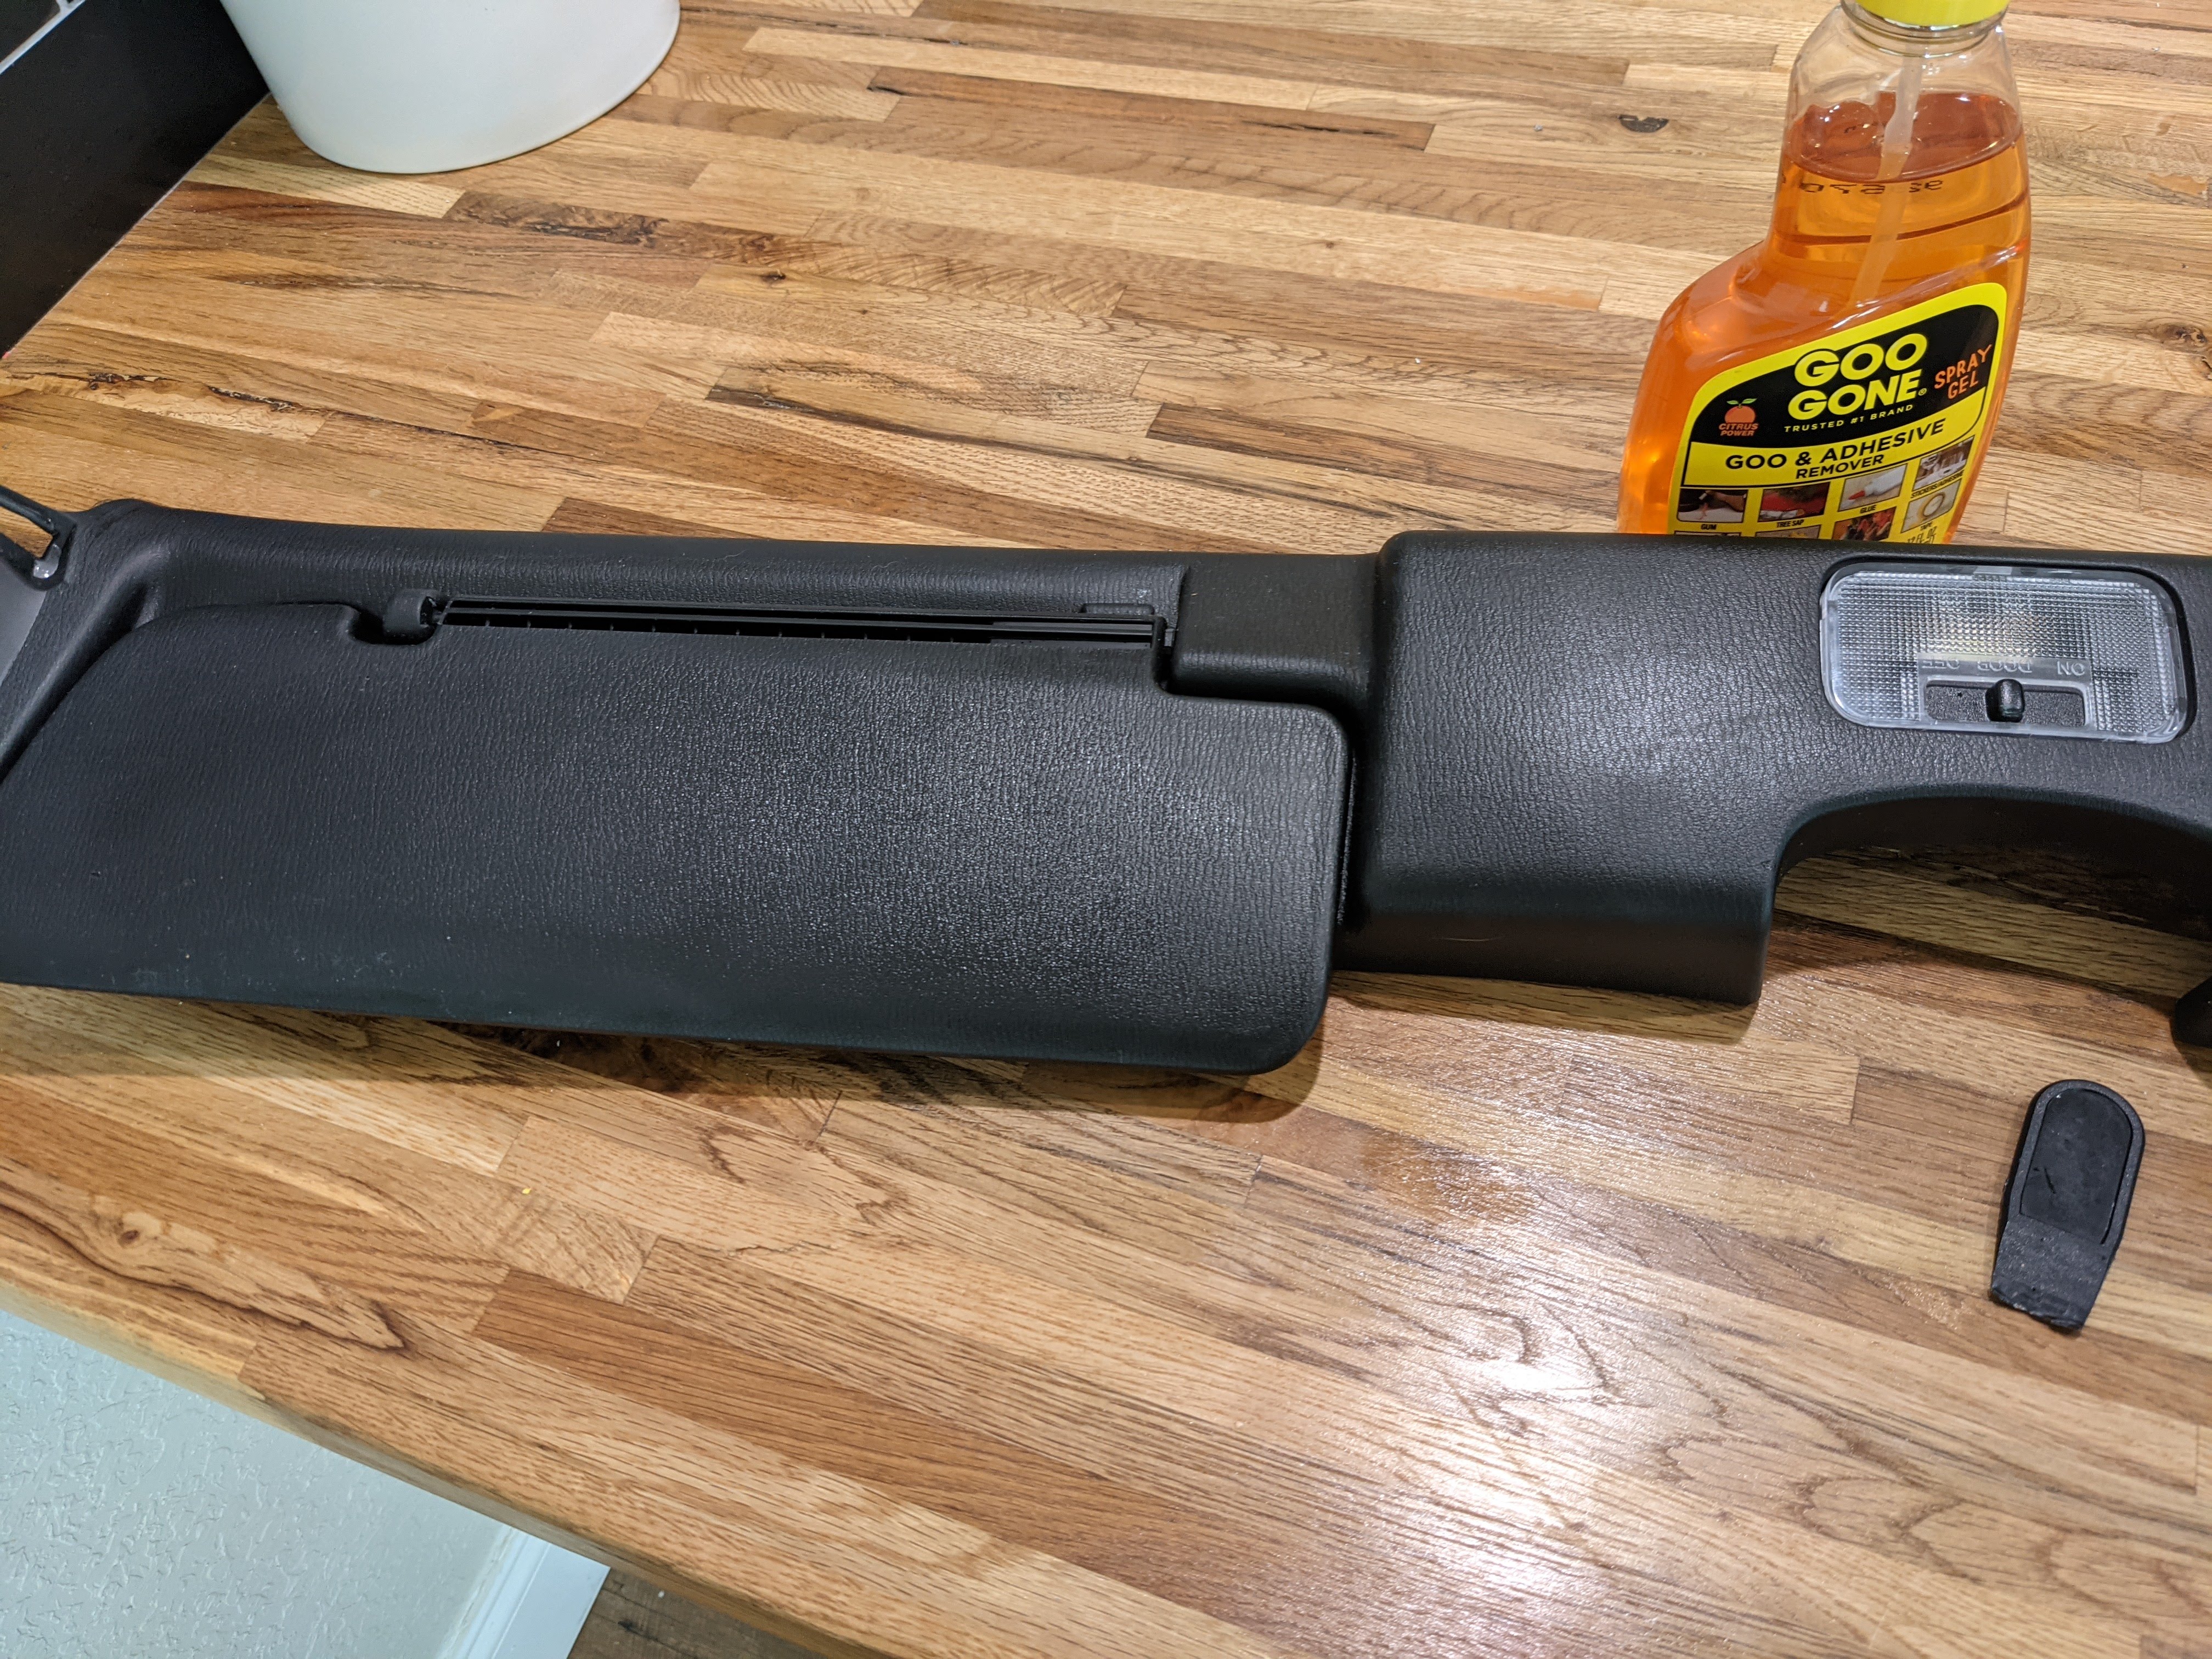
Now you can put the whole assembly back. Don’t forget to plug in the map light connector before reassembling.

Now you’ve got a cleaner looking interior. We all know the car had air bags, anyways.