Mazda Miata - Mudflaps
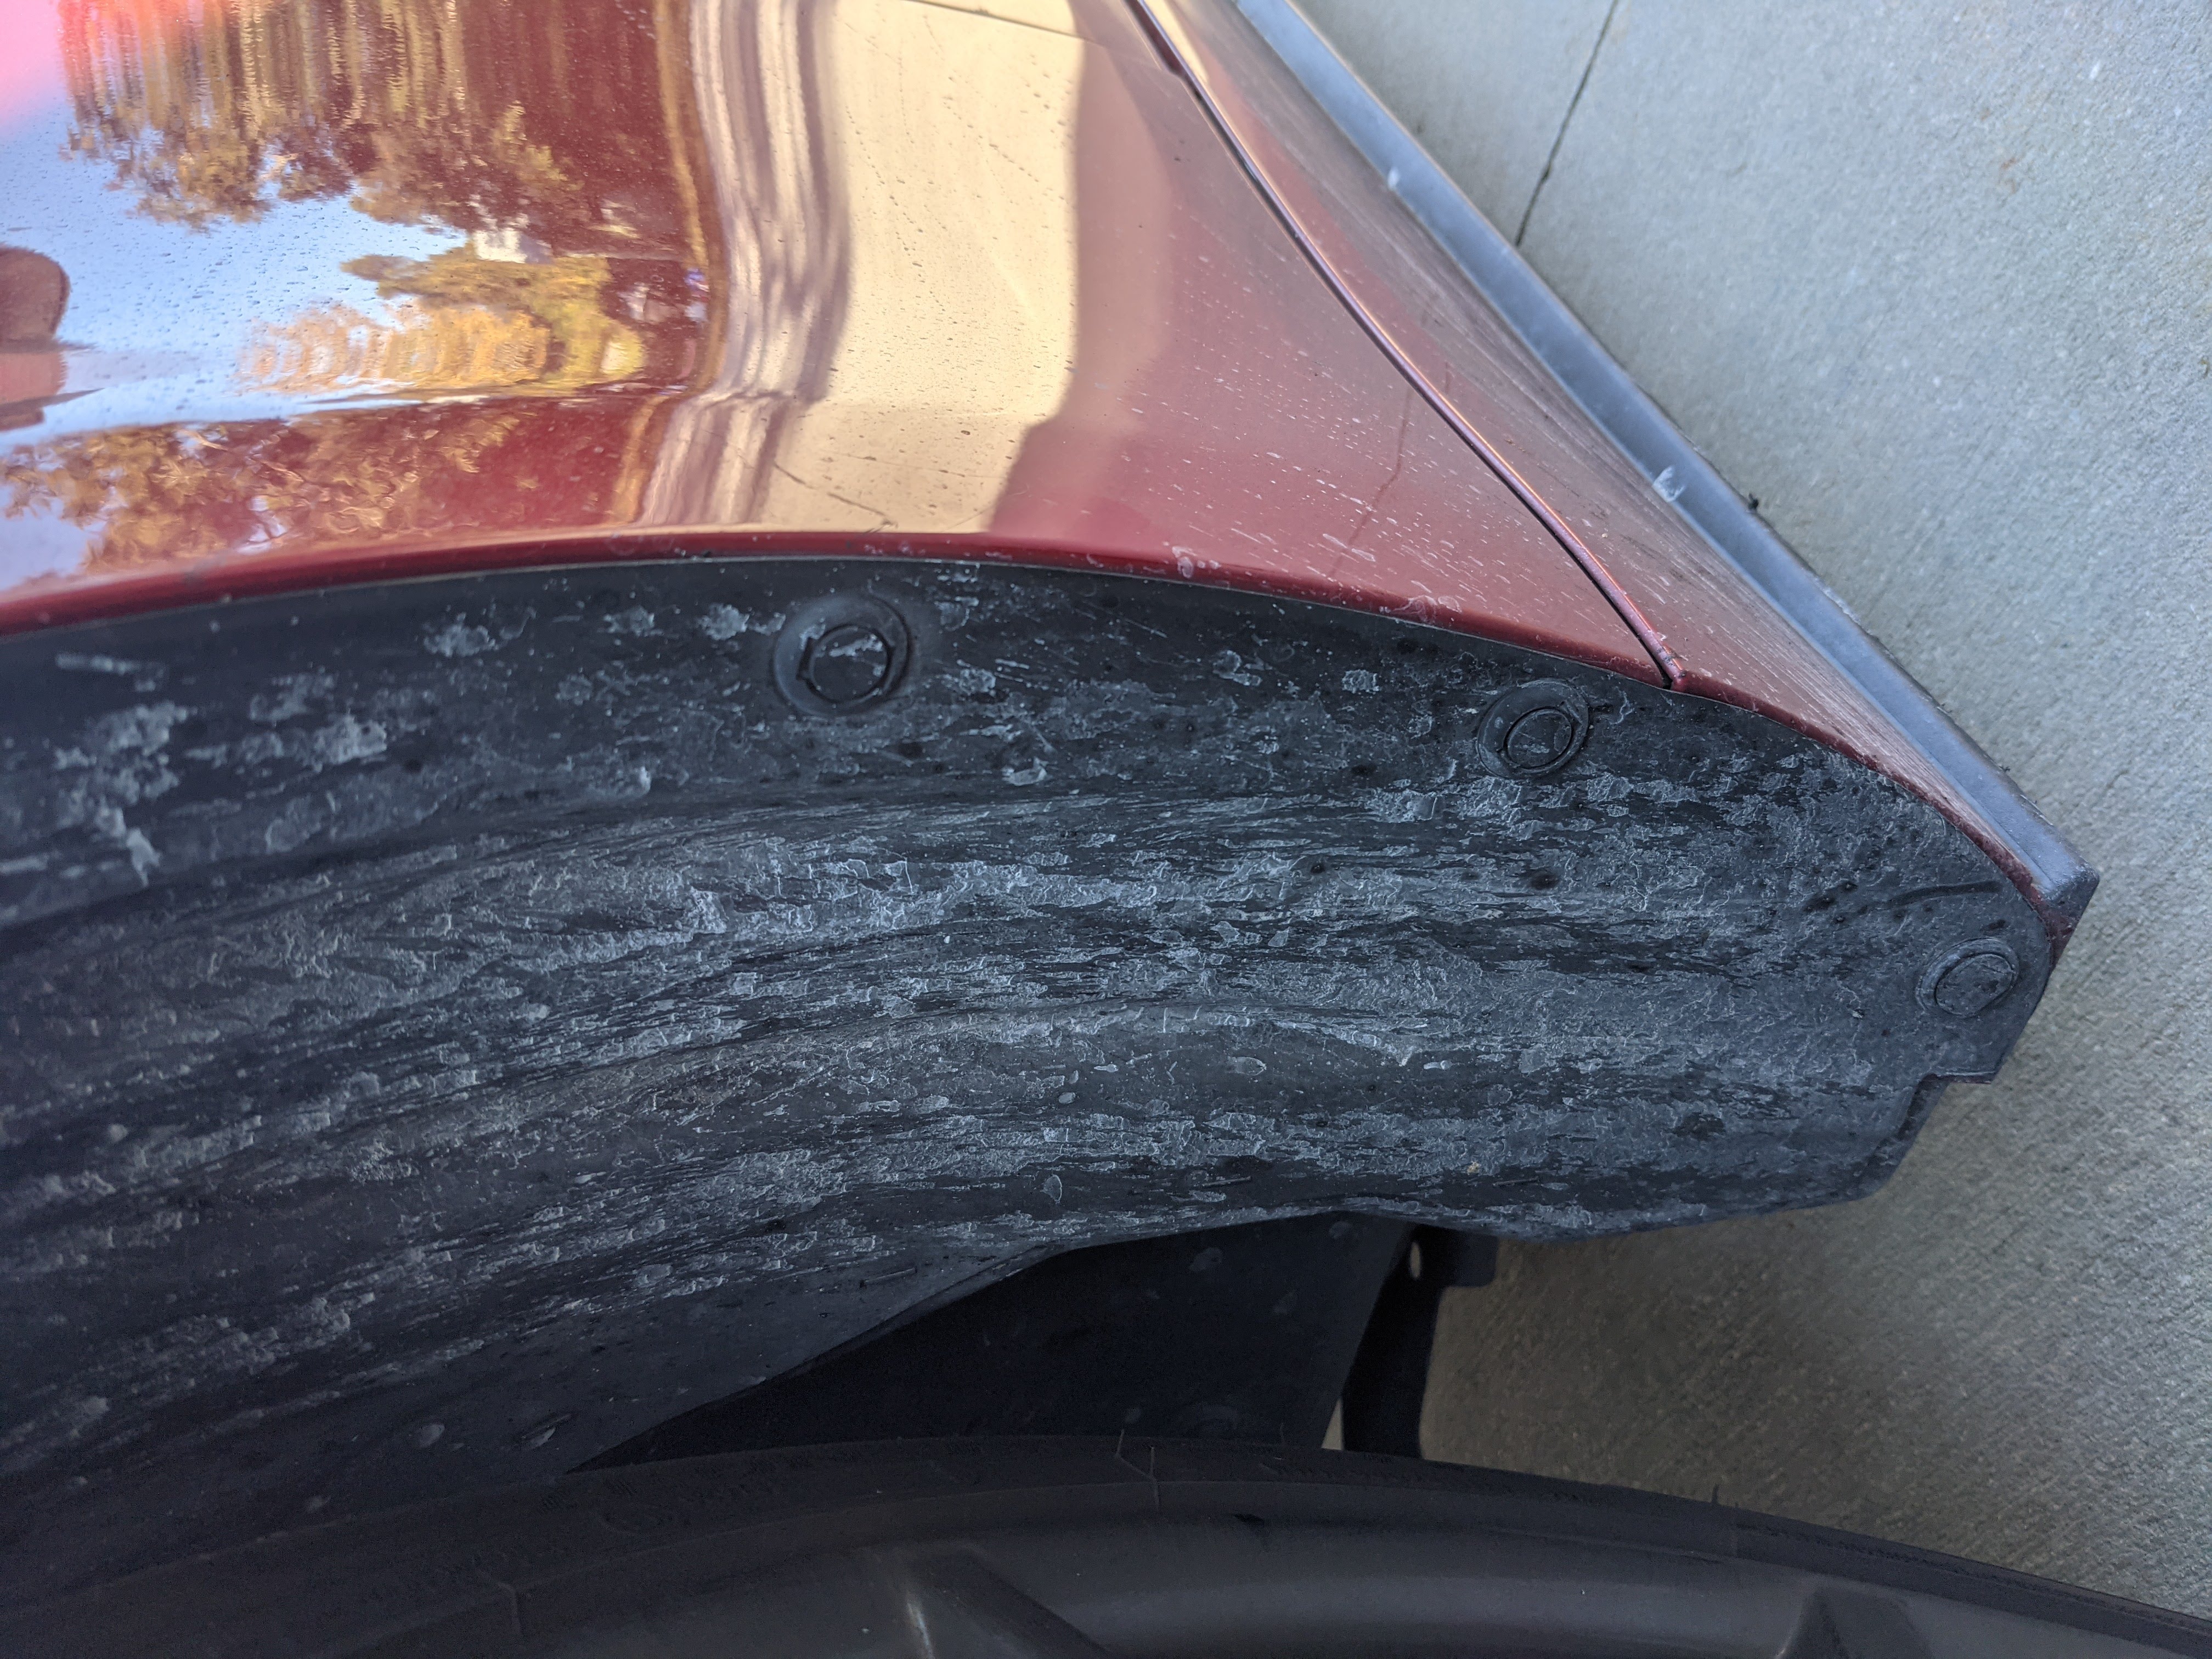
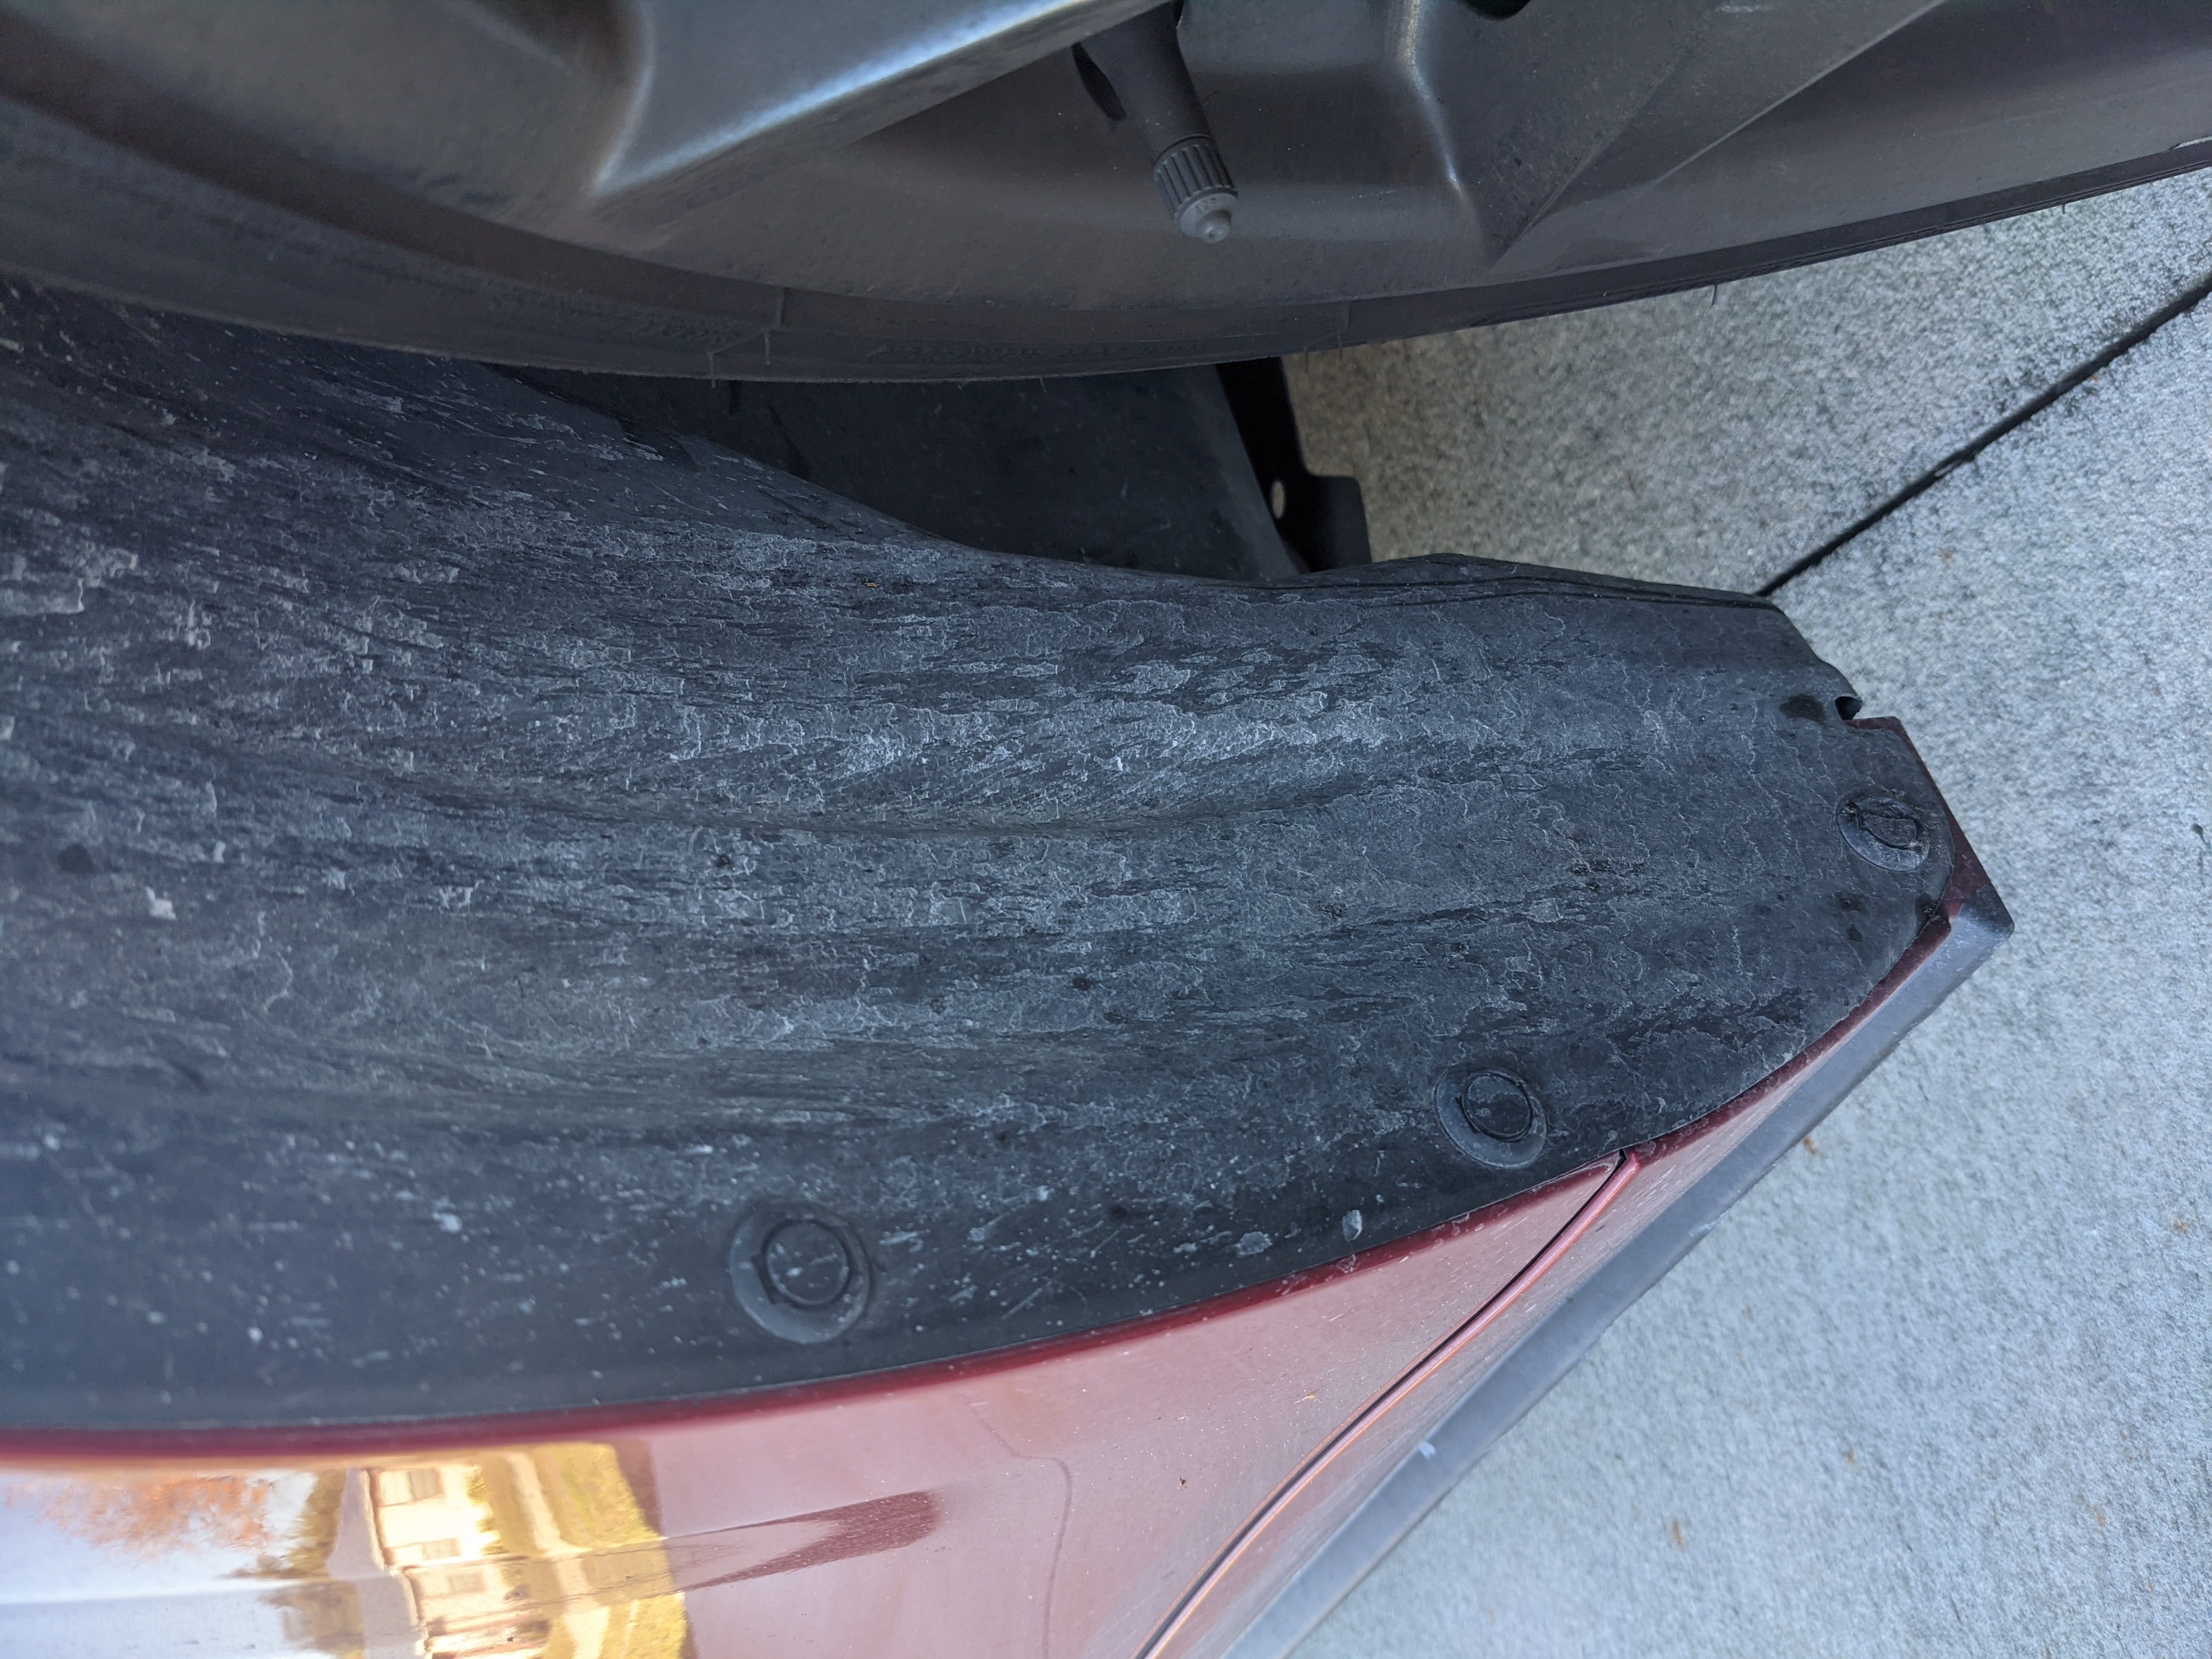
The most annoying thing about my ND Miata is the dirt and mud that the front tires kick up on the front quarter panel. What this car needs is some mudflaps! There are some good custom options for ND Miatas from companies like JB Armor for $115, or Megachip Solutions for $89, but you can save a few bucks and make your own from a generic mudflap, so I figured I’d try that out.
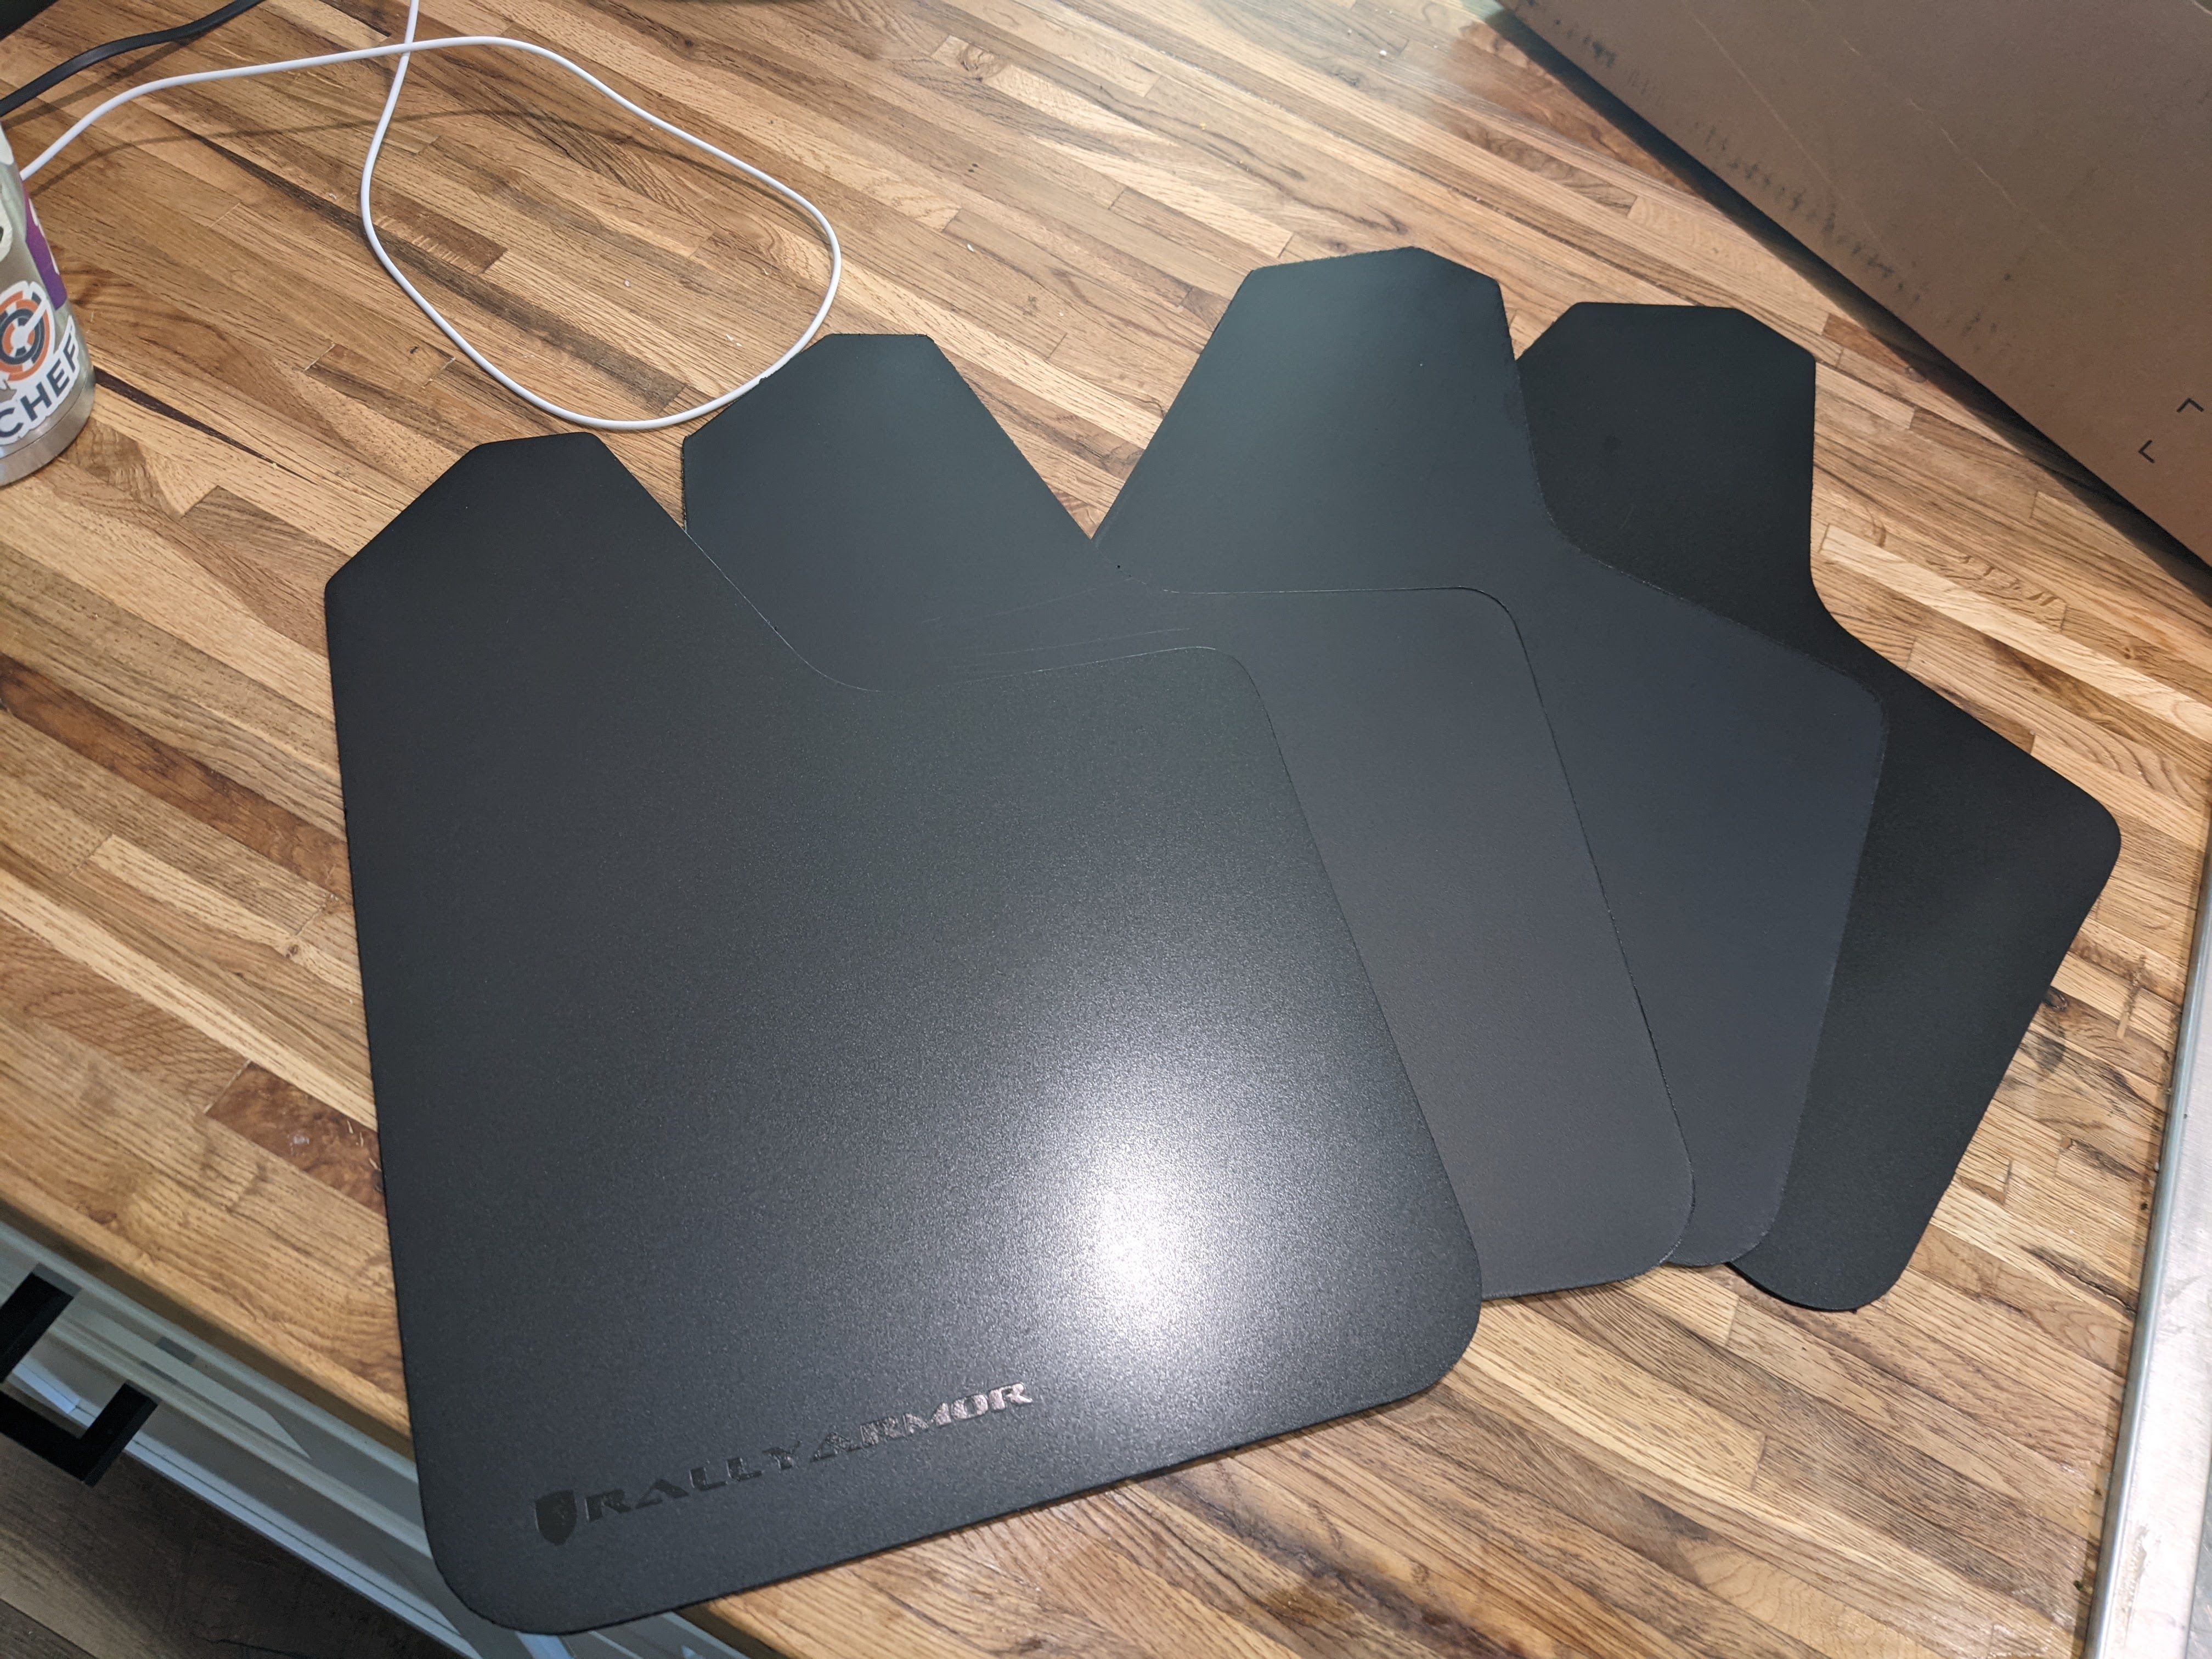
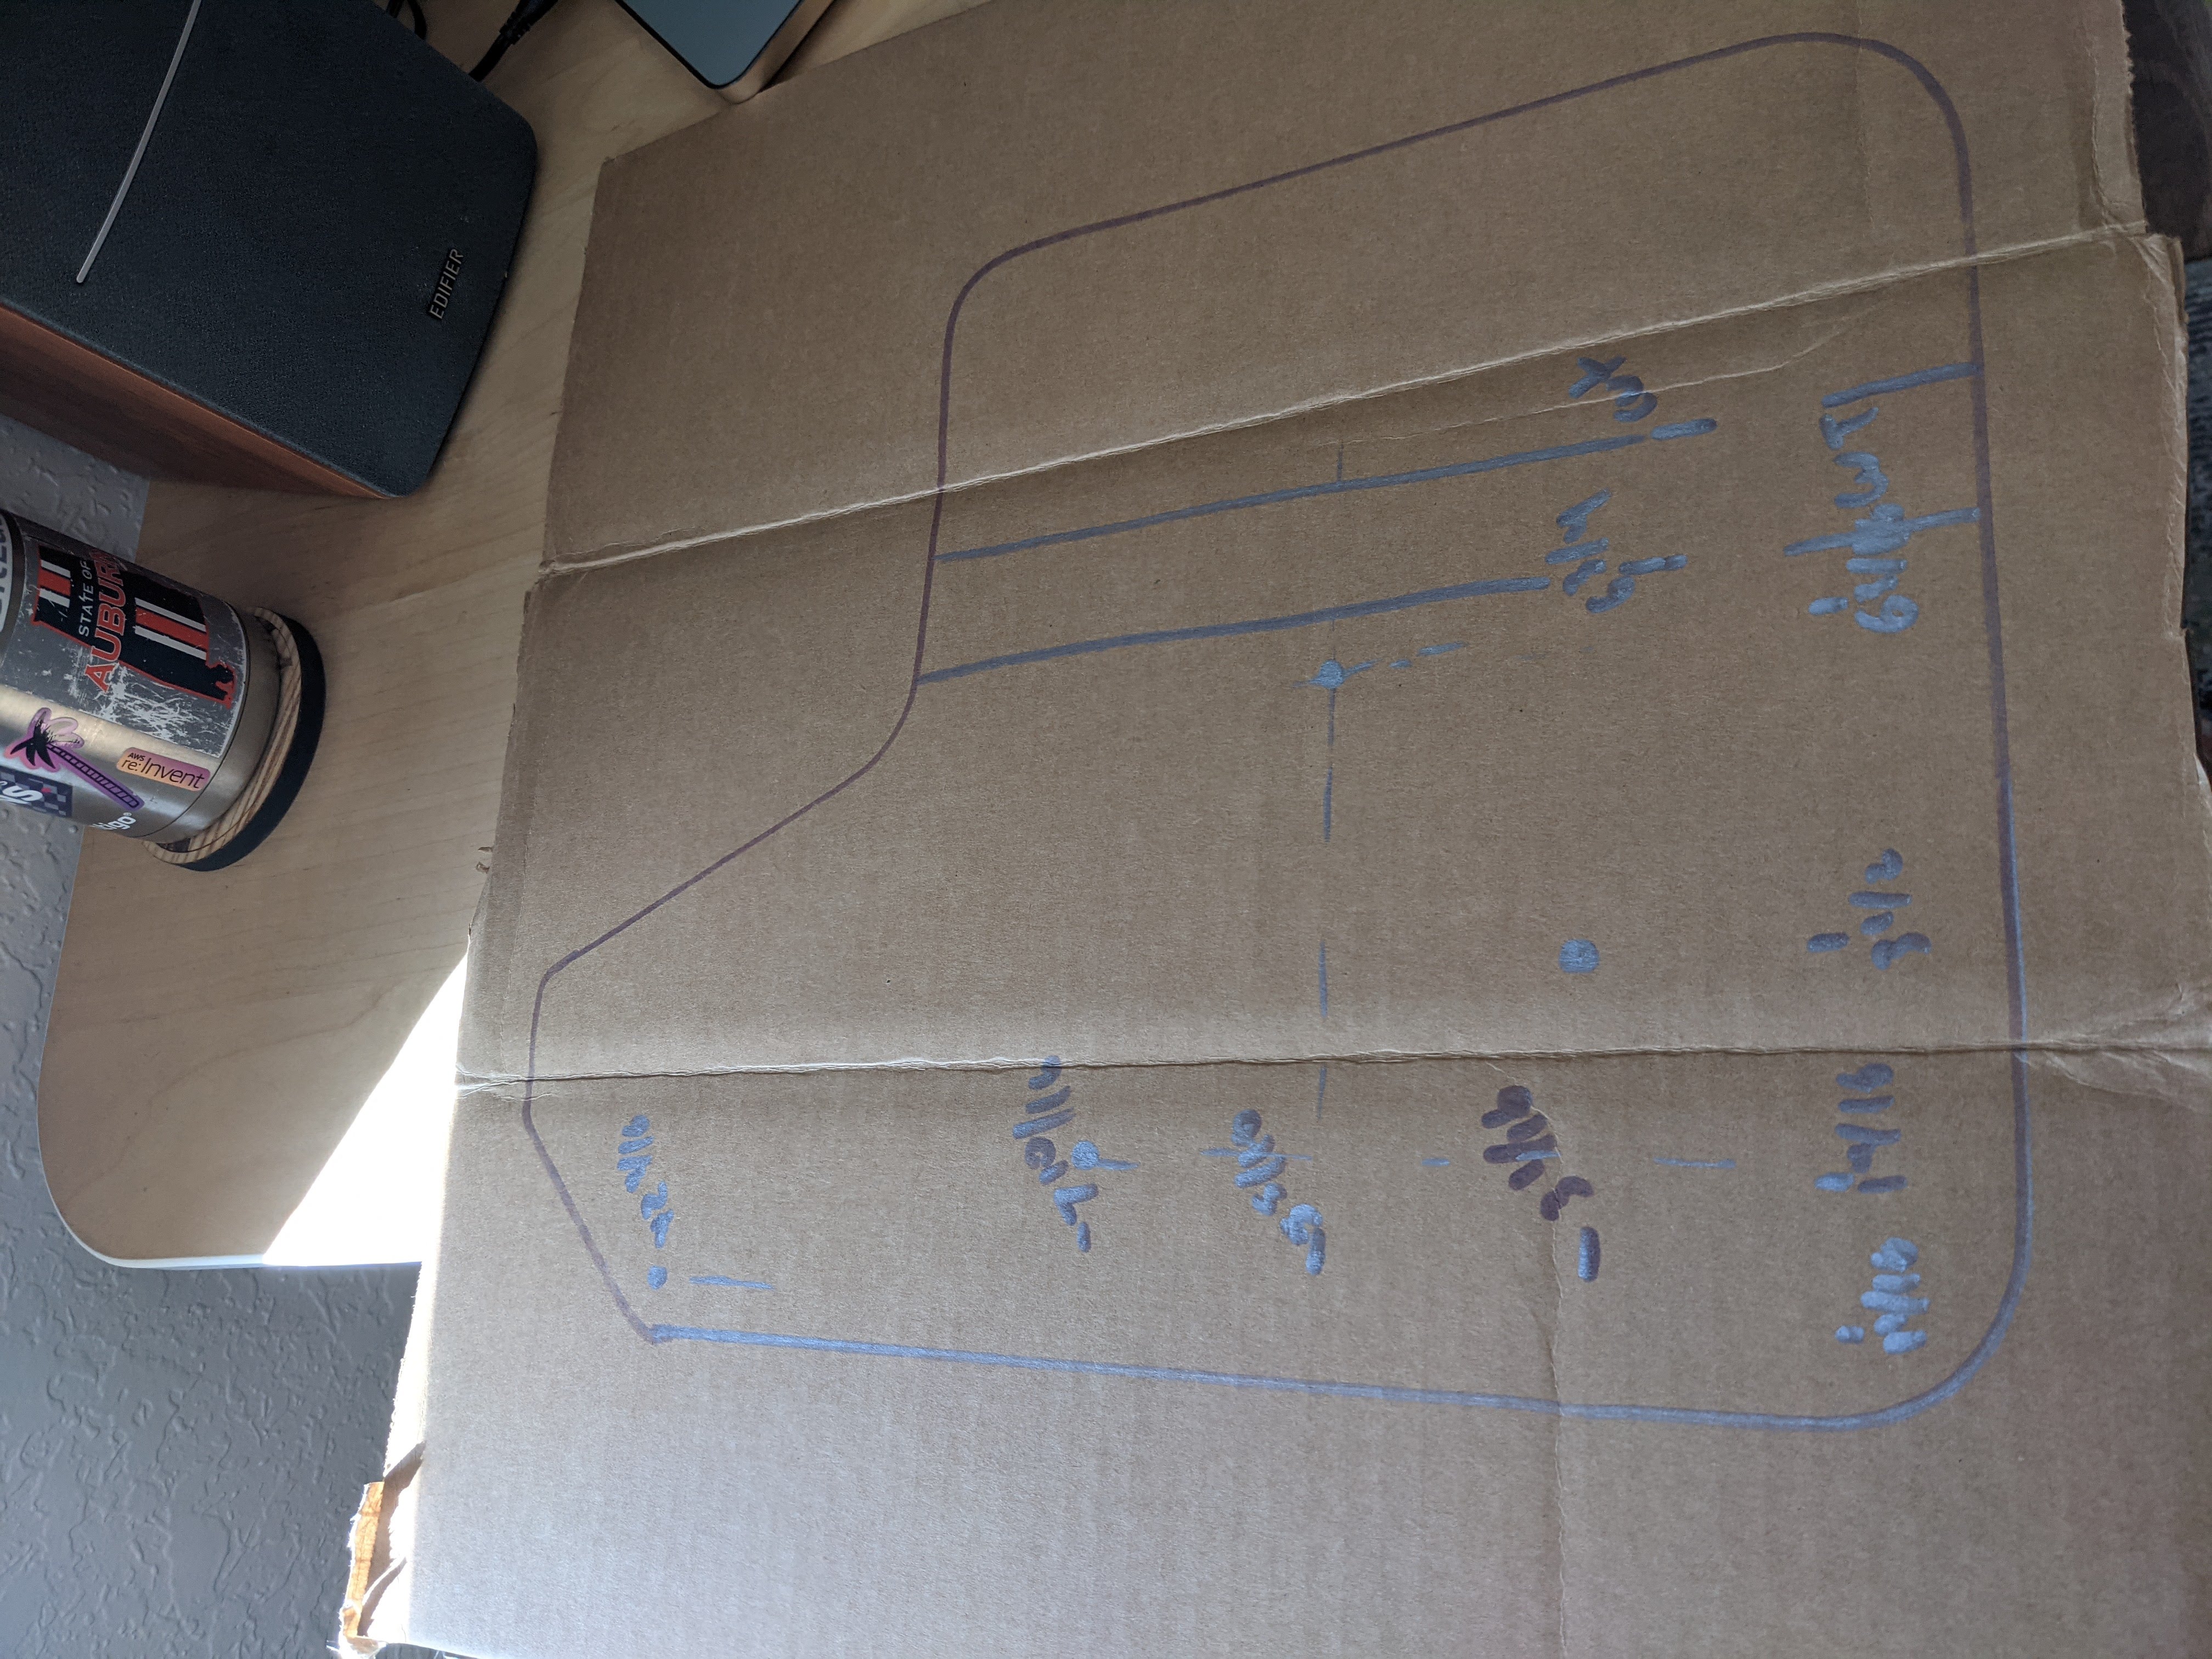
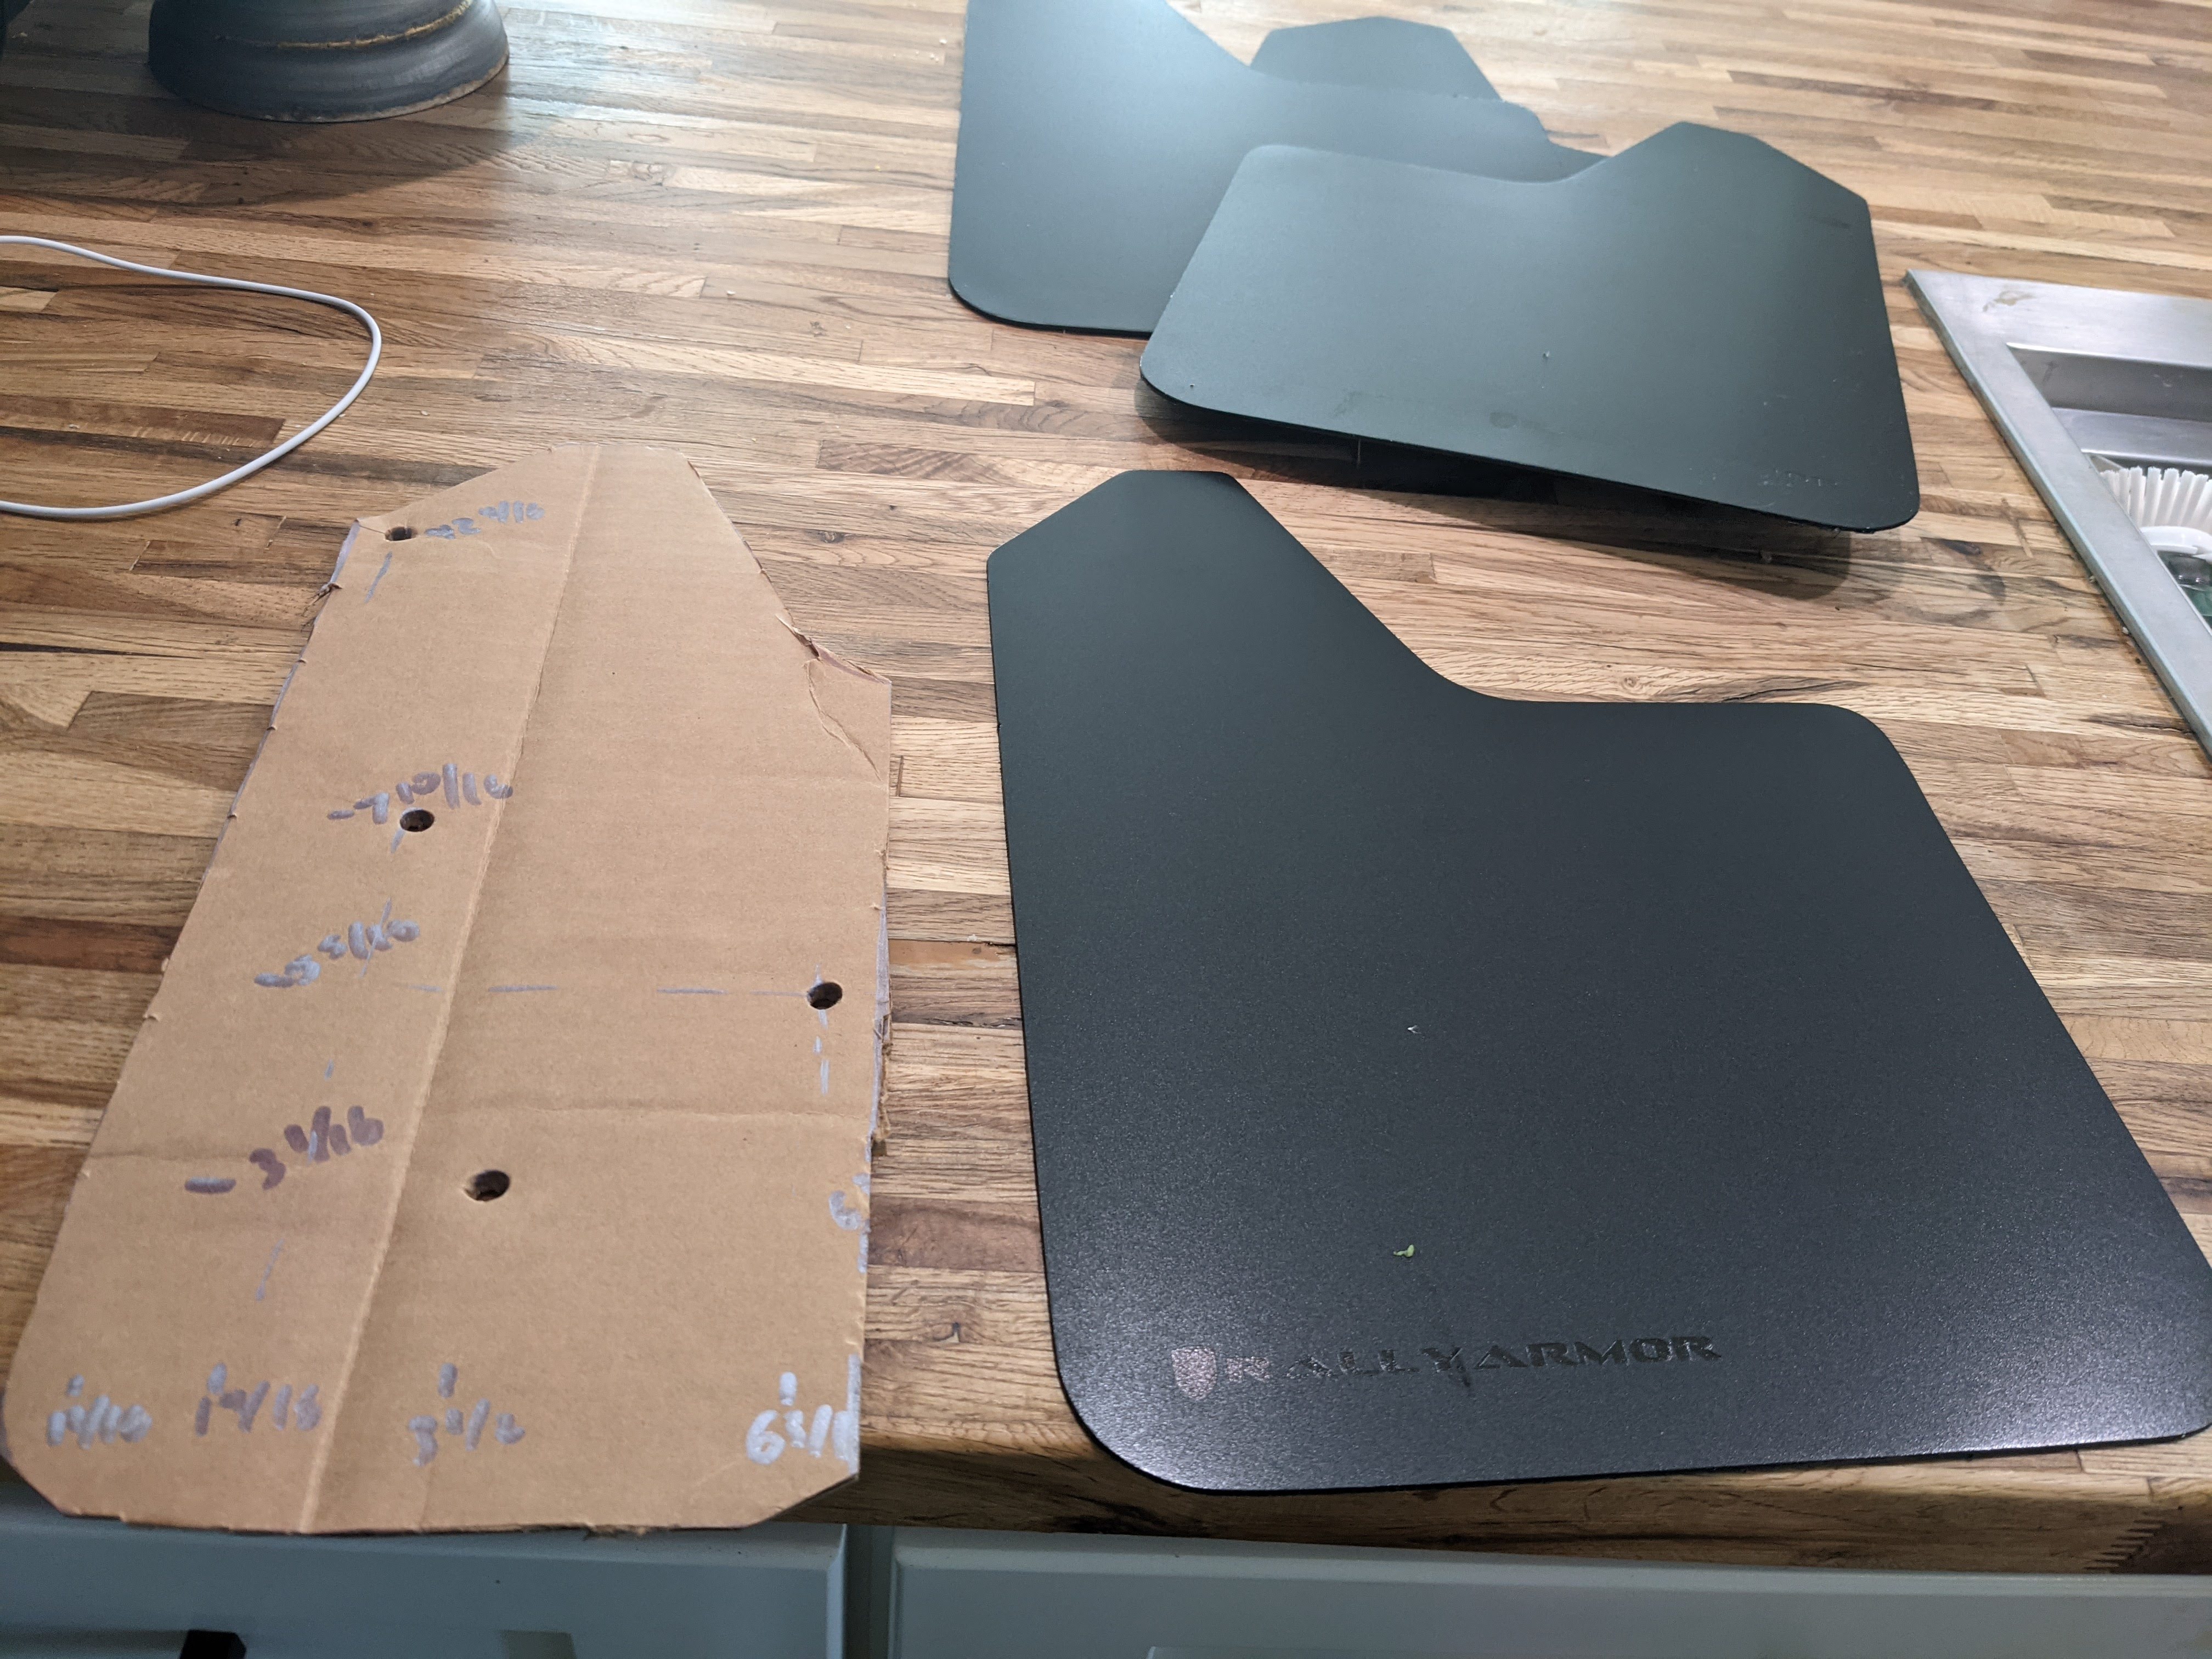
I bought the MF12-BAS-BLK Rally Armor mudflaps, which are 4 for $25. Cheap. Inspired by this miata.net post, I set about creating a cardboard template to dry fit the mudflaps behind the front tires, then cut the Rally Armor mudflaps to fit that template.
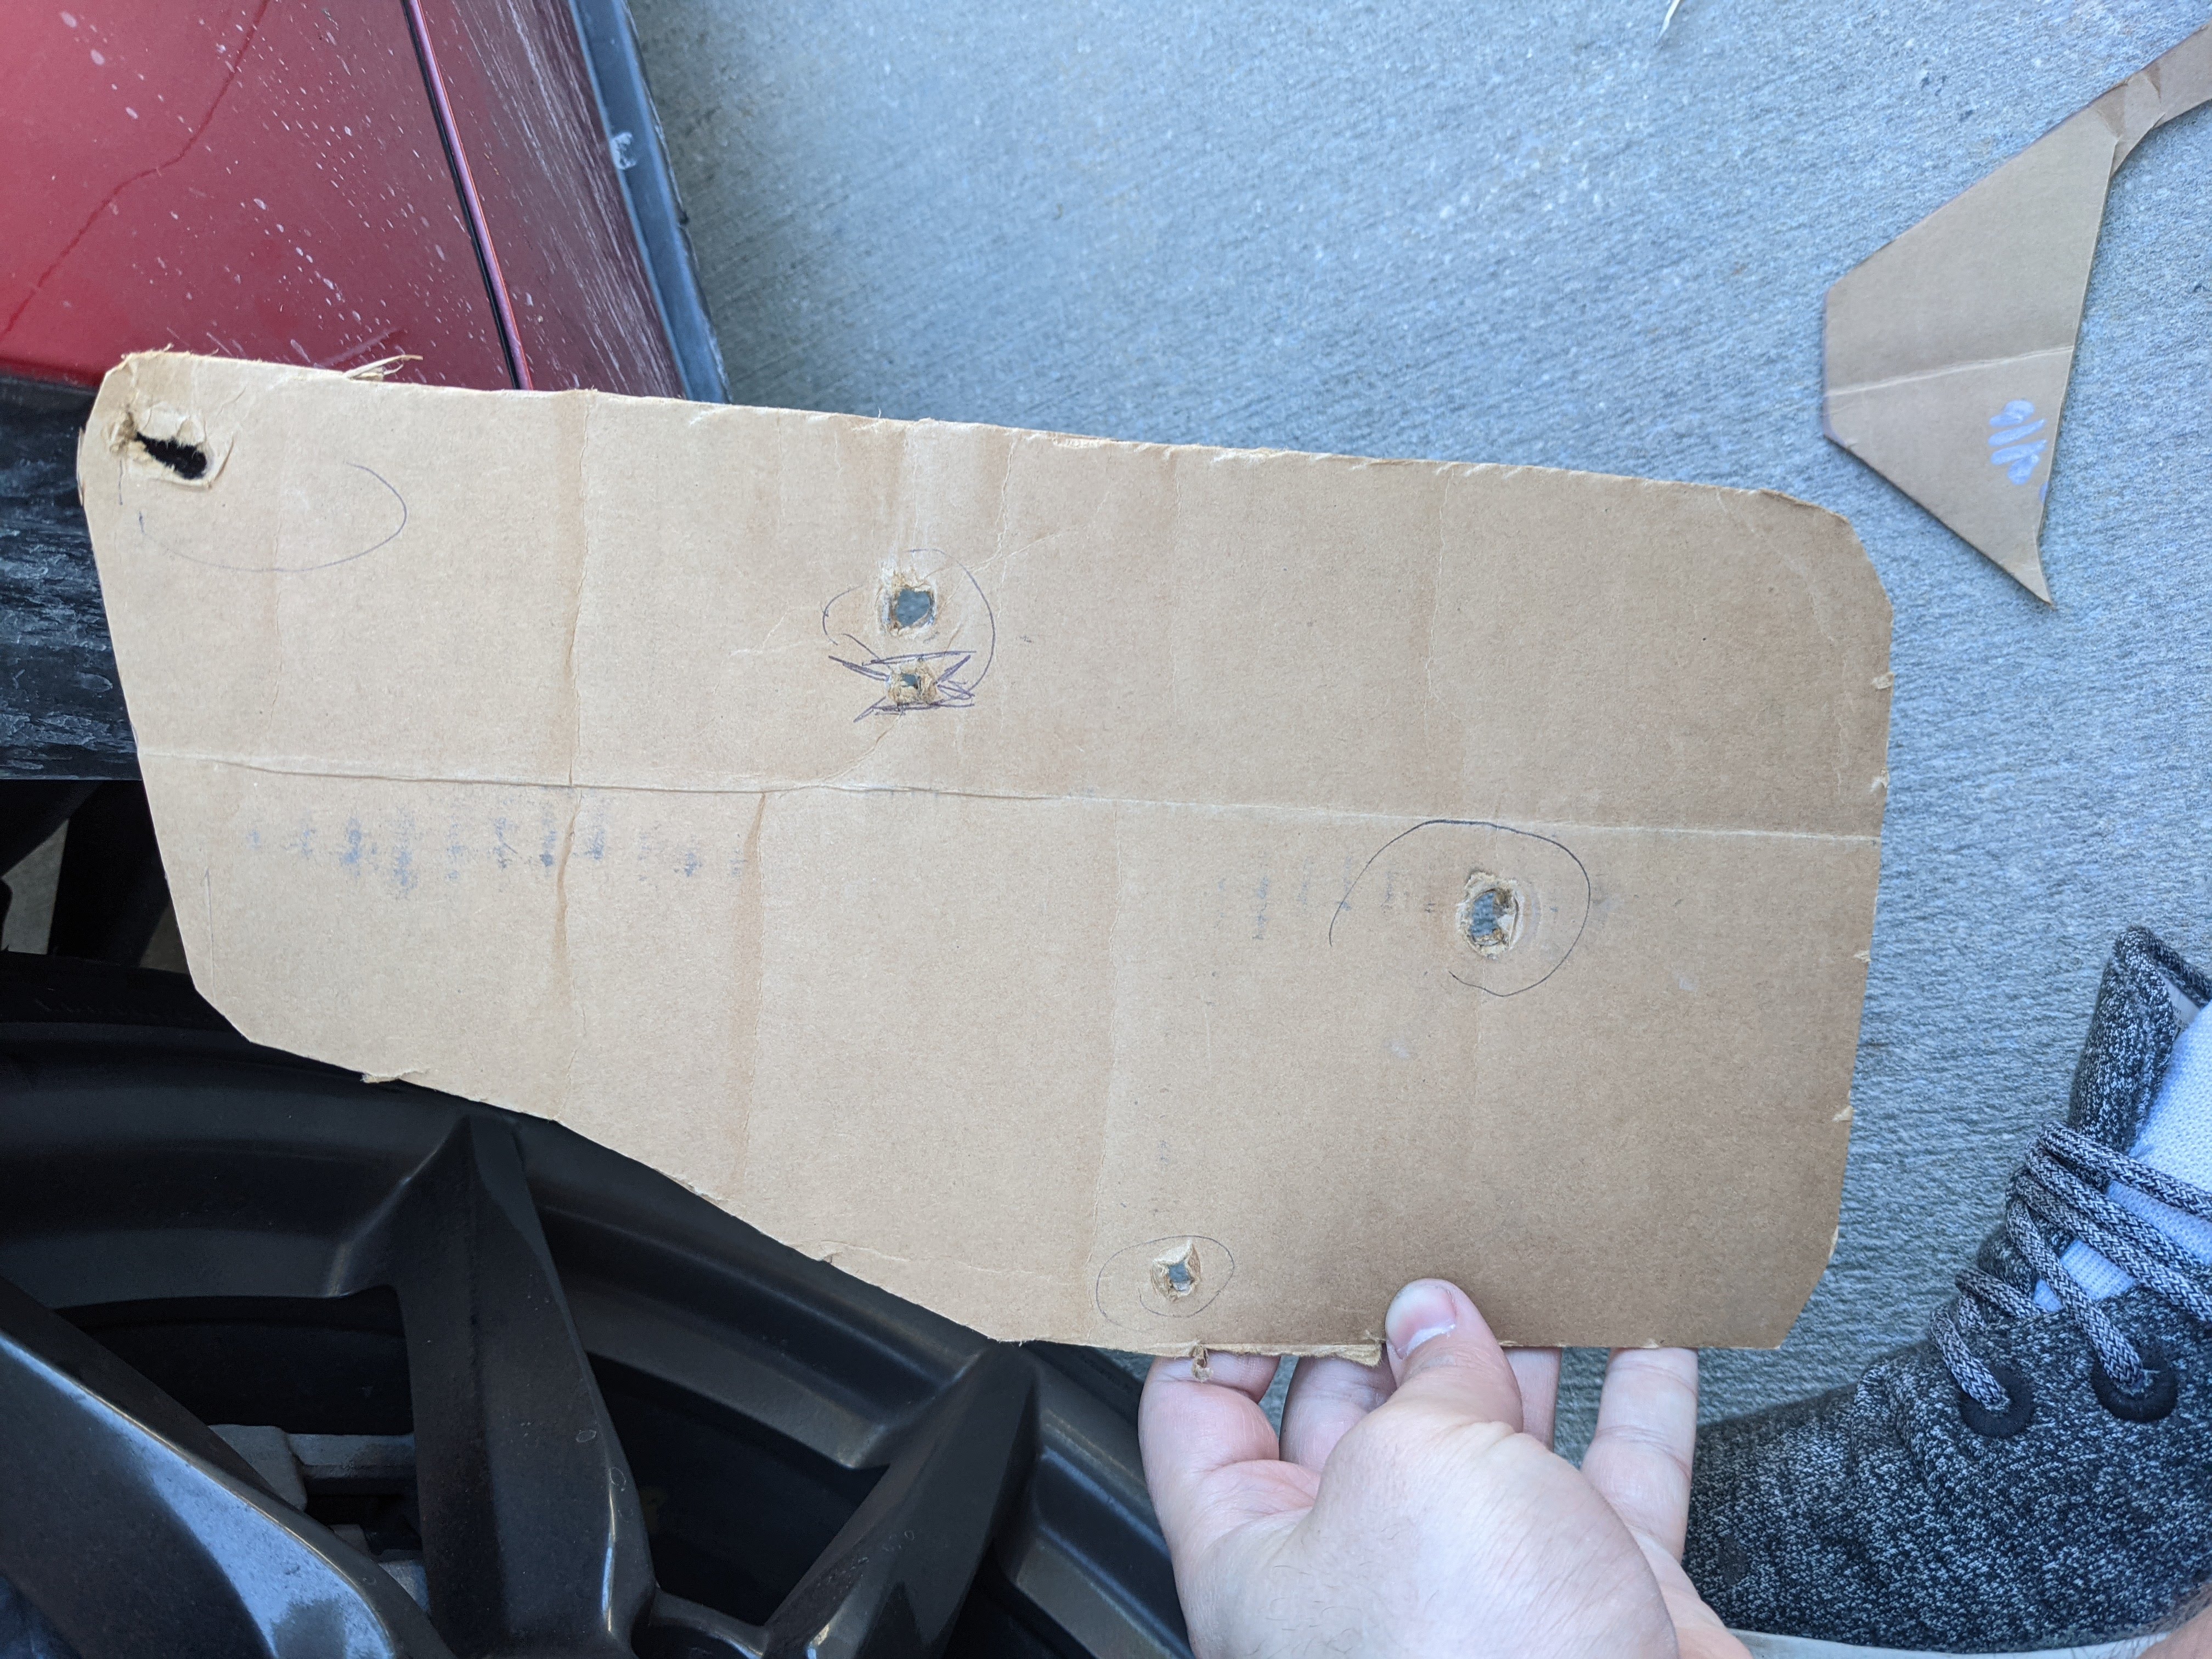
First, I took the cardboard box that the mudflaps shipped in and cut it up to match the dimensions from the miata.net post (login required). Highly recommend following this template, as it was 100% correct.
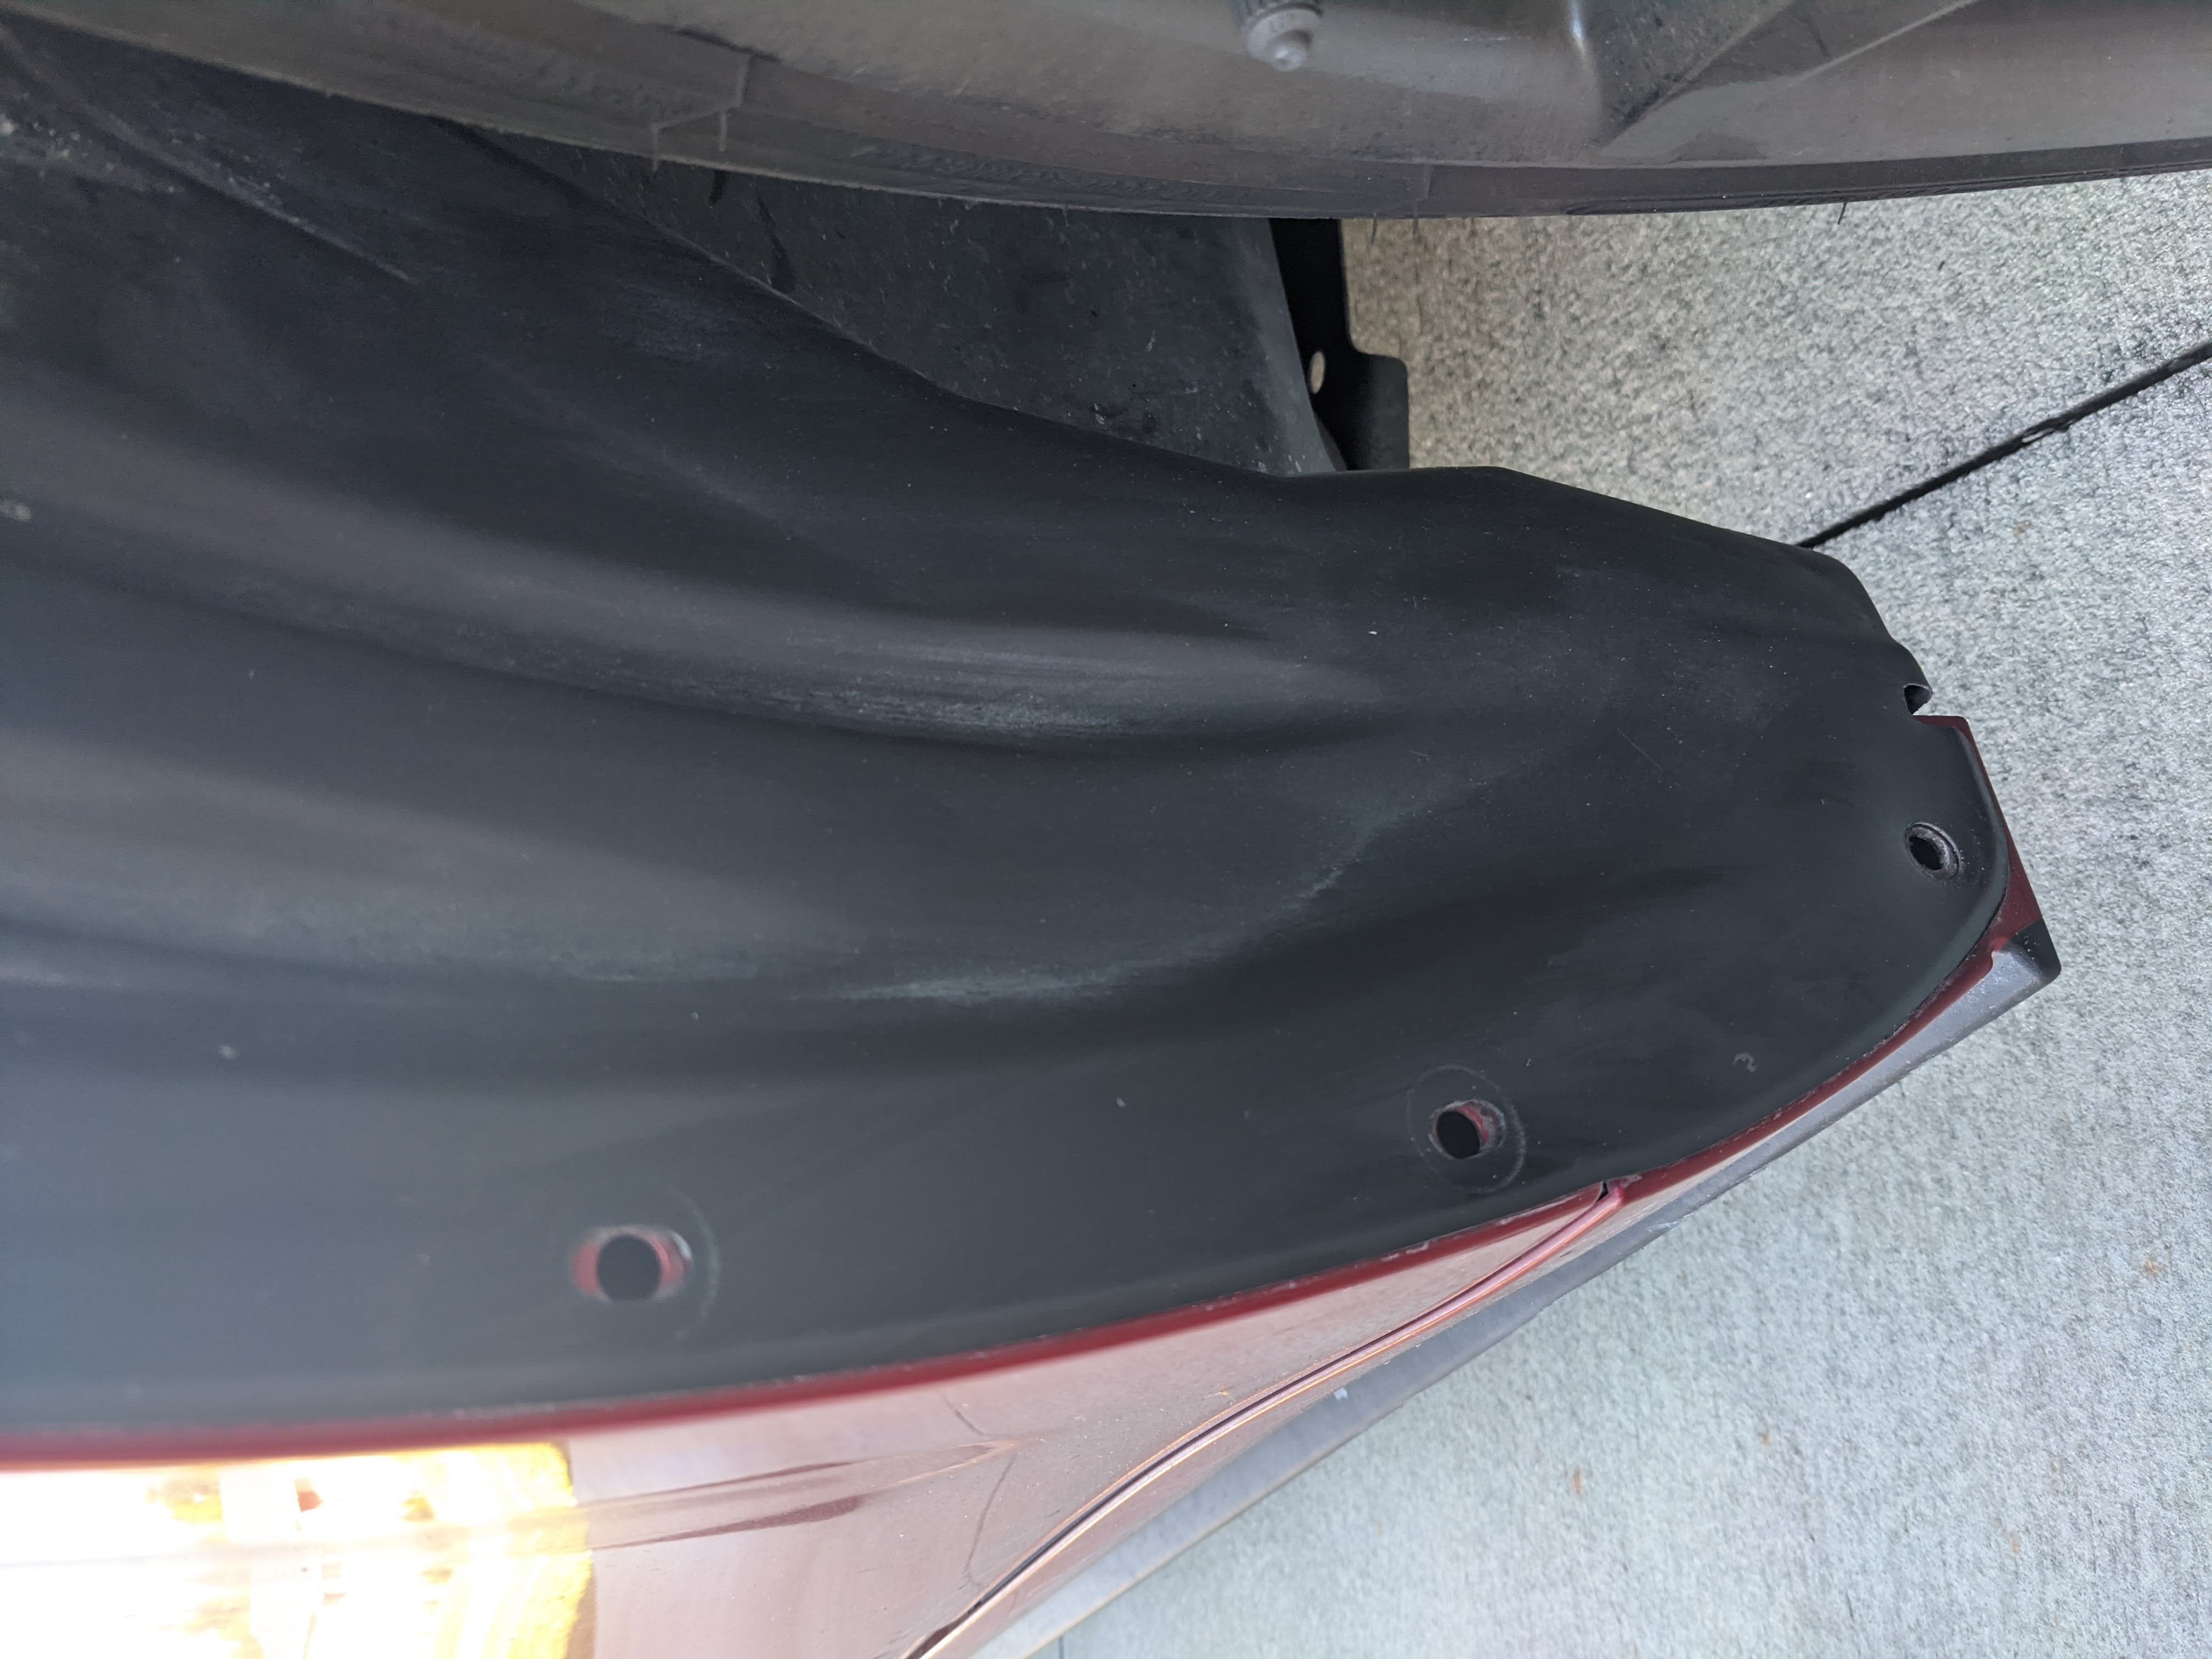
Take off the clips on the inner fender liner from one side of your car using a small flathead screwdriver. To make this easier, turn your tires all the way in one direction.
Test the fitment with the cardboard template you made, make sure the holes you’ll have to drill through match where the clips attach. Then you can modify your template a bit so your wheels don’t rub (pen line in second picture).
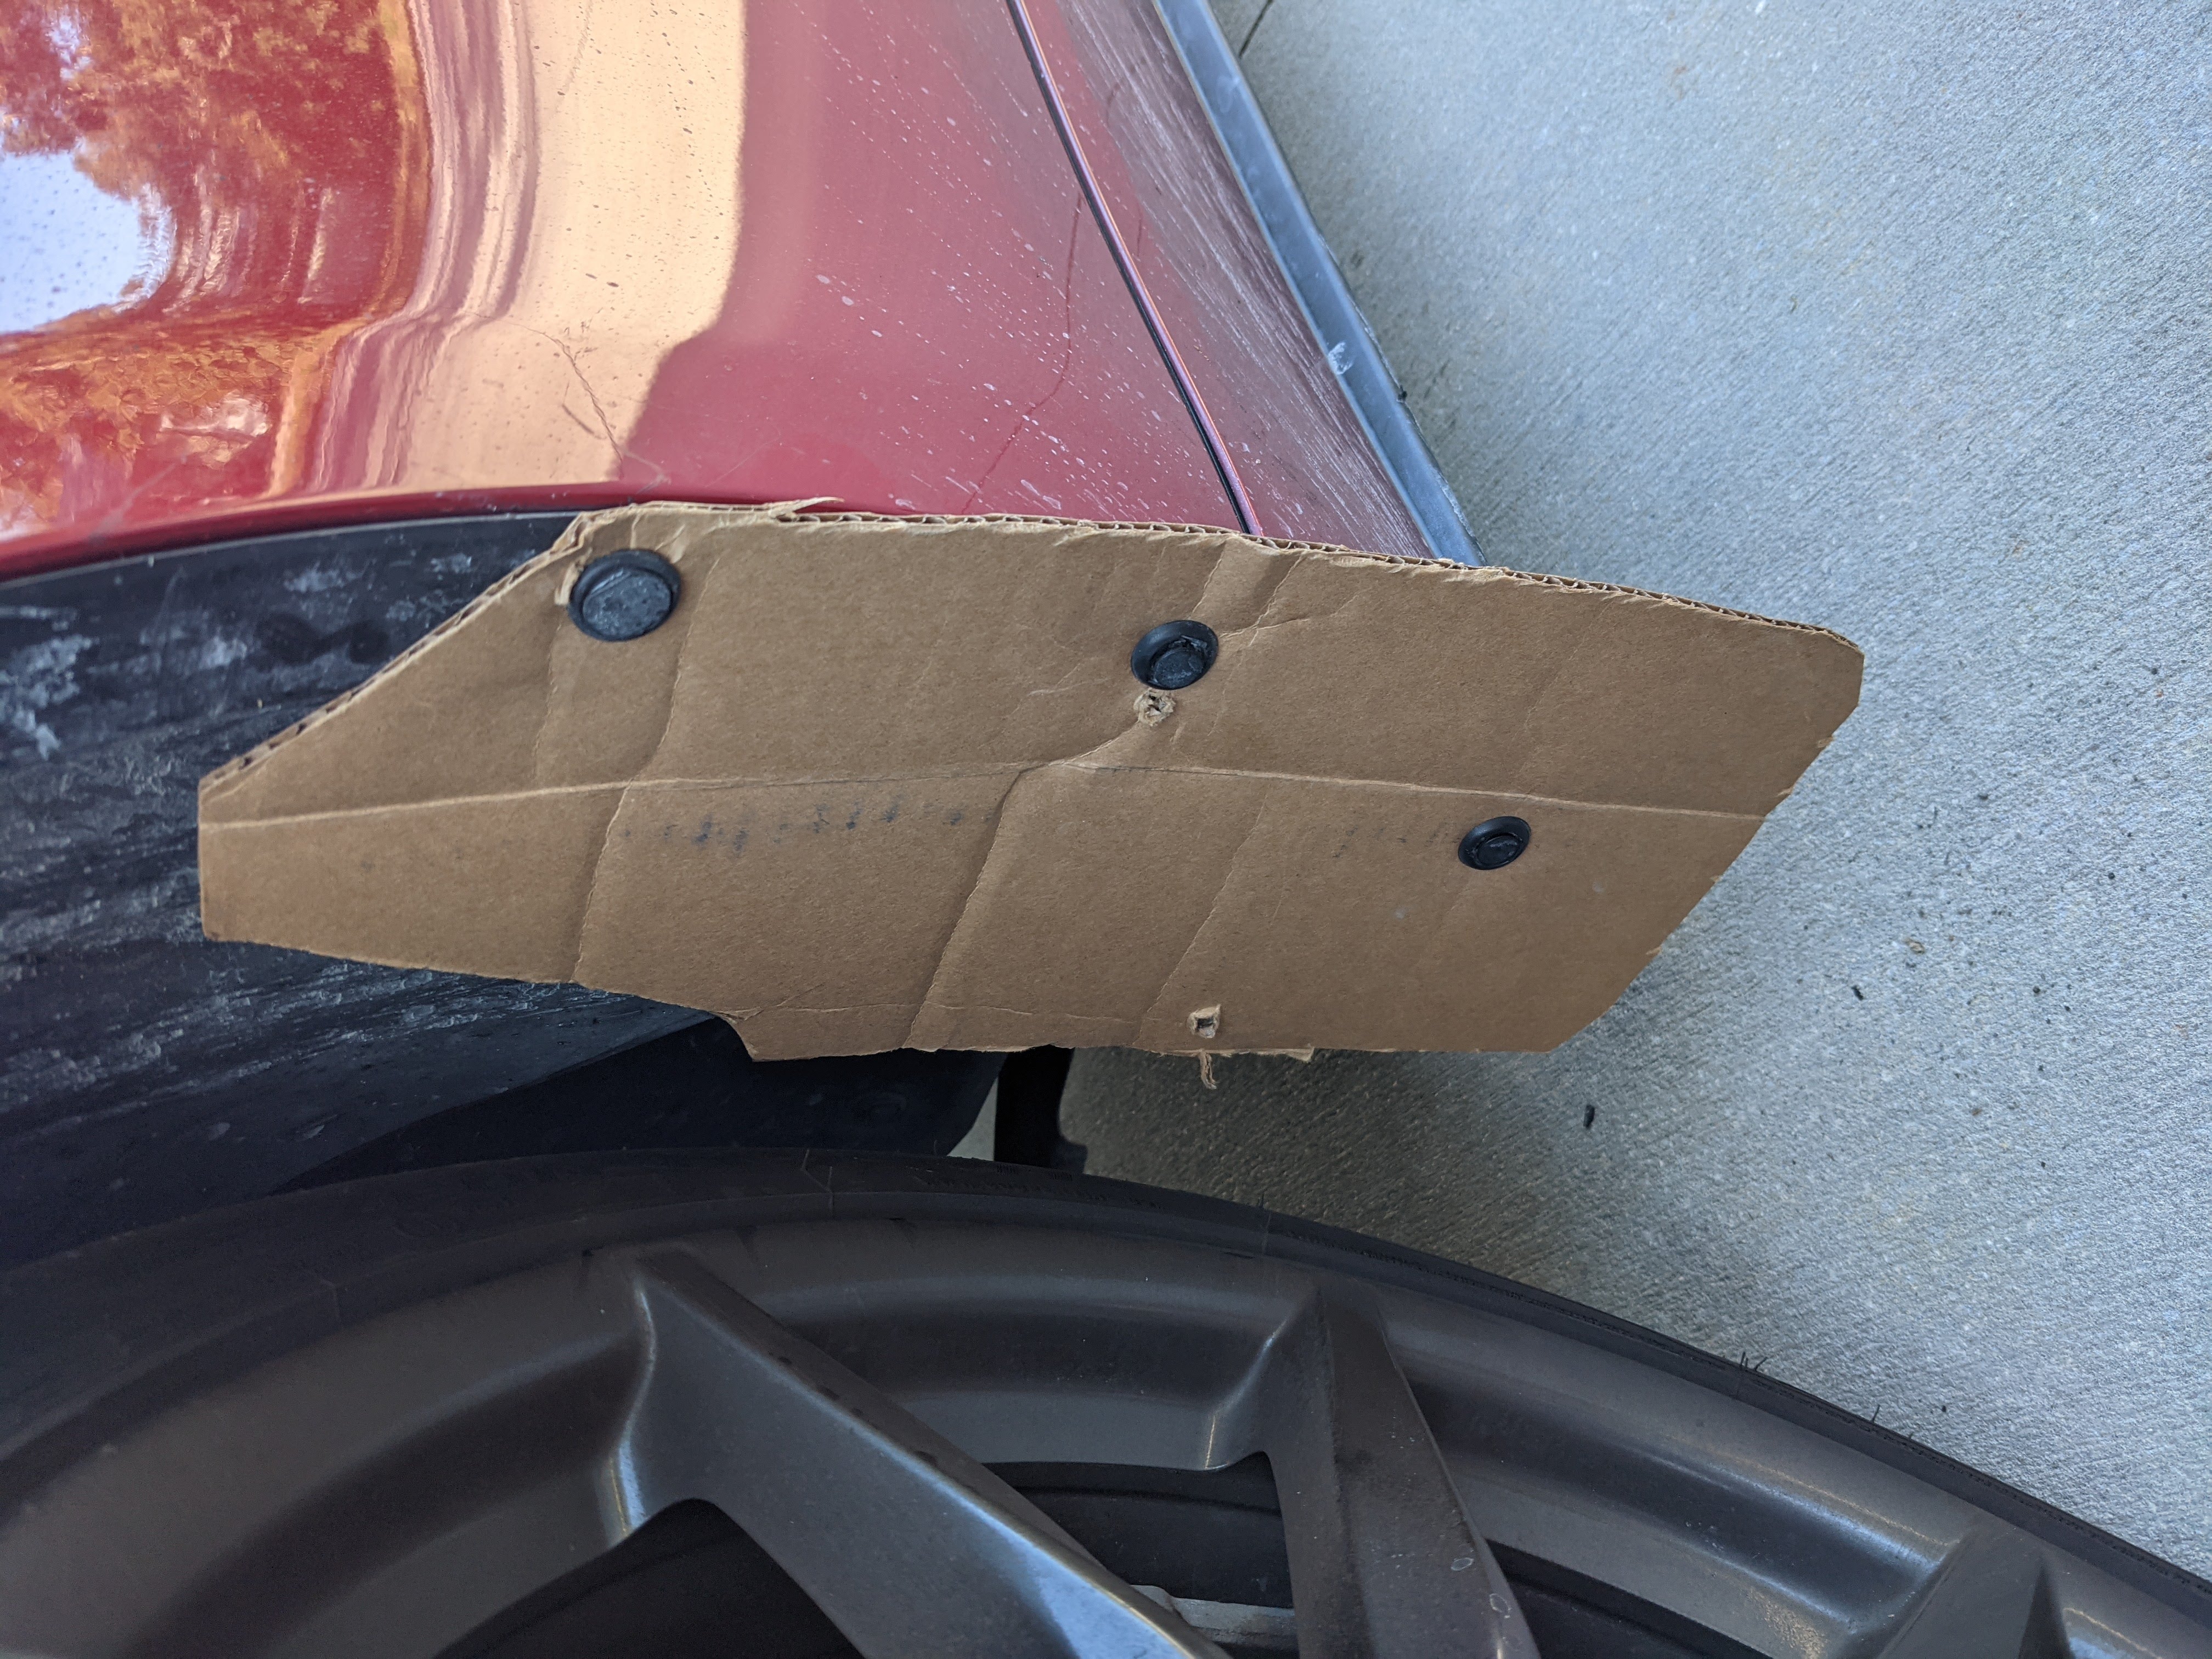
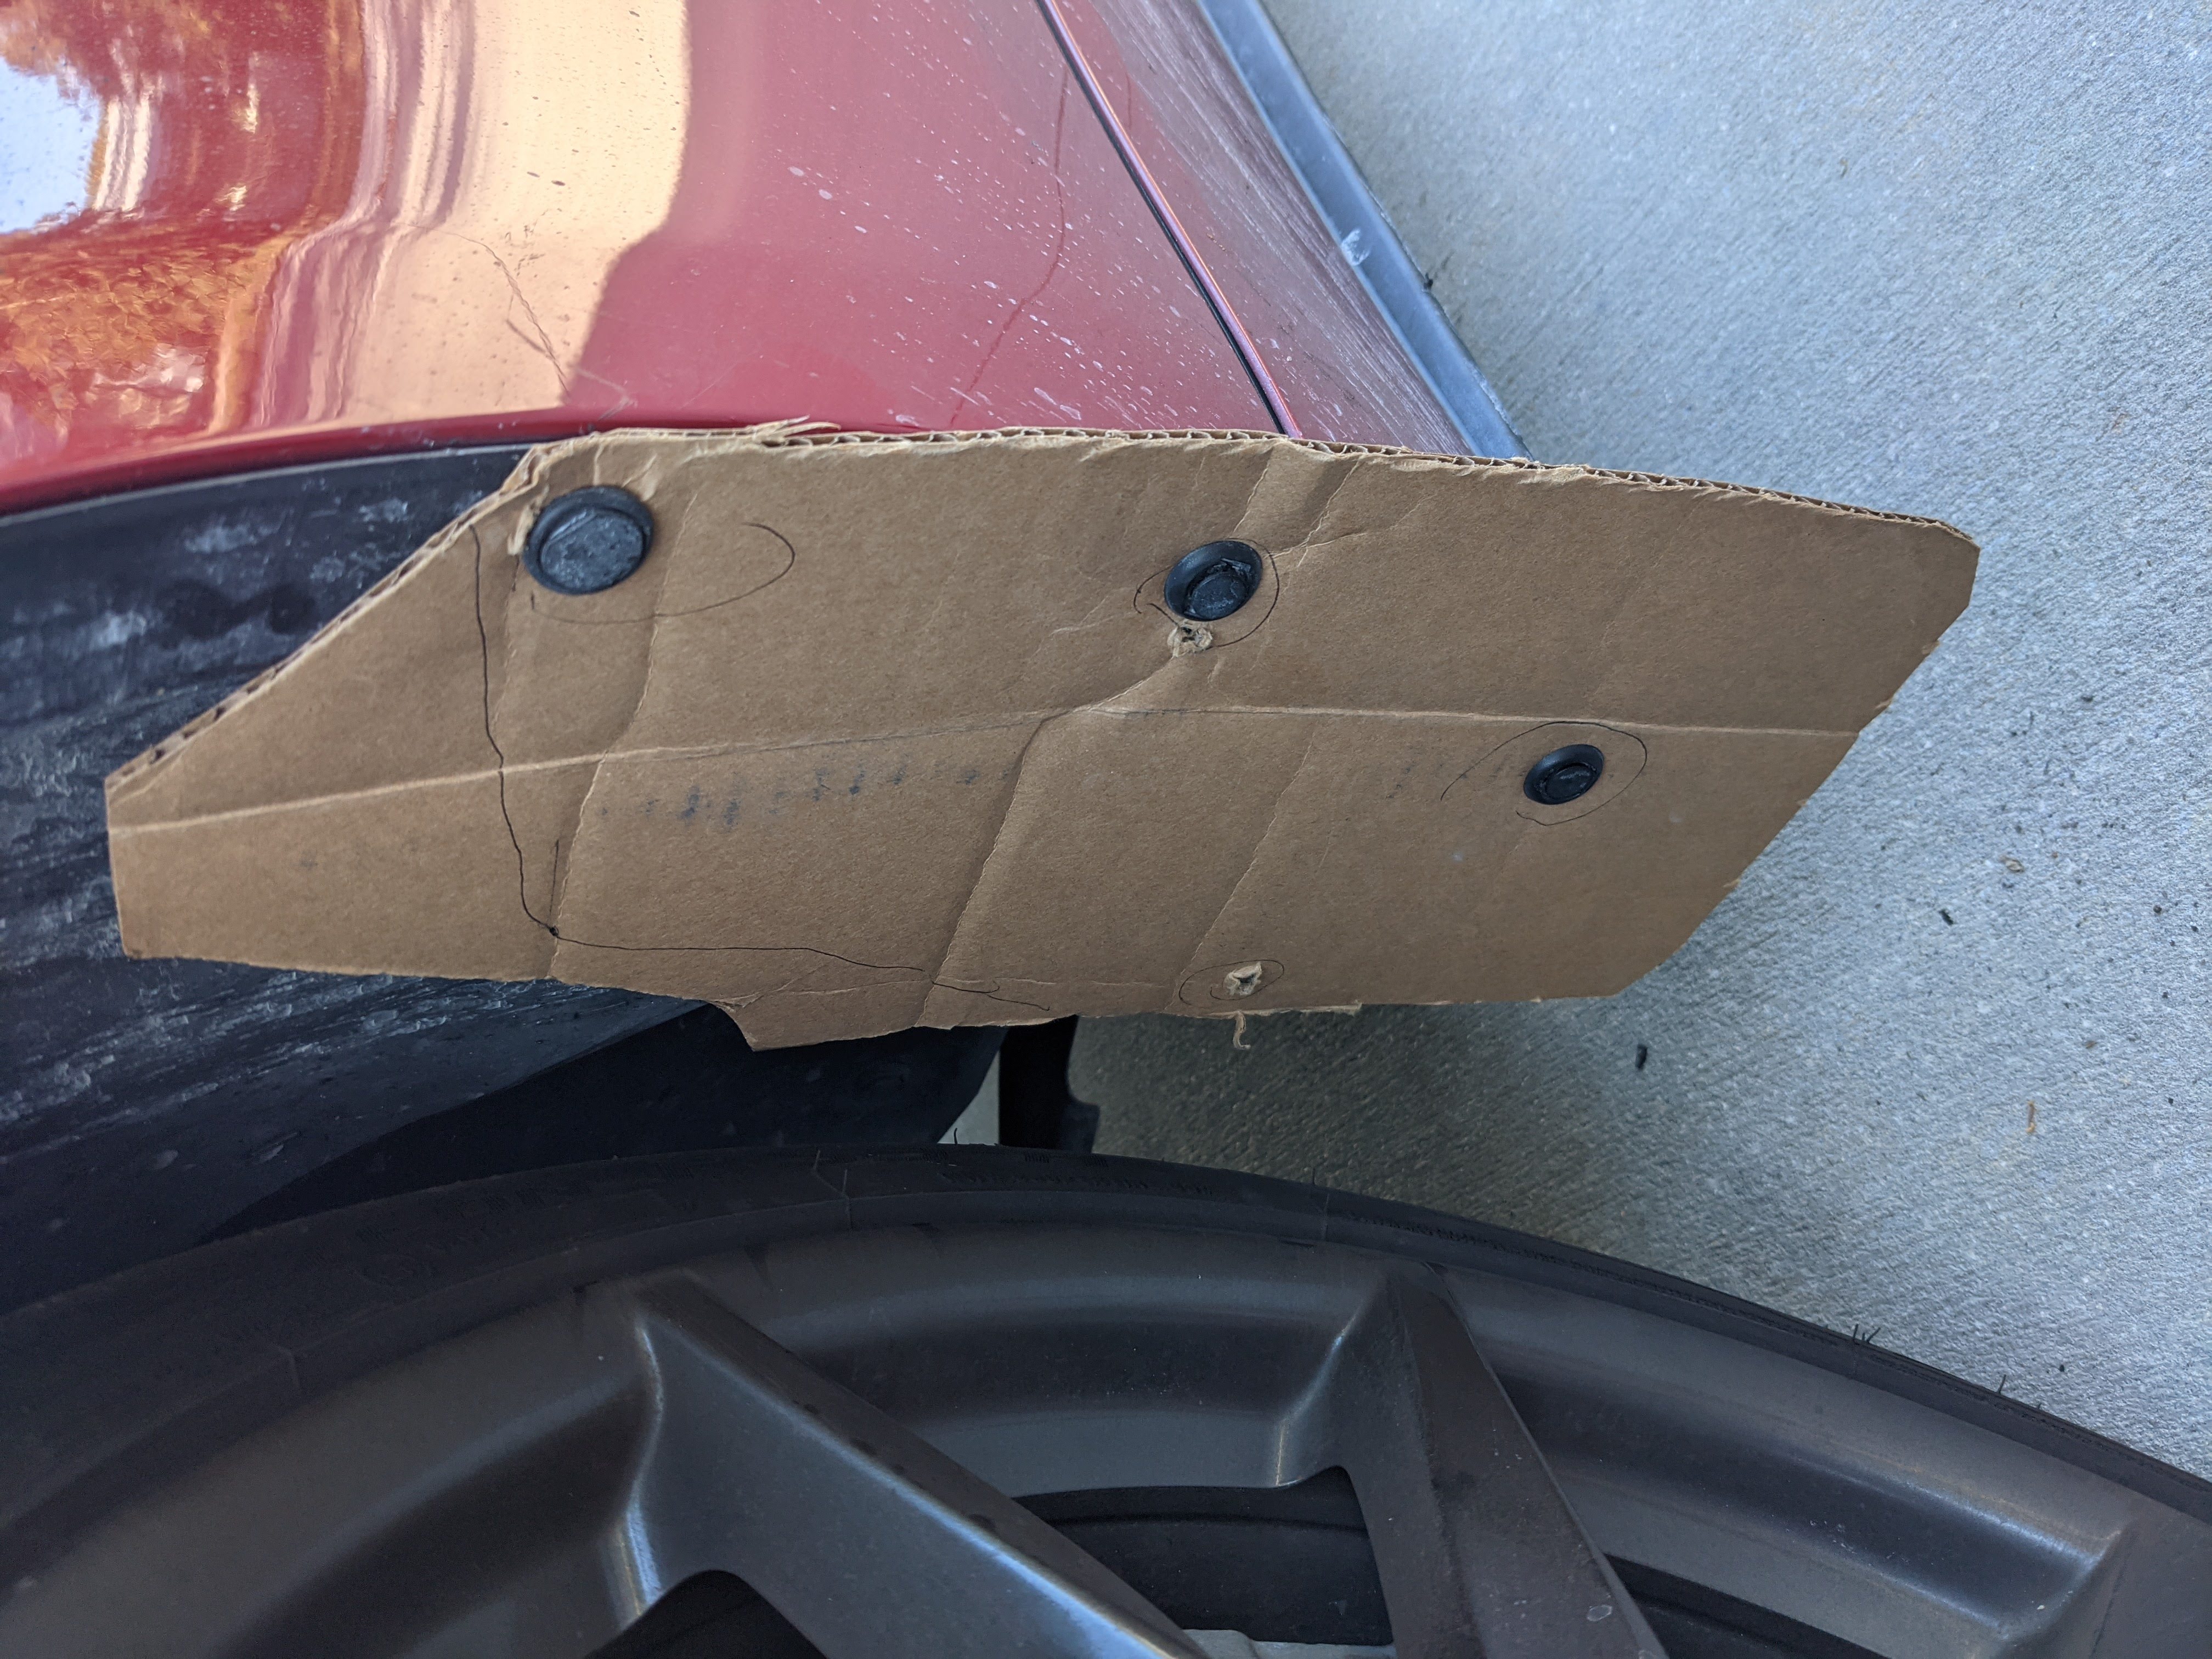
I then re-cut the cardboard template to match what I thought was a better fit. This part doesn’t matter much, you just don’t want the inside of your mudflap to rub your tire.
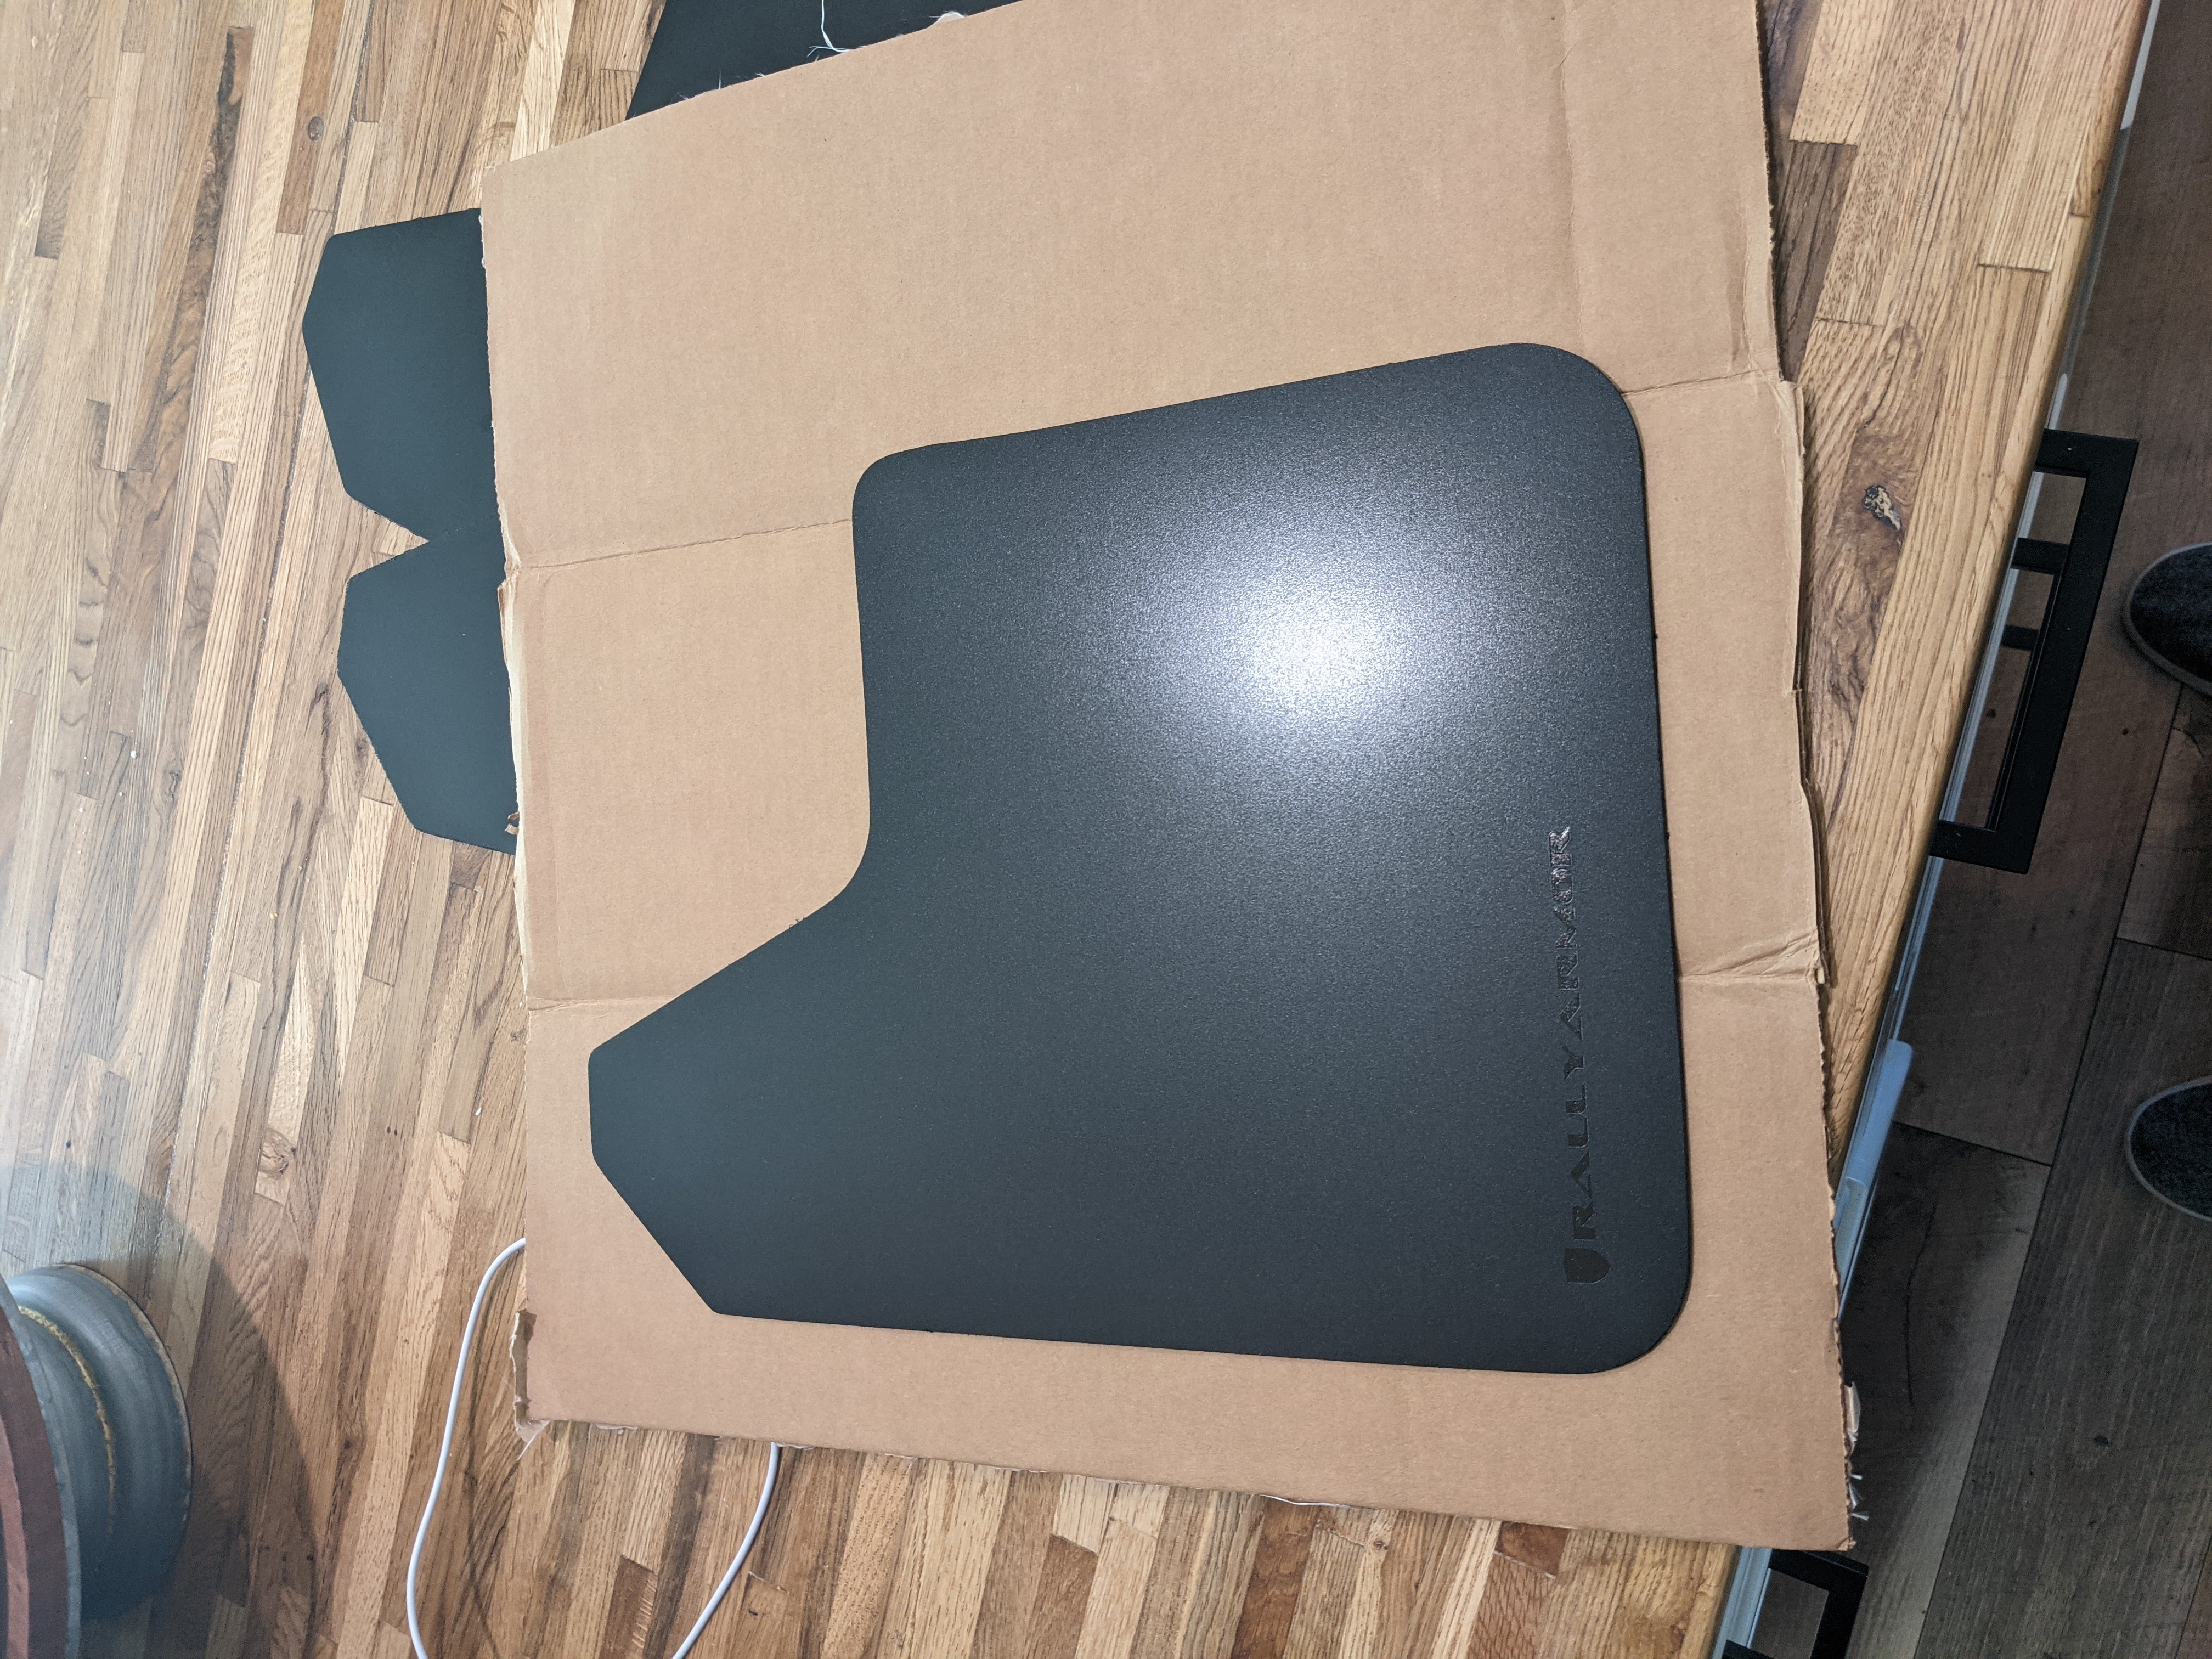
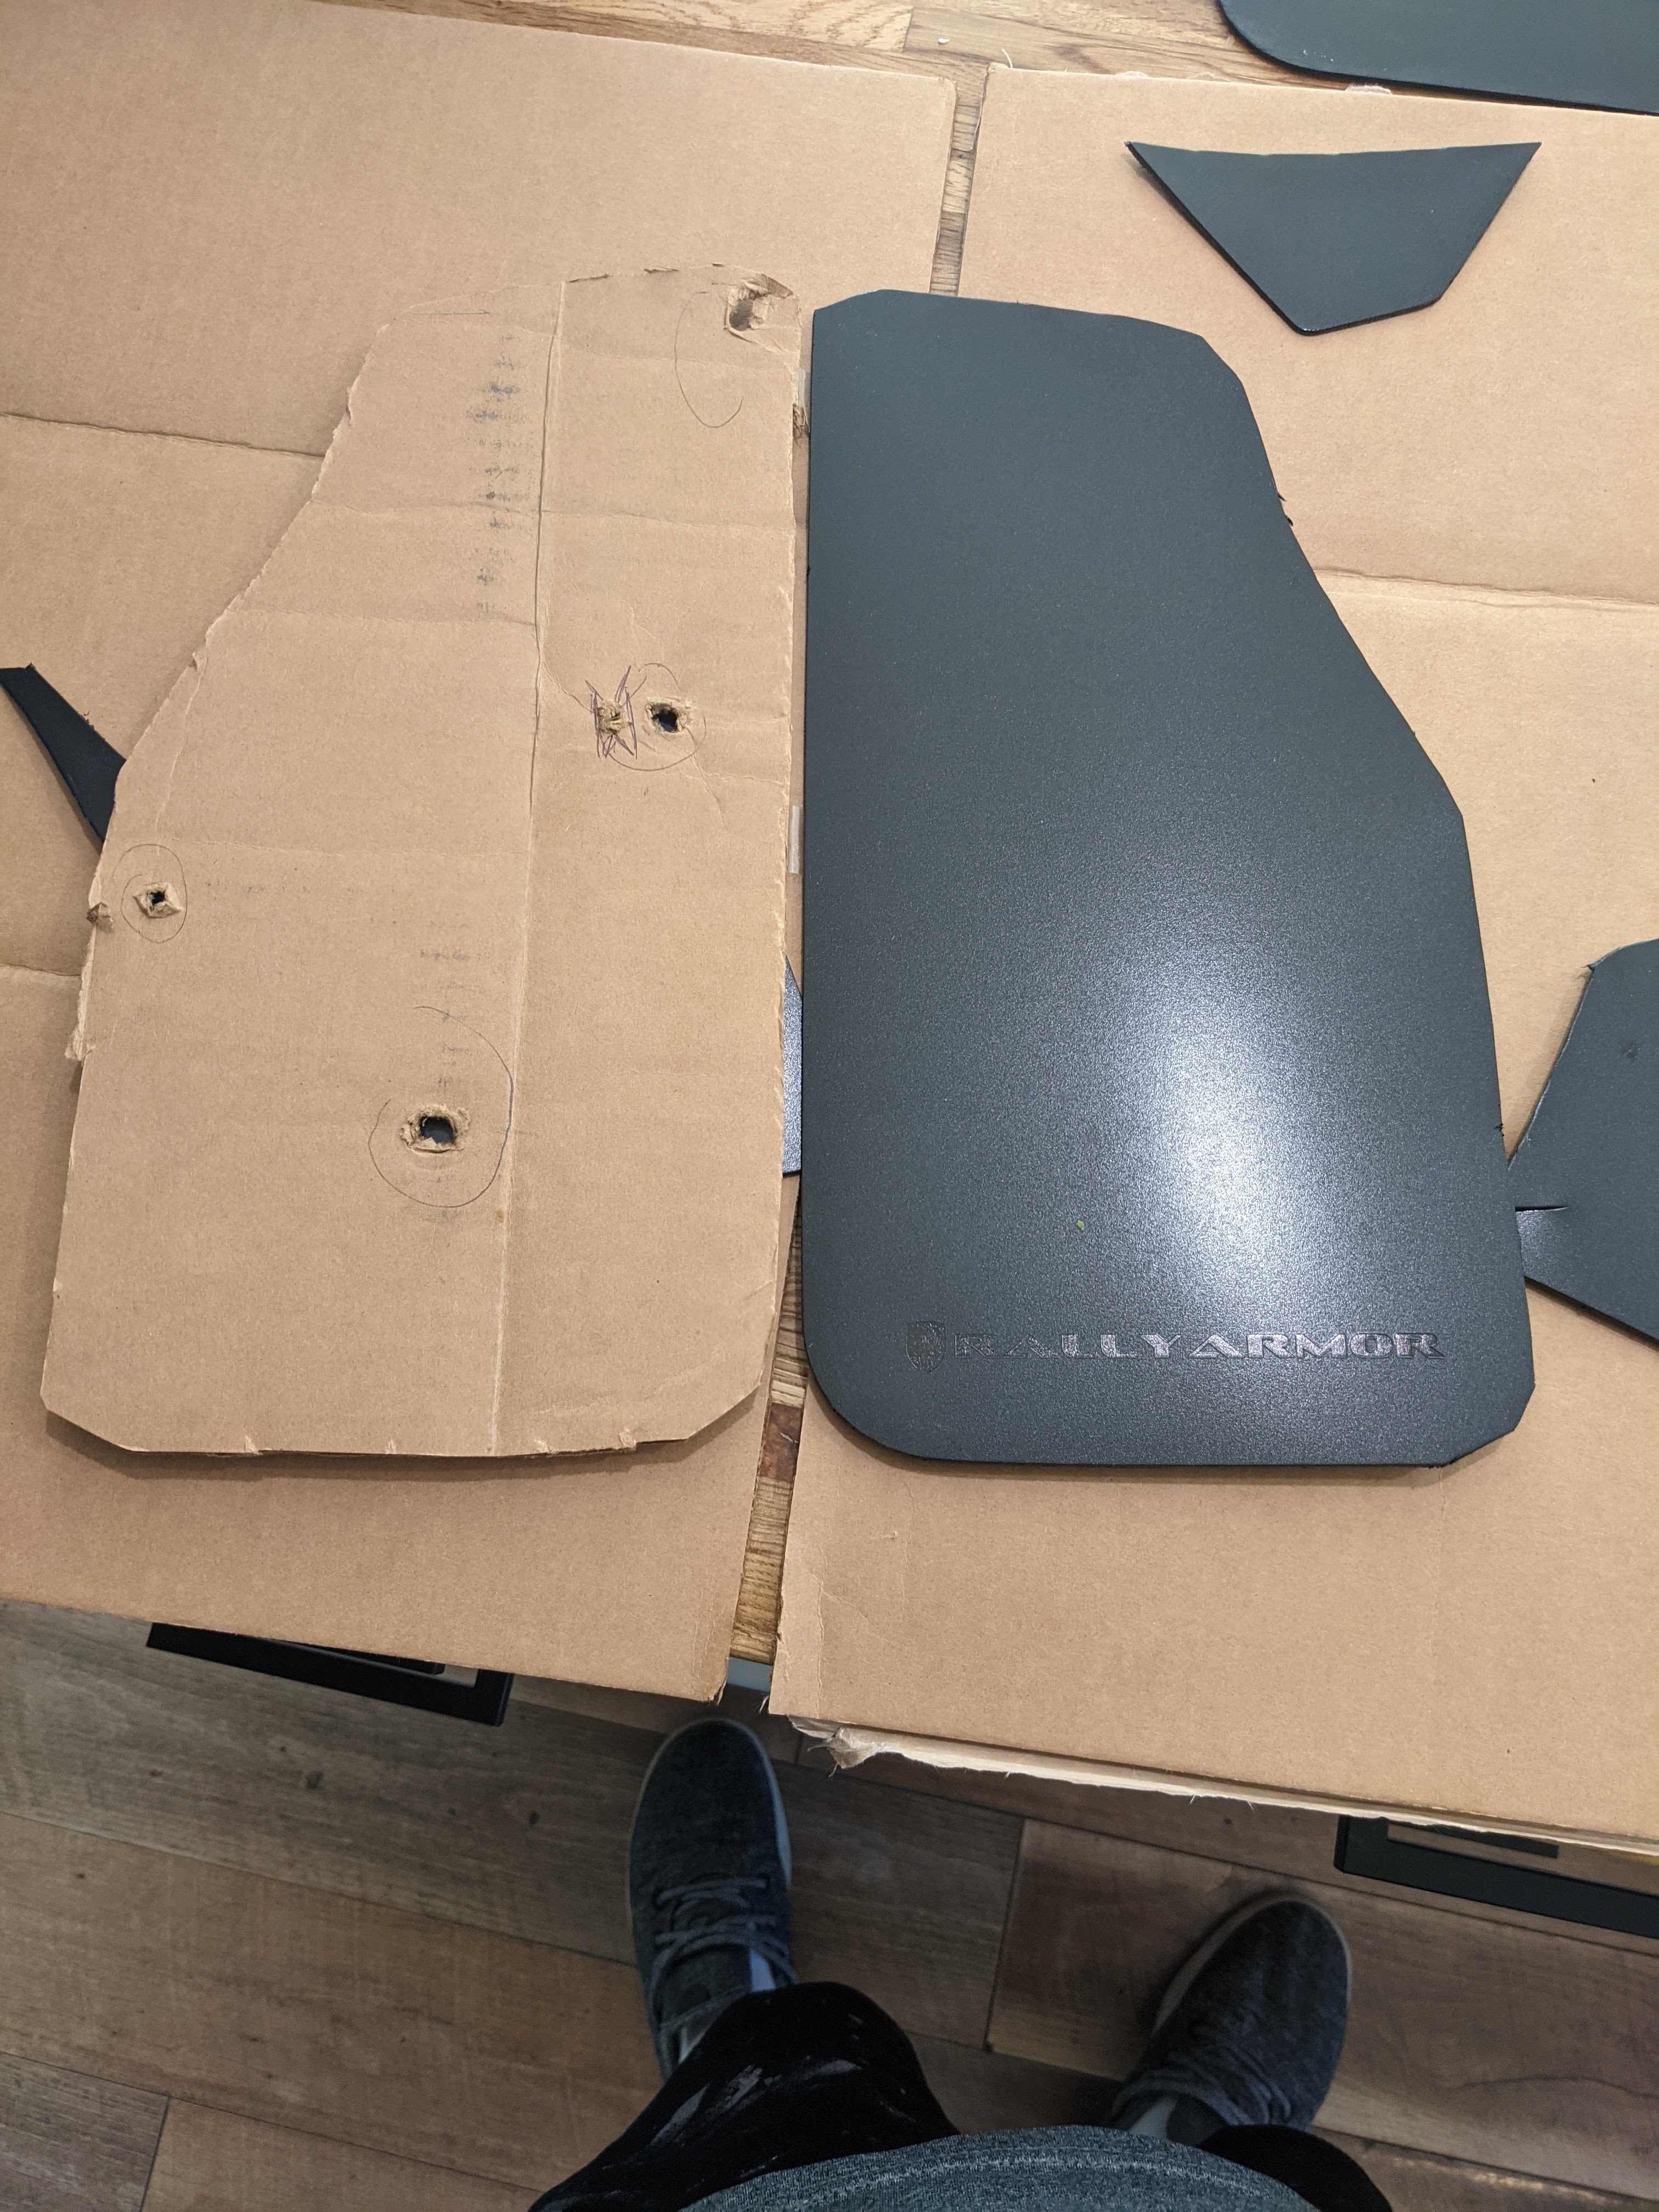
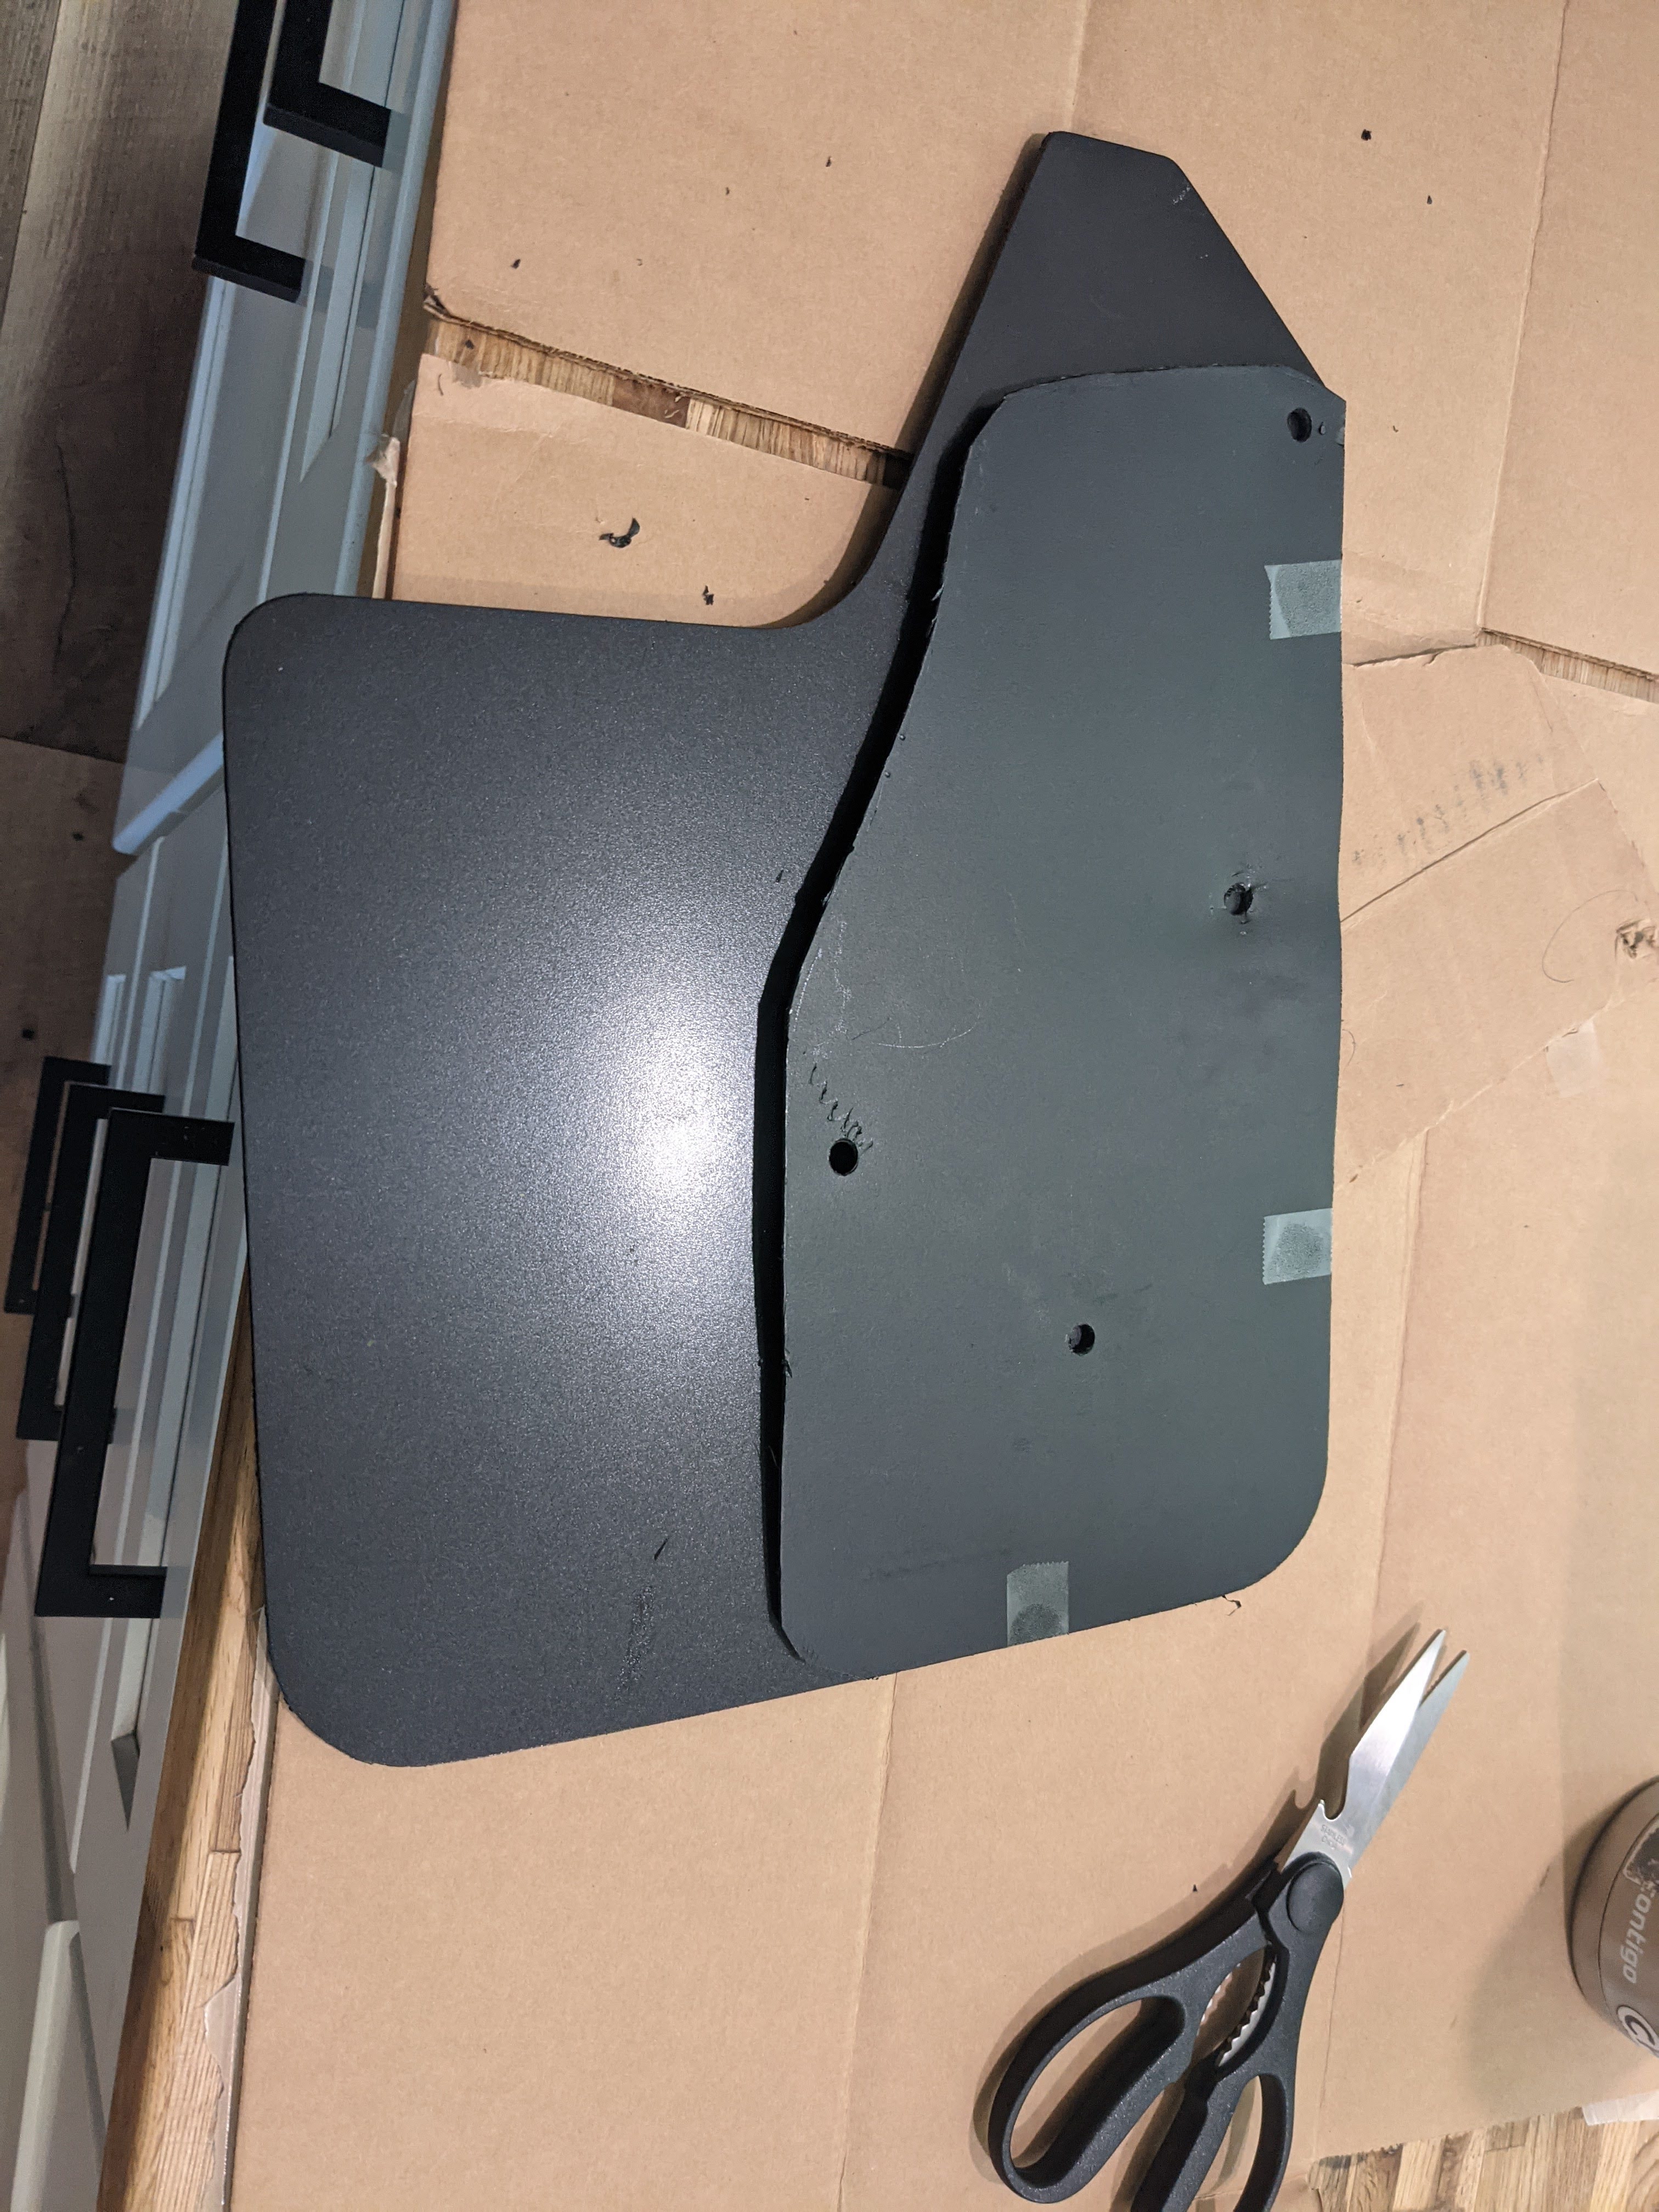
I then taped the cardboard template to the plastic mudlflaps and cut with some good kitchen scissors. Then drilled through the holes from the template using a 5/16” drill bit. The small hole you see on the left is optional, and I used a slightly smaller bit for that part.
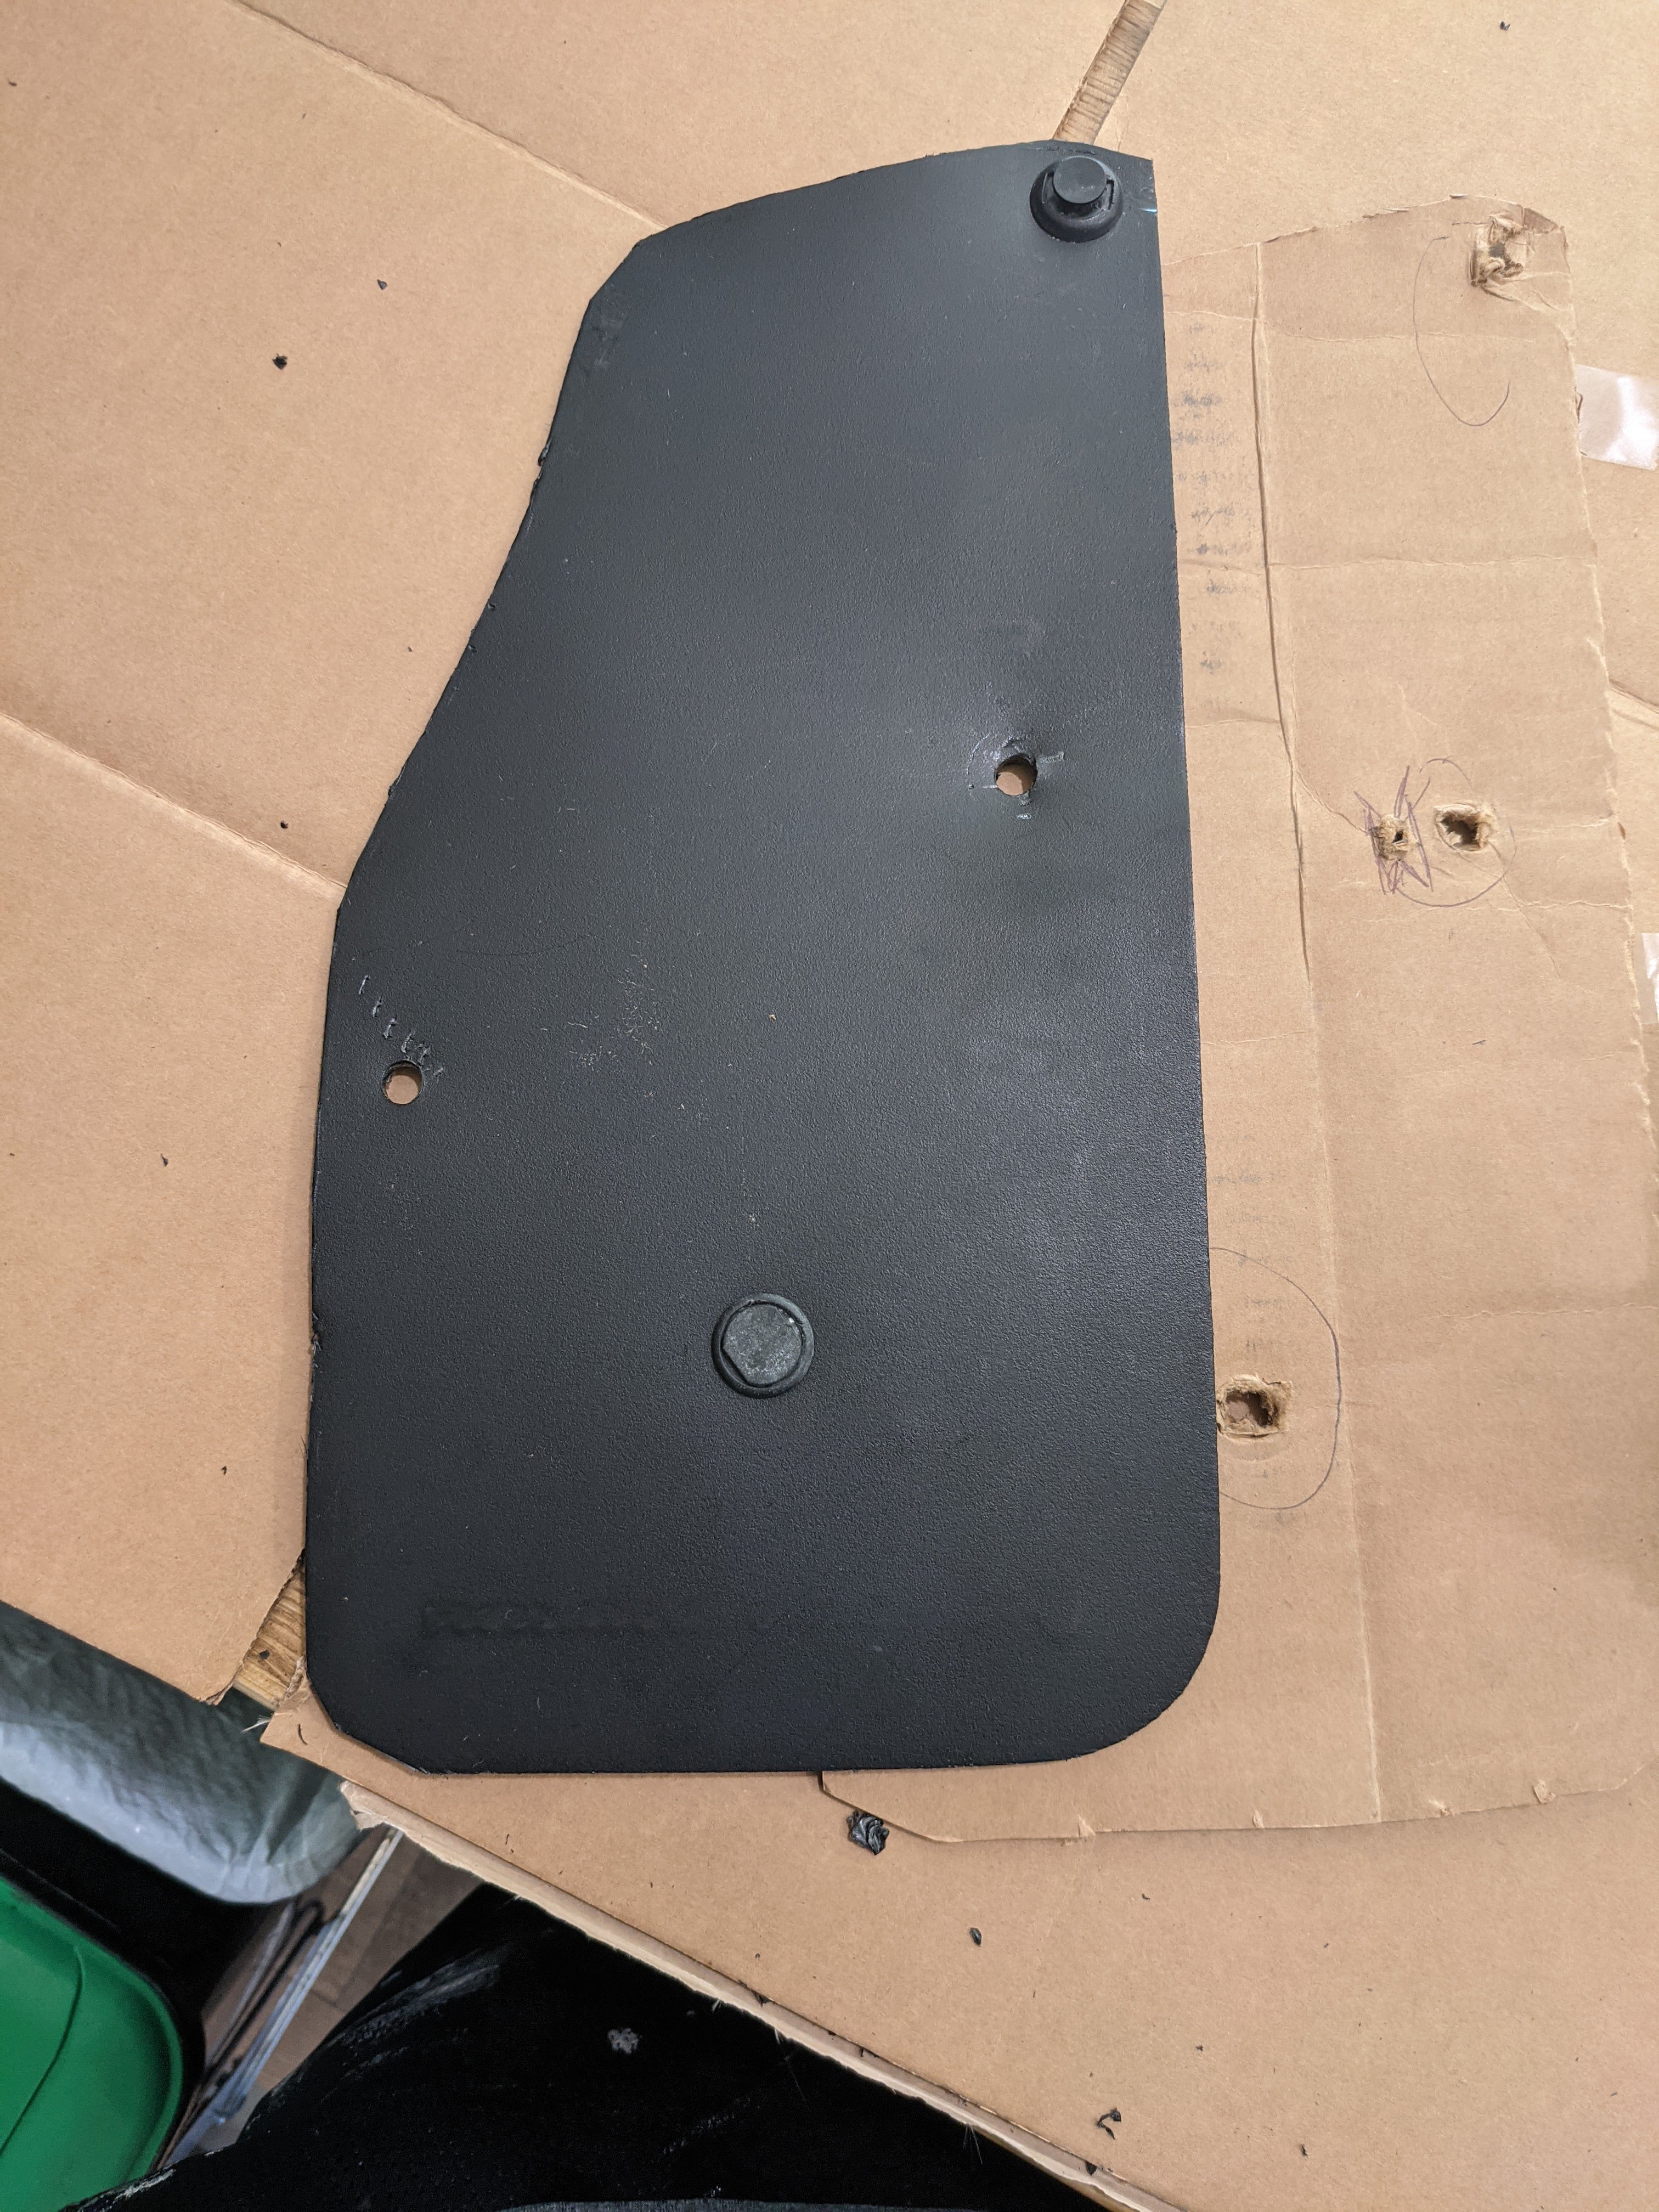
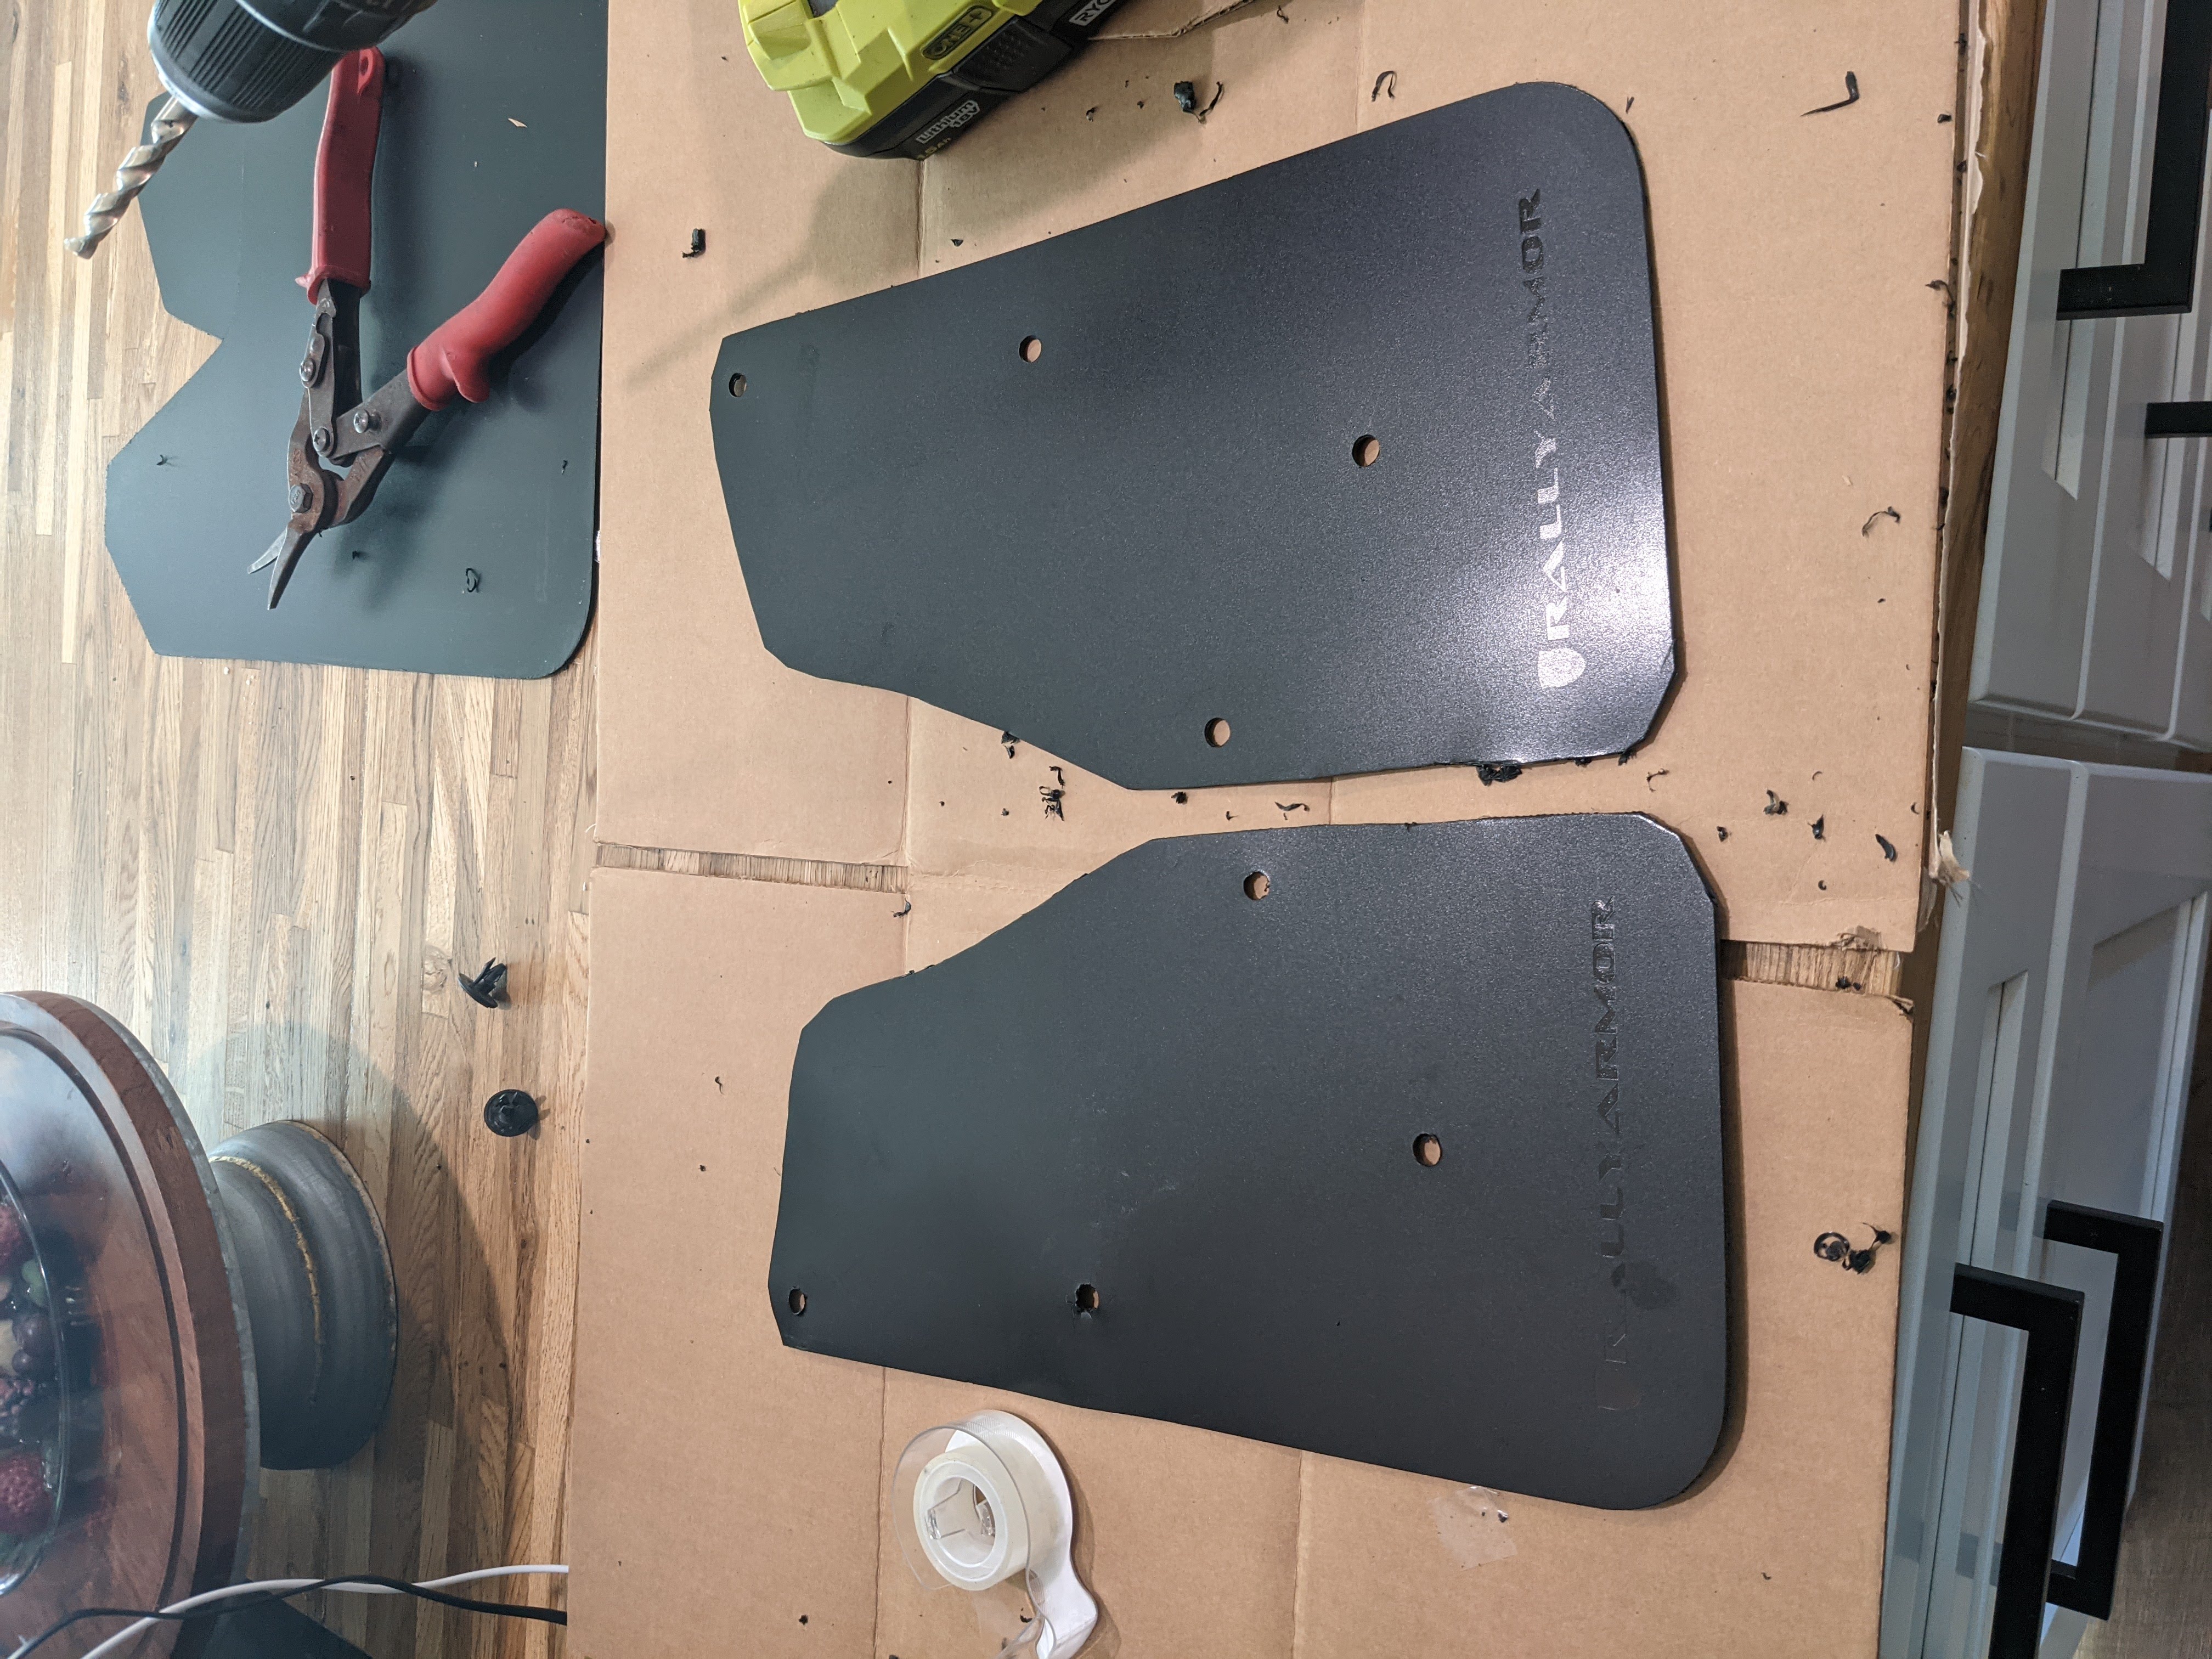
I then taped the plastic mudflap I had already cut to a plastic mudflap I had not cut, then cut it to match. This way both sides will be identical. I also drilled the clip holes for the second mudflap on this part. This will give you a mirror image mudflap for the opposite side of your car. There is a small logo on these mudflaps, so decide if you want these facing in or out, it isn’t very noticeable though.
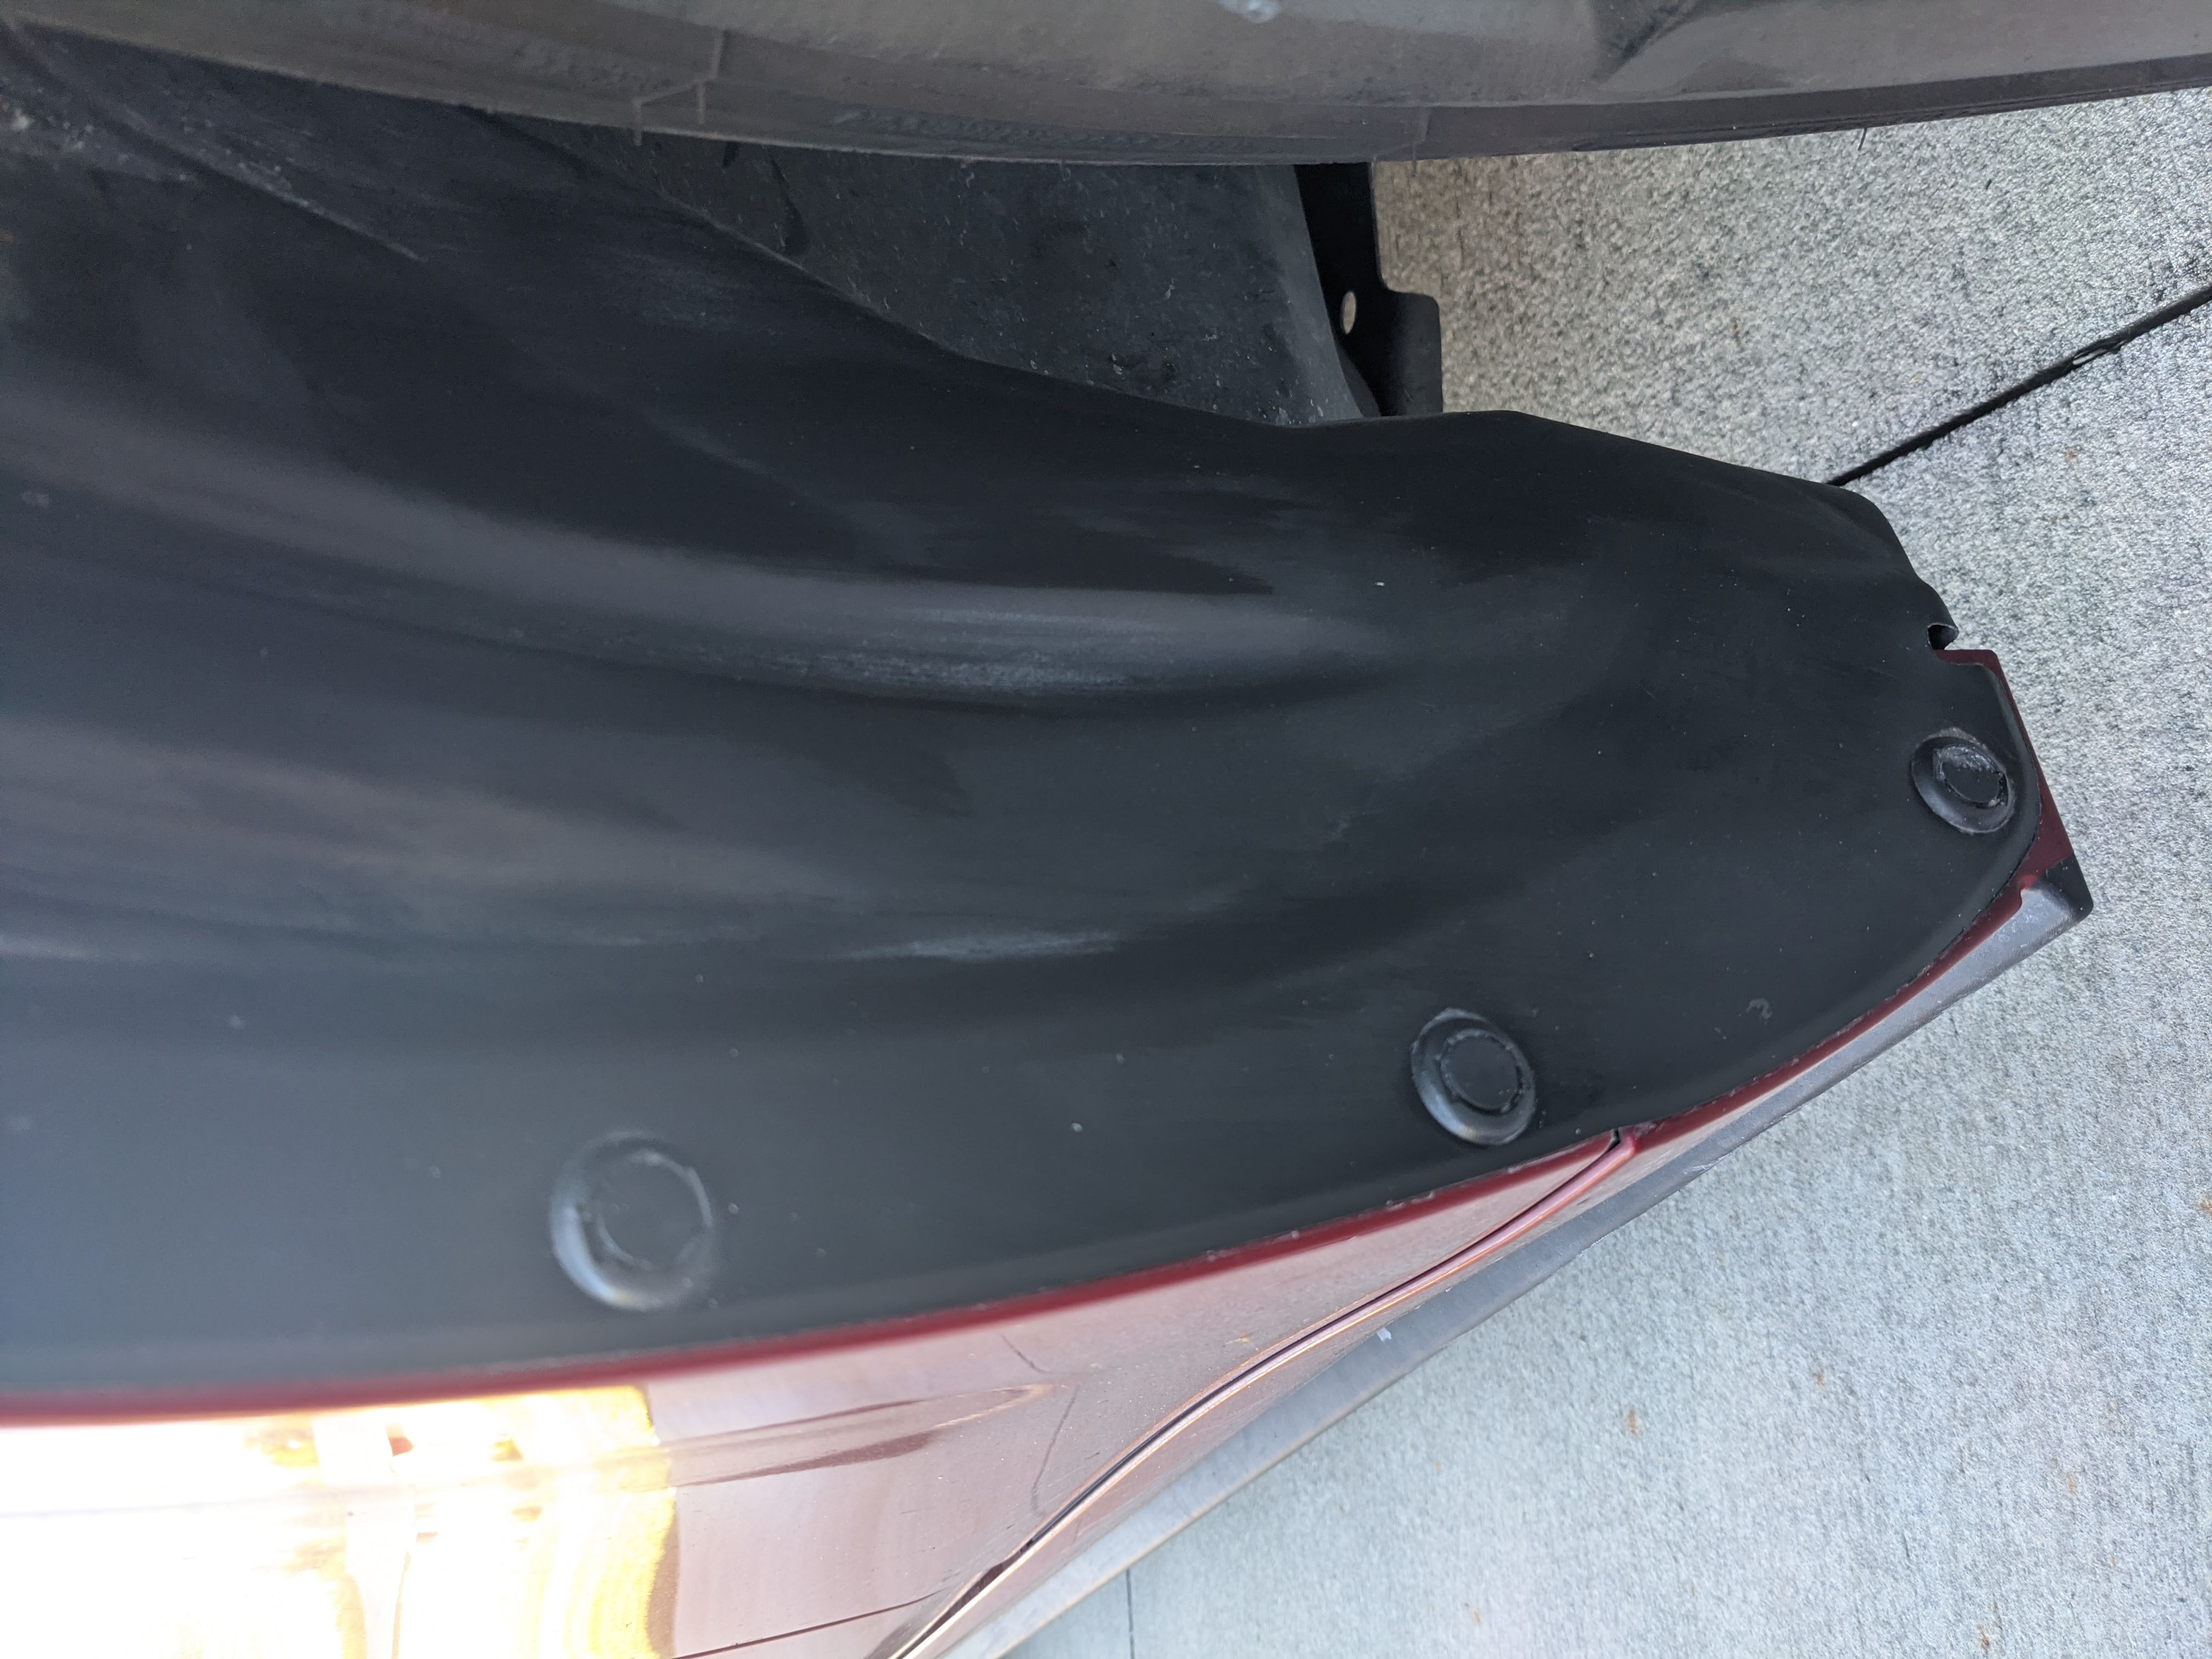
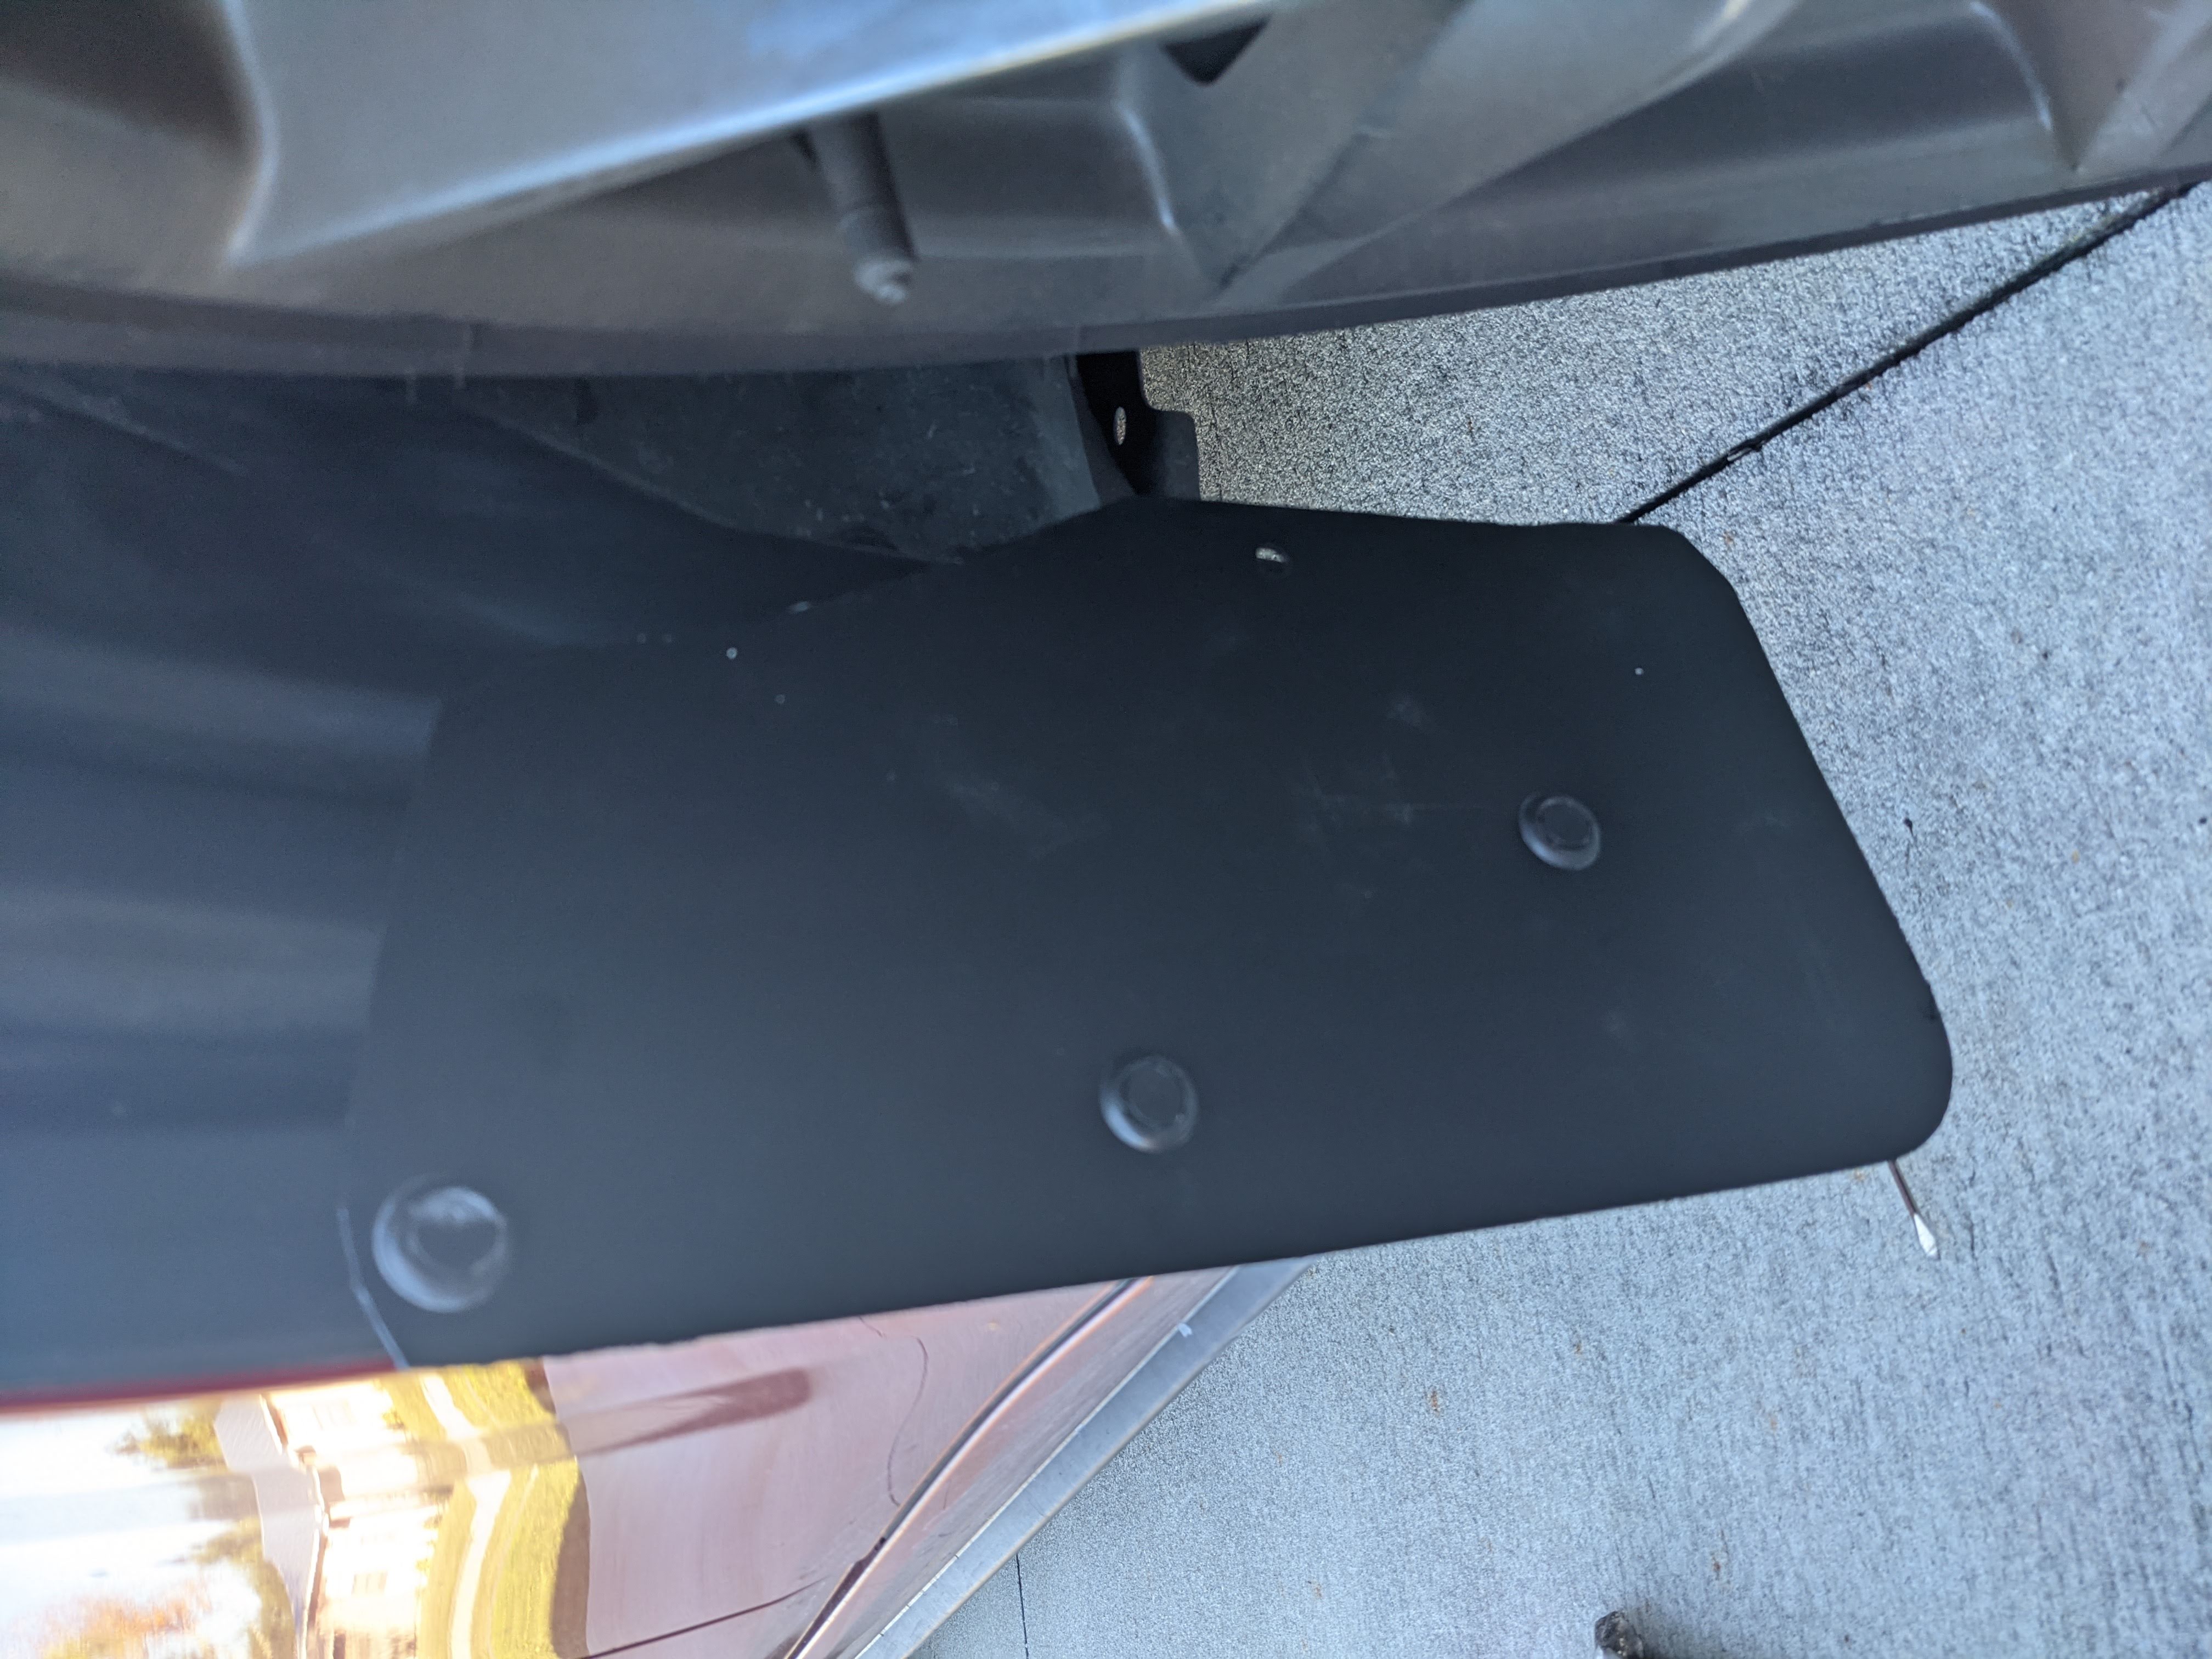
Back out to the Miata, simply place the mudflap in the spot and put the 3 clips back in. For the 4th clip, furthest inside the wheel well, I used some leftover clips from the interior of my Miata, so they are a bit smaller. You can use whatever clips you’ve got around. Or you can not even put in a 4th clip, doesn’t matter.
It’s impossible to get a drill back there to get a hole into the wheel liner (unless you take off the wheels). However! That plastic is really thin, so I just used the drill bit in my hand (no drill), and pressed it through the hole it accompanies in the mudflap. Twisted it around for like 15 seconds, and a hole was made. Now you can fit your 4th clip for a bit more stability inside.

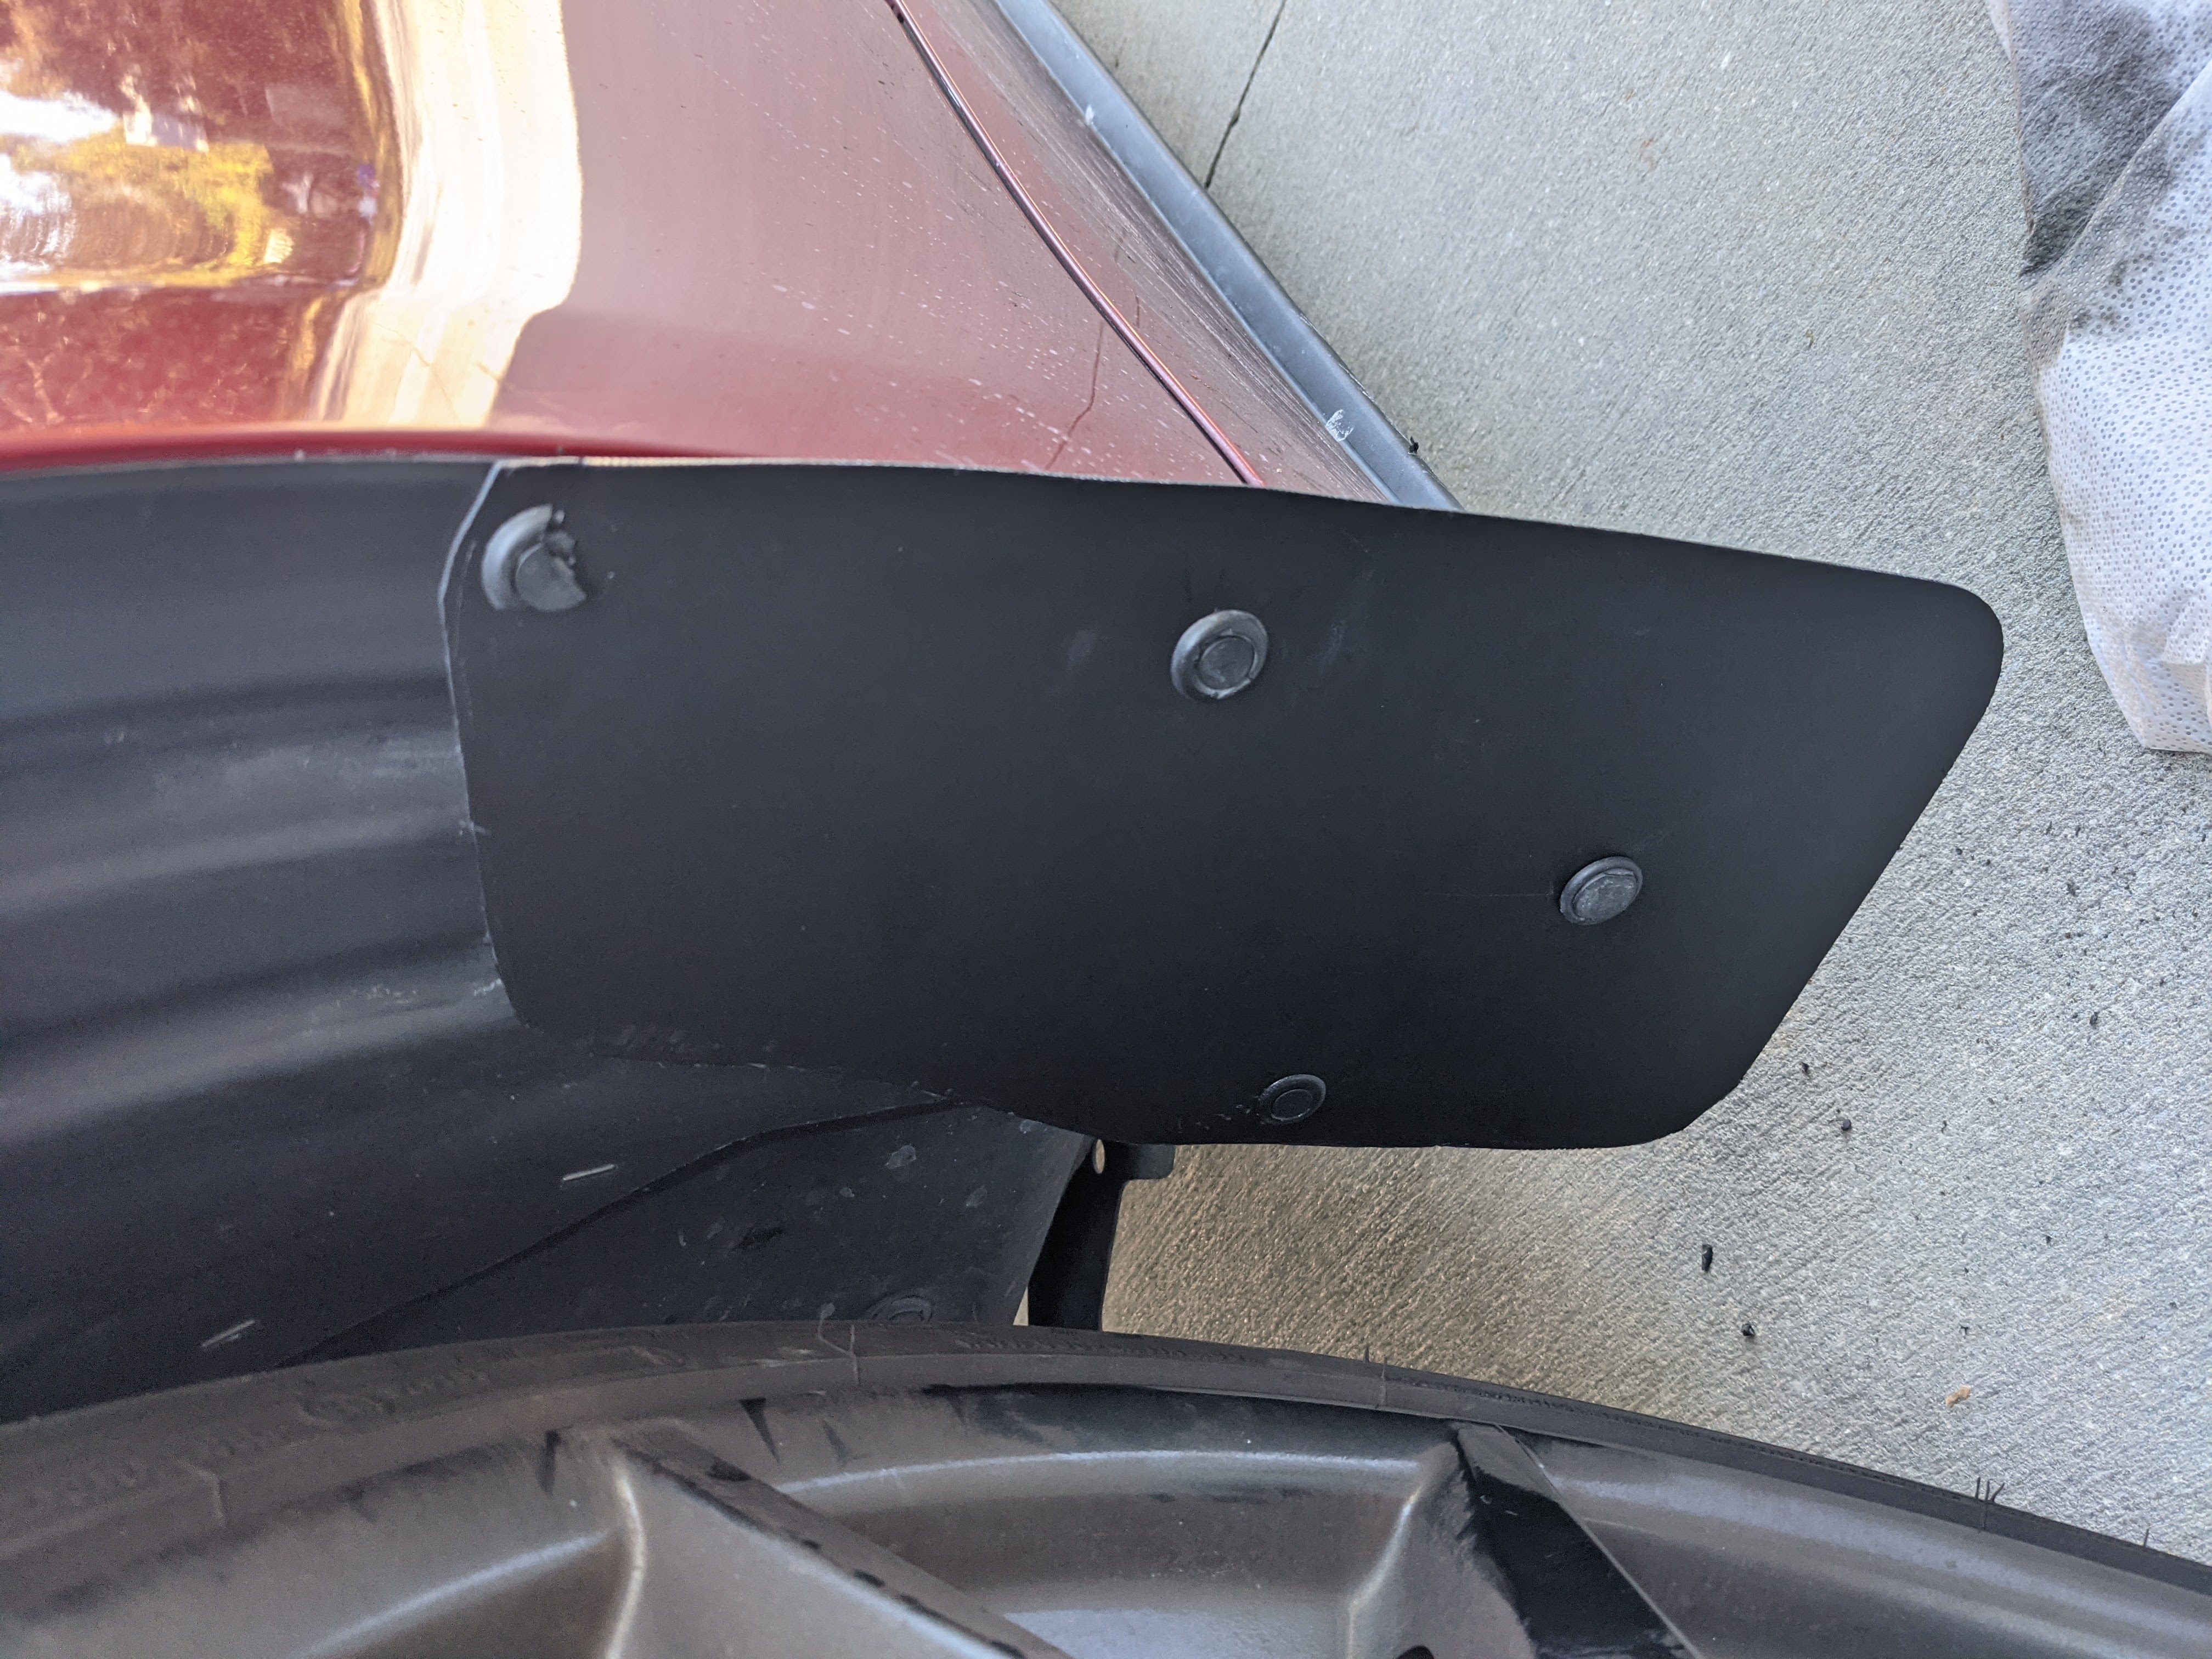
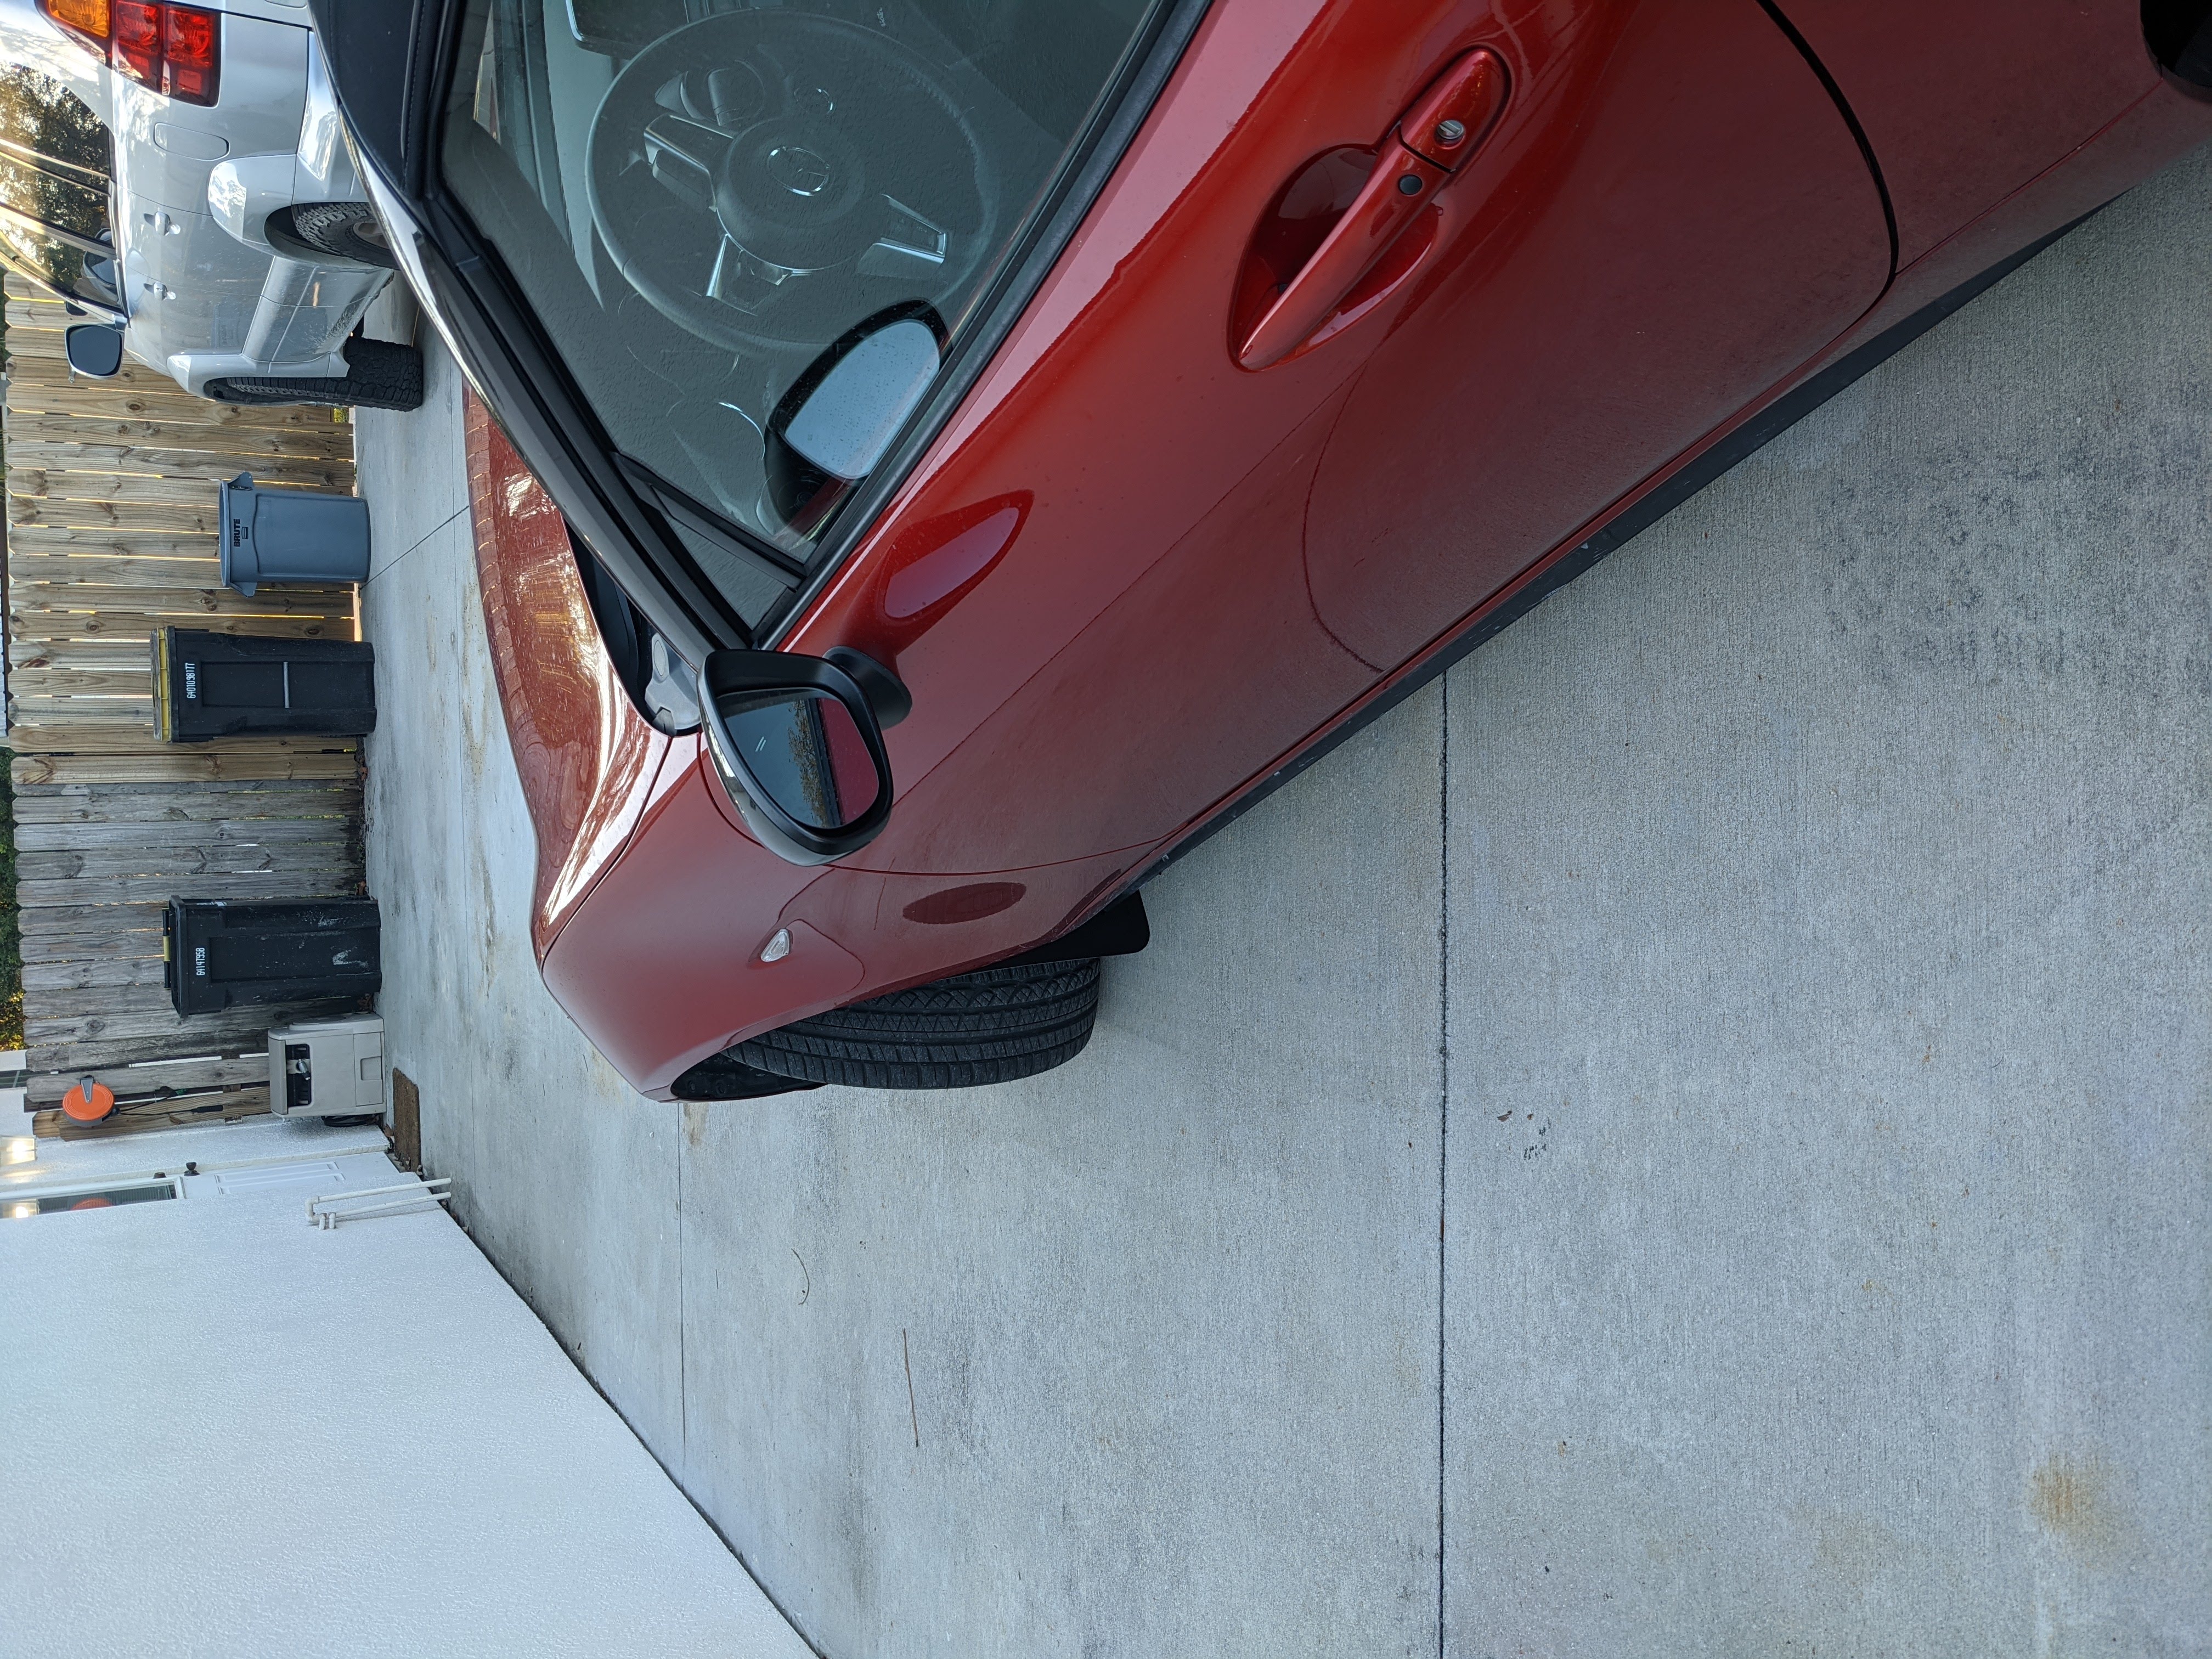
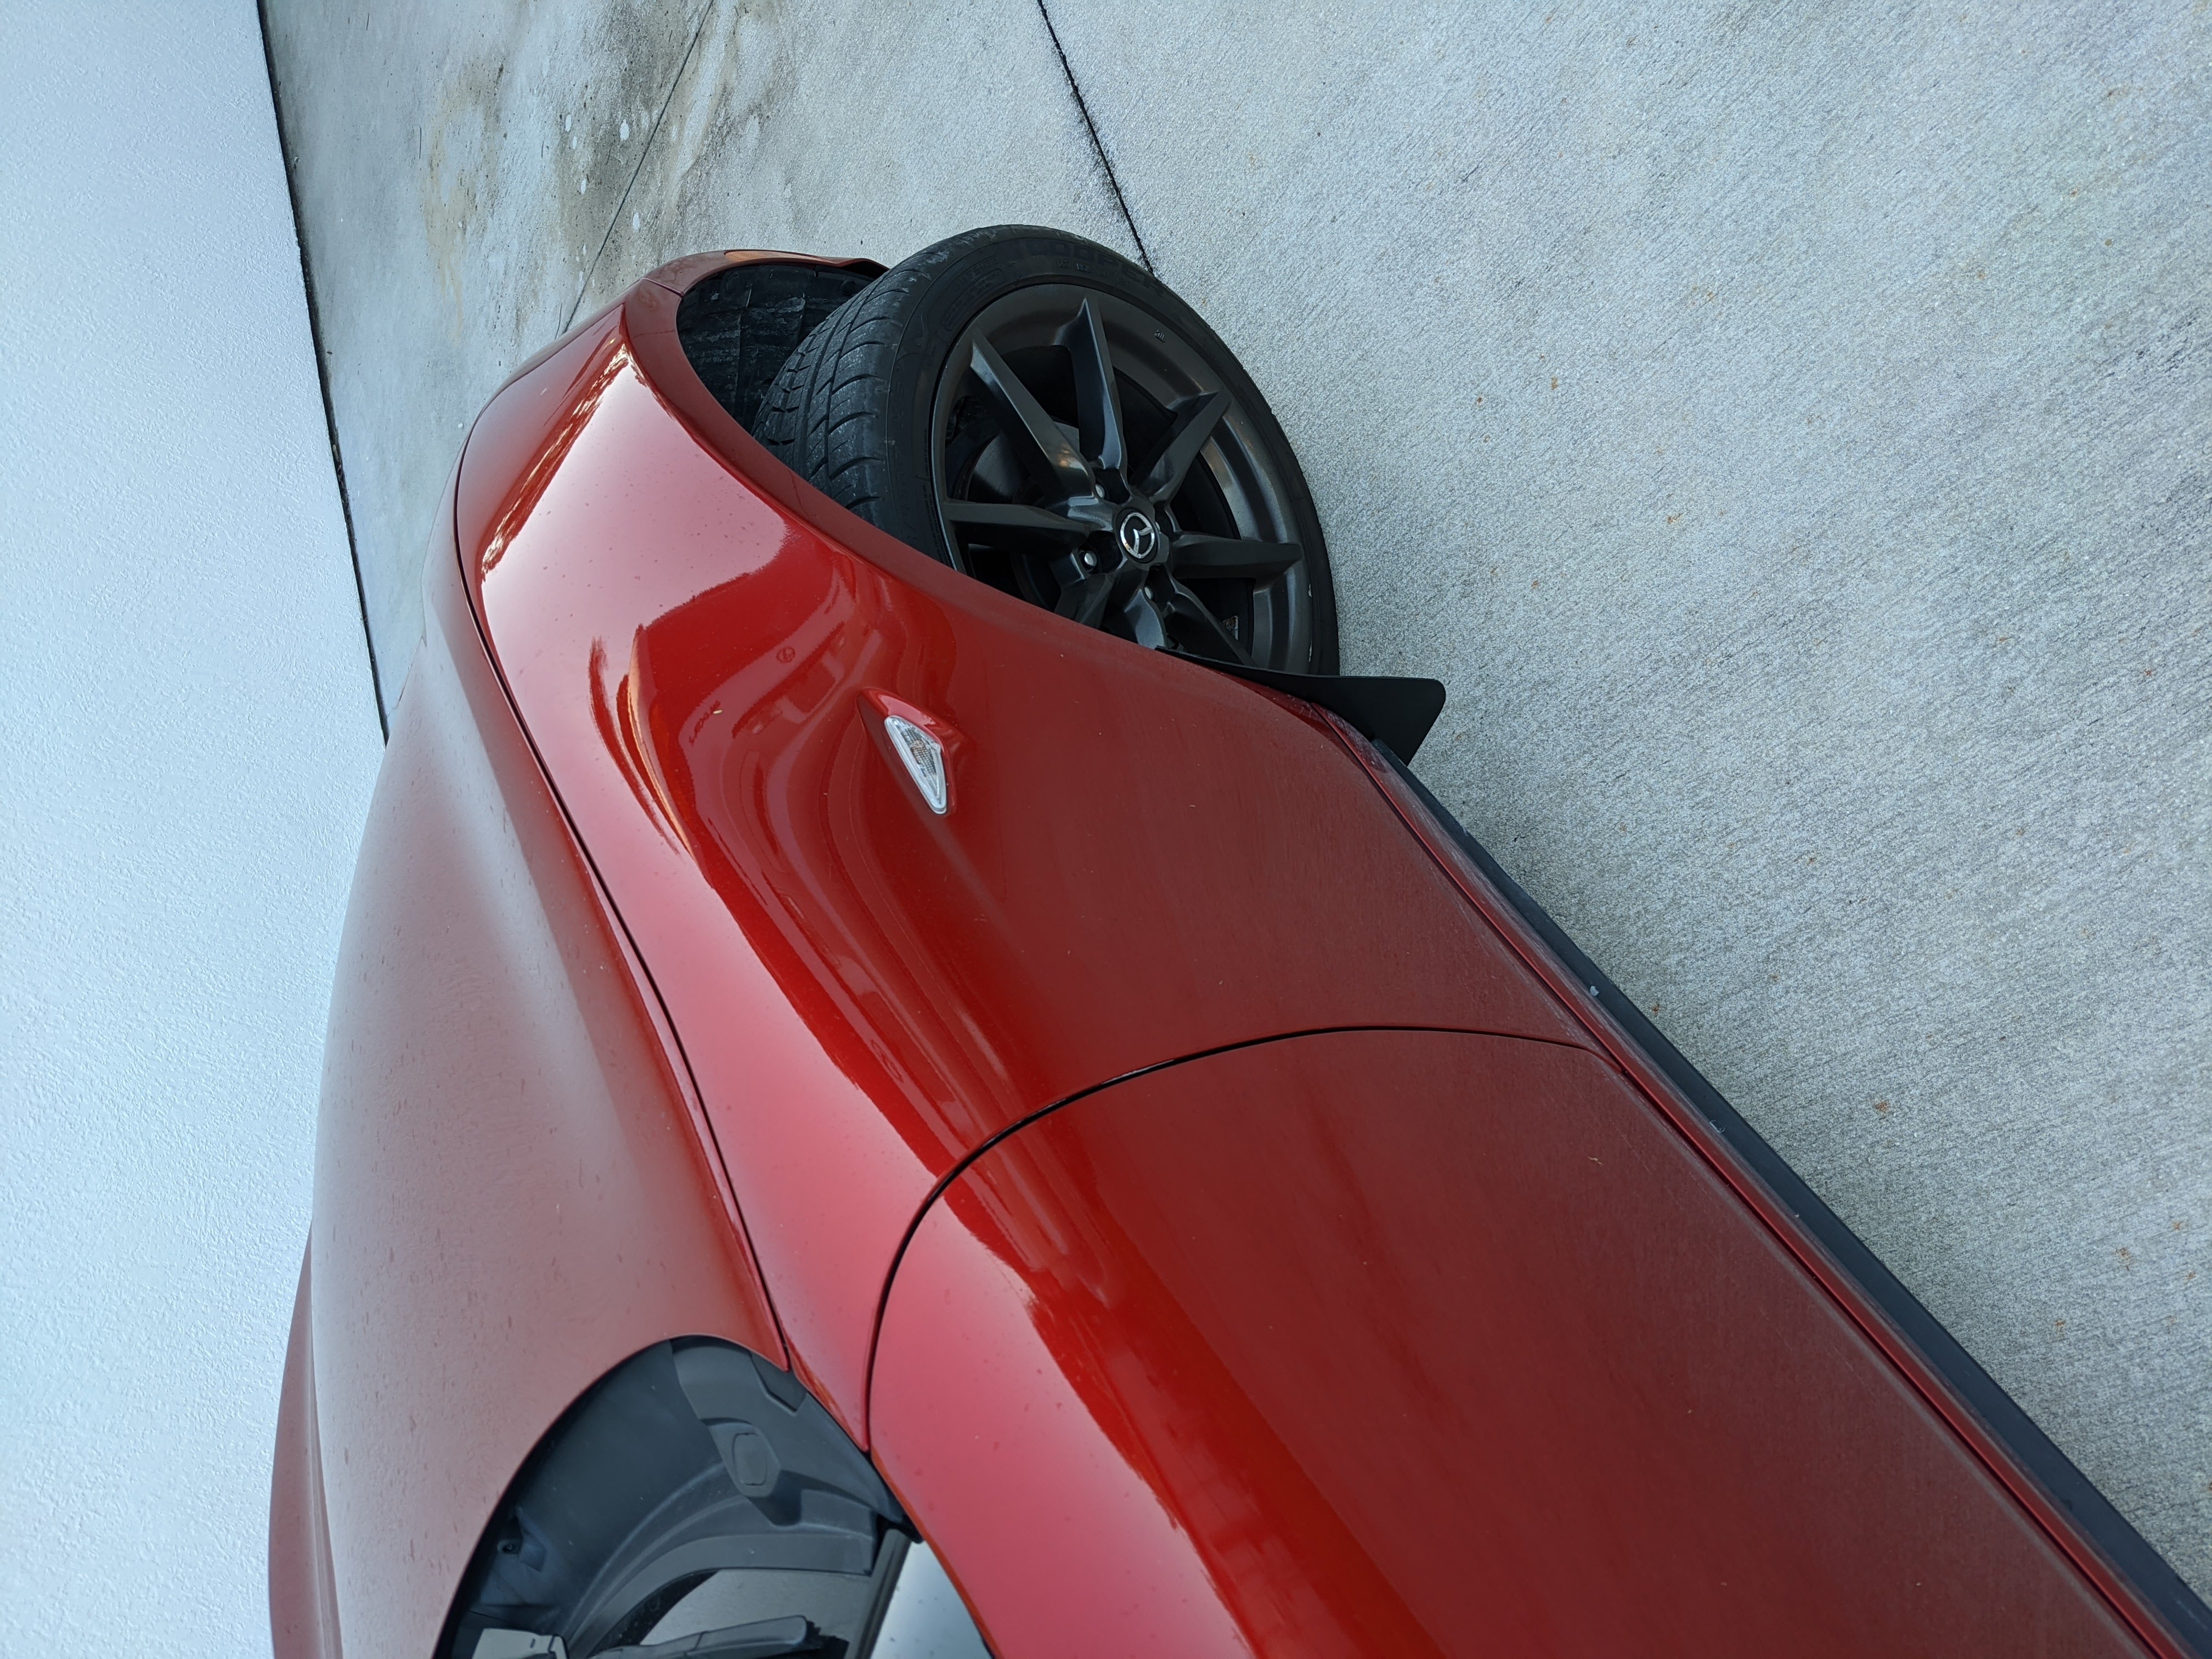
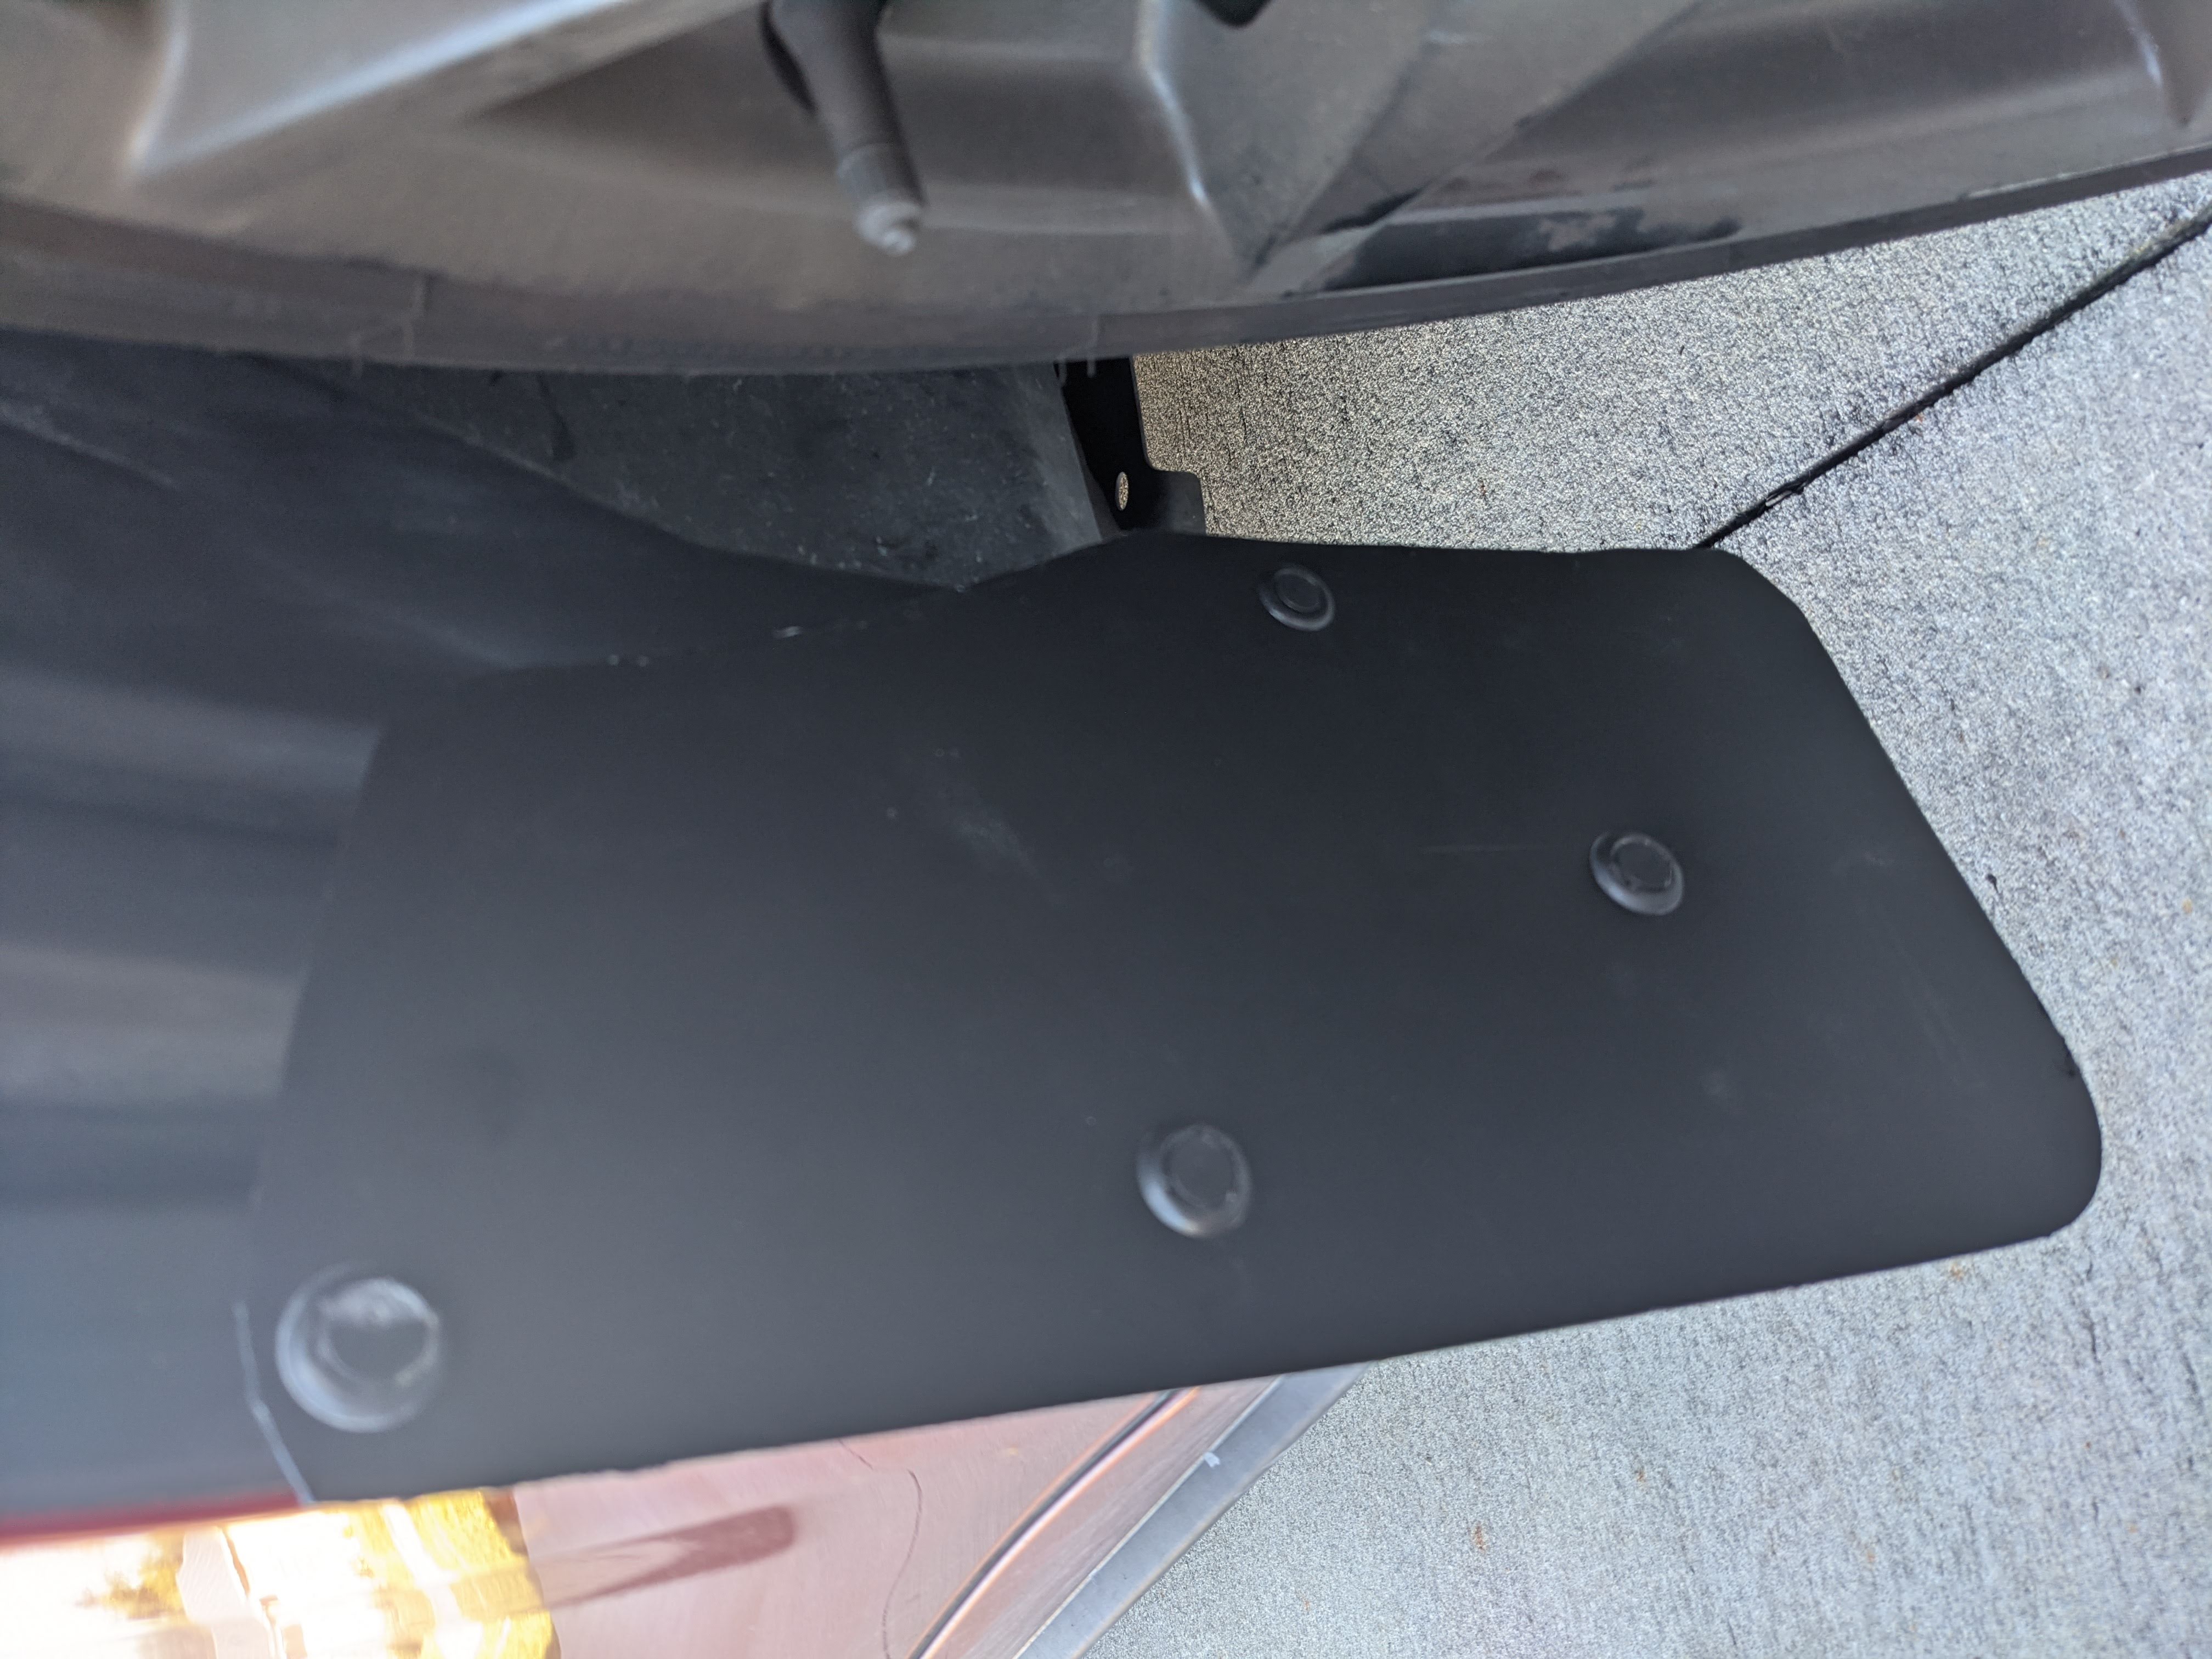
Drivers side mudflap installed. That dirt should not be kicked up anymore!
For the passenger side, just do the same thing. I also cleaned out the wheel well pretty good before installing the mudflaps, since the liner shouldn’t be seeing daylight again anytime soon. Might as well make it clean.
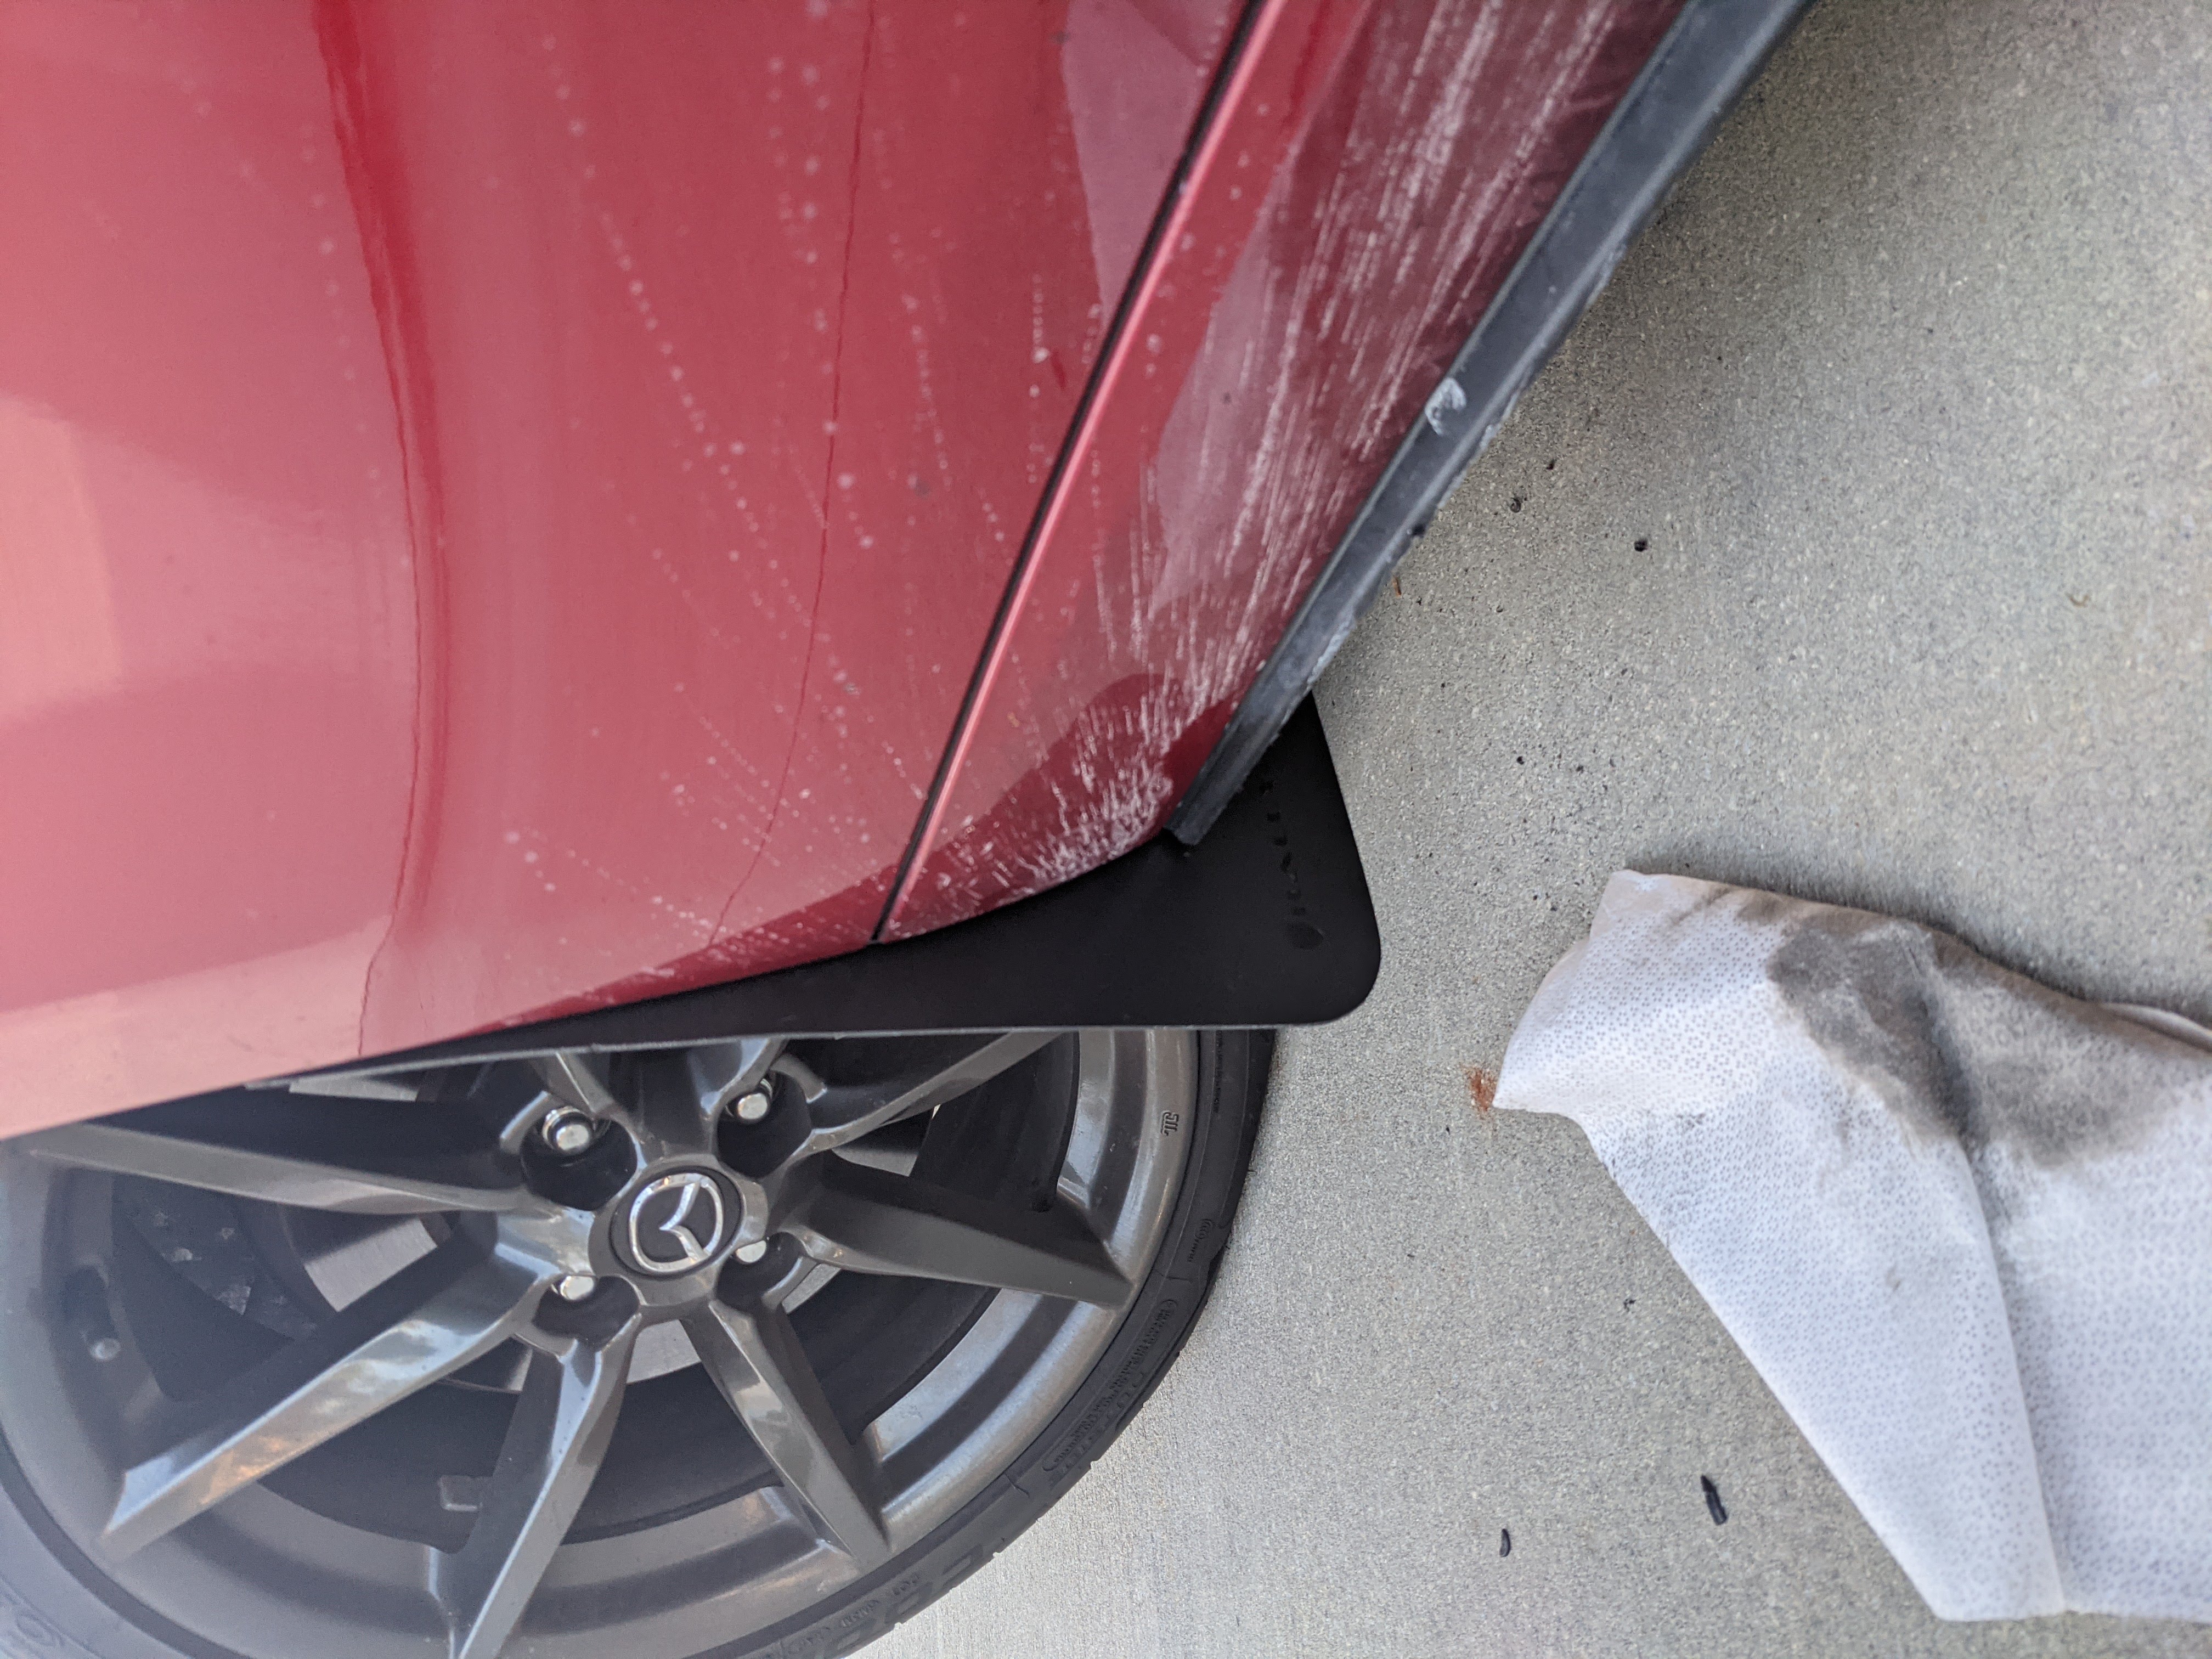
Final result! Barely noticeable, but it will keep my Miata much cleaner.