
Lexus GX470 - Wet Okole Neoprene Seat Covers
I installed some Wet Okole neoprene seat covers on my 2007 Lexus GX470. I ended up ordering them from AutoAnything, which was a bit cheaper if you didn’t want any customizations.
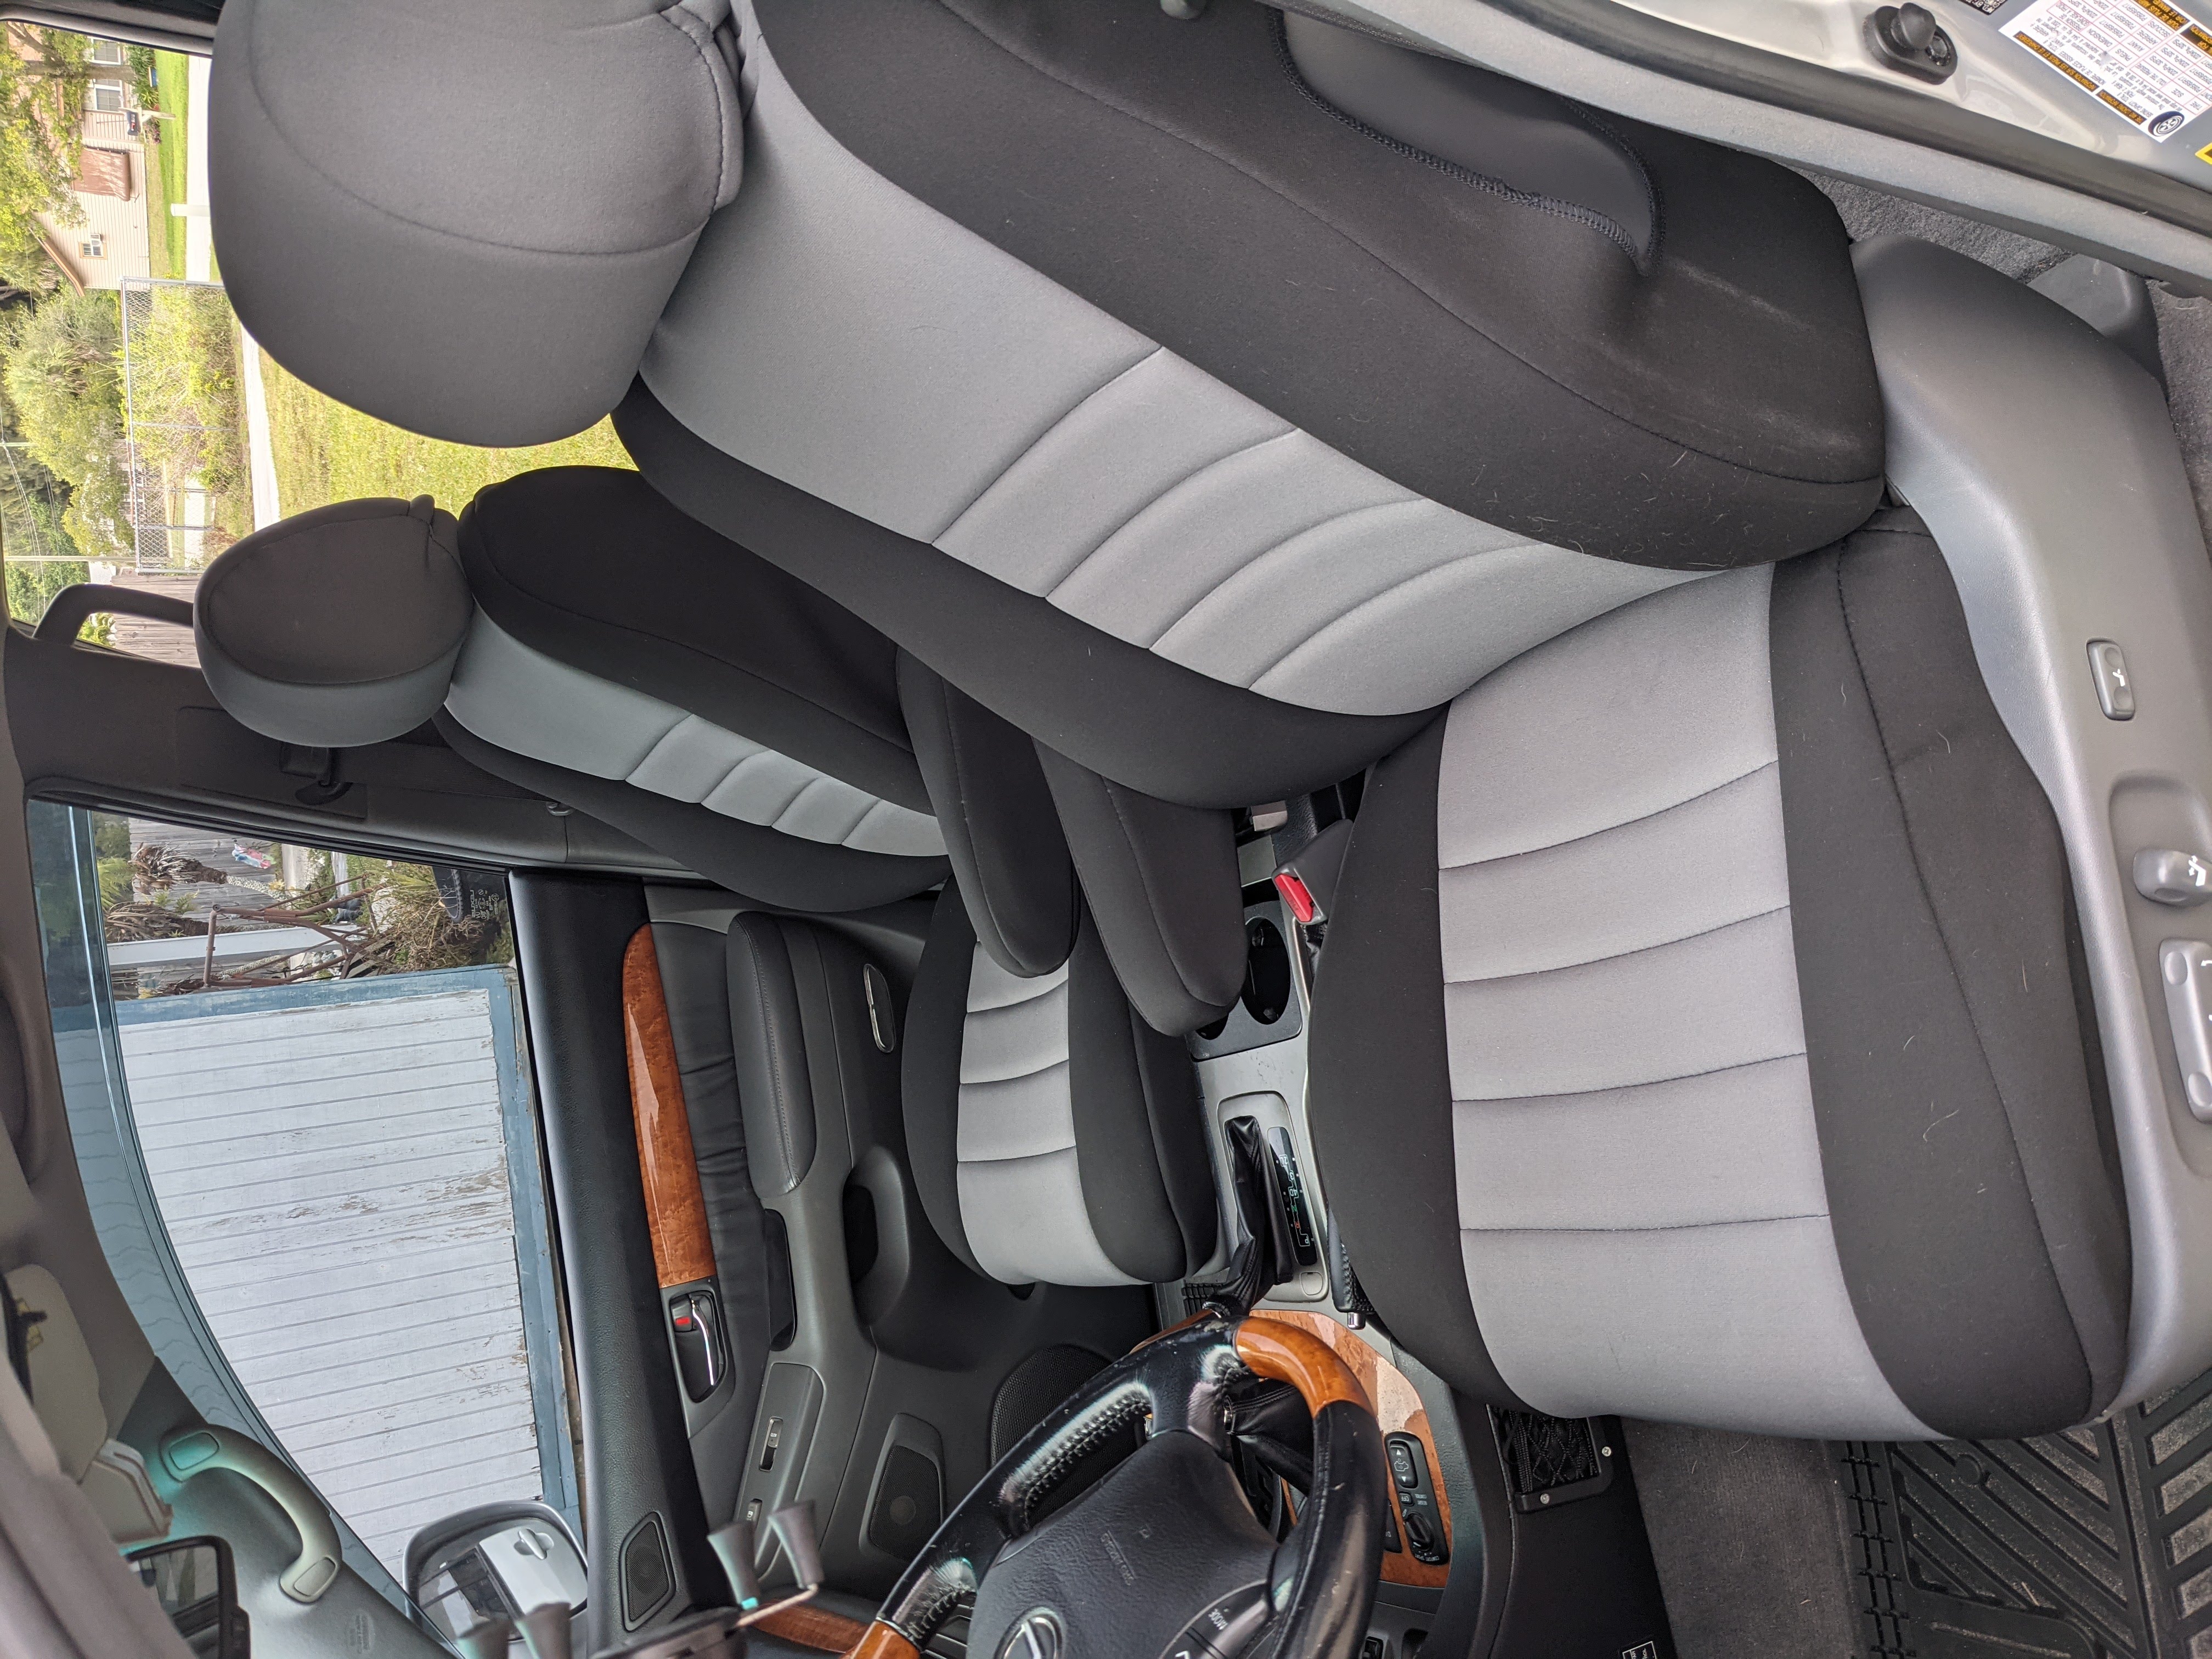
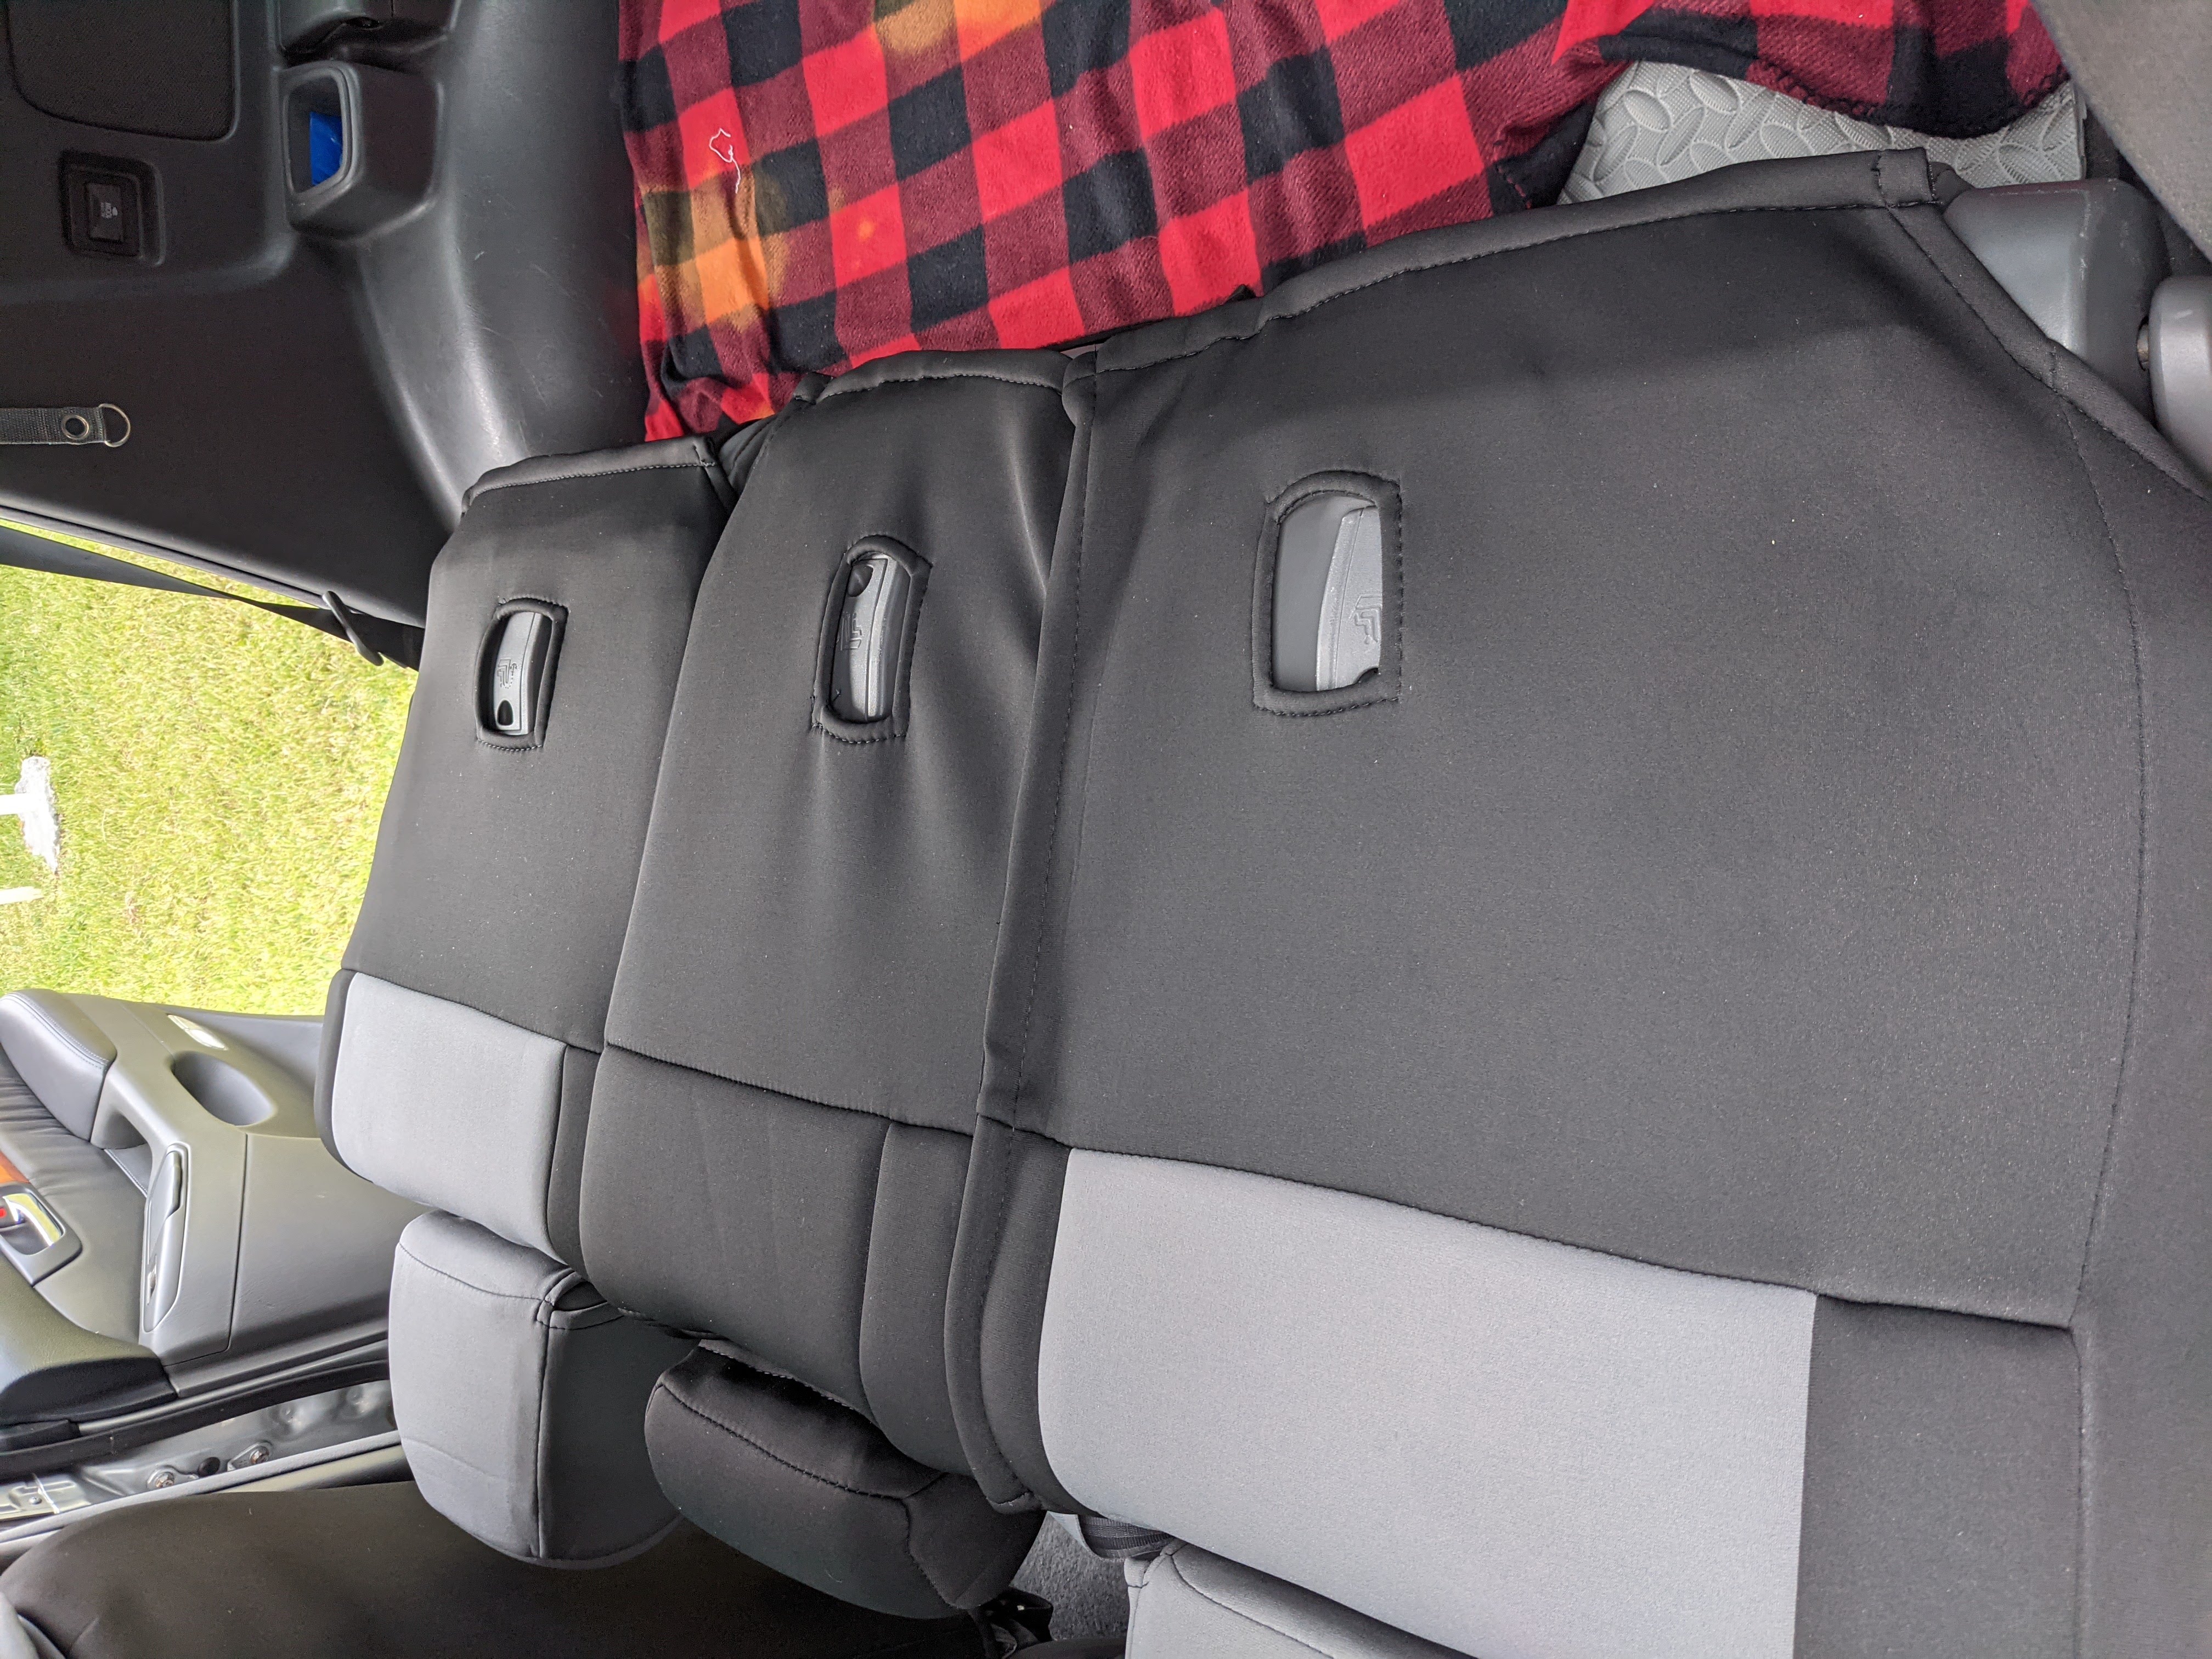
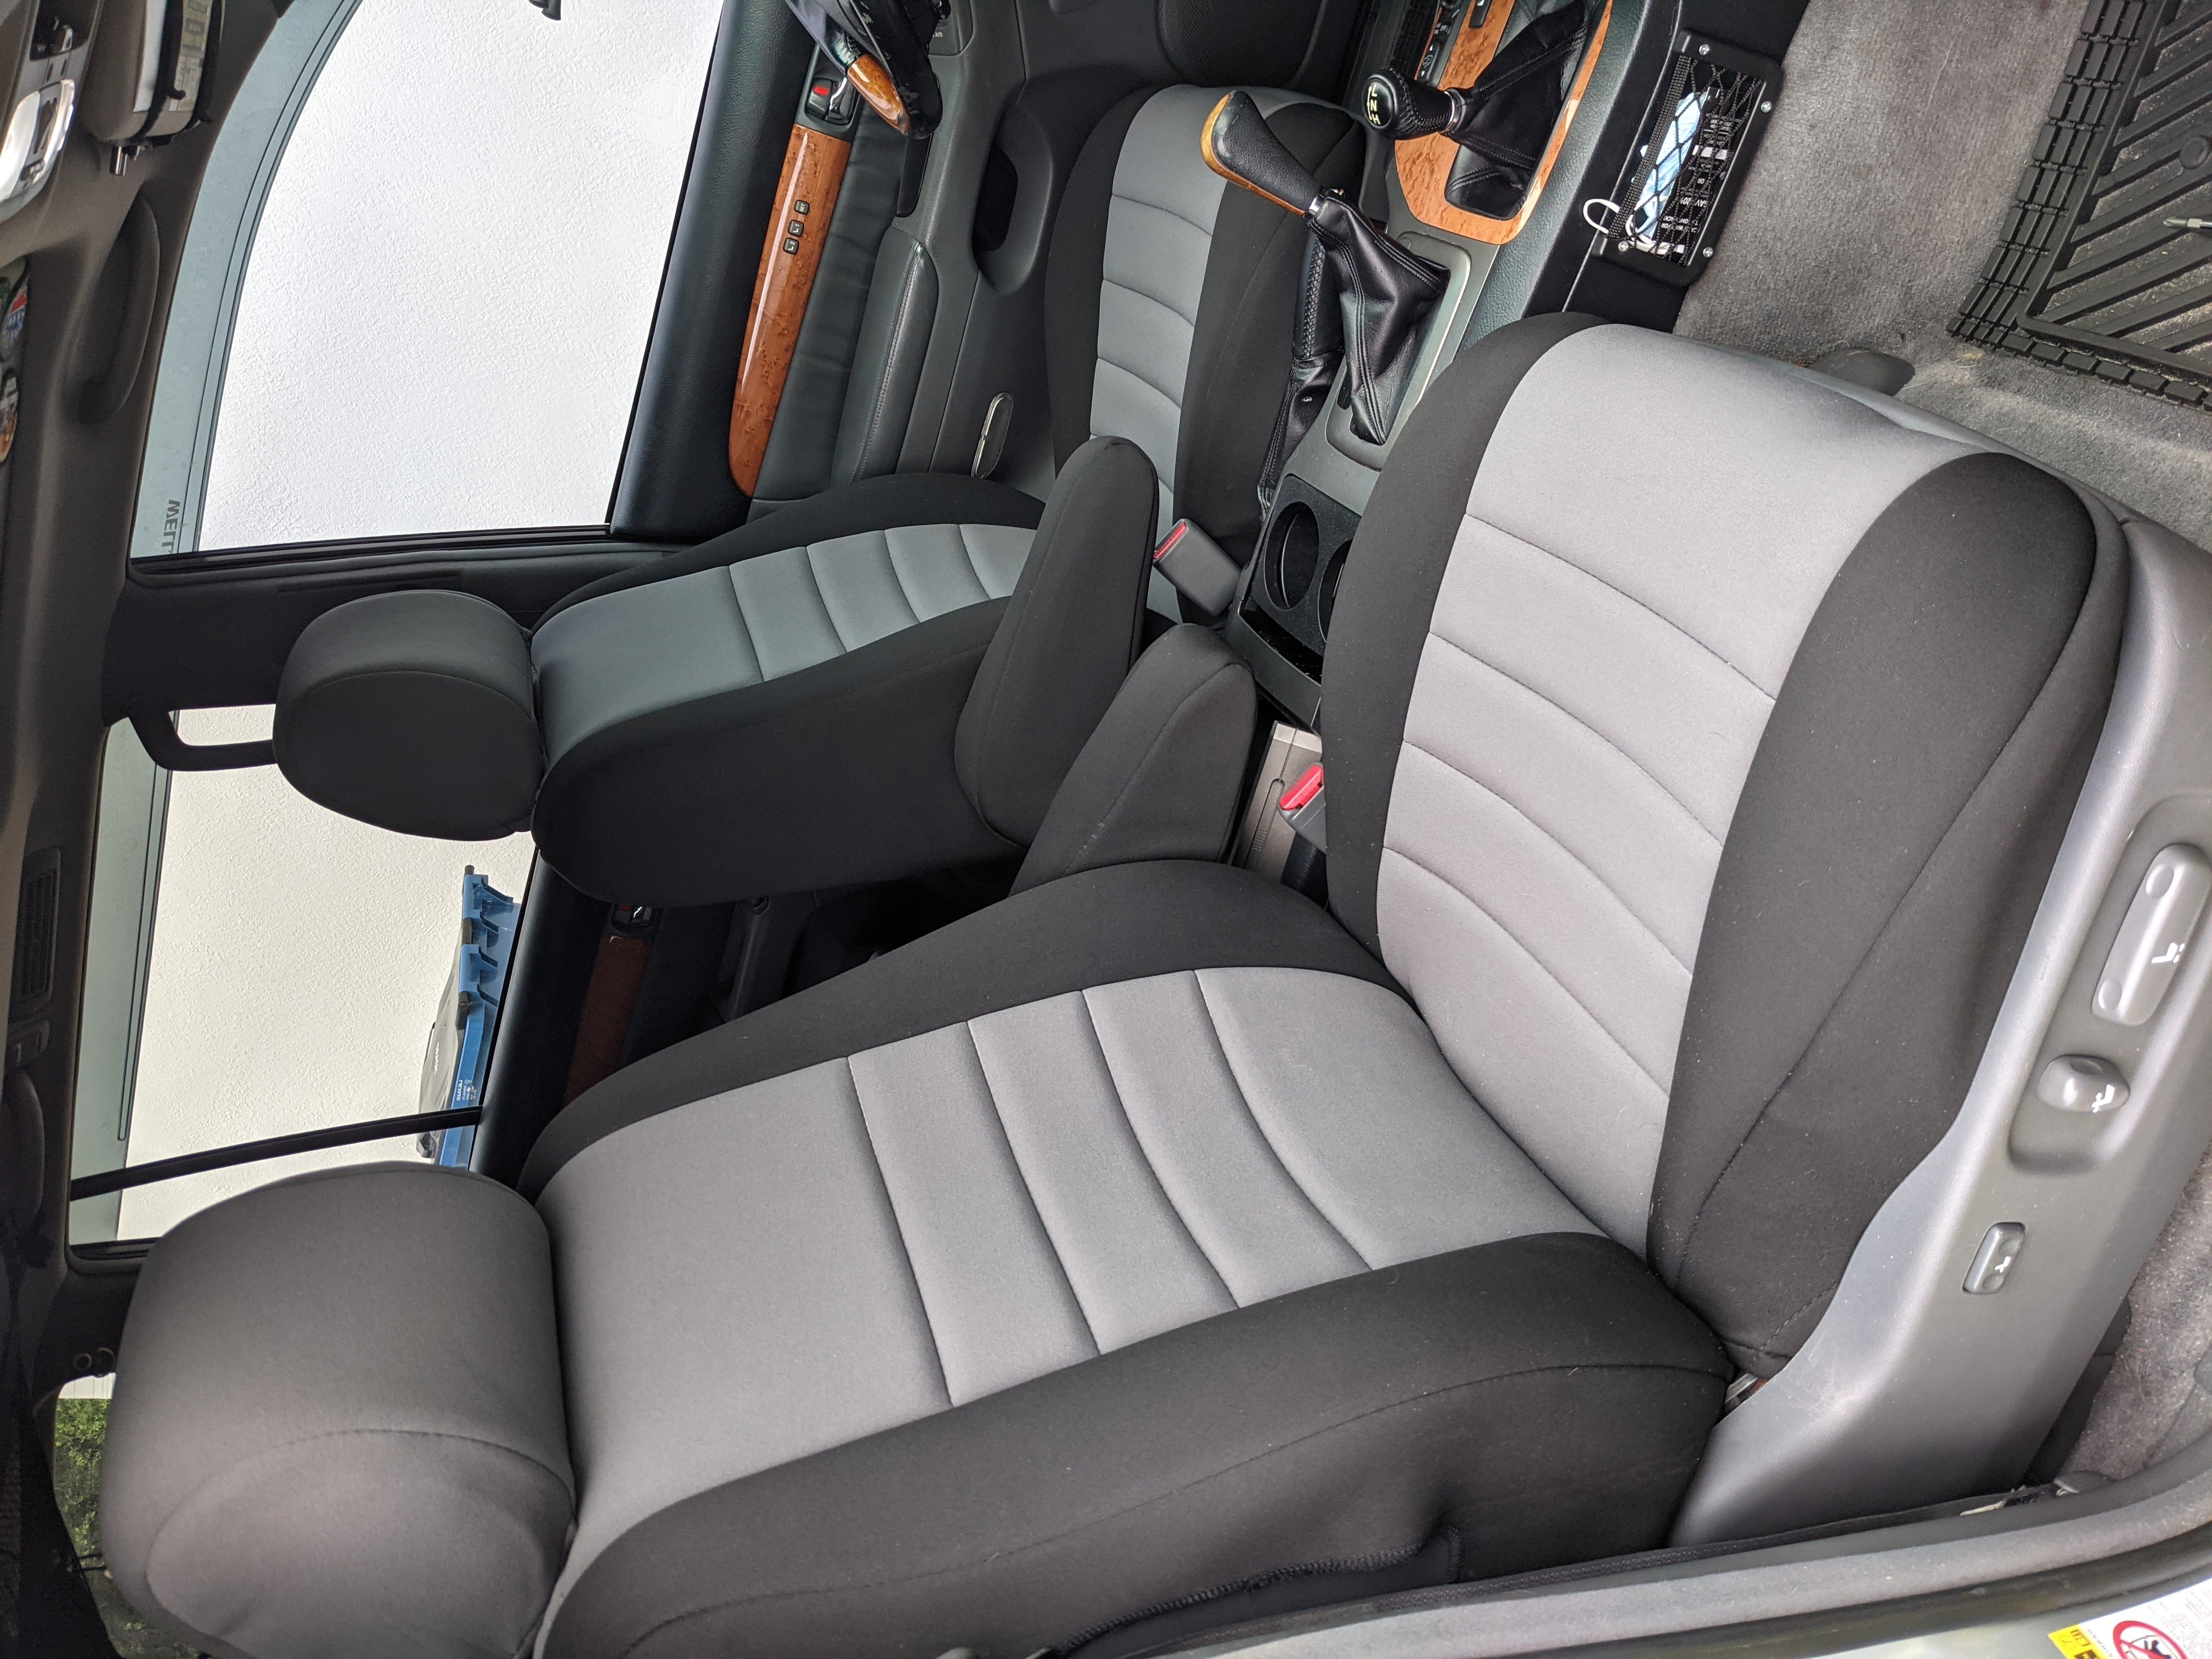
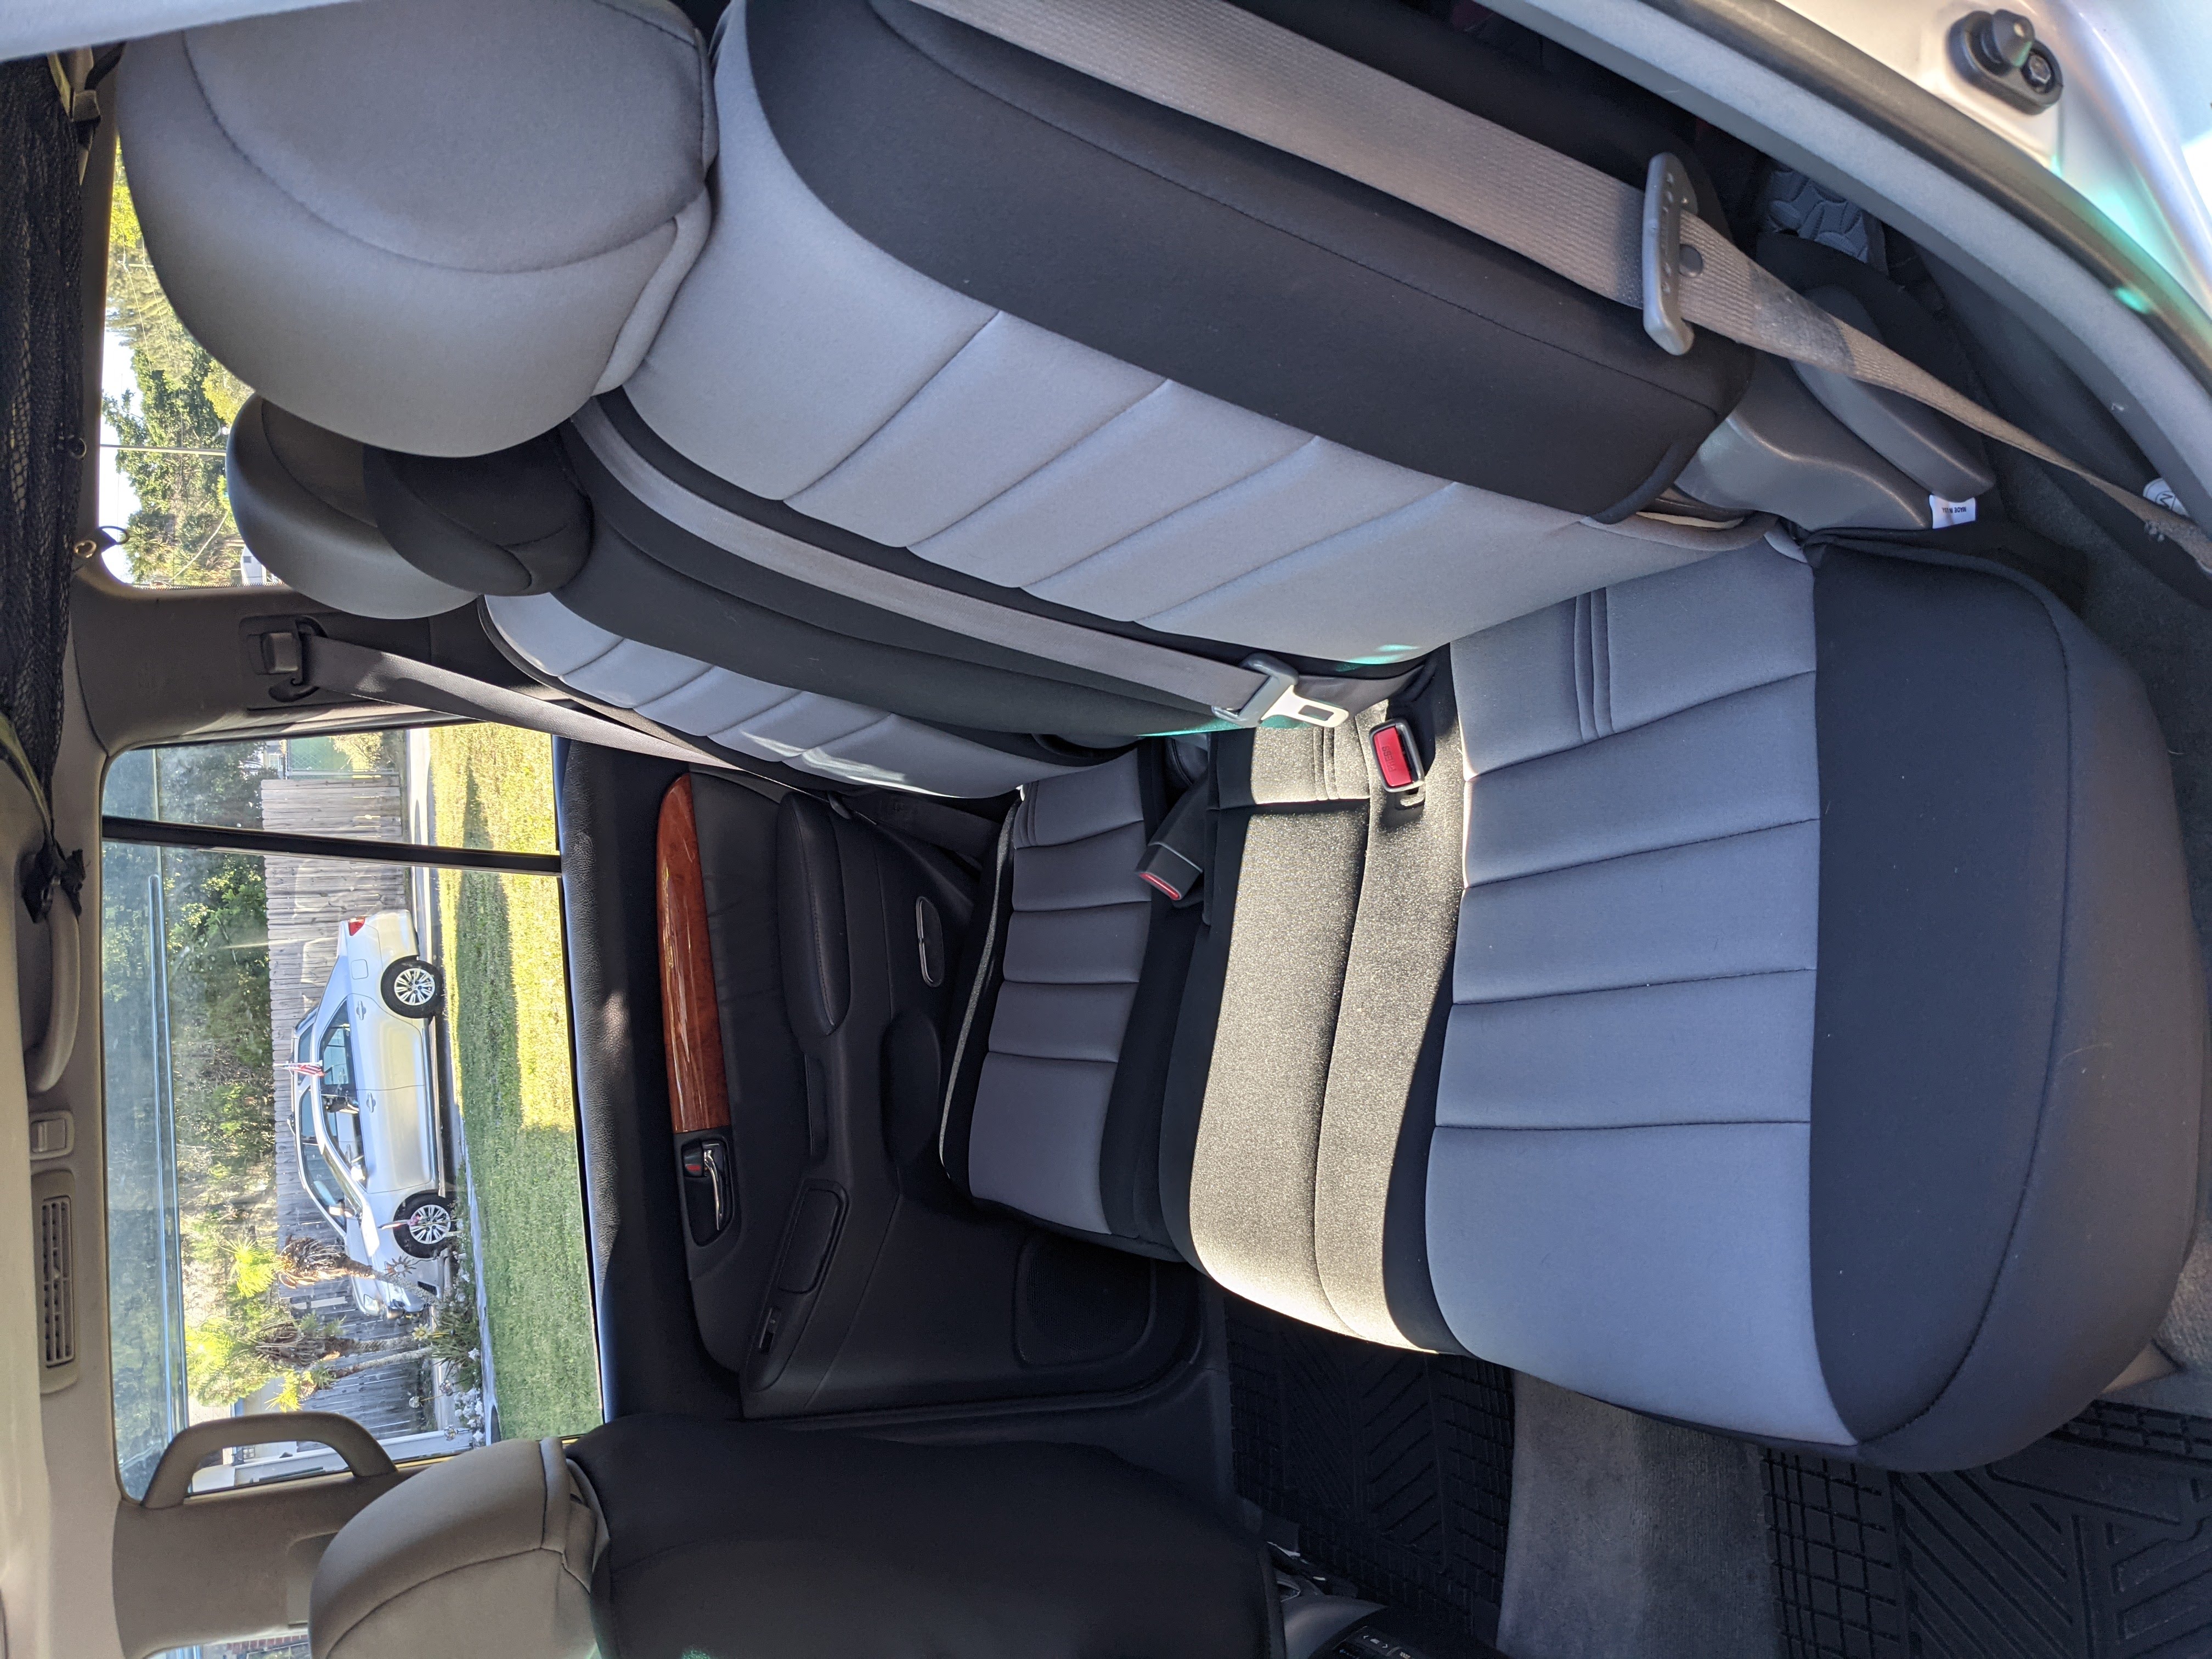
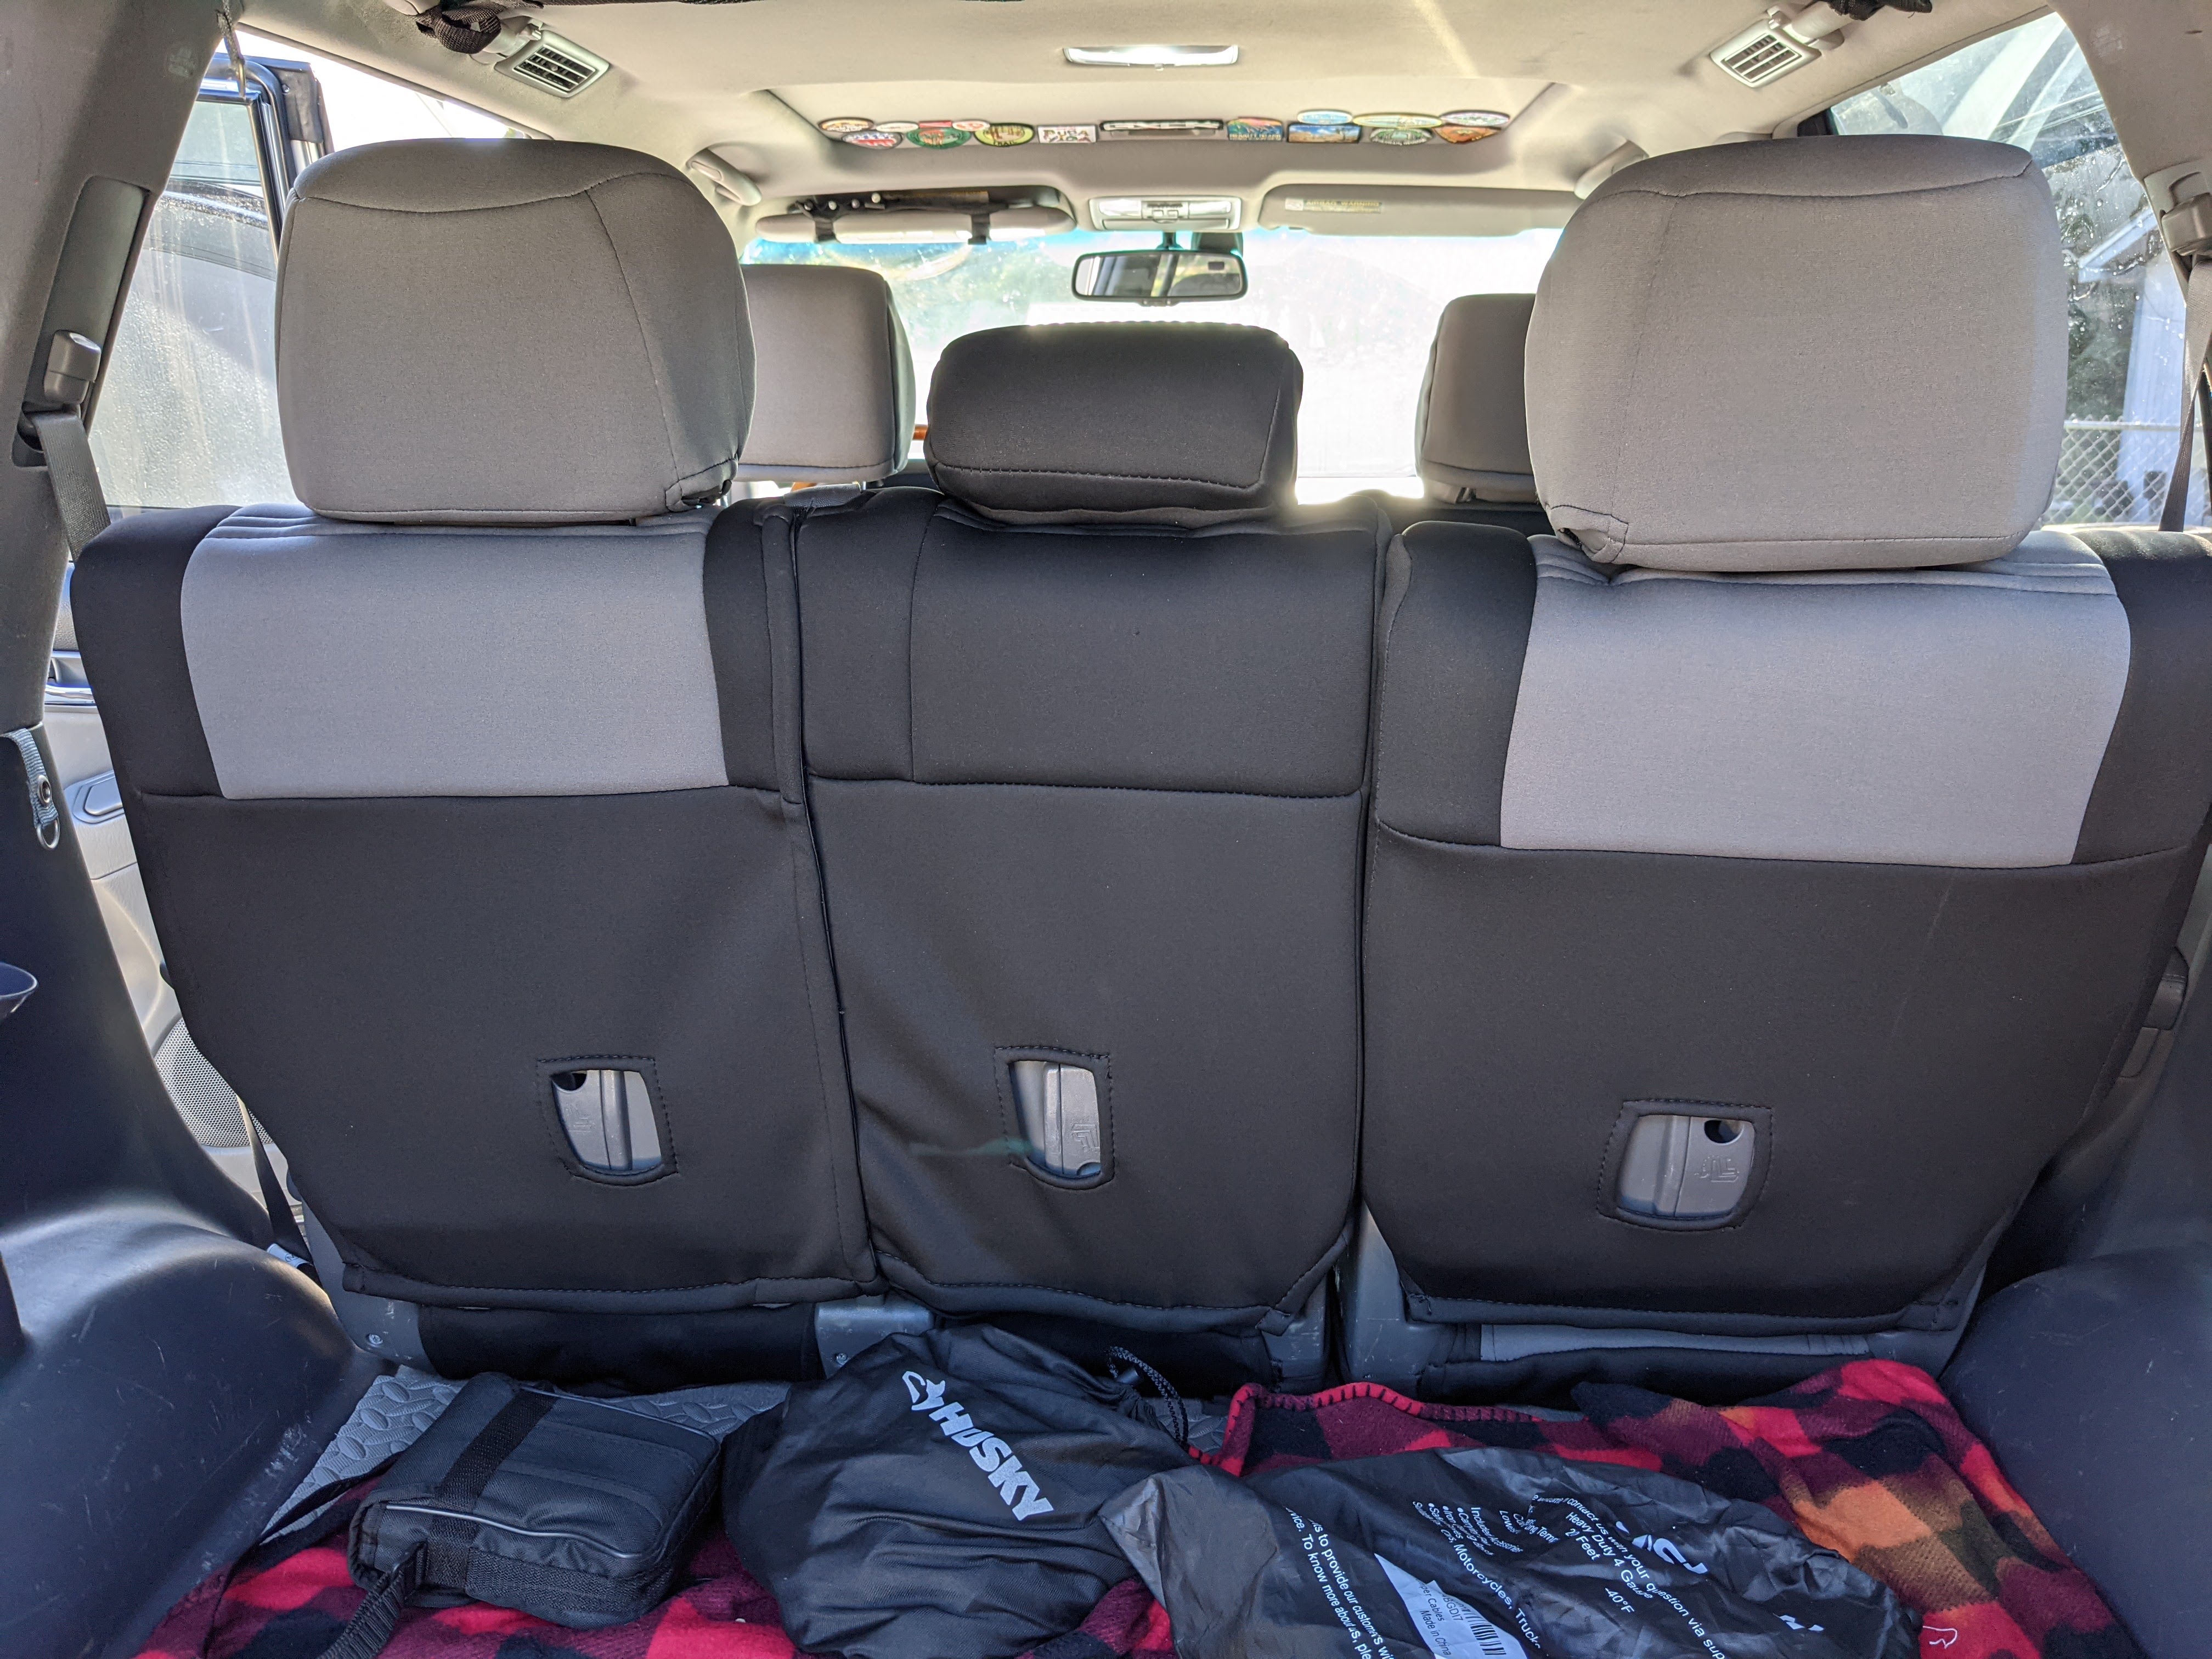
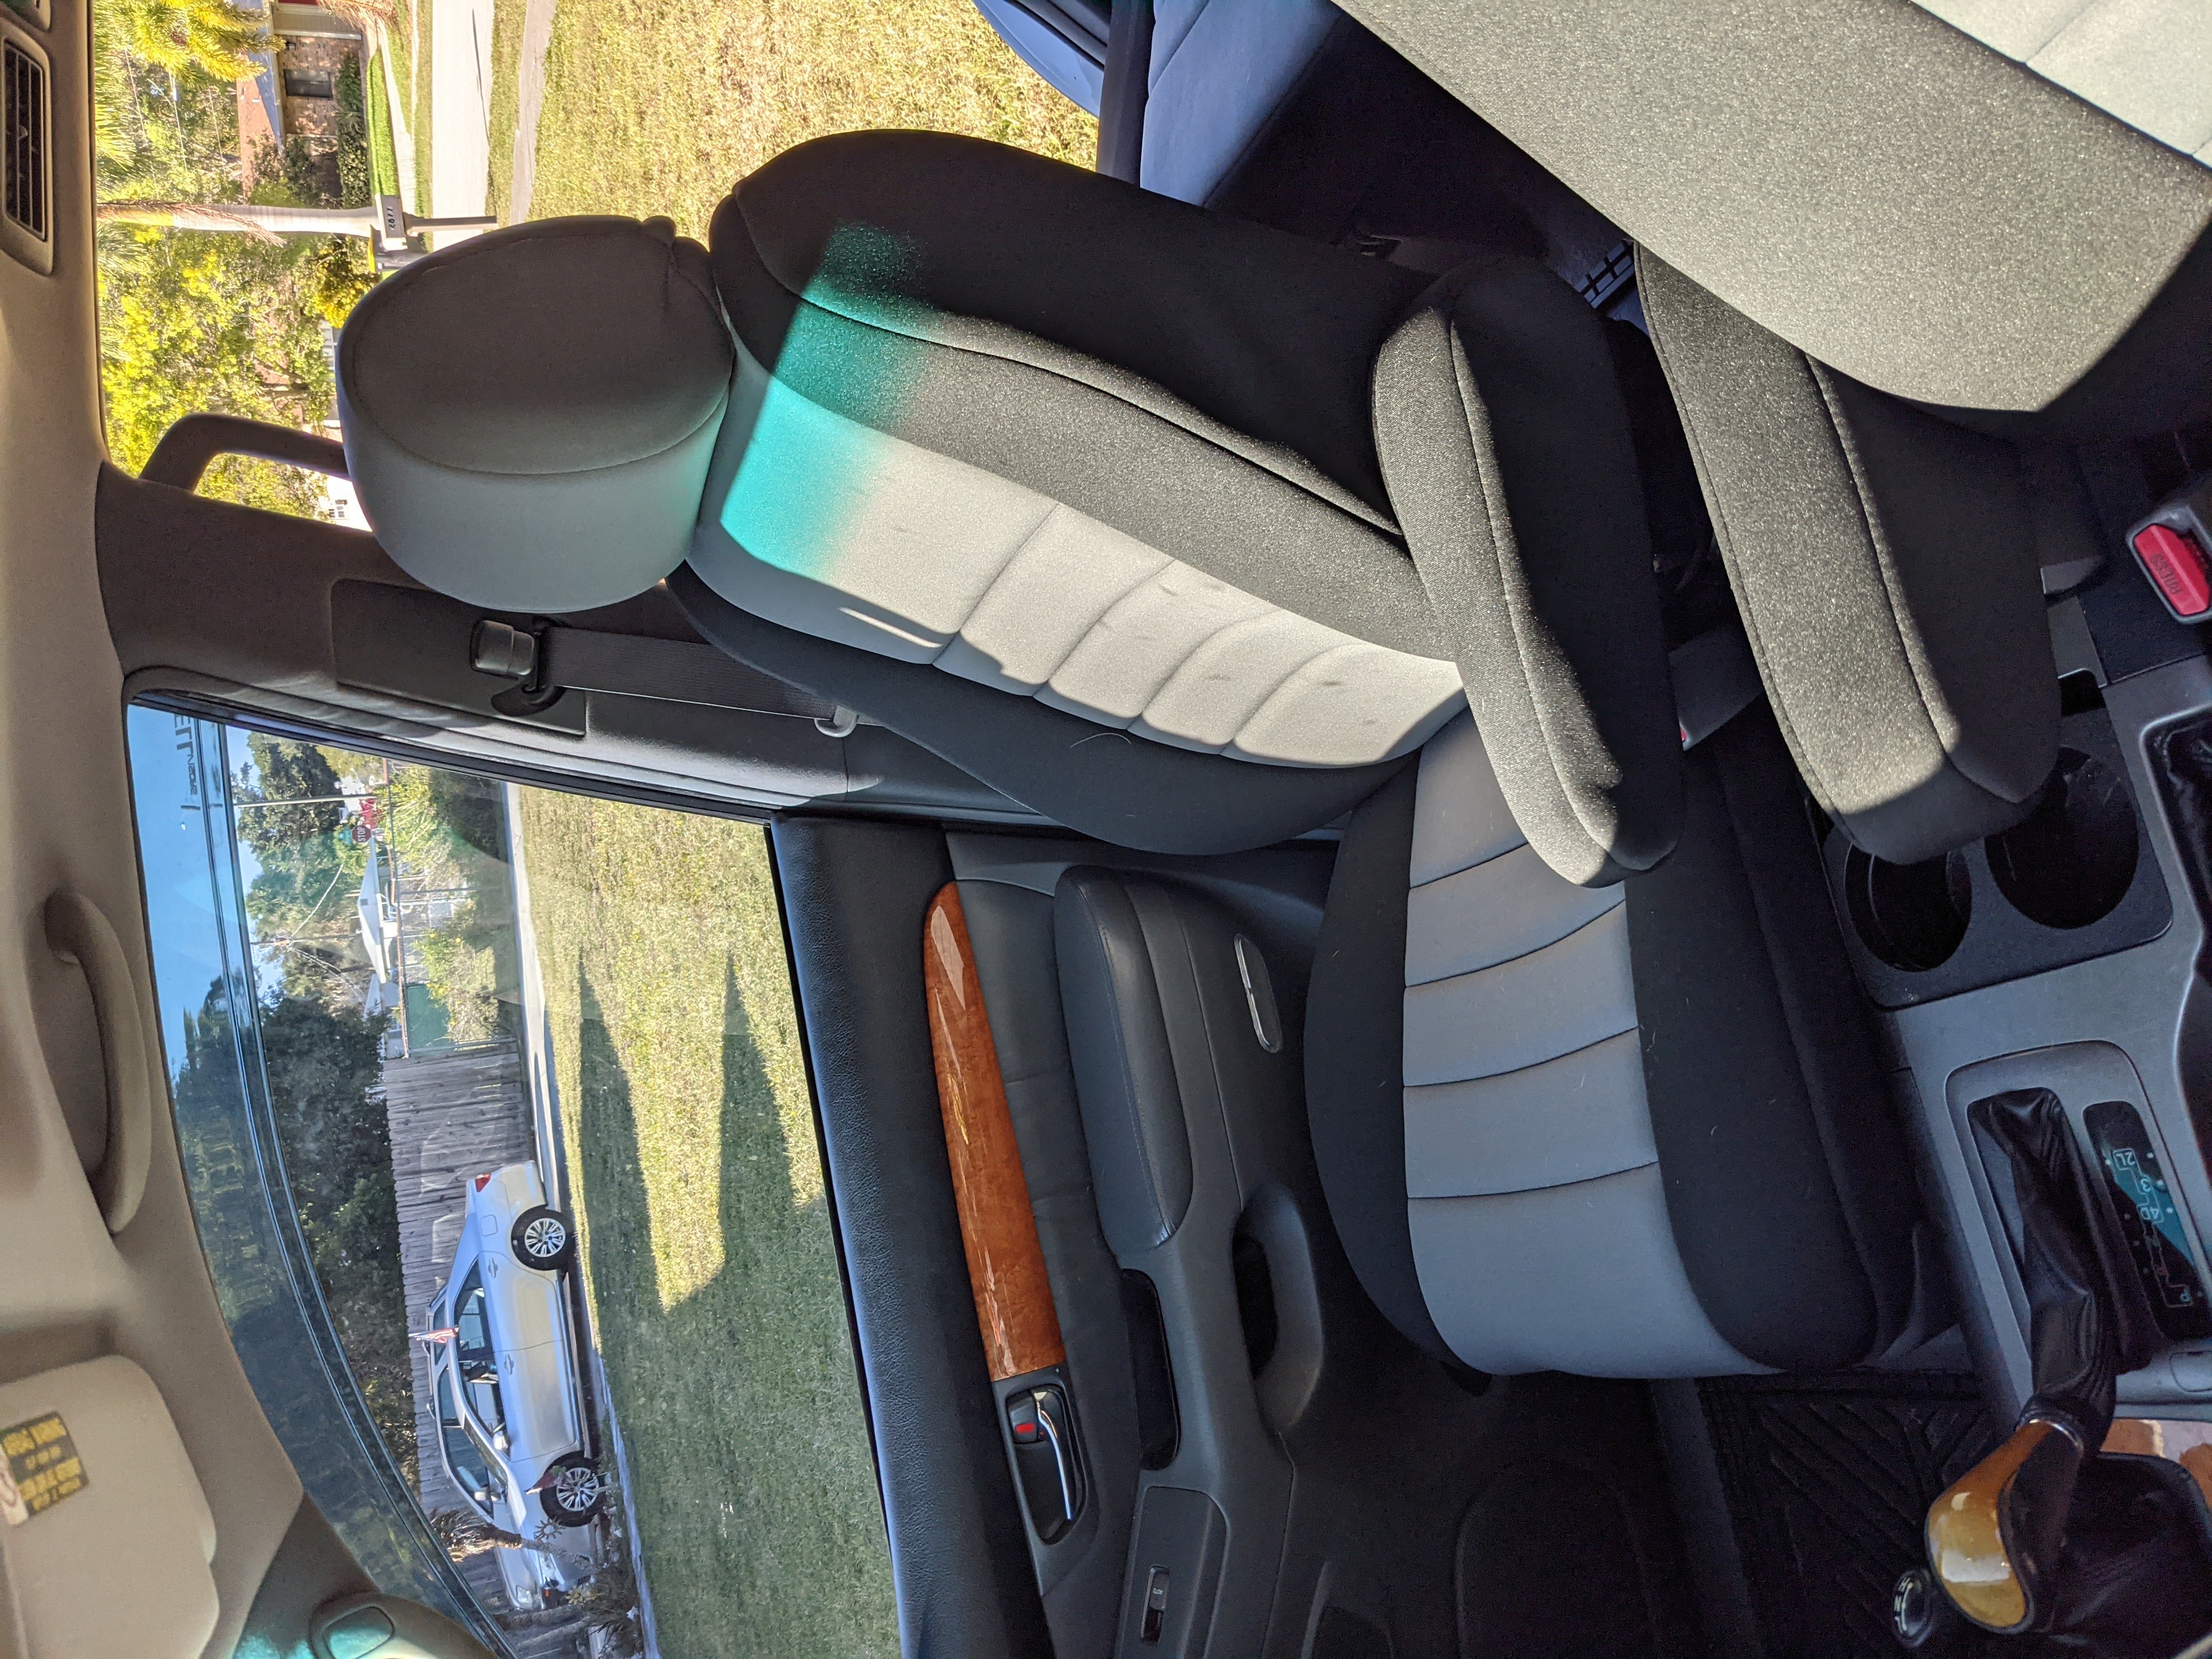
I went with the basic neoprene covers they offer, which have black on the sides, Charcoal as the inside color (which matches the stock grey perfectly), and includes headrest and arm rest covers. It also has the 60/40 split in the middle seats, so that you can still move each middle row seat independently. I don’t have a third row, but they do offer a third row seat cover. They also have openings for the seat air bags on the front seats.
These covers are custom made for the GX470 in the USA, and include 15 pieces, so they aren’t cheap. The total cost was $523, but I also earned 1% back using Rakuten on this purchase.
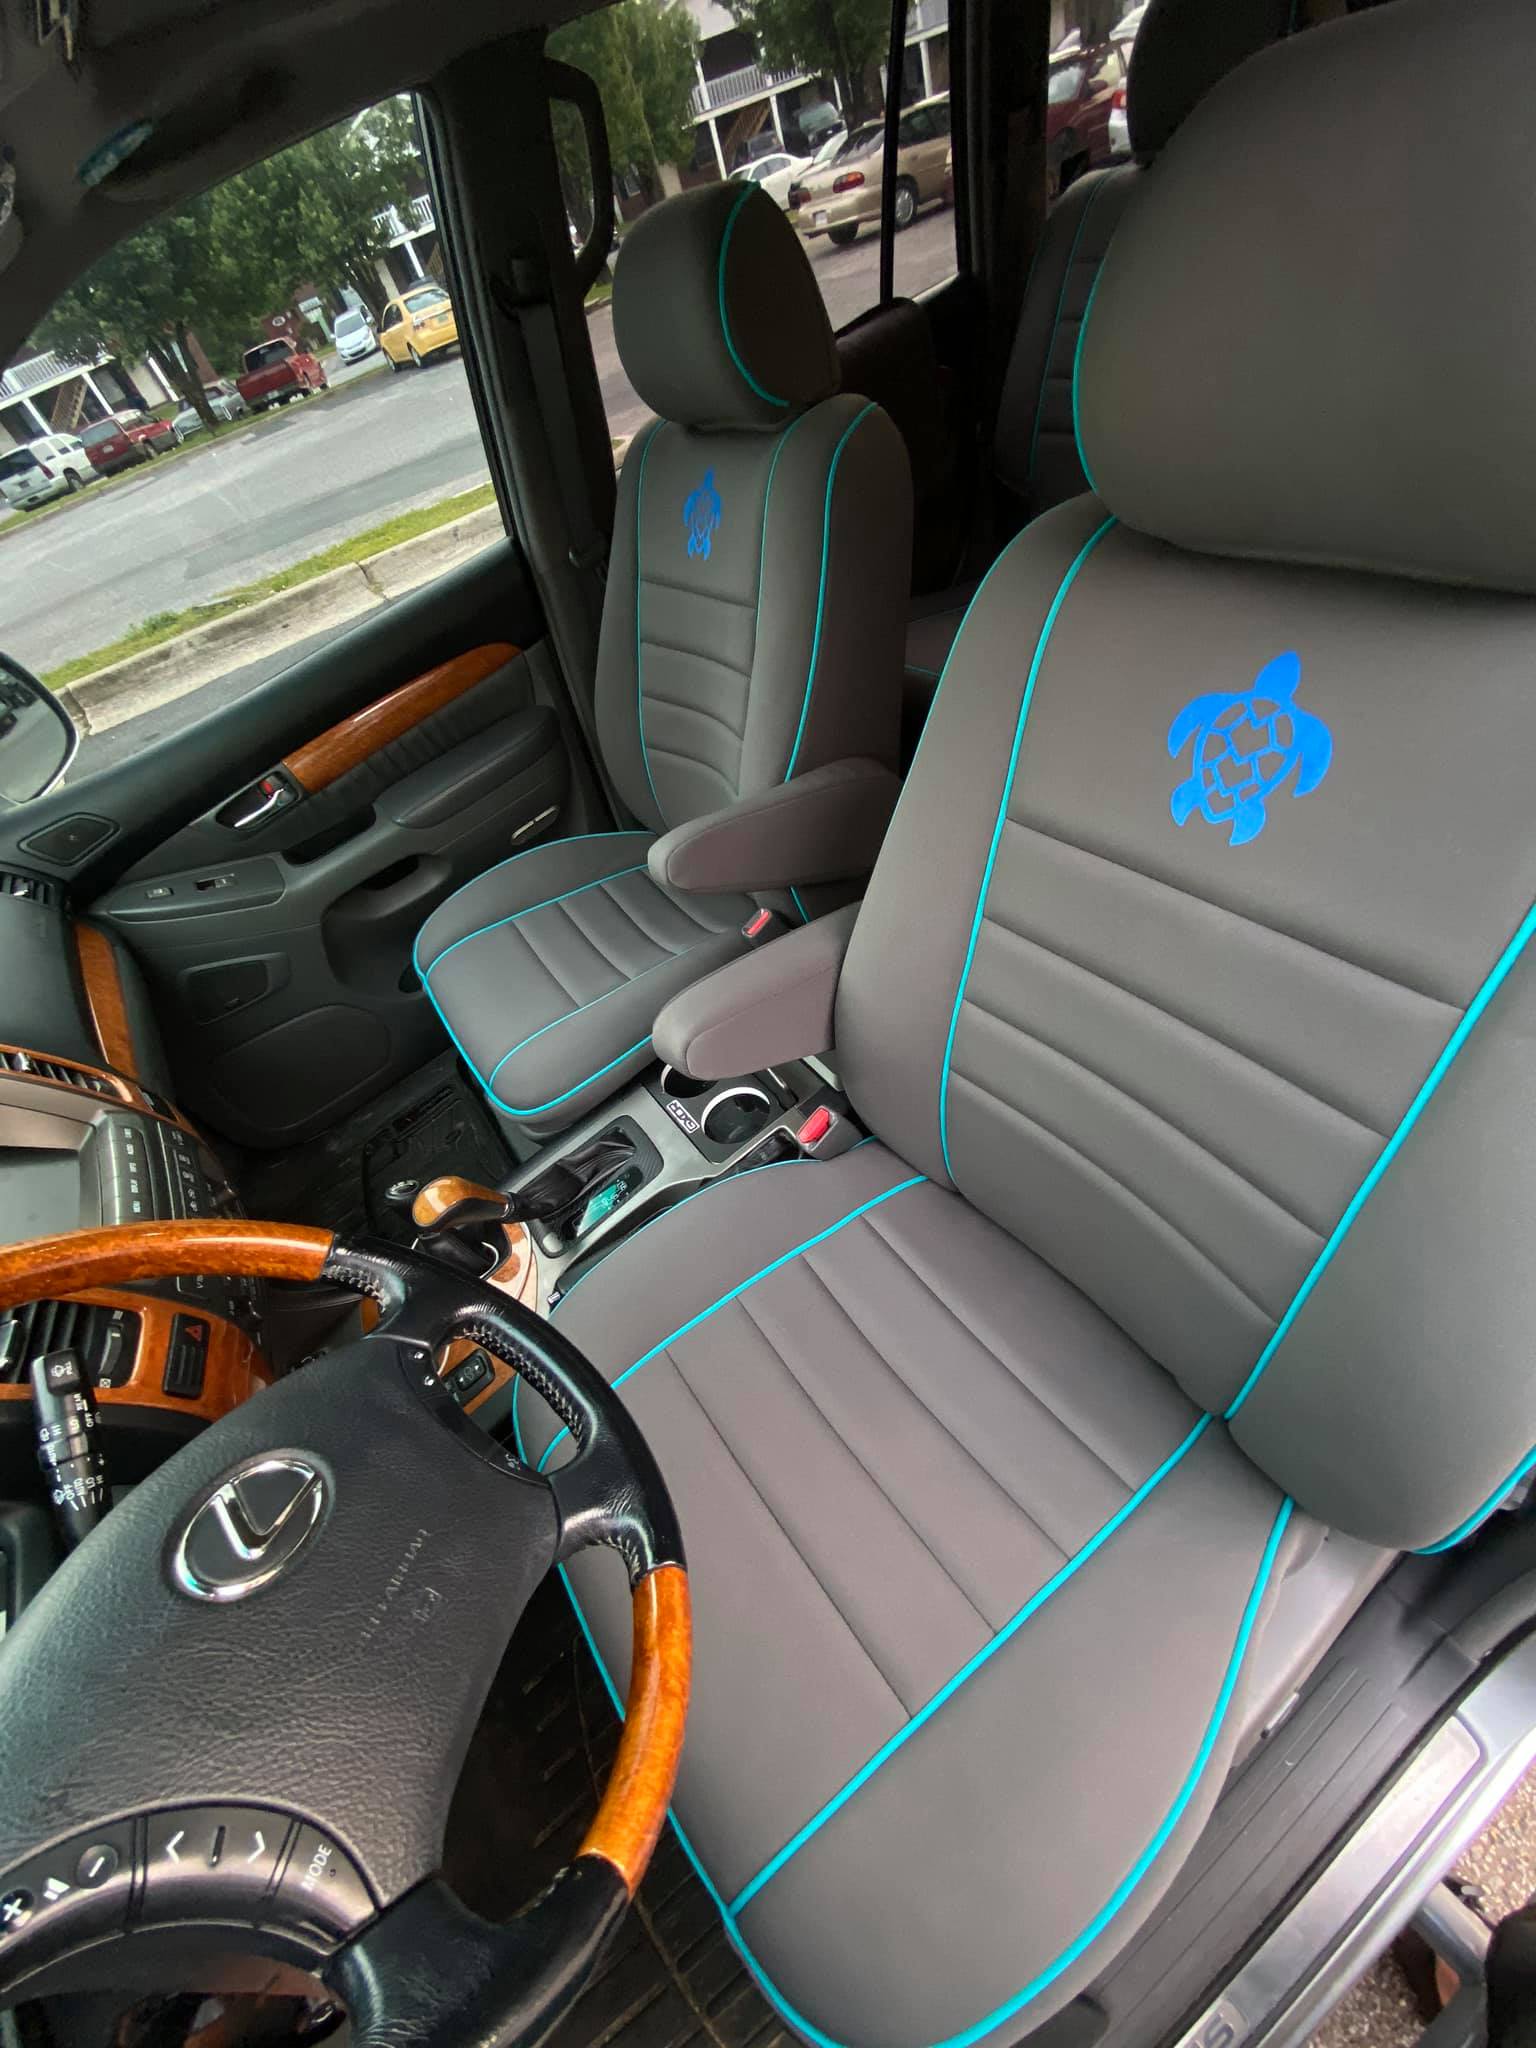
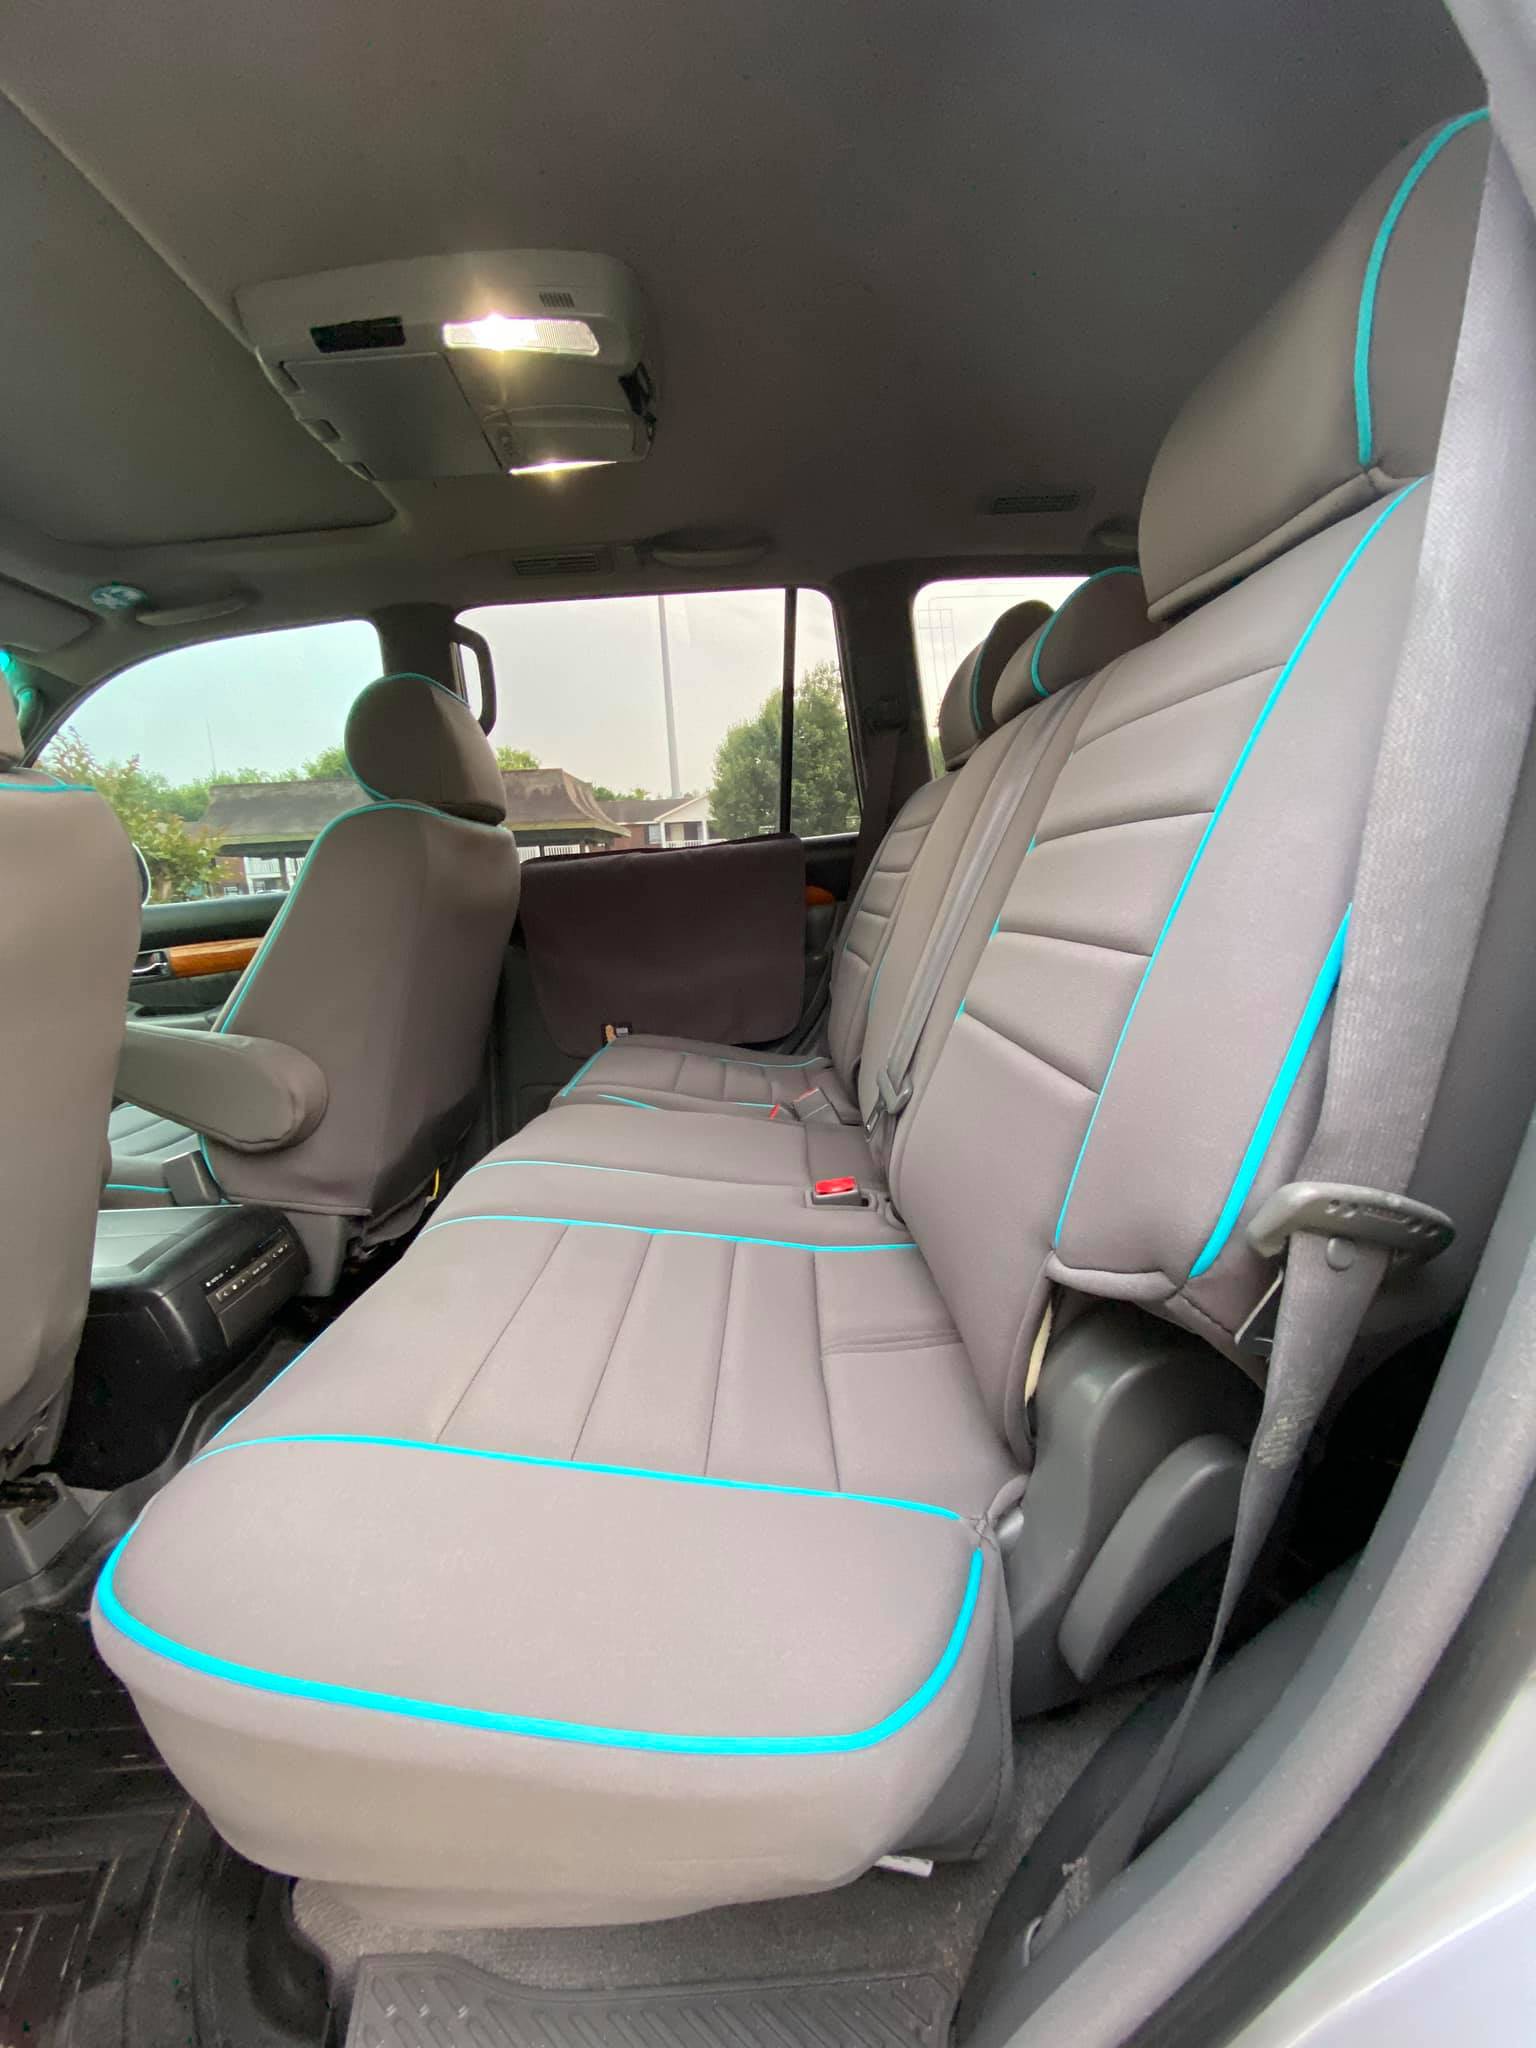
If I wanted rear map holders or custom logos, I would have ordered through Wet Okole directly. They have other cool options too, like different colored bolsters, piping, stitching, etc. You can really make them unique, like these I saw on a GXOR post.
The seat covers took about 1 month for them to arrive, and they were exactly as expected, not a single thing messed up, no missing or wrong pieces. Good quality!
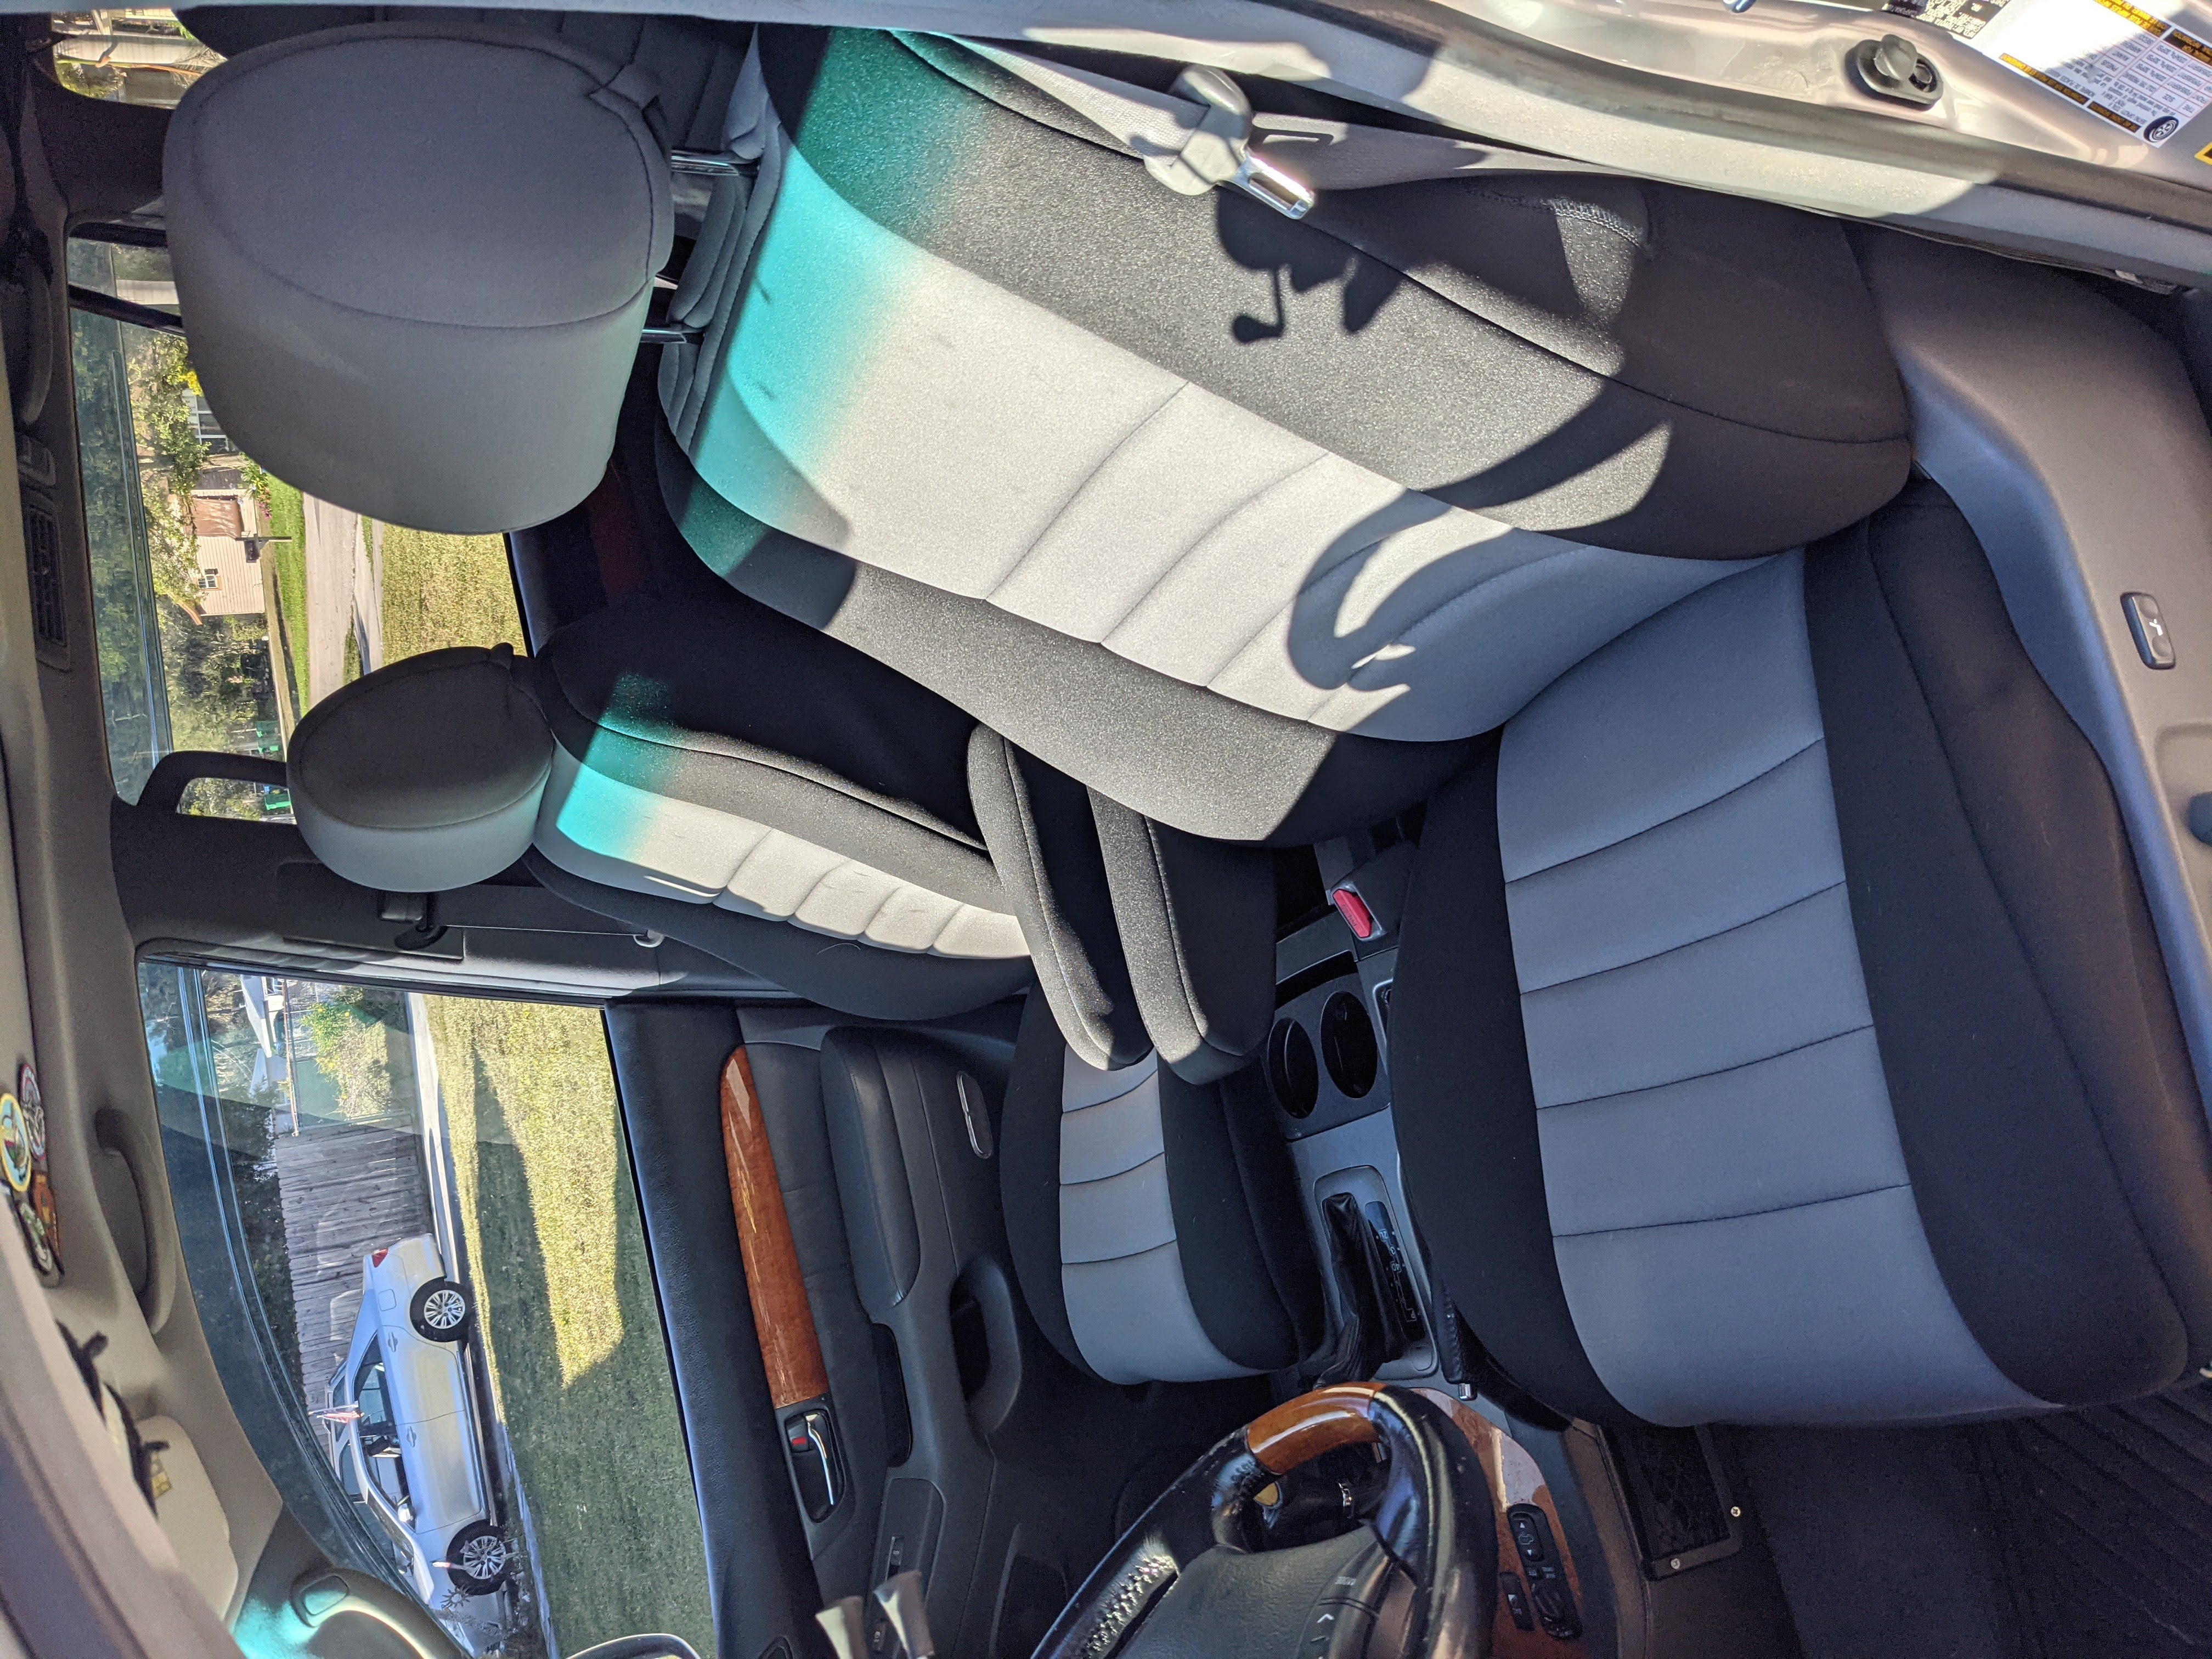
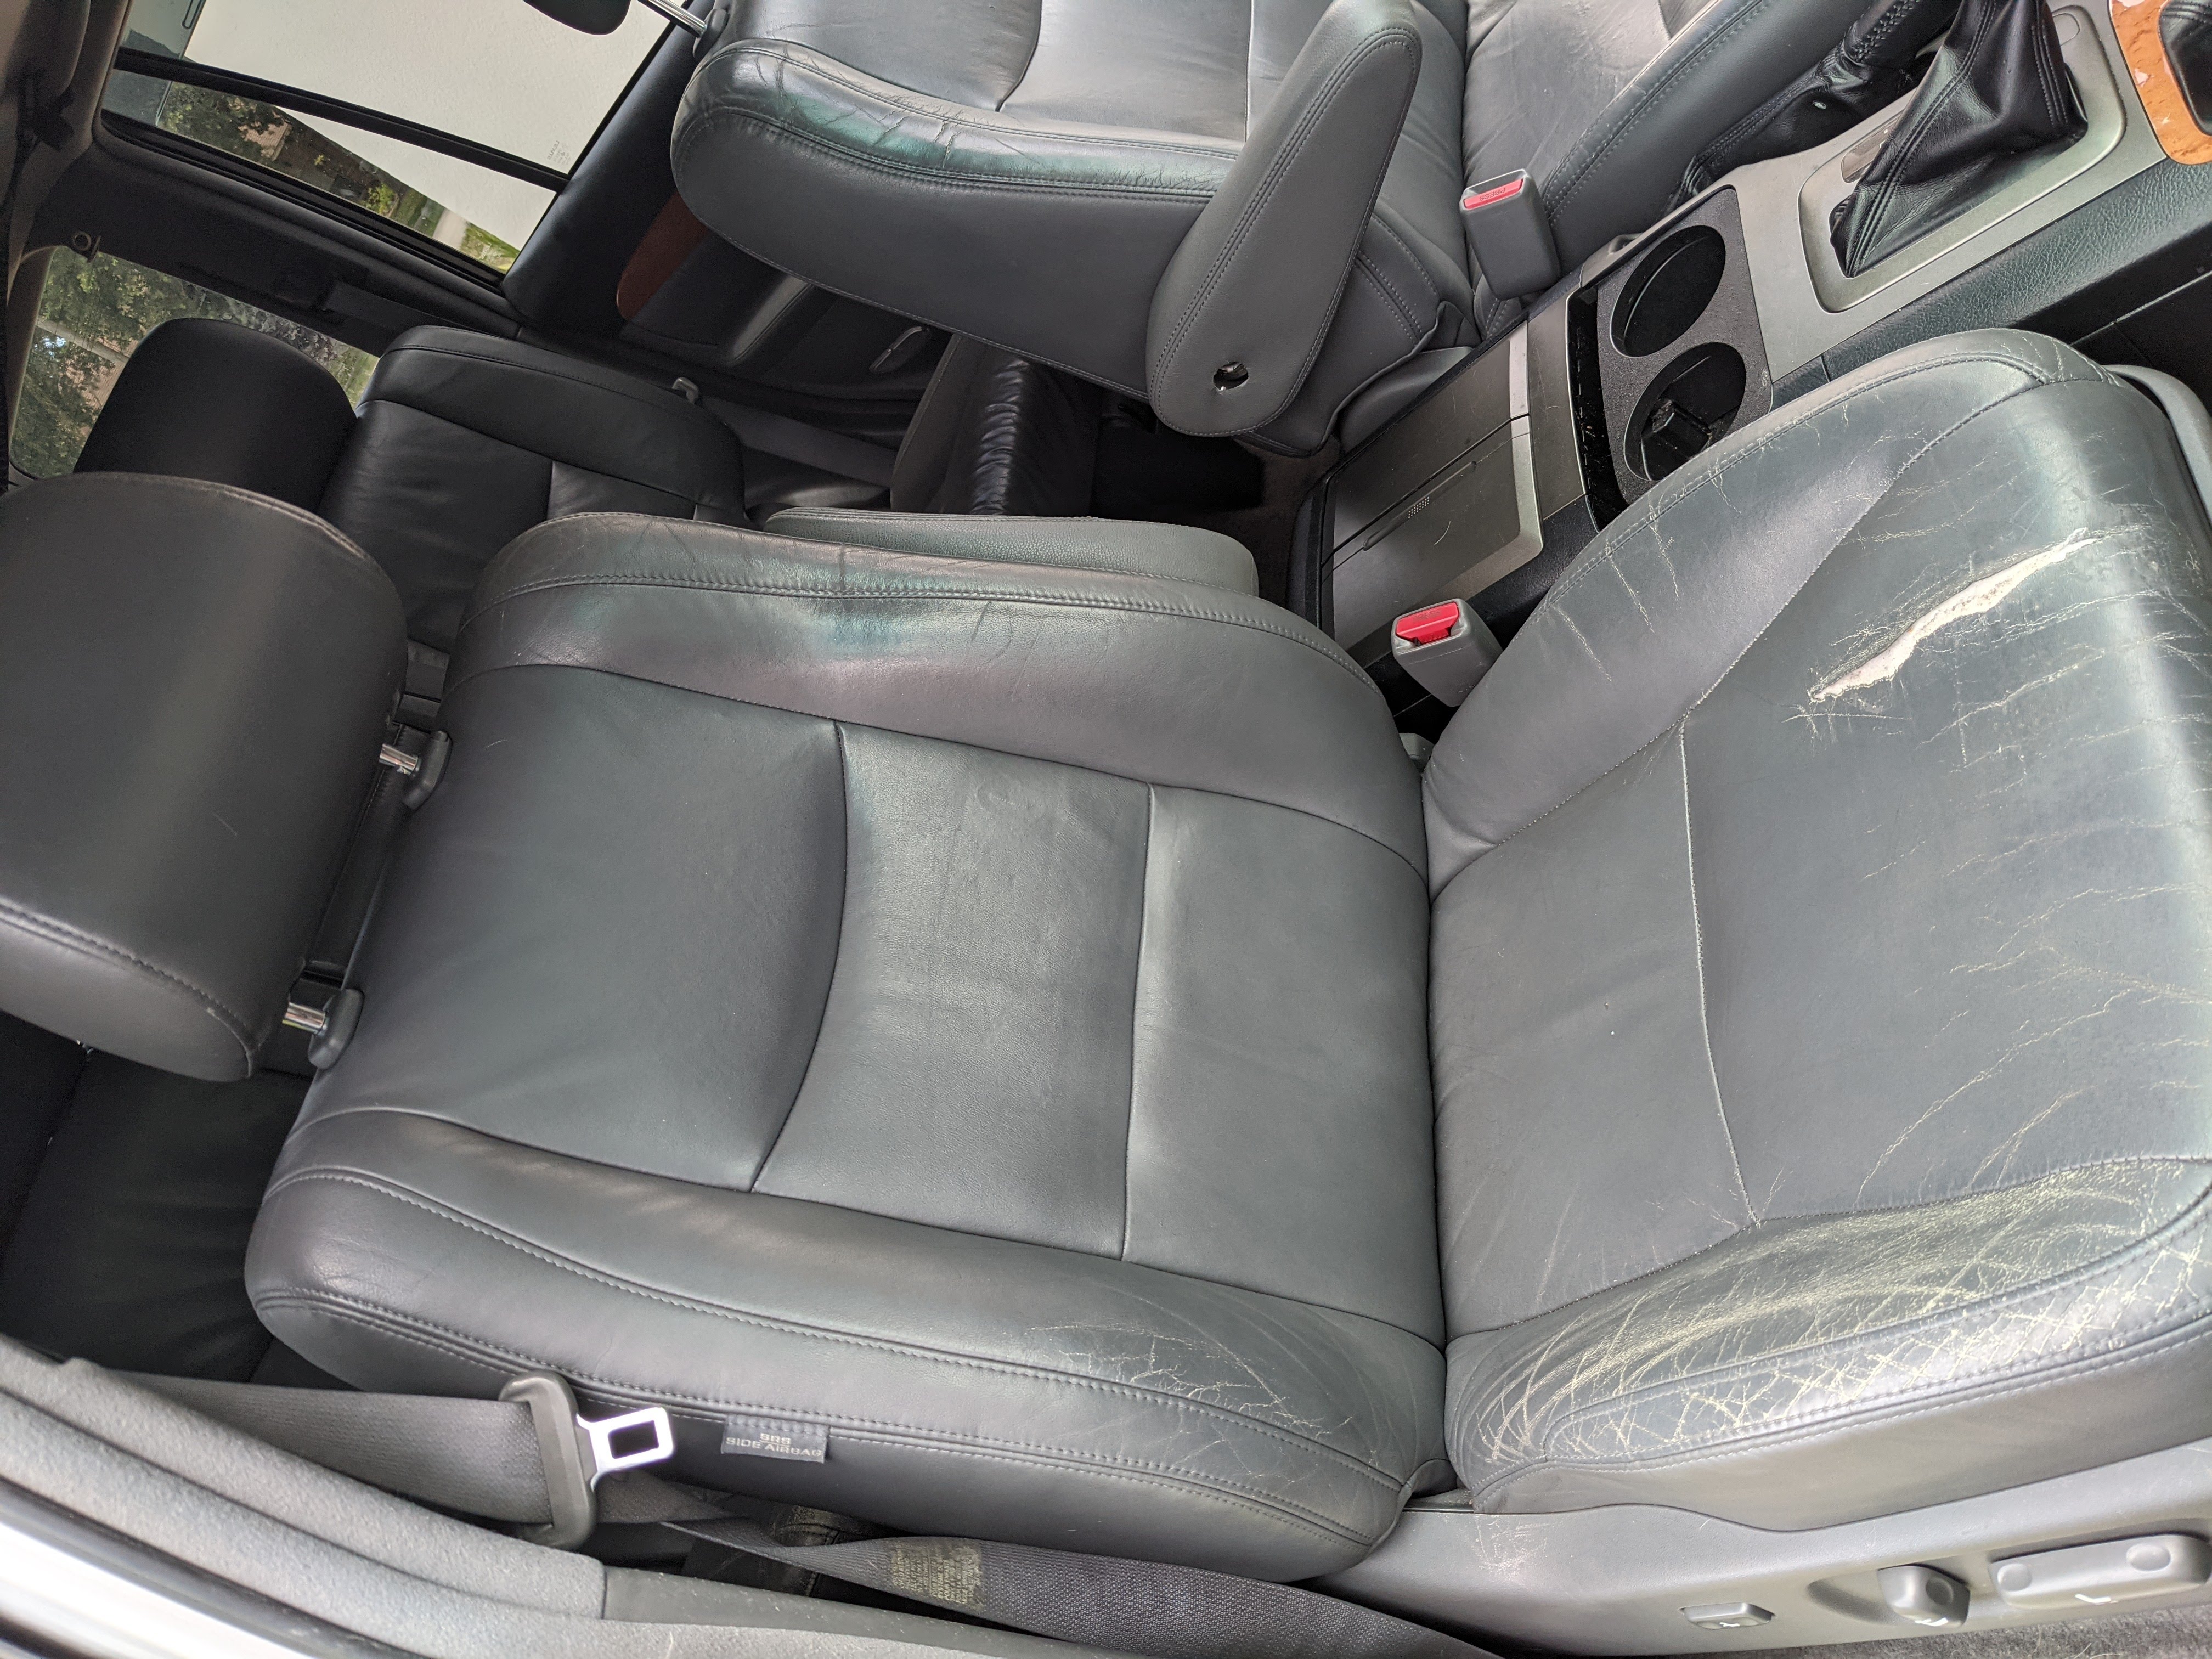
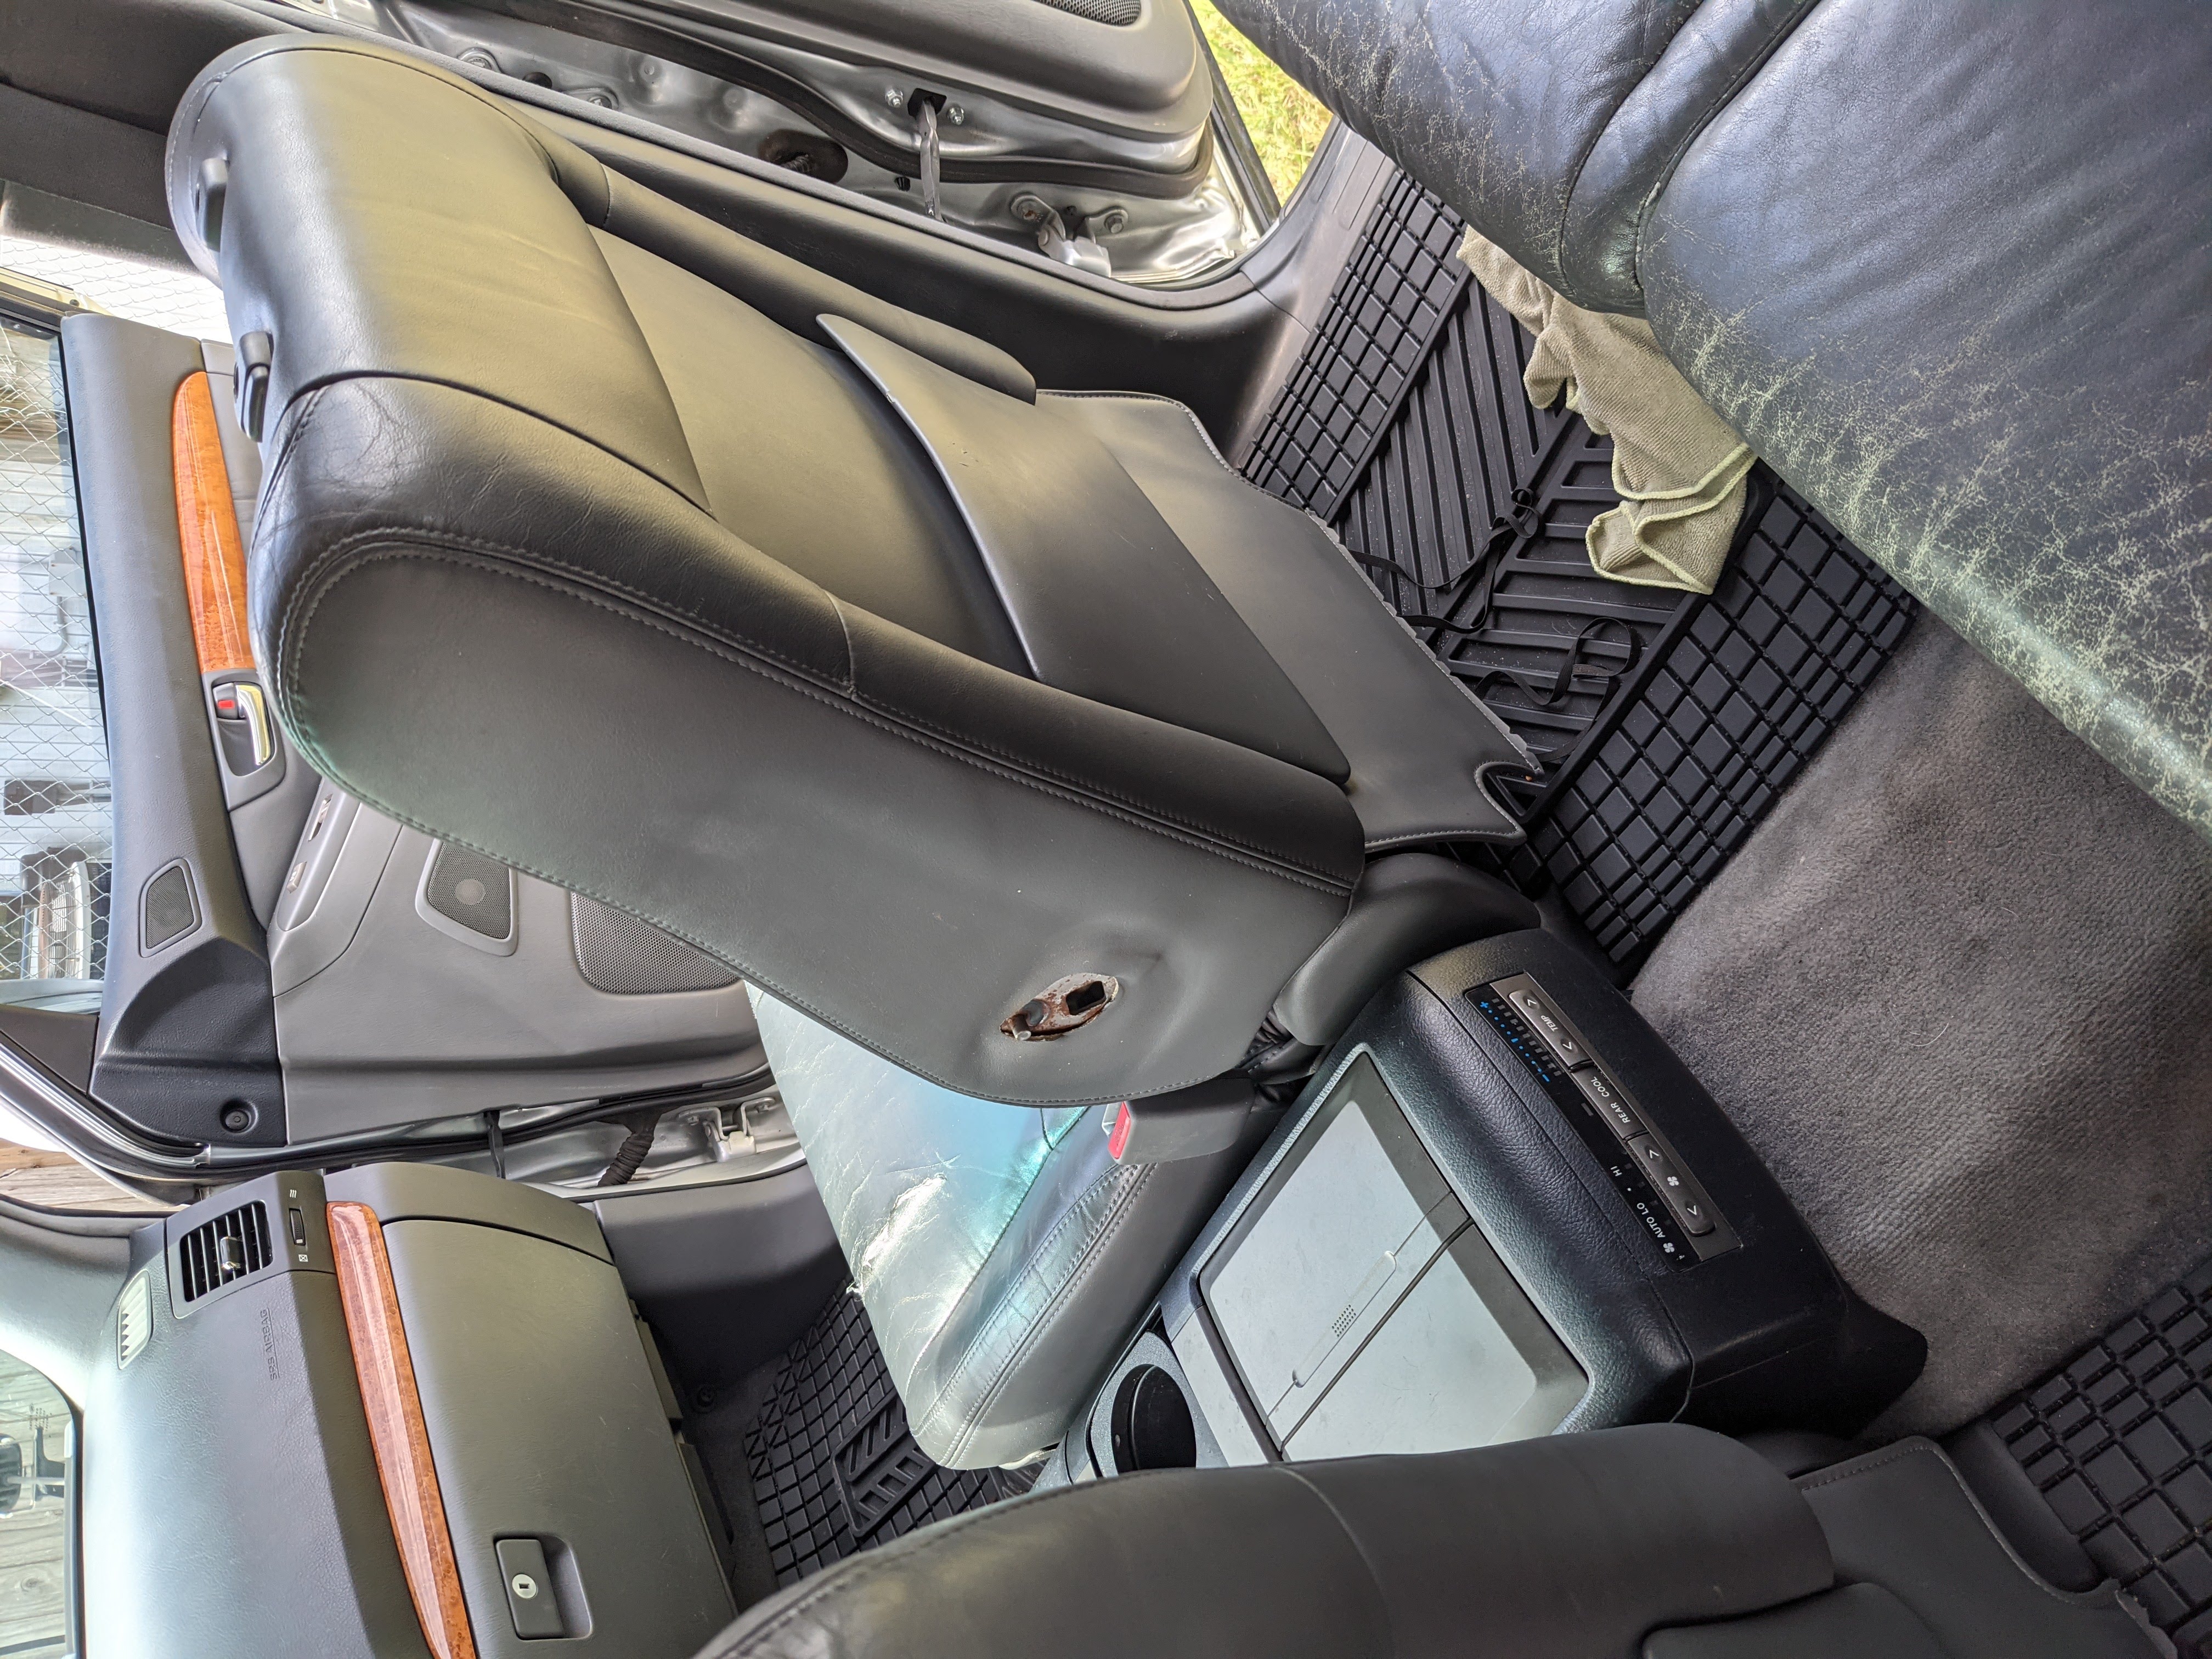
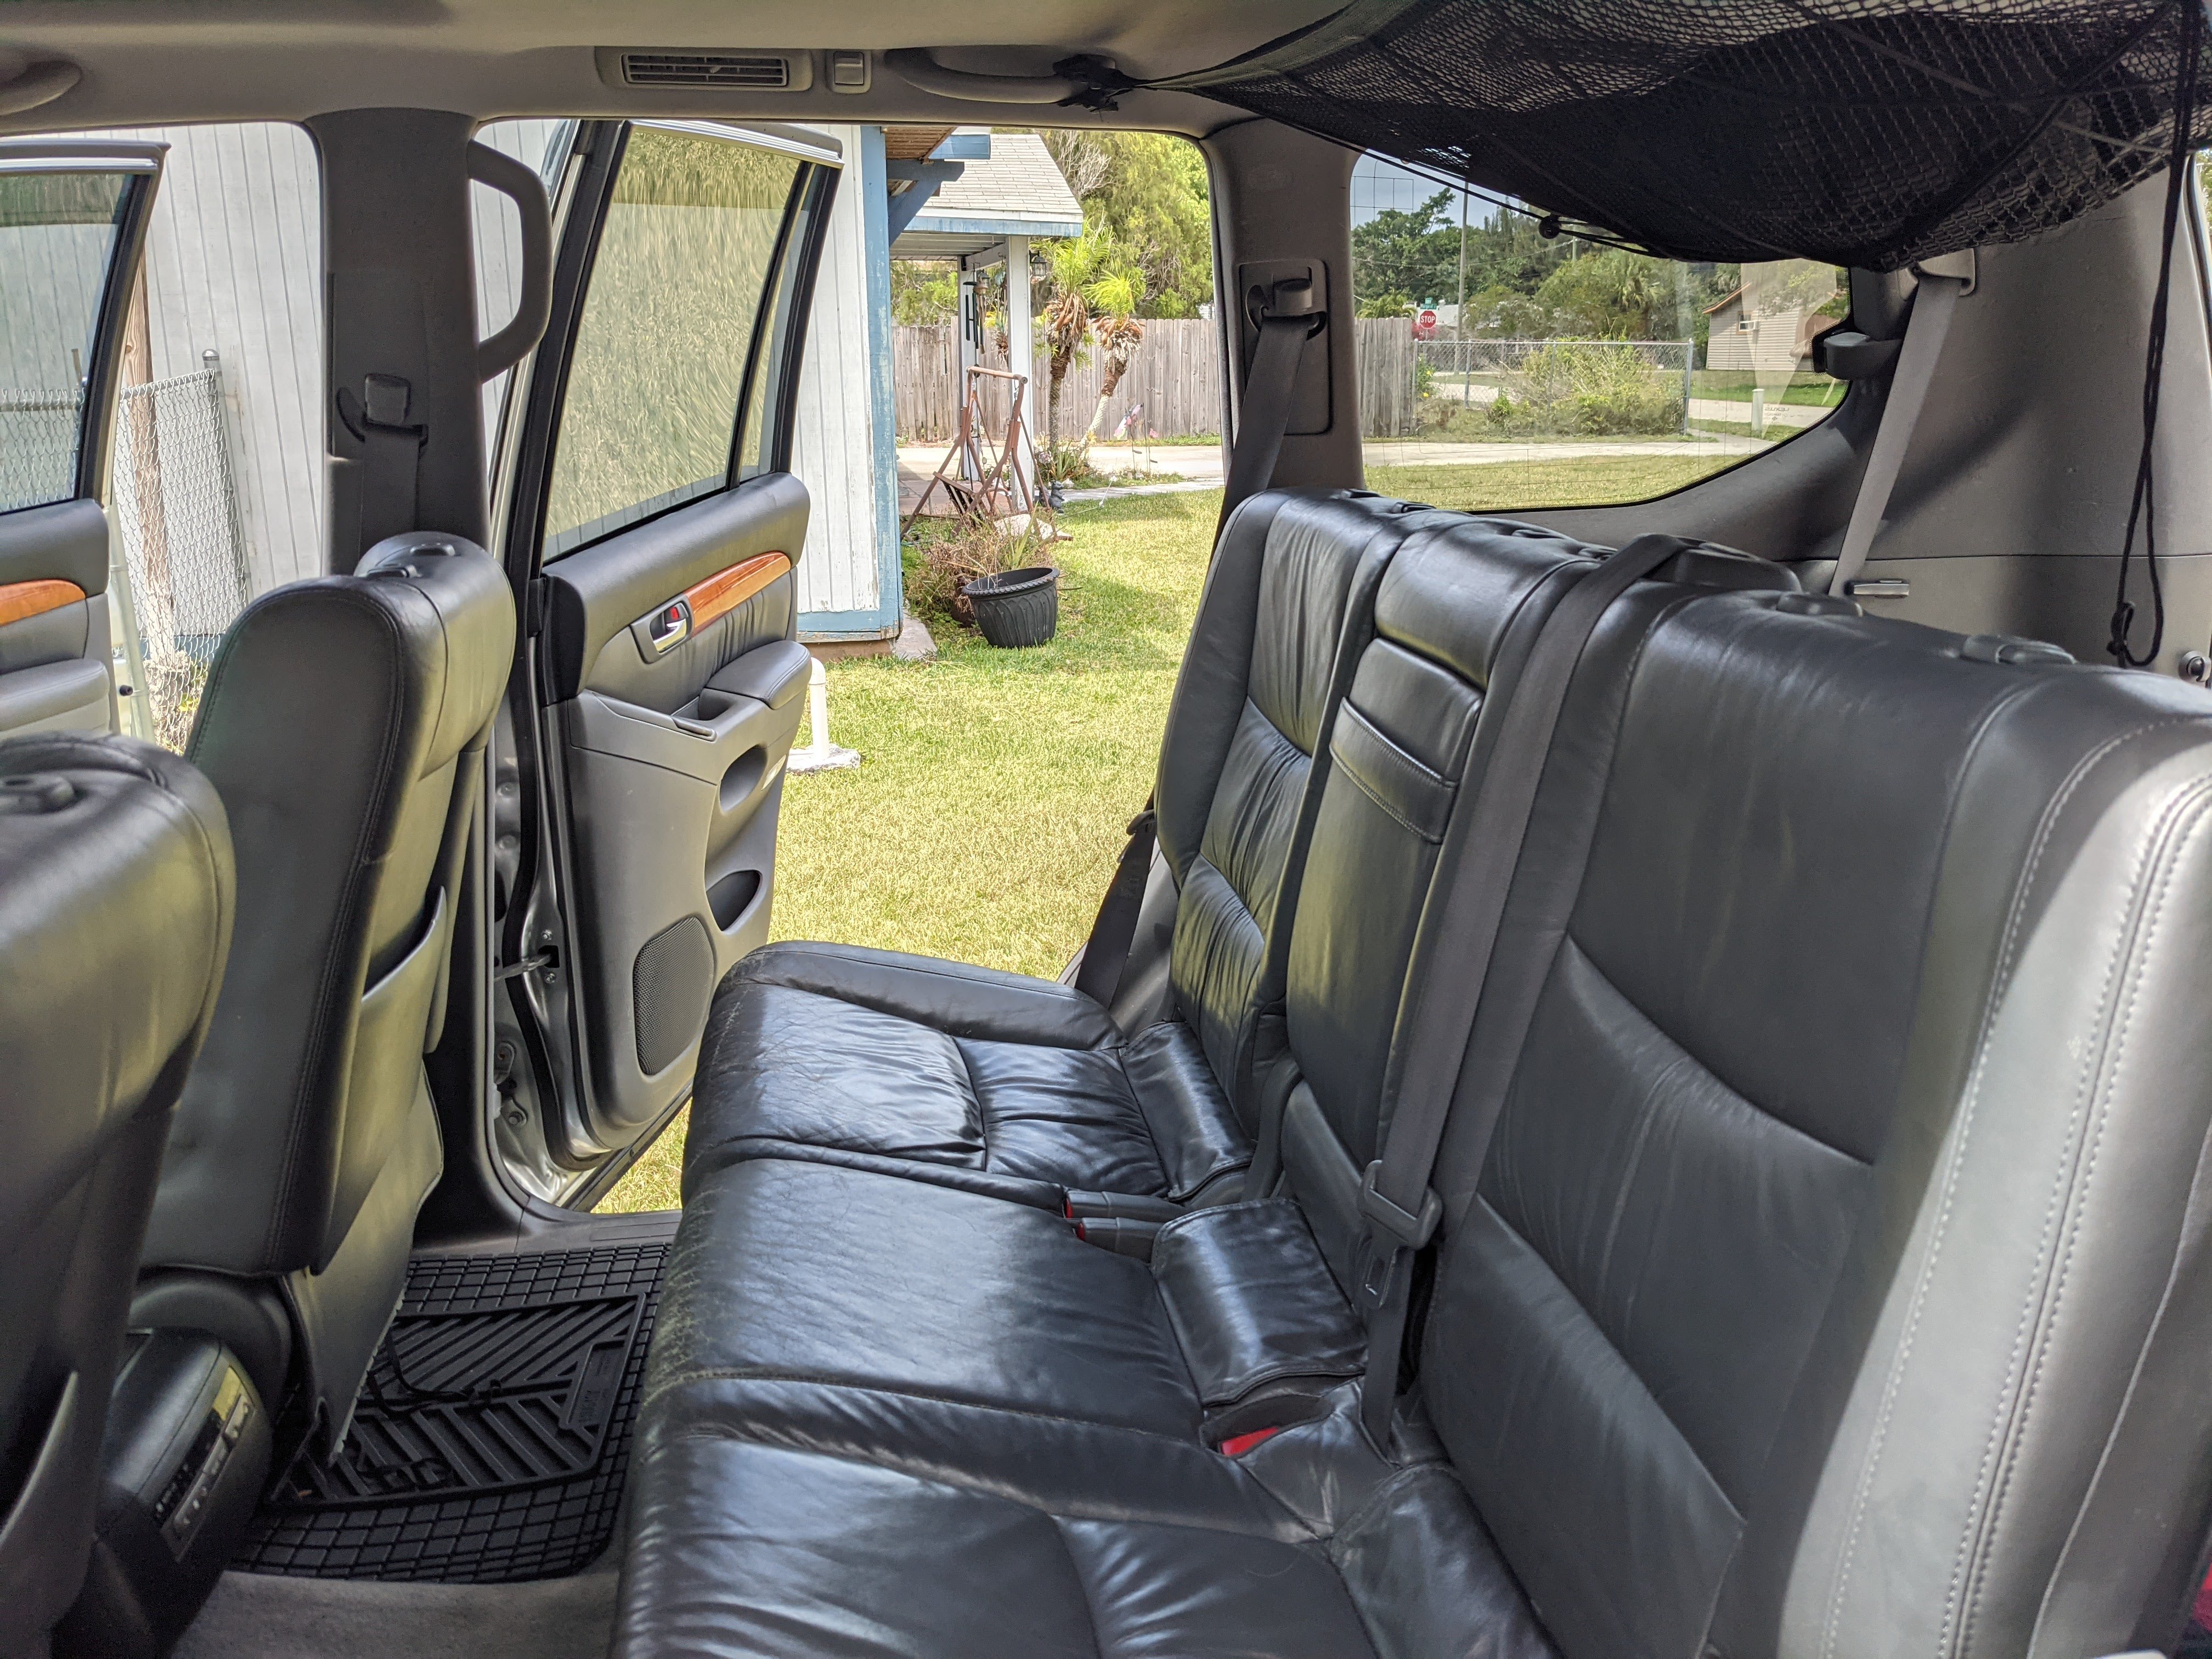
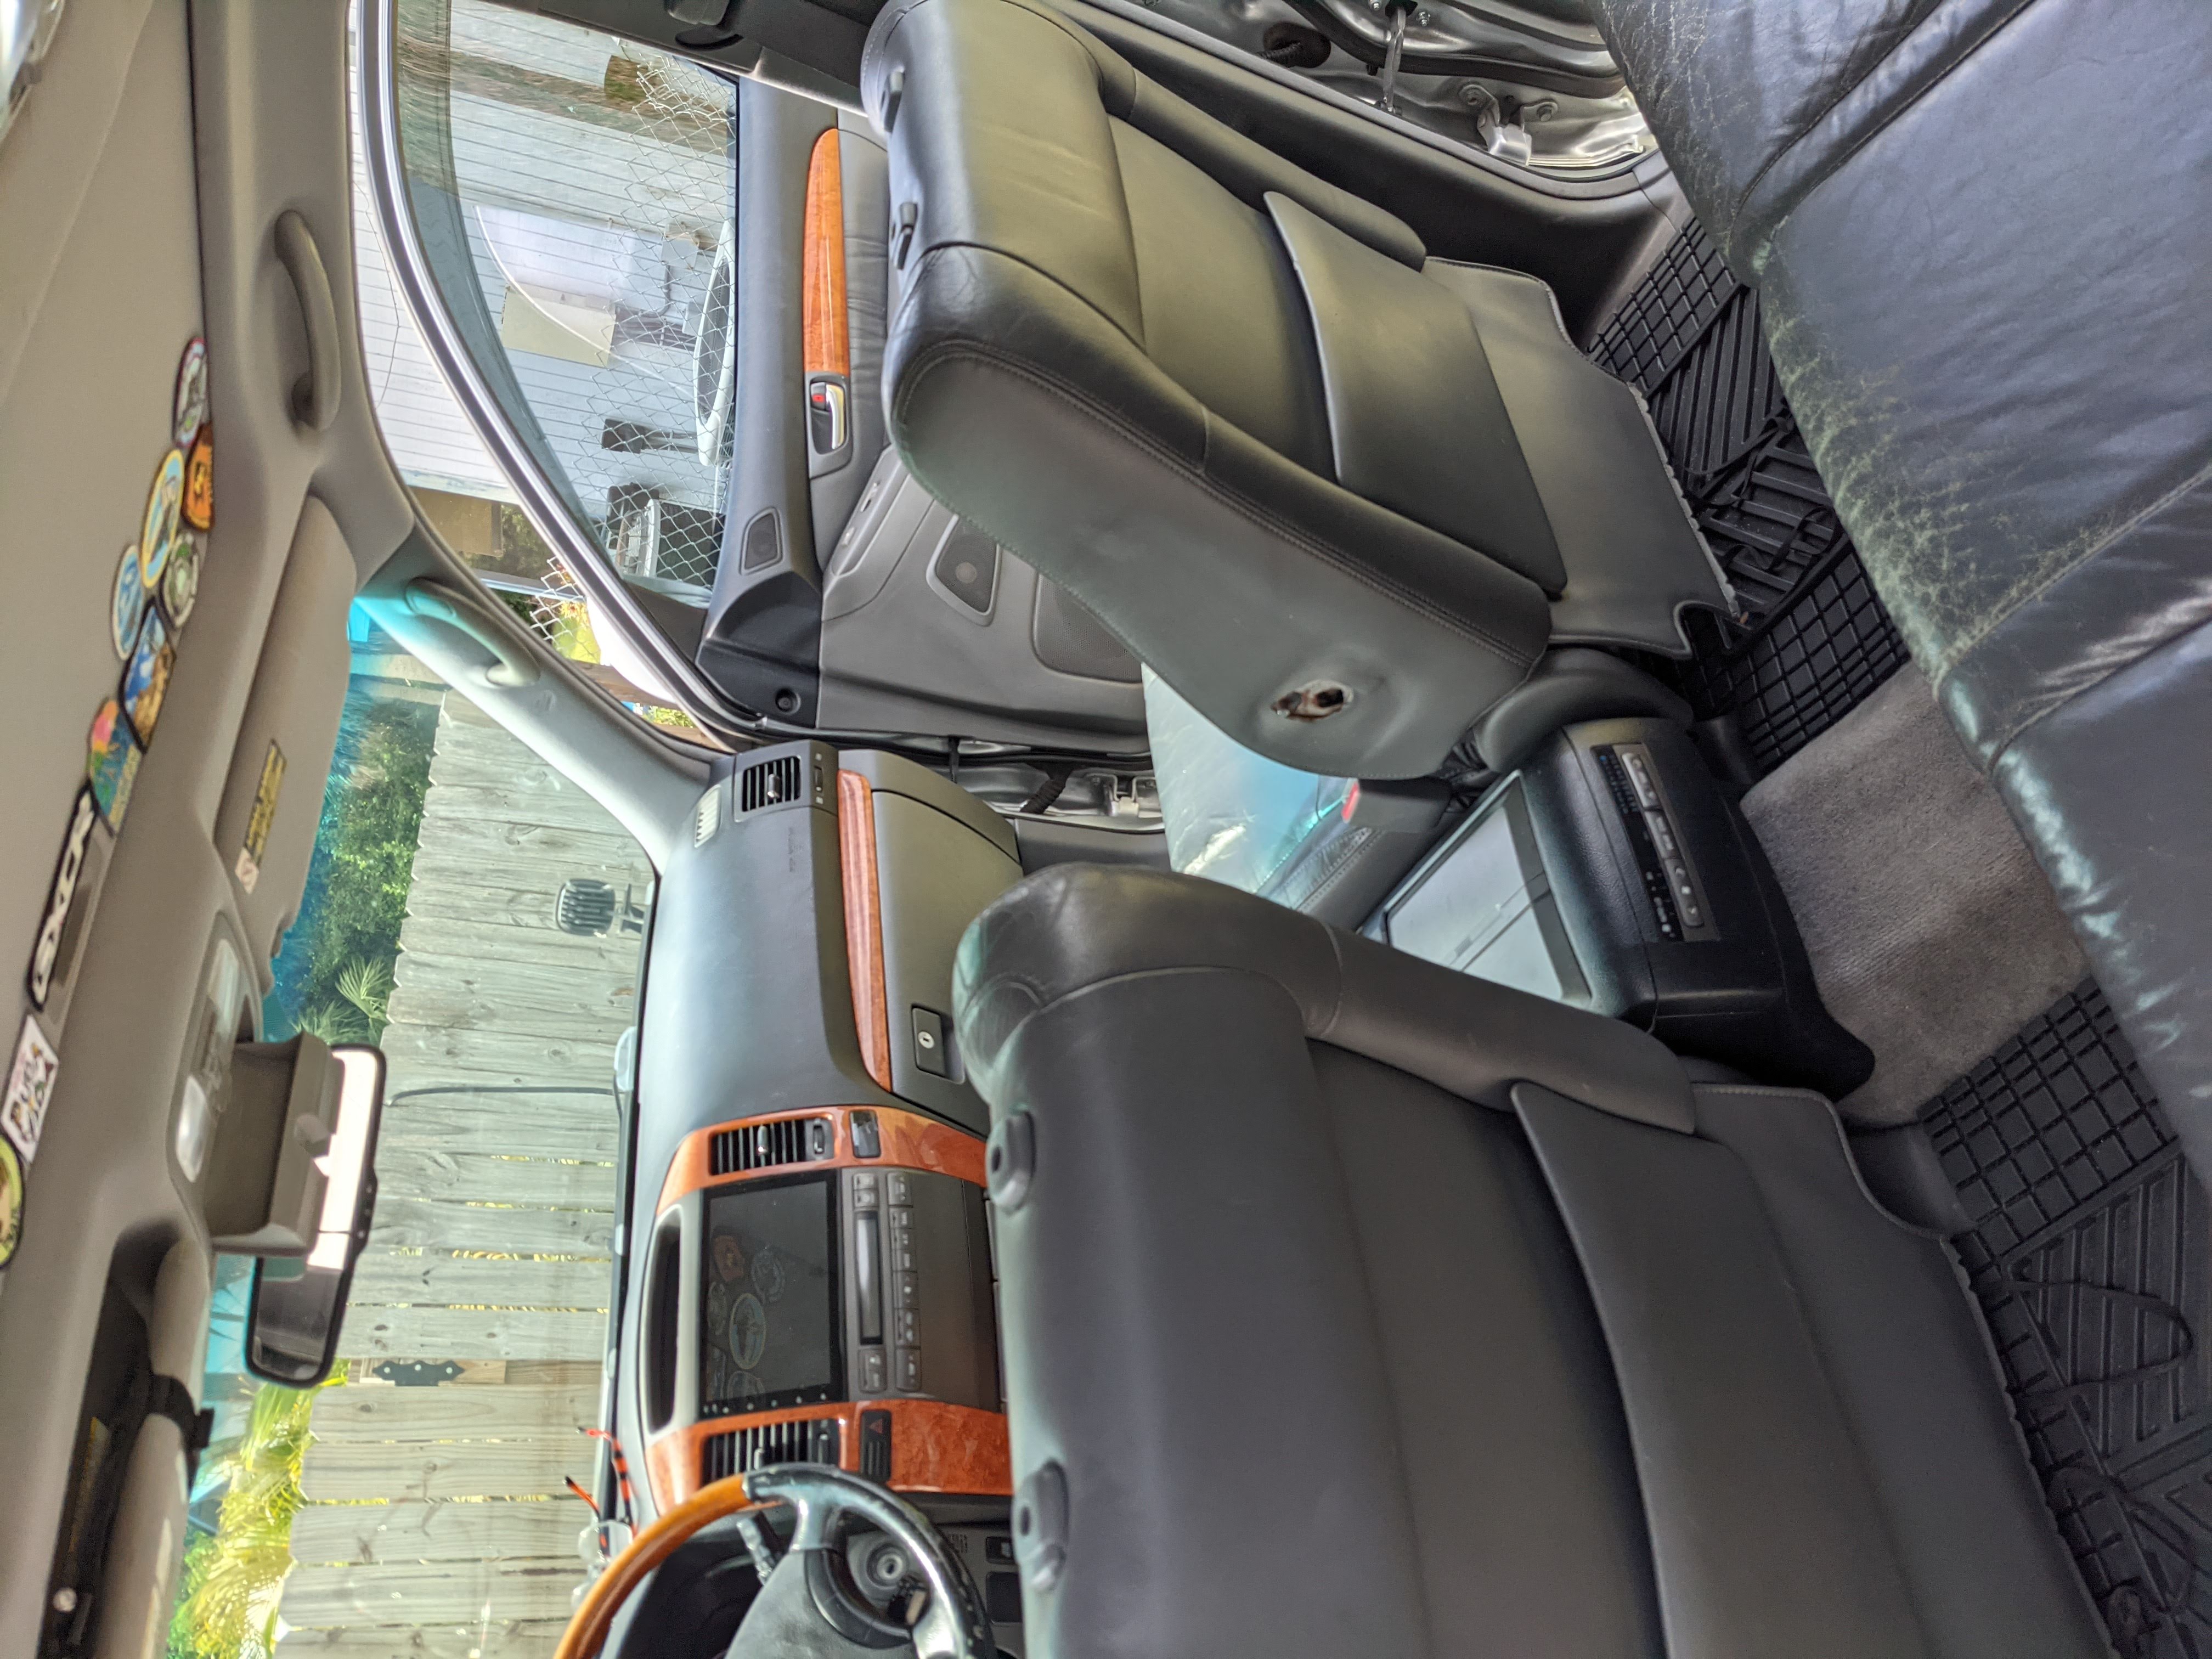
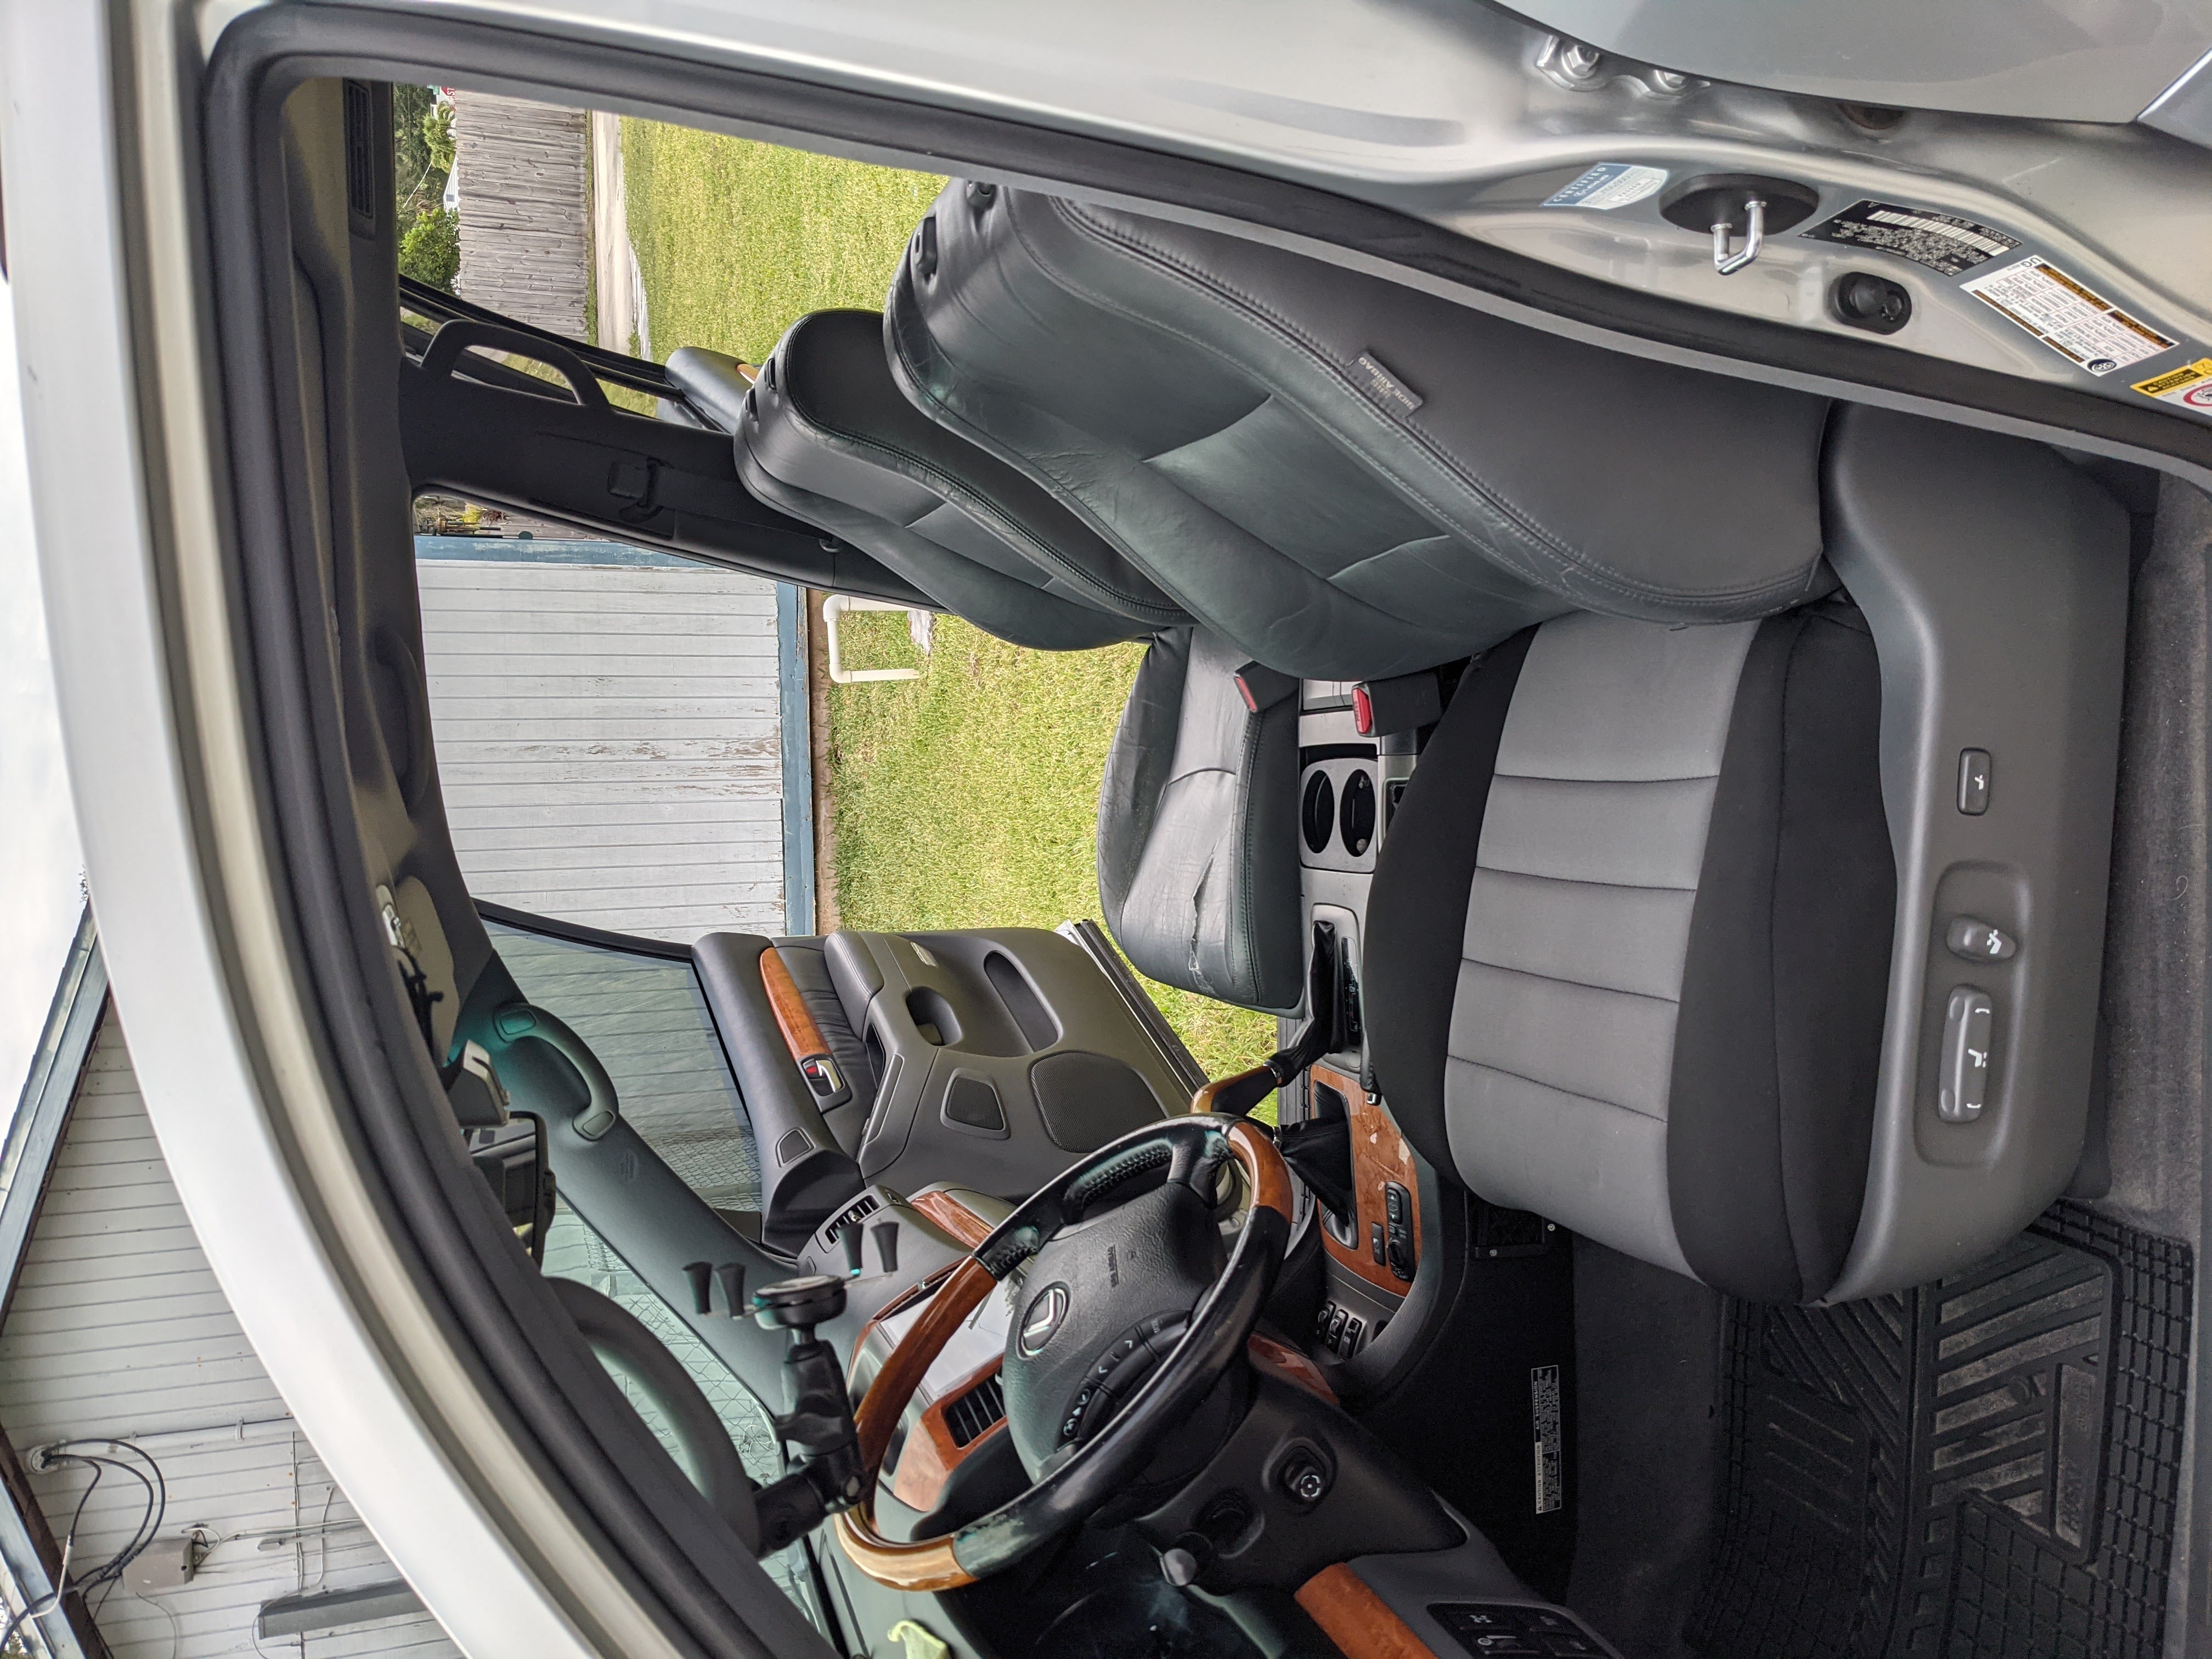
My seats before were pretty rough, leather cleaner helped a bit, but a big rip in the passenger side was… well leather cleaner doesn’t fix that. There was also a decent amount of wear in the middle seat from our dogs. I considered getting a replacement leather seat, but with the amount of time this car spends at the beach (we live 10 minutes from the beach), I decided to go neoprene.

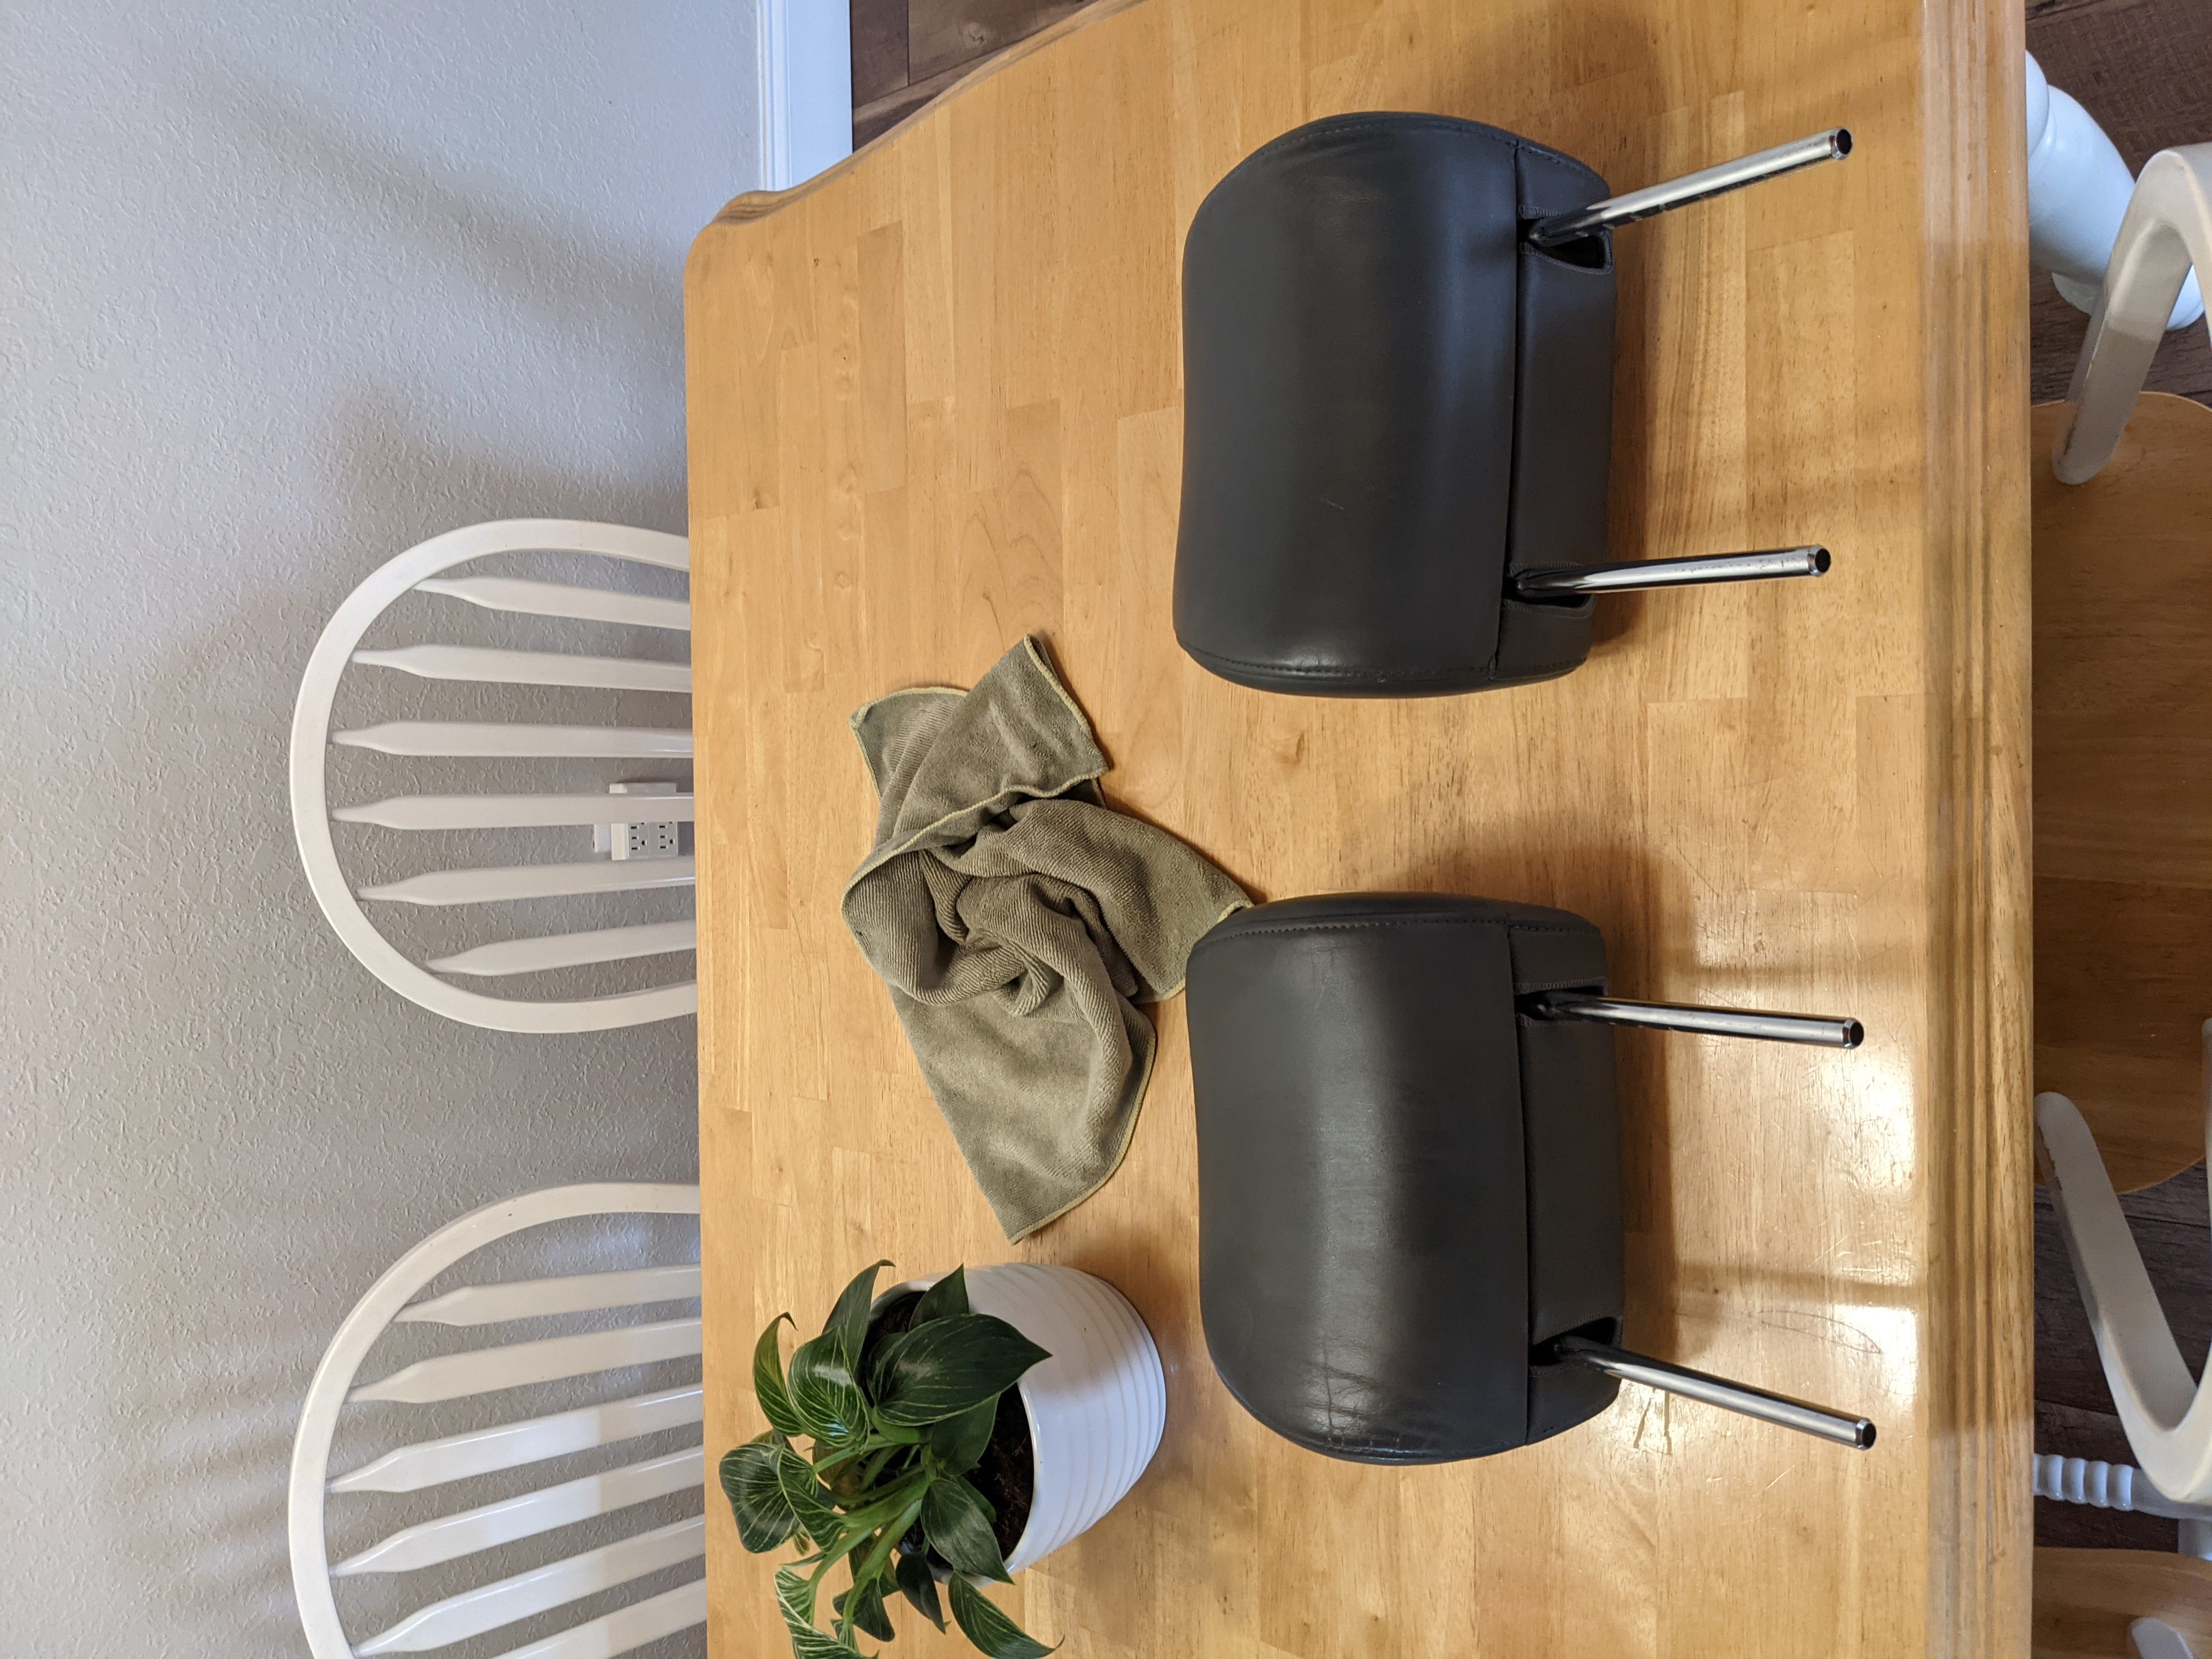
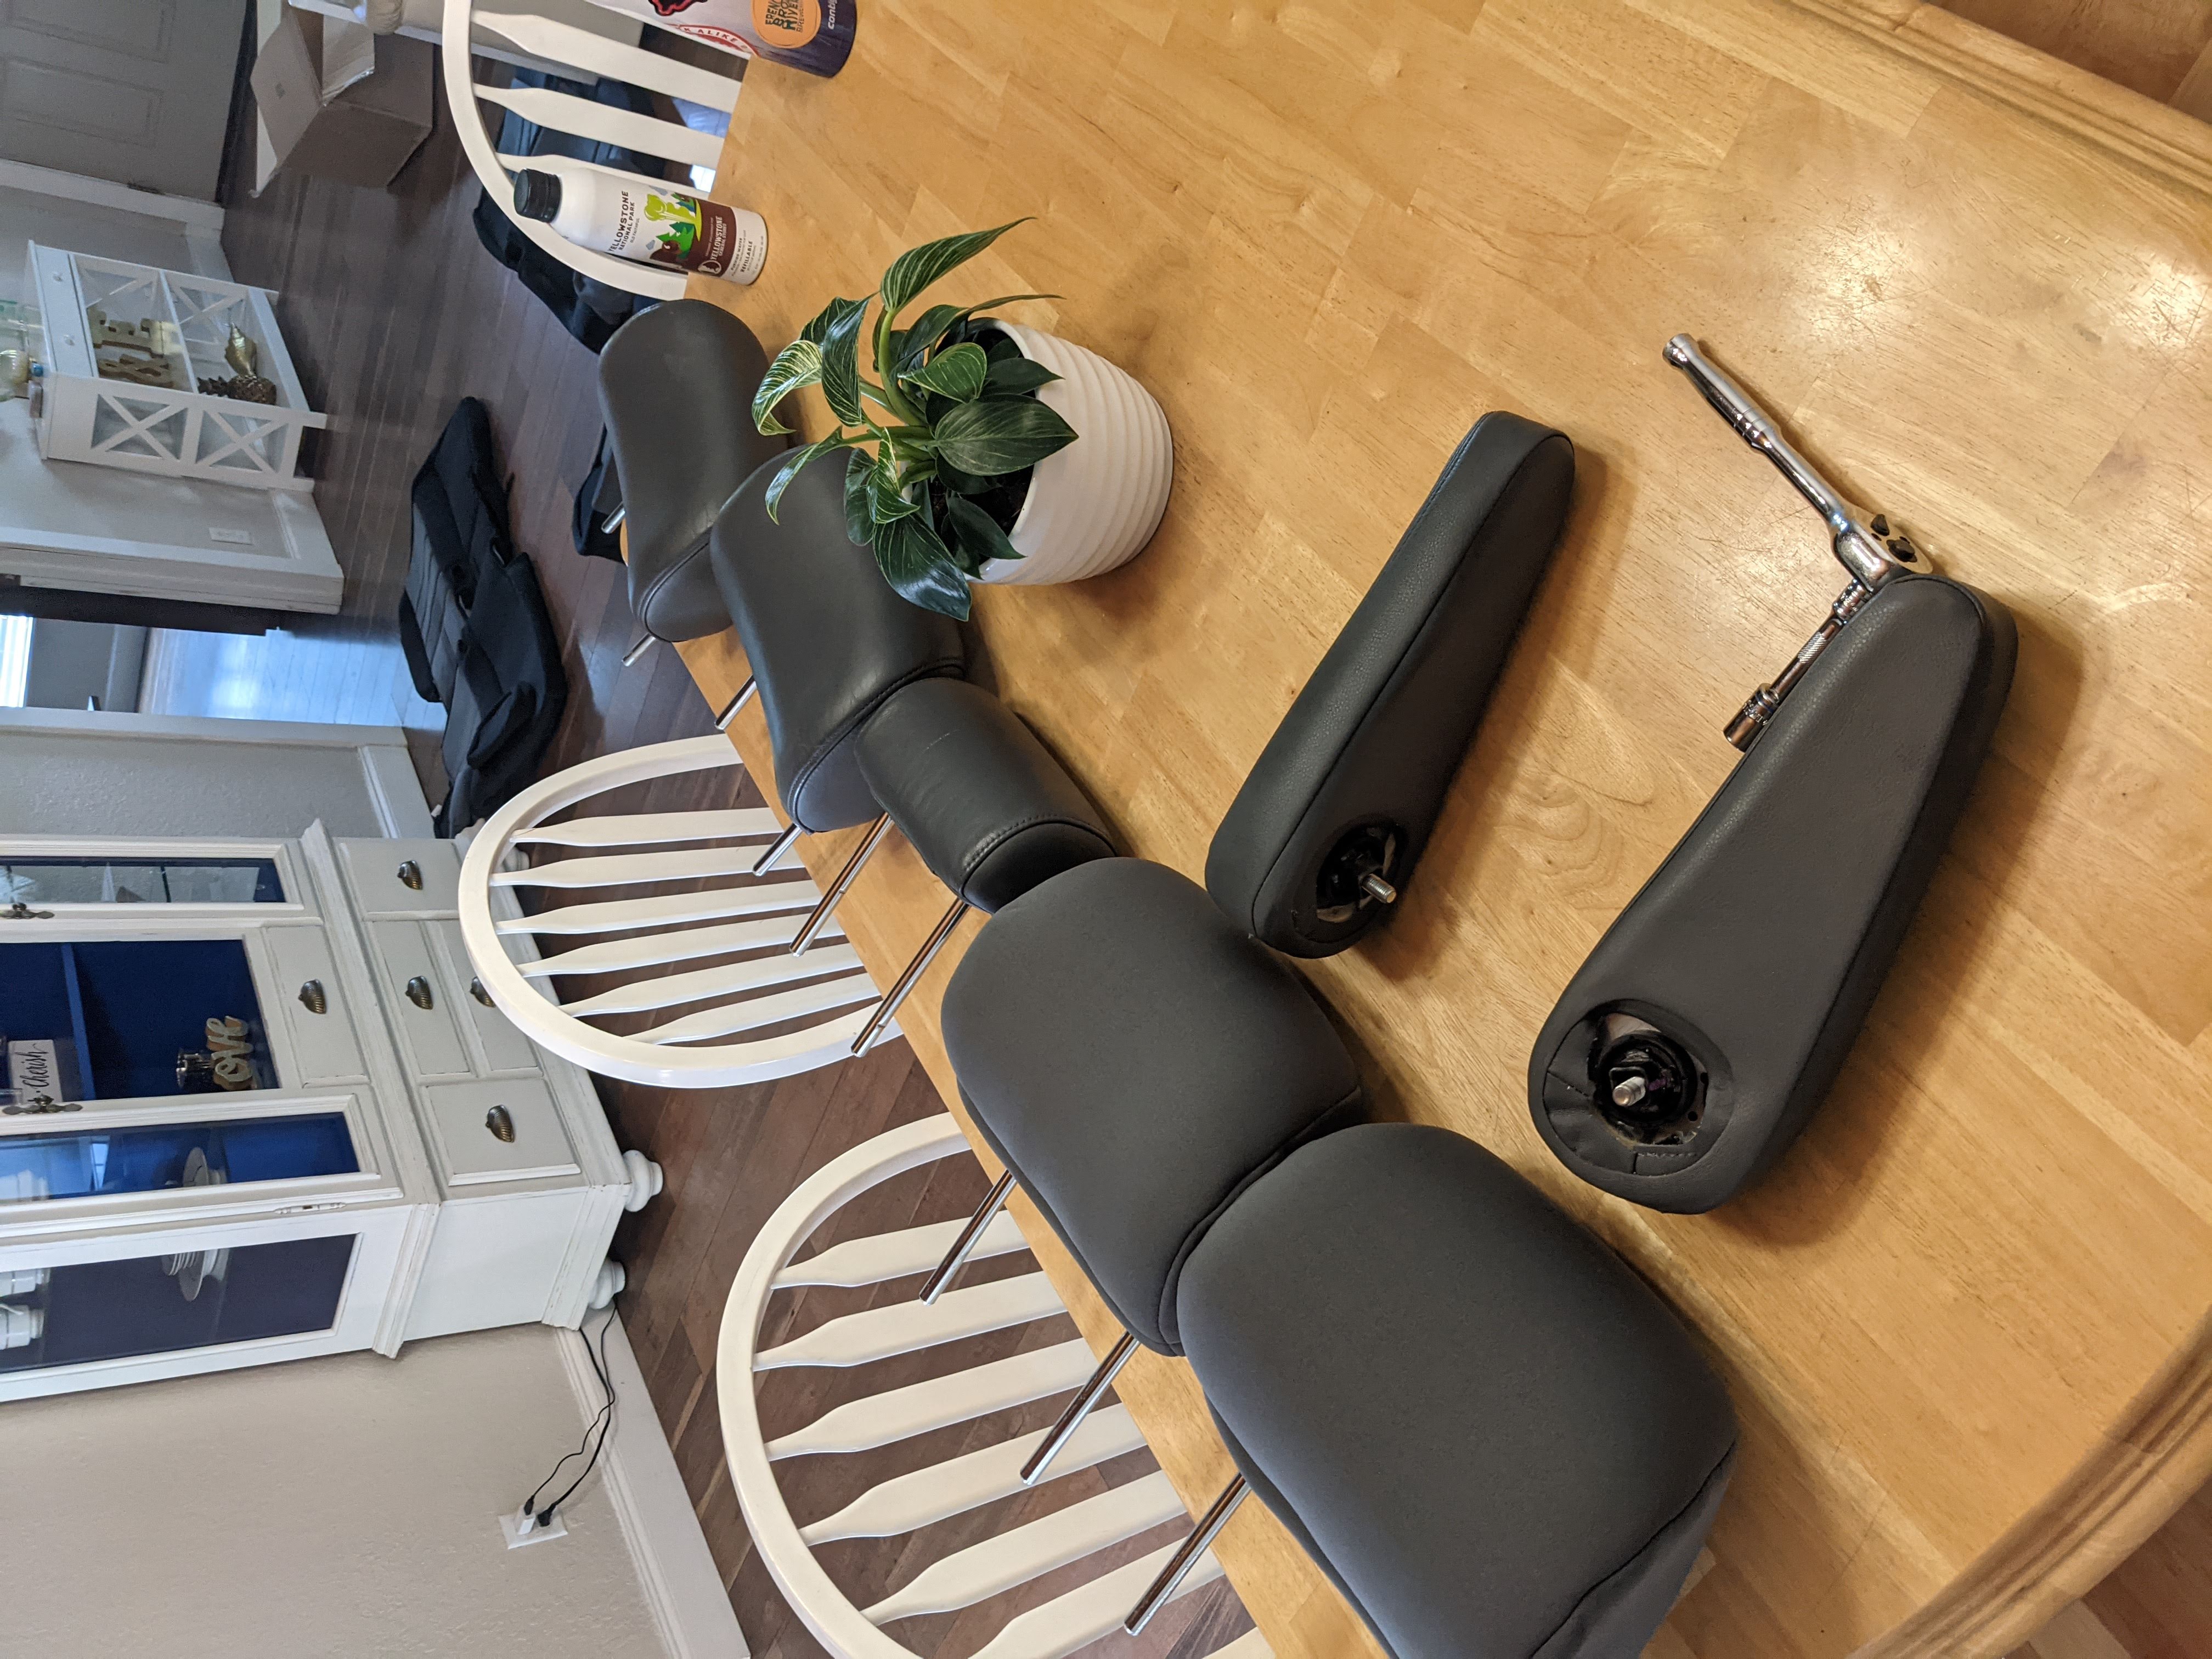
To install them, I first cleaned every seat, headrest and armrest with water and a soft cloth. I removed the 5 headrests on the front seats and the middle seats. I removed the arm rests with a 14mm socket.
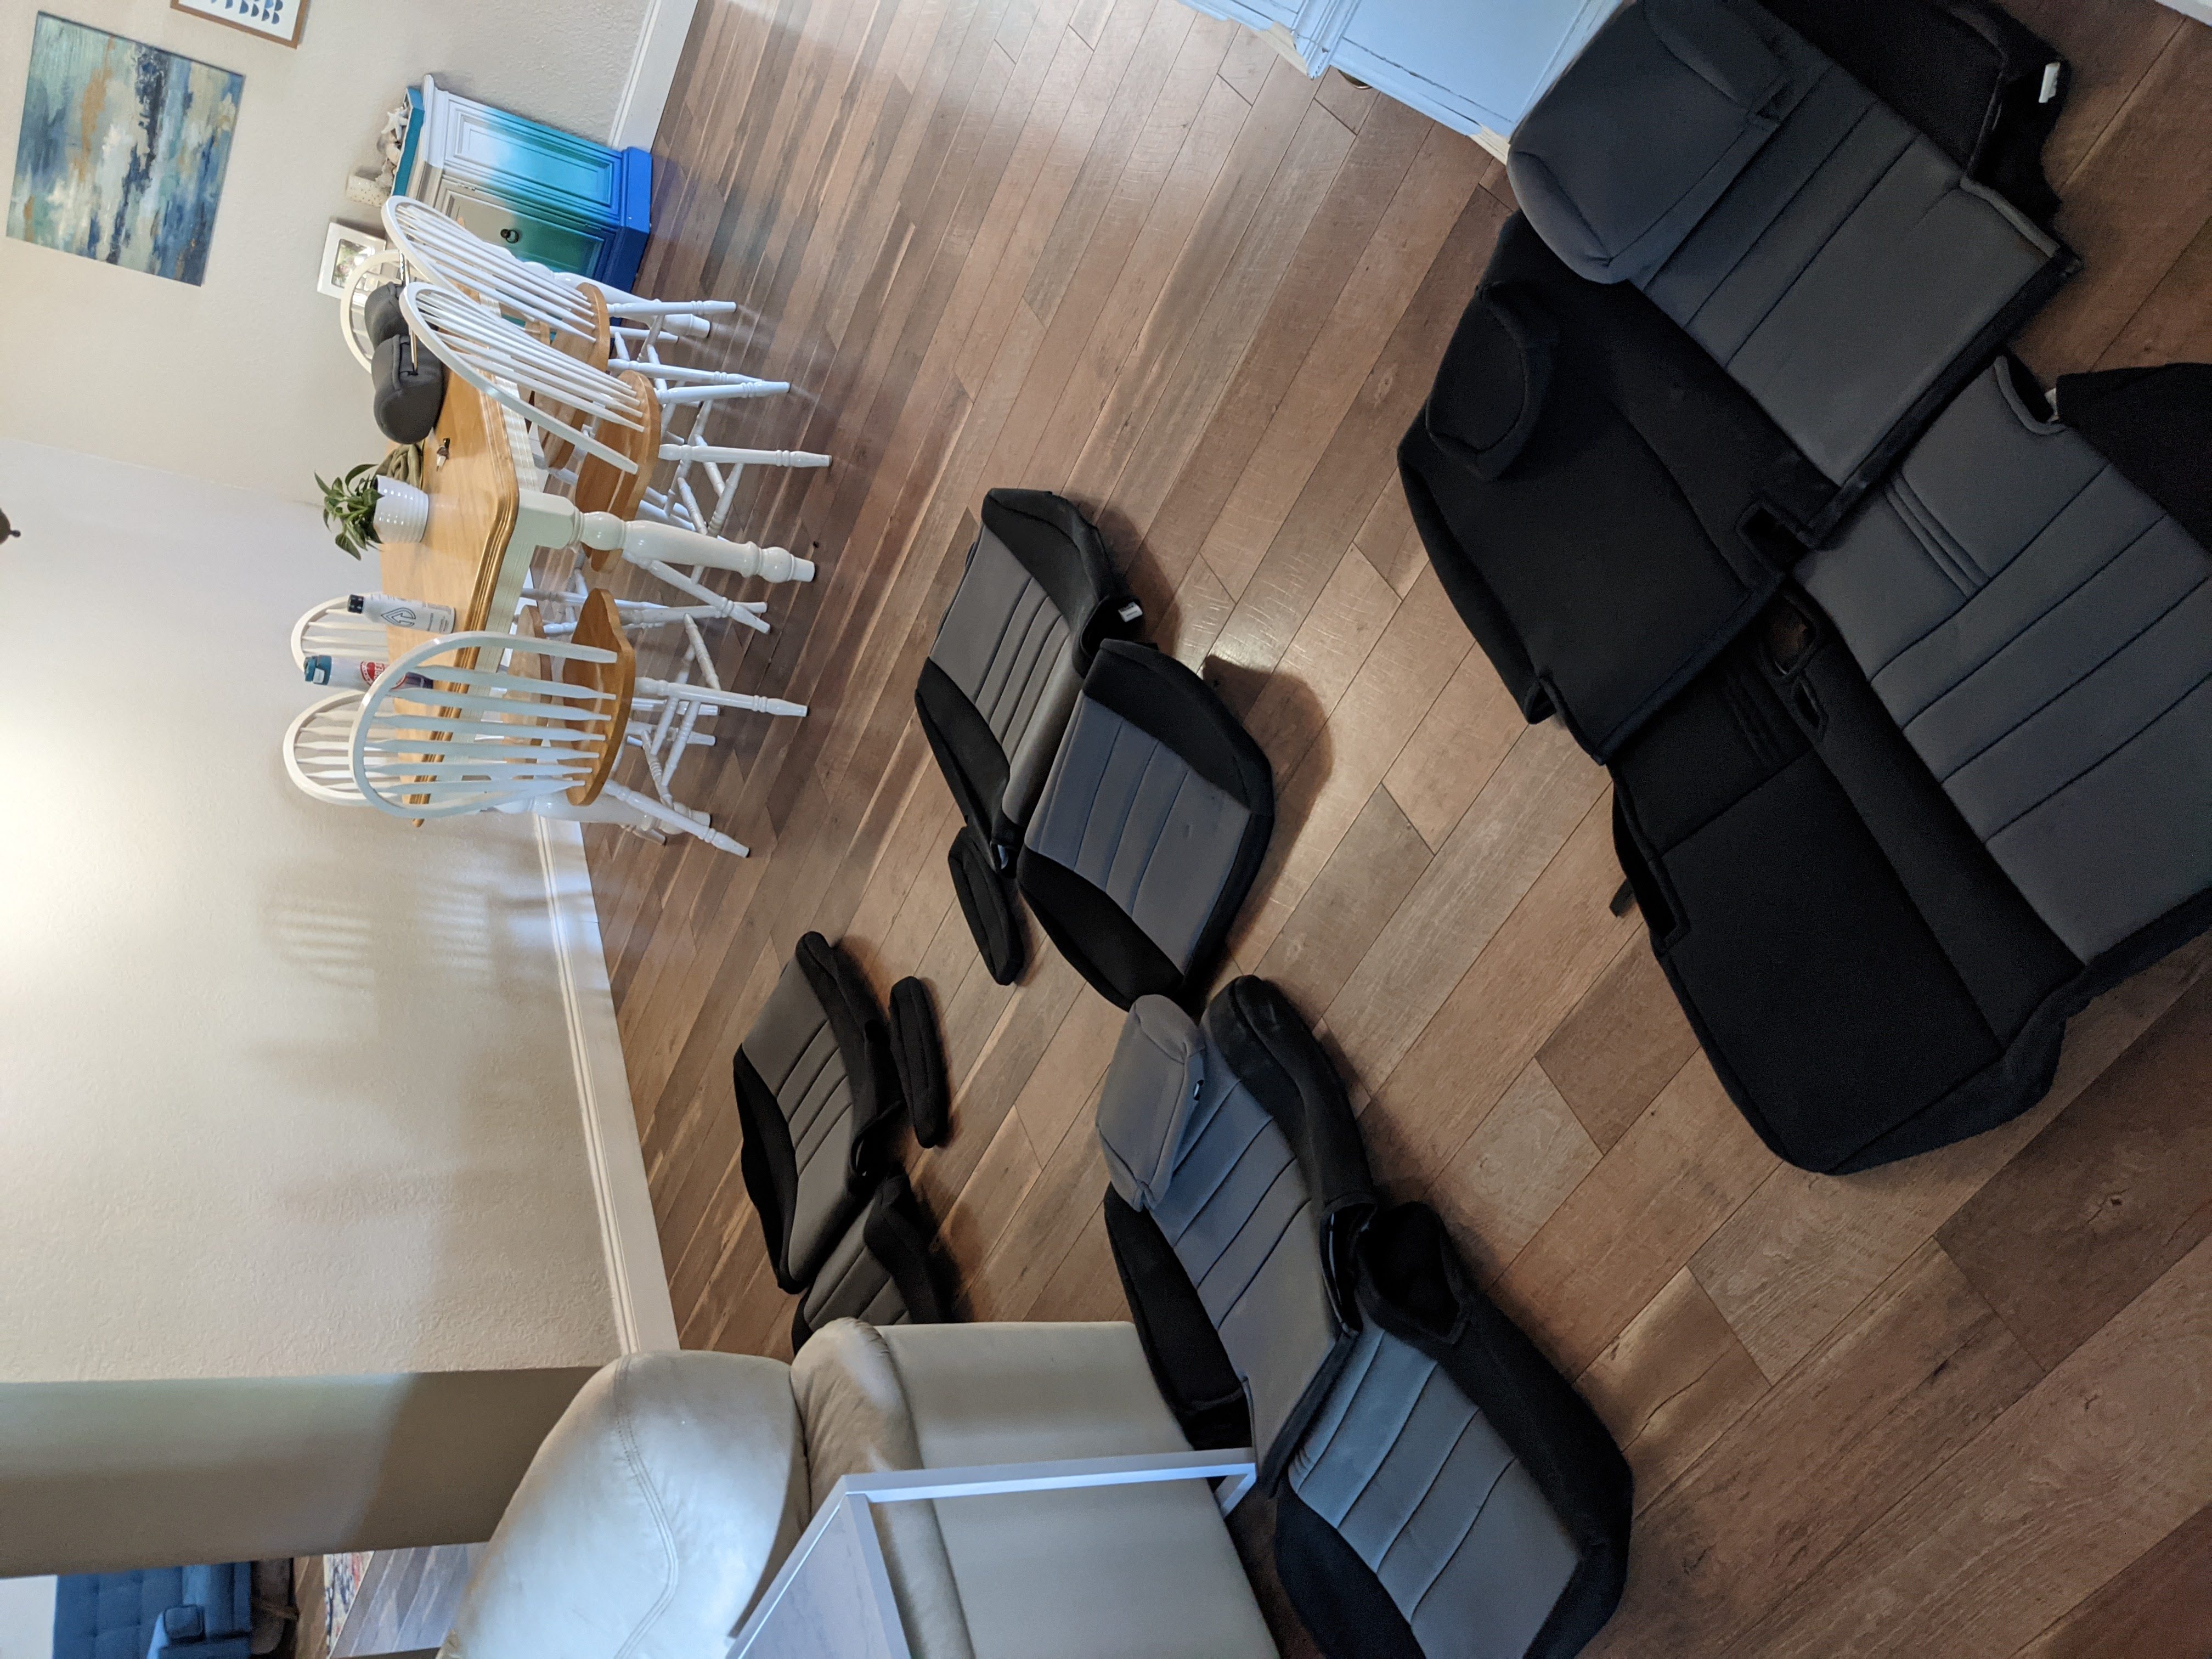
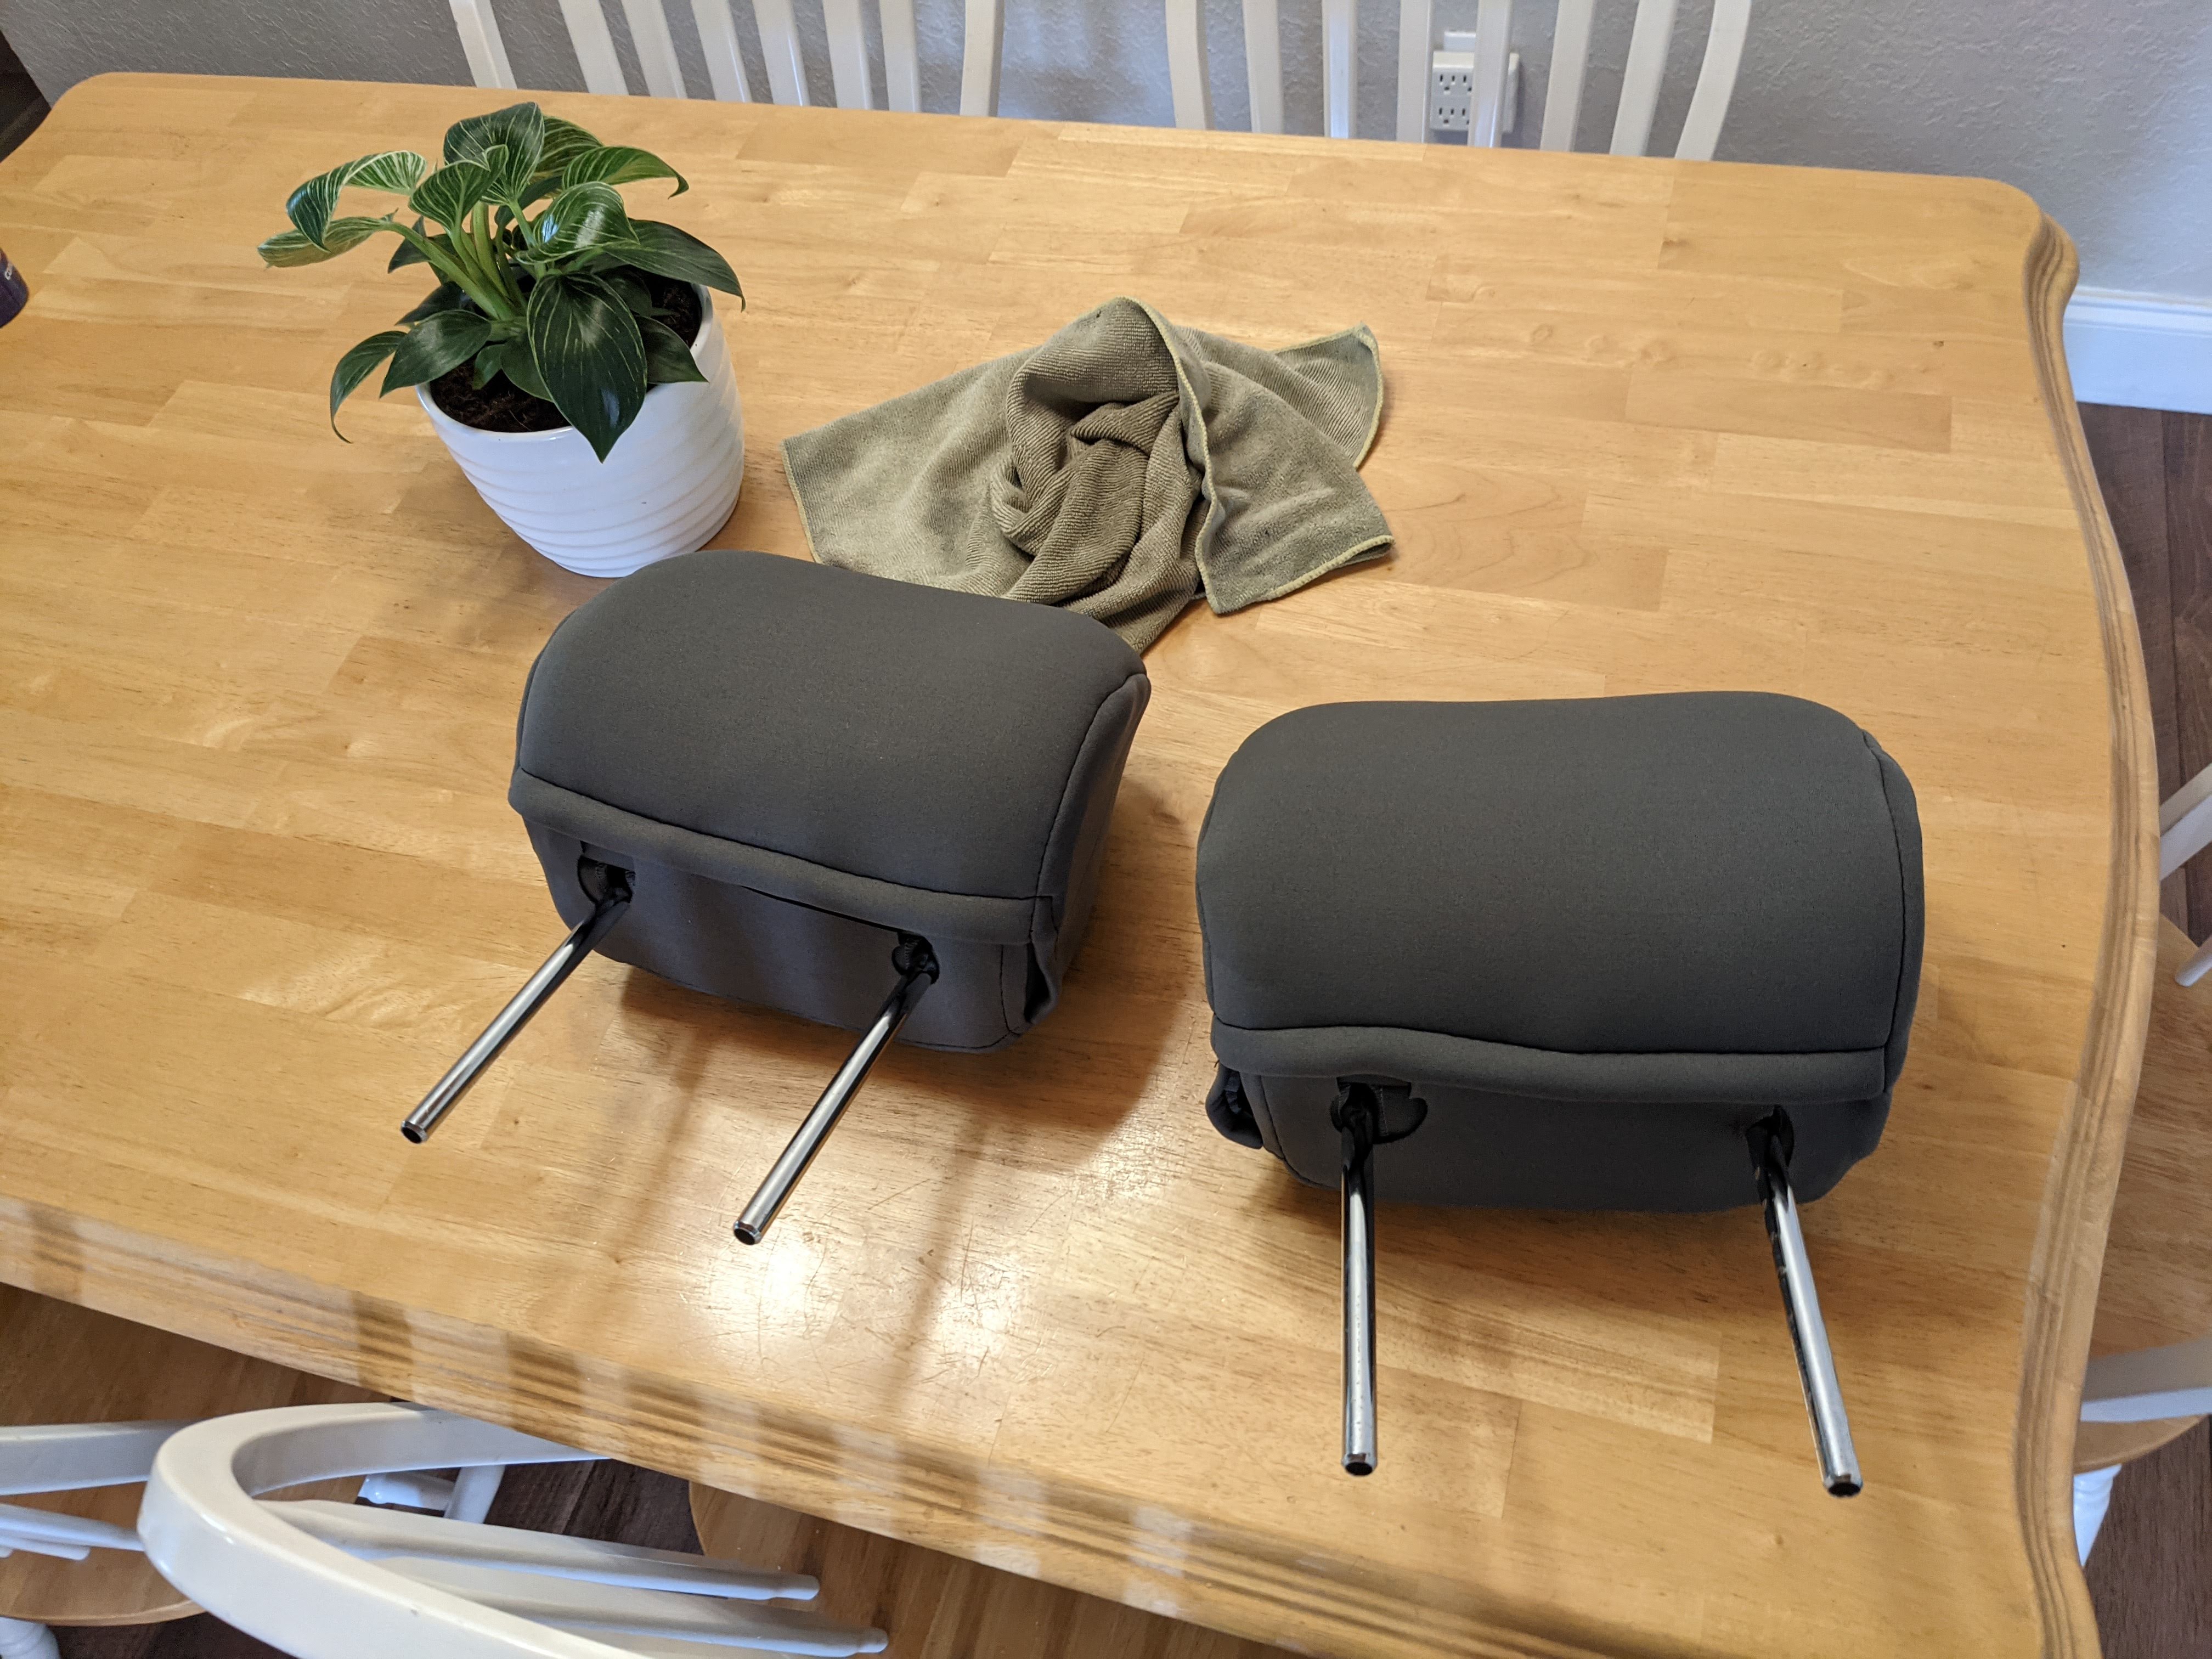
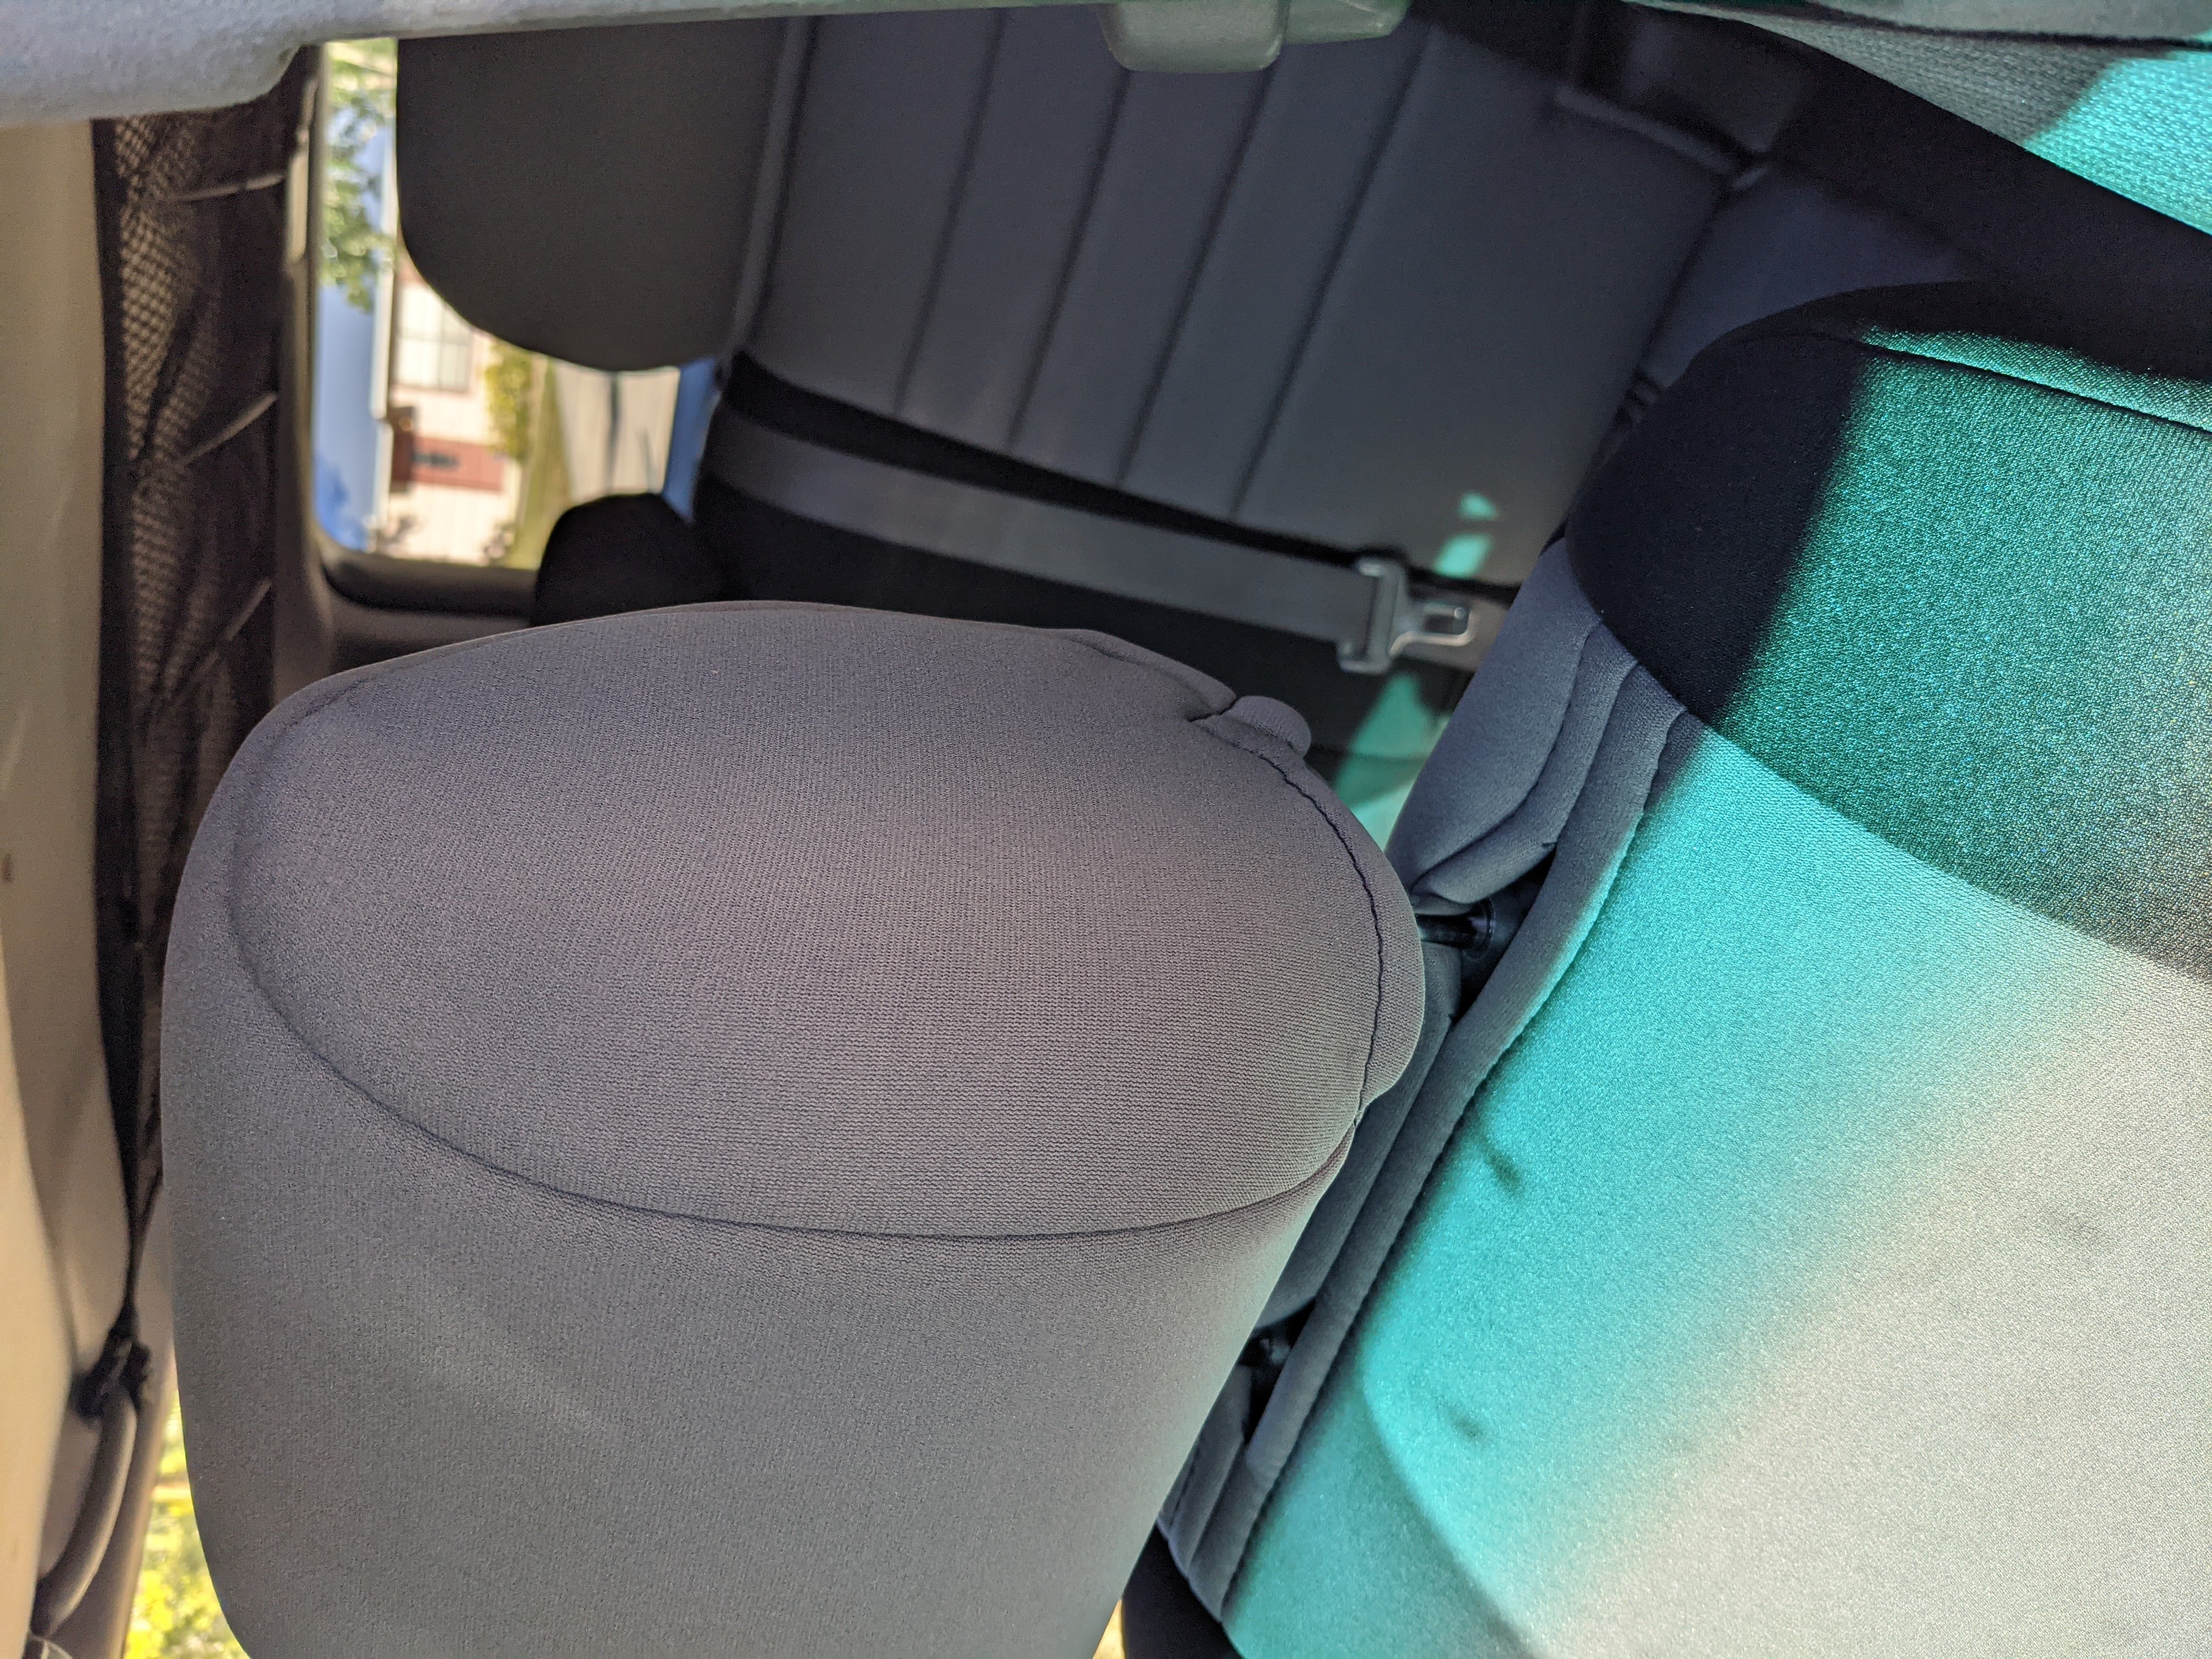
I worked on installing the headrest covers inside, where I have air conditioning. There are 3 types of head rests: front, middle row, and the middle seat on the middle row. Each of these has a different cover. The largest cover fits on the front seats, the black cover, or smallest cover, fits over the middle seat for the middle row, and the final 2 covers go on the other middle seats.
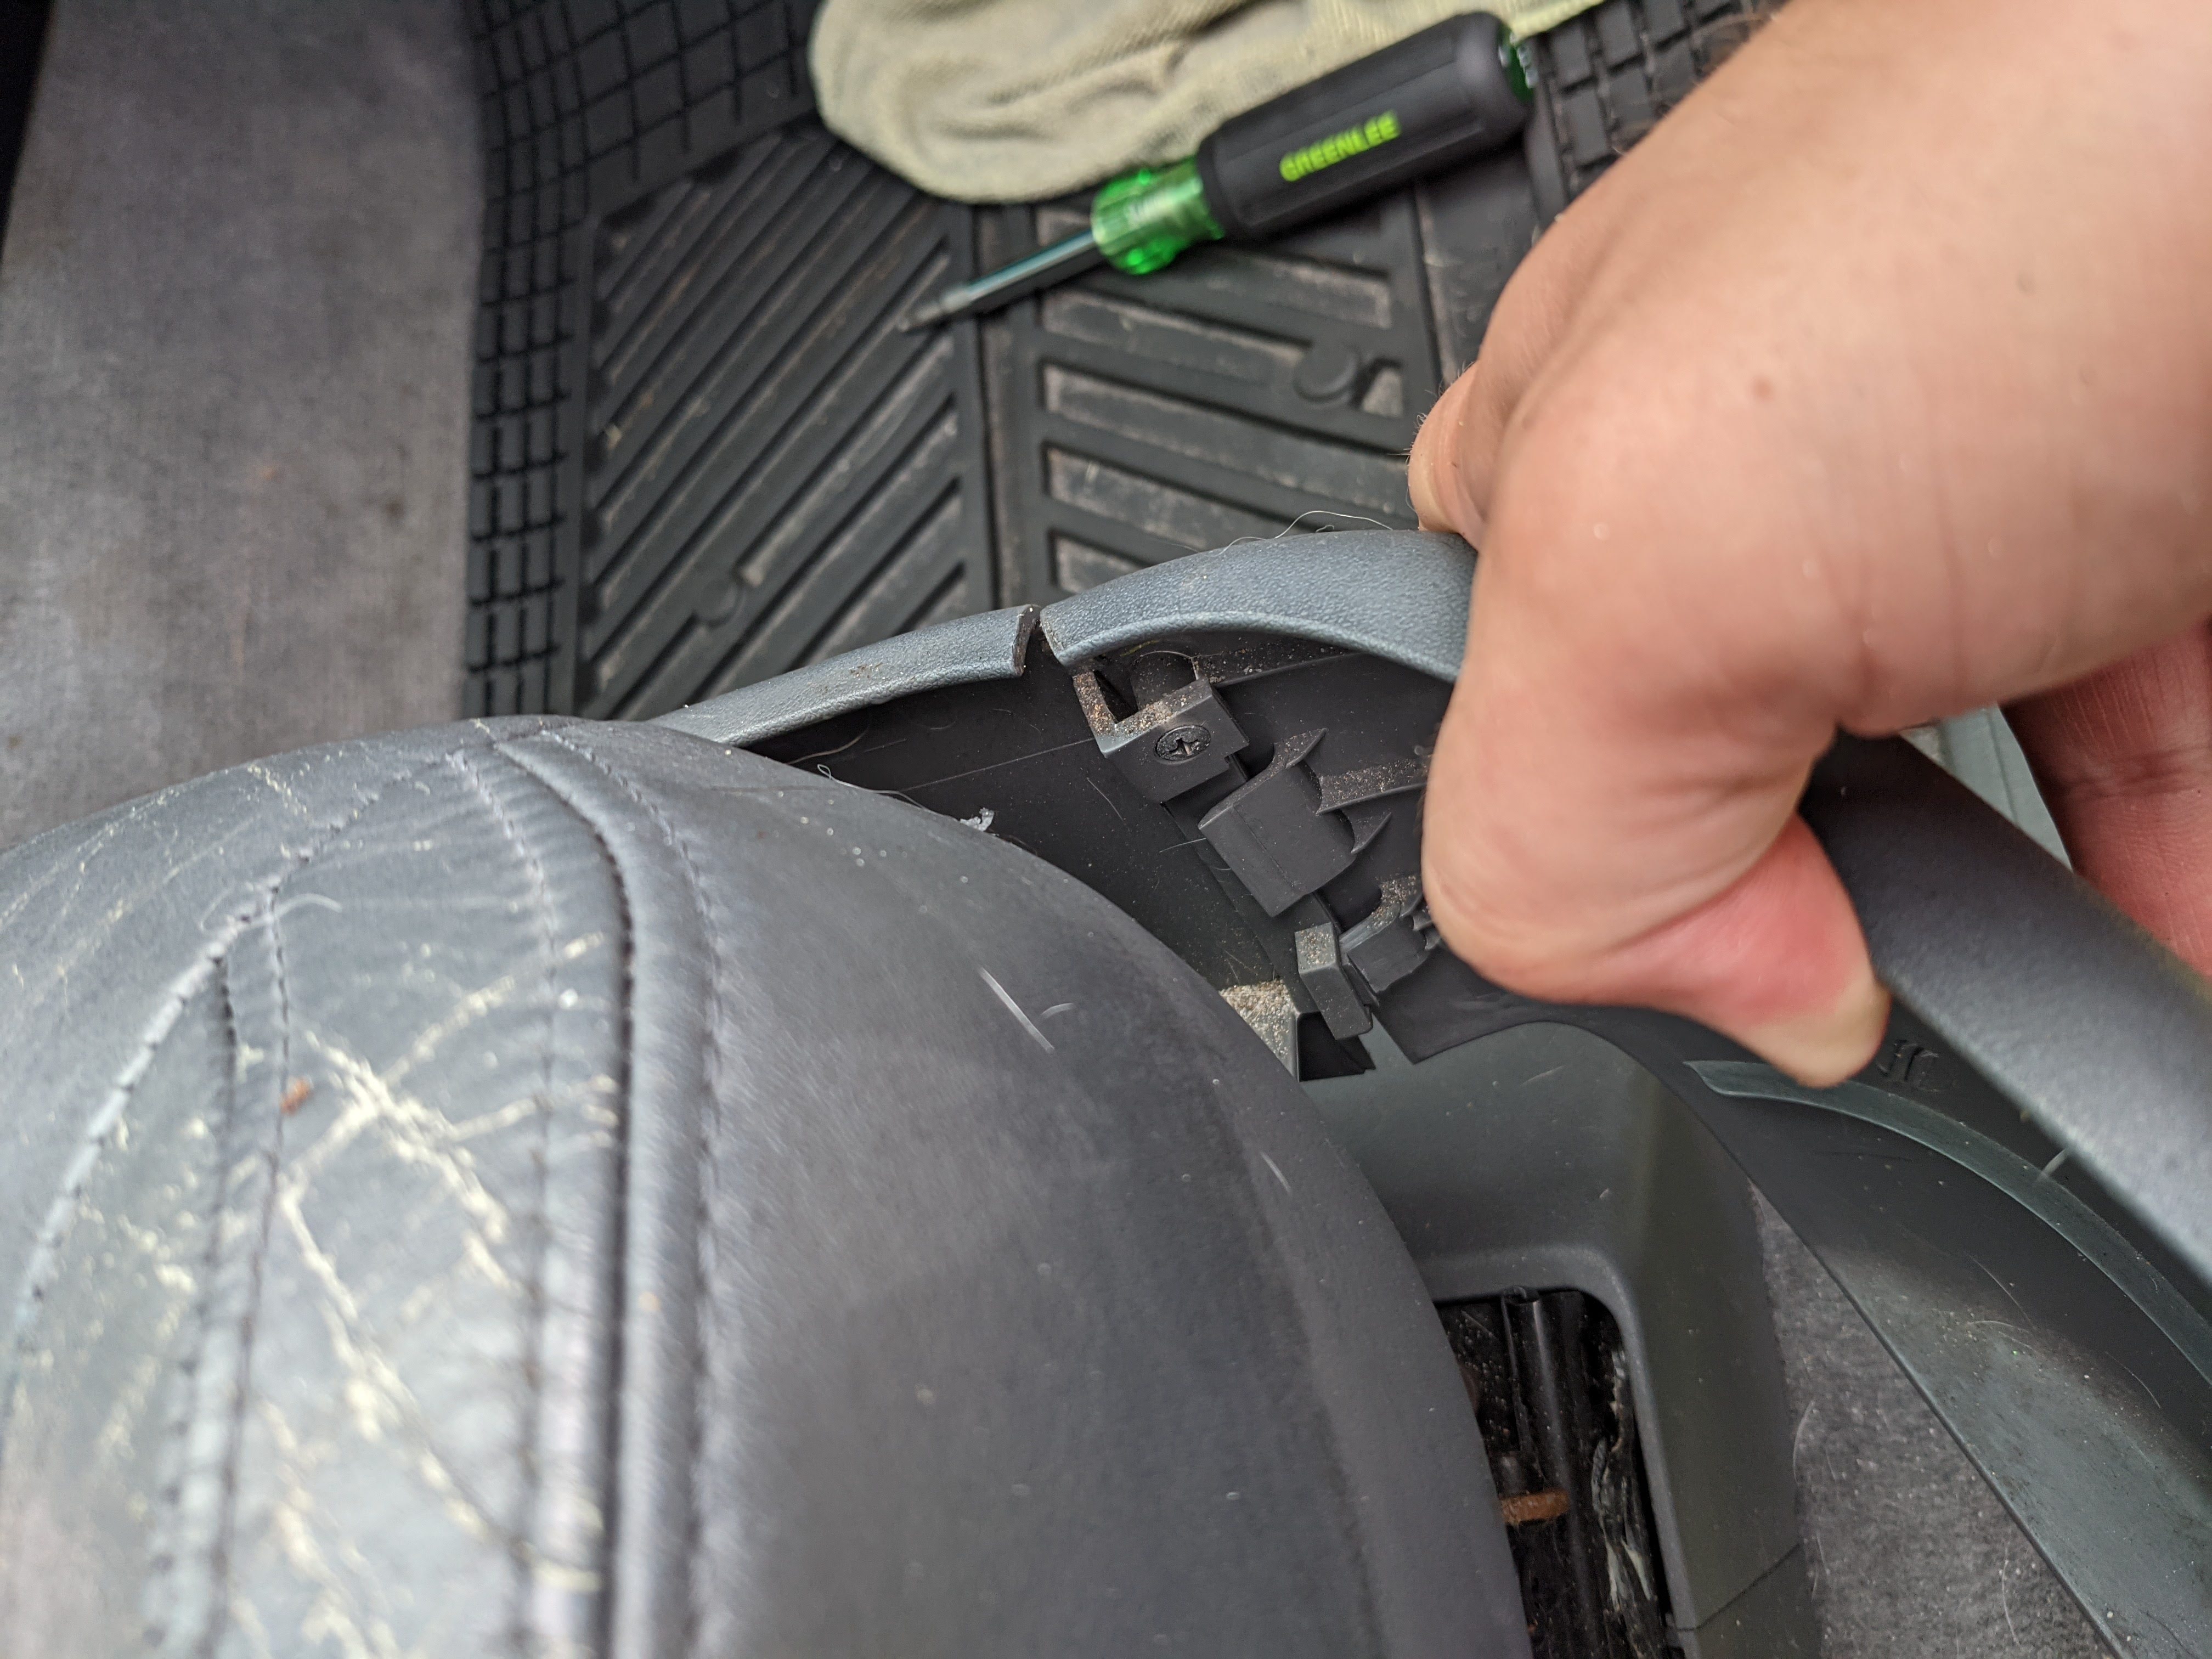
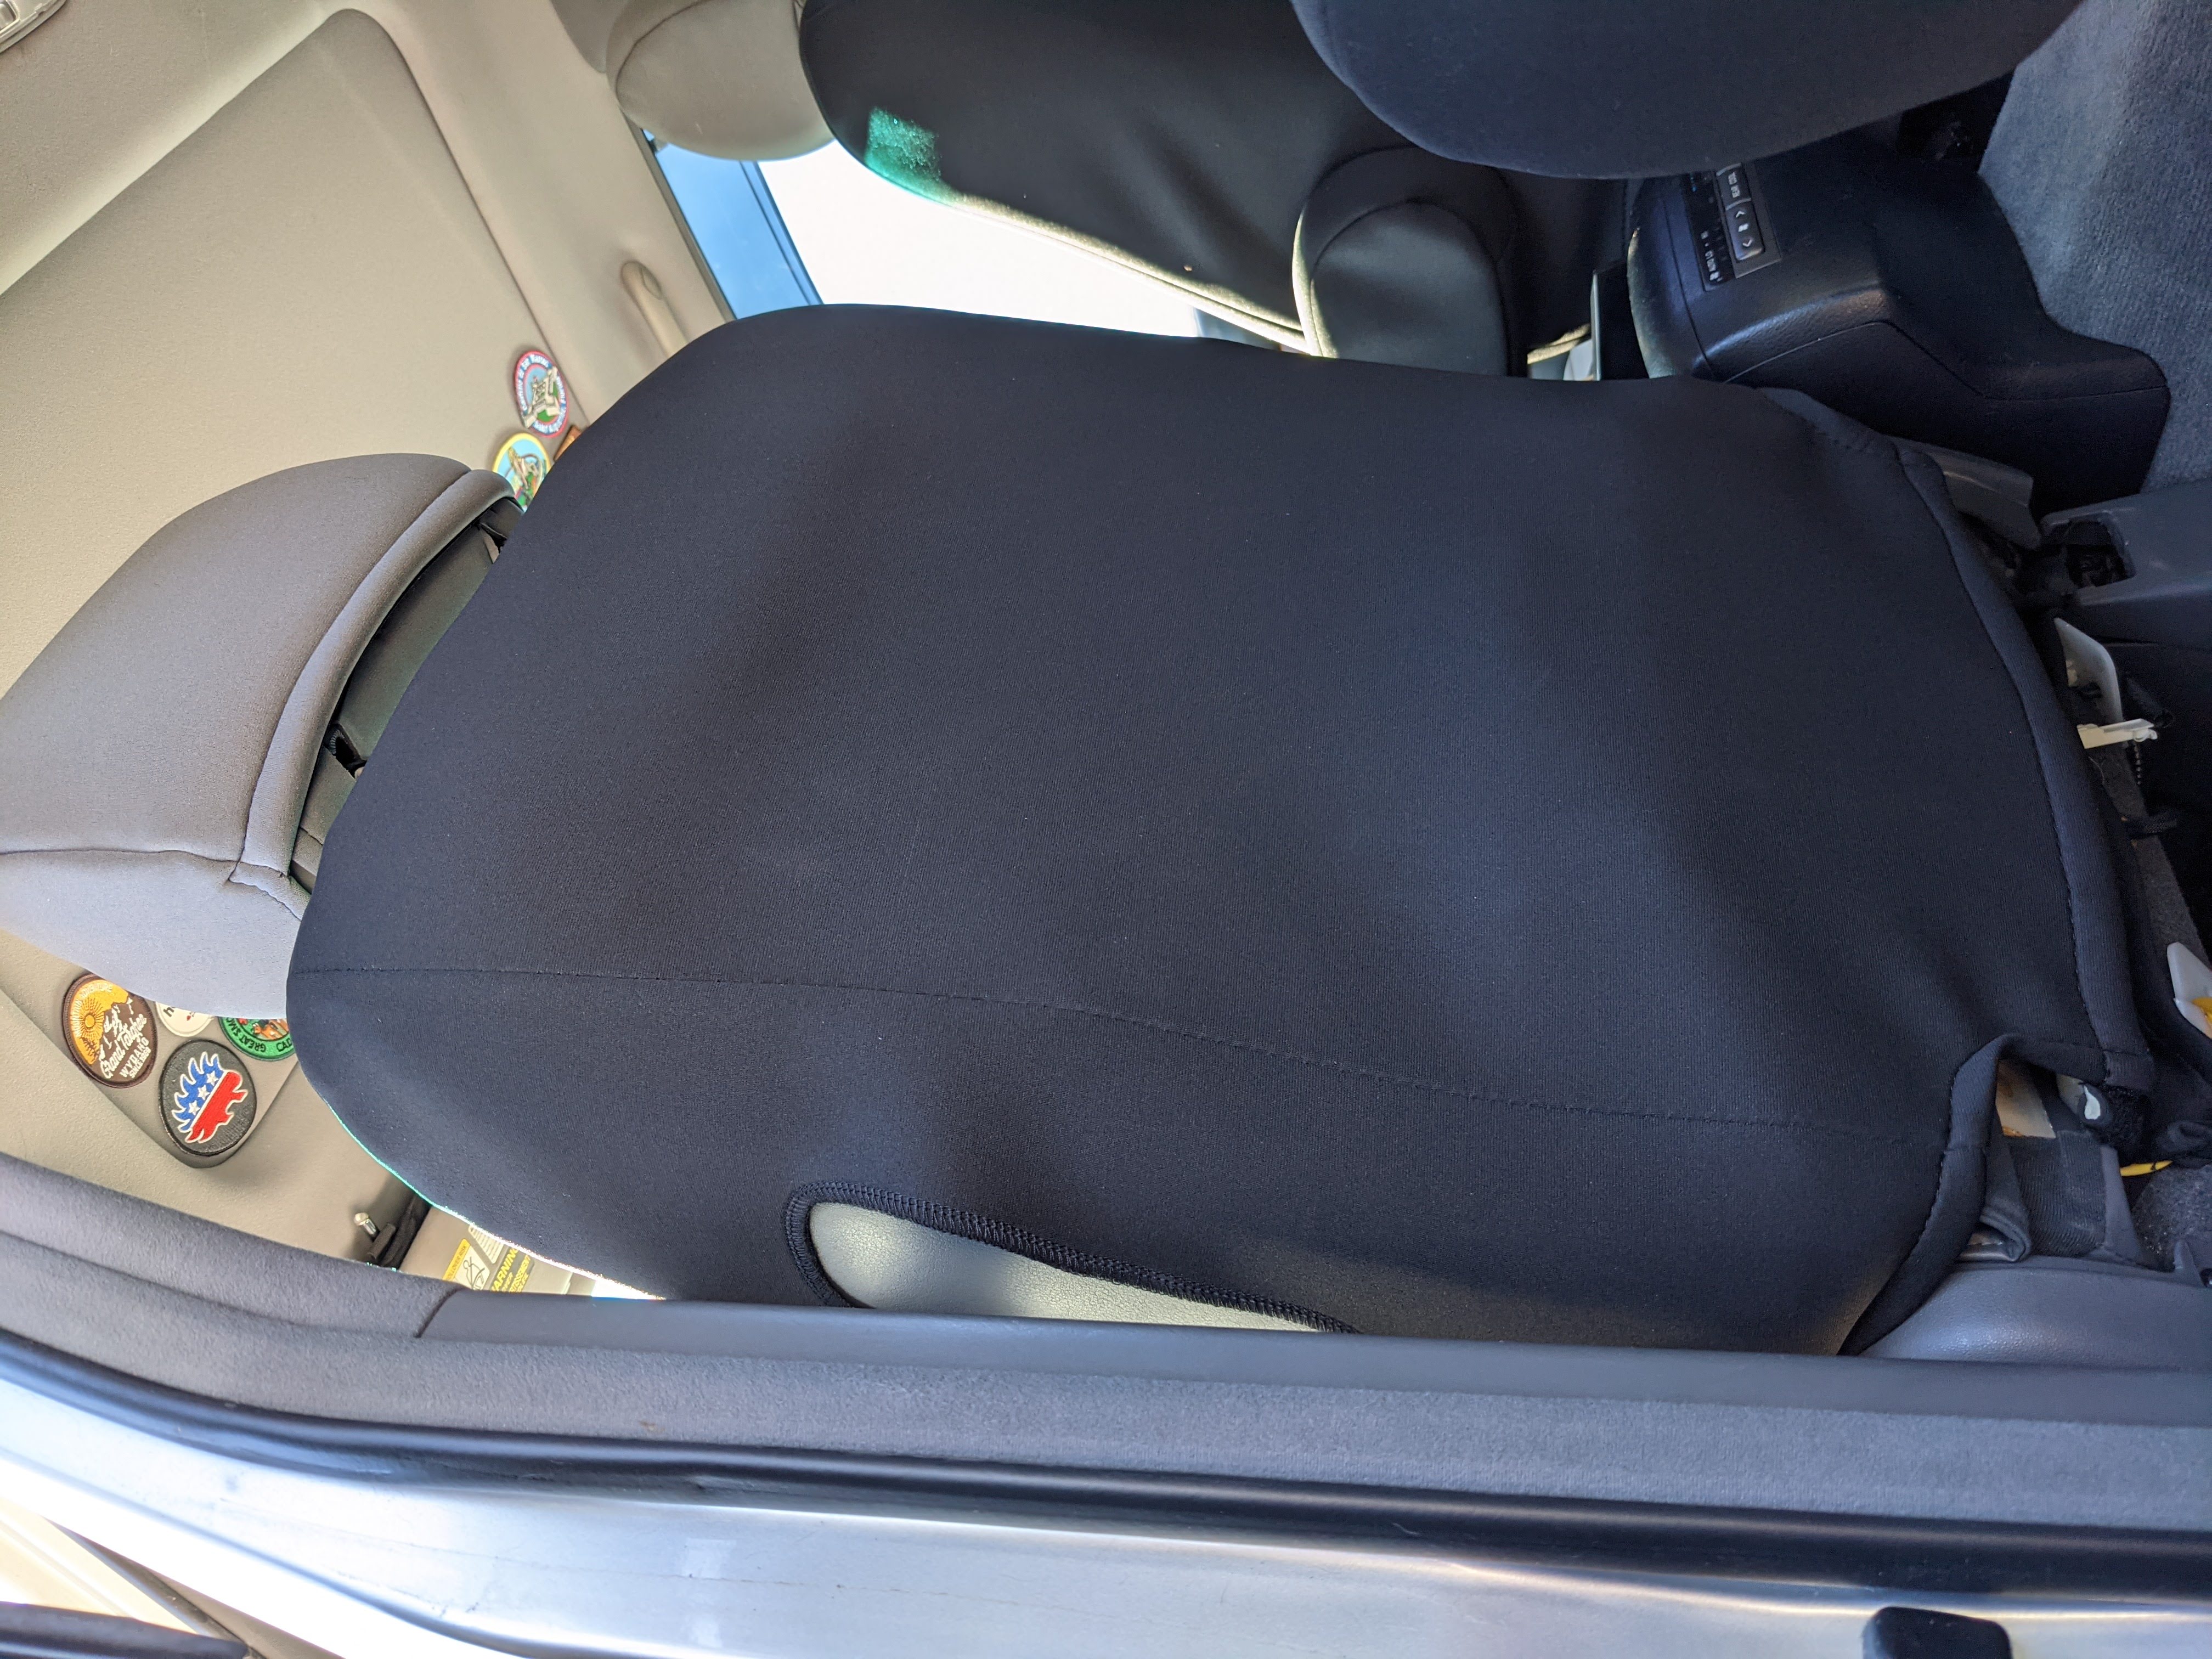
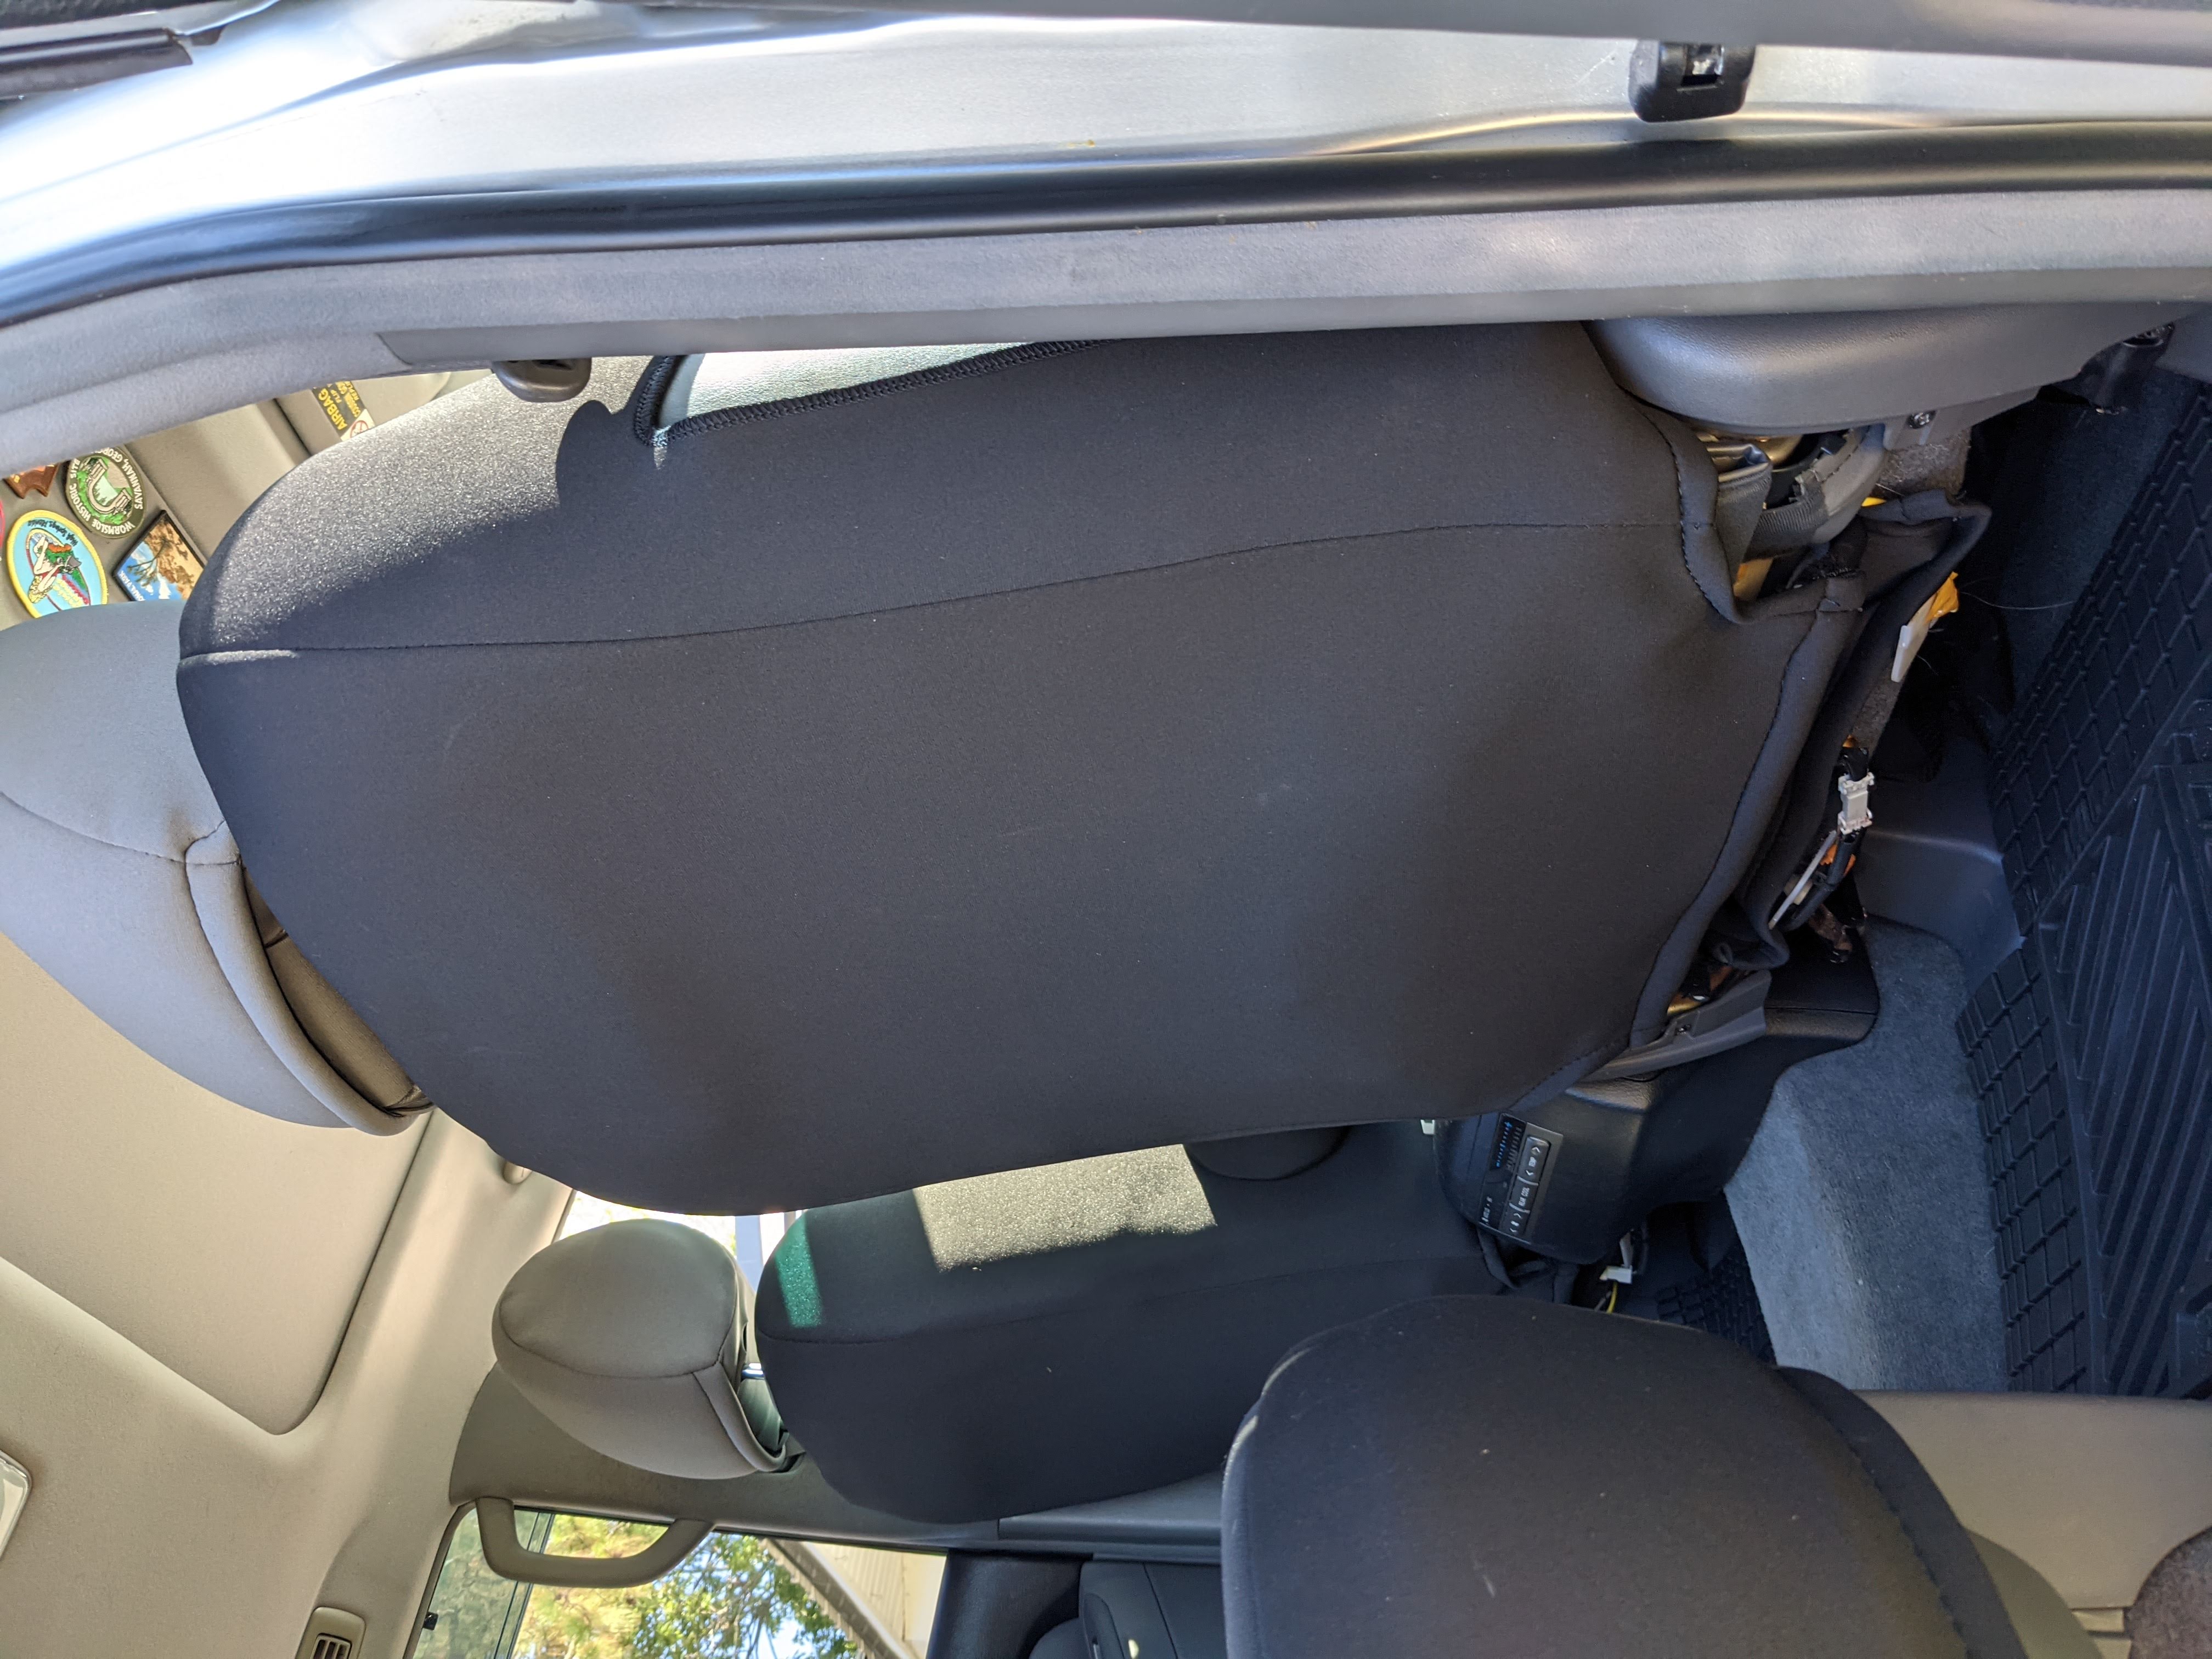
For the front seat cover installs, Wet Okole recommended starting with the drivers bottom, which I did. I had to remove a few screws to start - 1 behind the drivers seat, on the left side. Then, pop off the controls for seat adjustments - there are 2 Phillips head screws under there. There is also another Phillips screw at the front of the seat, connecting the grey plastic pieces on the side and front together, I highly recommend NOT taking that off. Very impossible to get that back together, ask me how I know.
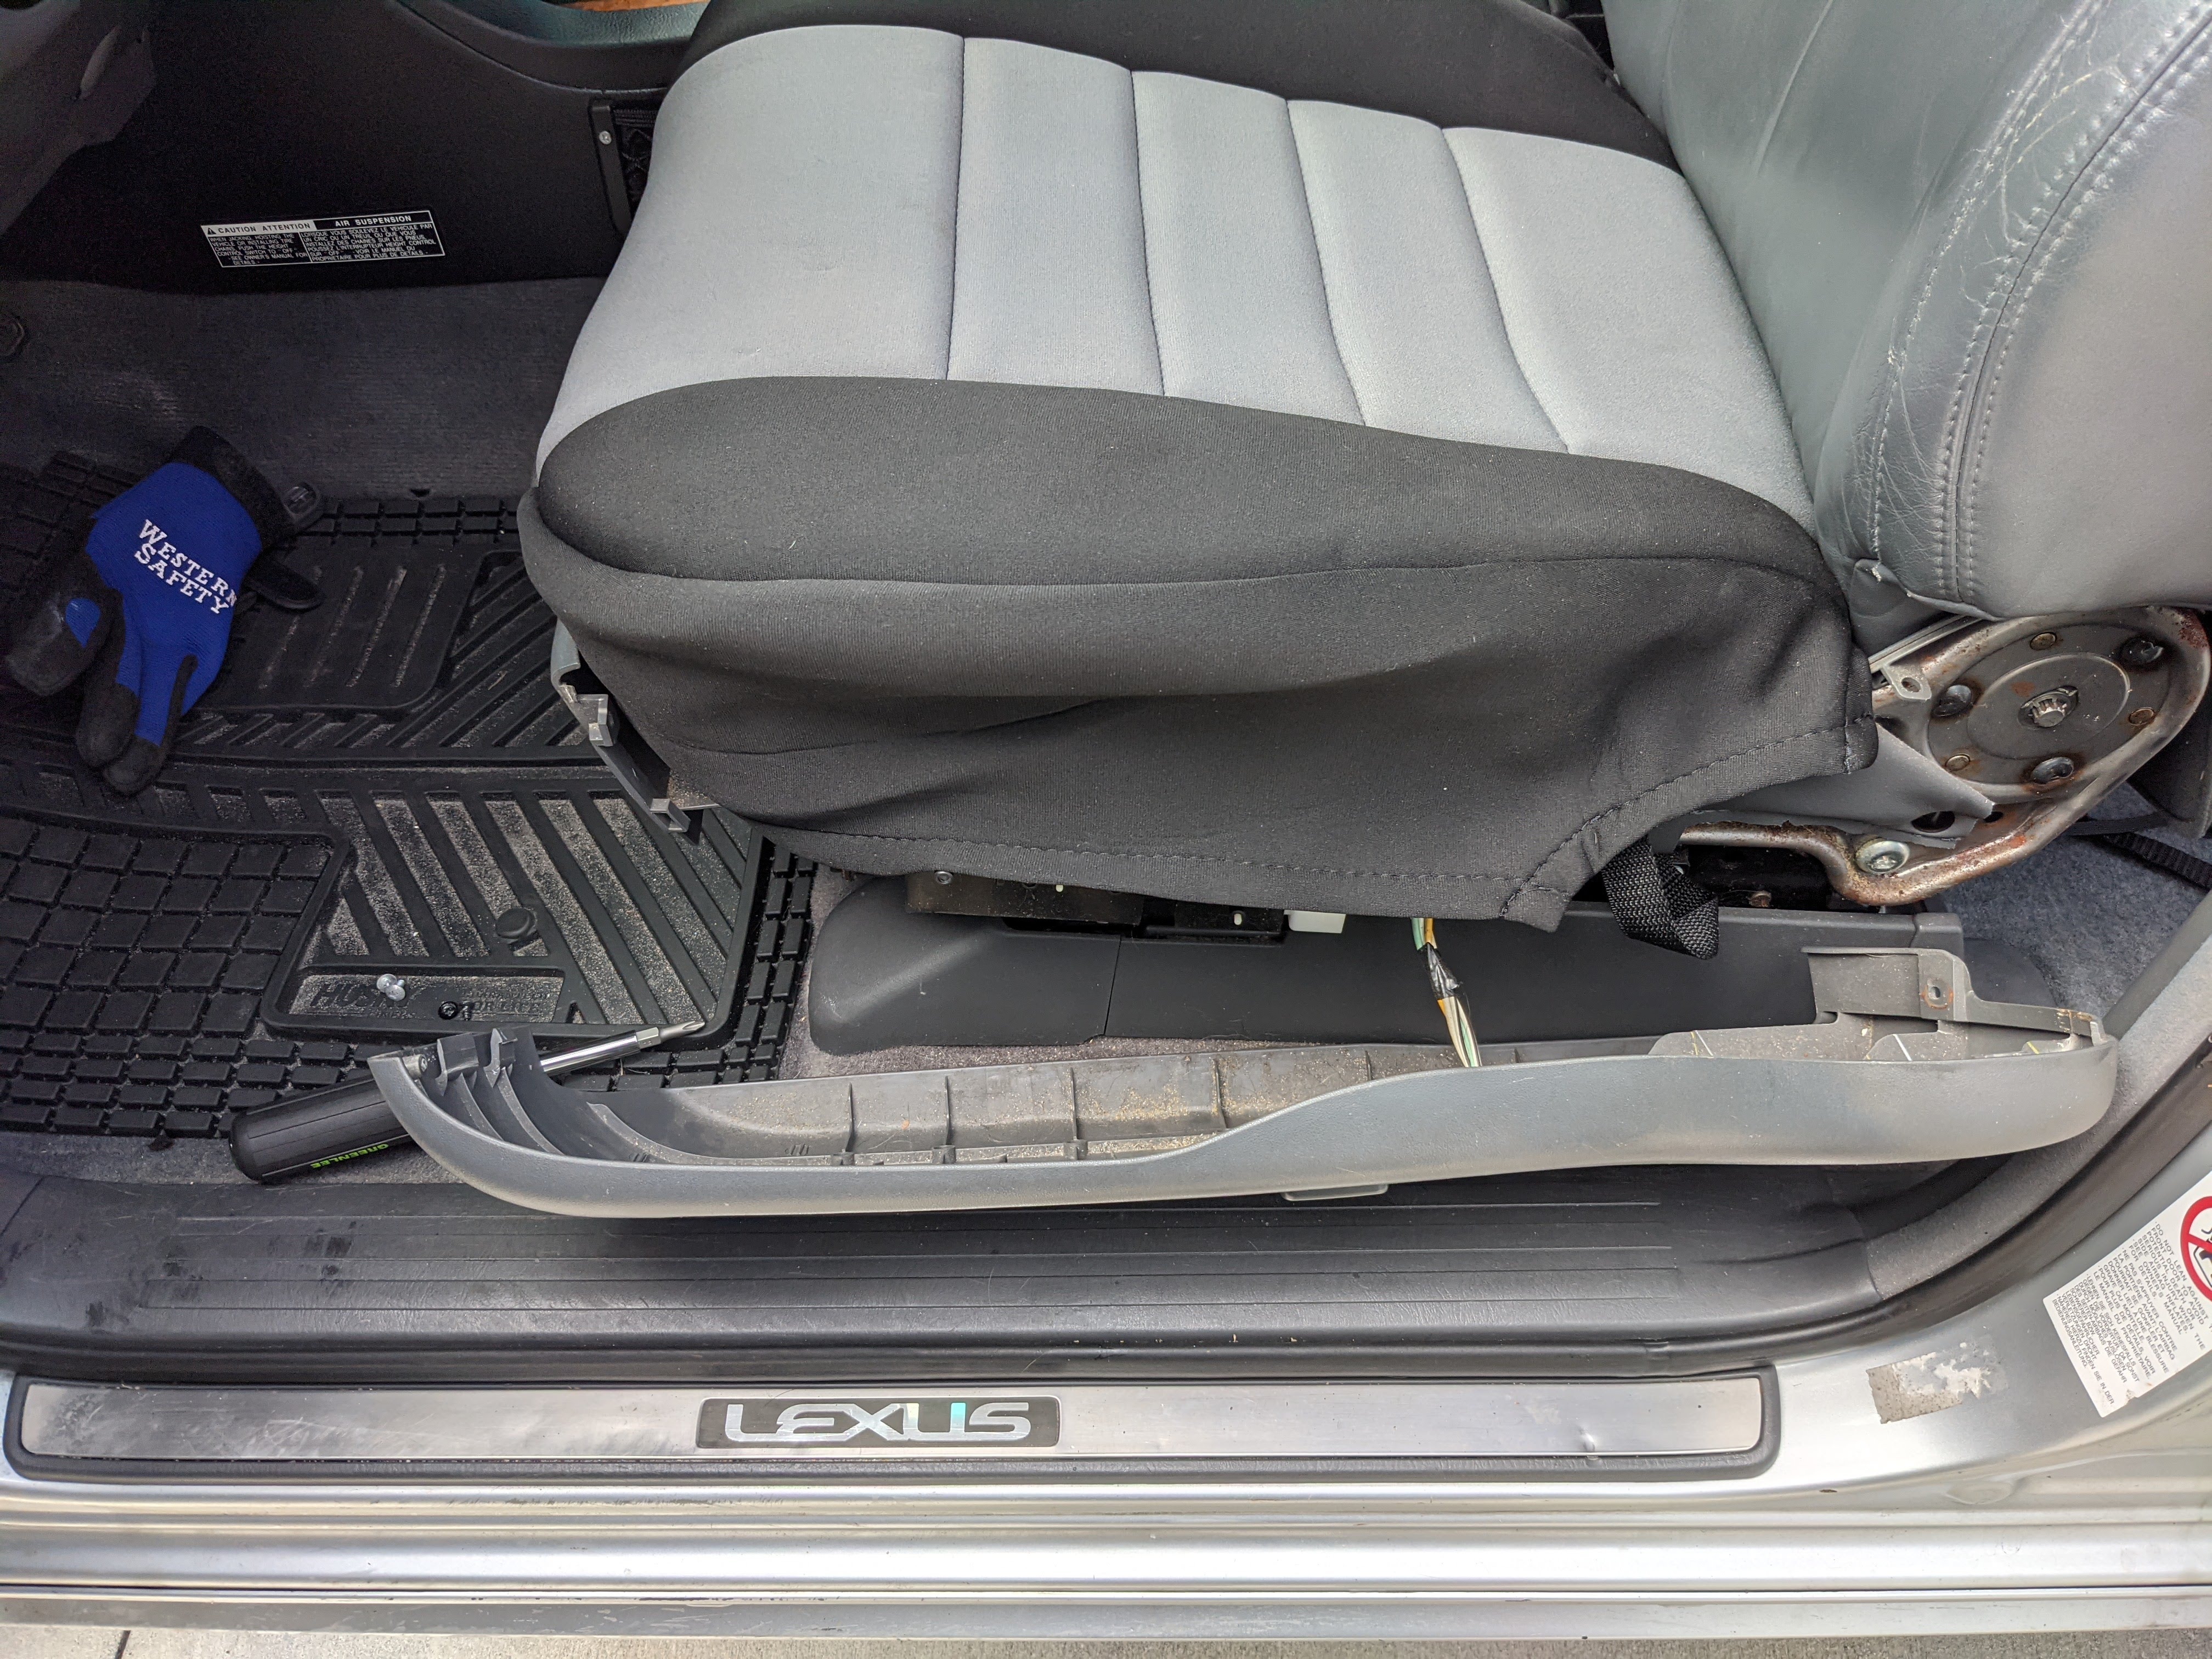
Cover the seat with the cover, push the straps and clips under, clip them, tighten them. You’ll want a chiropractor after this. If you have kids or friends with small hands, this would be a great step for them to help with! There are 3 sets of clips for each seat bottom.
Luckily, the top part of the seat goes on easier, just slip it on, push the flap through the middle of the seat, and velcro it together. For the flap that covers where rear passengers feet would go, I folded and tucked that up under the seat cover.
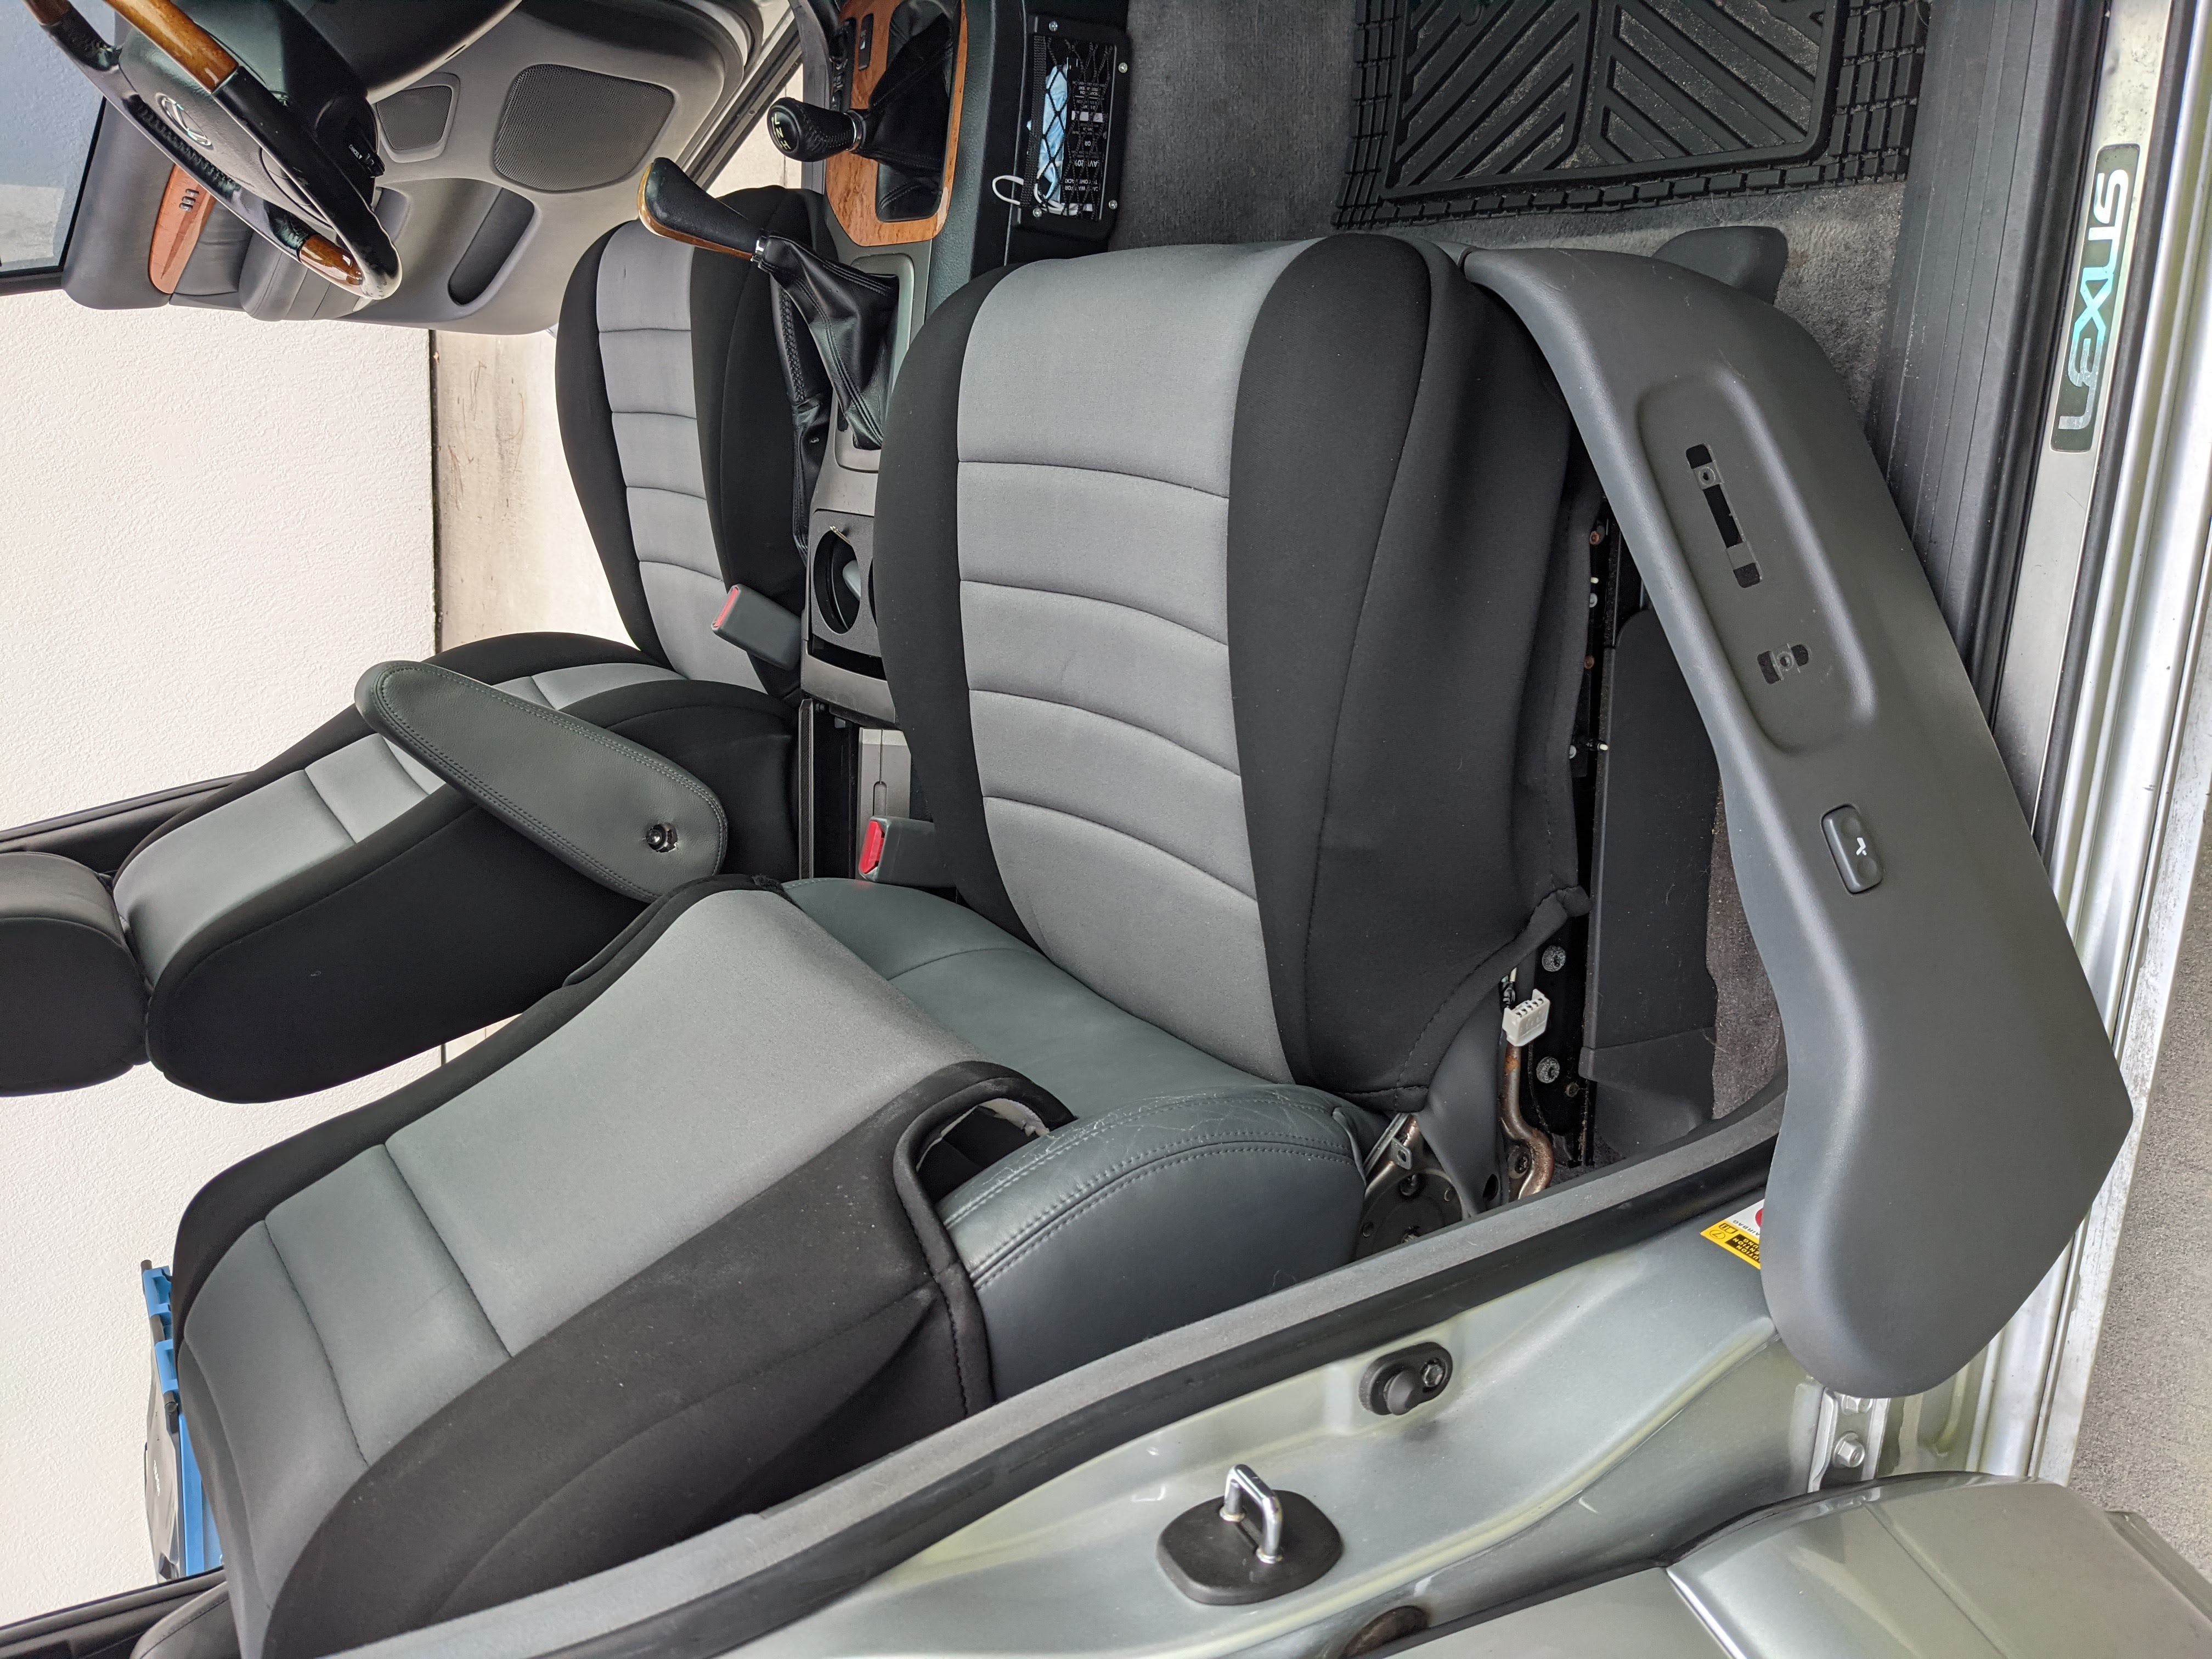
Then you can reinstall the (uncovered) arm rests with your 14mm socket. Verify that the arm rests works like it did before, it took me a bit of fiddling around with to get it right. Once installed, then you can put the arm rest cover on. And the headrests as well.
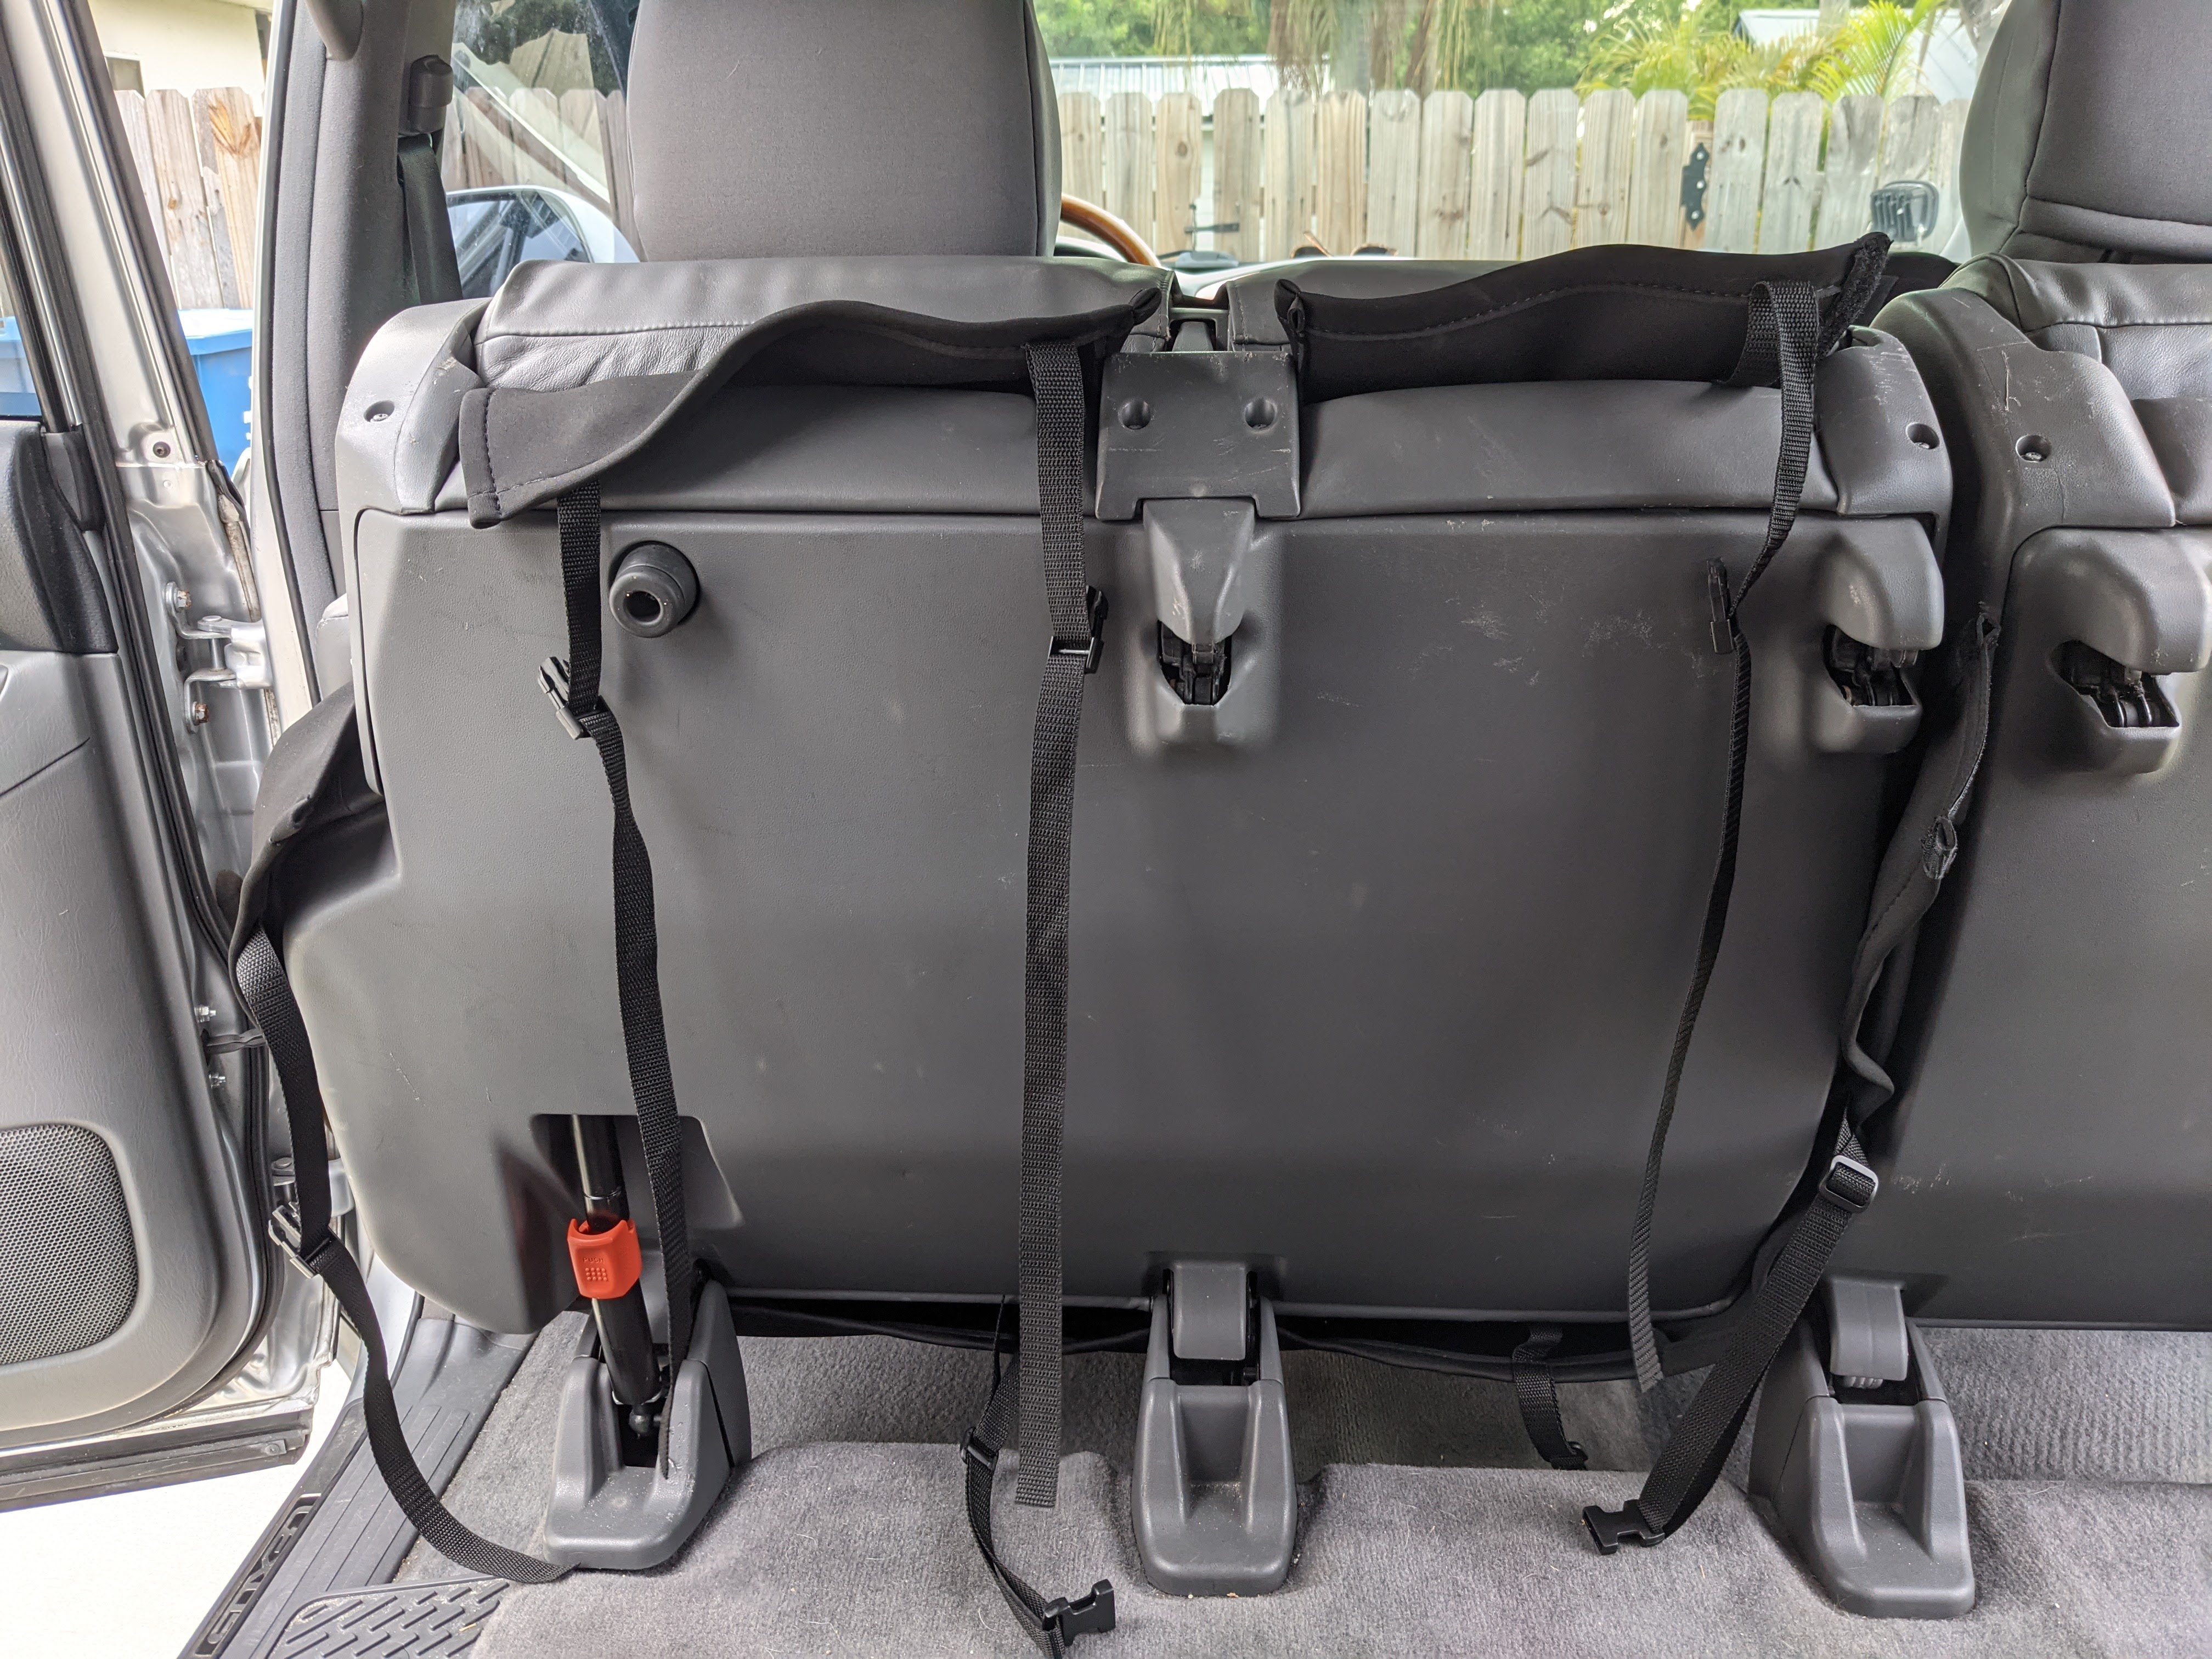
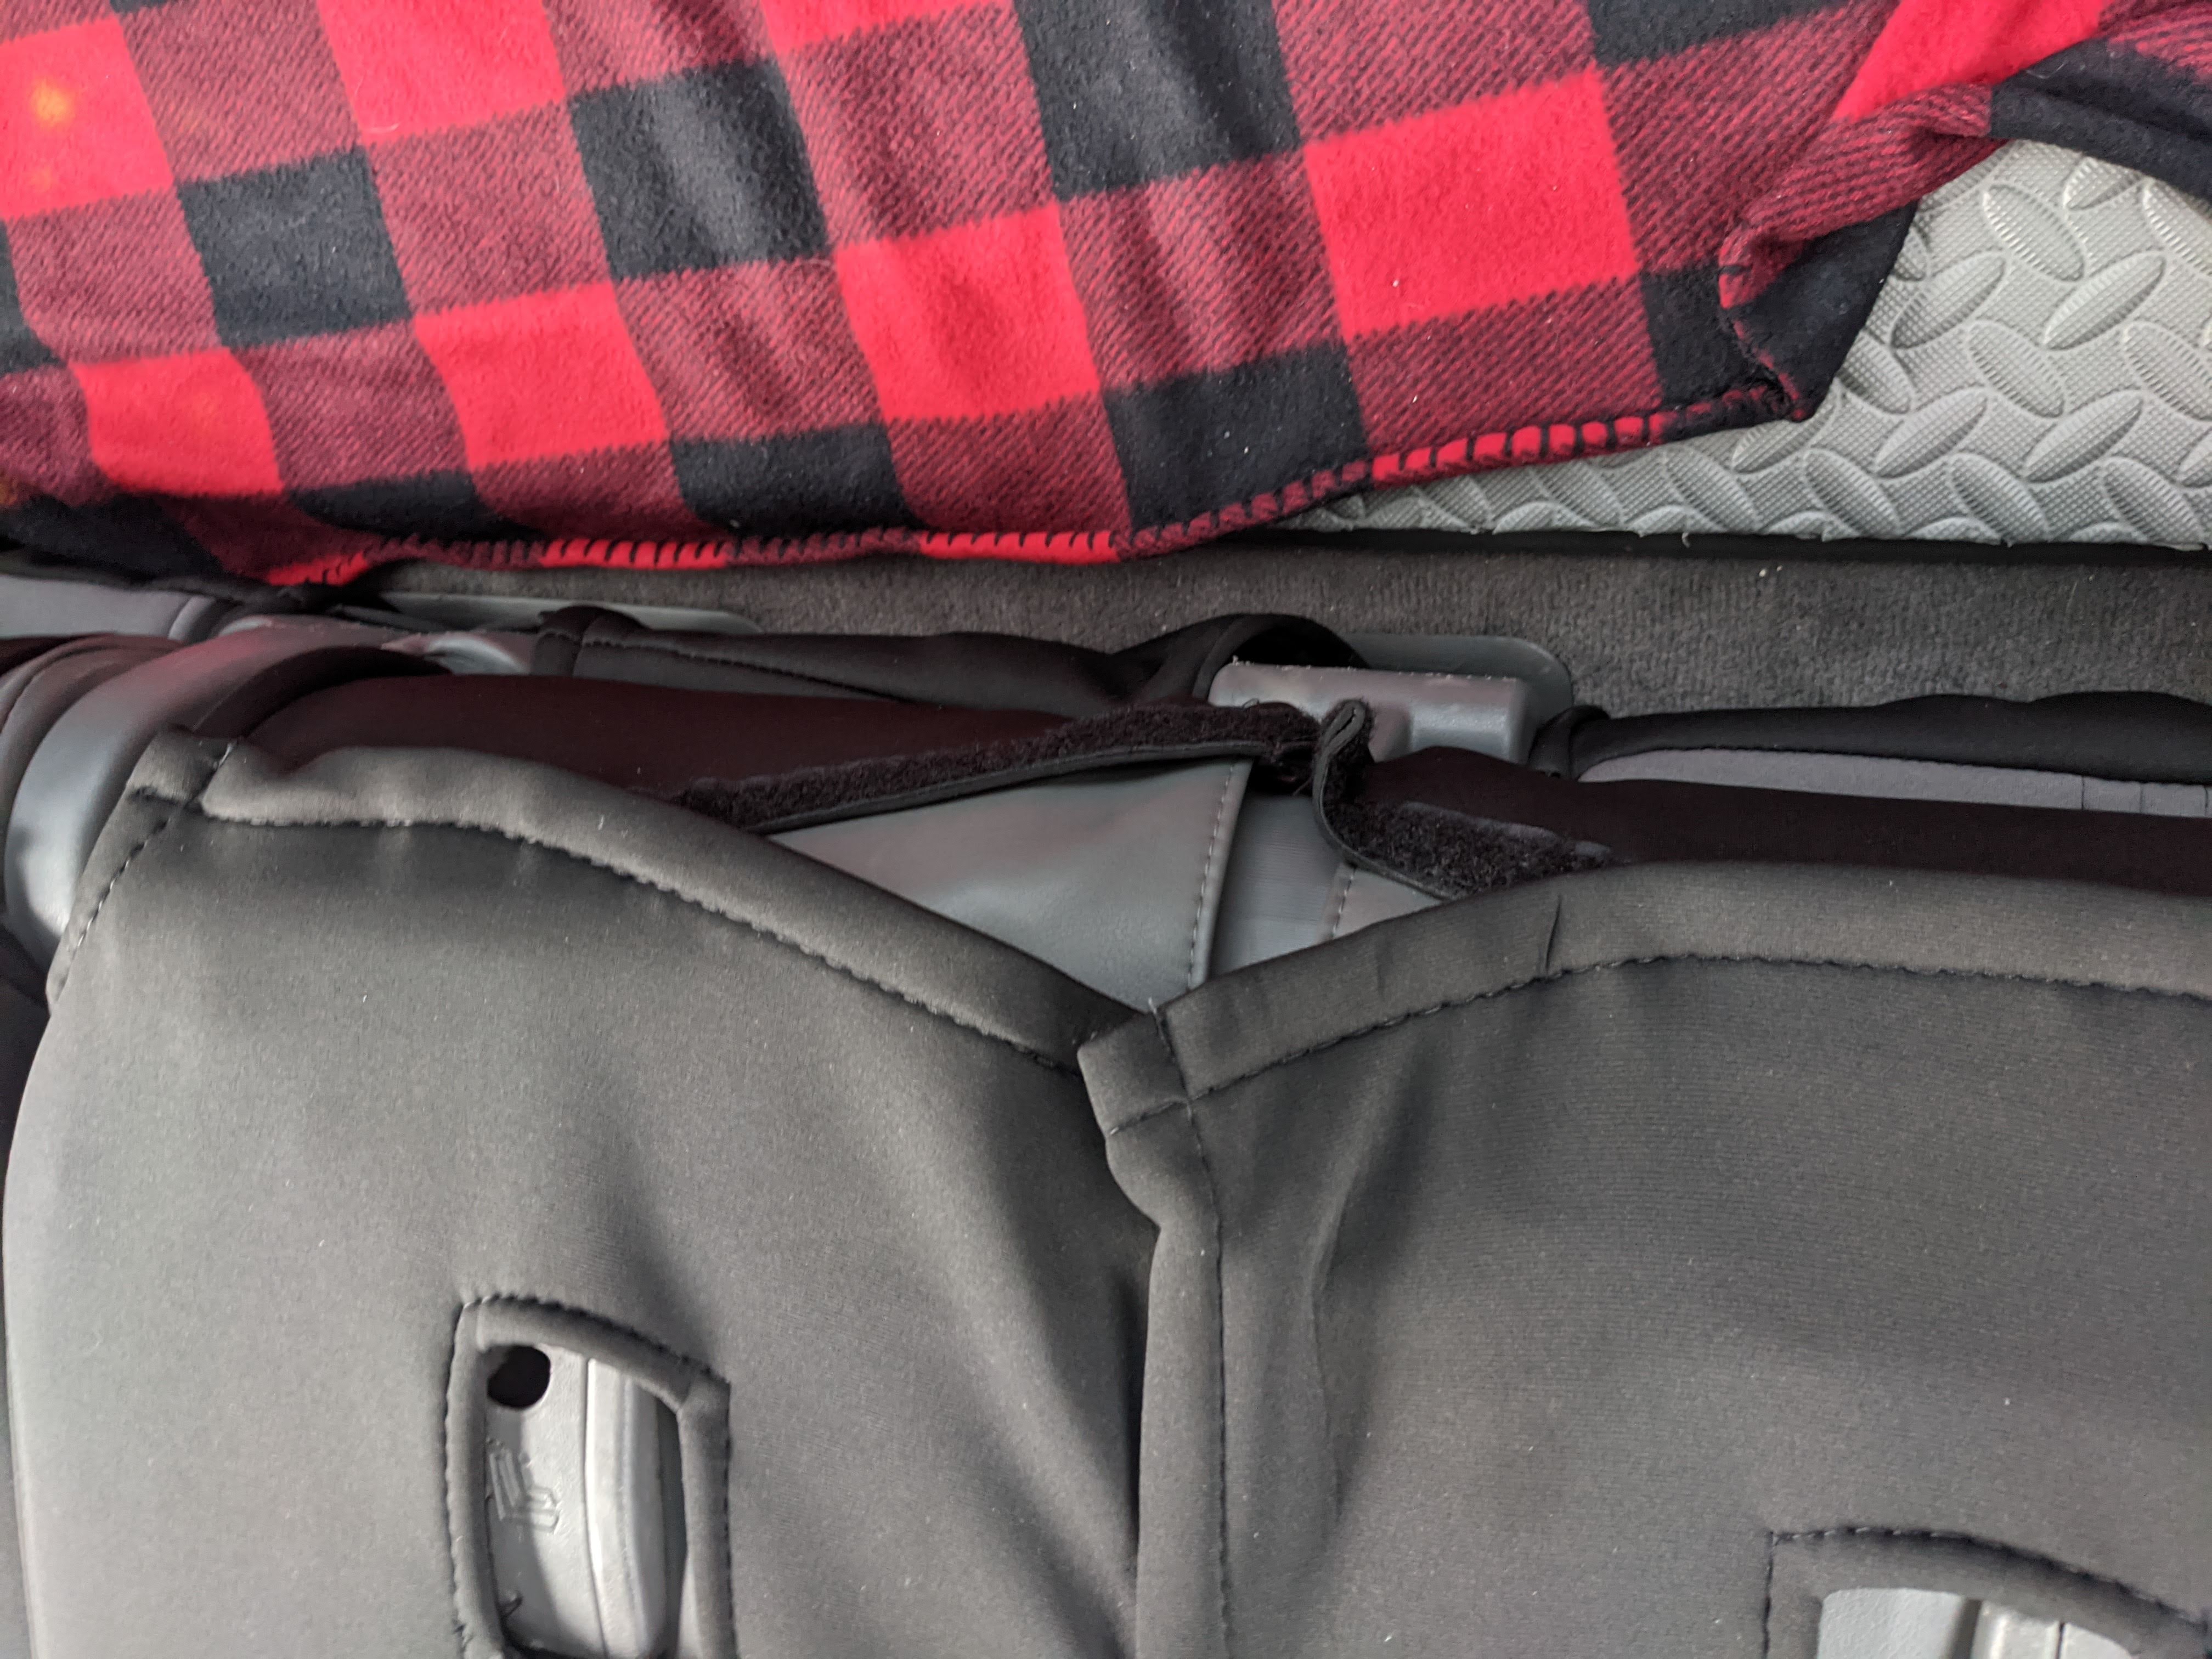
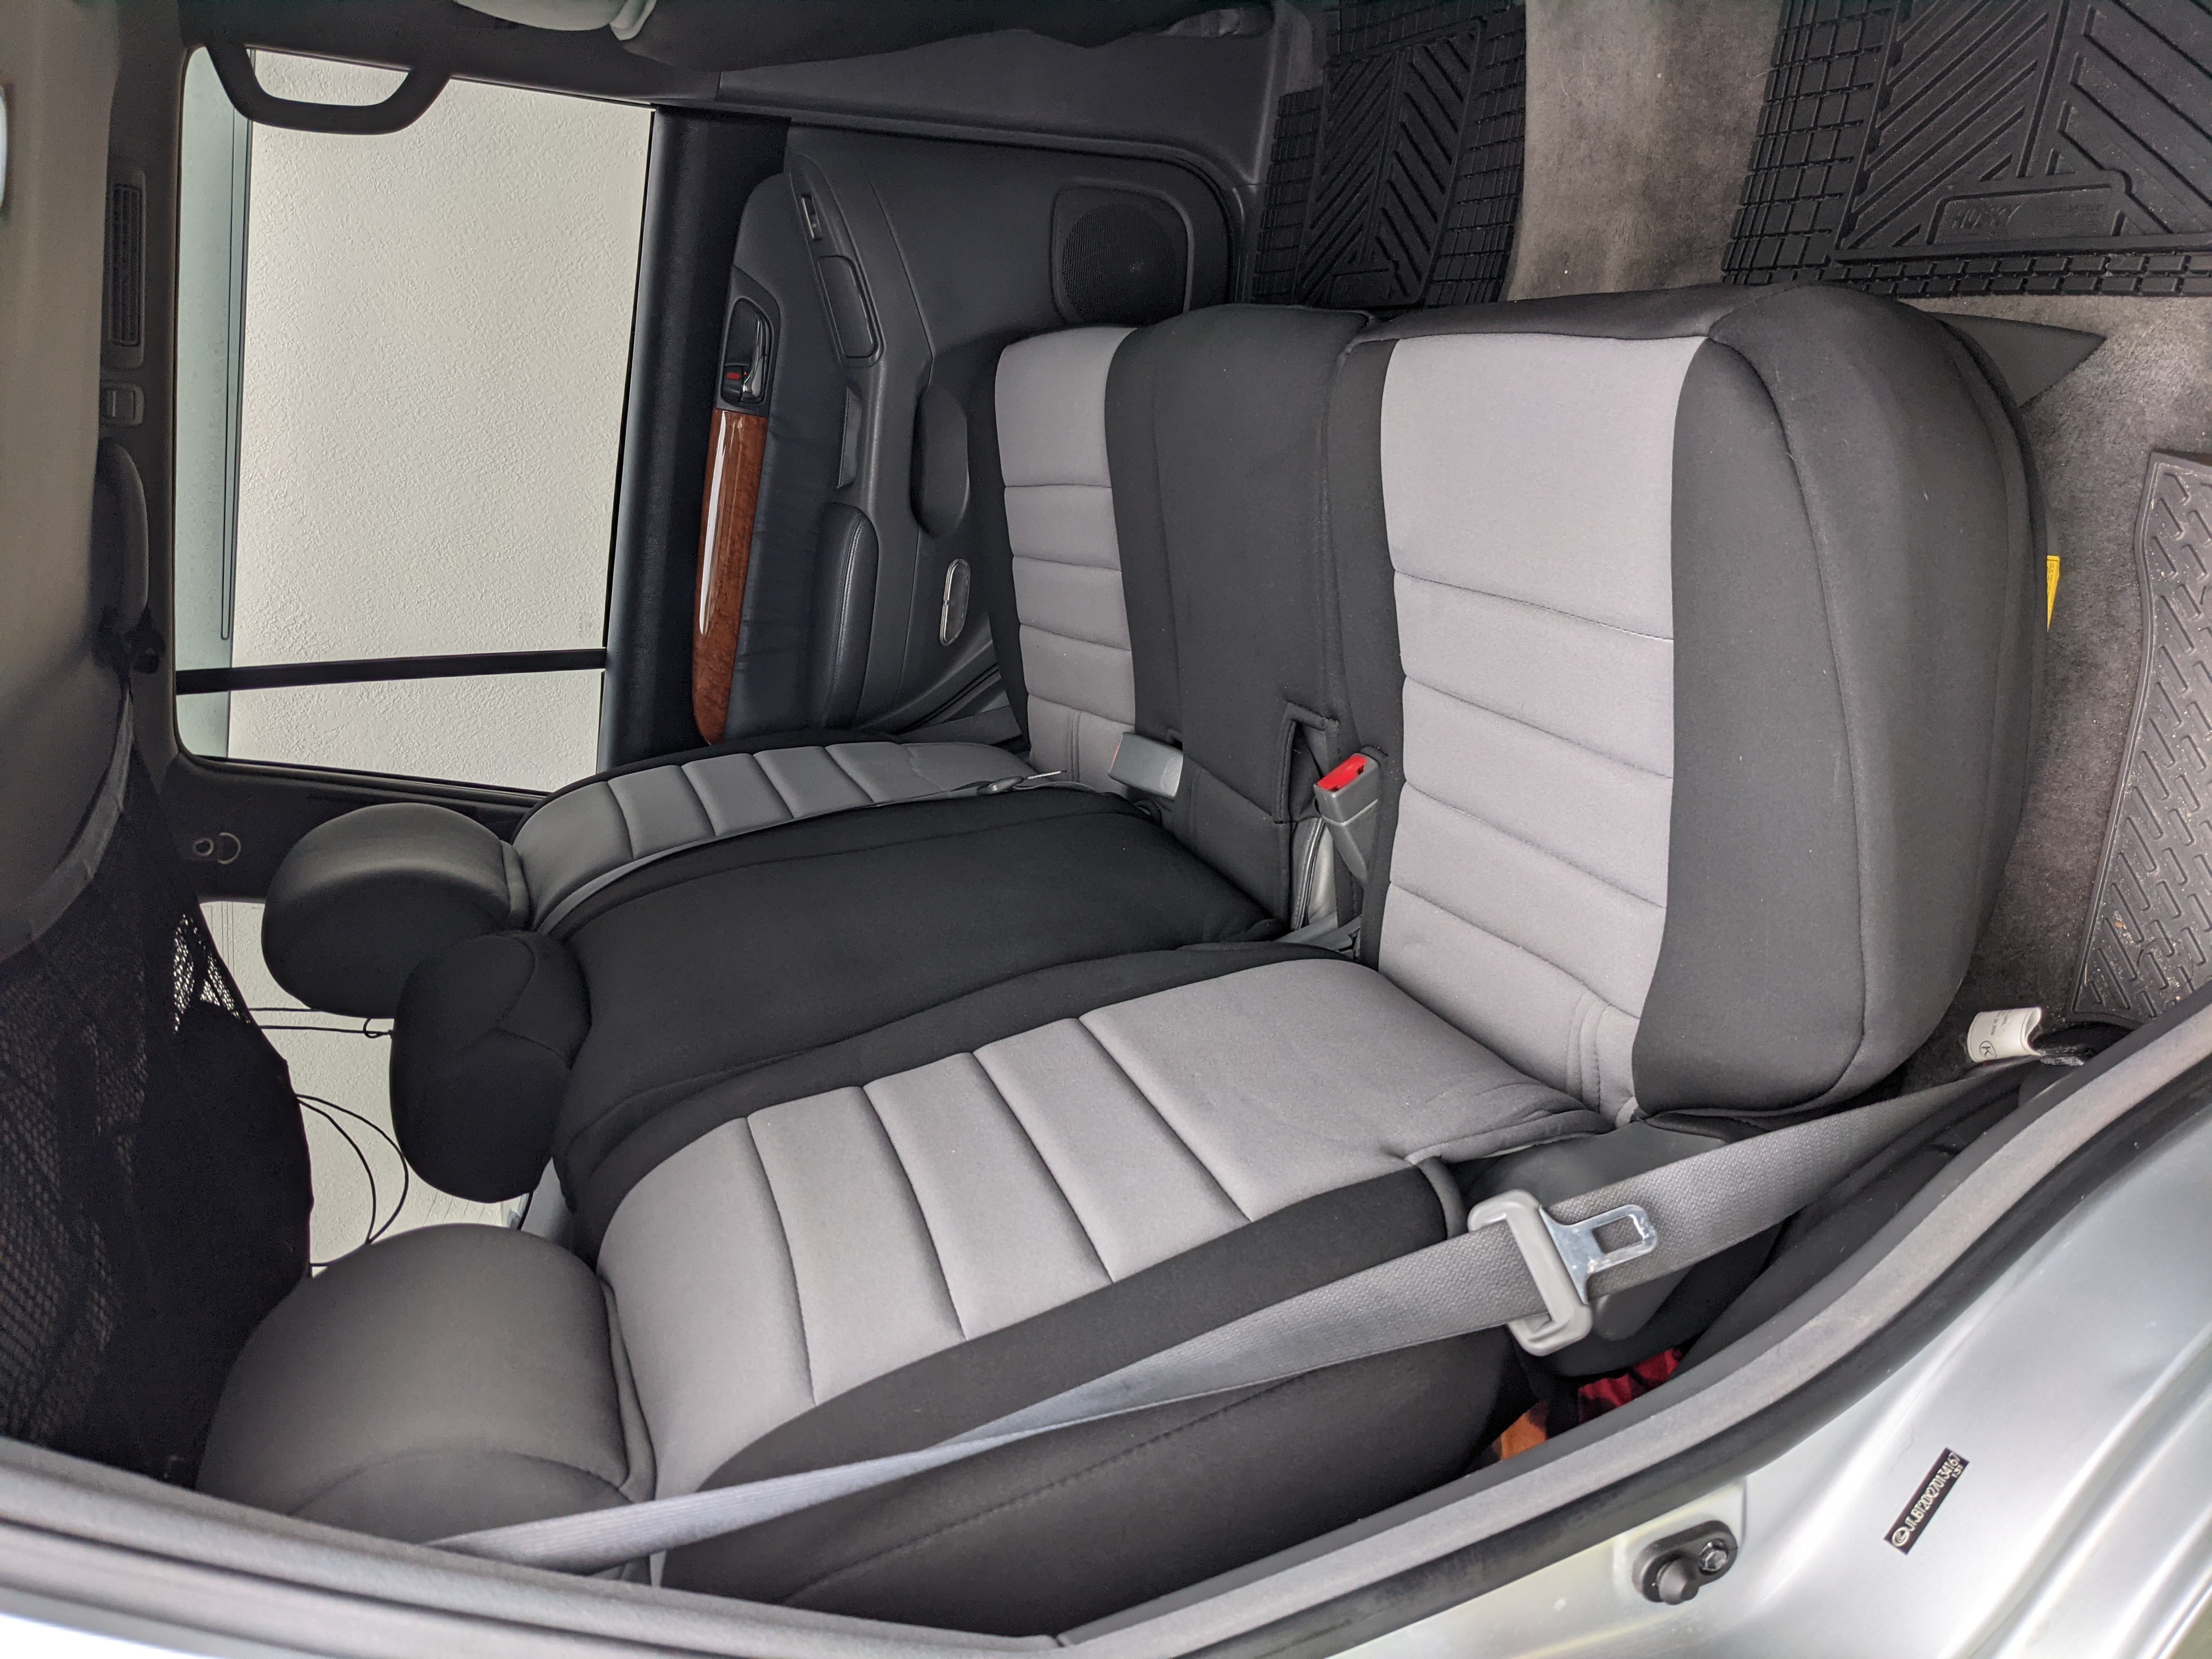
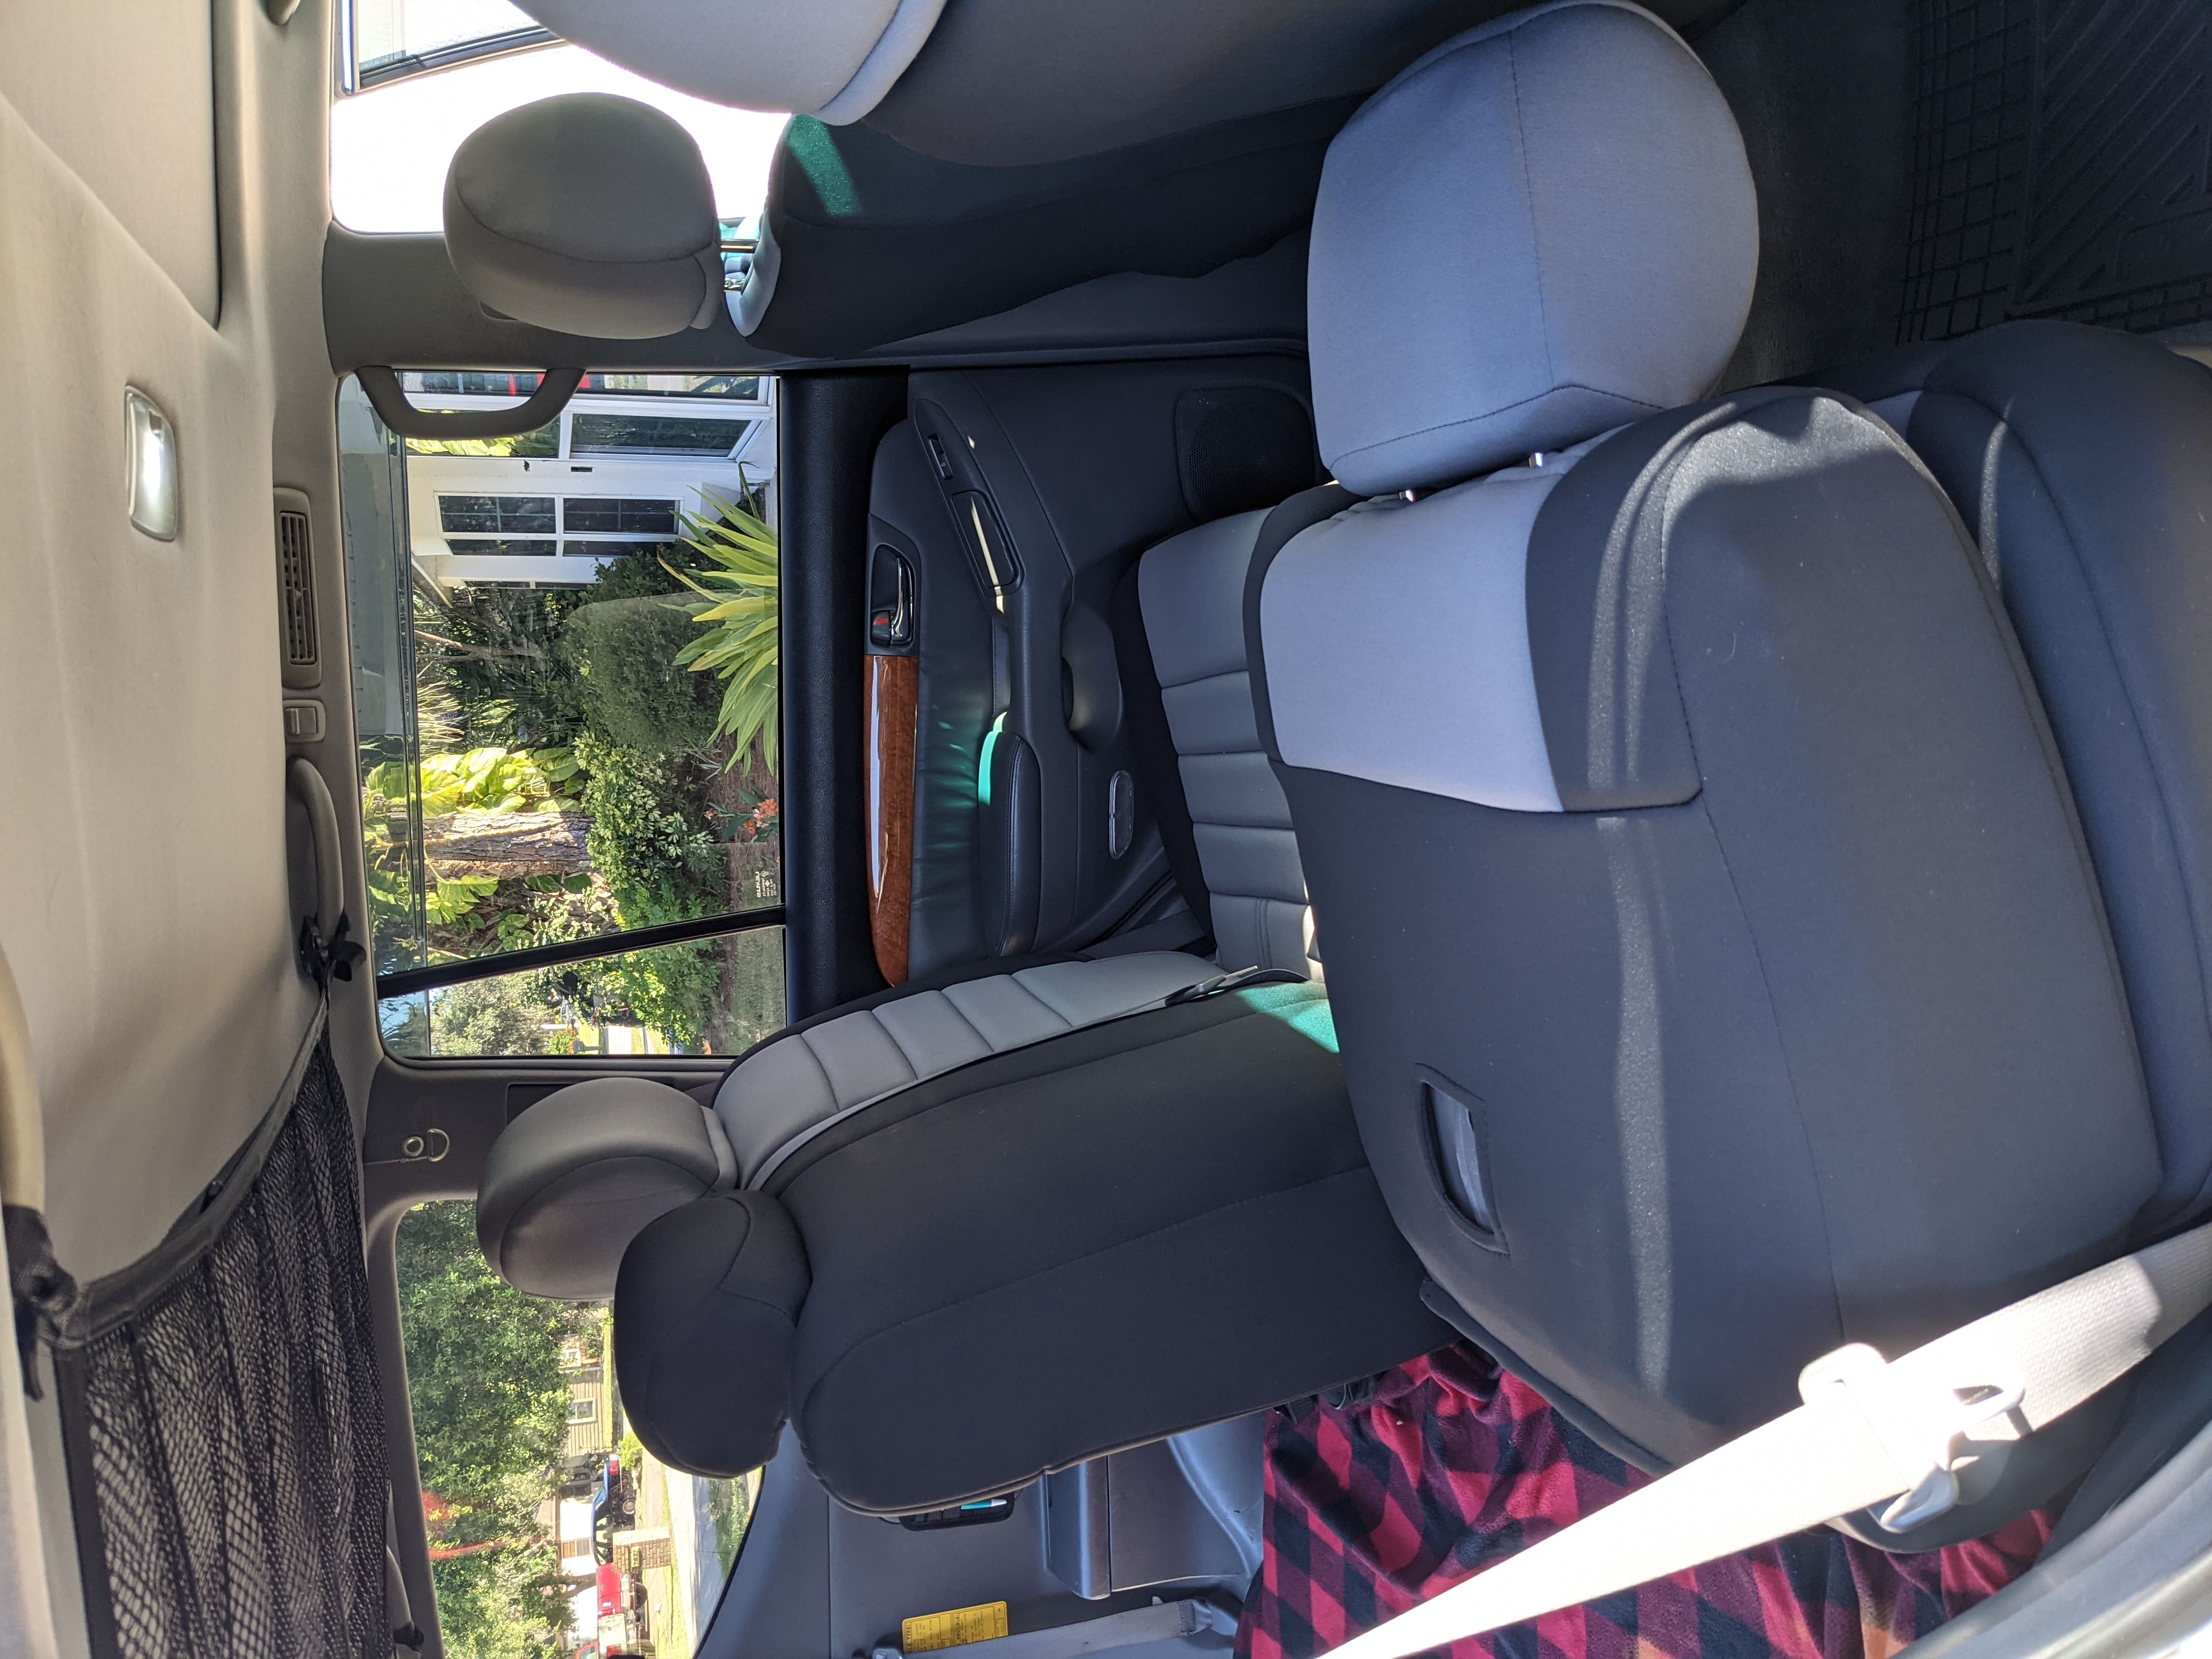
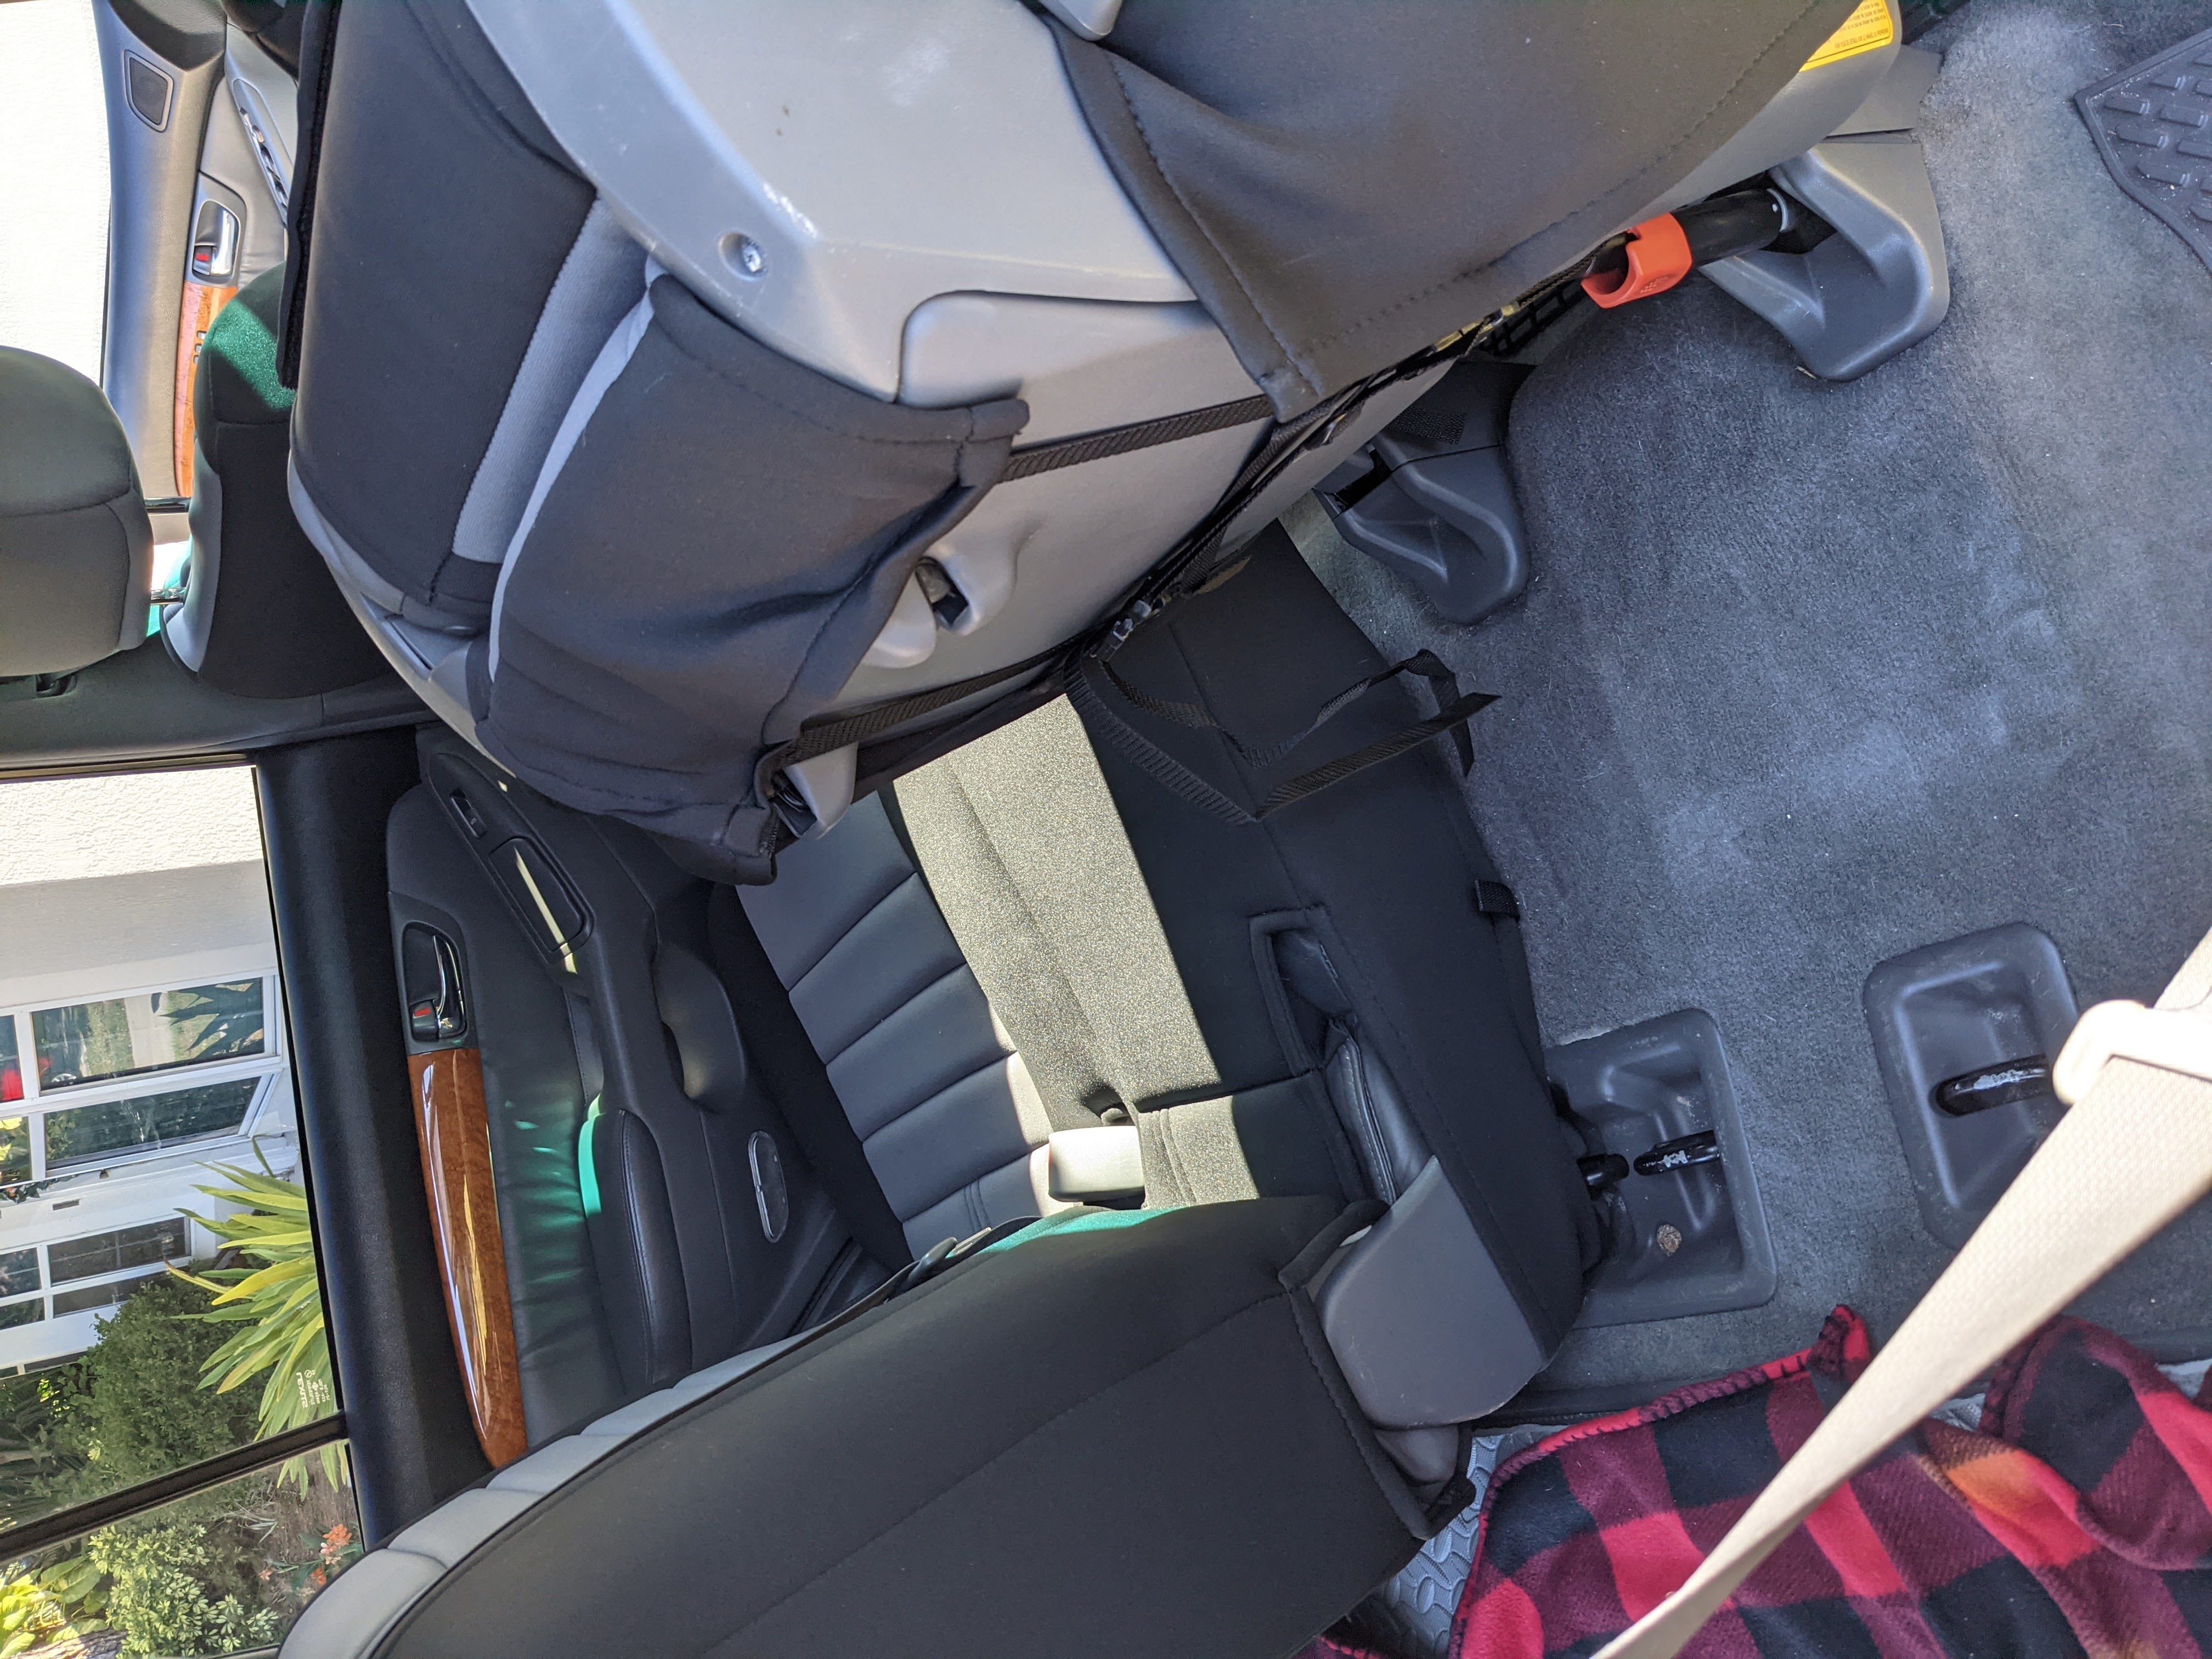
The rears were pretty easy, easier than the fronts for sure. Install them with basically the same process as the front seats, the only difference is for the middle seat belt, you’ll want it above the seat cover. To do this, Wet Okole provided lots of velcro around the back - undo the velcro and slide the seat cover under the seat belt before installing. This was the only piece that didn’t go together 100% perfect for me, since the velcro didn’t seem to go back together perfect. However, this is just behind the rear seats, so it doesn’t keep me up at night. I’m optimistic that once these have been on for a few months, I’ll be able to get the velcro to hold together better.
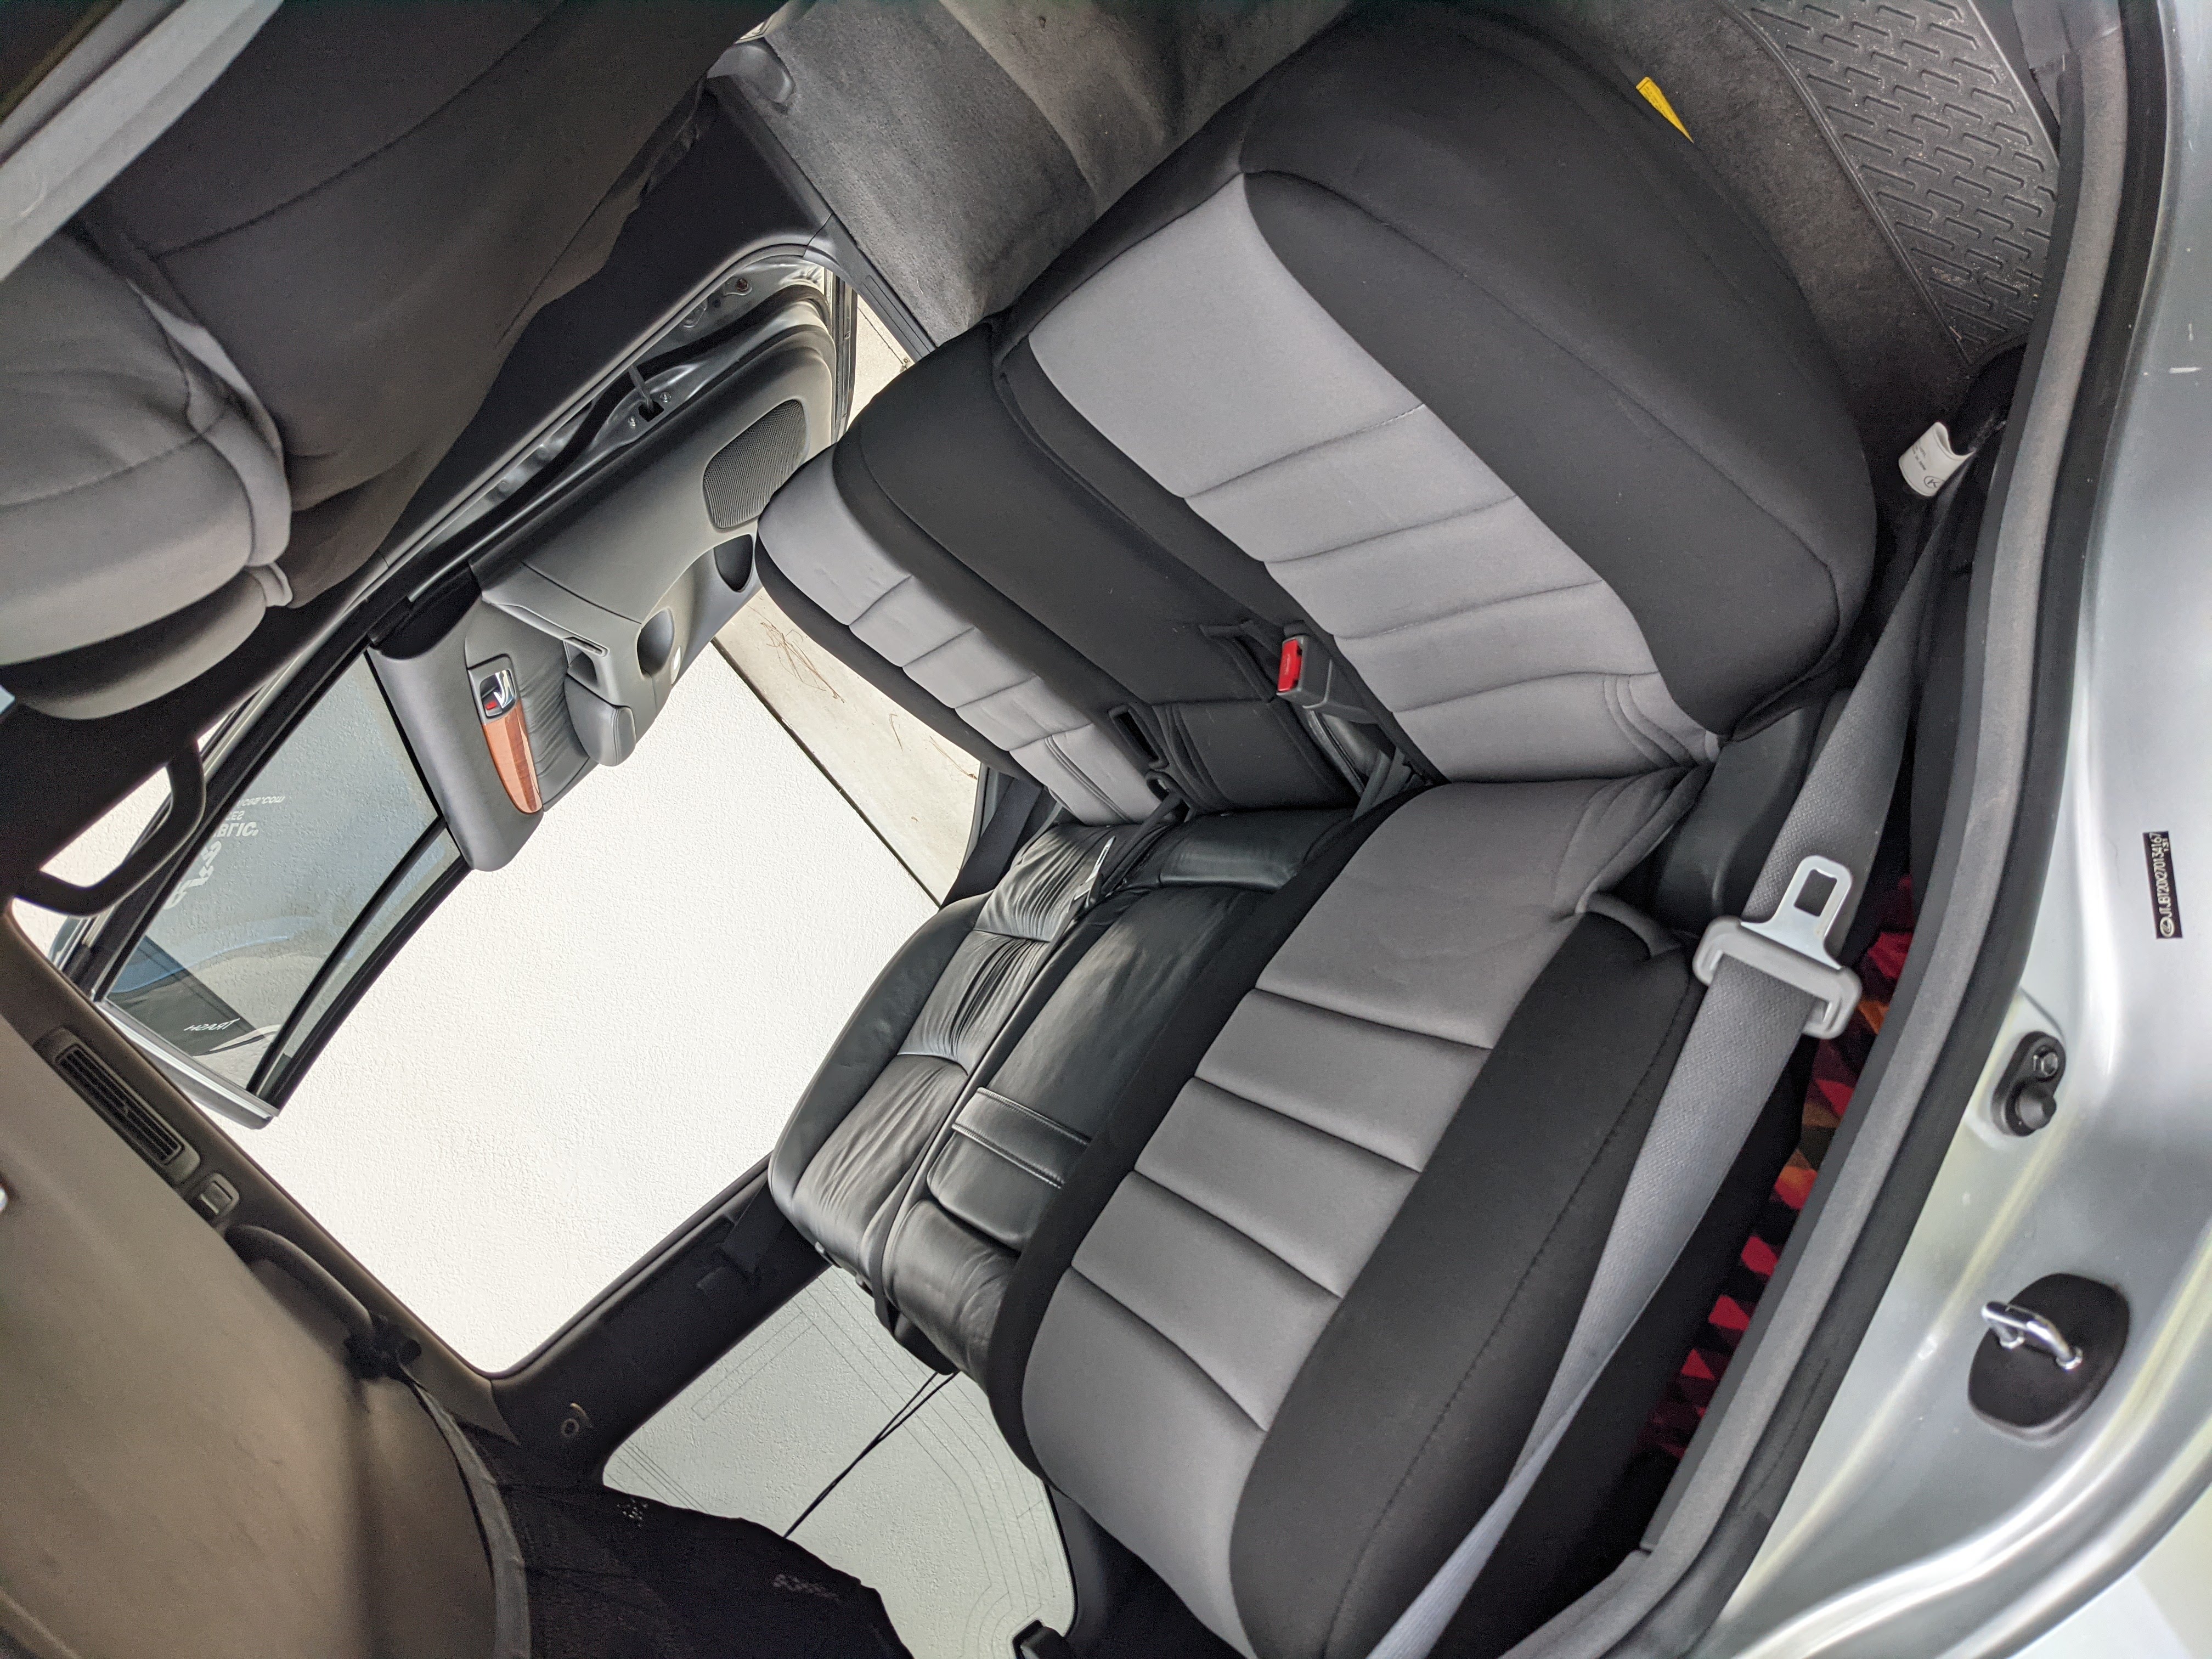
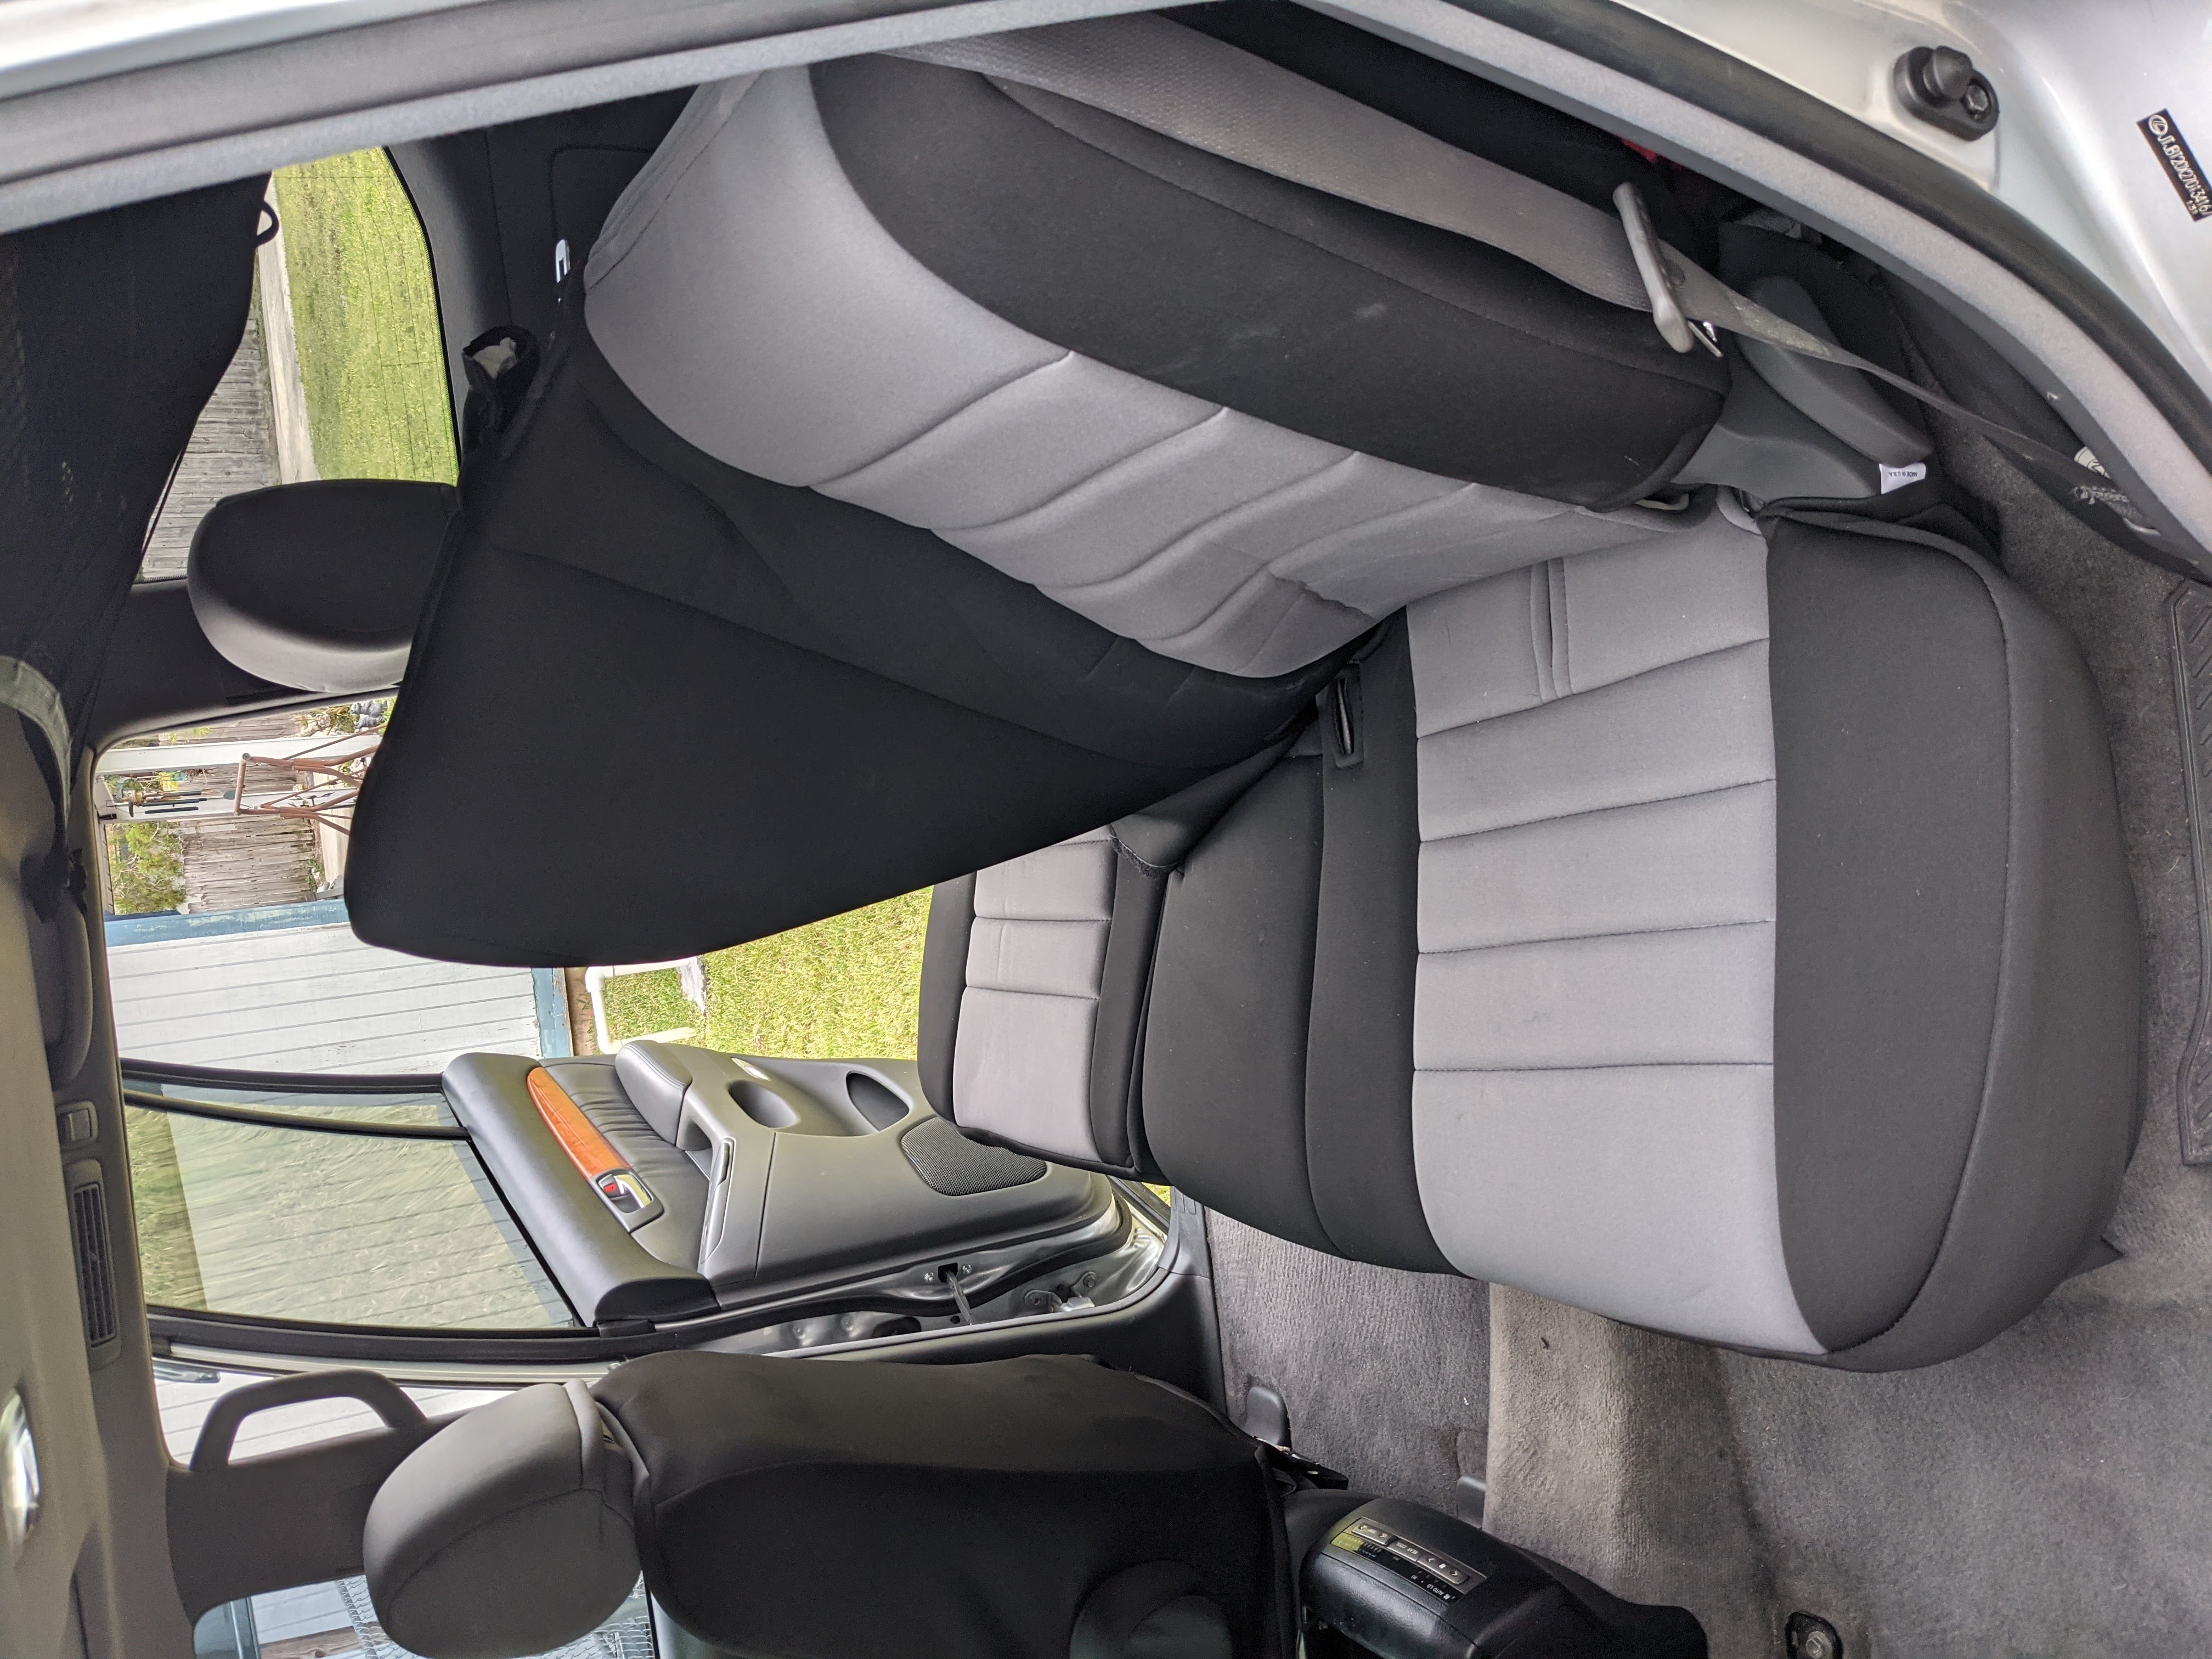
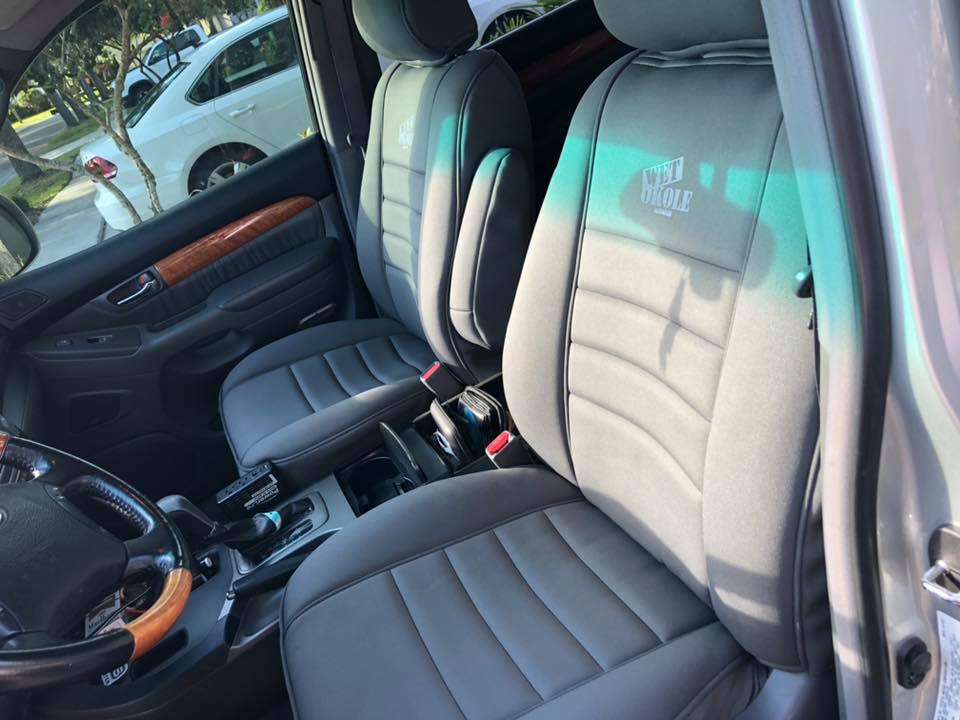
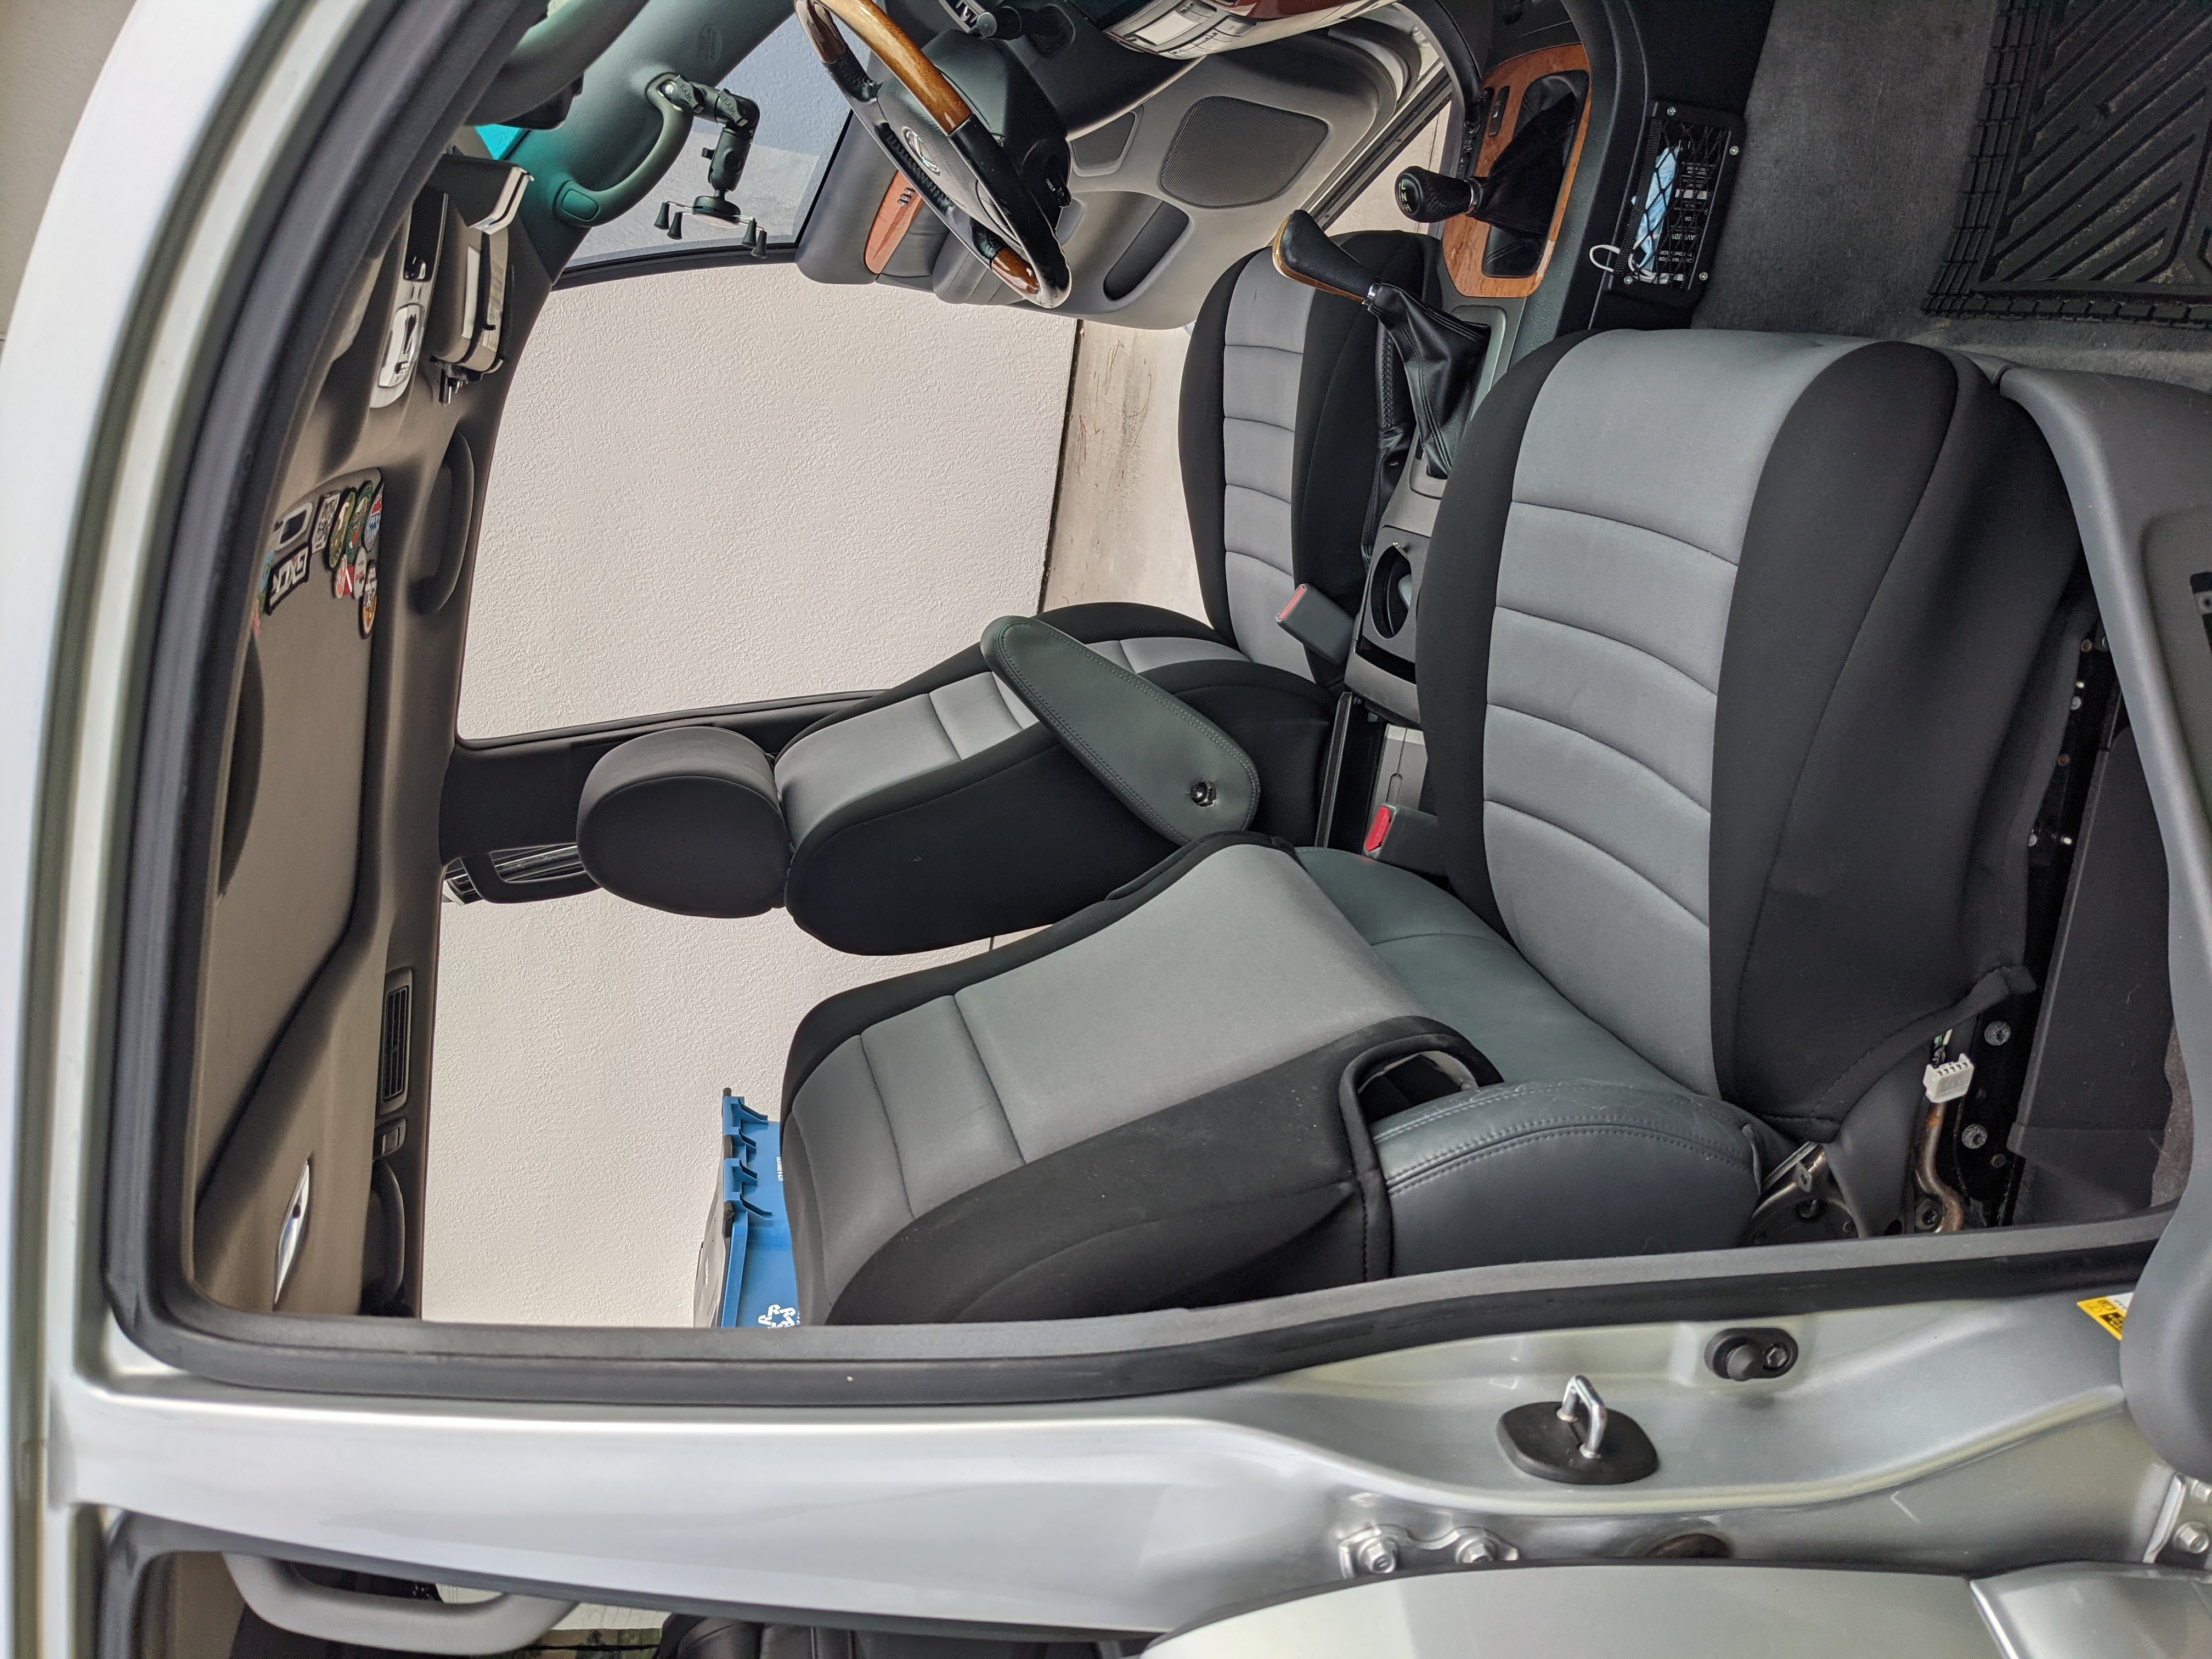
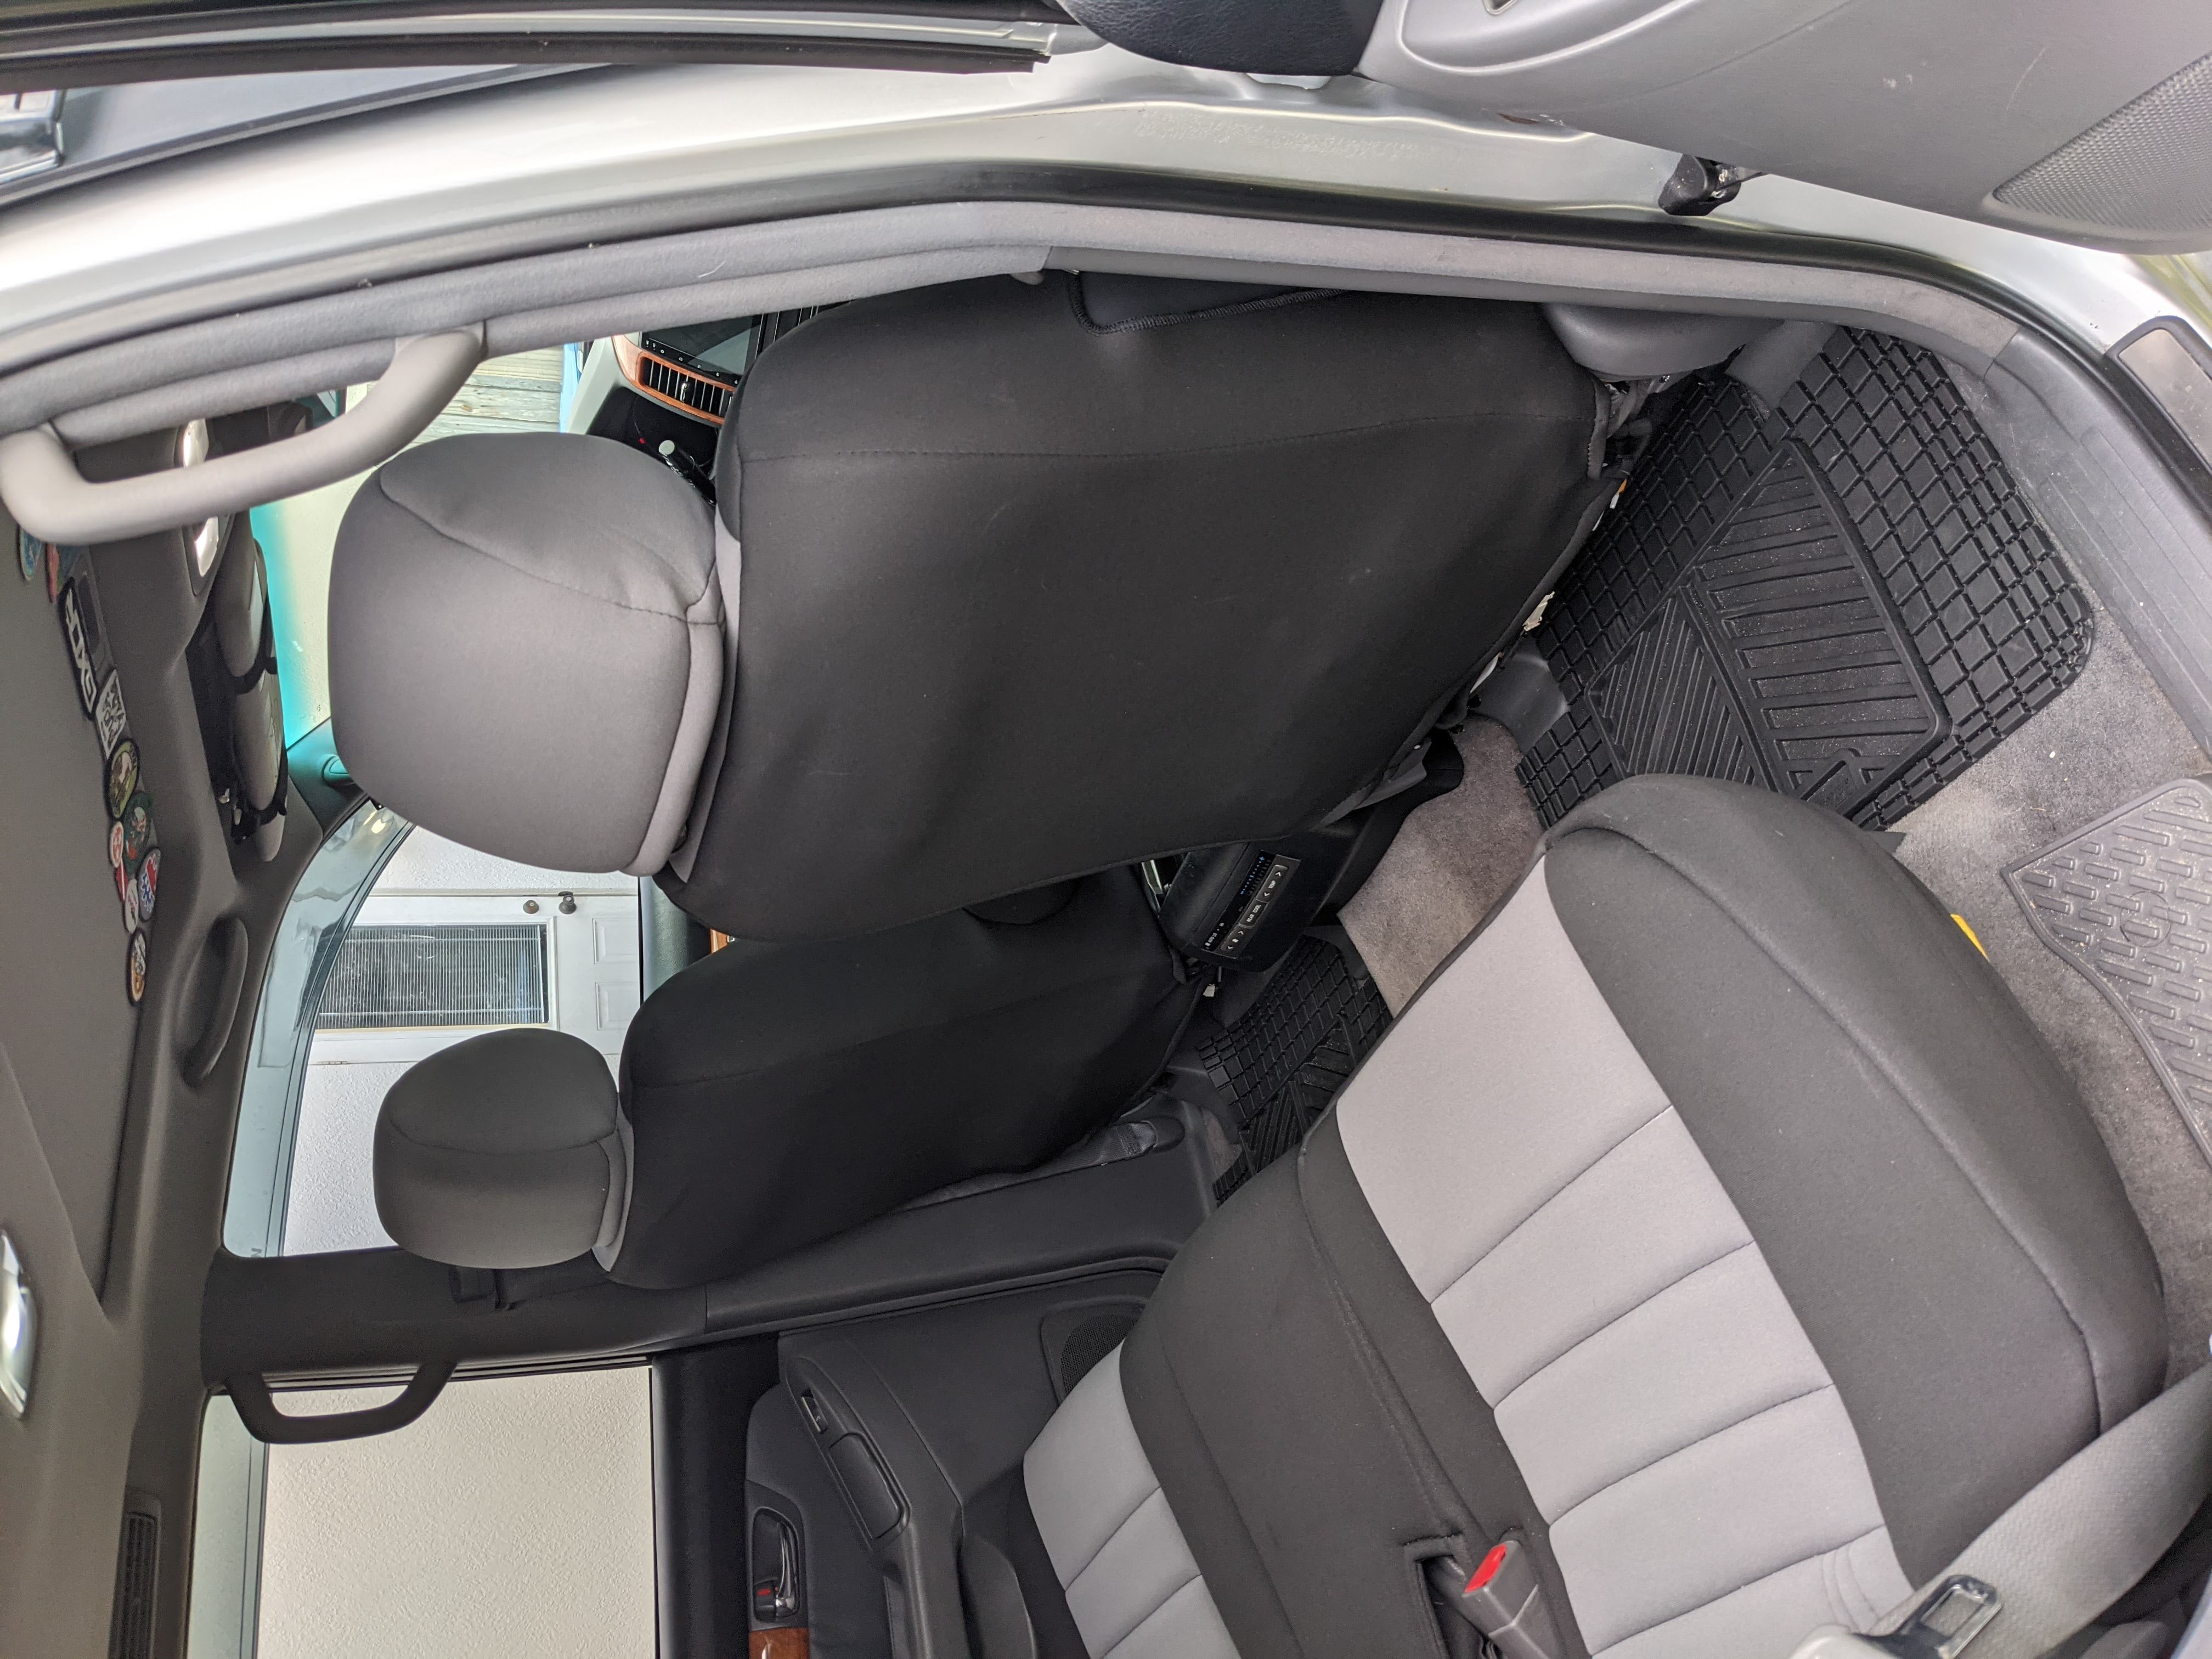
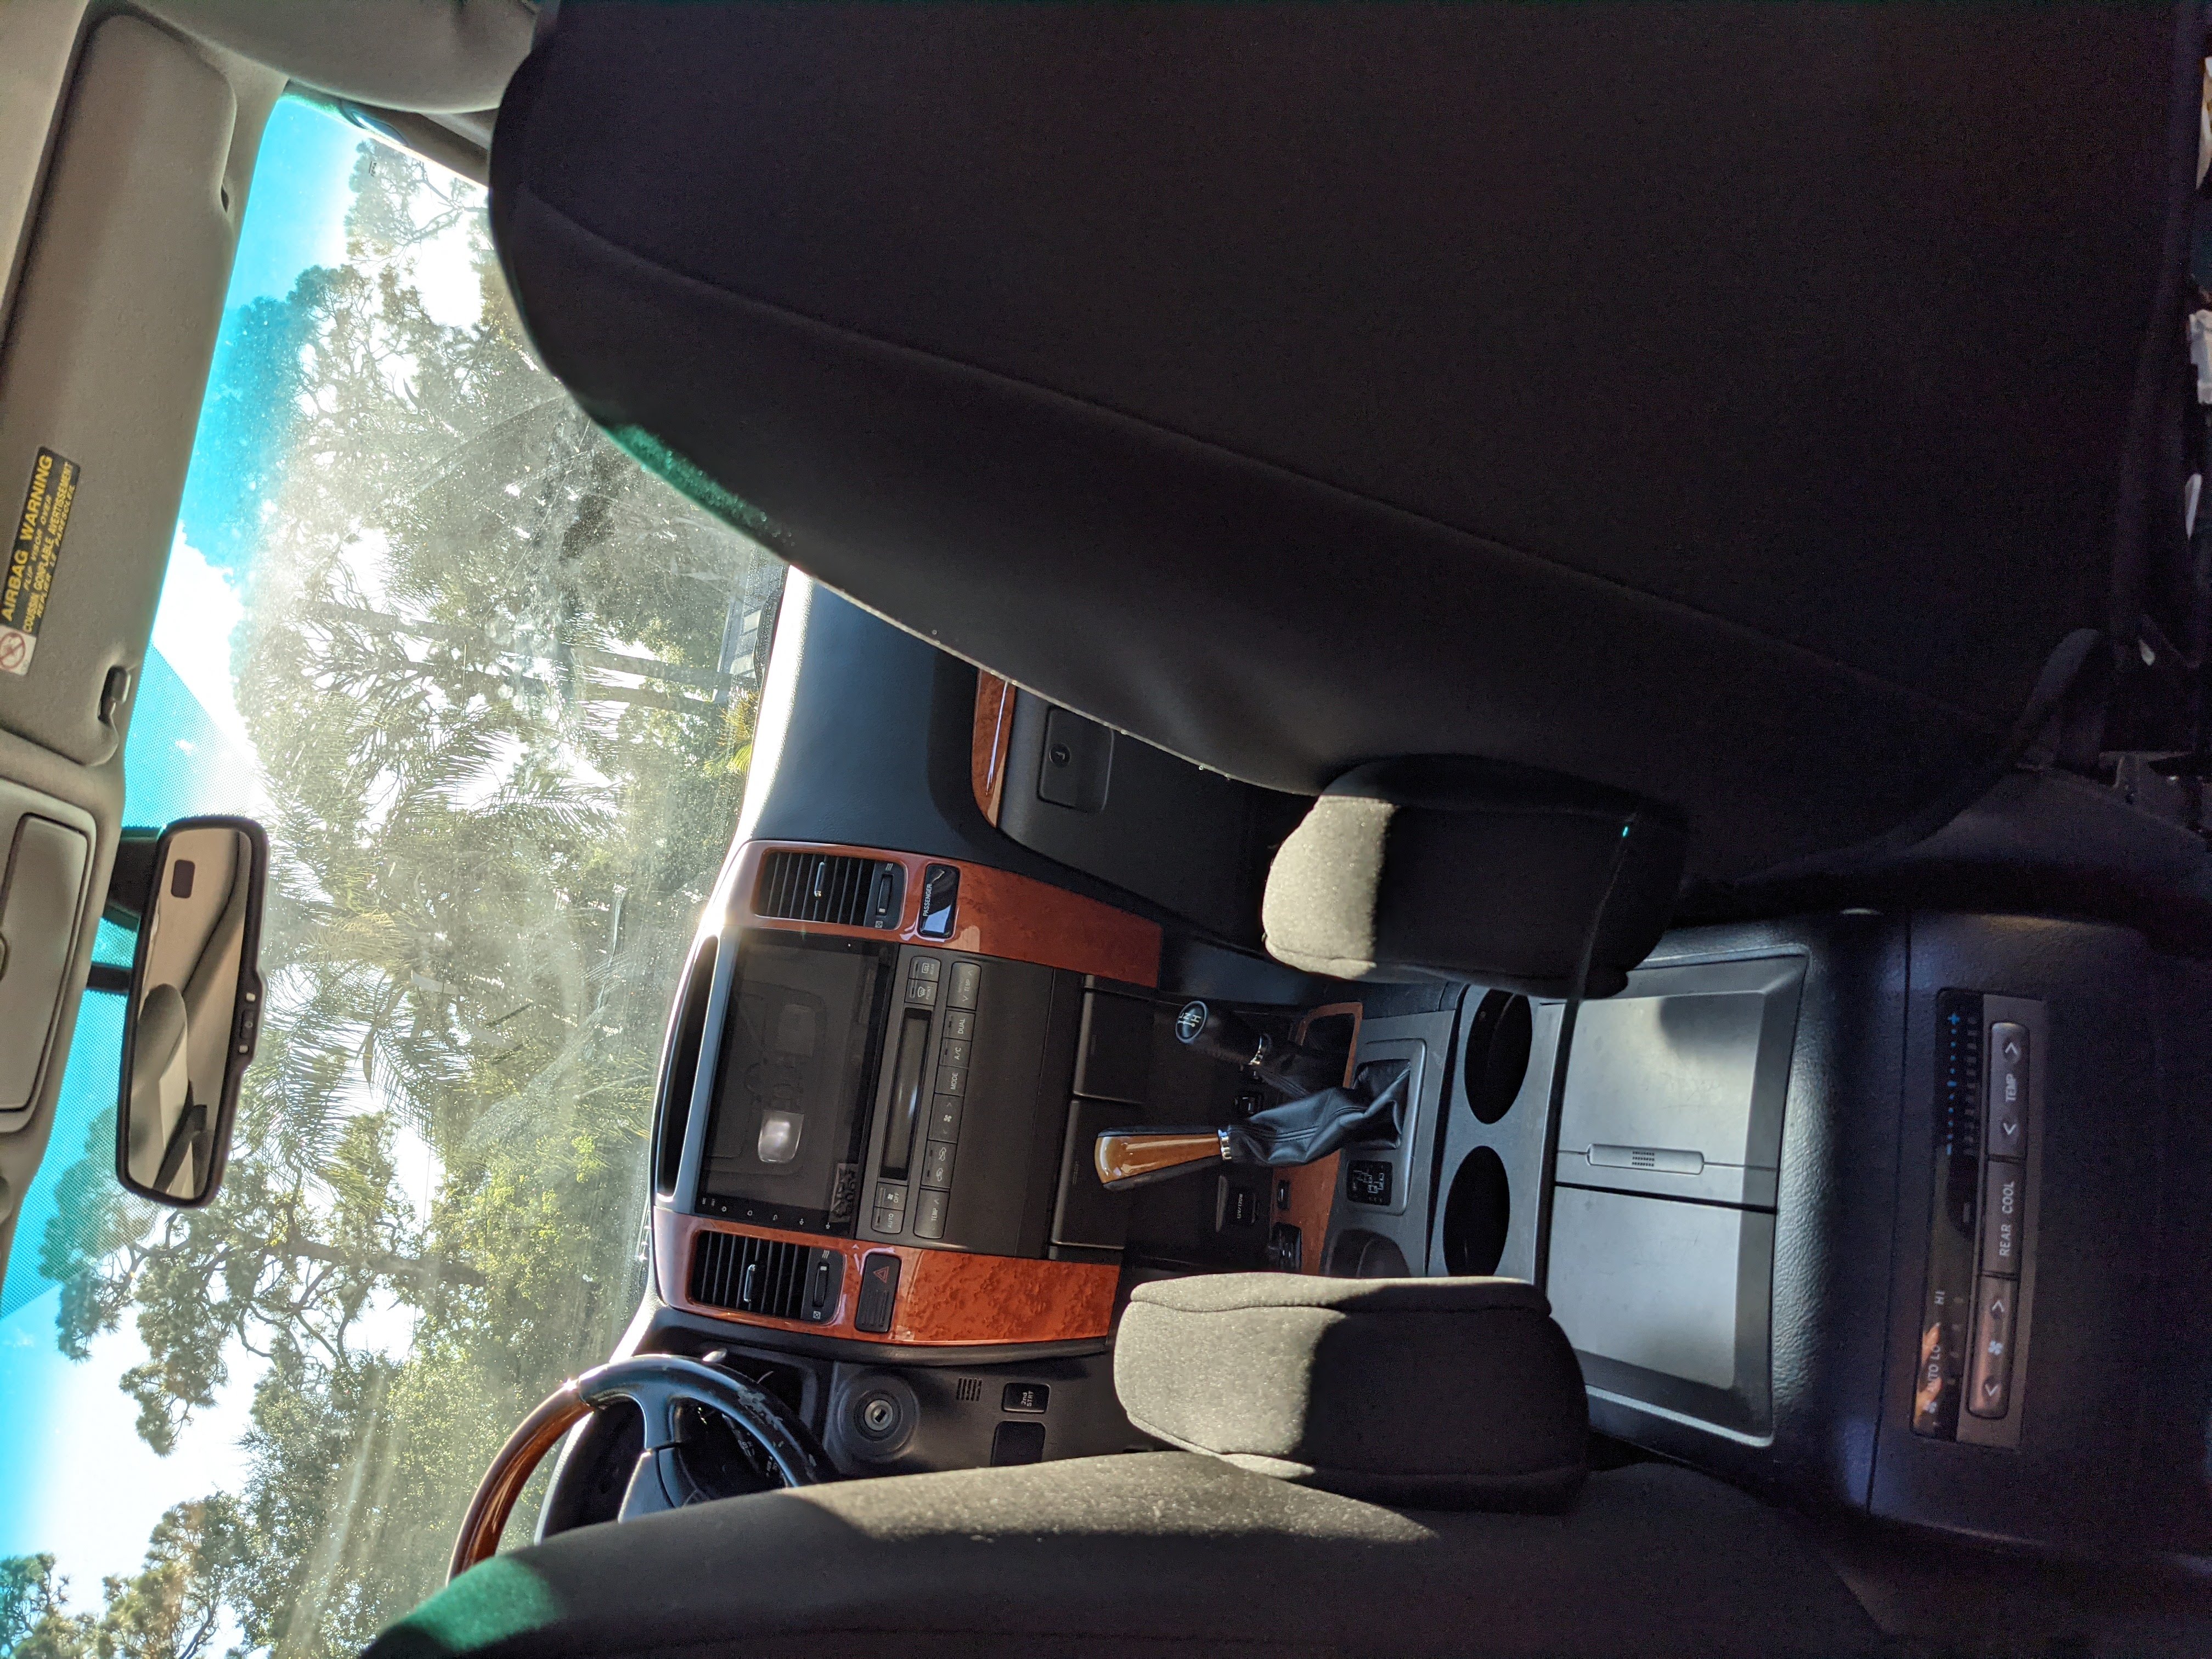
All done! This took me maybe 2 hours in the Florida sun. The new seat covers provide MUCH more padding, they are super comfortable. There also seems to be more storage under the back of the front seats, since there is no longer that flap overhanging there.
I have also noticed that white dog hair sticks to and shows up pretty noticeable on the black neoprene, but our black dogs hair isn’t noticeable anywhere. The middle seats don’t go up and down as easily as before, since there is friction in the middle caused by additional material. And now my interior doesn’t look so dated. Except for the wood trim. I think I’ll do something about that next. Anyways, here’s a ton of pictures after the install.

I also made a few more interior improvements to my GX around this time, you can check those out in this blog post.