
Garage Remodel
I have a one car garage that I spend a lot of time in, and I figured I should invest some time and money in to making it nice to use.
Lights
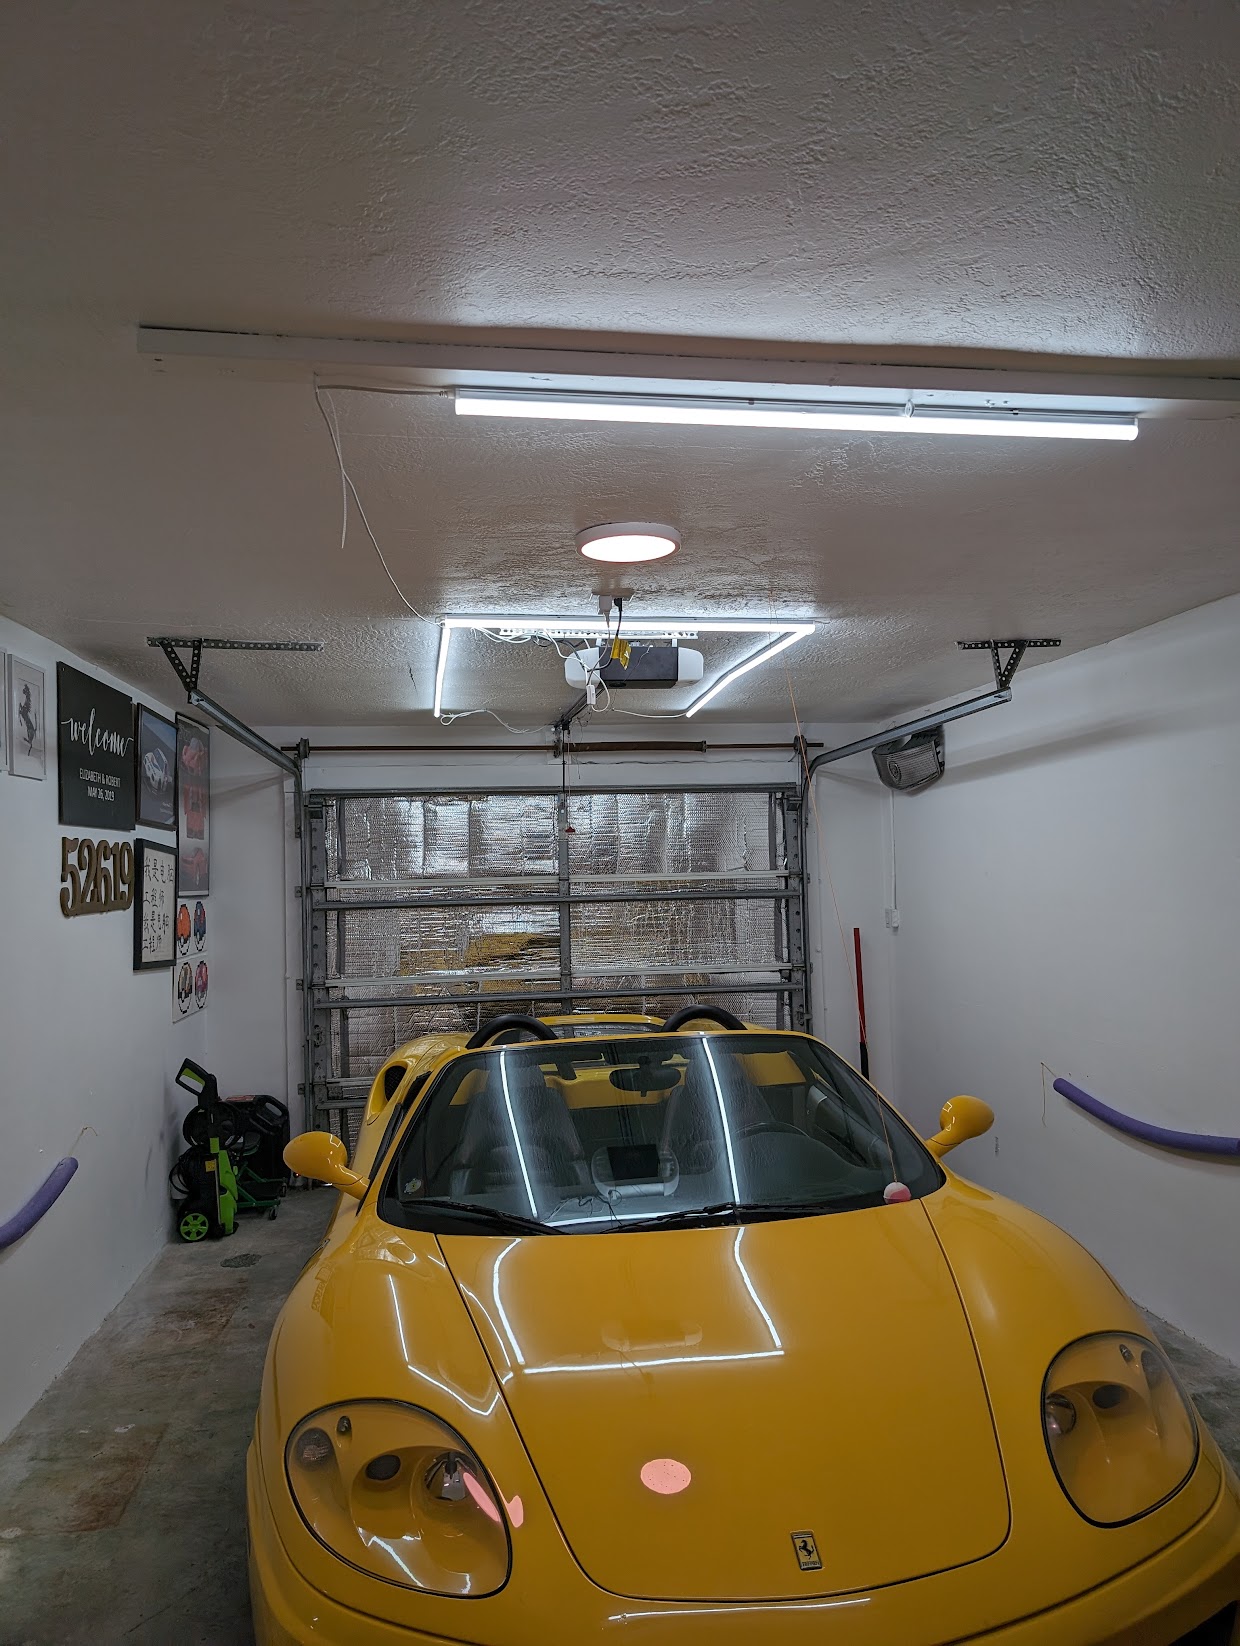
One of the first things I did was install 6x Barrina 4ft LED lights, I did this shortly after moving in, it only cost $50 or so, and the lights are so bright. I paired it with a Amazon Smart Plug on the same outlet as my garage door opener, so I can turn on my garage lights by saying “Alexa, garage lights on”. I also set a schedule that Alexa turns them off every day at 10PM.
Organization
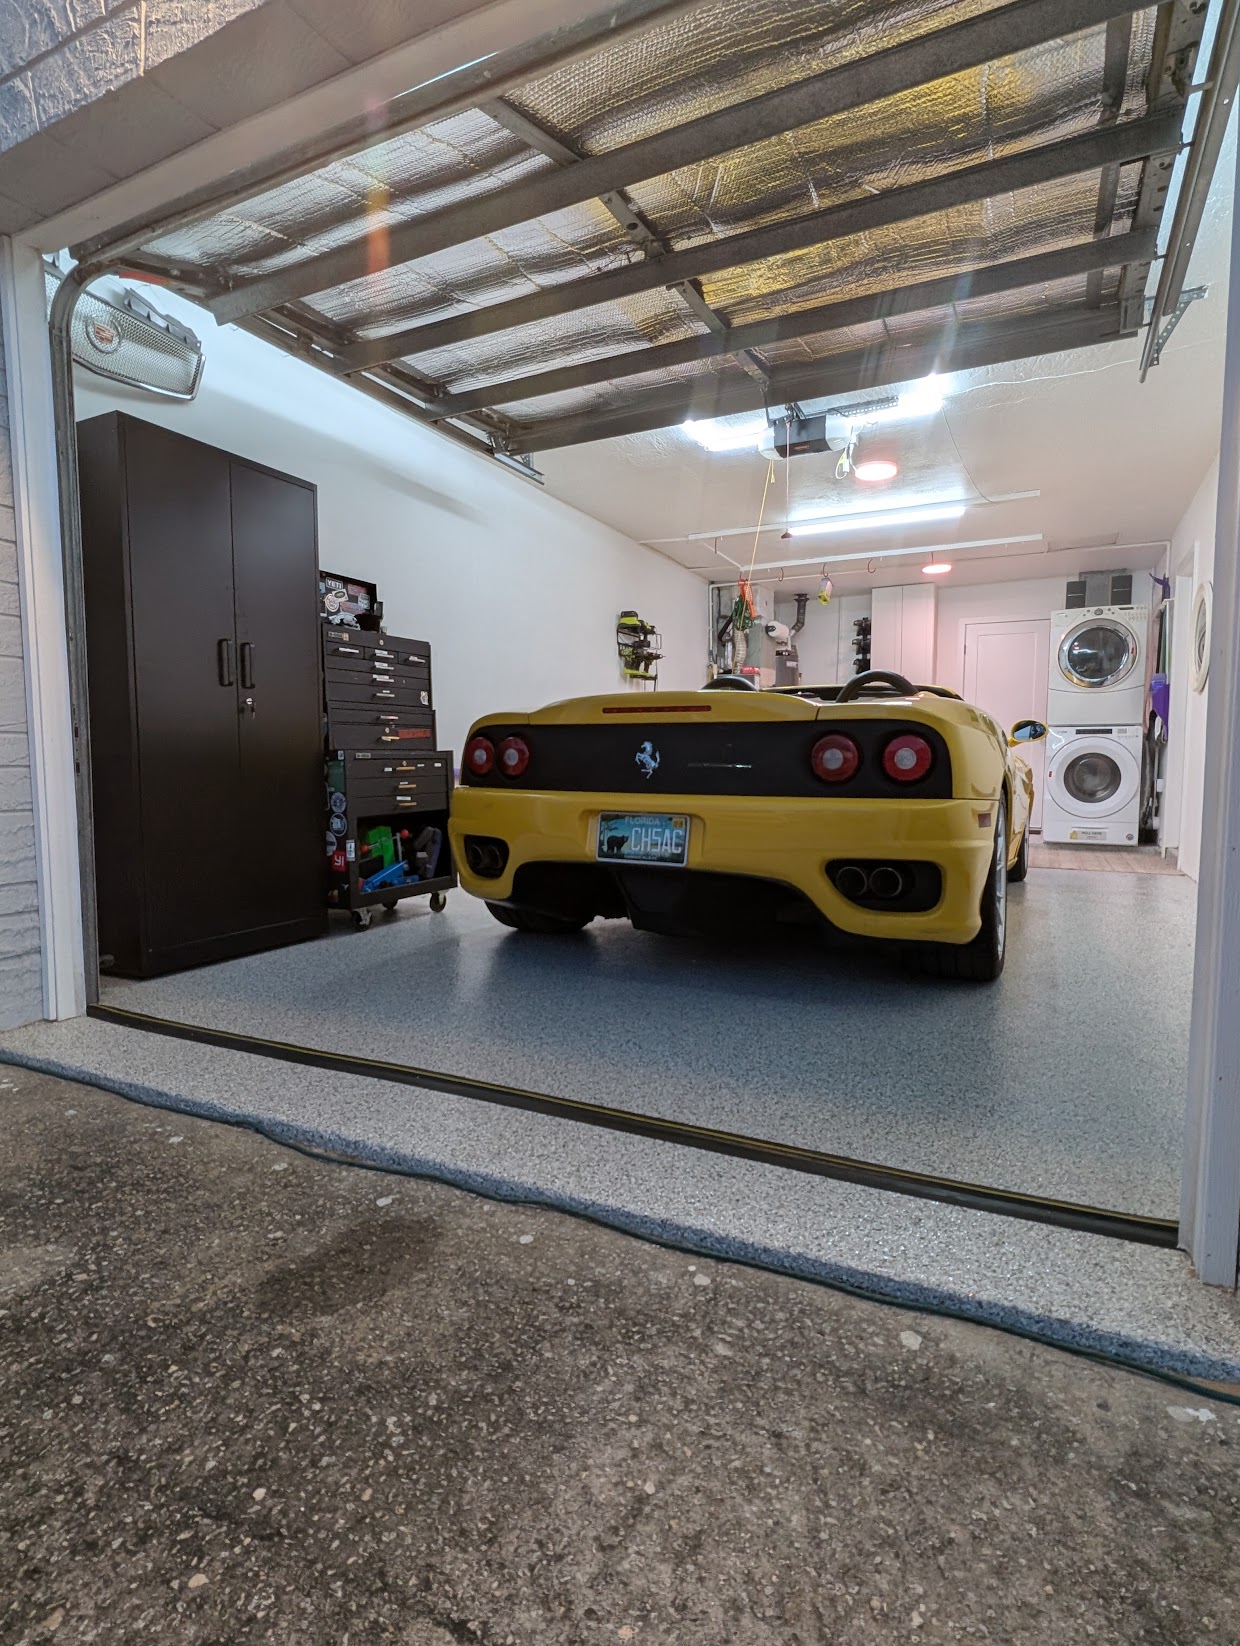
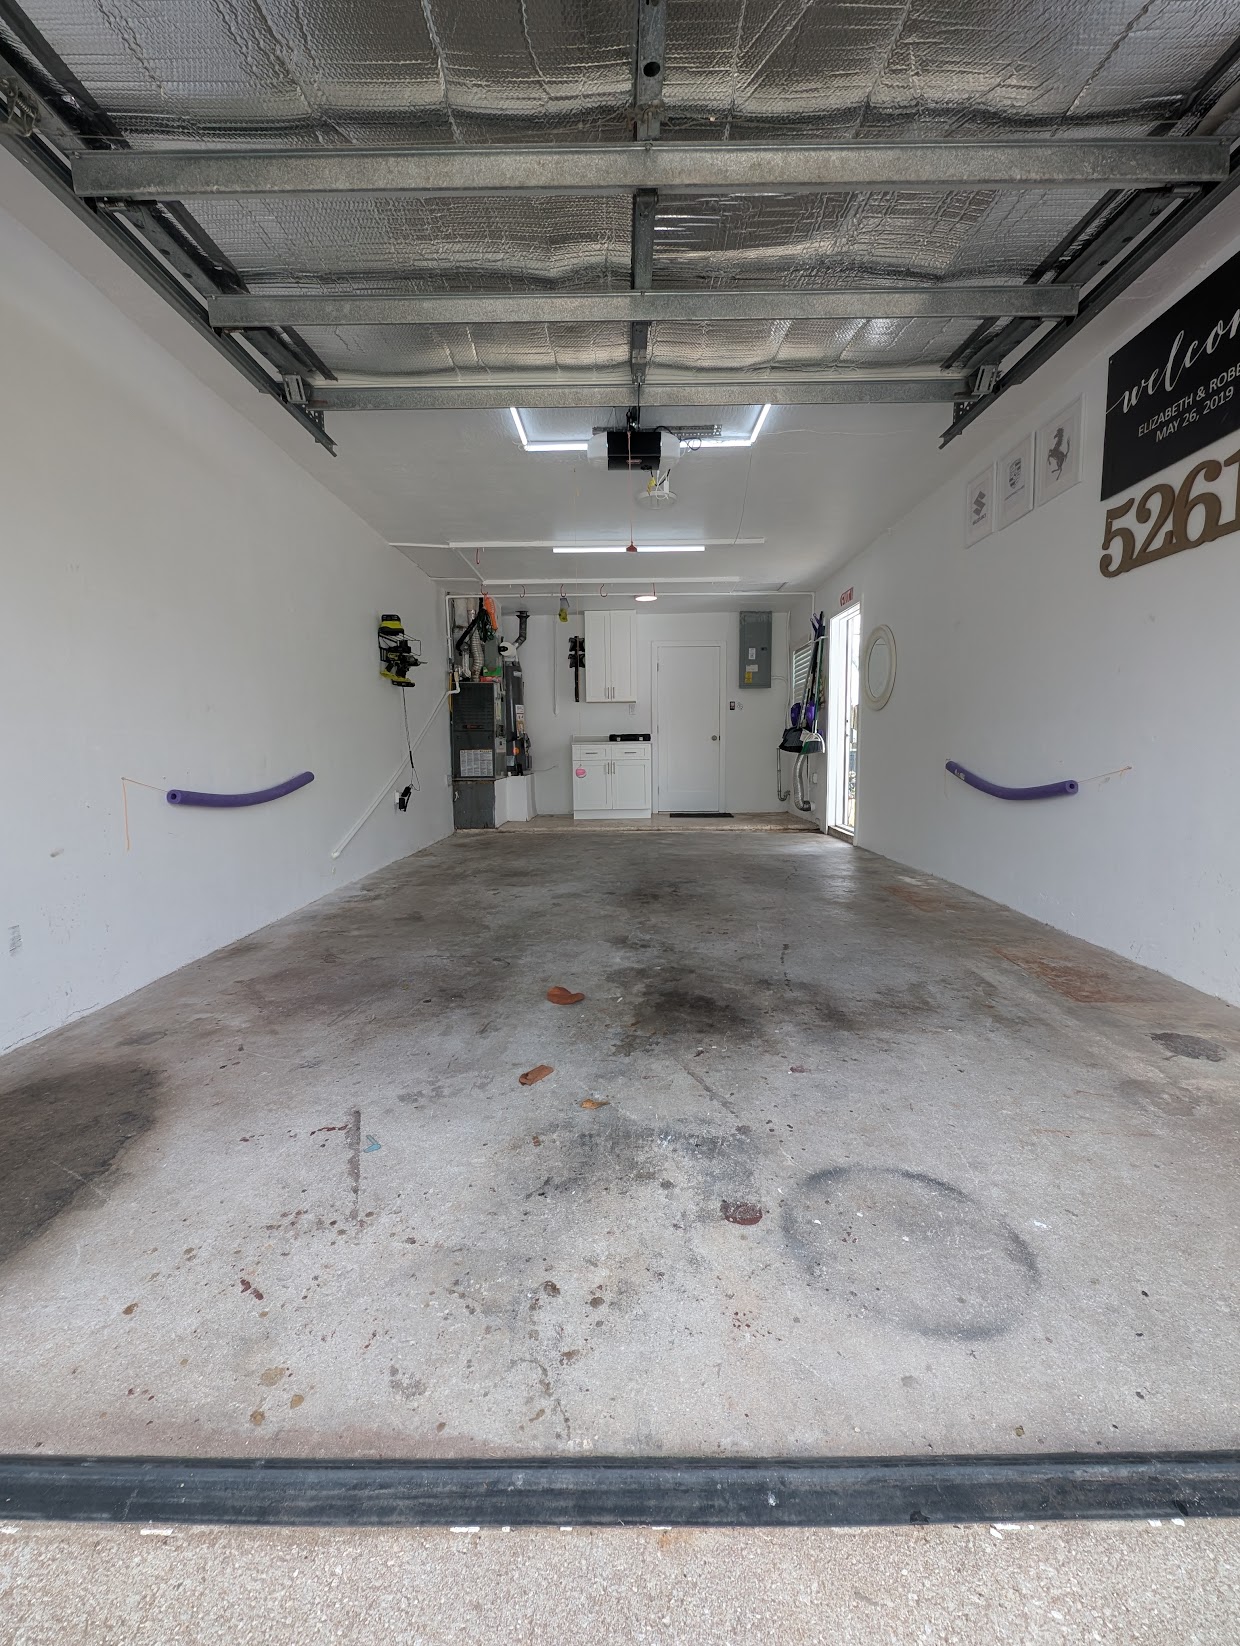
I have 4 jack stands which always take up floor room, so I bought a pair of jack stand wall mounts to keep all 4 of them off the ground. You can see the jack stand holder in this picture to the left of my cabinet, and also how unorganized the garage used to be.
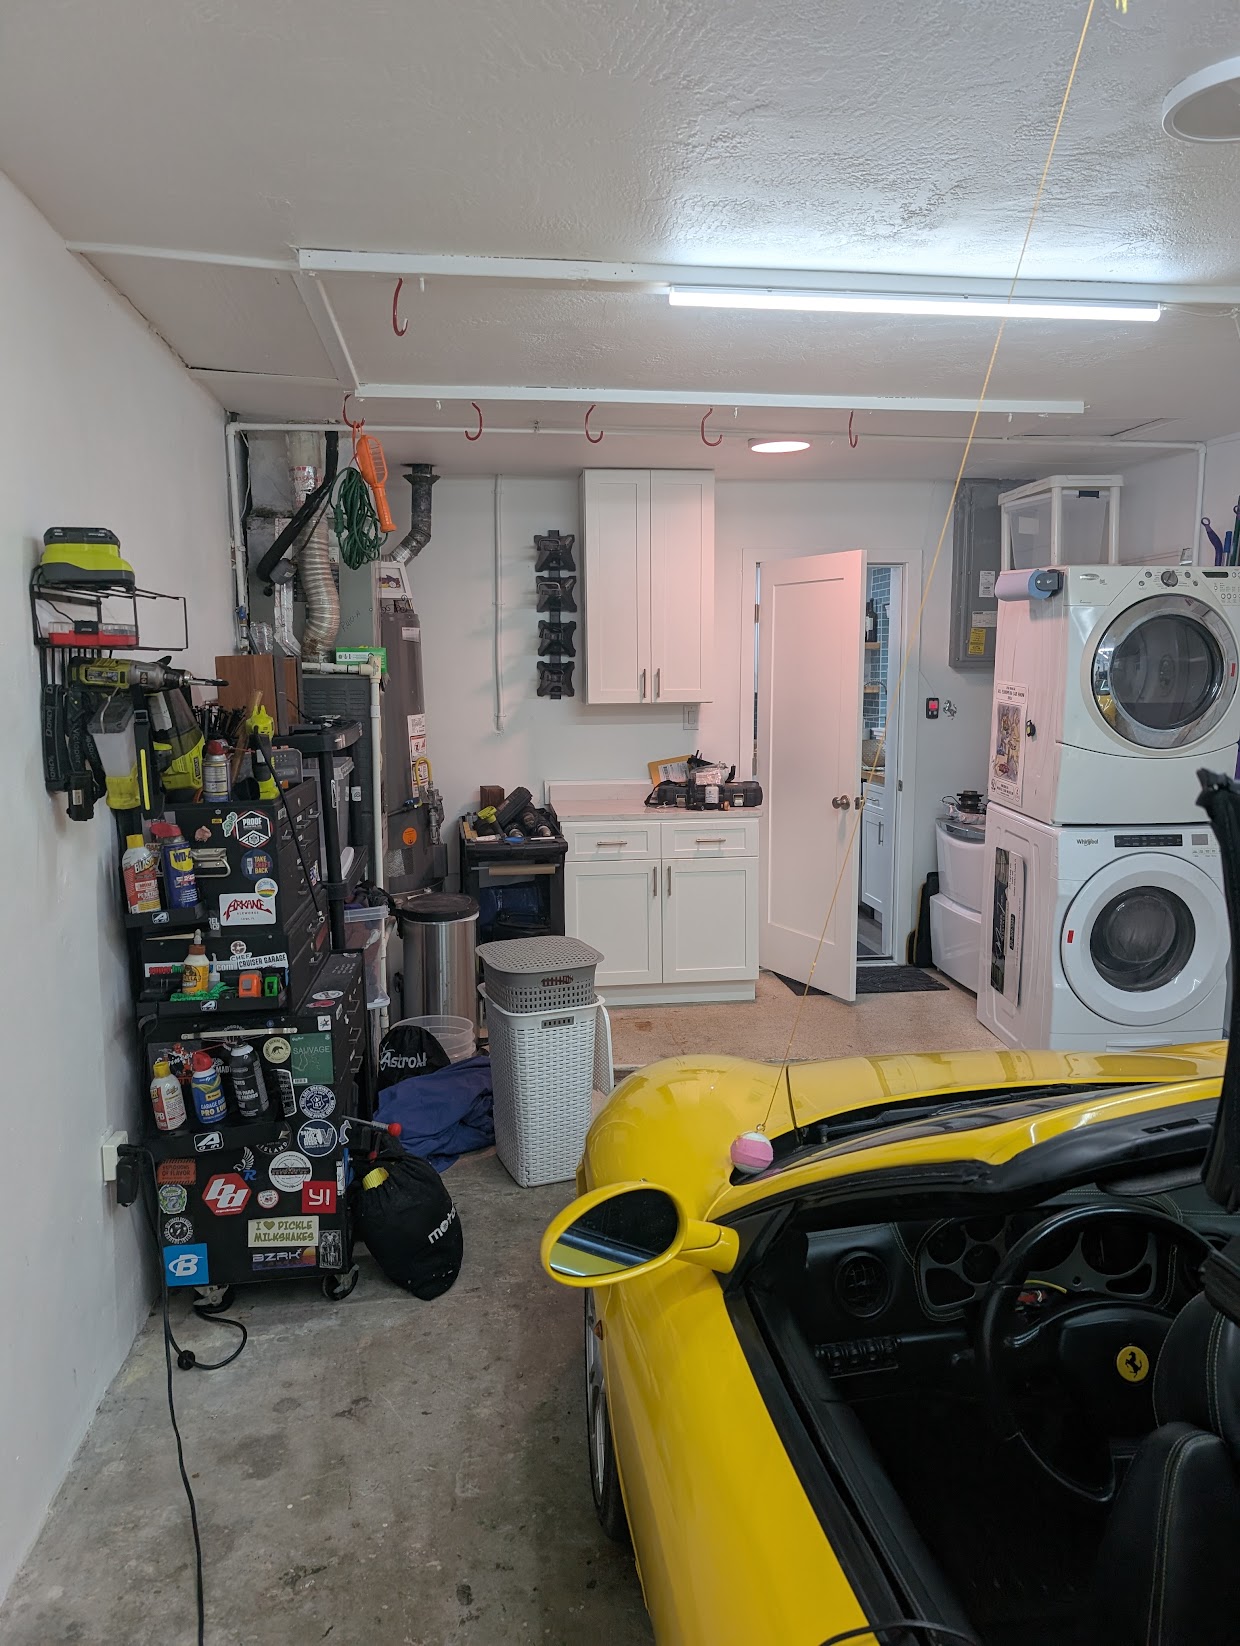
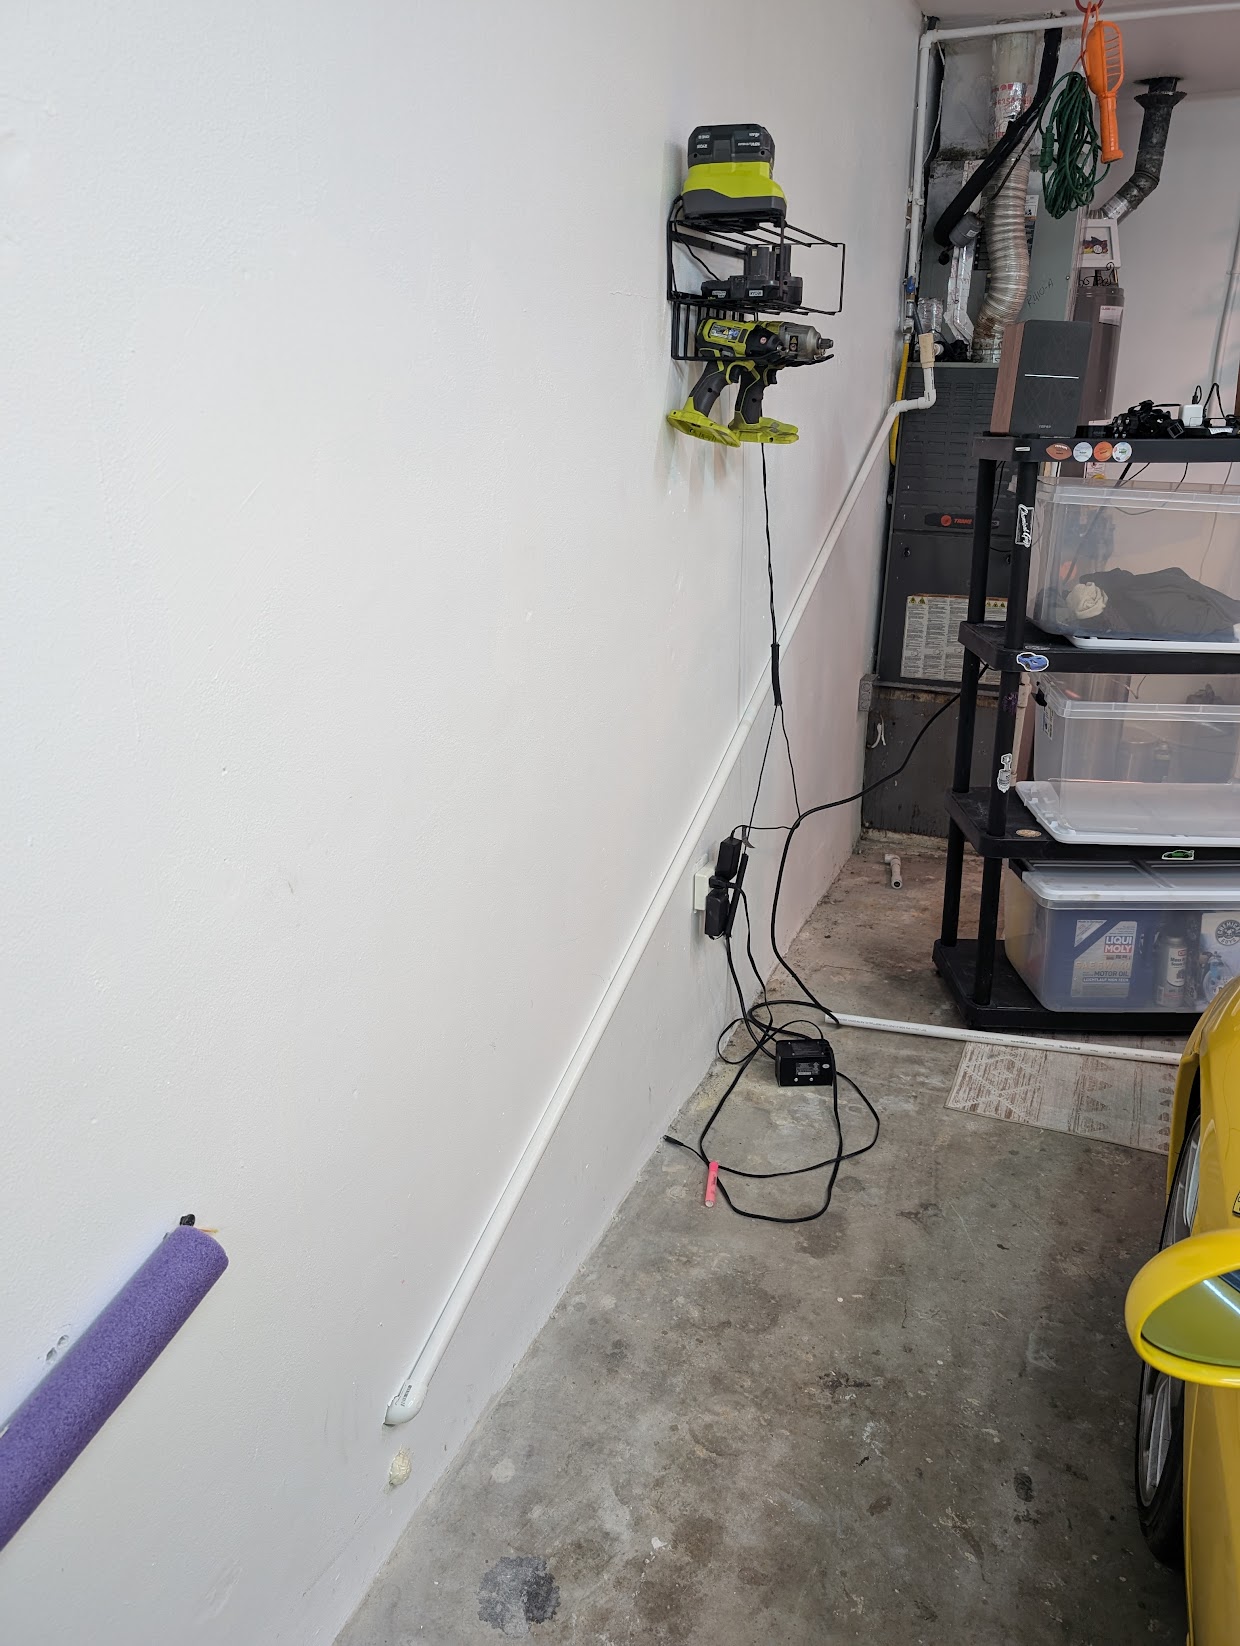
I also bought a power tool organizer to hold my growing number of Ryobi tools.

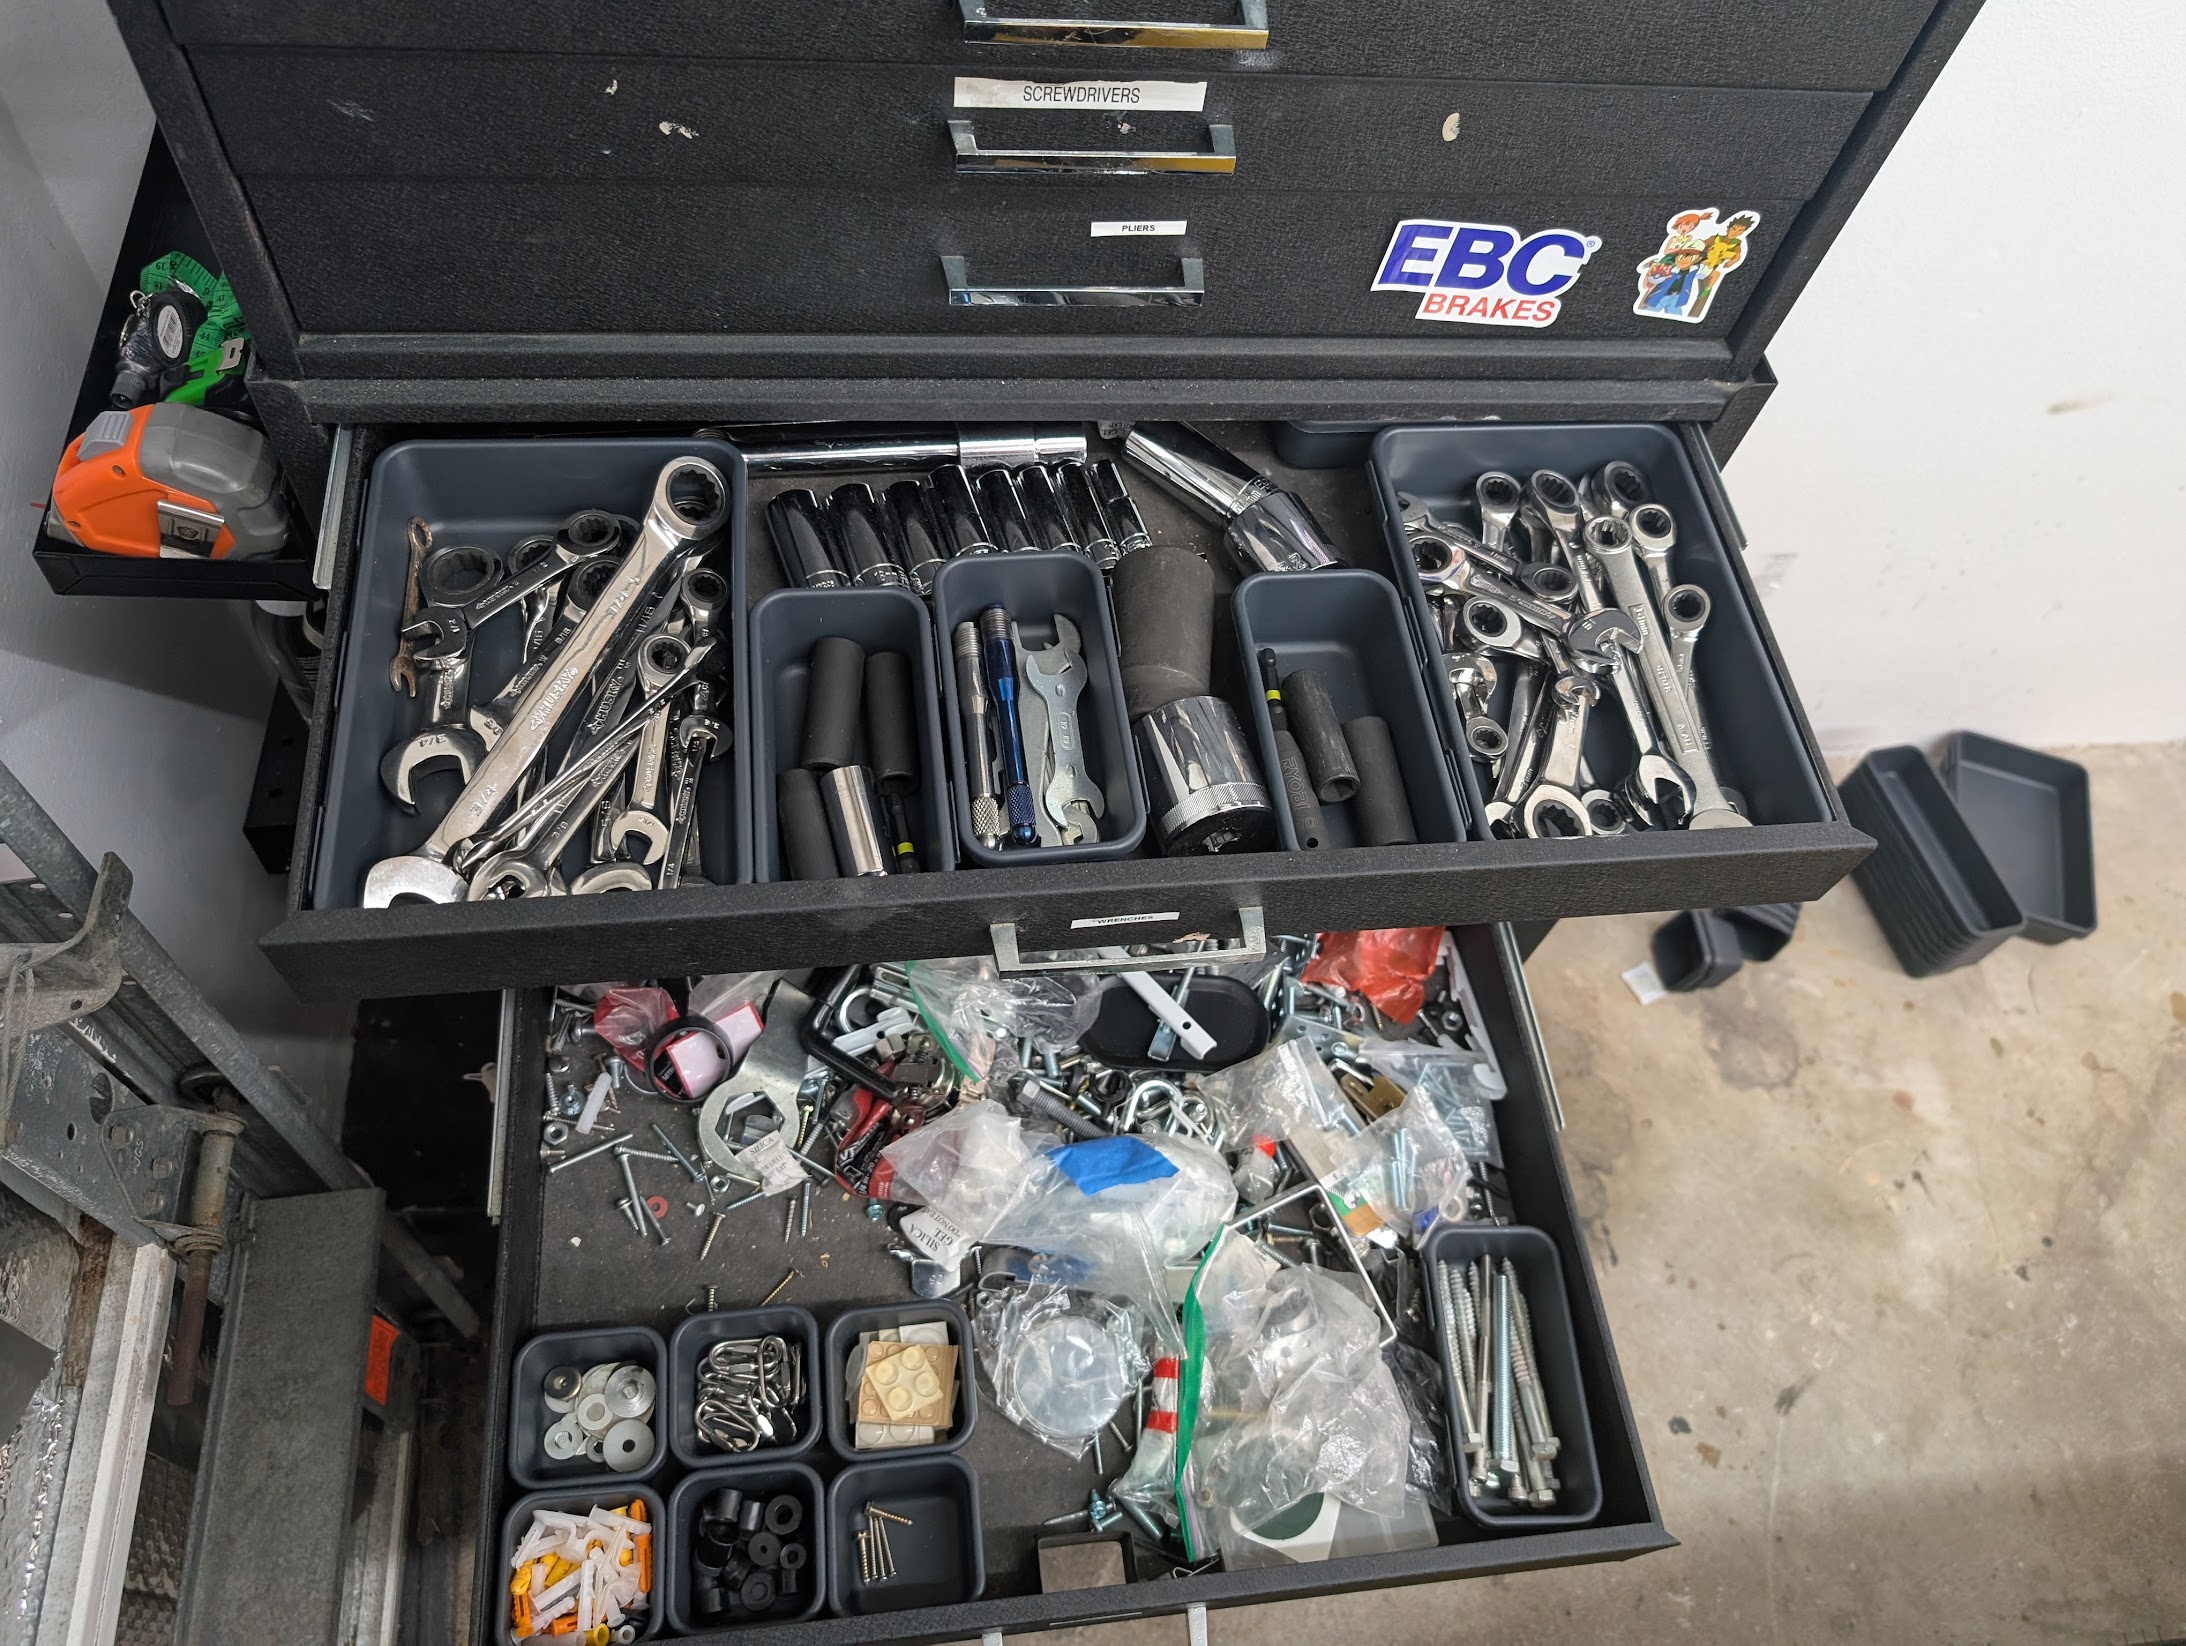
My tool box is pretty great, it was like $100 on Facebook Marketplace many years ago. I have it labelled, which helps finding stuff, but I also bought this set of tool box organizer inserts to keep it better organized. This way I have my metric separated from imperial sockets, flathead separated from phillips screwdrivers, all my assorted hardware is better organized by type, etc. This set was big enough to organize 2-3 tool boxes, so you can share leftovers with your friends and family.
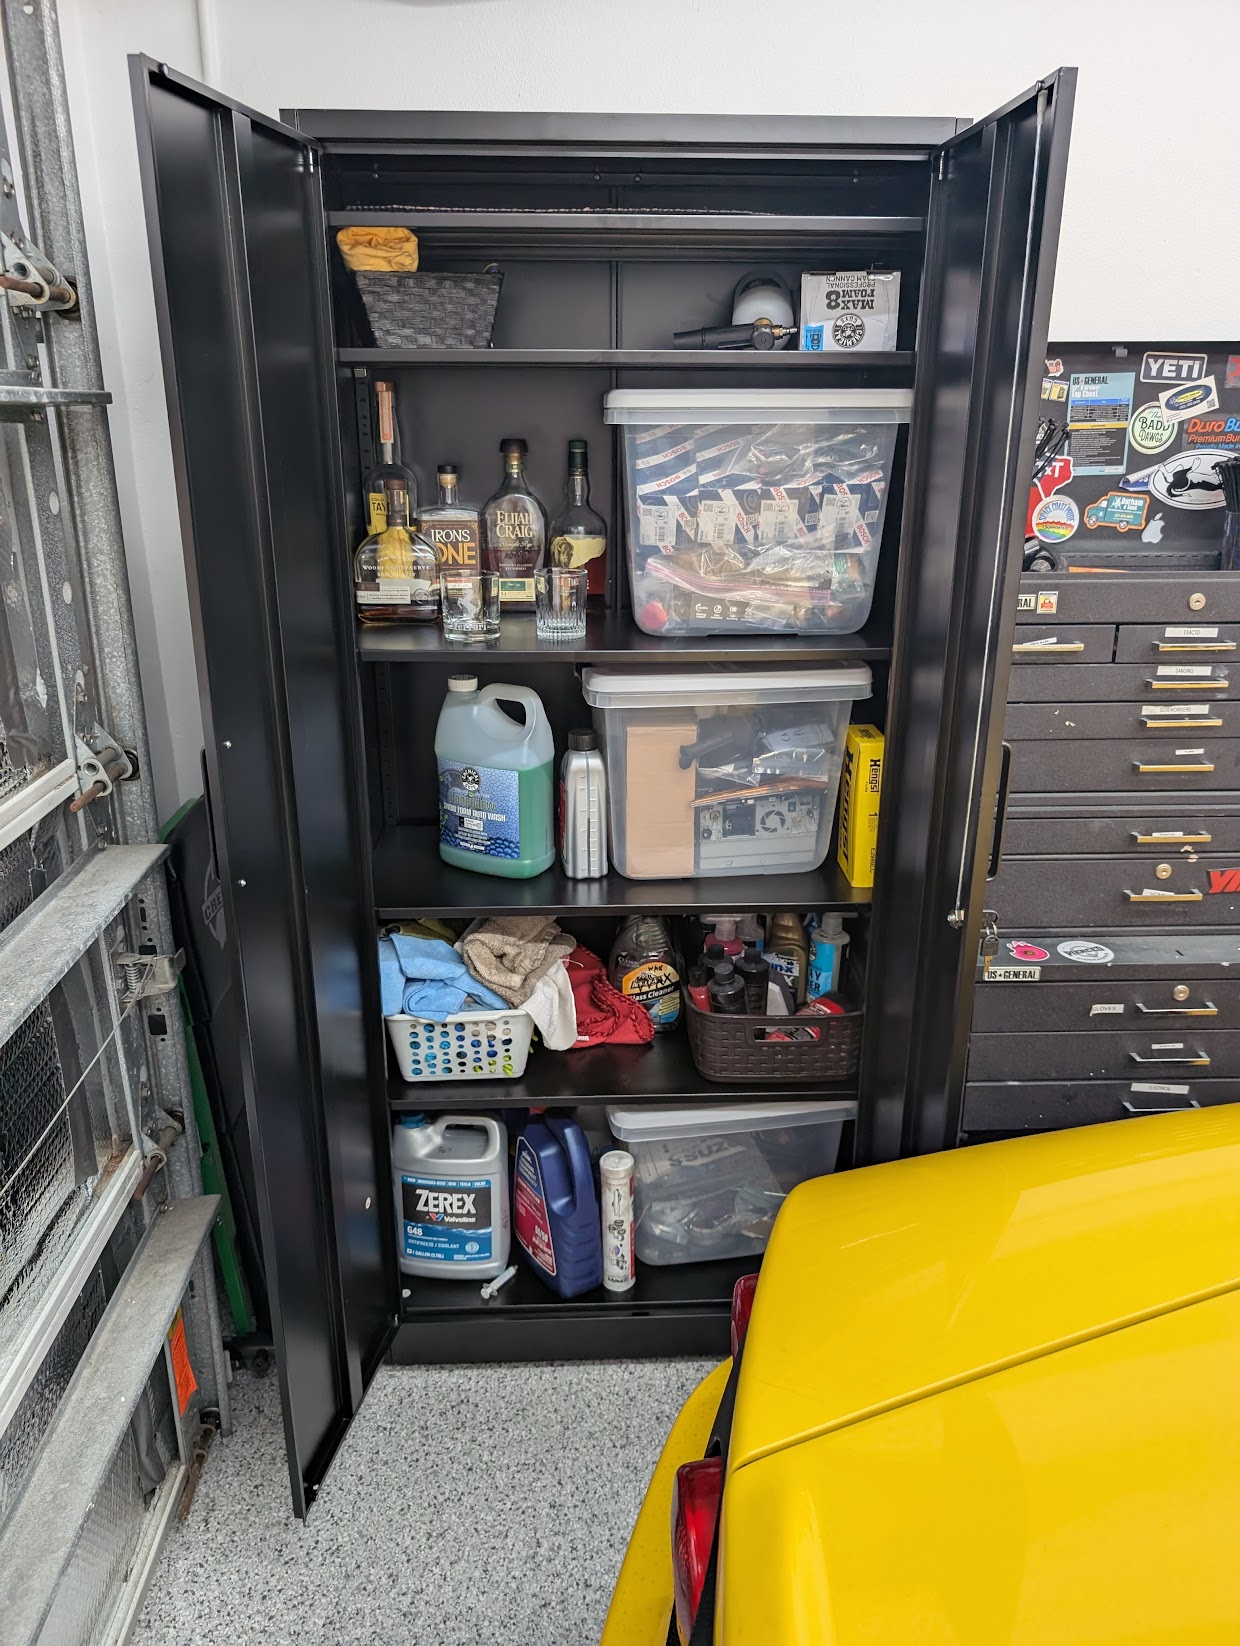
I also bought this new garage storage cabinet, which holds everything I need and looks good. I wanted to get a nicer Husky cabinet, but they were $500 and the sales when they drop to $250 only lasted for a few hours and I could never catch them, so I settled for this one for $140 and I’m happy with it.
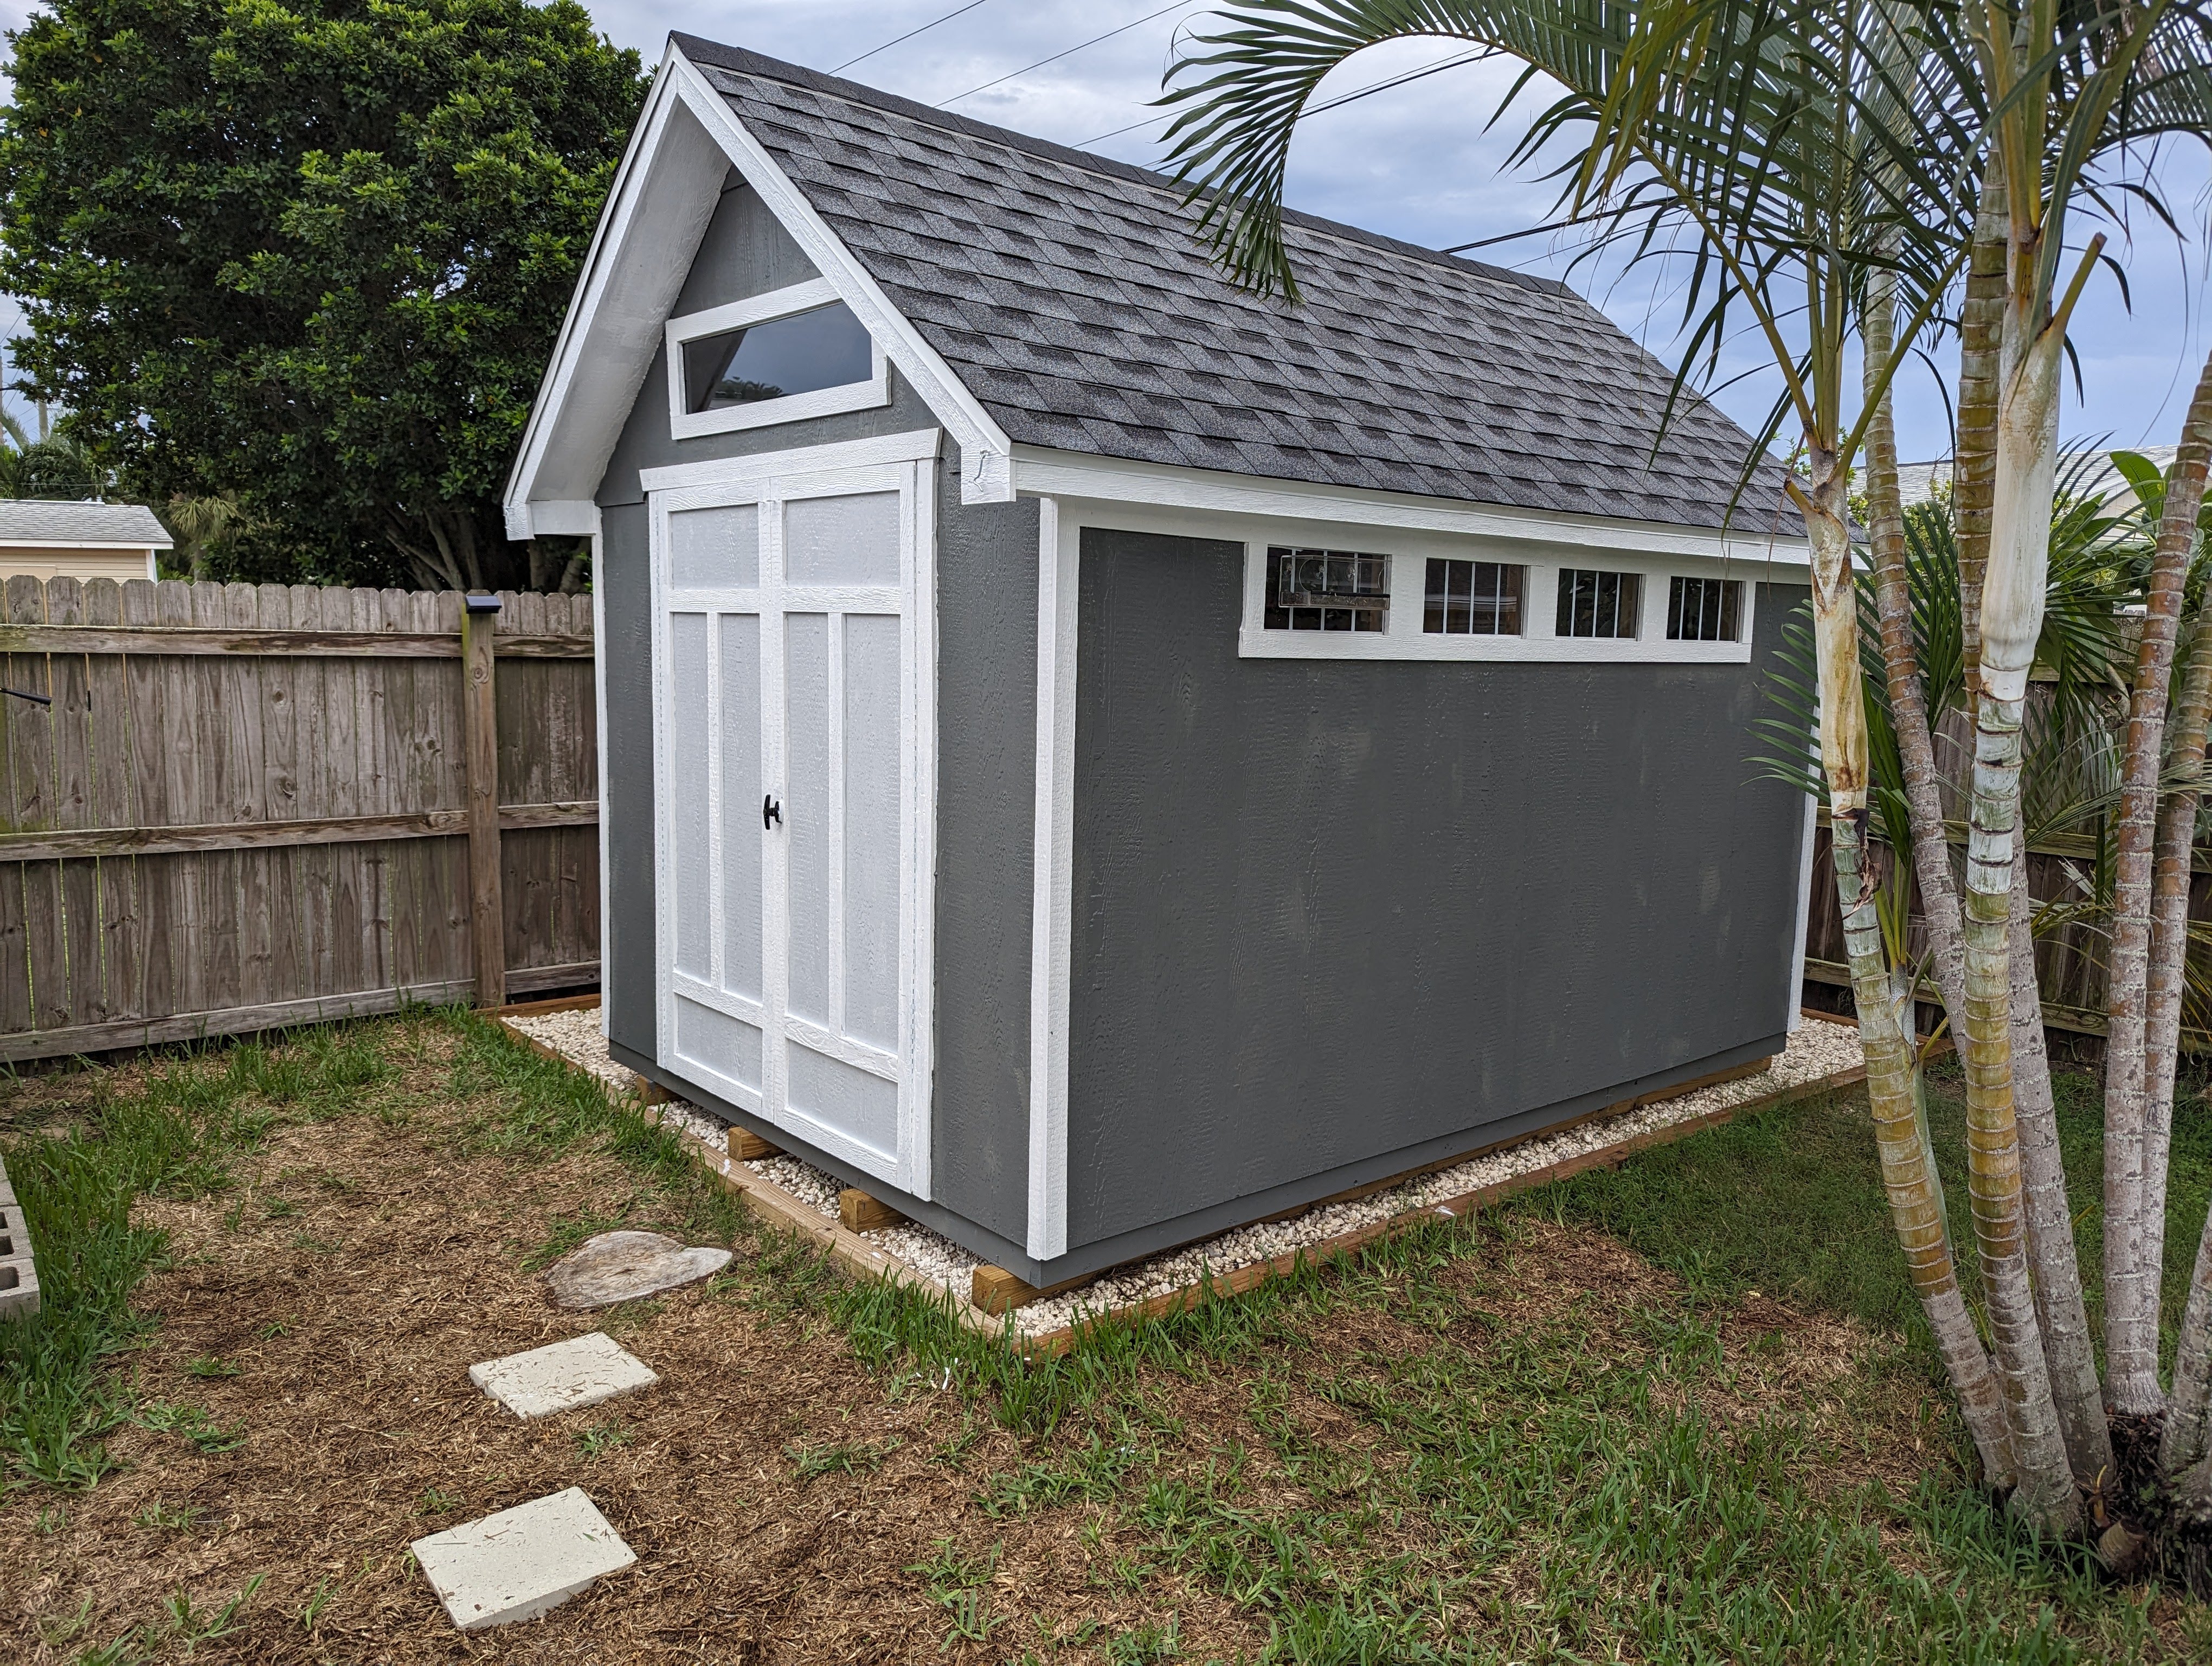
And of course, one of the best things you can do to organize your garage and car stuff is to build a shed and put all your non-car stuff in it.
Floor
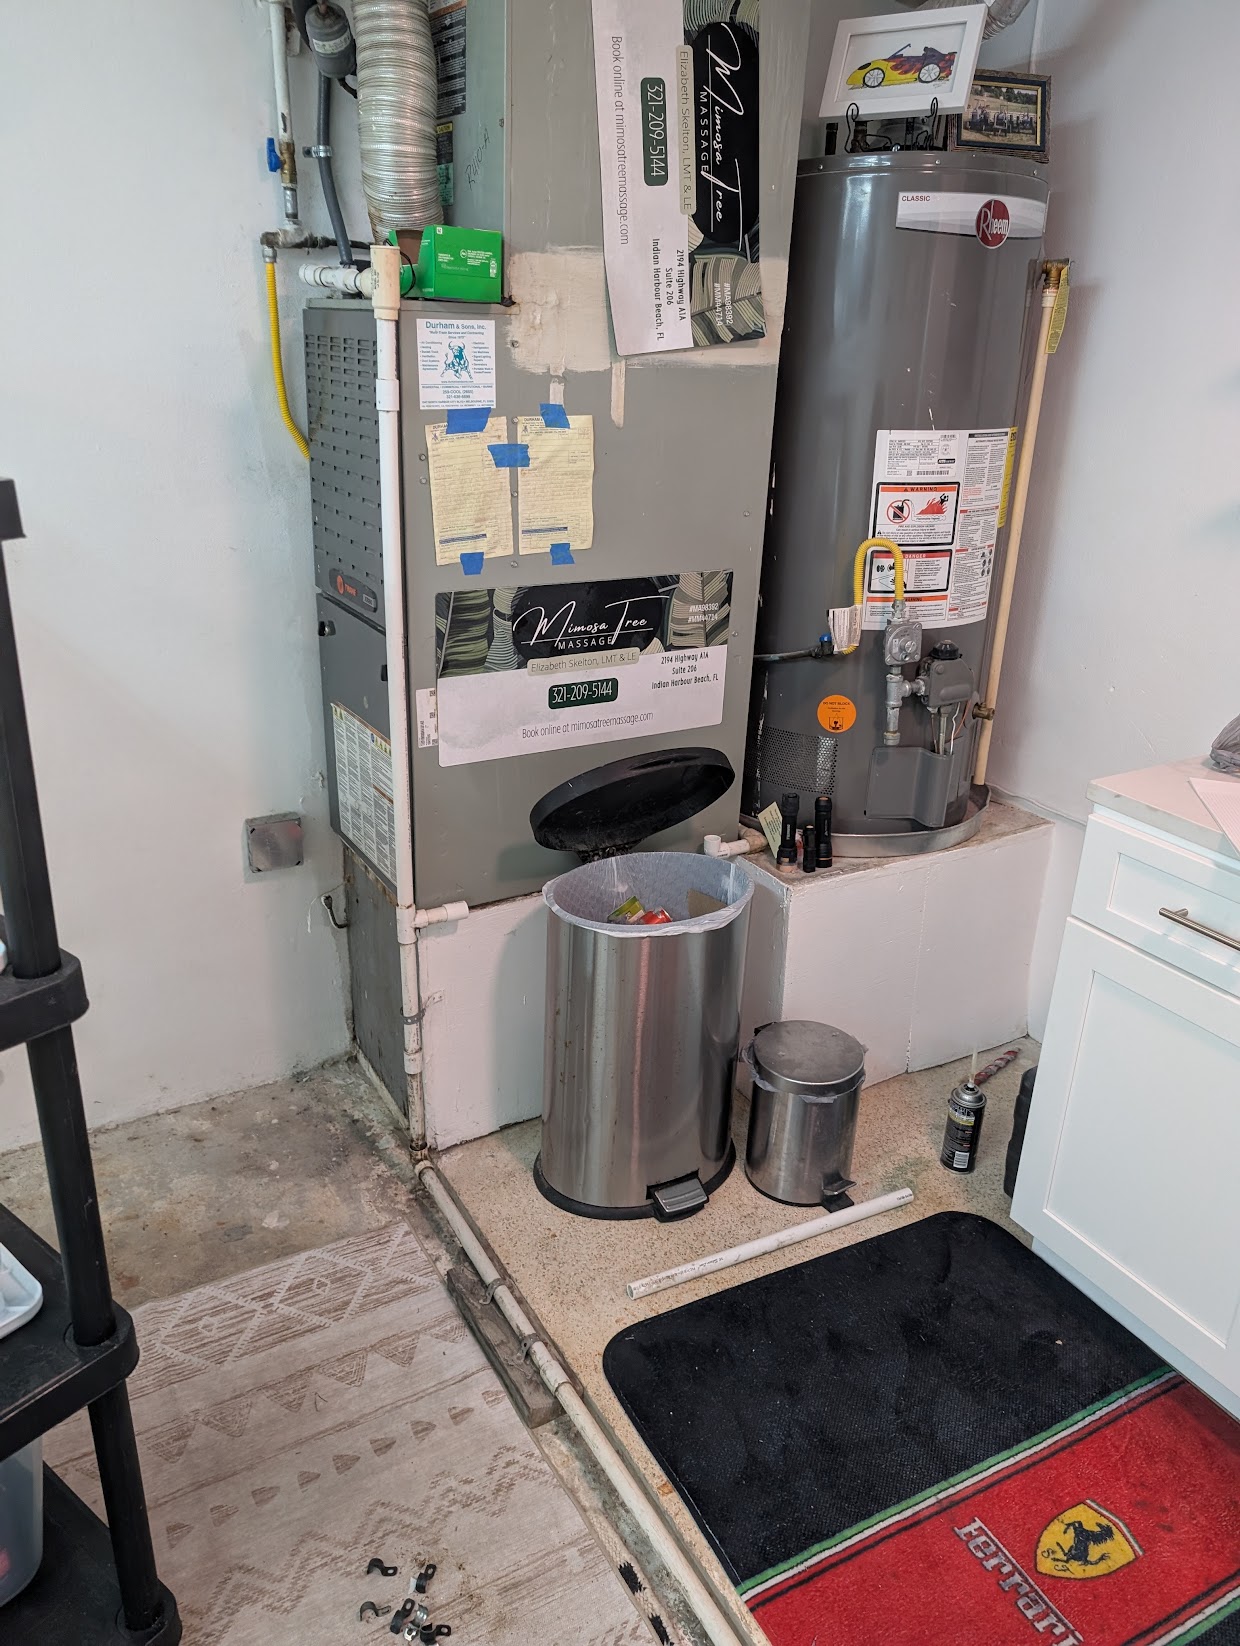
My inside A/C unit is located in the garage, and the A/C drain line ran all the way across the floor and out that side of the house. I didn’t like seeing that PVC running across my garage floor, so I re-routed the drain line to run parallel to the wall that the A/C is already on. I had to drill a big hole through concrete to run the drain outside, and it drain into a planter on my front porch. I was able to re-use my Safe-T switch, so the only cost for this was about $10 in PVC. I made sure to do this before my floors were coated so that the install would look super clean.
Before - drain line running across the floor
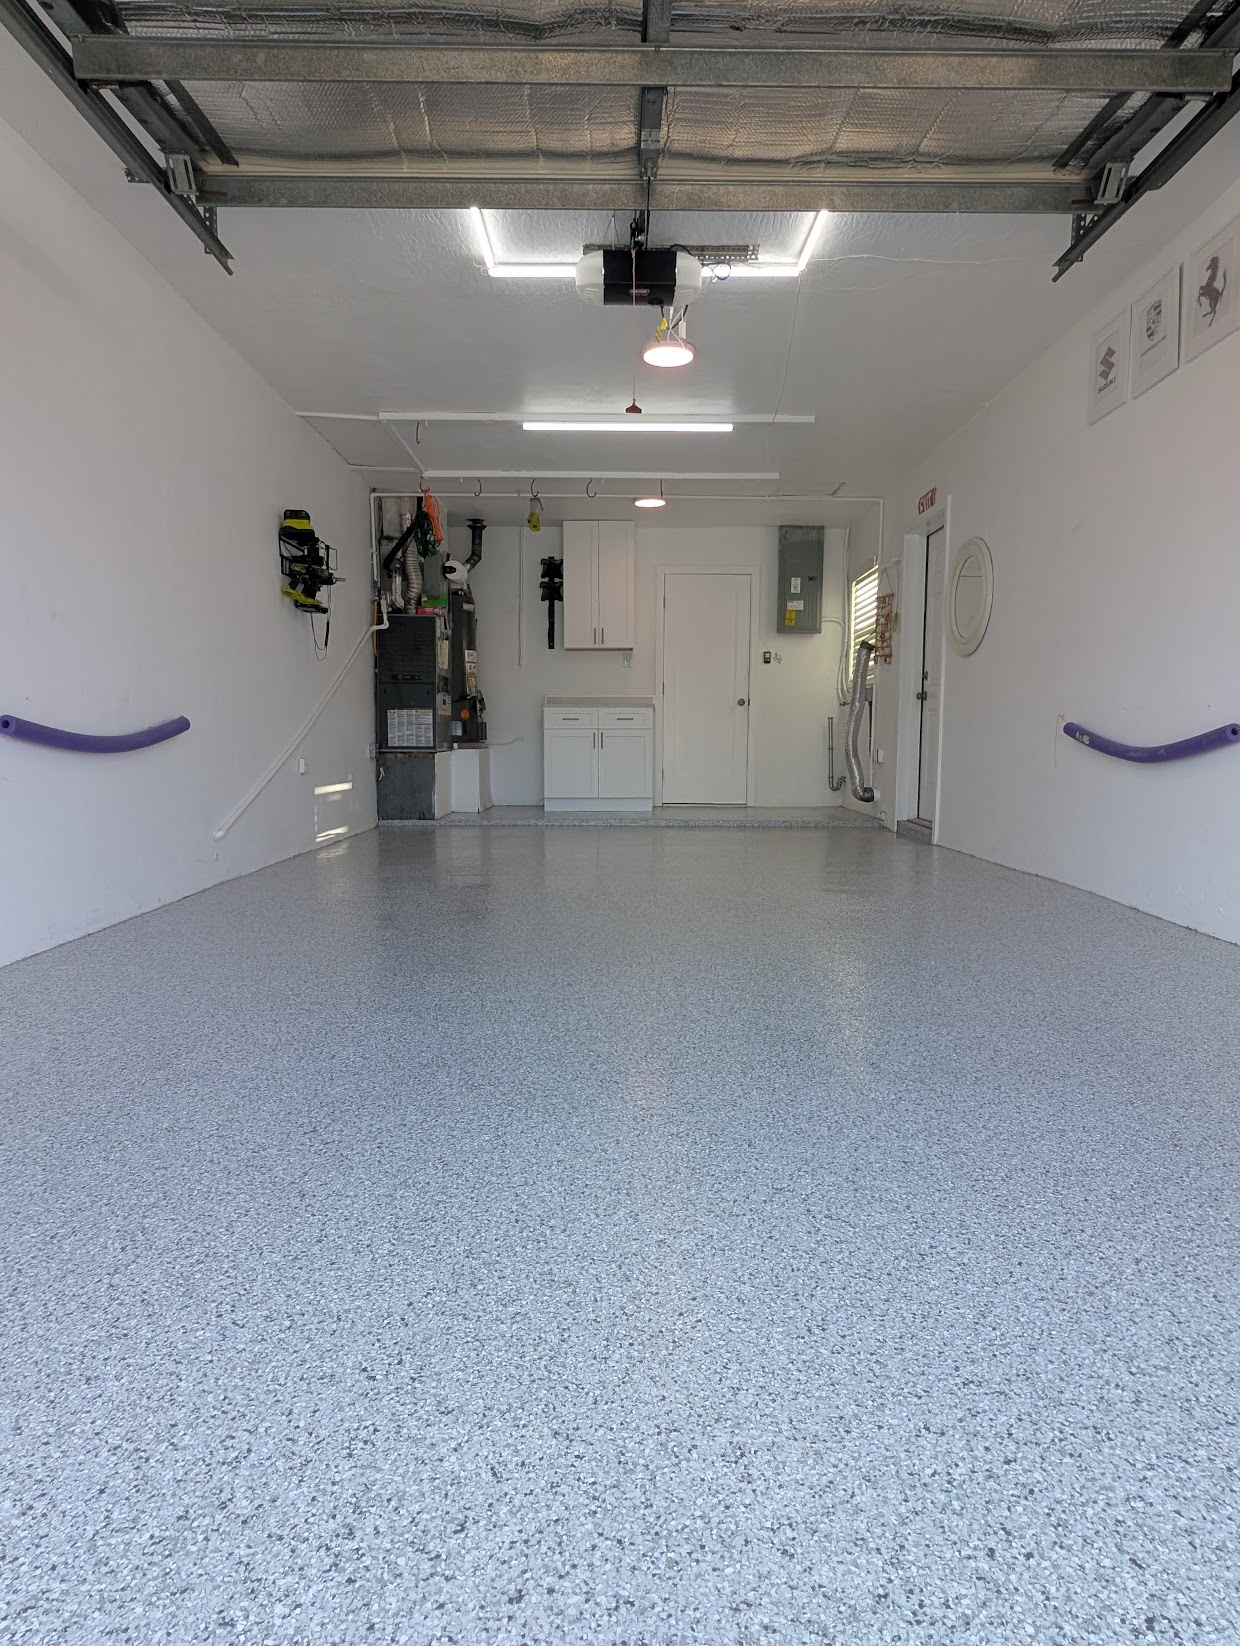
After - drain line runs along the wall

The biggest expense, by far, was the floor. I hired GarageExperts of Brevard to install a new flooring, and I compared 4 different companies. Not only was GarageExperts the cheapest, but I liked their process the best, or tied for the best. Weirdly, the most expensive company only used epoxy. Apparently, epoxy is not as durable as polyaspartic, so since I work on cars in my garage, I need polyaspartic. Epoxy can also yellow over time. The process GarageExperts followed, and a few of the other quotes I had, was to sand and grind the whole garage floor down, fill in any divots, paint the floor in epoxy, throw tons of flake on, wait a bit, knock any excess flake that didn’t stick off, and do a final top coat of polyaspartic. The result was wonderful and the cost was $2,000 for my 378 square foot garage, minus the A/C and cabinet (quoted for 324 sqft). I was quoted $2,000, $2,300, $3,200 and $3,300 for my floors. So it definitely paid off to get multiple quotes. I almost decided not to do my floors when I got my first quote of $3,300, and I’m glad I kept looking.
Garage floor before
Garage floor after
Once the floor was done, I had to wait a few days to move everything back in, but once I did I tried to optimize my storage, especially around my washer/dryer area. I was able to shove them even further into the corner and get a few extra inches in my garage by redoing the washer drain!
Final Things
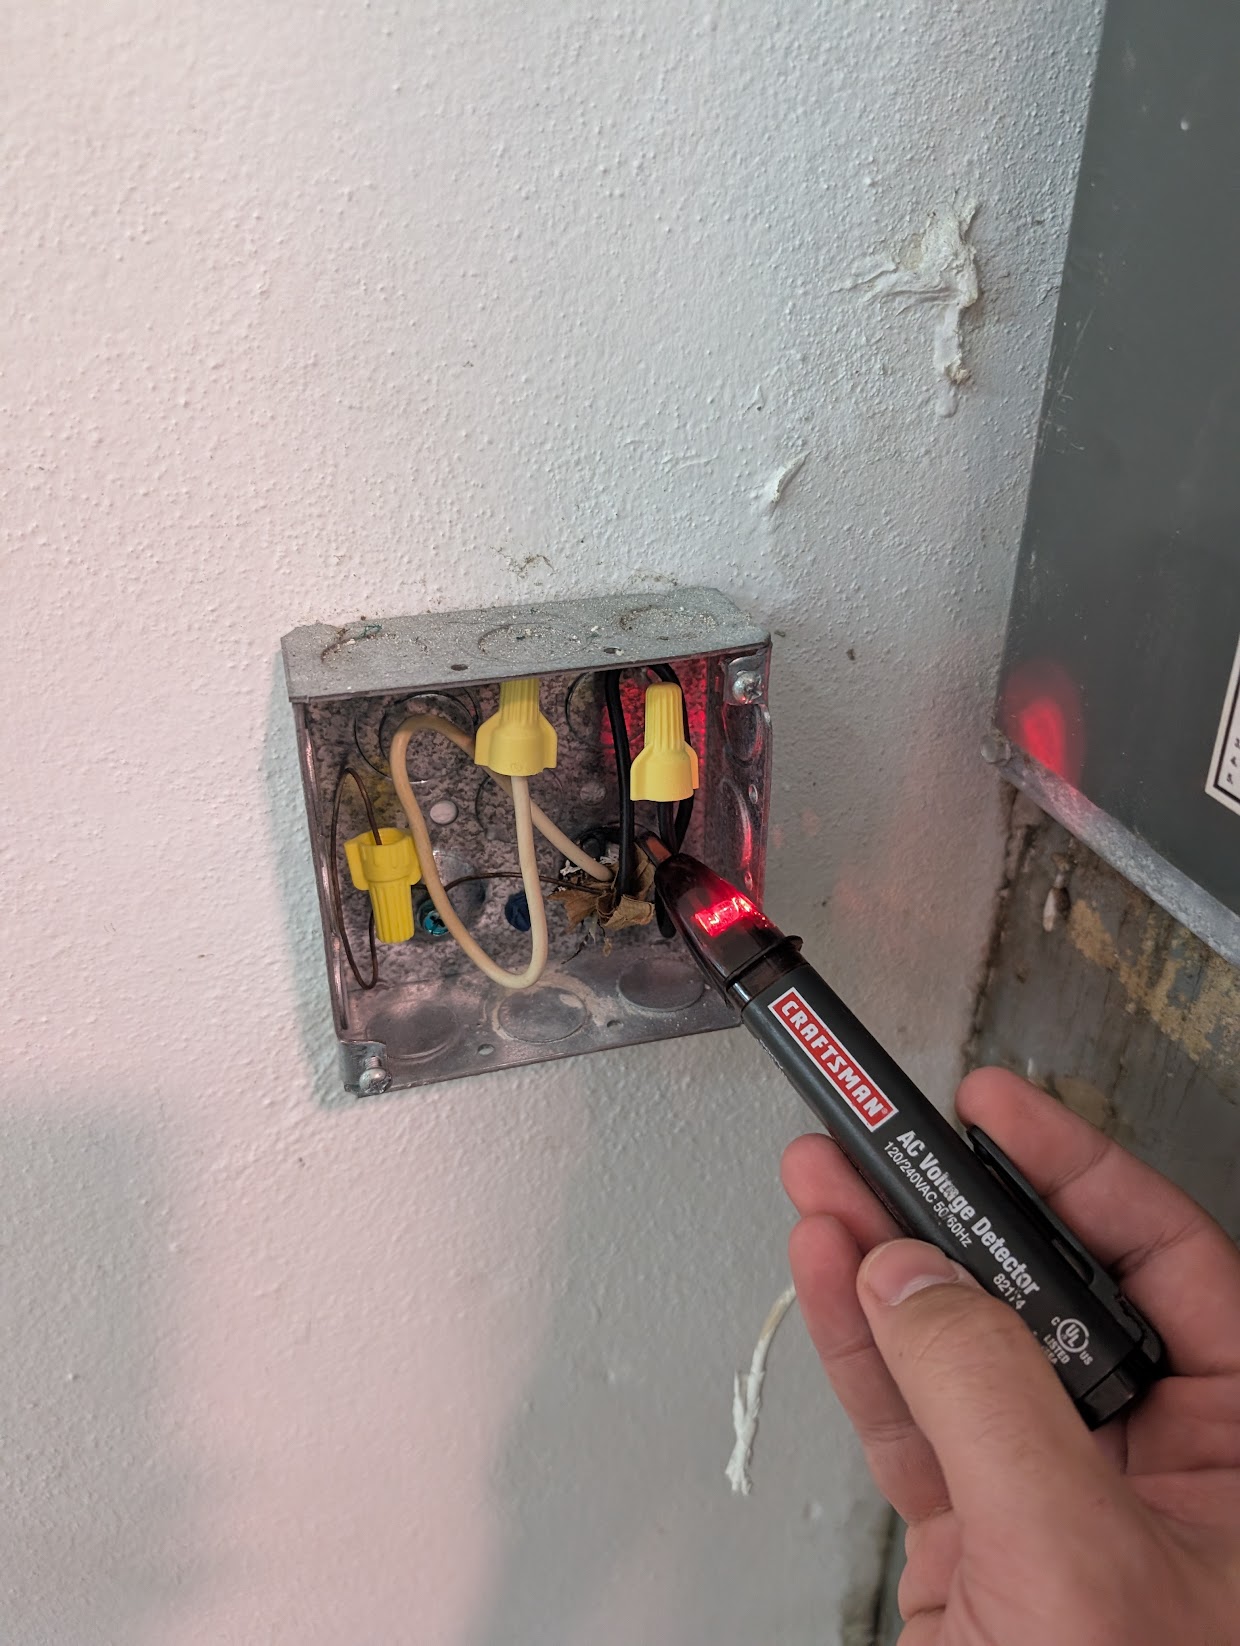
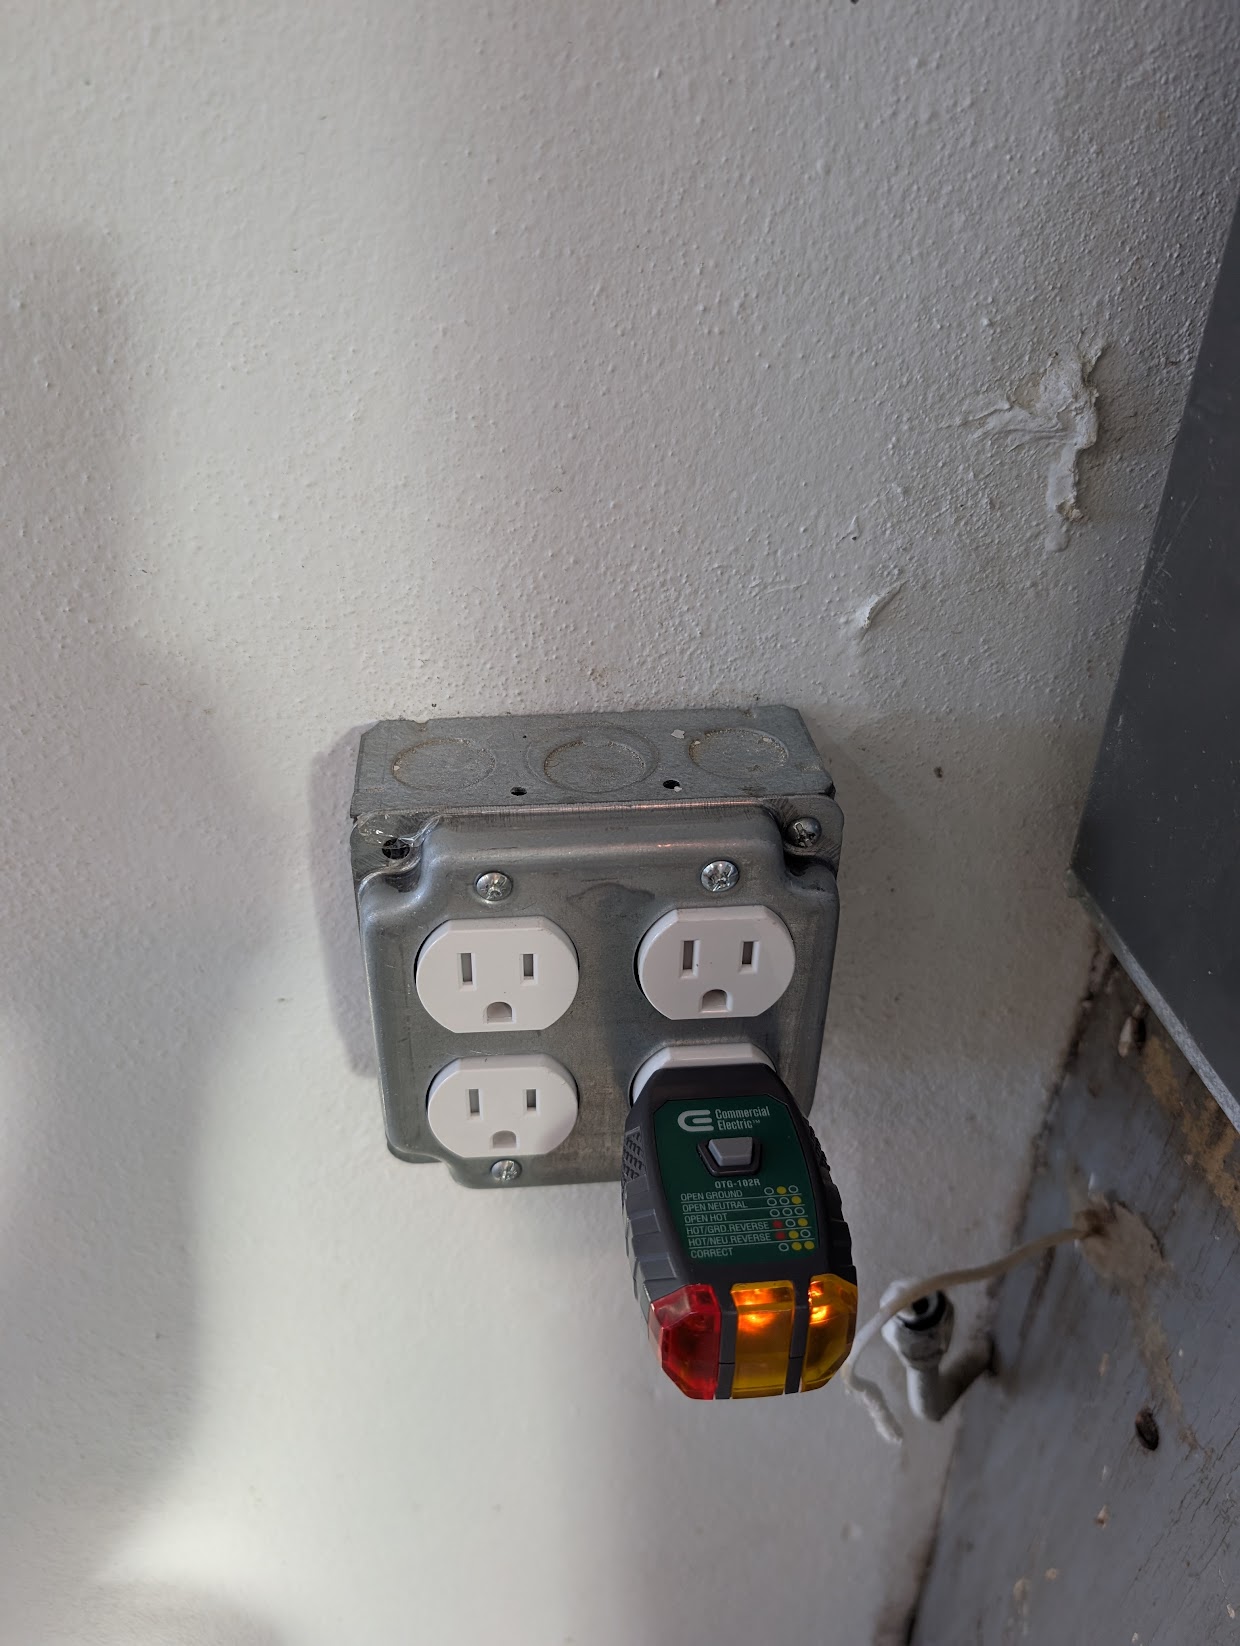
I found a metal junction box with live power in it that wasn’t being used, so I wired that into 4 outlets, then bought an electronic drum set to use there. I also brought some old rugs from my wife’s massage business, Mimosa Tree Massage, and used those as drum and “laundry room” rugs.
A few things I did once we purchased the house were to put a tennis ball hanging from the ceiling, so I never pulled too far forward, and to put pool noodles on the walls, so that the doors don’t hit the concrete walls. Total cost for those was $0.
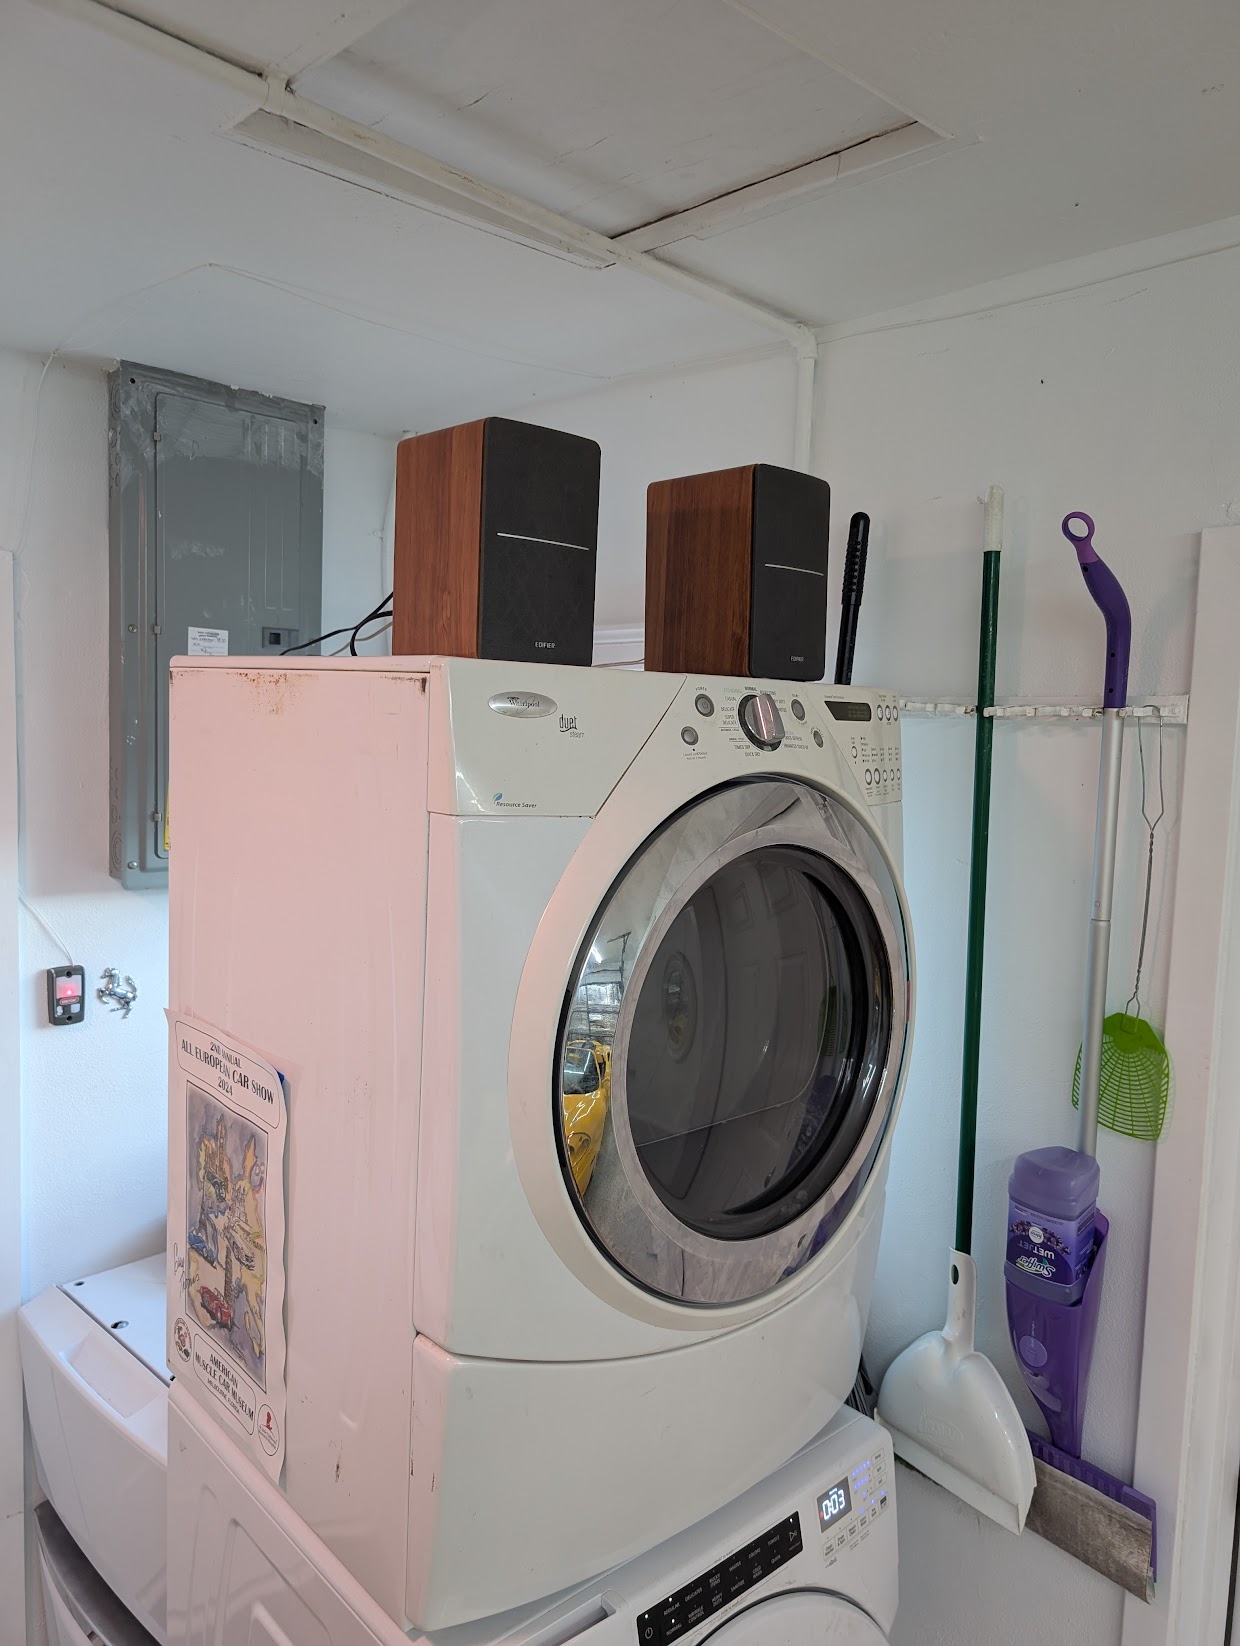
I put an extra Alexa in the garage, and hooked up the audio output to some Edifier speakers I’ve had for a while, so I can jam out while I’m working on the cars.
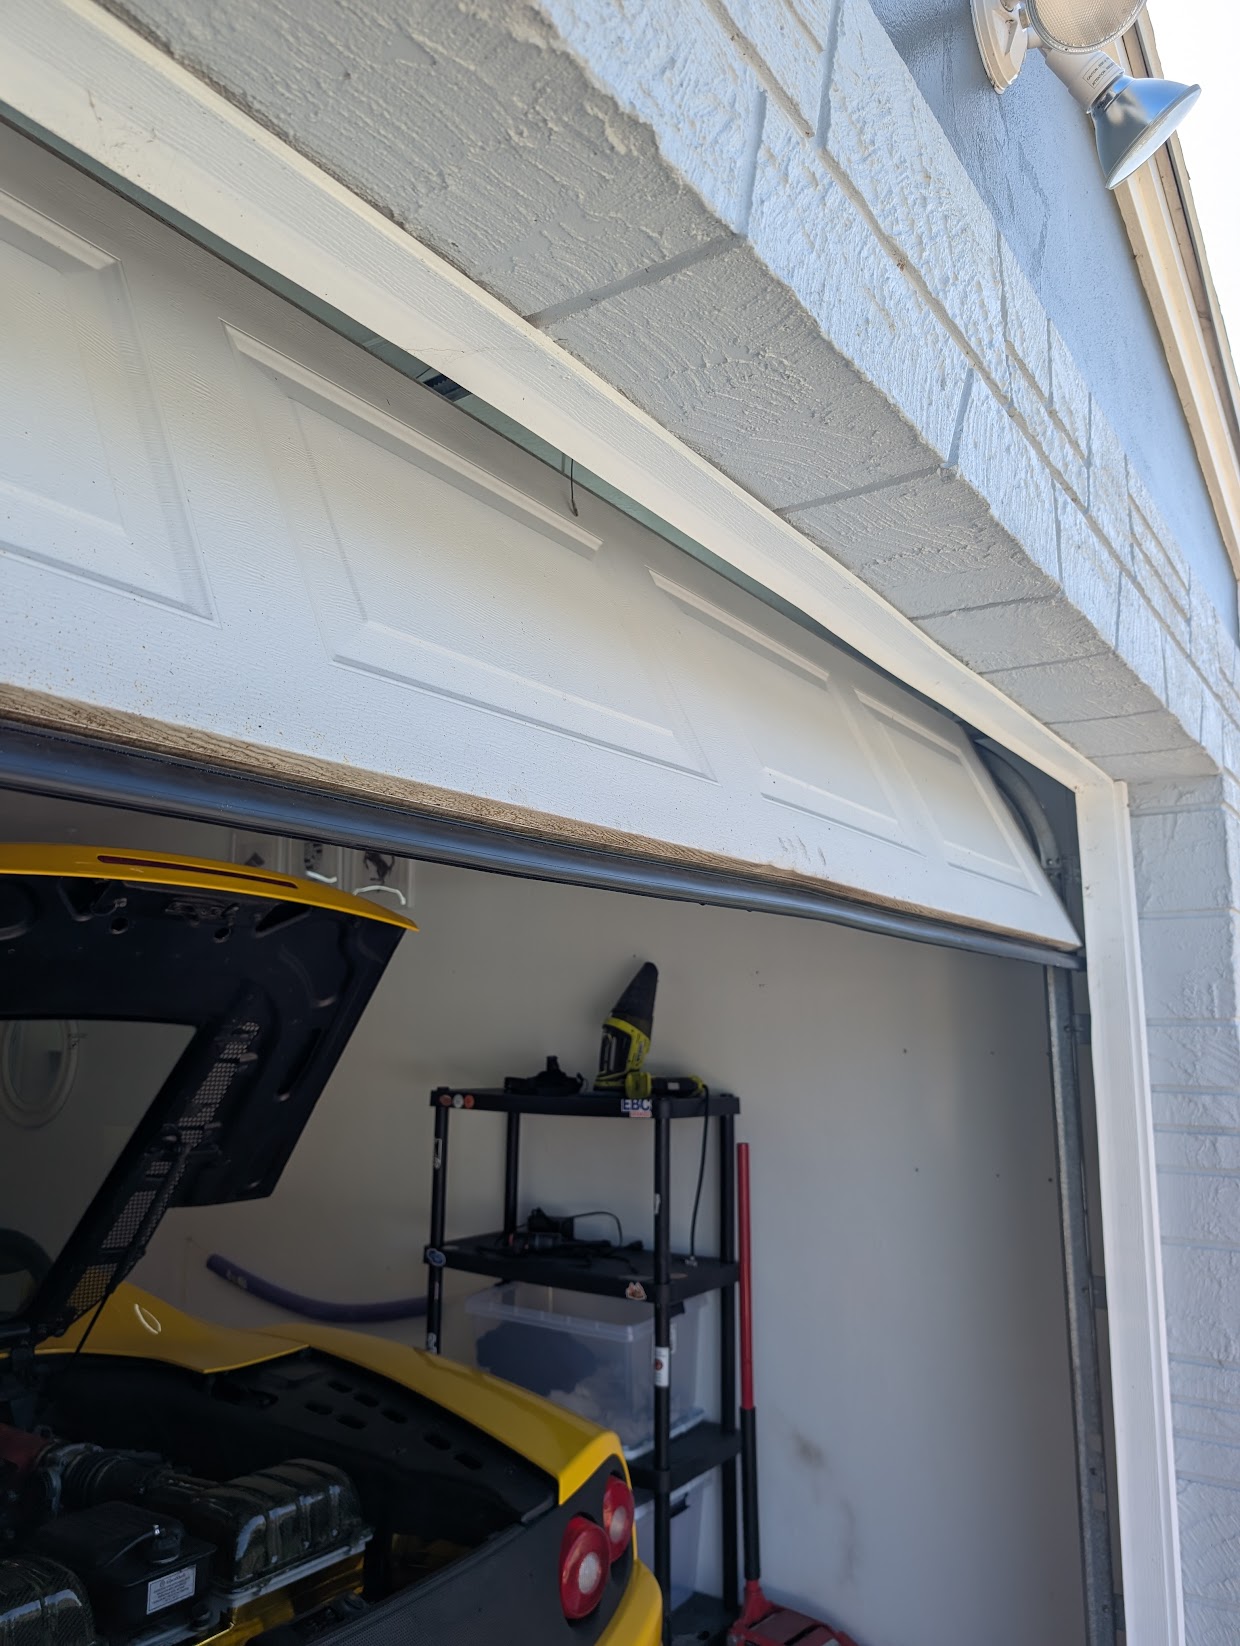
And 2 final things I did were to install a rubber threshold seal for the floor under the garage door, and a P bulb garage door bottom seal. I only needed 9 feet due to being a 1 car garage. The bottom seal involved measuring, marking, caulking, then letting it sit for a day to cure. This step is DEFINITELY needed - I thought I could go without it once my floors were redone, but the first week after completion, it rained. The rain hit my garage door, then ran under the door, and I found a pretty big puddle in the morning.
This bottom threshold helped, but didn’t prevent it as I found out, as my existing garage doors seal was cut about a foot short for some reason previously. So I bought the P bulb style seal due to the bottom of my door just having a single track for a seal (as opposed to 2 which seems more common). I removed the old seal but cutting it out with an exacto knife, then cleaned it and lubed the track with WD-40 before sliding the new seal in. Finally, I cut the seal, and adjusted the opening height of my garage door due to the difference in the height in the old and new seal. And THIS actually kept water out of my garage during heavy rain.
So that’s how I turned my little garage into a great new workspace that looks much better.