
Ferrari 360 - Dashcam Install
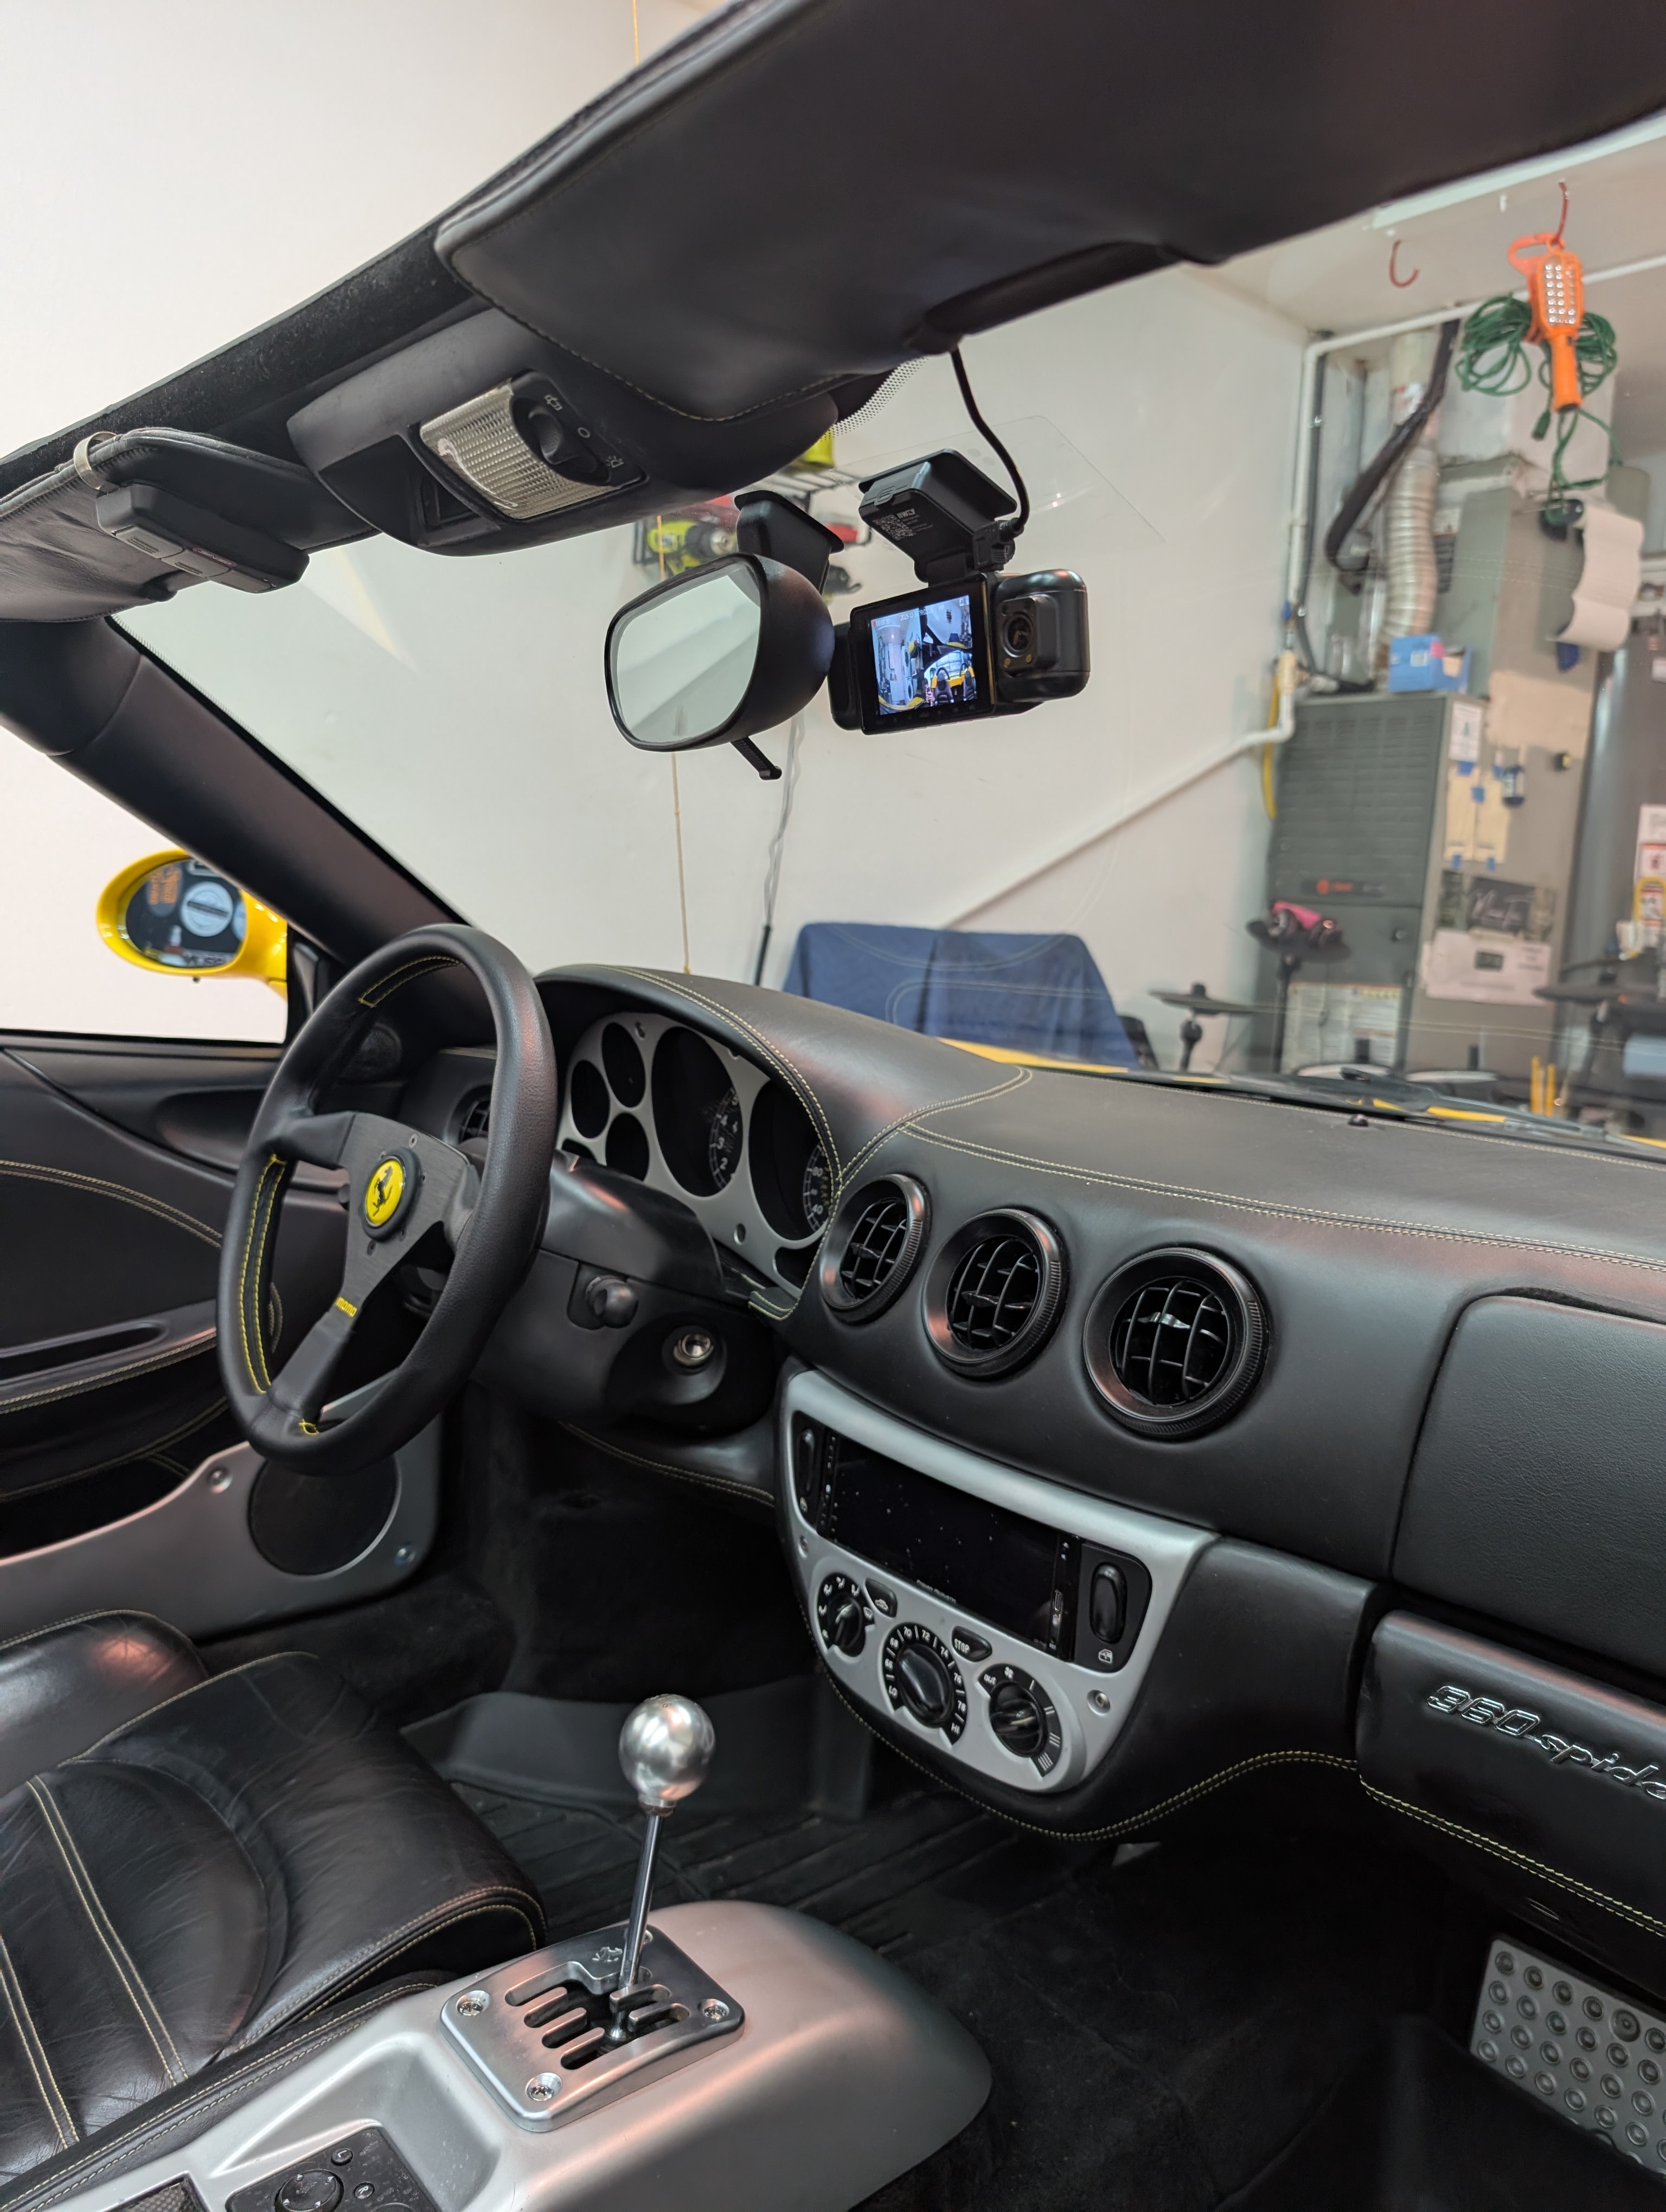
I installed a IIWEY N5 dashcam in my 2001 Ferrari 360 Spider by hardwiring it to the fuse box and a ground. This dashcam has 3 cameras. One faces forward like you’d expect a dashcam to, and 2 cameras are adjustable. I have one camera pointing towards the cockpit, mostly the passenger, and one facing to the left of the car, because the camera is behind the mirror. It also comes with an optional rear facing camera, but I haven’t figured out where I will put that, since my 360 is usually driven top down. Wiring in the reverse camera looks simple though, you just attach it to the dashcam itself, no additional power source needed.
Parts and Tools Required
- IIWEY N5 dashcam
- USB-CHardwire install kit - shorter if doing constant power, much longer than 13ft if doing switched power
- Trim tool - useful for hiding wires
- Philips head screwdriver
To hardwire a dashcam on the 360, you can choose to do switched power (dashcam only comes on when the car is on), or constant power (dash cam is always on). Switched is beneficial because you’ll never drain your battery, and constant is useful if you want the dashcam recording ever when you’re stopped, such as in a parking lot. I’ll show you how to do both.
There’s also a 3rd, less cool option, which is to plug it into your cigarette lighter in the center console, but that’s not as clean. The IIWEY N5 dashcam came with an accessory cord if you want to use this route.
Option 1 - Switched Power
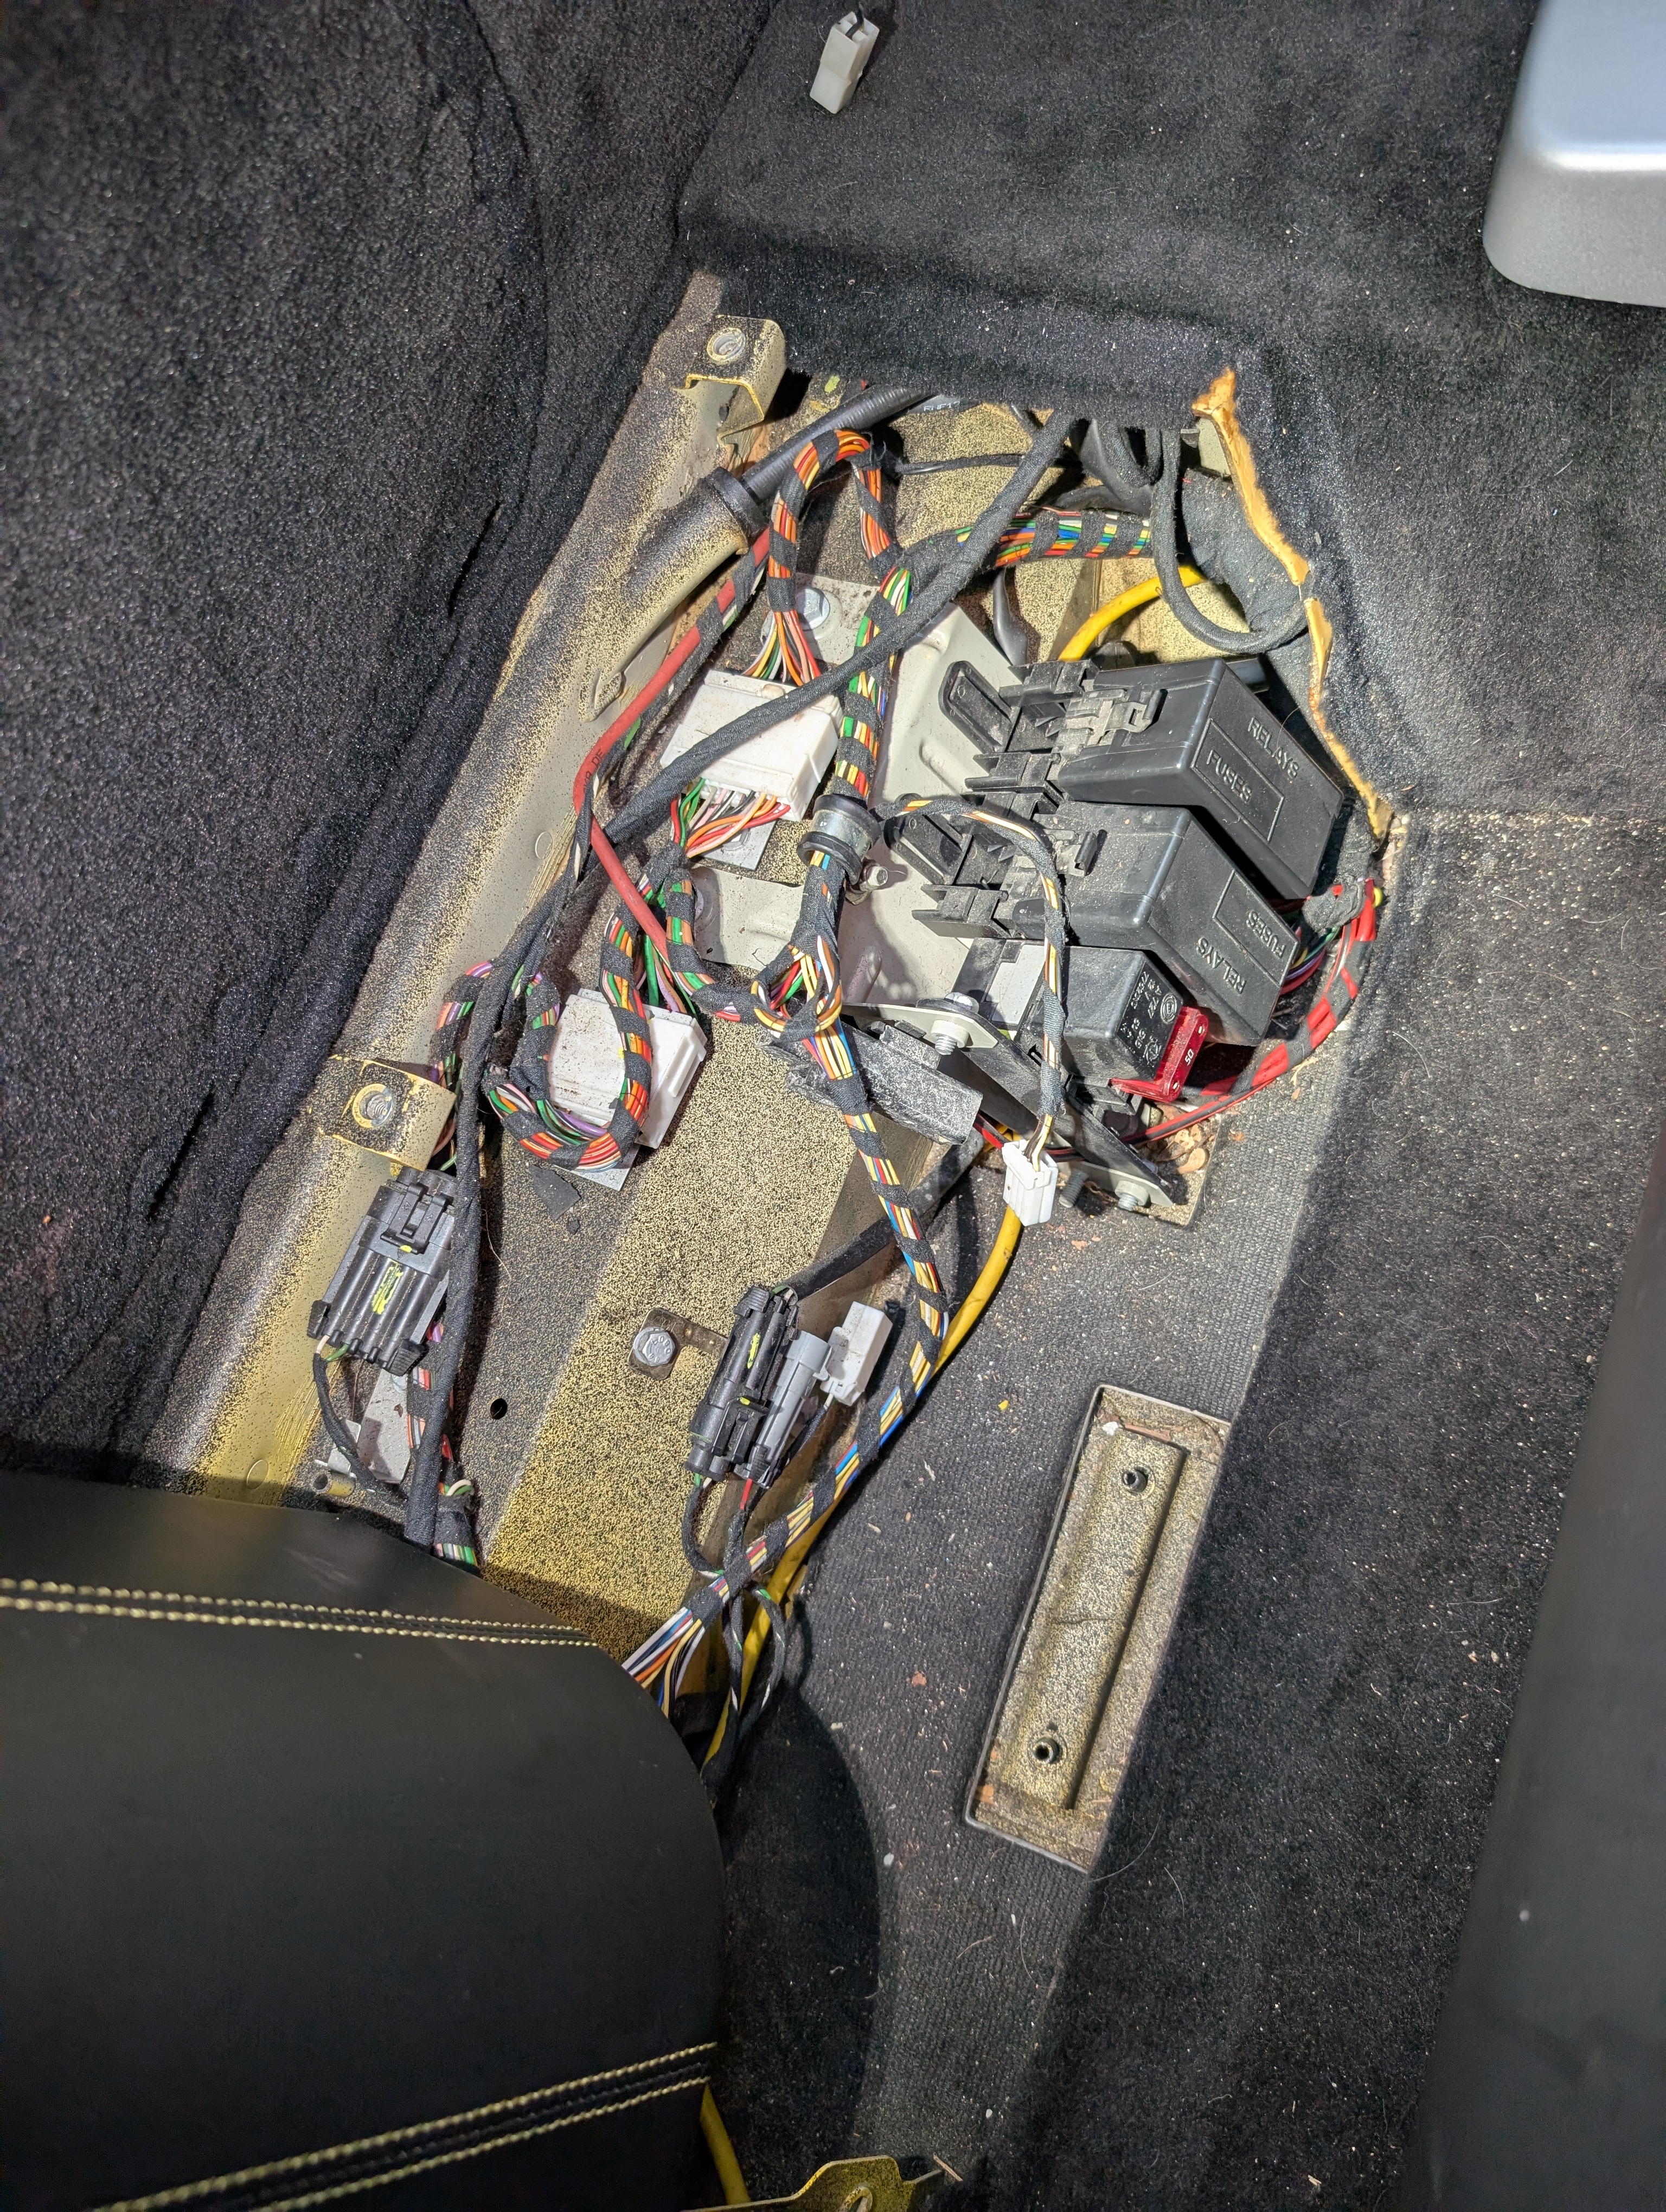
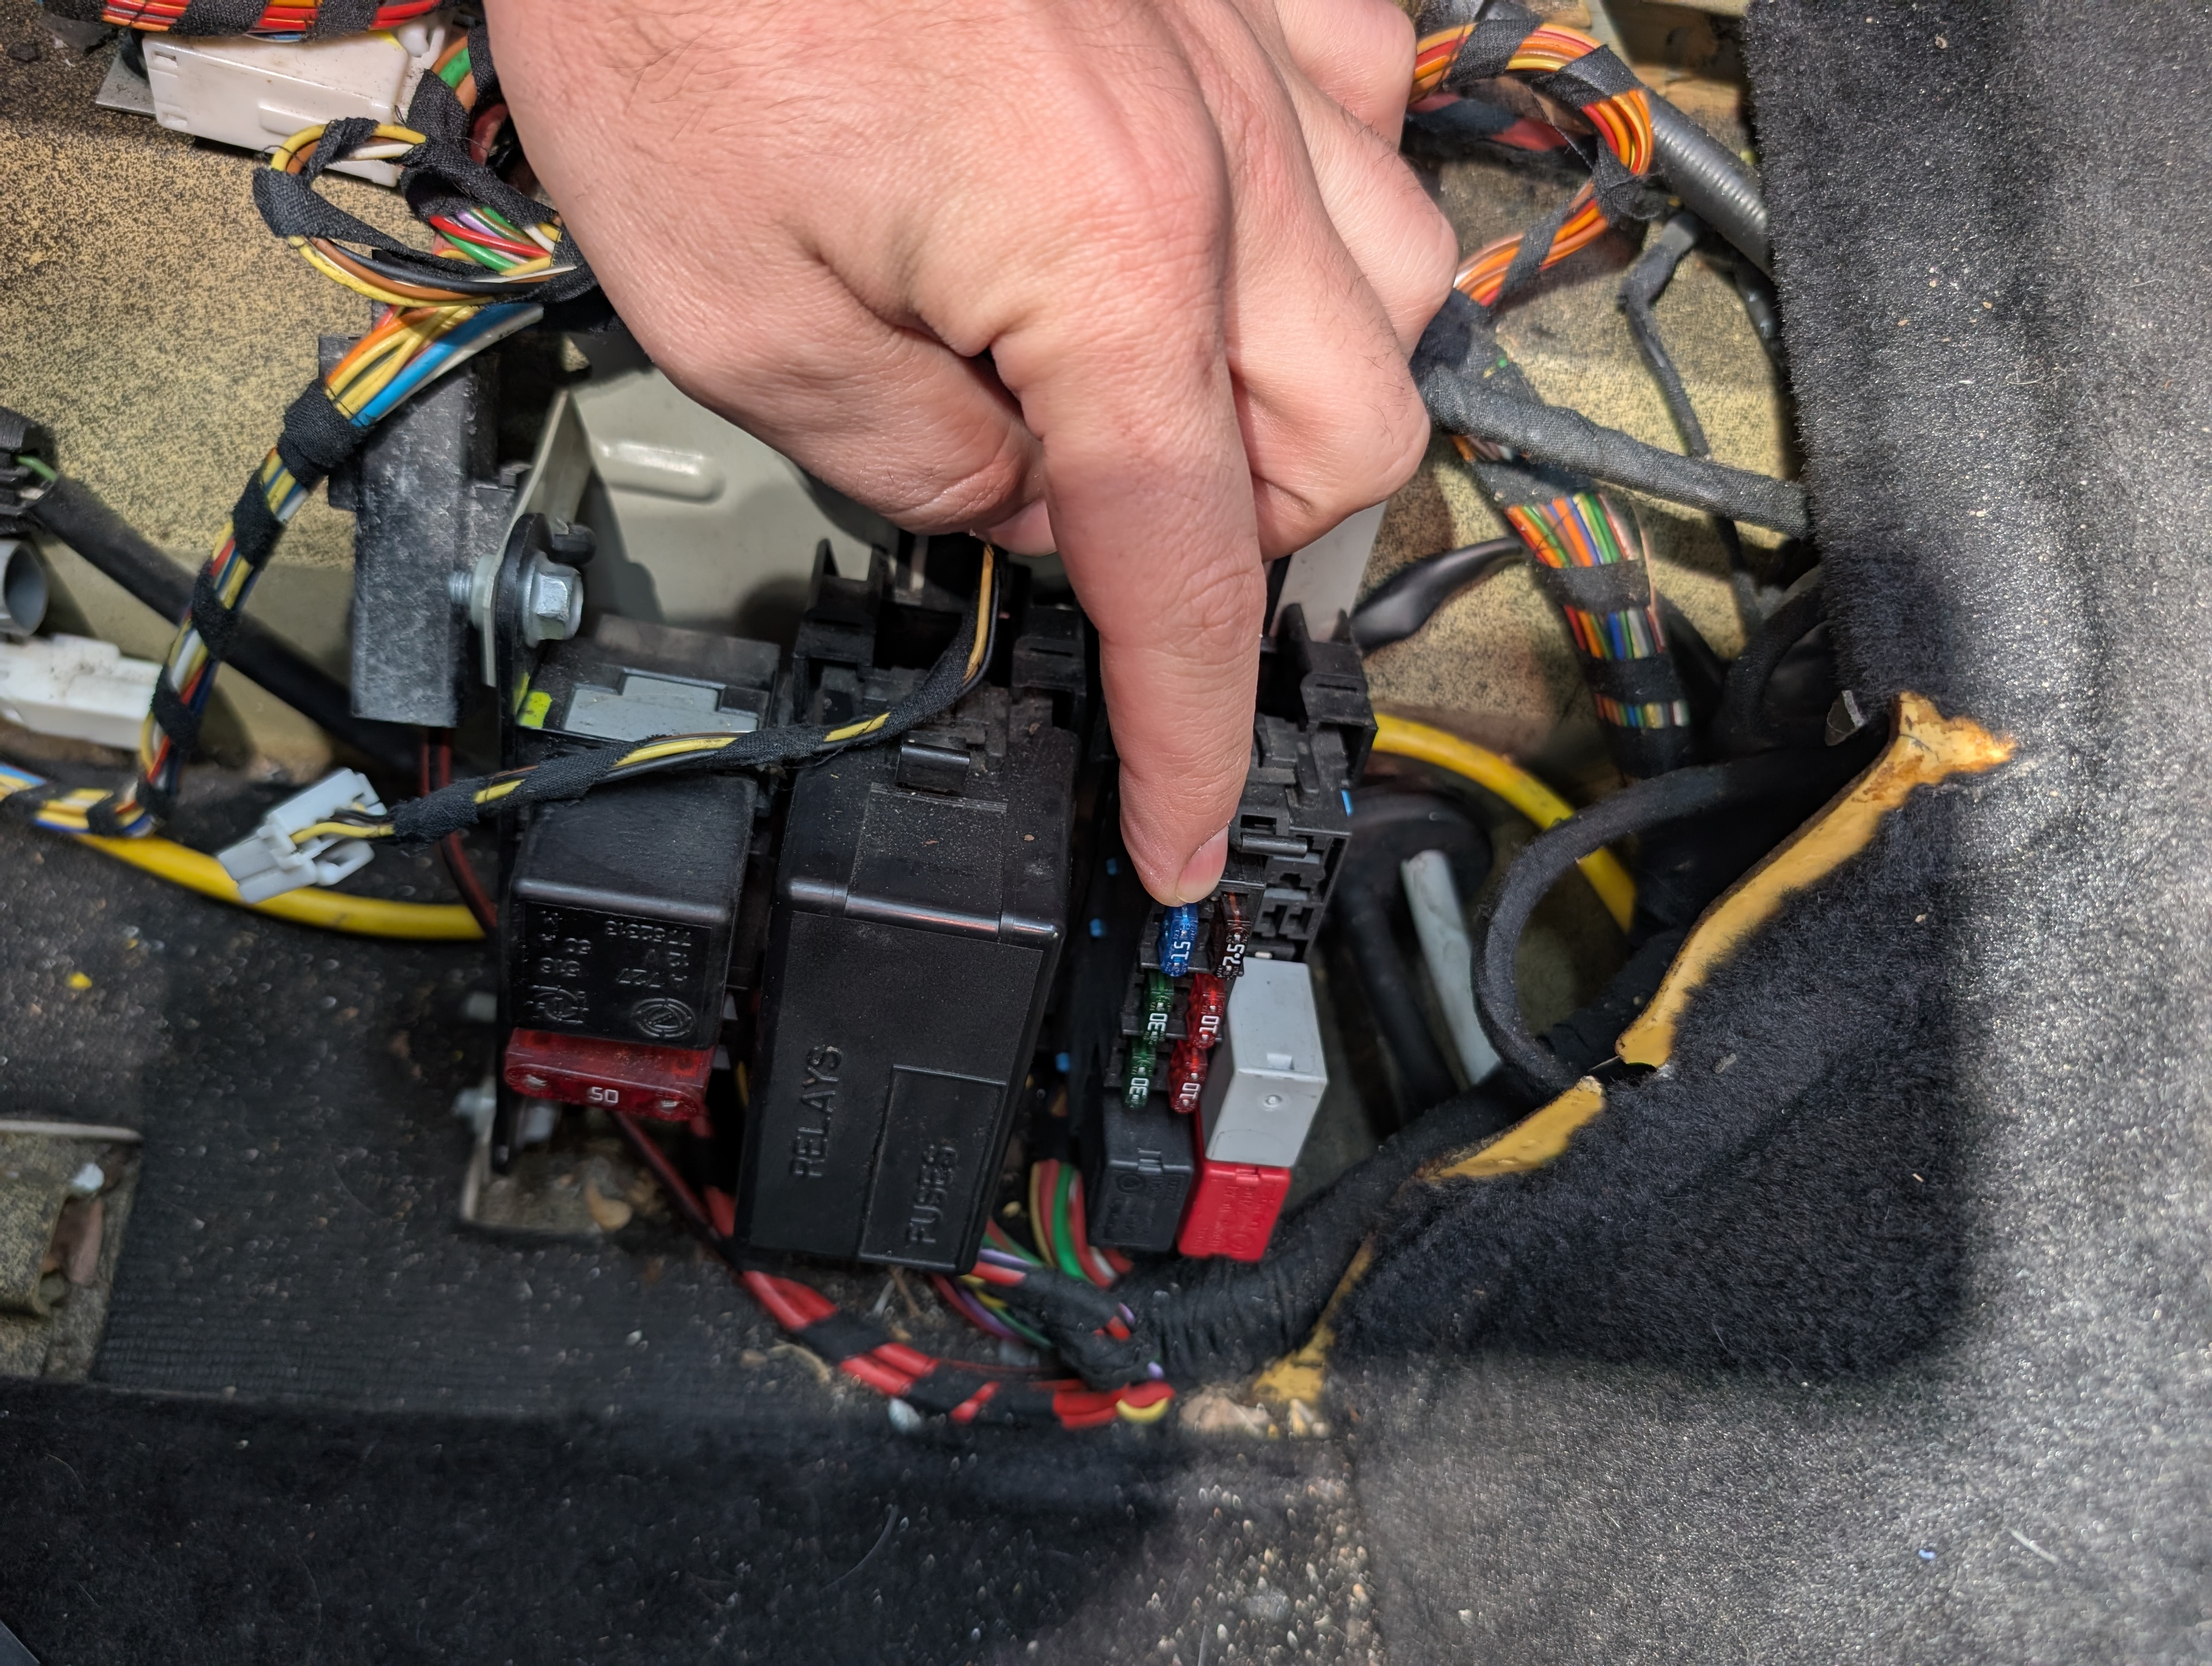
For switched power, there is a good location in the fuse box behind the passenger seat. Remove the carpeted section behind the passenger seat, and remove the fuse box cover closest to the center console. The top left fuse here is a 15A that is the radio, and it is on switched power. You can use a fuse tap here, use any ground near the fuse box, then route your wiring up to the windshield. The downside of this is that you’ll need a fairly long install cable to reach from here to the windshield.
Option 2 - Constant Power
This is how I installed mine mostly due to having too short of a cable to do switched. I bought this hardwire install kit which is 13 feet long, and originally tried to use the same fuse mentioned above behind the passenger seat. I quickly found out 13 feet was not long enough to run the cable and hide it well, so I pivoted to using a different fuse behind the glove box. If you can find a longer hardwire install kit, you can run it to the switched power source mentioned above.
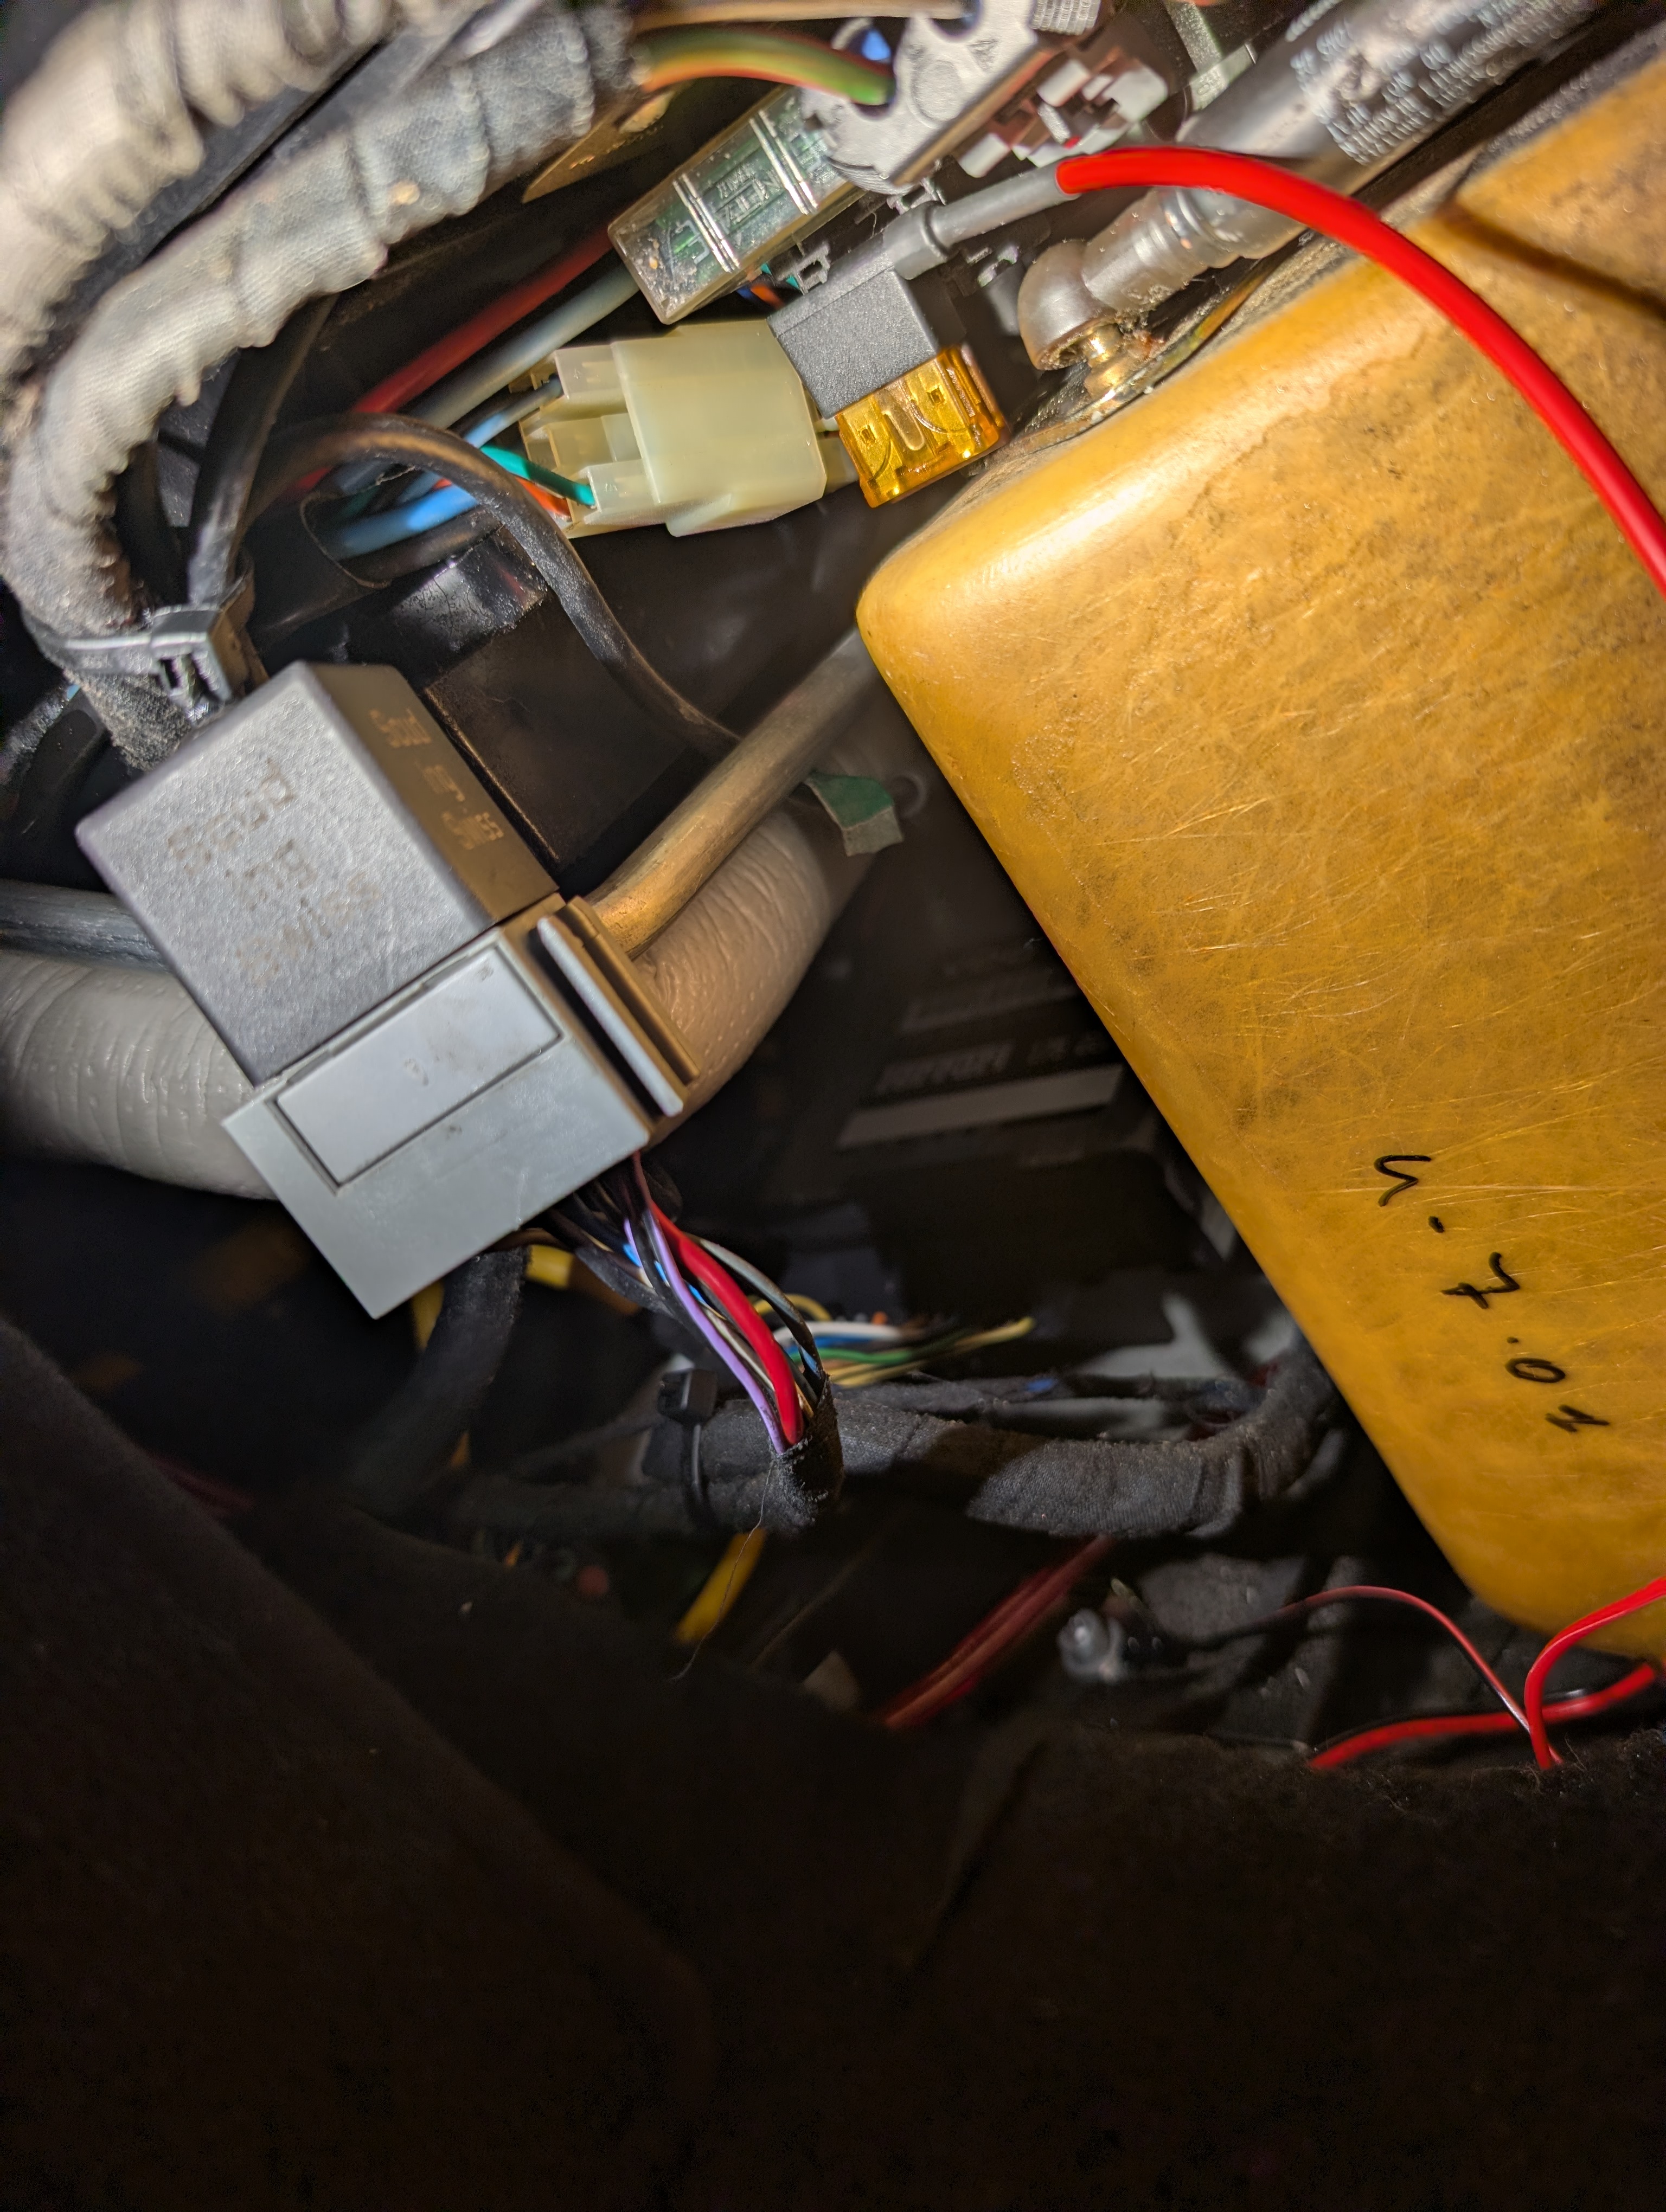
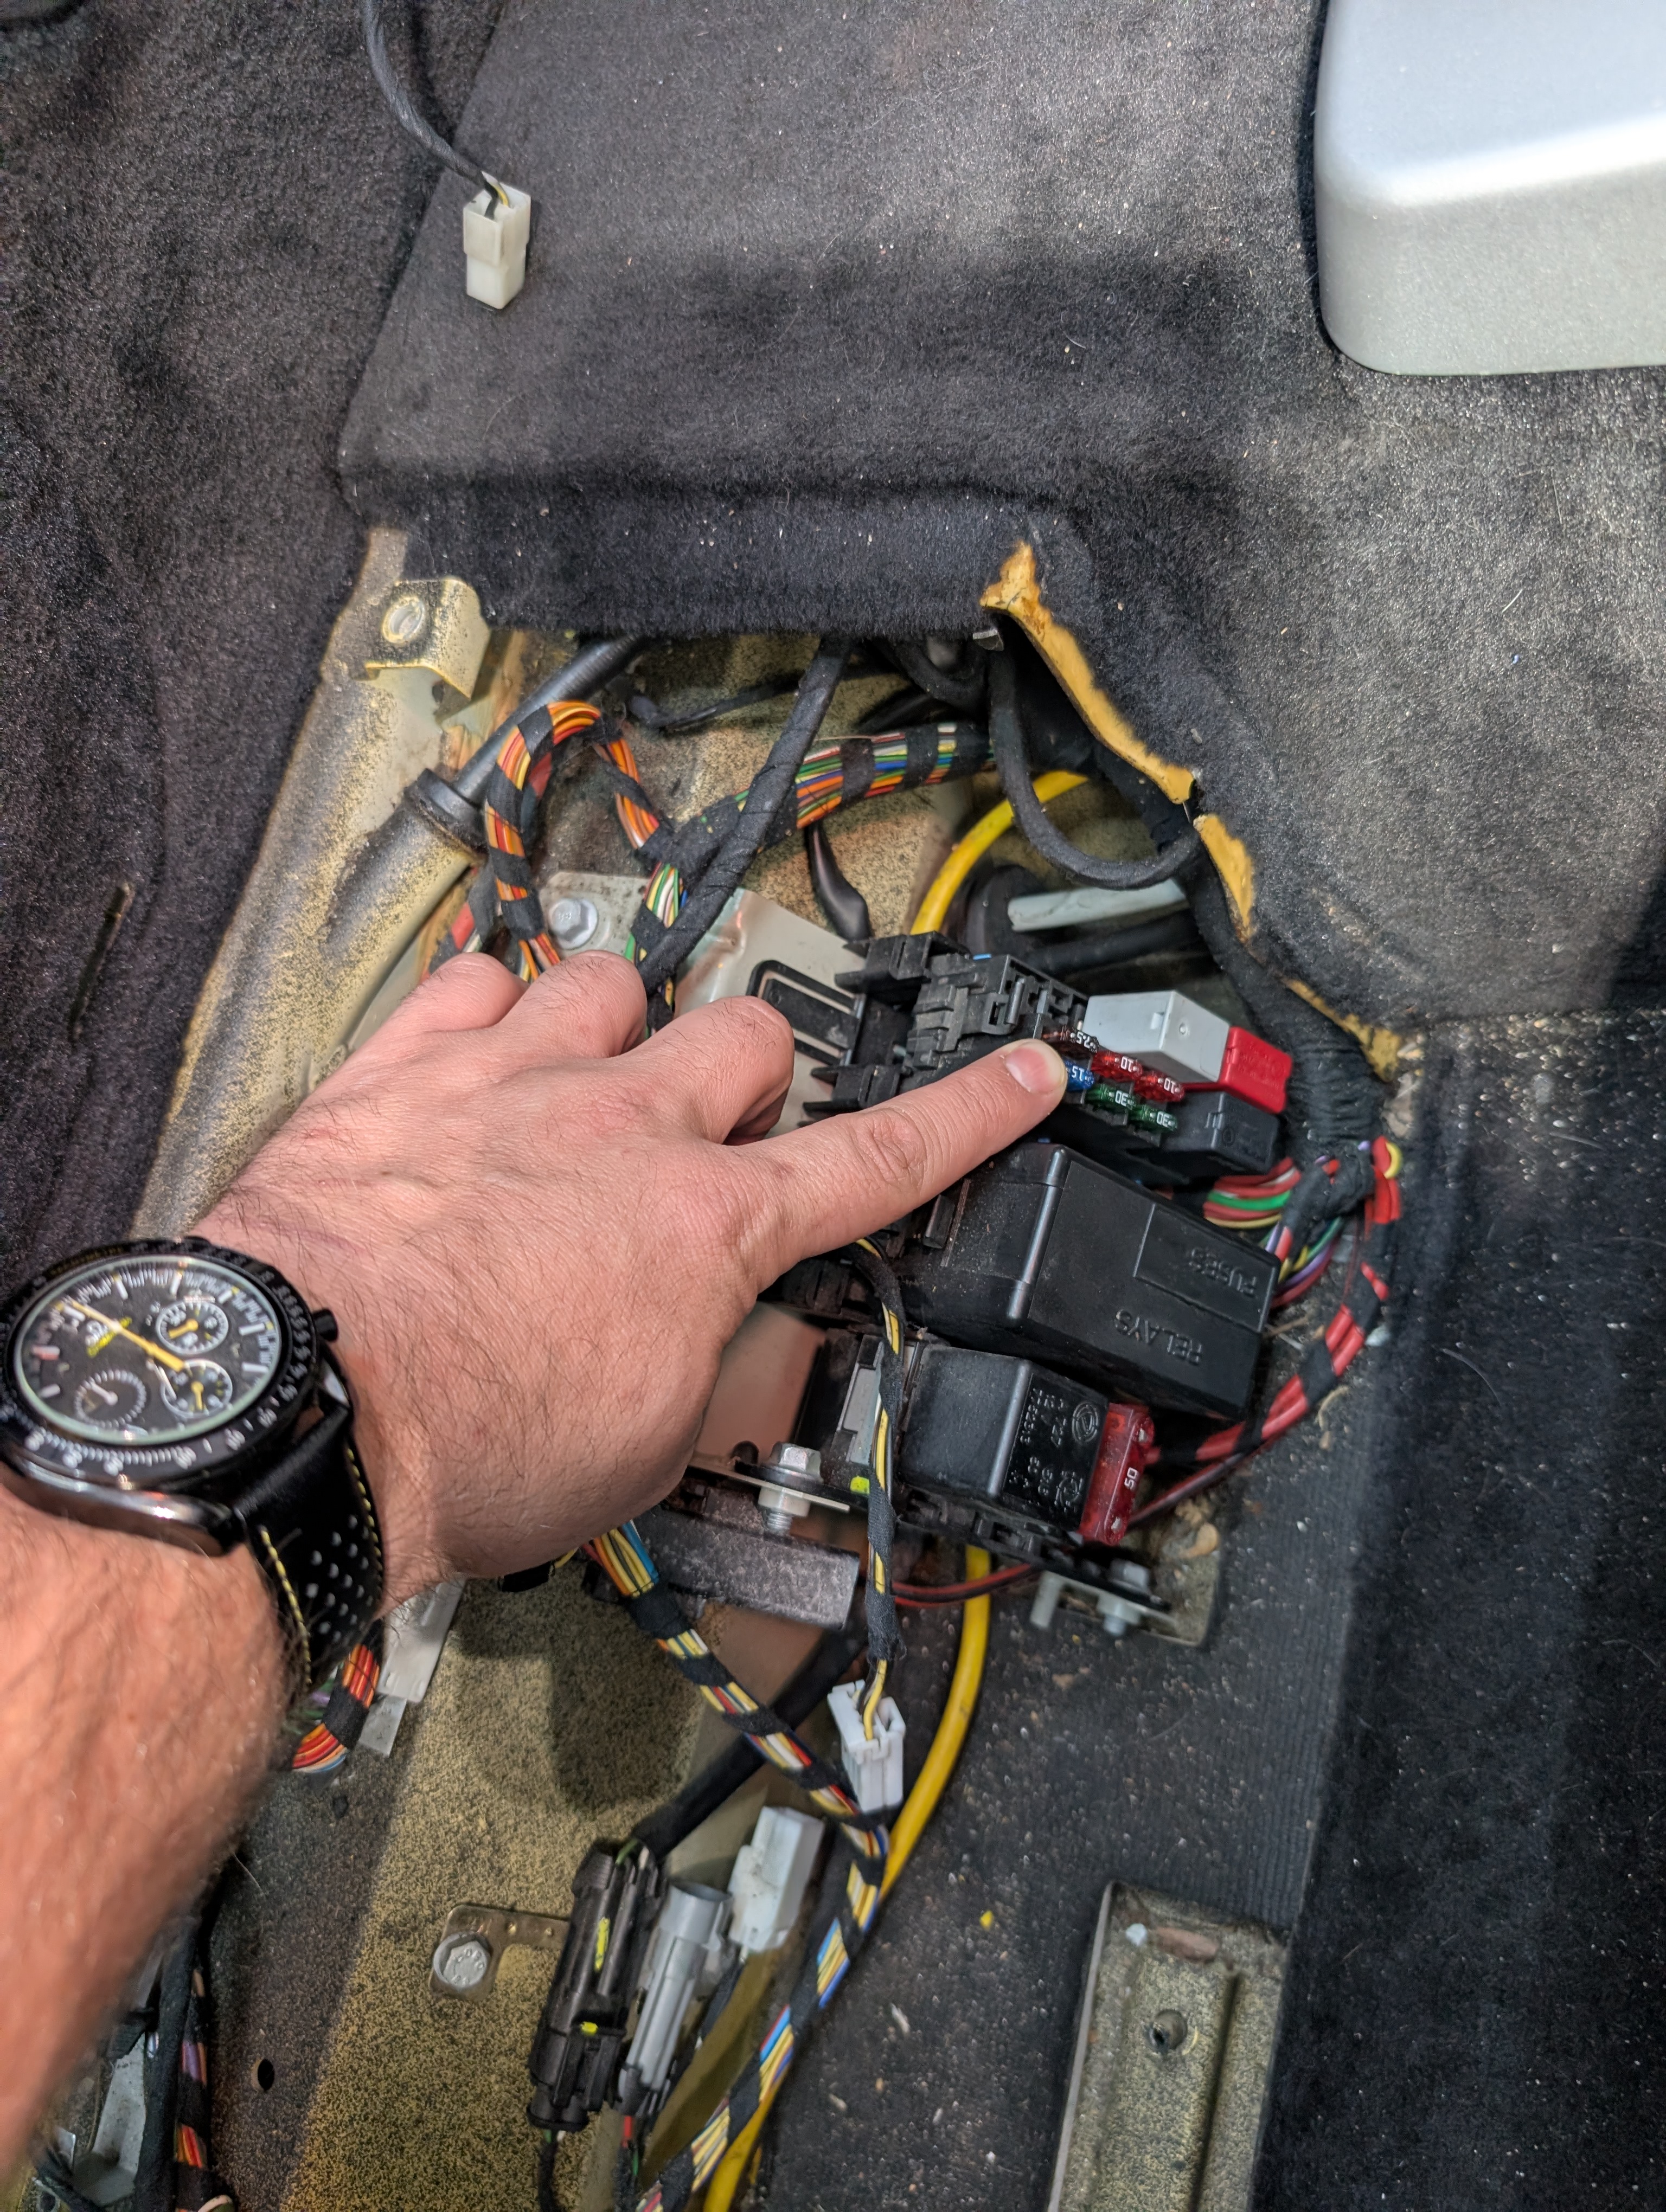
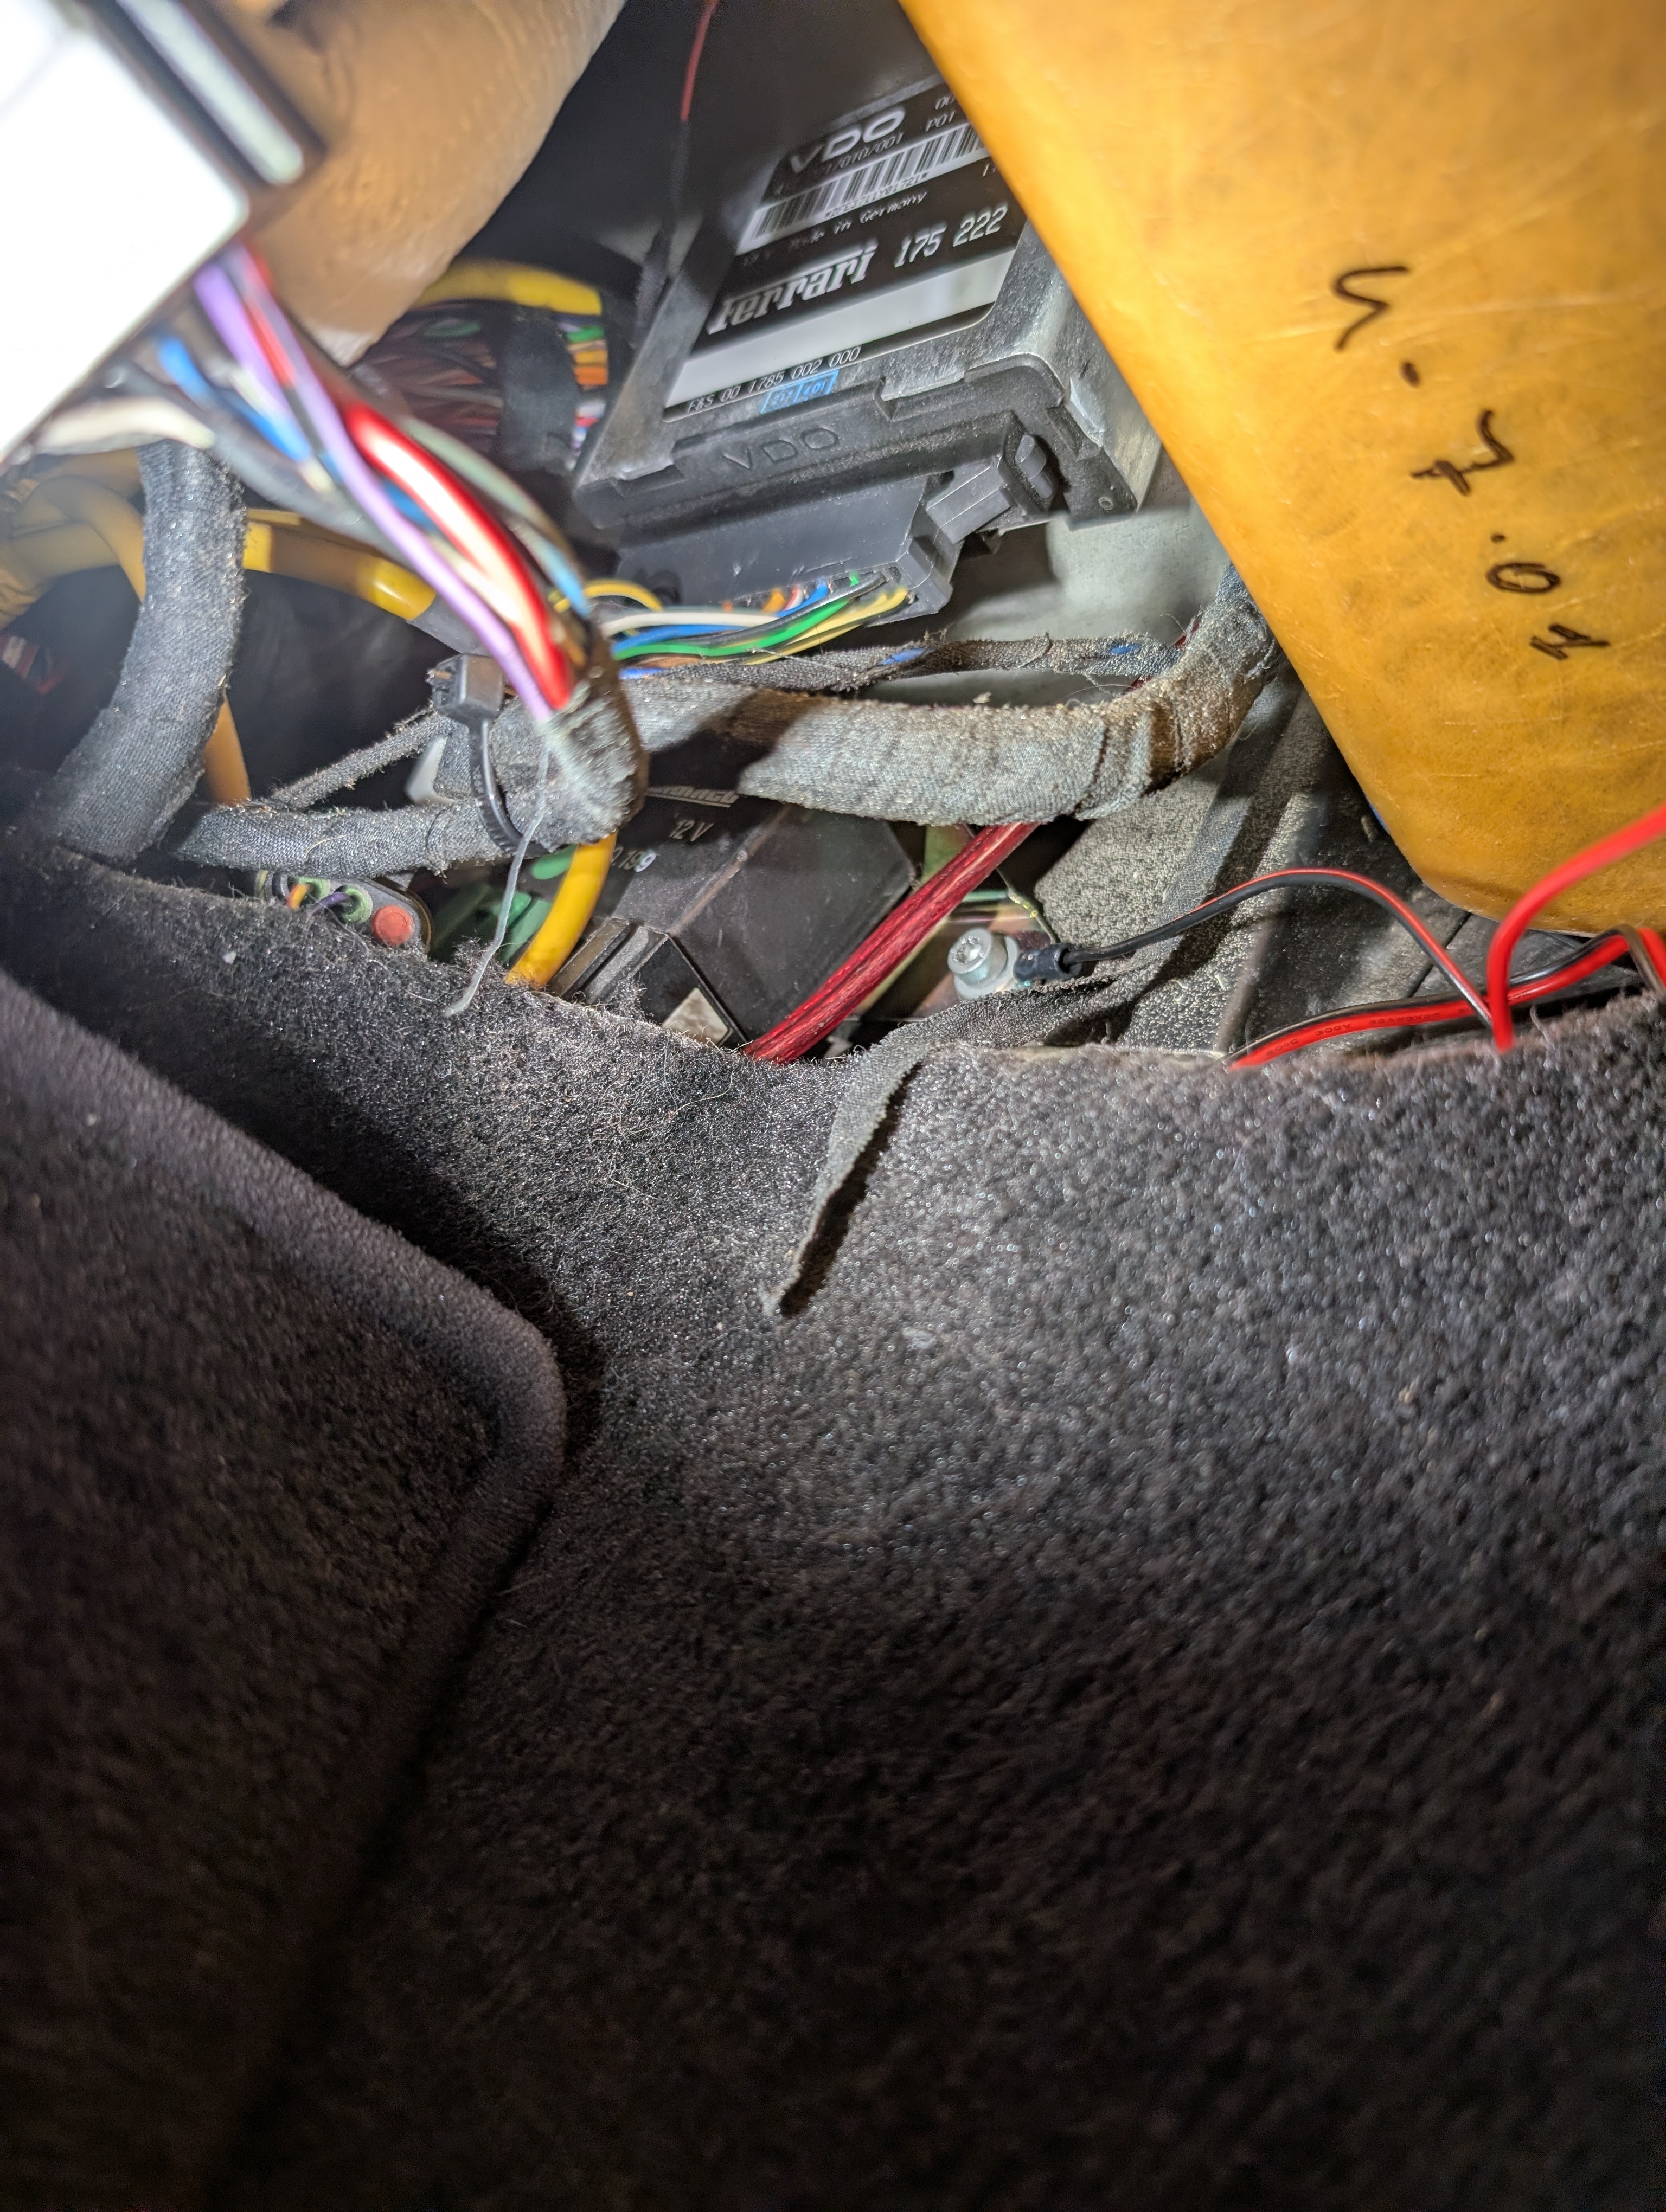
So I ran the included fuse tap to a 7.5A fuse I found behind the glove box (above). I also used a ground near held in by a Torx20 screw (below). Do note that the cable I bought has low voltage protection, so it will stop providing power to the cameras once the battery drops below 11.6V. This way my car will always be able to start, but can keep the dashcam running while parked for extended periods of time too.
Hide the Wires
For tucking the wires, I hid most of them behind the glovebox and the A-pillar area. I did have some difficulty getting wiring behind the top of the windshield area, and found that backing out the 2 Phillips screws on the wind visors gave some wiggle room to tuck the wires better. Then just tighten the screws back up.
Feedback
I like that this dashcam came with multiple mount options and protectors for your windshield, so there will be no damage to the (presumably very expensive) glass. It also came with an adapter to use accessory power if you choose to, and the rear view camera wires in easily as well. The best part, and the reason I picked the Iwey N5 is because of the multiple cameras and adjustable cameras.
The user interface is easy to use, there are 5 buttons below the screen. When you first start using the dashcam, you should format the SD card. I also updated my settings to use 1440P for the front facing camera, the default was only 1080pp.
The IIWEY app for your phone seems fine. To get your videos, turn on the Wifi on your dashcam, connect, and you can browse and download the videos to your phone. Or you could remove the microSD card and pop it into your computer.
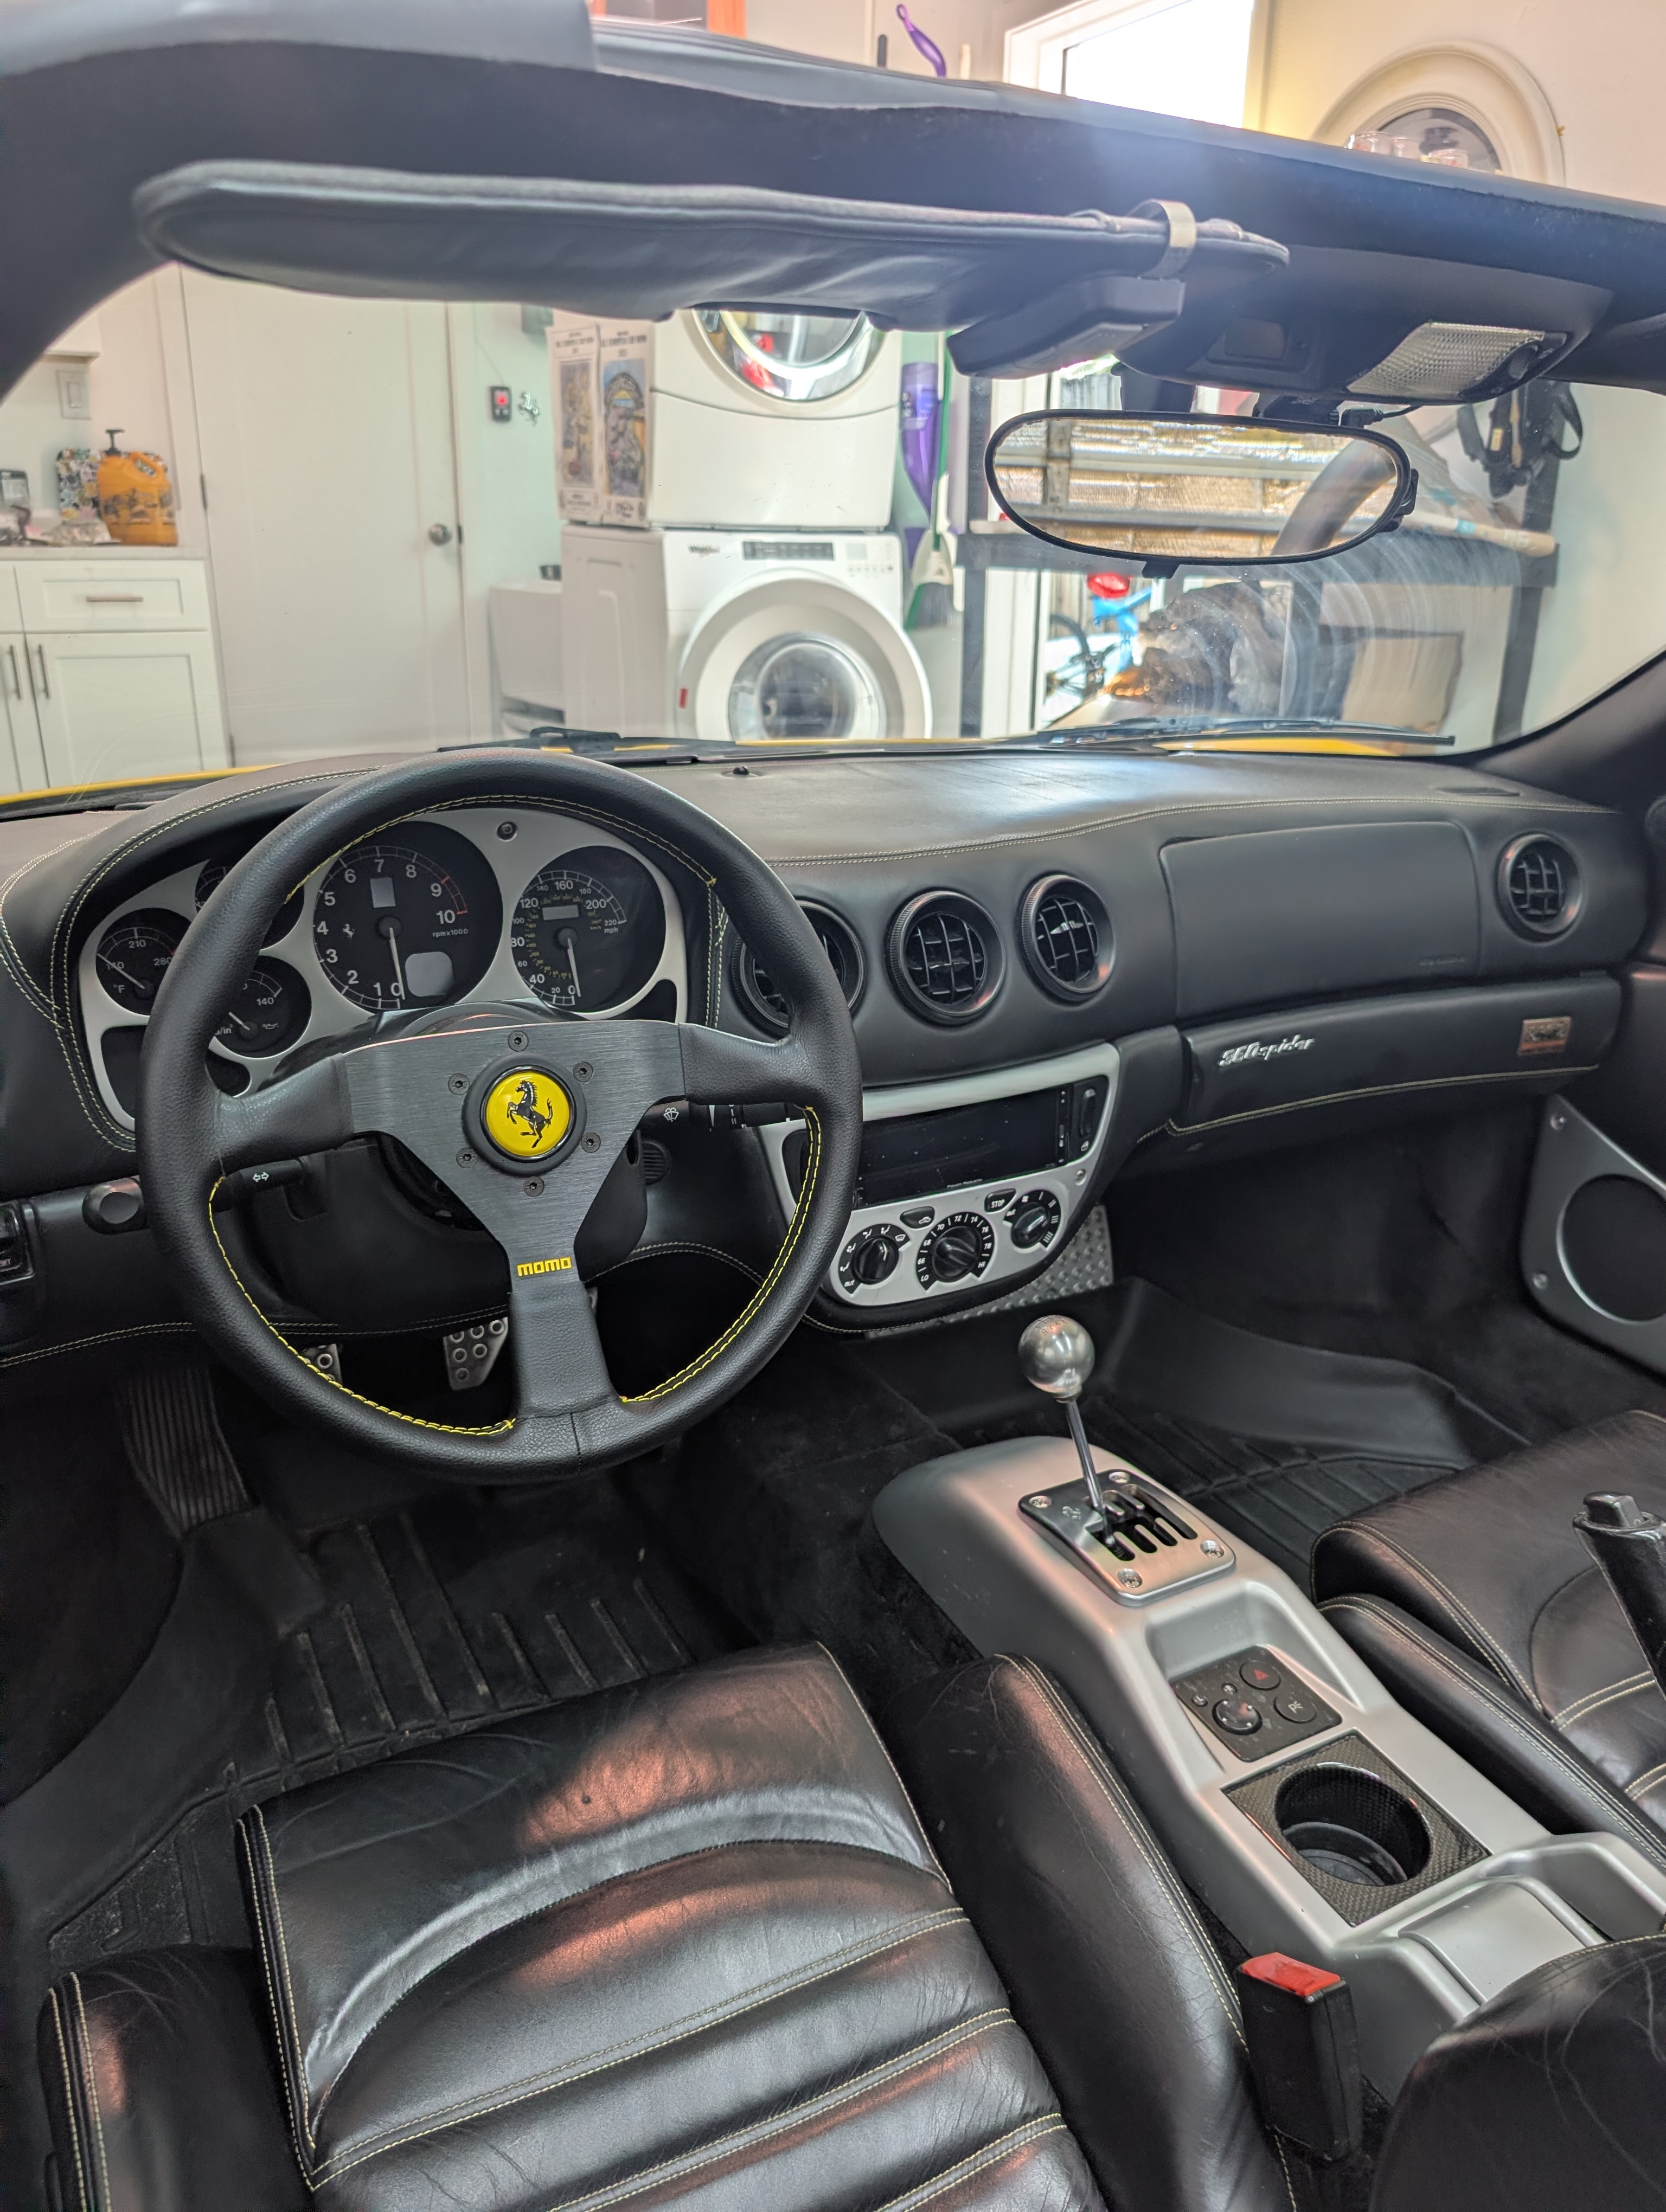
This is the view from the drivers seat, you can barely see the dashcam!