
Ferrari 360 - CarPlay / Android Auto Headunit
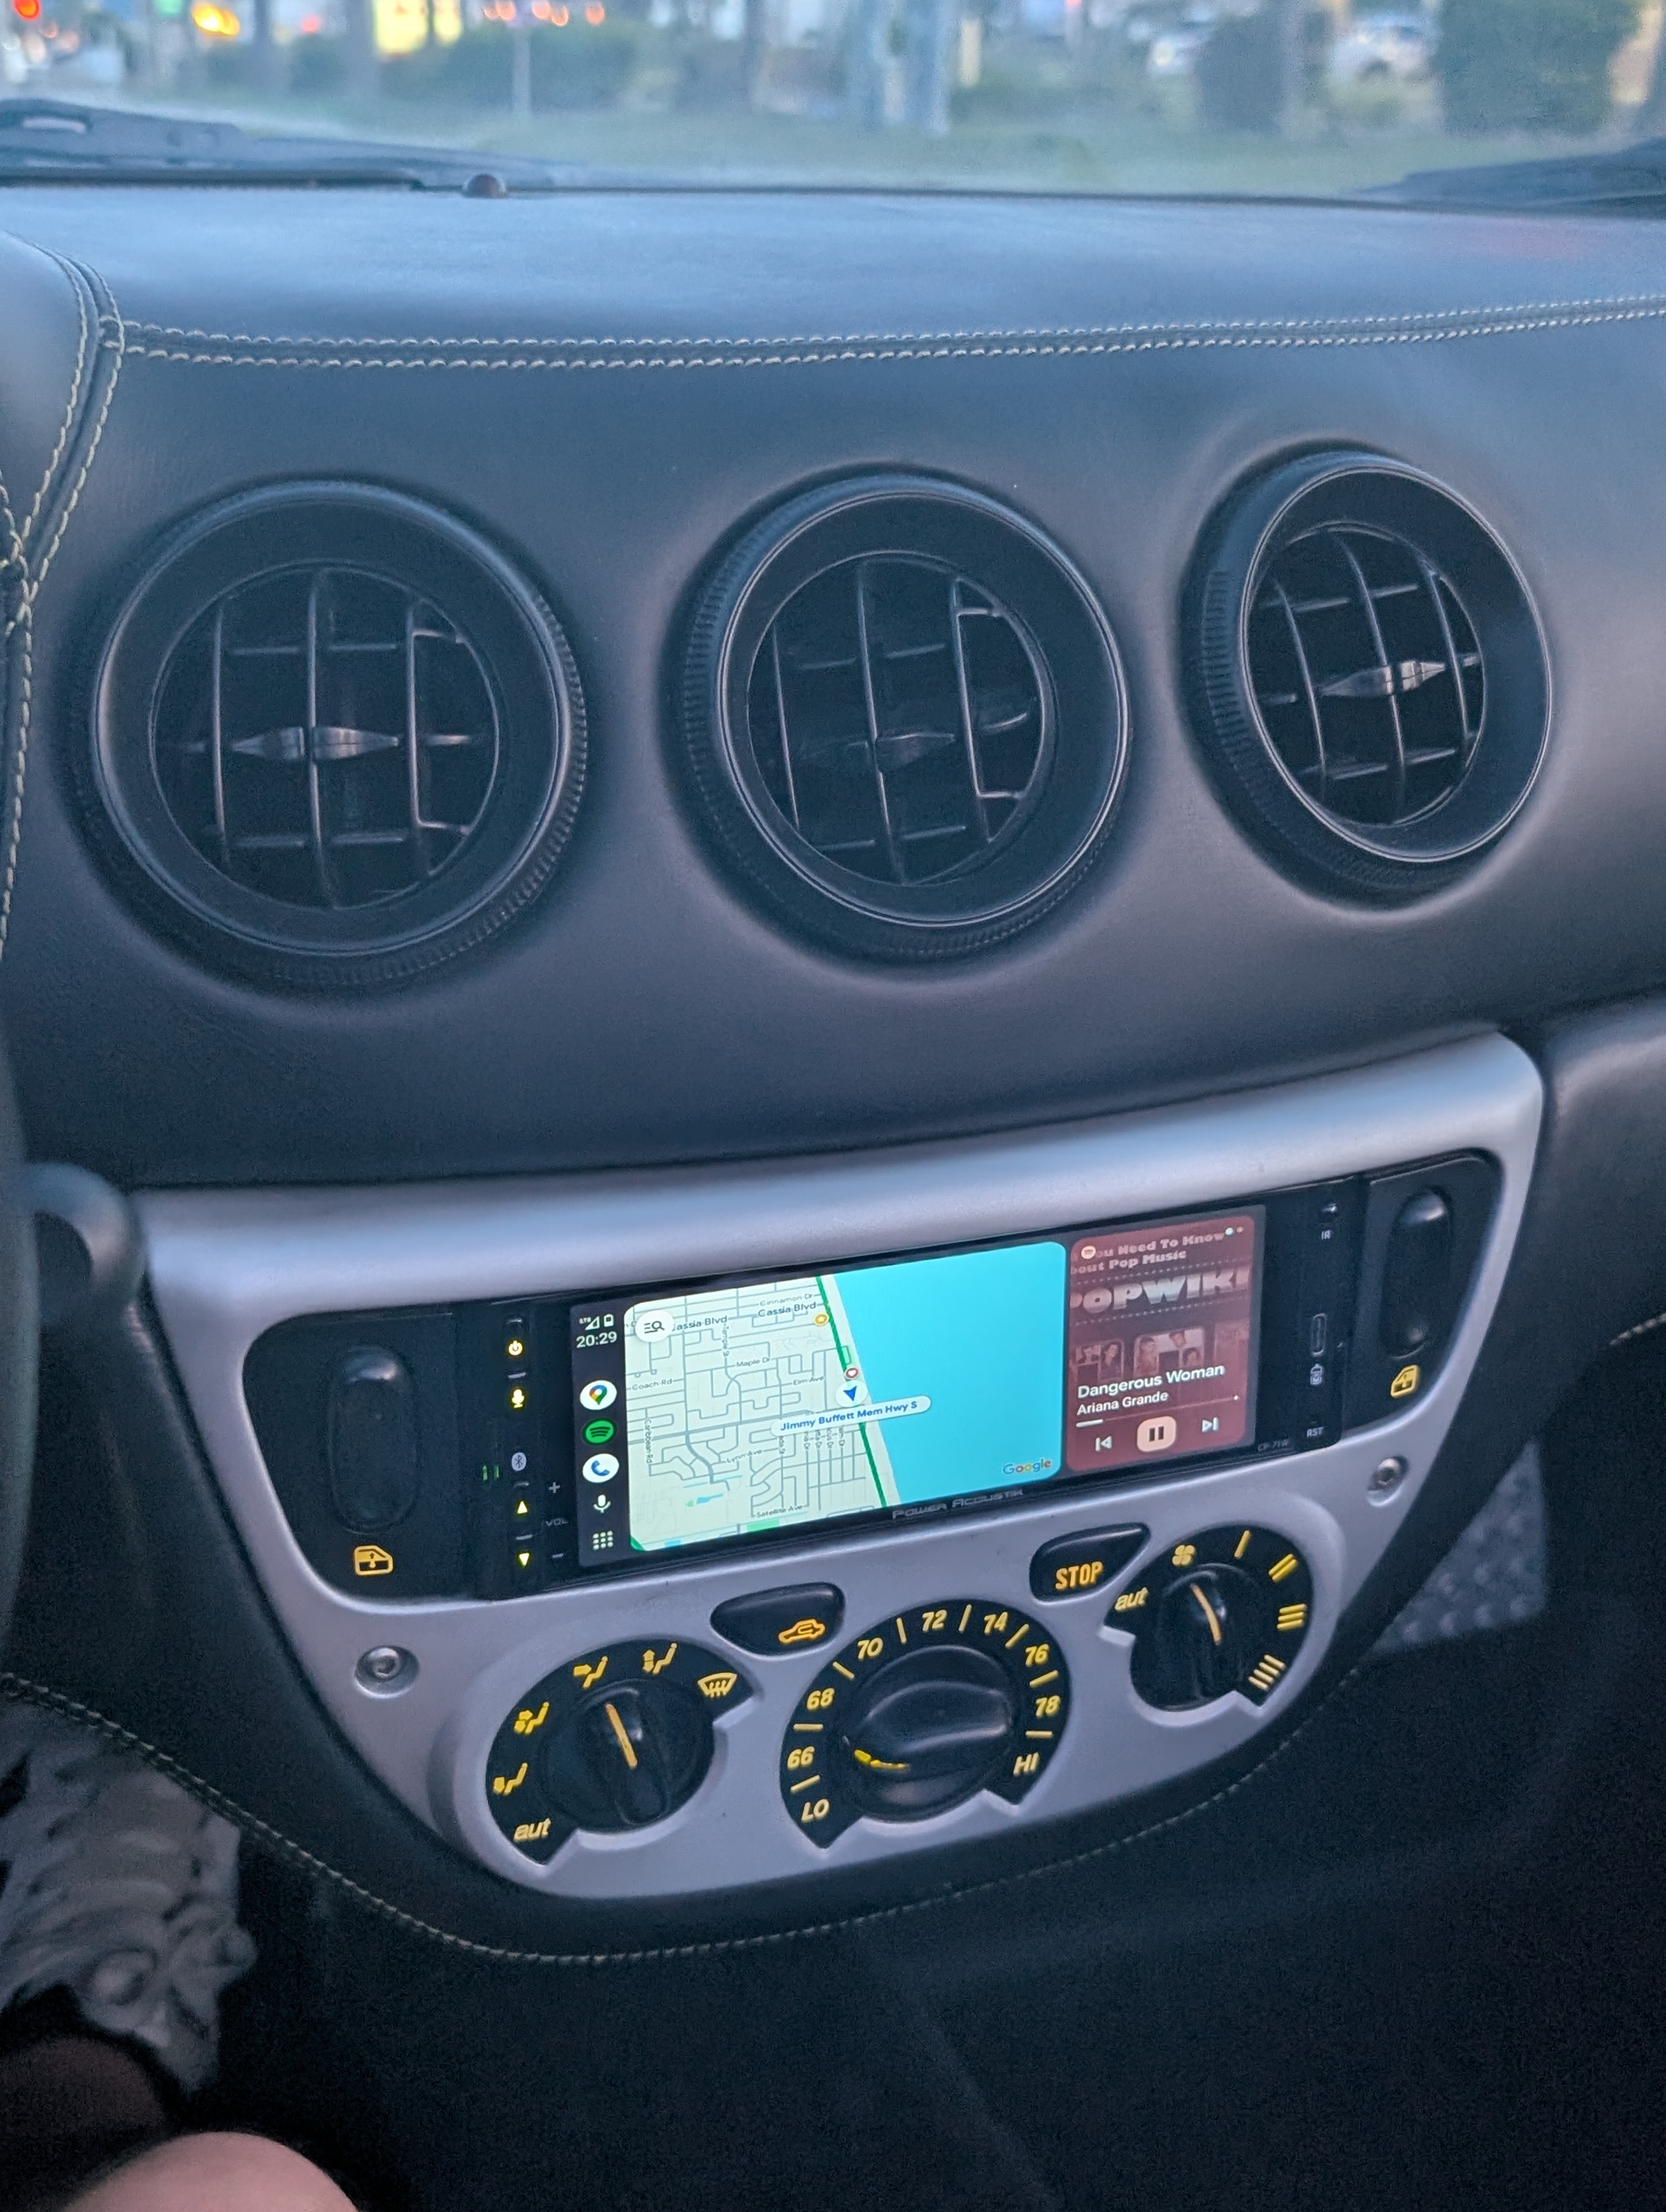
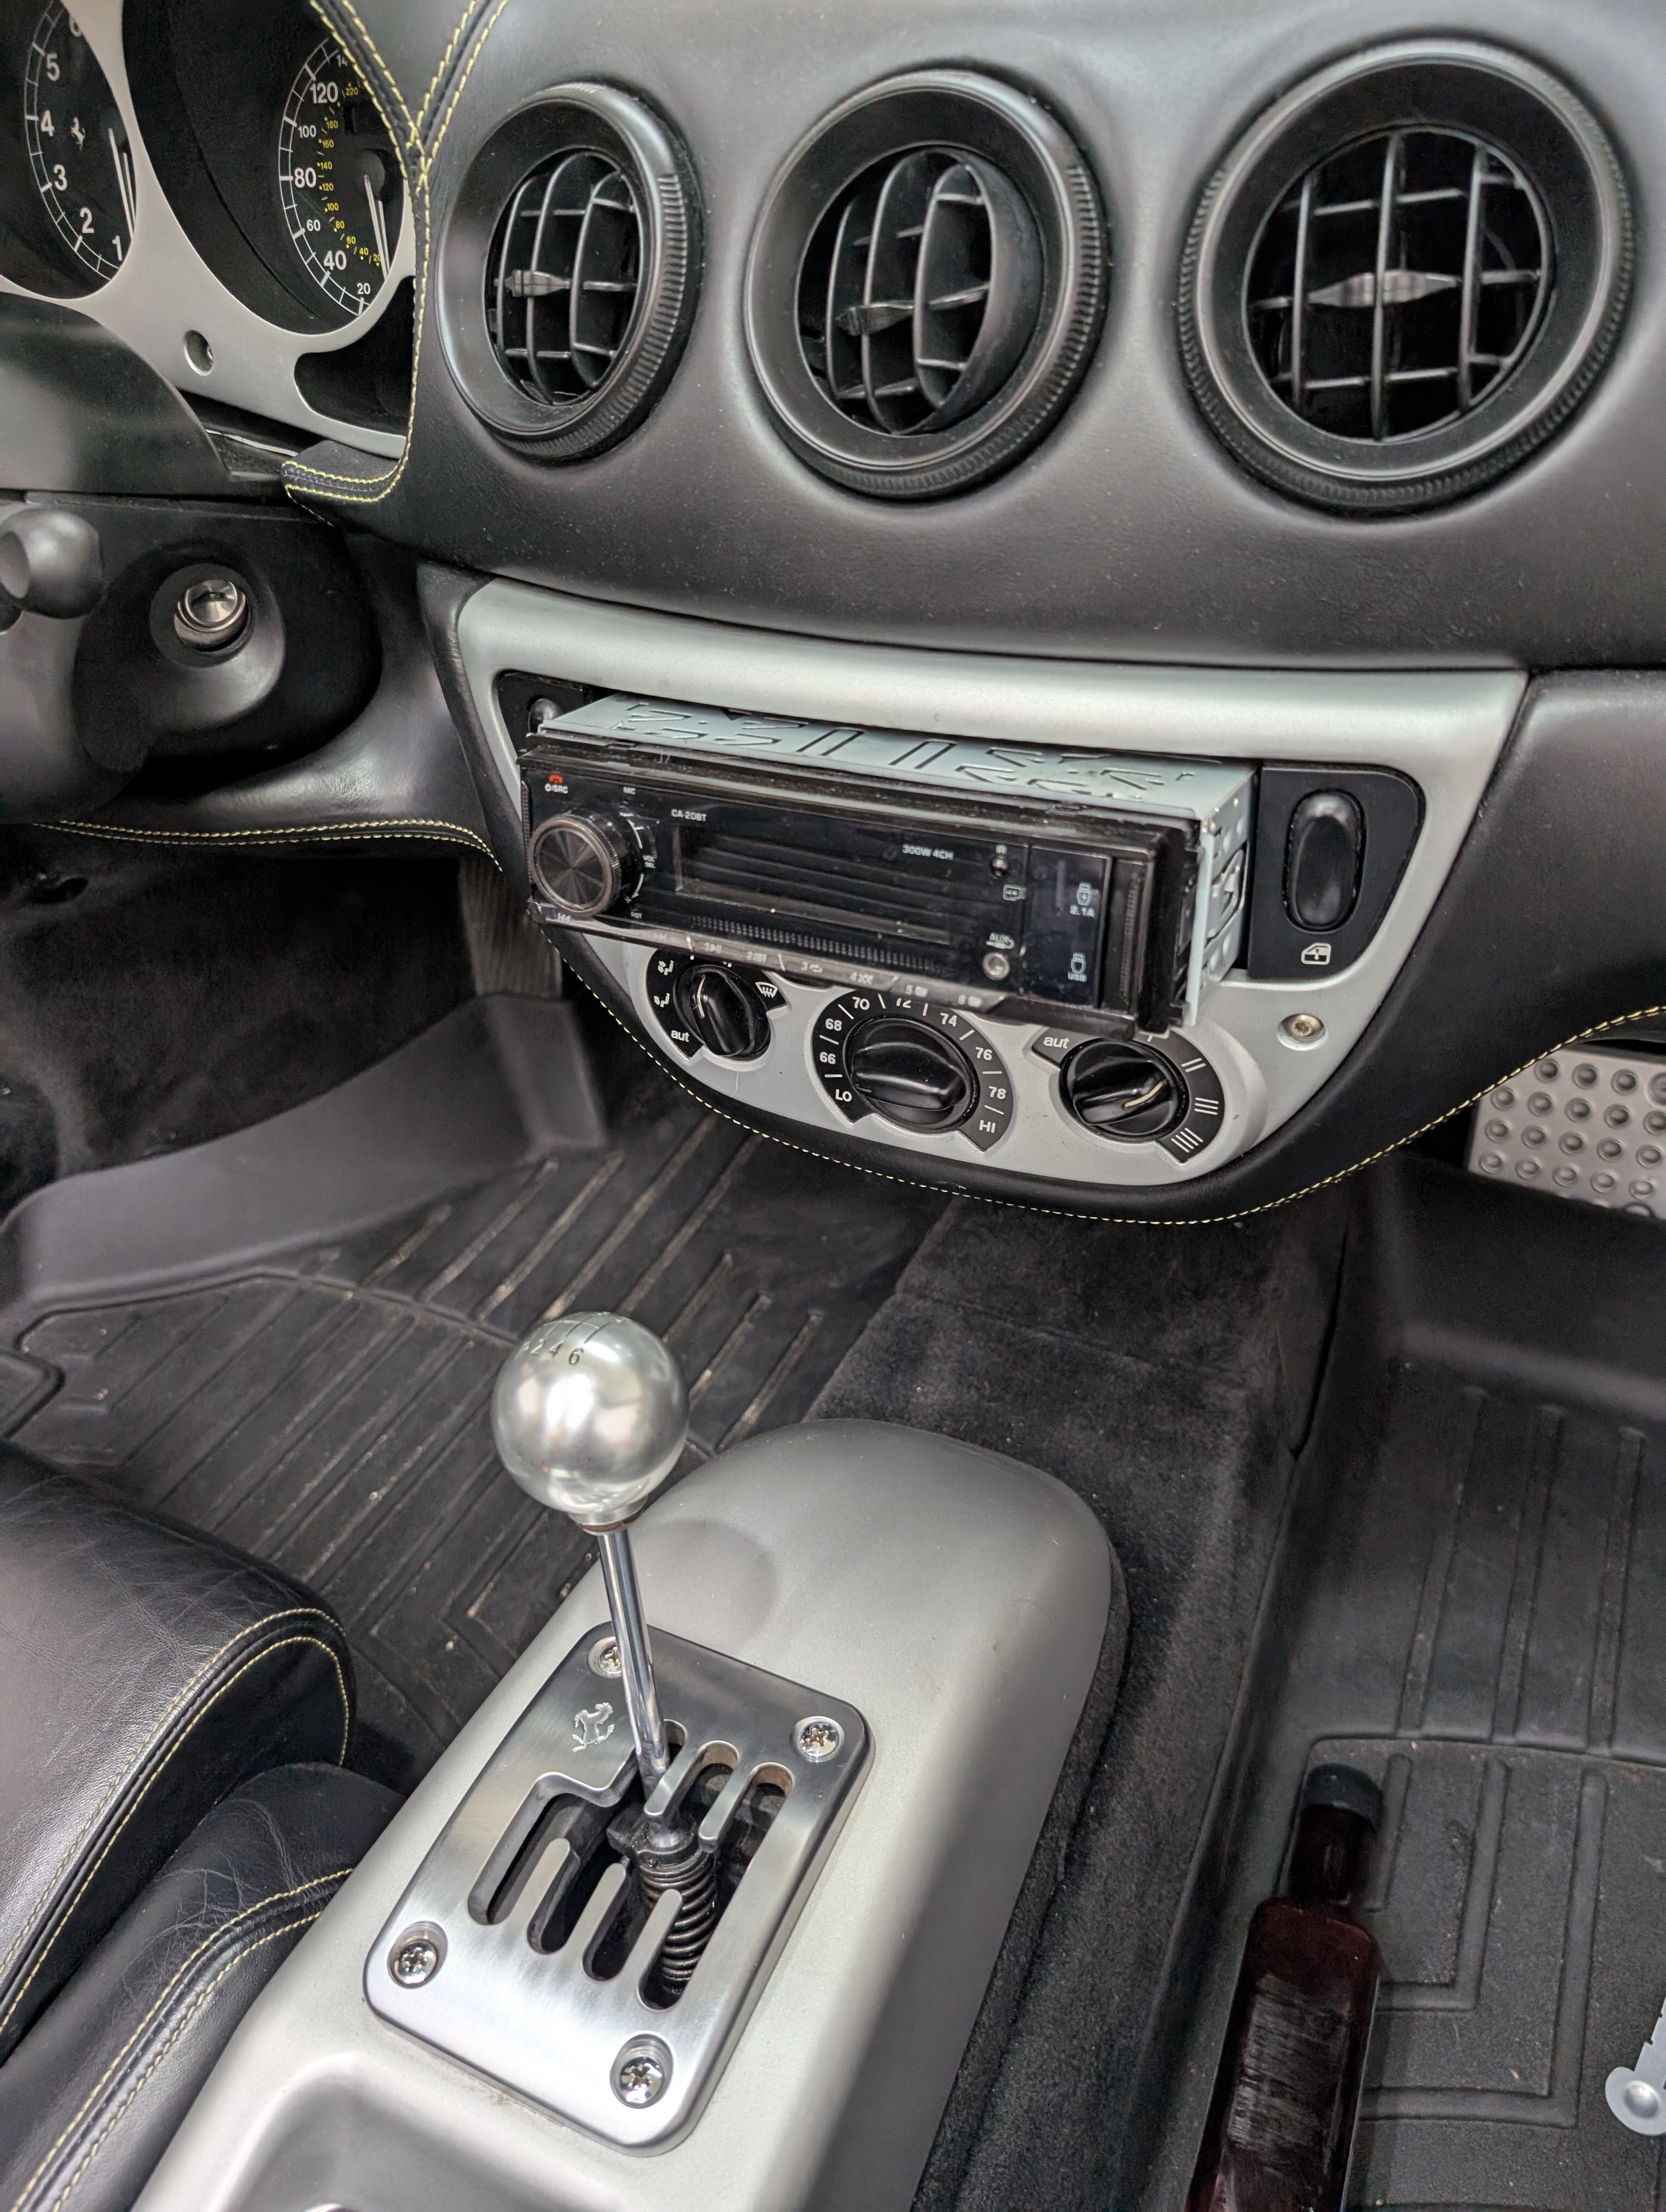
I upgraded the $20 bluetooth headunit that I put into my Ferrari 360 Spider in 2023 with a Power Acoustik CP-71WA CarPlay and Android Auto deck for only $160. This headunit is currently only sold at Walmart and is a single DIN size that fits perfect where the factory 360 radio is, and brings some nice modern updates to an aging car. It does both Android Auto and Apple CarPlay, wired and wirelessly, along with Bluetooth and AM/FM radio. Here is my old radio when I pulled it out:
Headunit Install
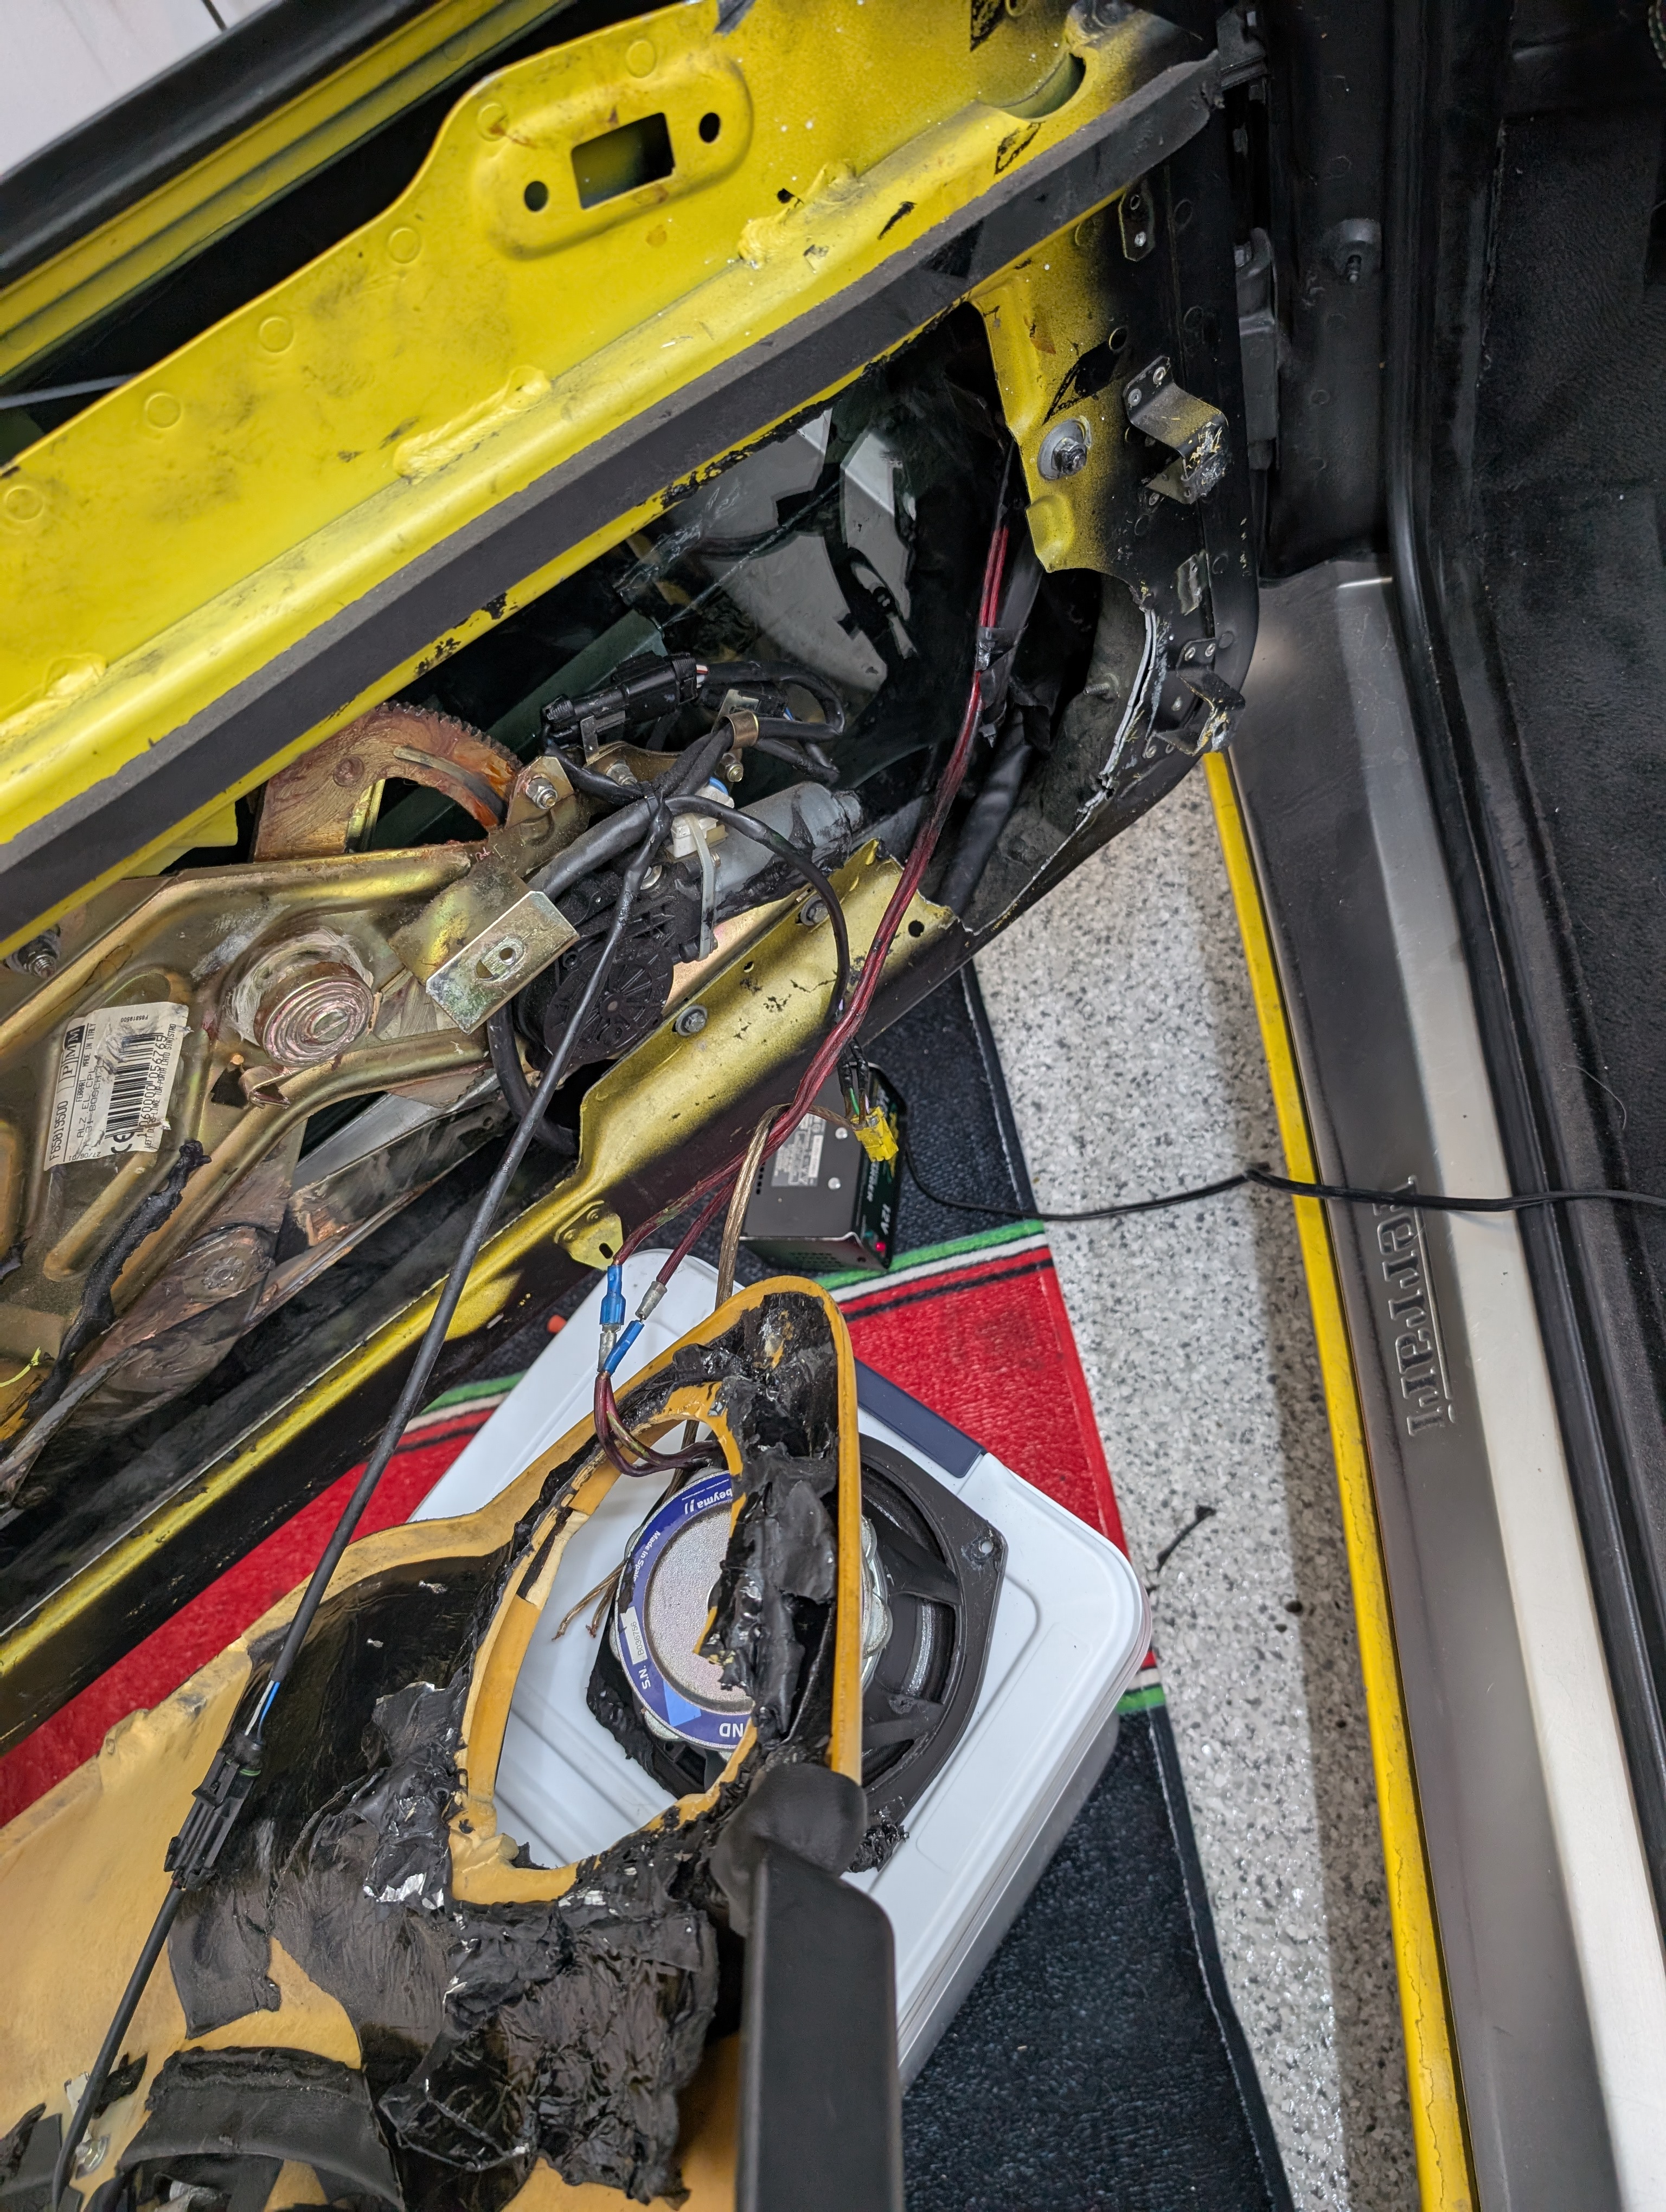
To install the headunit, remove your existing radio with the 2 included radio removal tools, they just slide on the left and right side of the deck. This is where a normal Ferrari 360 install will be different, you can apparently buy a wiring harness to reduce cutting or splicing of wires, or to make the install reversible. However, my car had a badly installed aftermarket stereo when I bought it and the entire factory wiring harness was cut, along with new speaker wires run to each of the 4 speakers, and a massive aftermarket amp installed in the frunk, so I don’t mind some cutting and cleaning up.

I had upgraded the headunit that came with my car in 2023 to one with Bluetooth, but I never got all the speakers working correctly. I also replaced the old huge amp (that at one point powered a subwoofer) with a smaller 4-channel amp from Kenwood at that time.
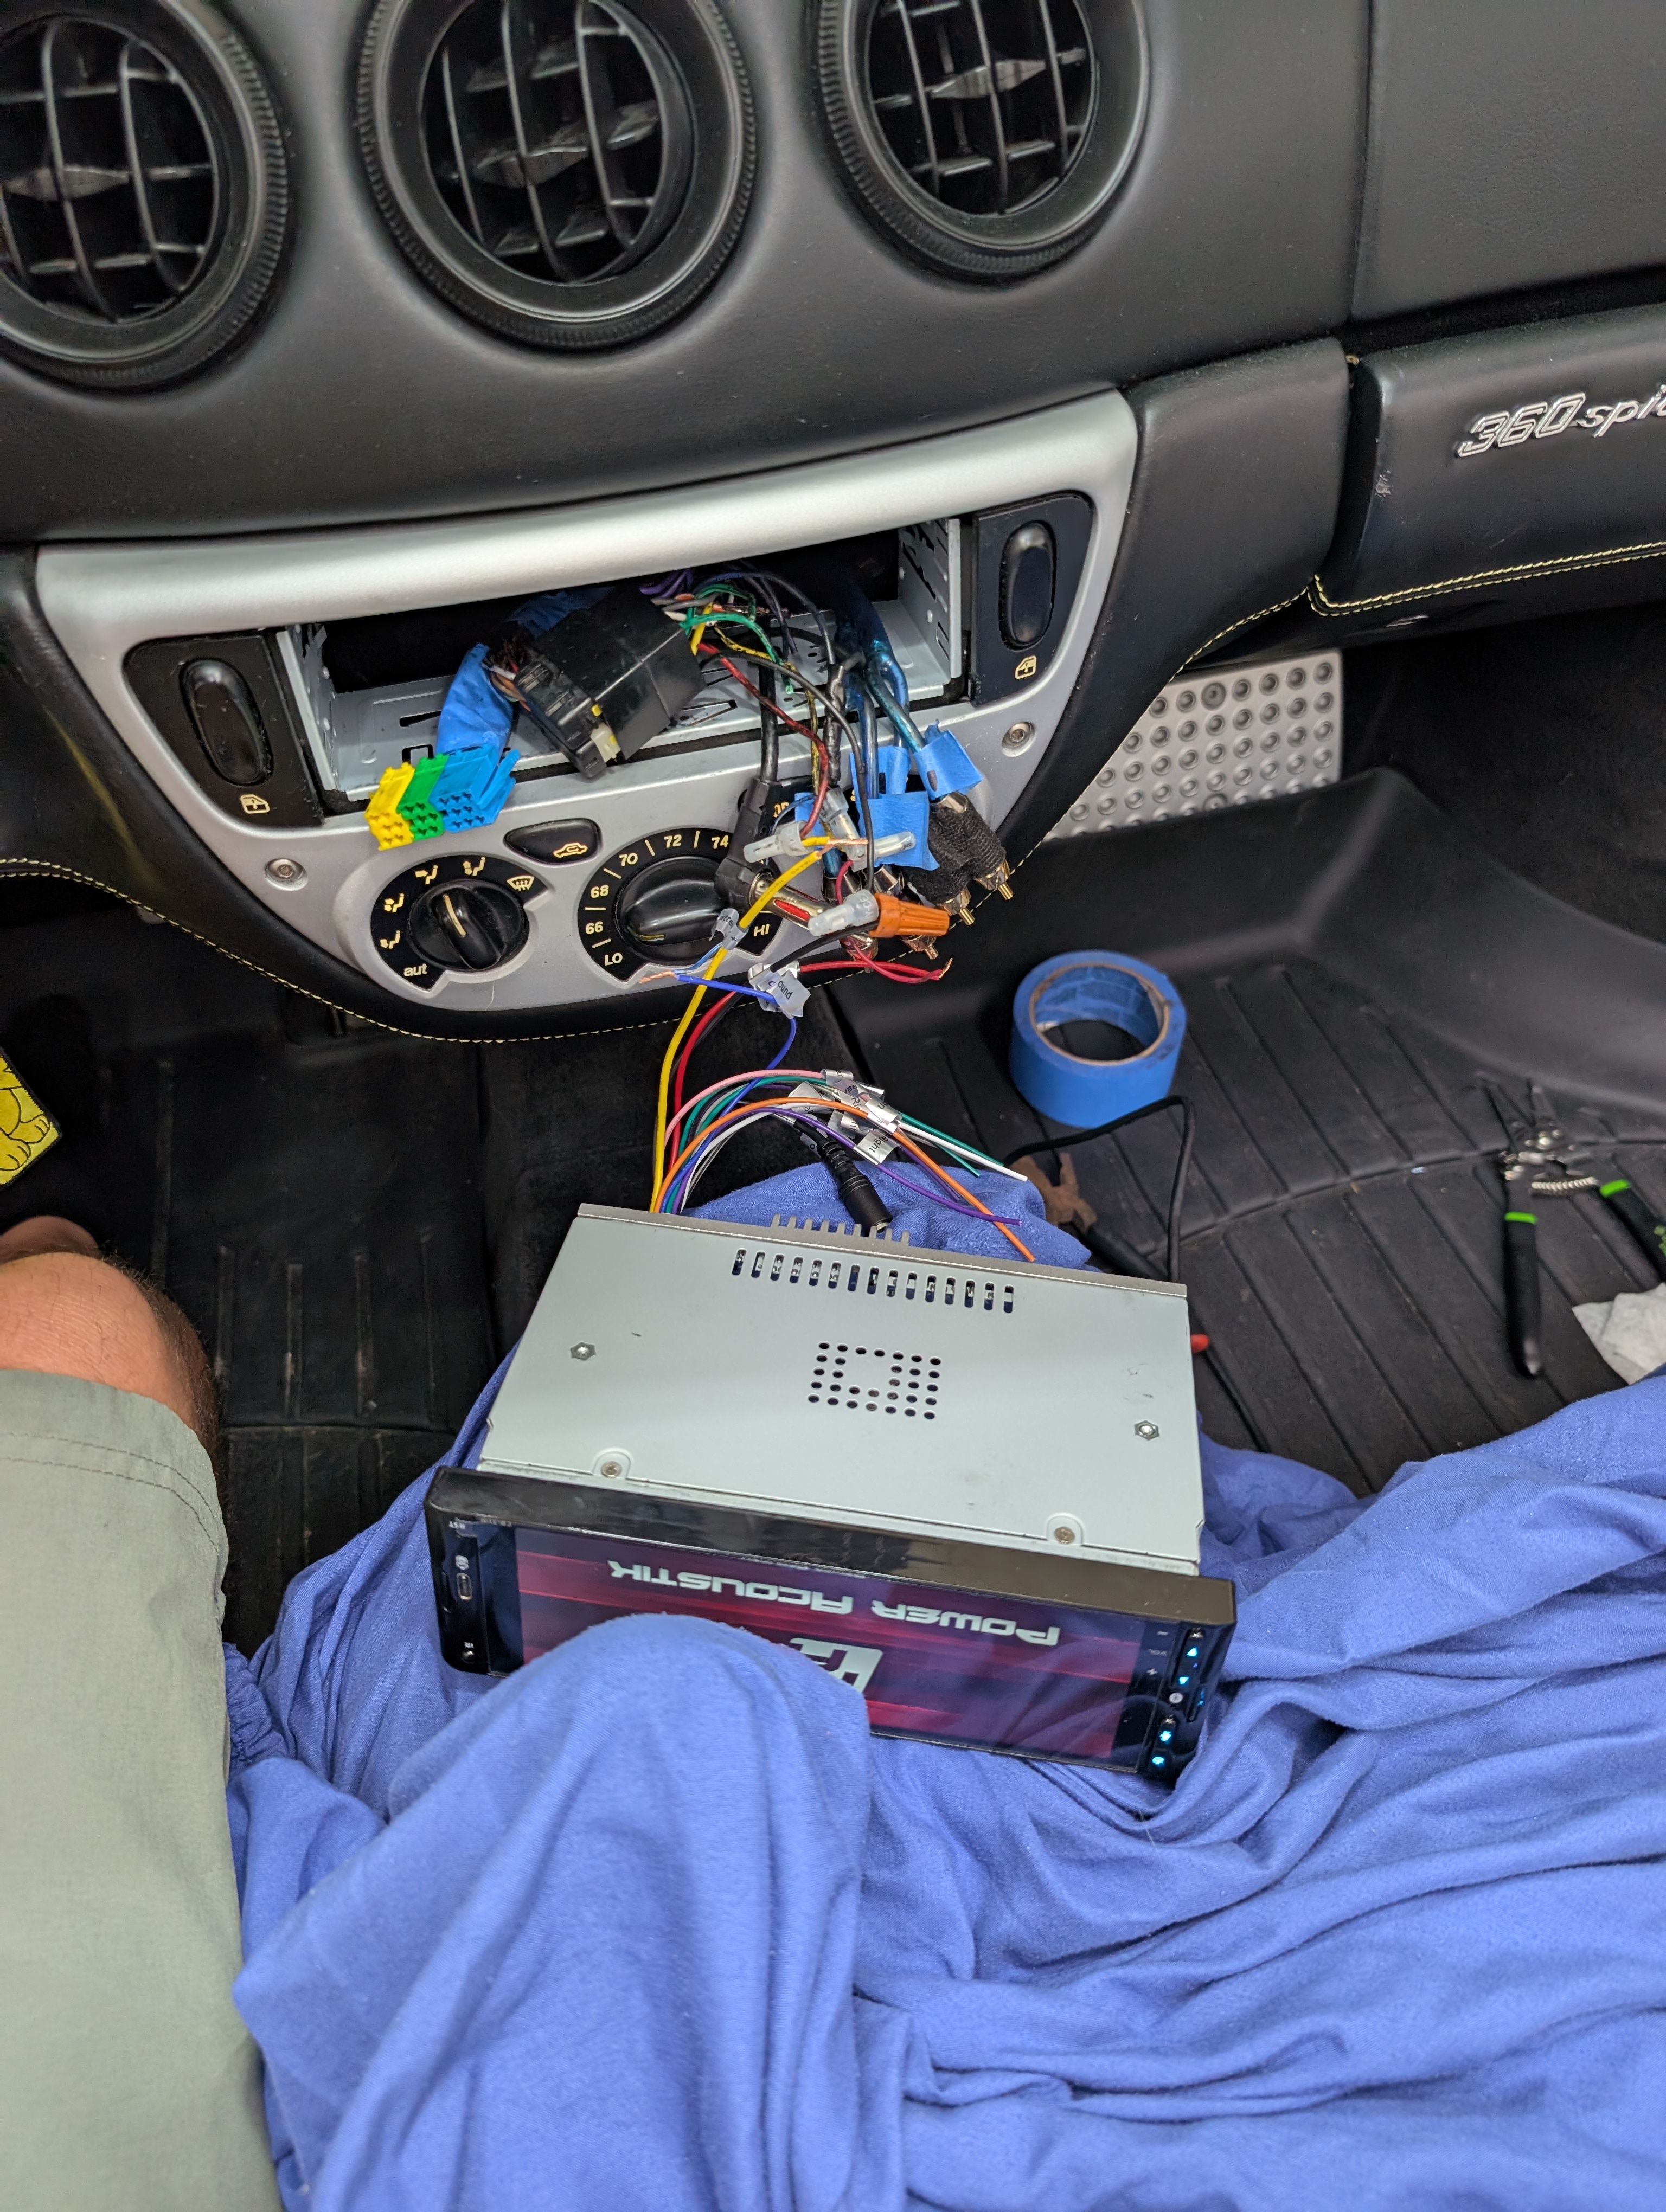
Anyways, to install this headunit, it’s just 4 wires, (power, ACC, ground, antenna), which were the same 4 wires I spliced last time for my last headunit, so it was simple to match like for like and splice those to a new wiring harness.
Speakers
Once I got my headunit hooked up to power, I have 2x RCA cables that run from the headunit to the amp in the frunk. The amp is then wired to the 4 speakers in the car (2x 6.5” speakers in the door and 2x 1” tweeters in the triangles on top of each door). I could only get one set working at a time, so I ended up deciding to only use 1 channel on my amp and replace the very old dual channel speakers with a set of Component Speakers.
What this does is let you use 1 speaker wire to hook into a 2-way crossover device, then that crossover sends the correct signal to a 6.5” speaker and a 1” speaker. This is good so that your big speakers gets the mids and lows, and the tweeters gets the highs. So 1 wire feeds 2 different sized speakers.
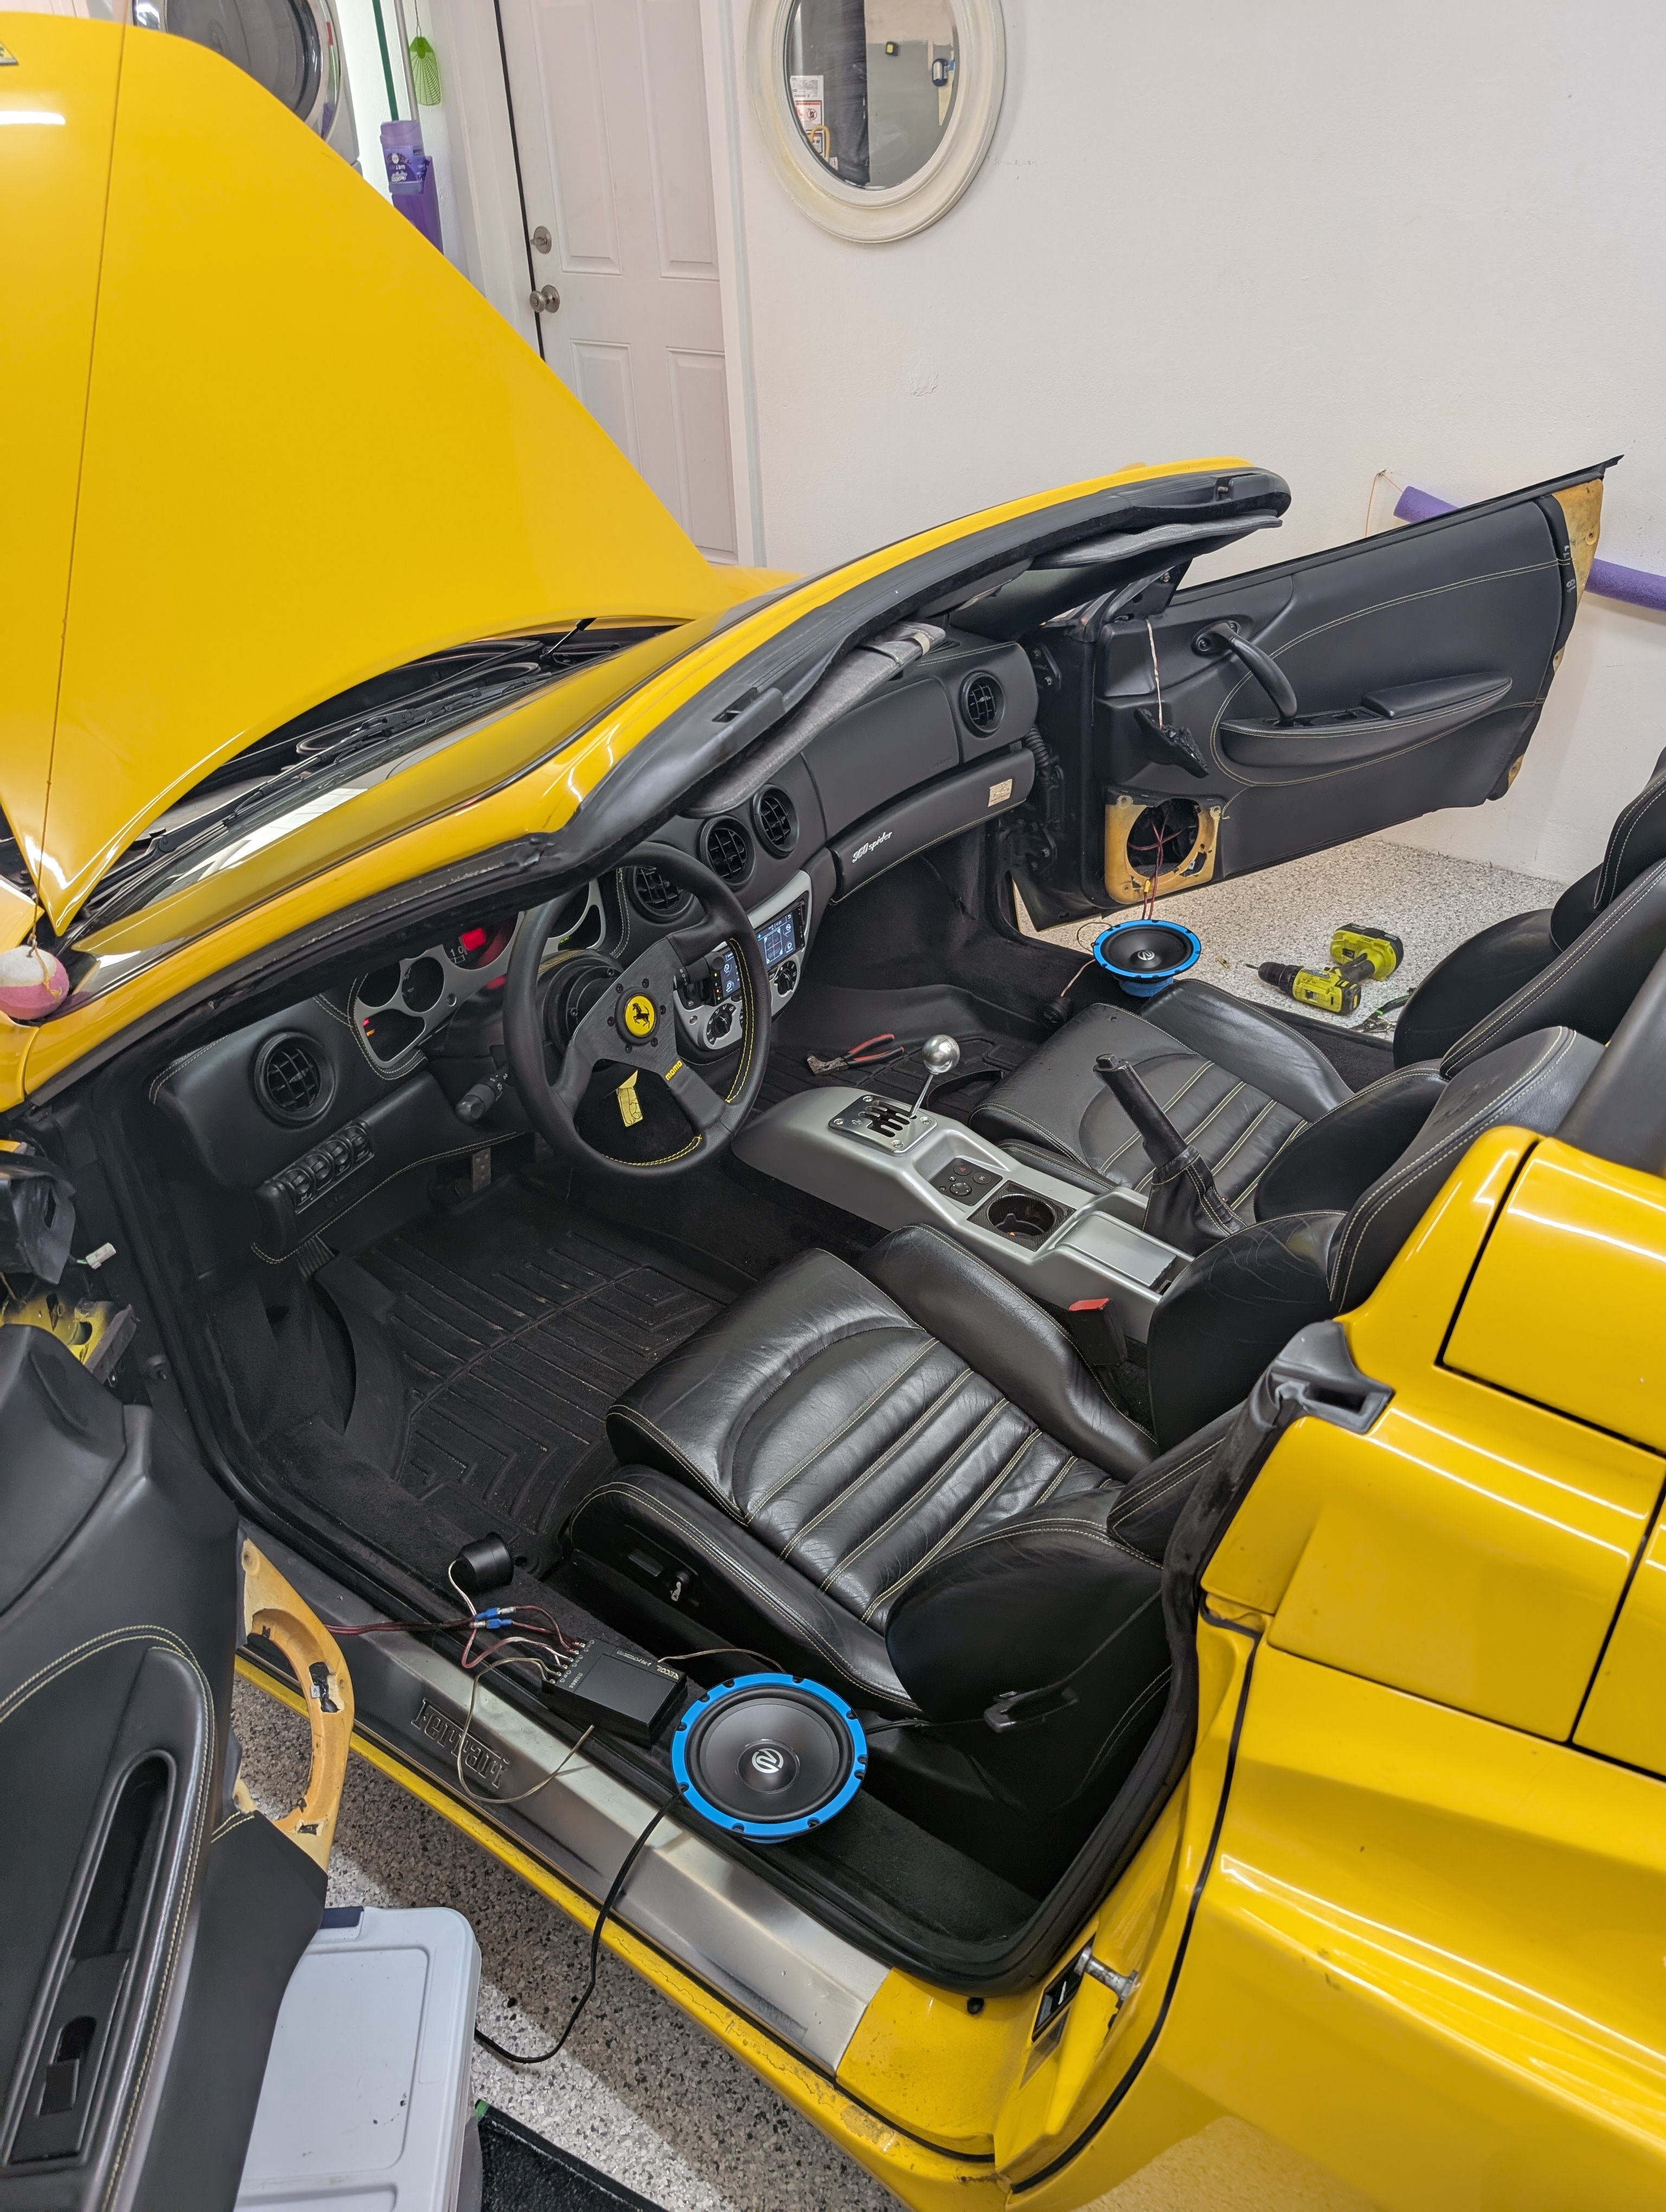
I purchased these Recoil REM65 component speakers, which was the perfect setup for the 360 due to including the correct size speakers, tweeters, and required crossover. Once I plugged them all in to the door channel speaker wire, all 4 speakers were working and at the same volume per side, now I just needed to adjust my audio settings.
Amp setup
For adjusting my Kenwood amp, some of the settings needed to dialed in for the sound to come through the new speakers great. I set:
- Input sensitivity set 1
- Frequency filter set to 50 (so bass comes through the 6.5” speakers, sounded very tiny before lowering that).
- Channel B (only channel used) set to no LPF and no HPF, so no filtering of frequencies, all sounds will come through all speakers.
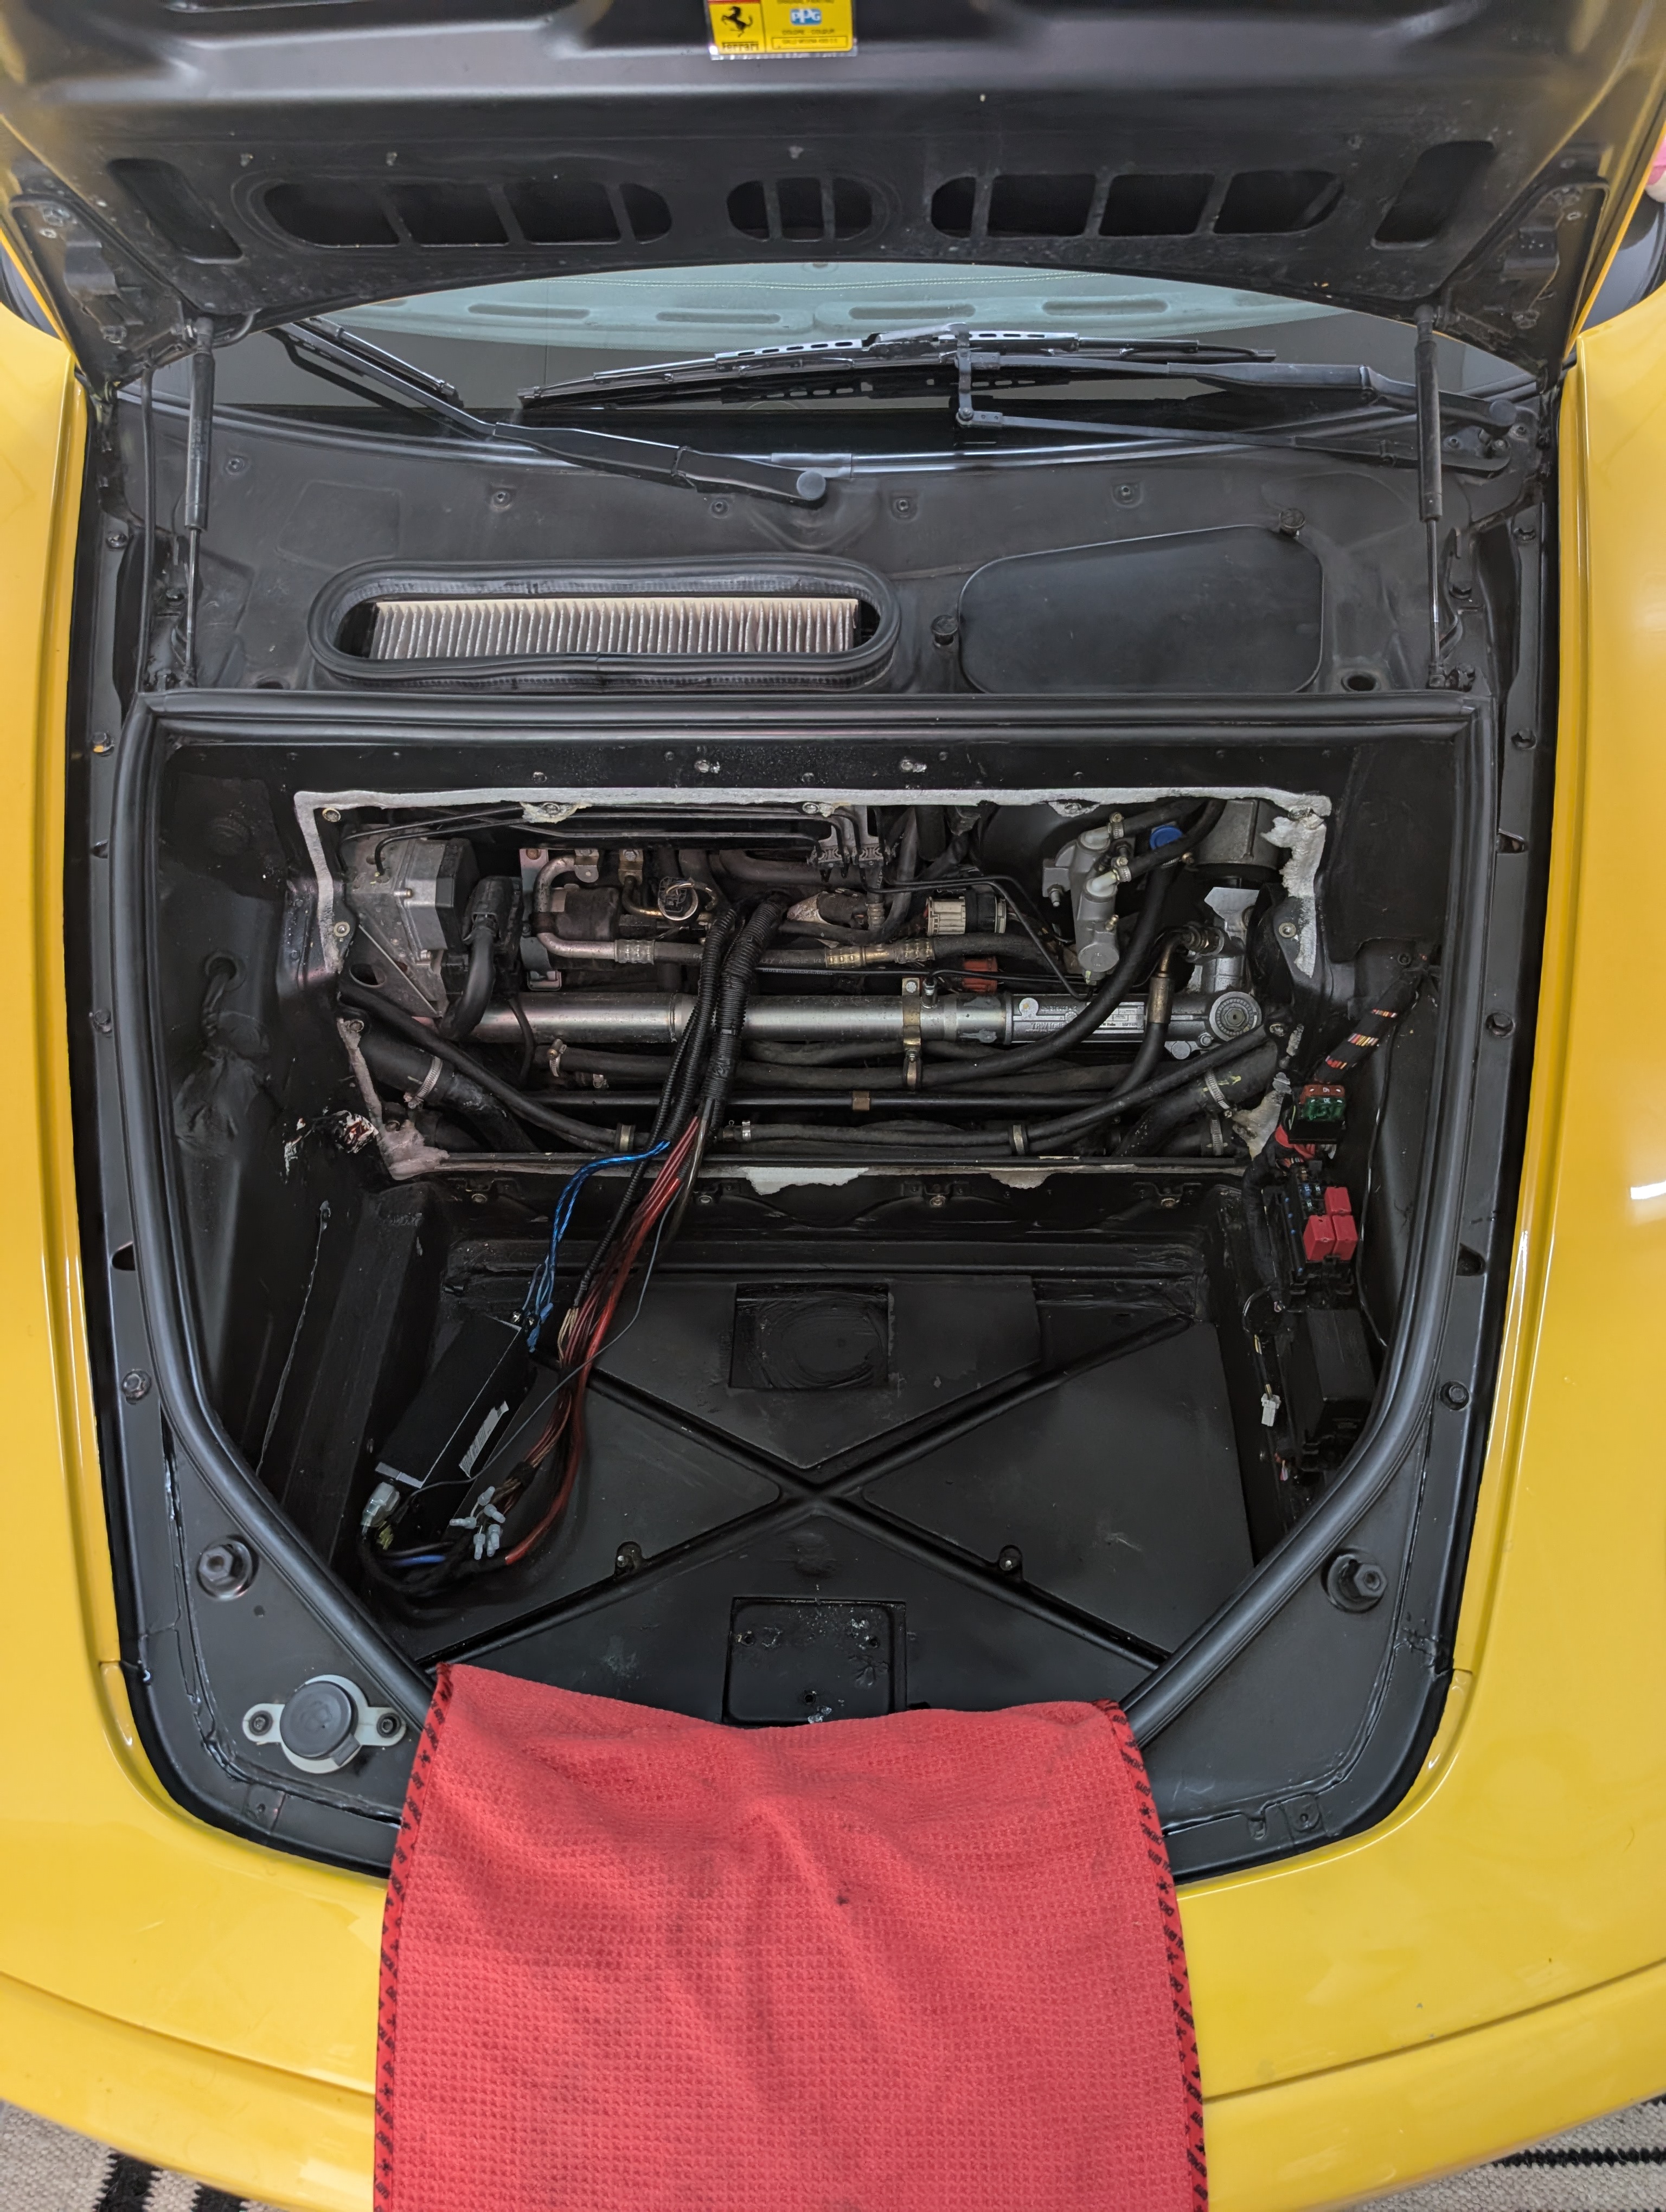
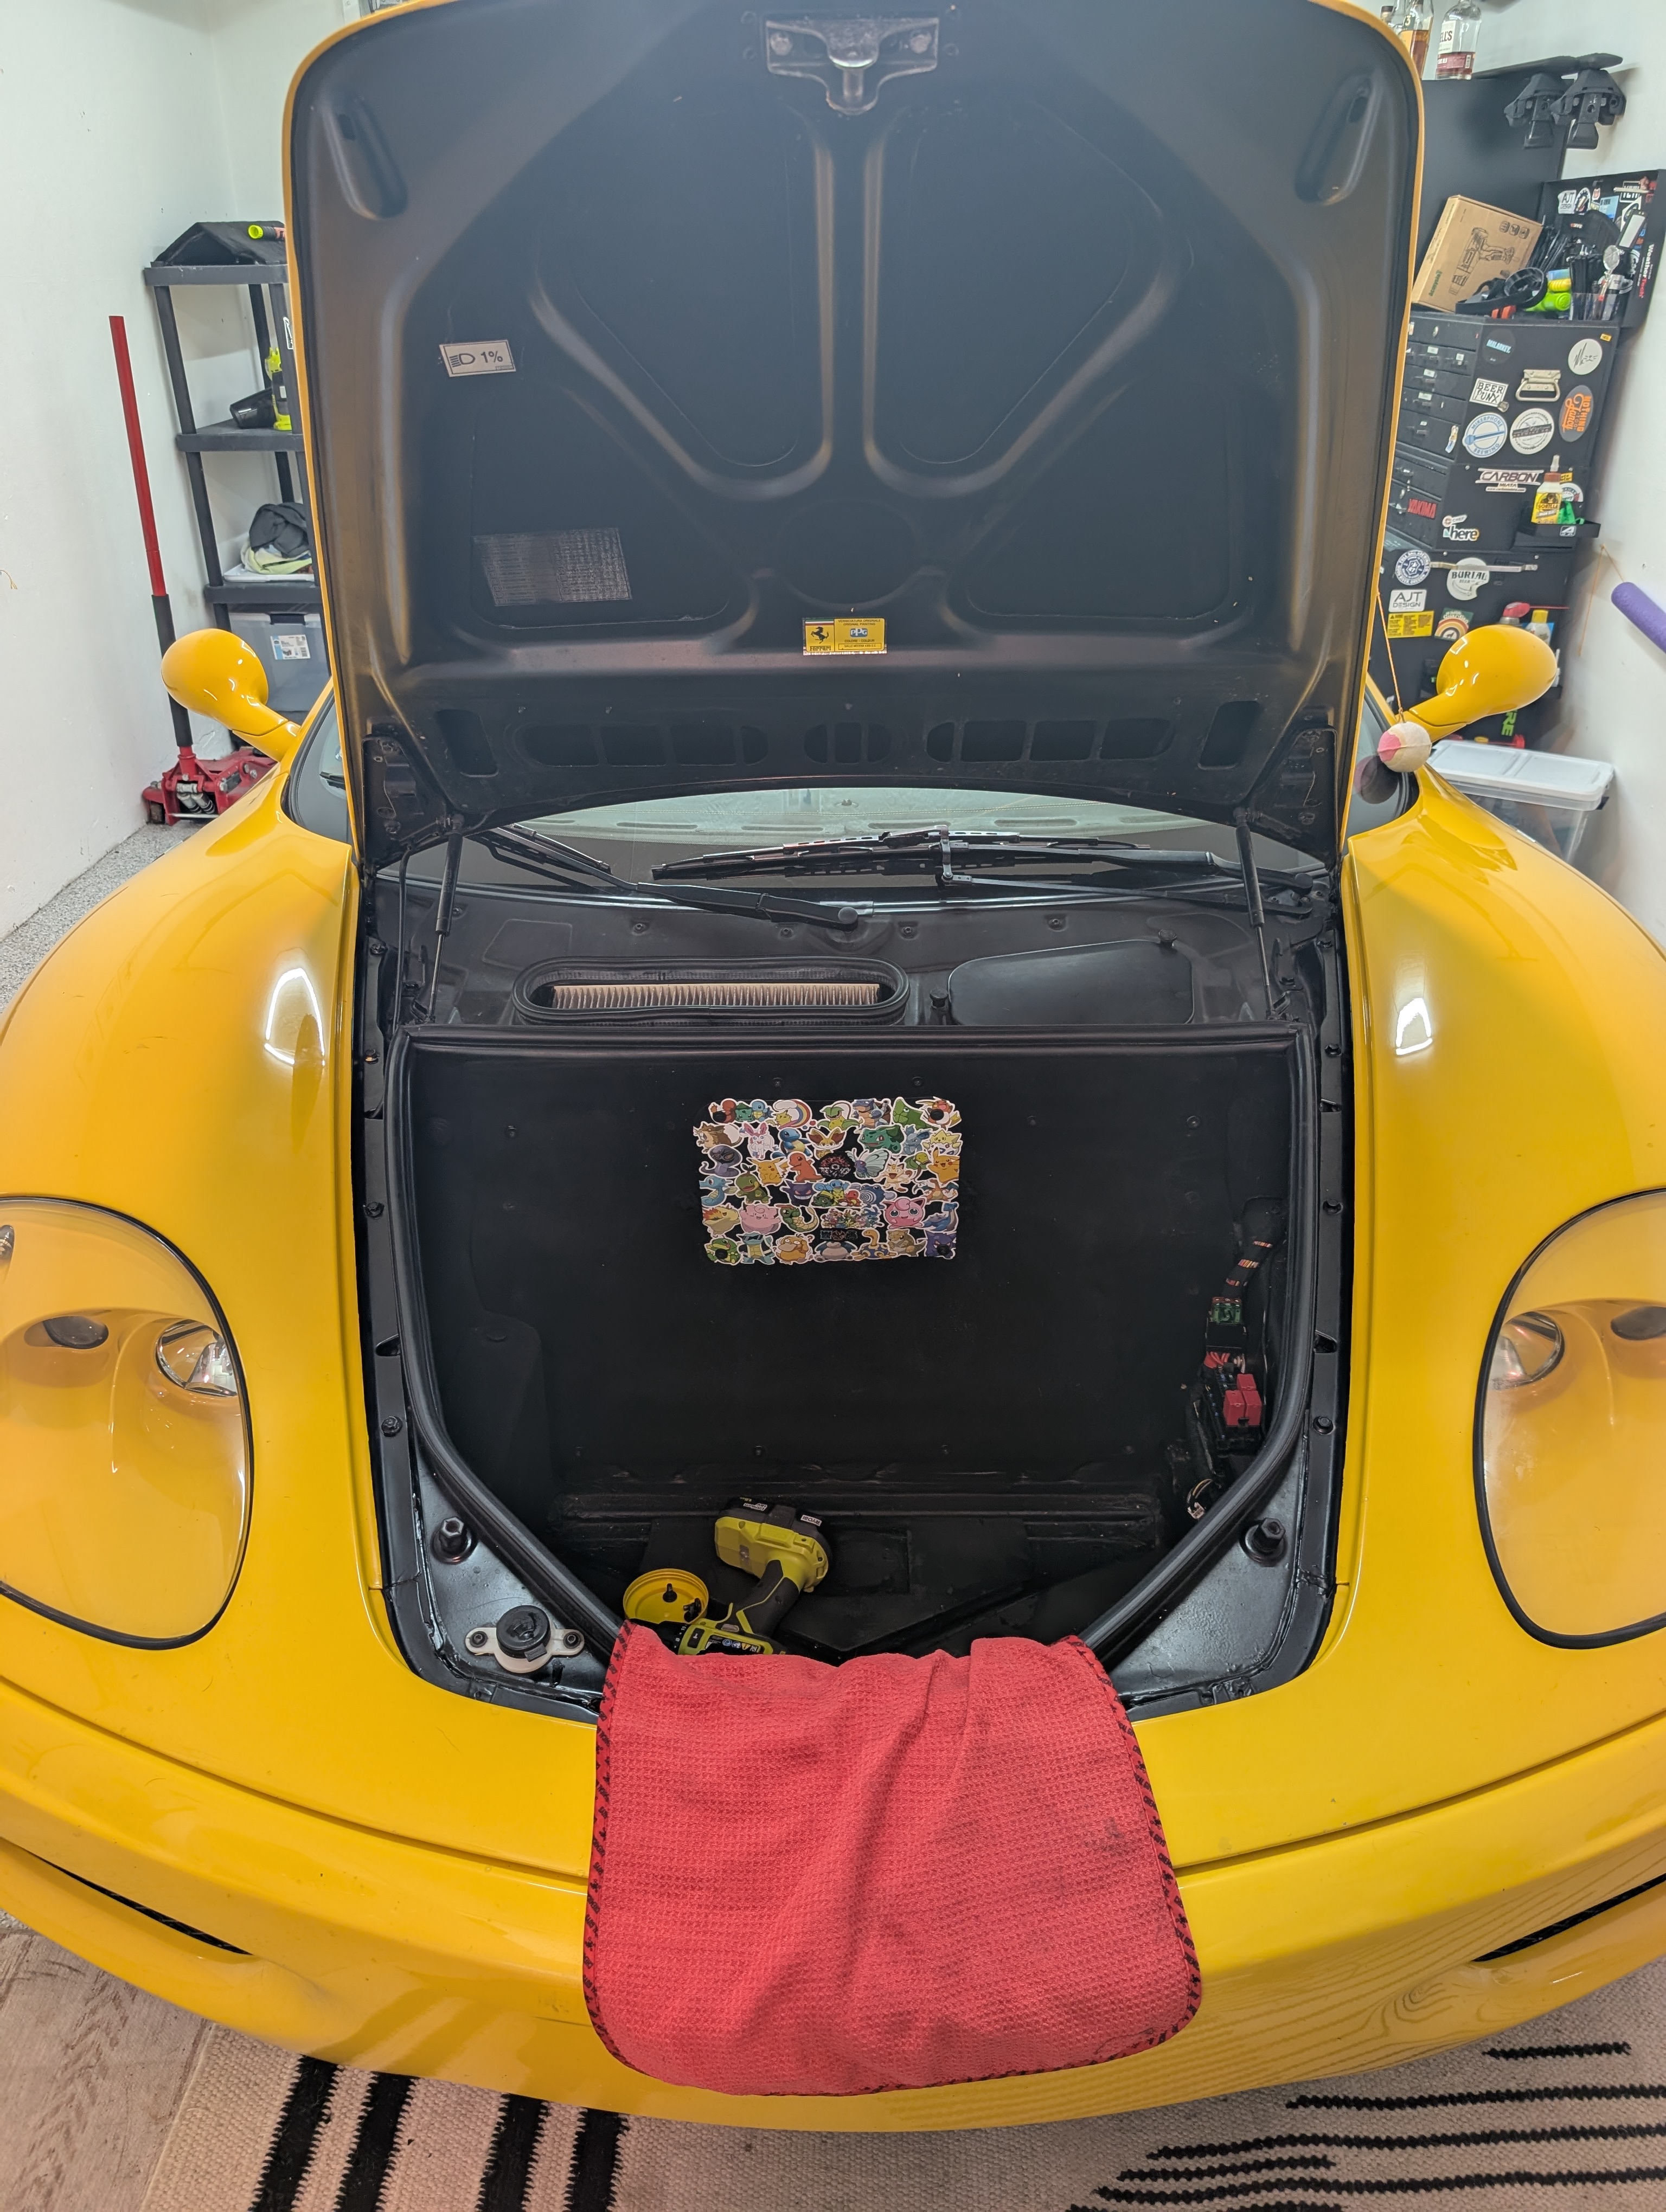
Once all these settings were adjusted, the sound coming out of the 4 new speakers was great! My amp is hidden behind the frunk liner where the stock CD changer used to sit, so it’s a bit of a hassle to get to, so I wanted to make sure it was perfect before re-installing the frunk carpets.
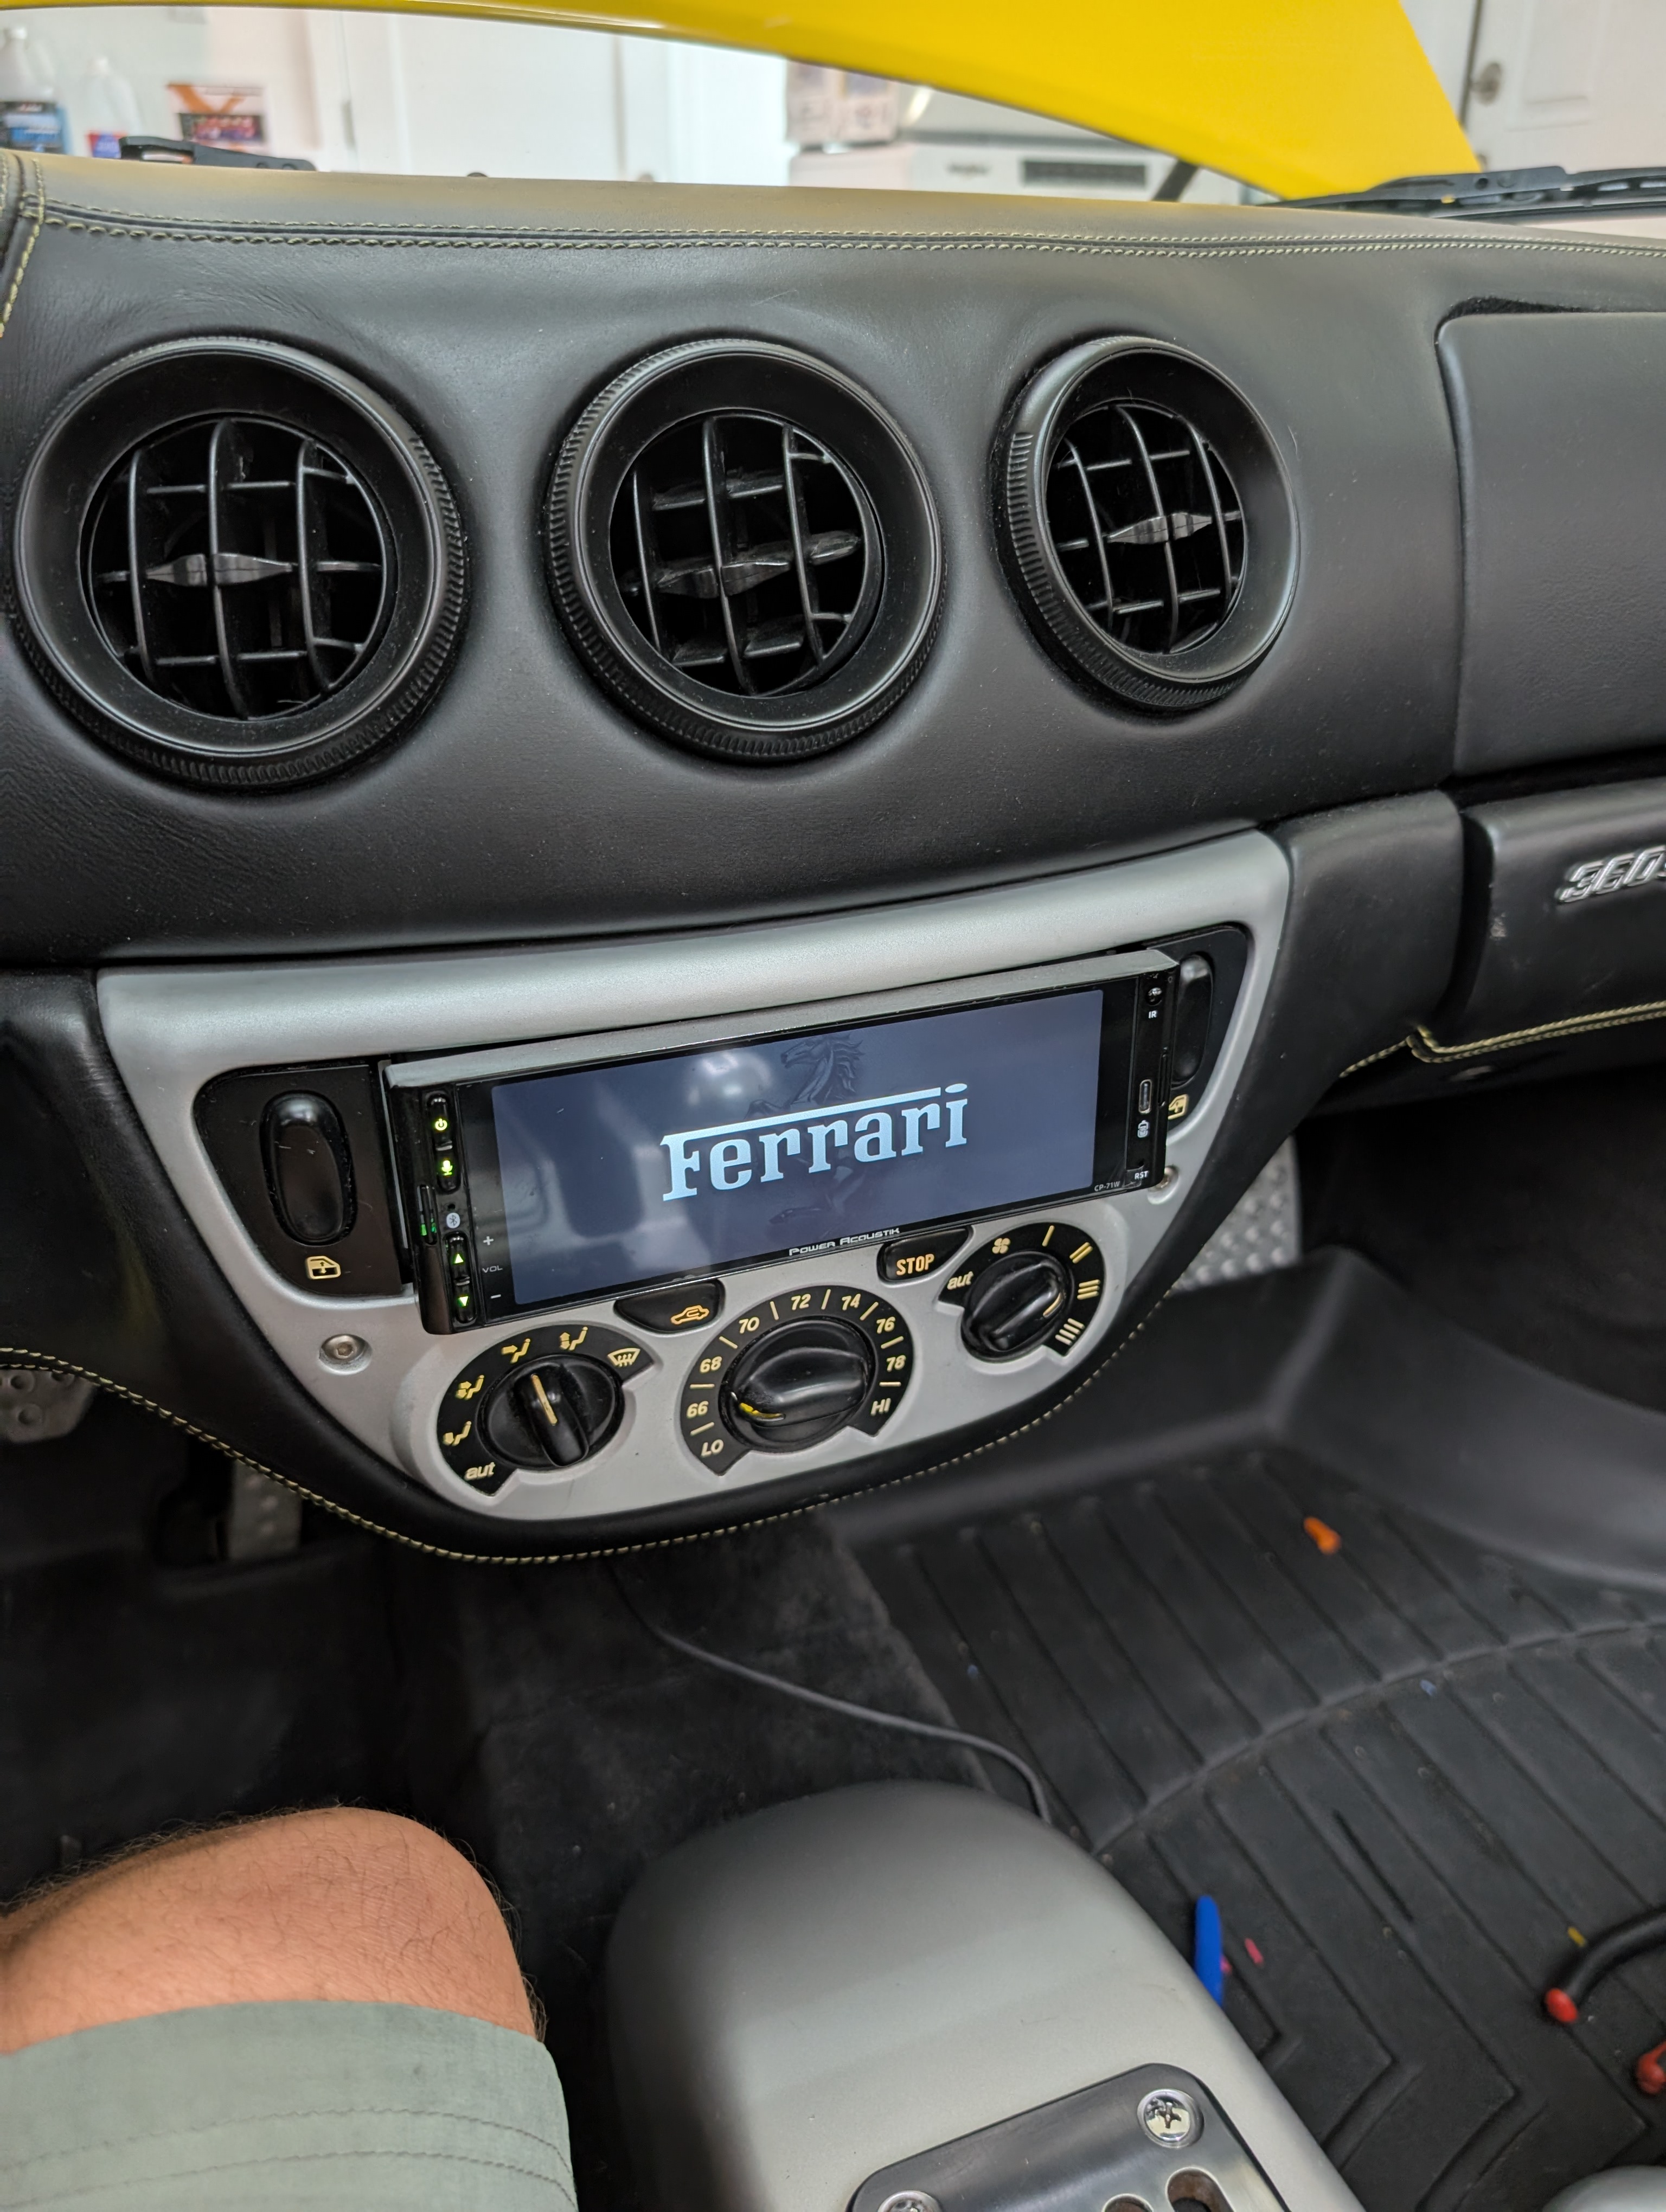
Update Boot Logo
The Power Acoustik Boot Logo is not cool, so why not make it show a Ferrari logo? Or whatever car you’re putting it in. Ben Clark from the 360 Owner Facebook group made a great Dropbox of Ferrari boot logos. Find the boot logo you want, take it to https://png2jpg.com/ to convert it to a .jpg, then take the file and rename it “changelogo.jpg”, or if you like the one I used, just download it below.


Then take a FAT32 formatted USB stick, drop the file on it, and hook it up to the long USB cable on the back of your headunit (I ran this cable into a new hole I drilled in my glove box). Go to Settings > Update Boot screen. If that option doesn’t exist, you might be on an older, pre-2.0, firmware, and can update your firmware to get this option.
Conclusion
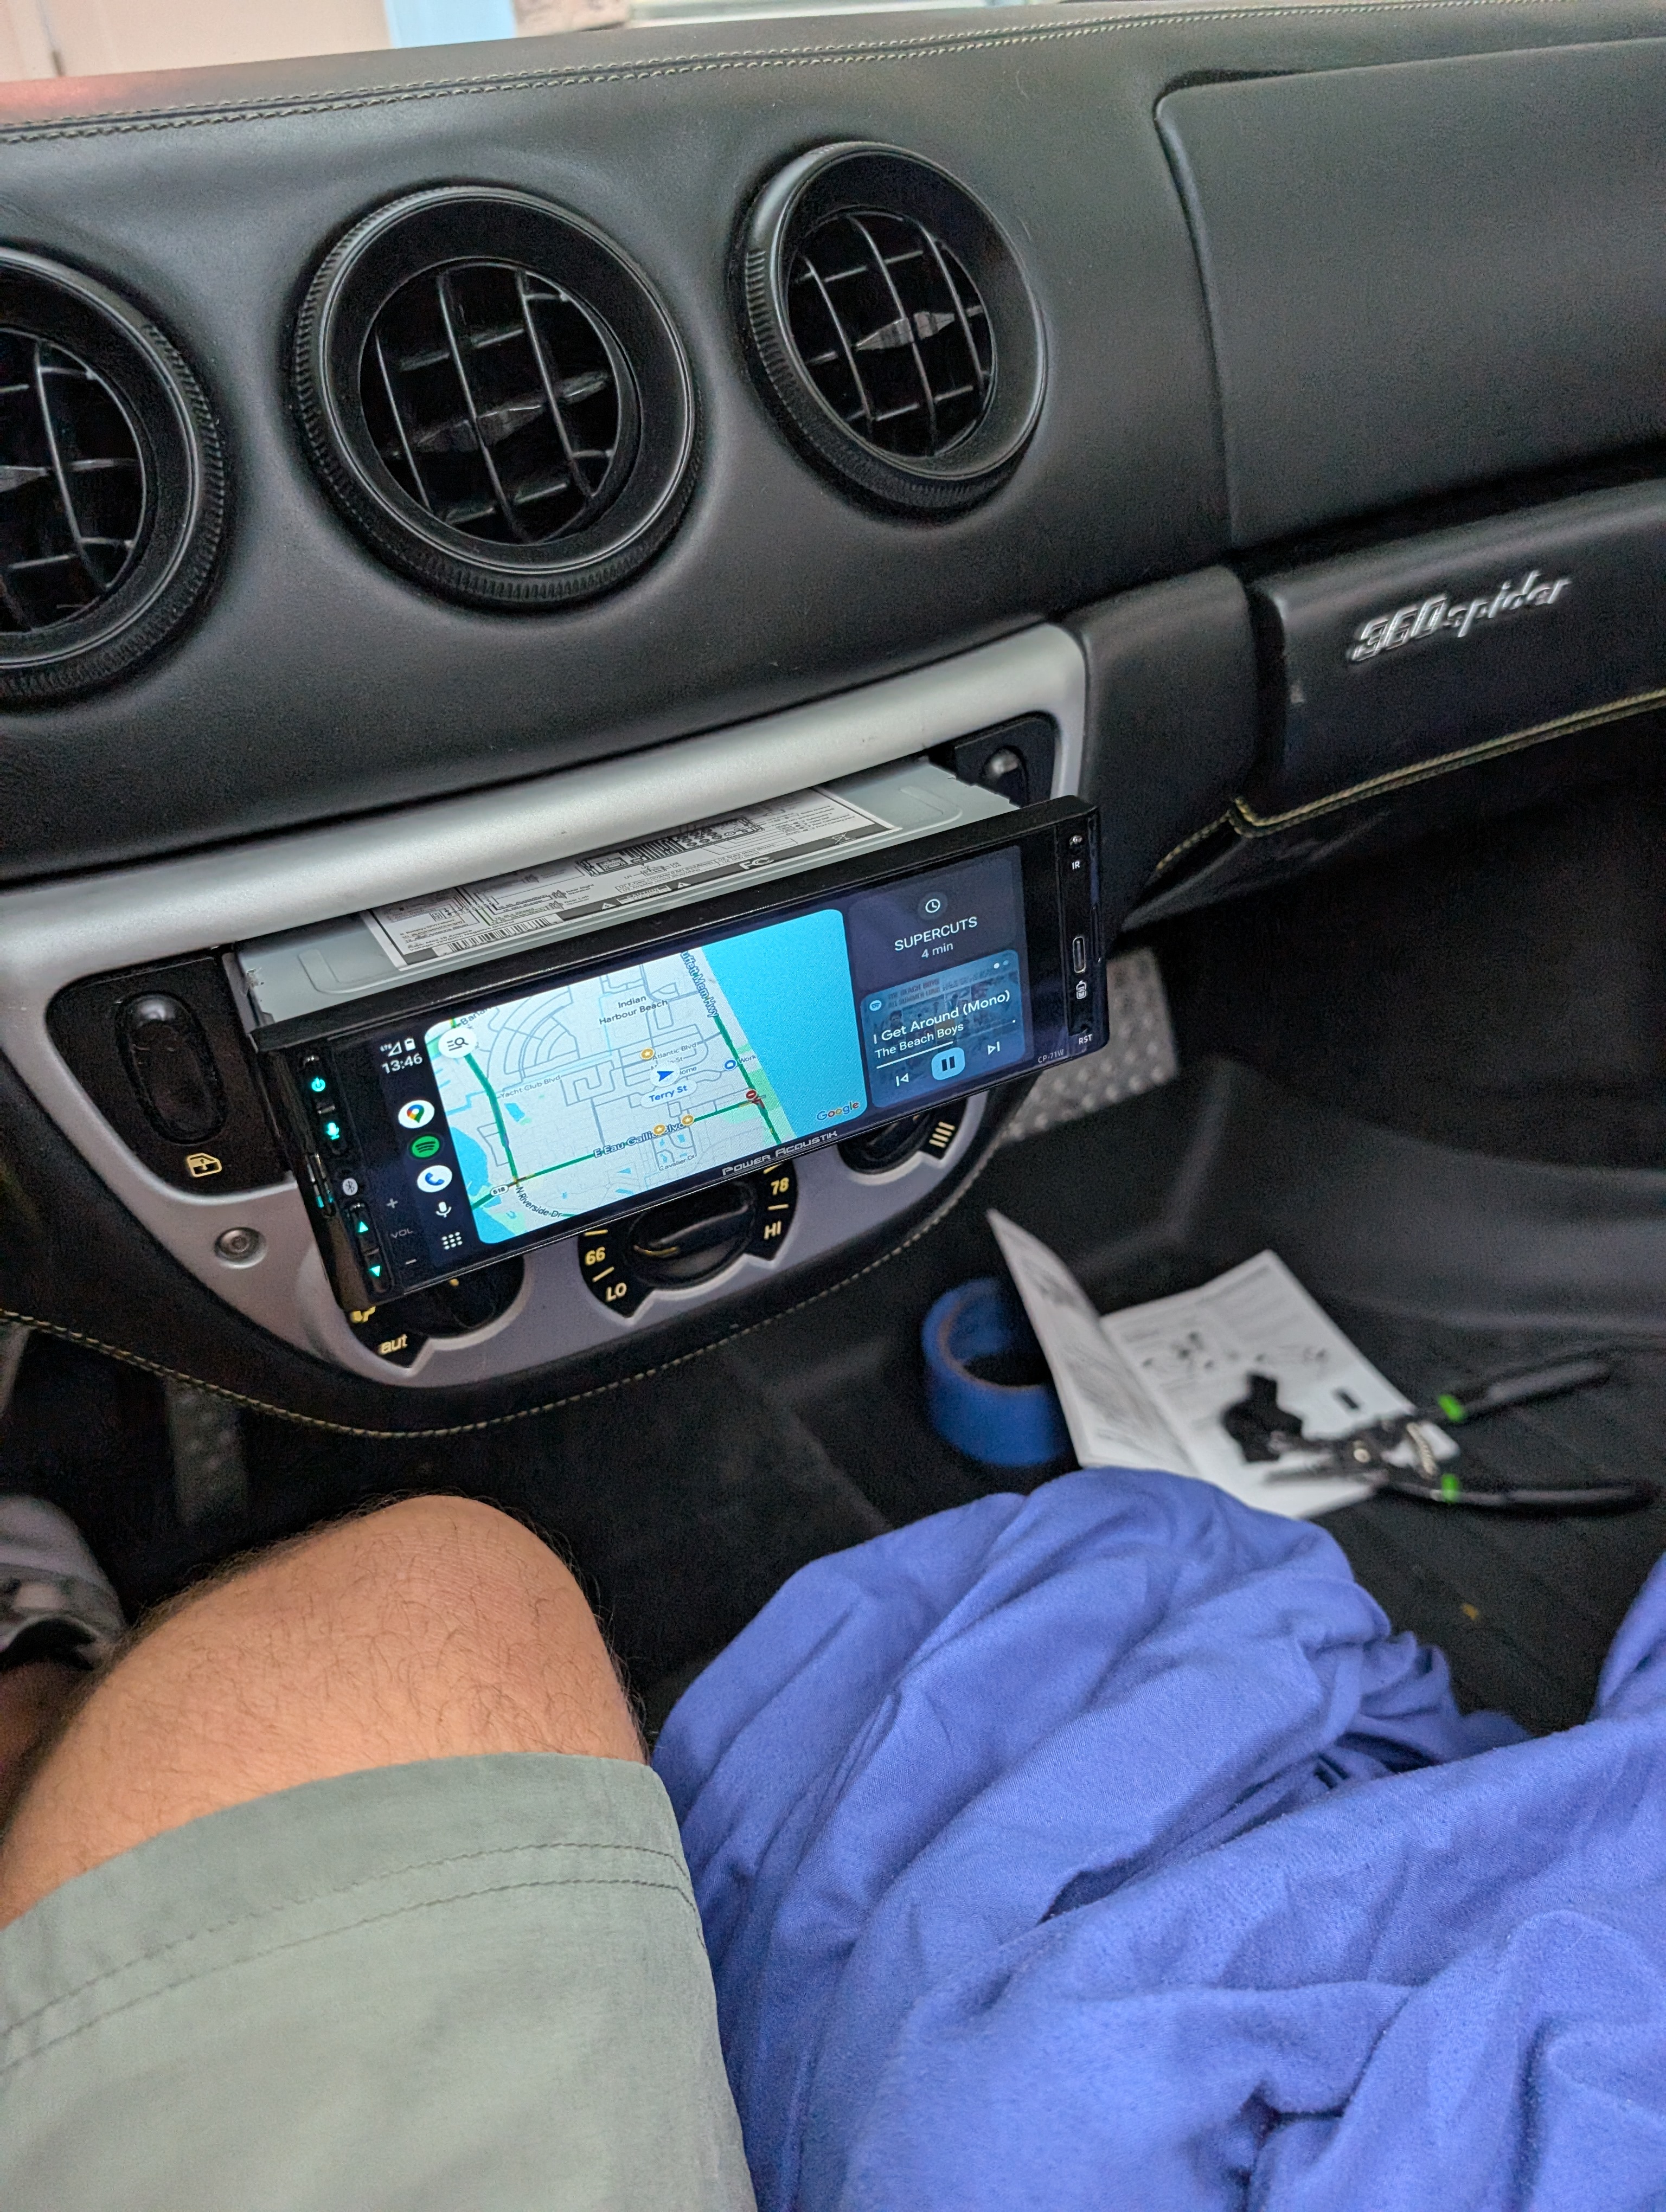
So for just about $220 all in, I got a full set of new speakers and a single DIN Android Auto headunit. I can do wireless music, it has a mic button so I can tell it to change to an exact song or get directions, and it looks great in my Ferrari 360 Spider.