
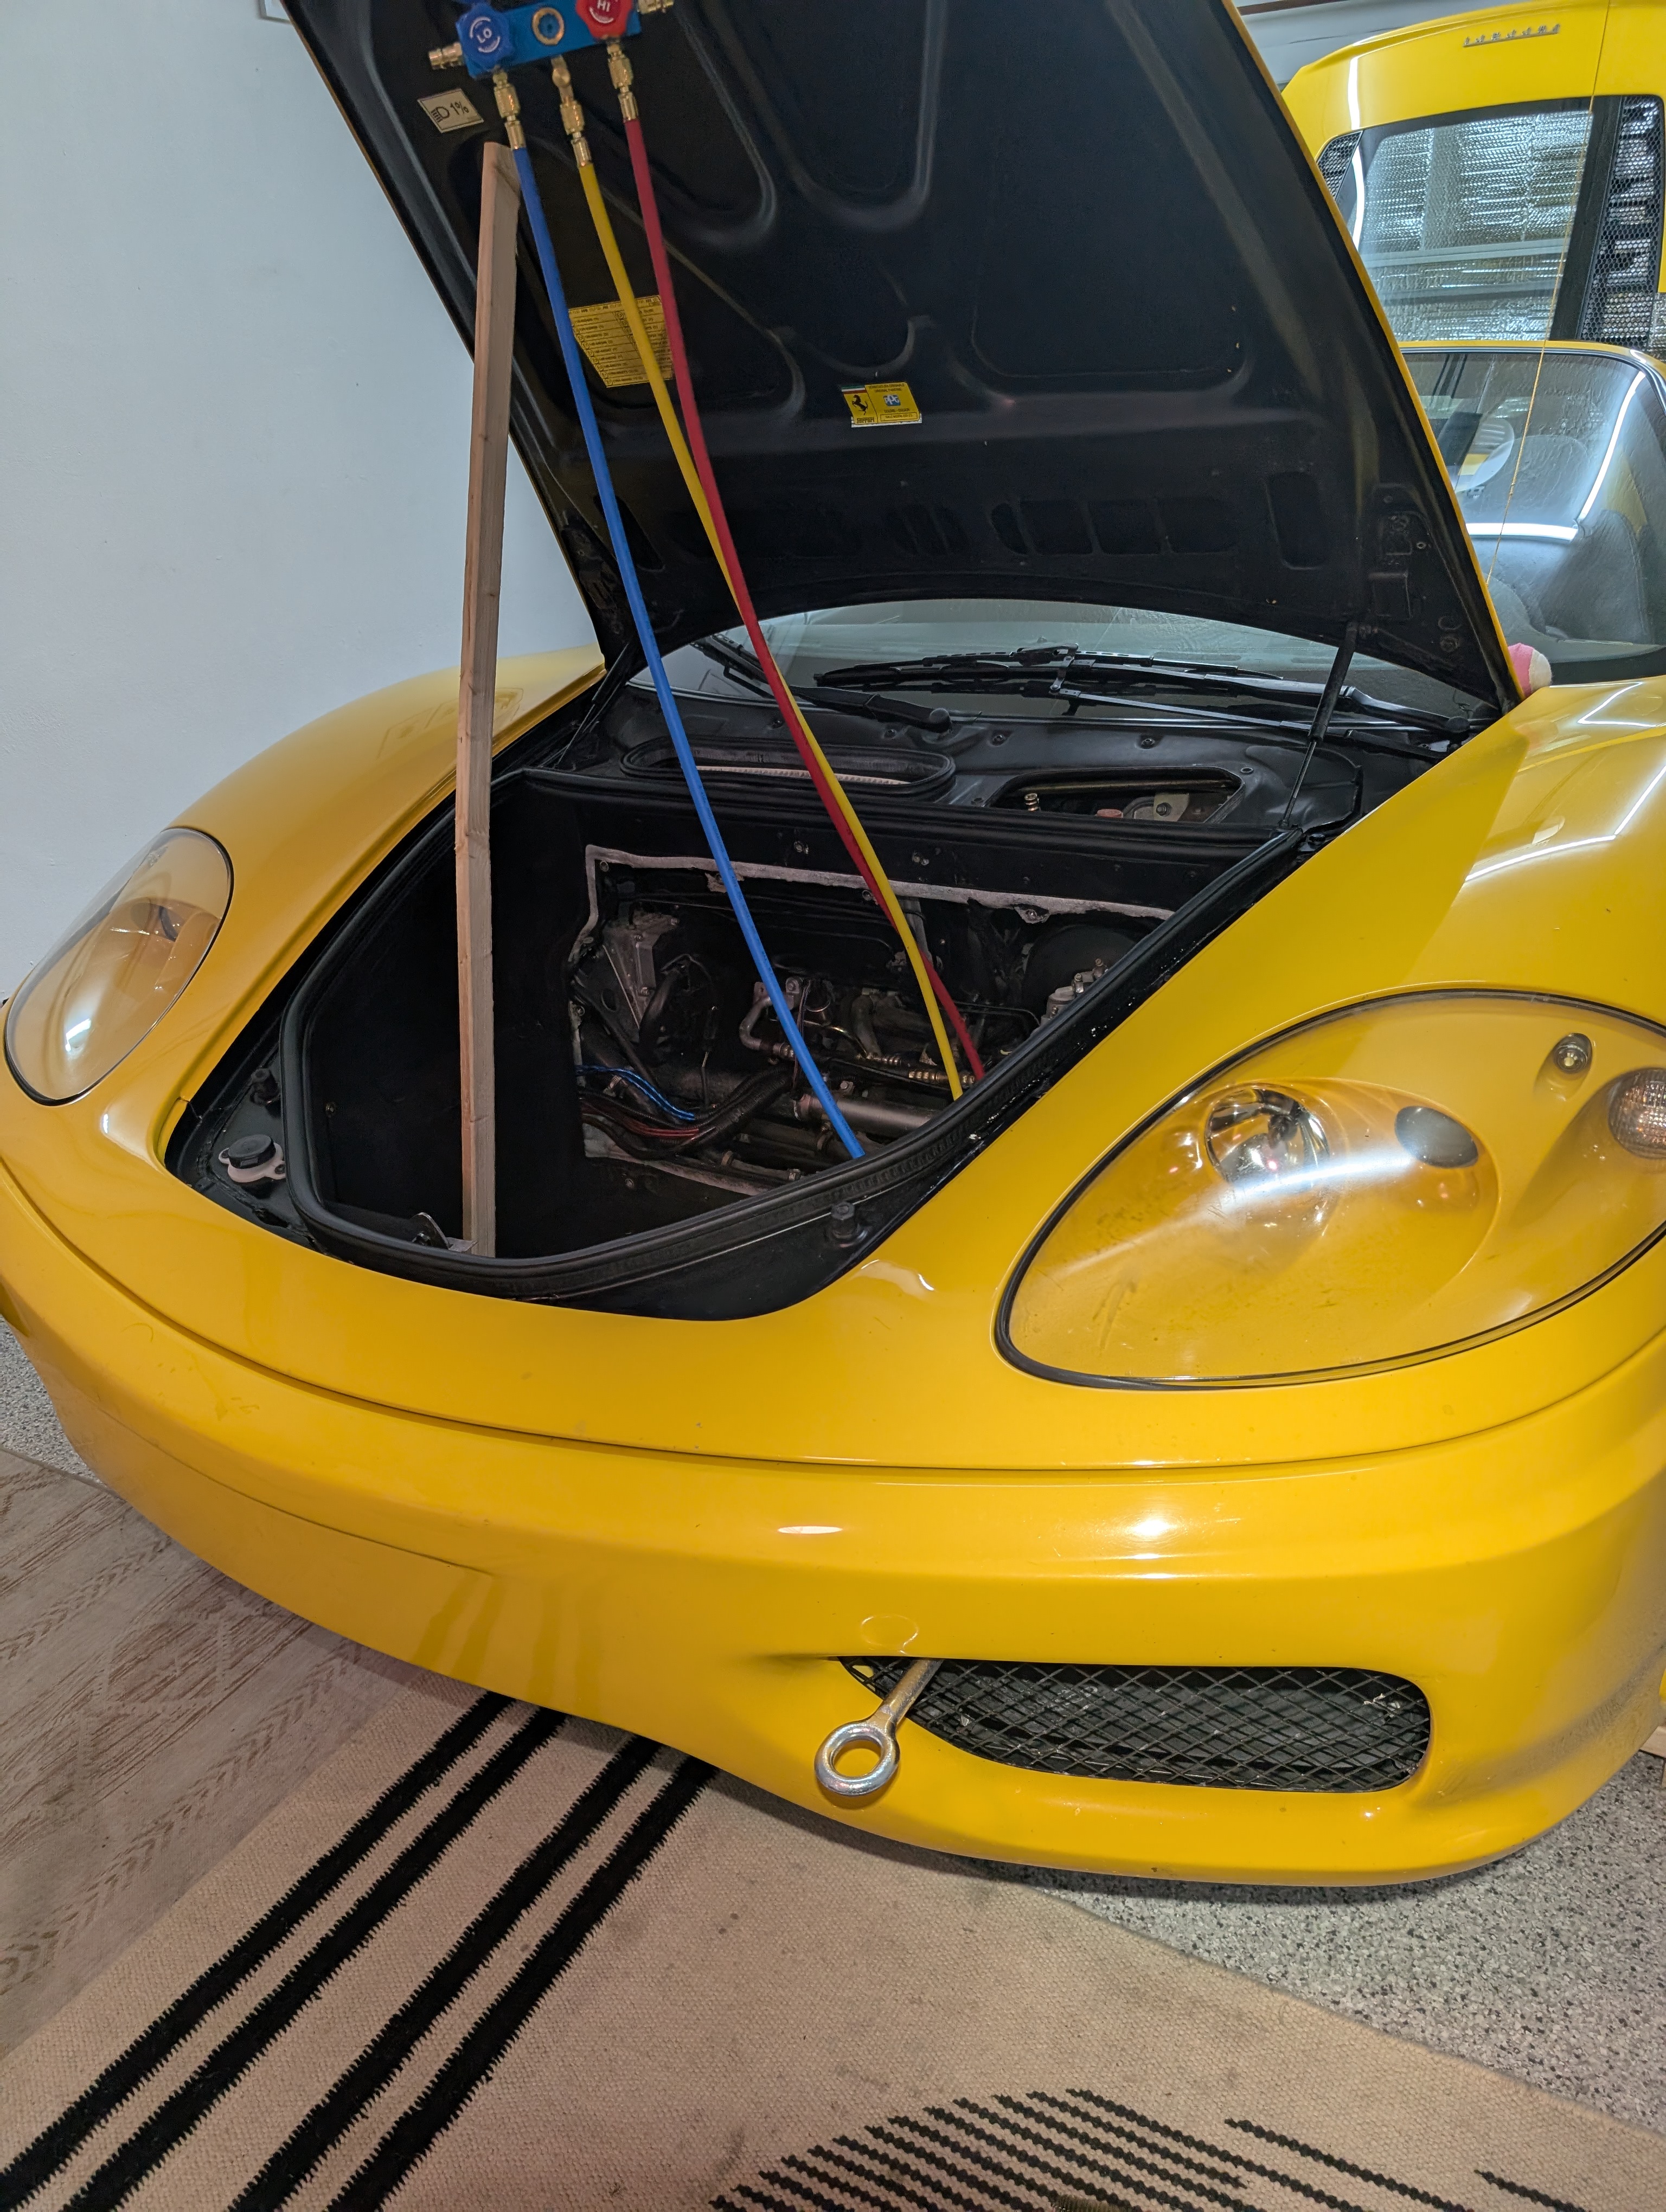
Ferrari 360 - Air Conditioner Fix
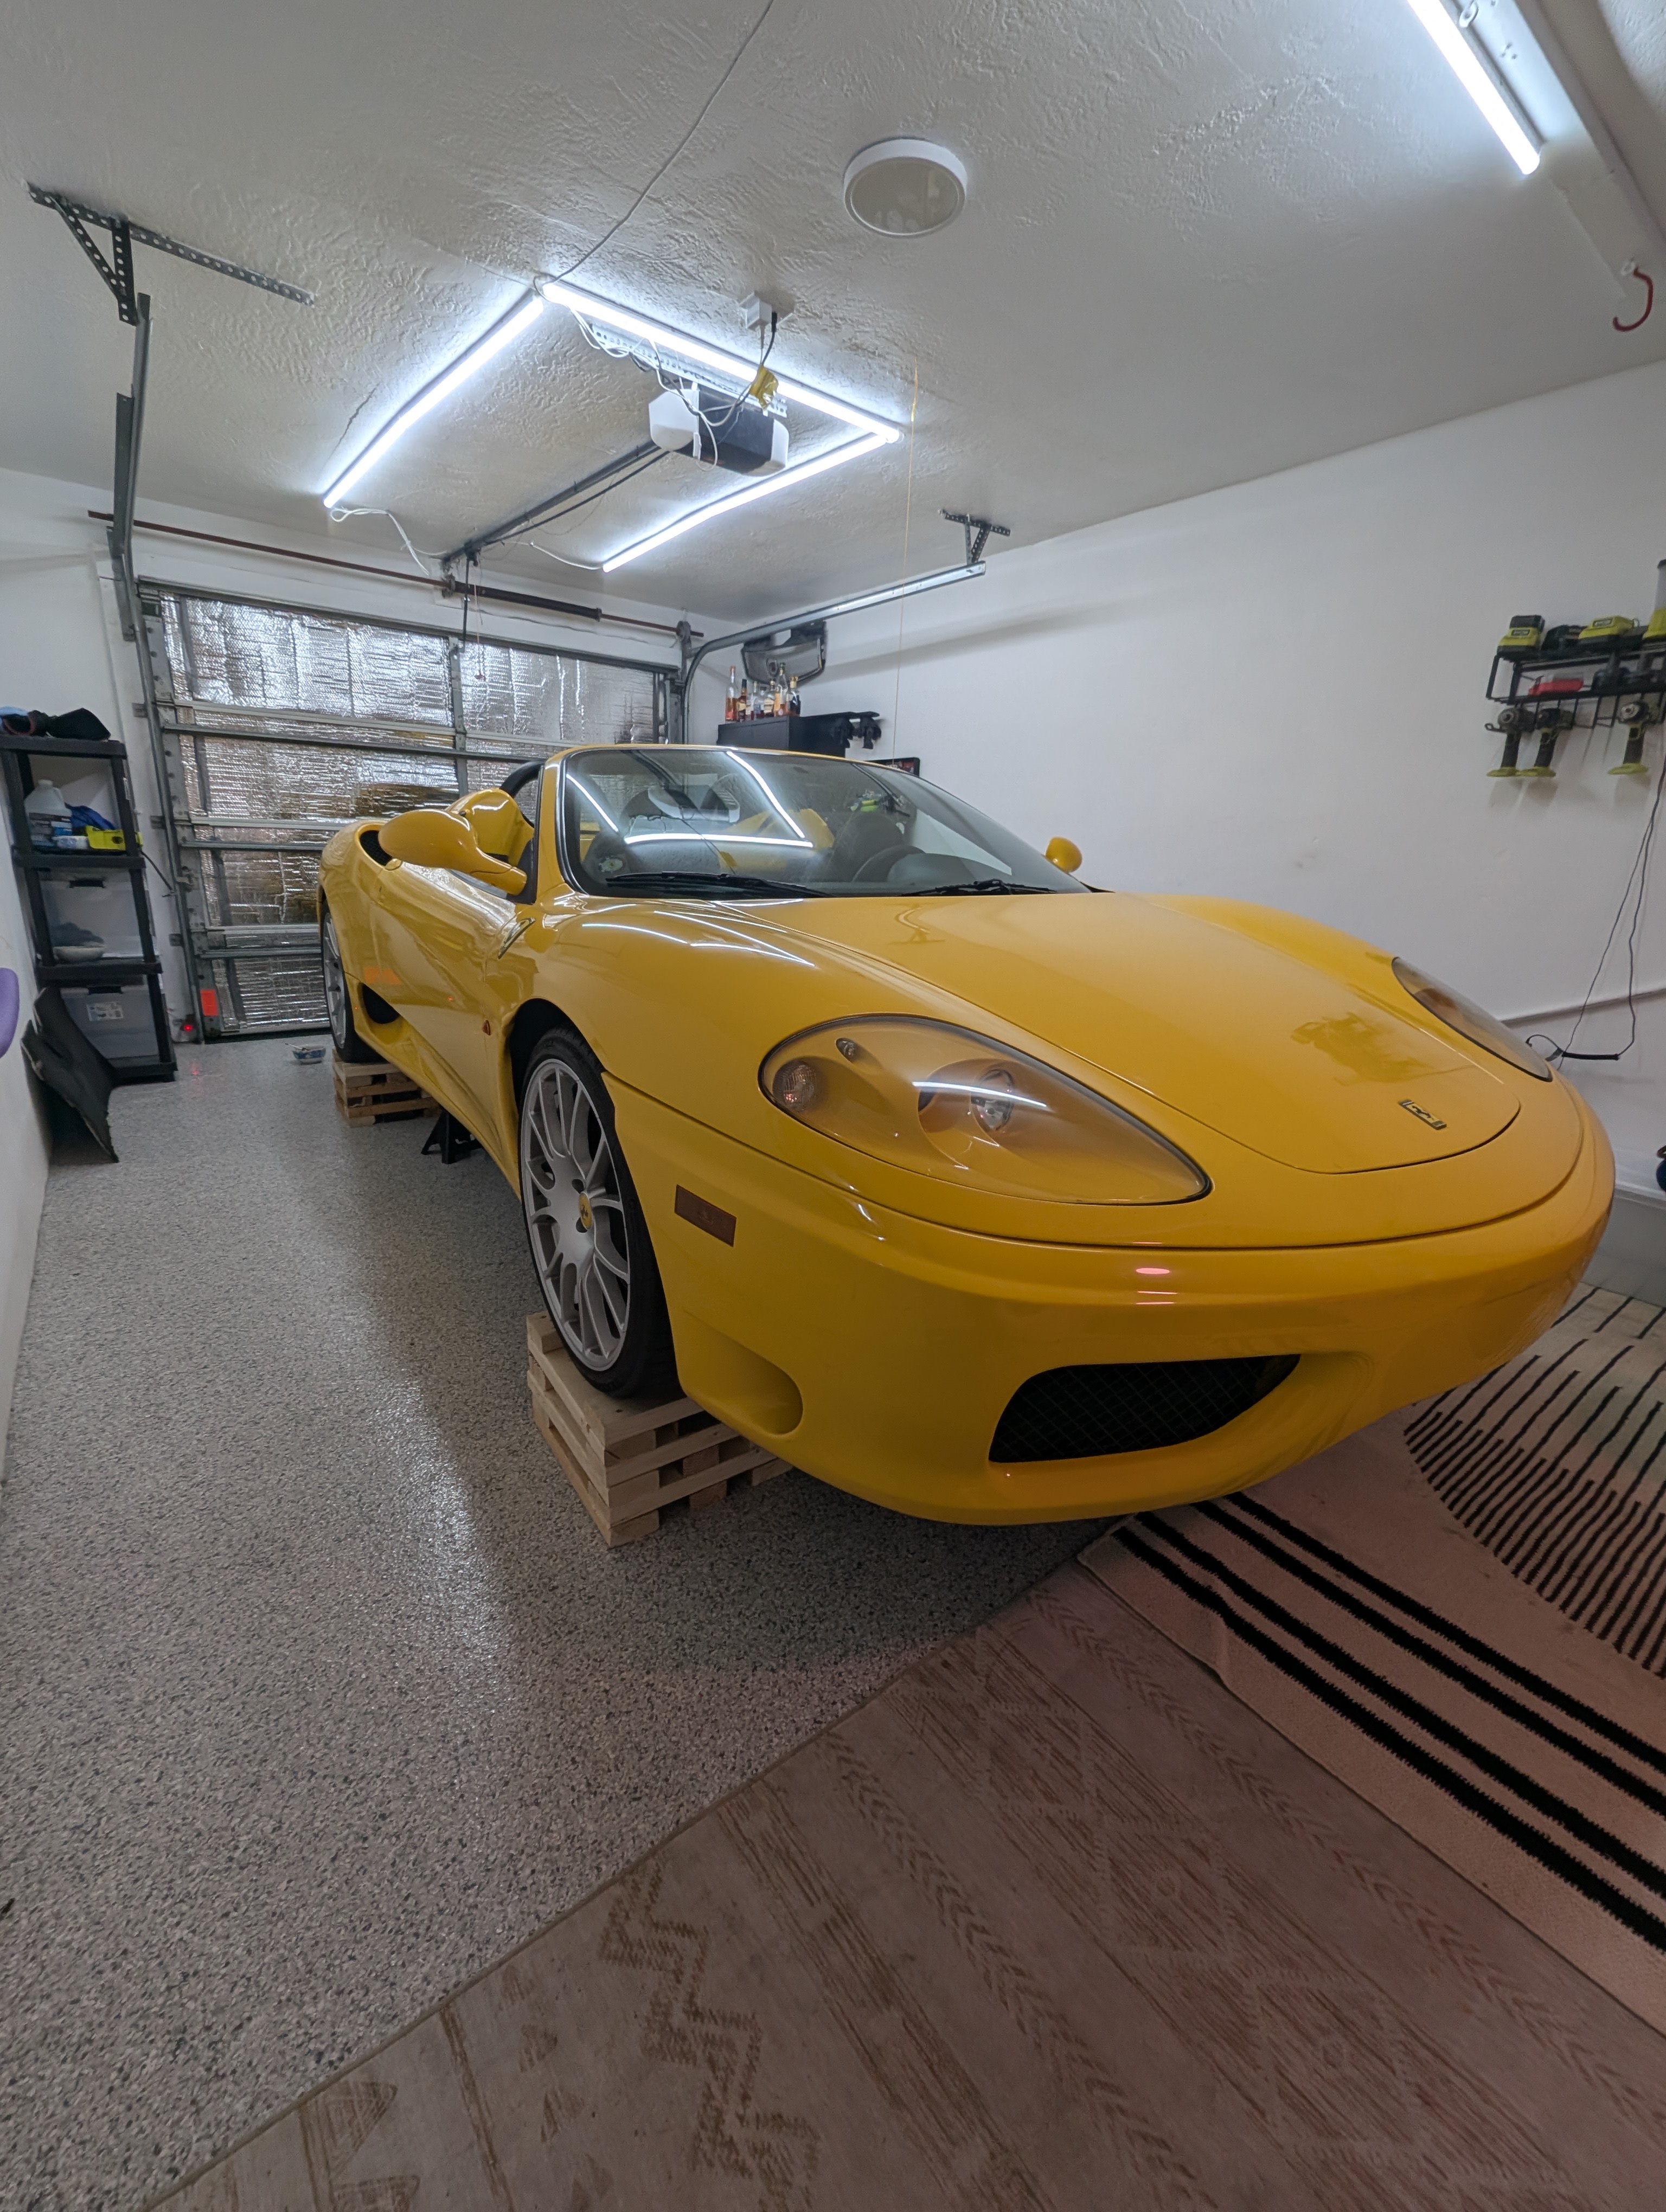
I fixed the A/C in my 2001 Ferrari 360 Spider, it had never worked under my ownership of 3+ years.
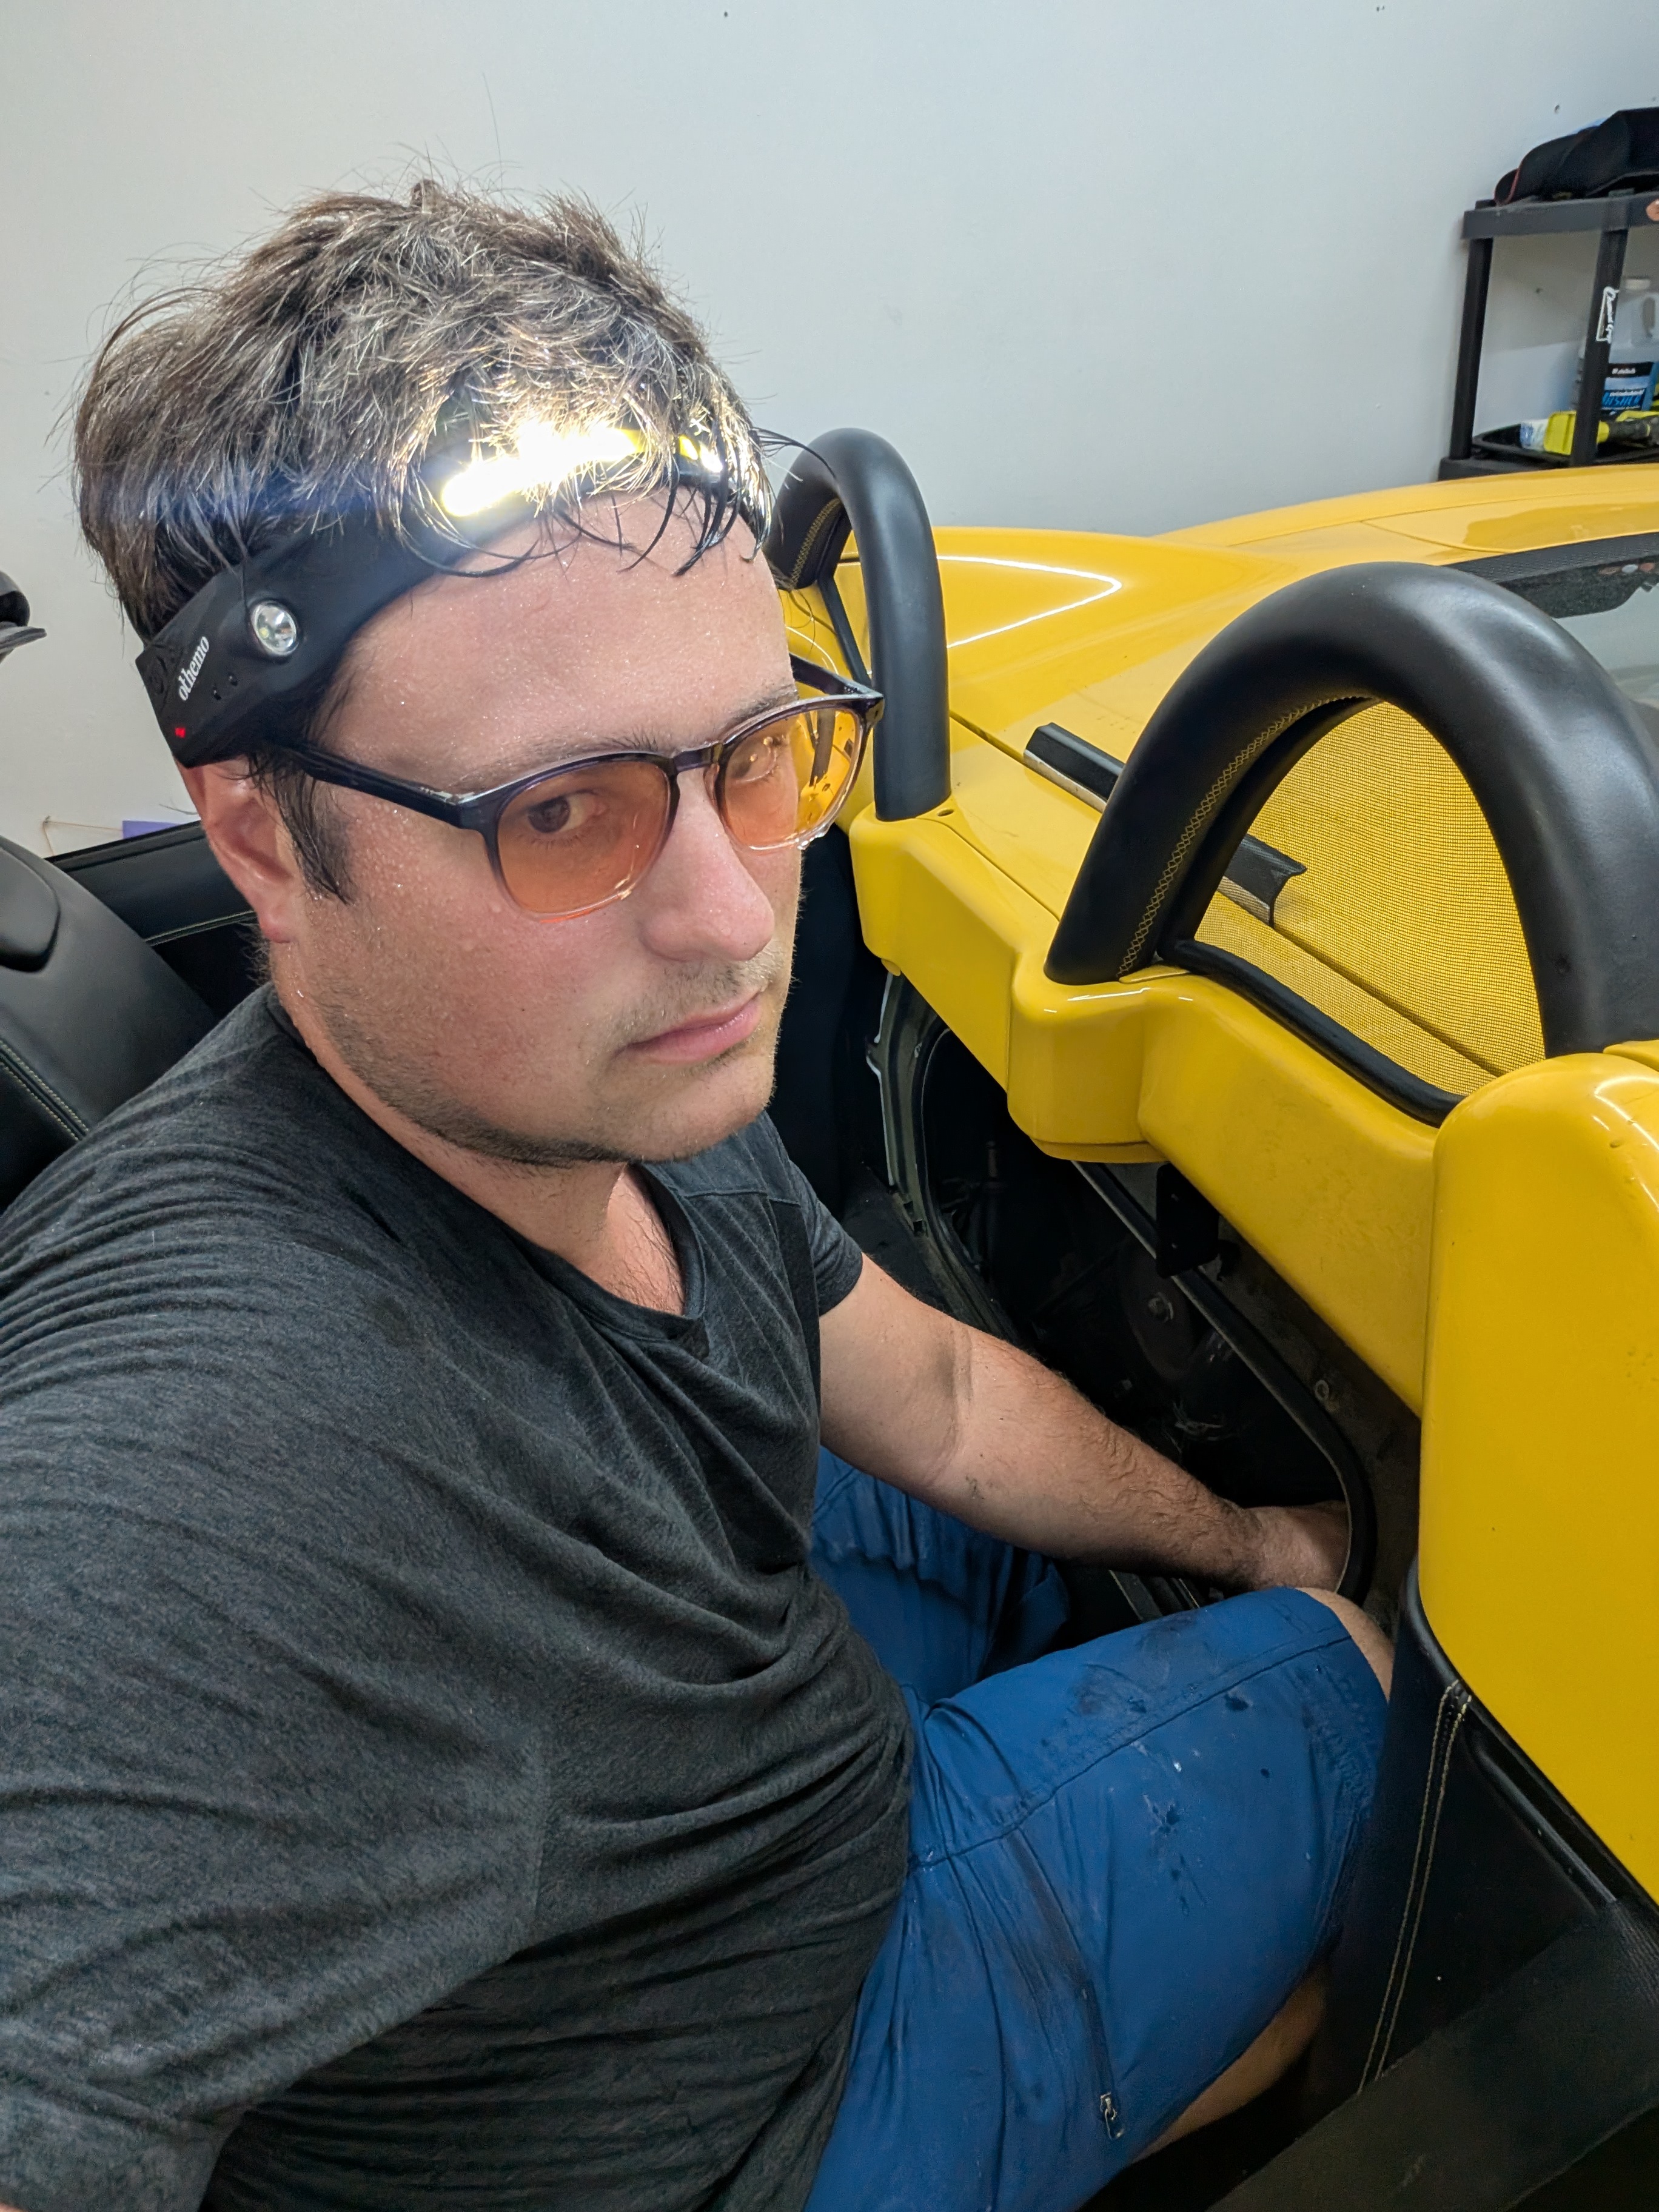
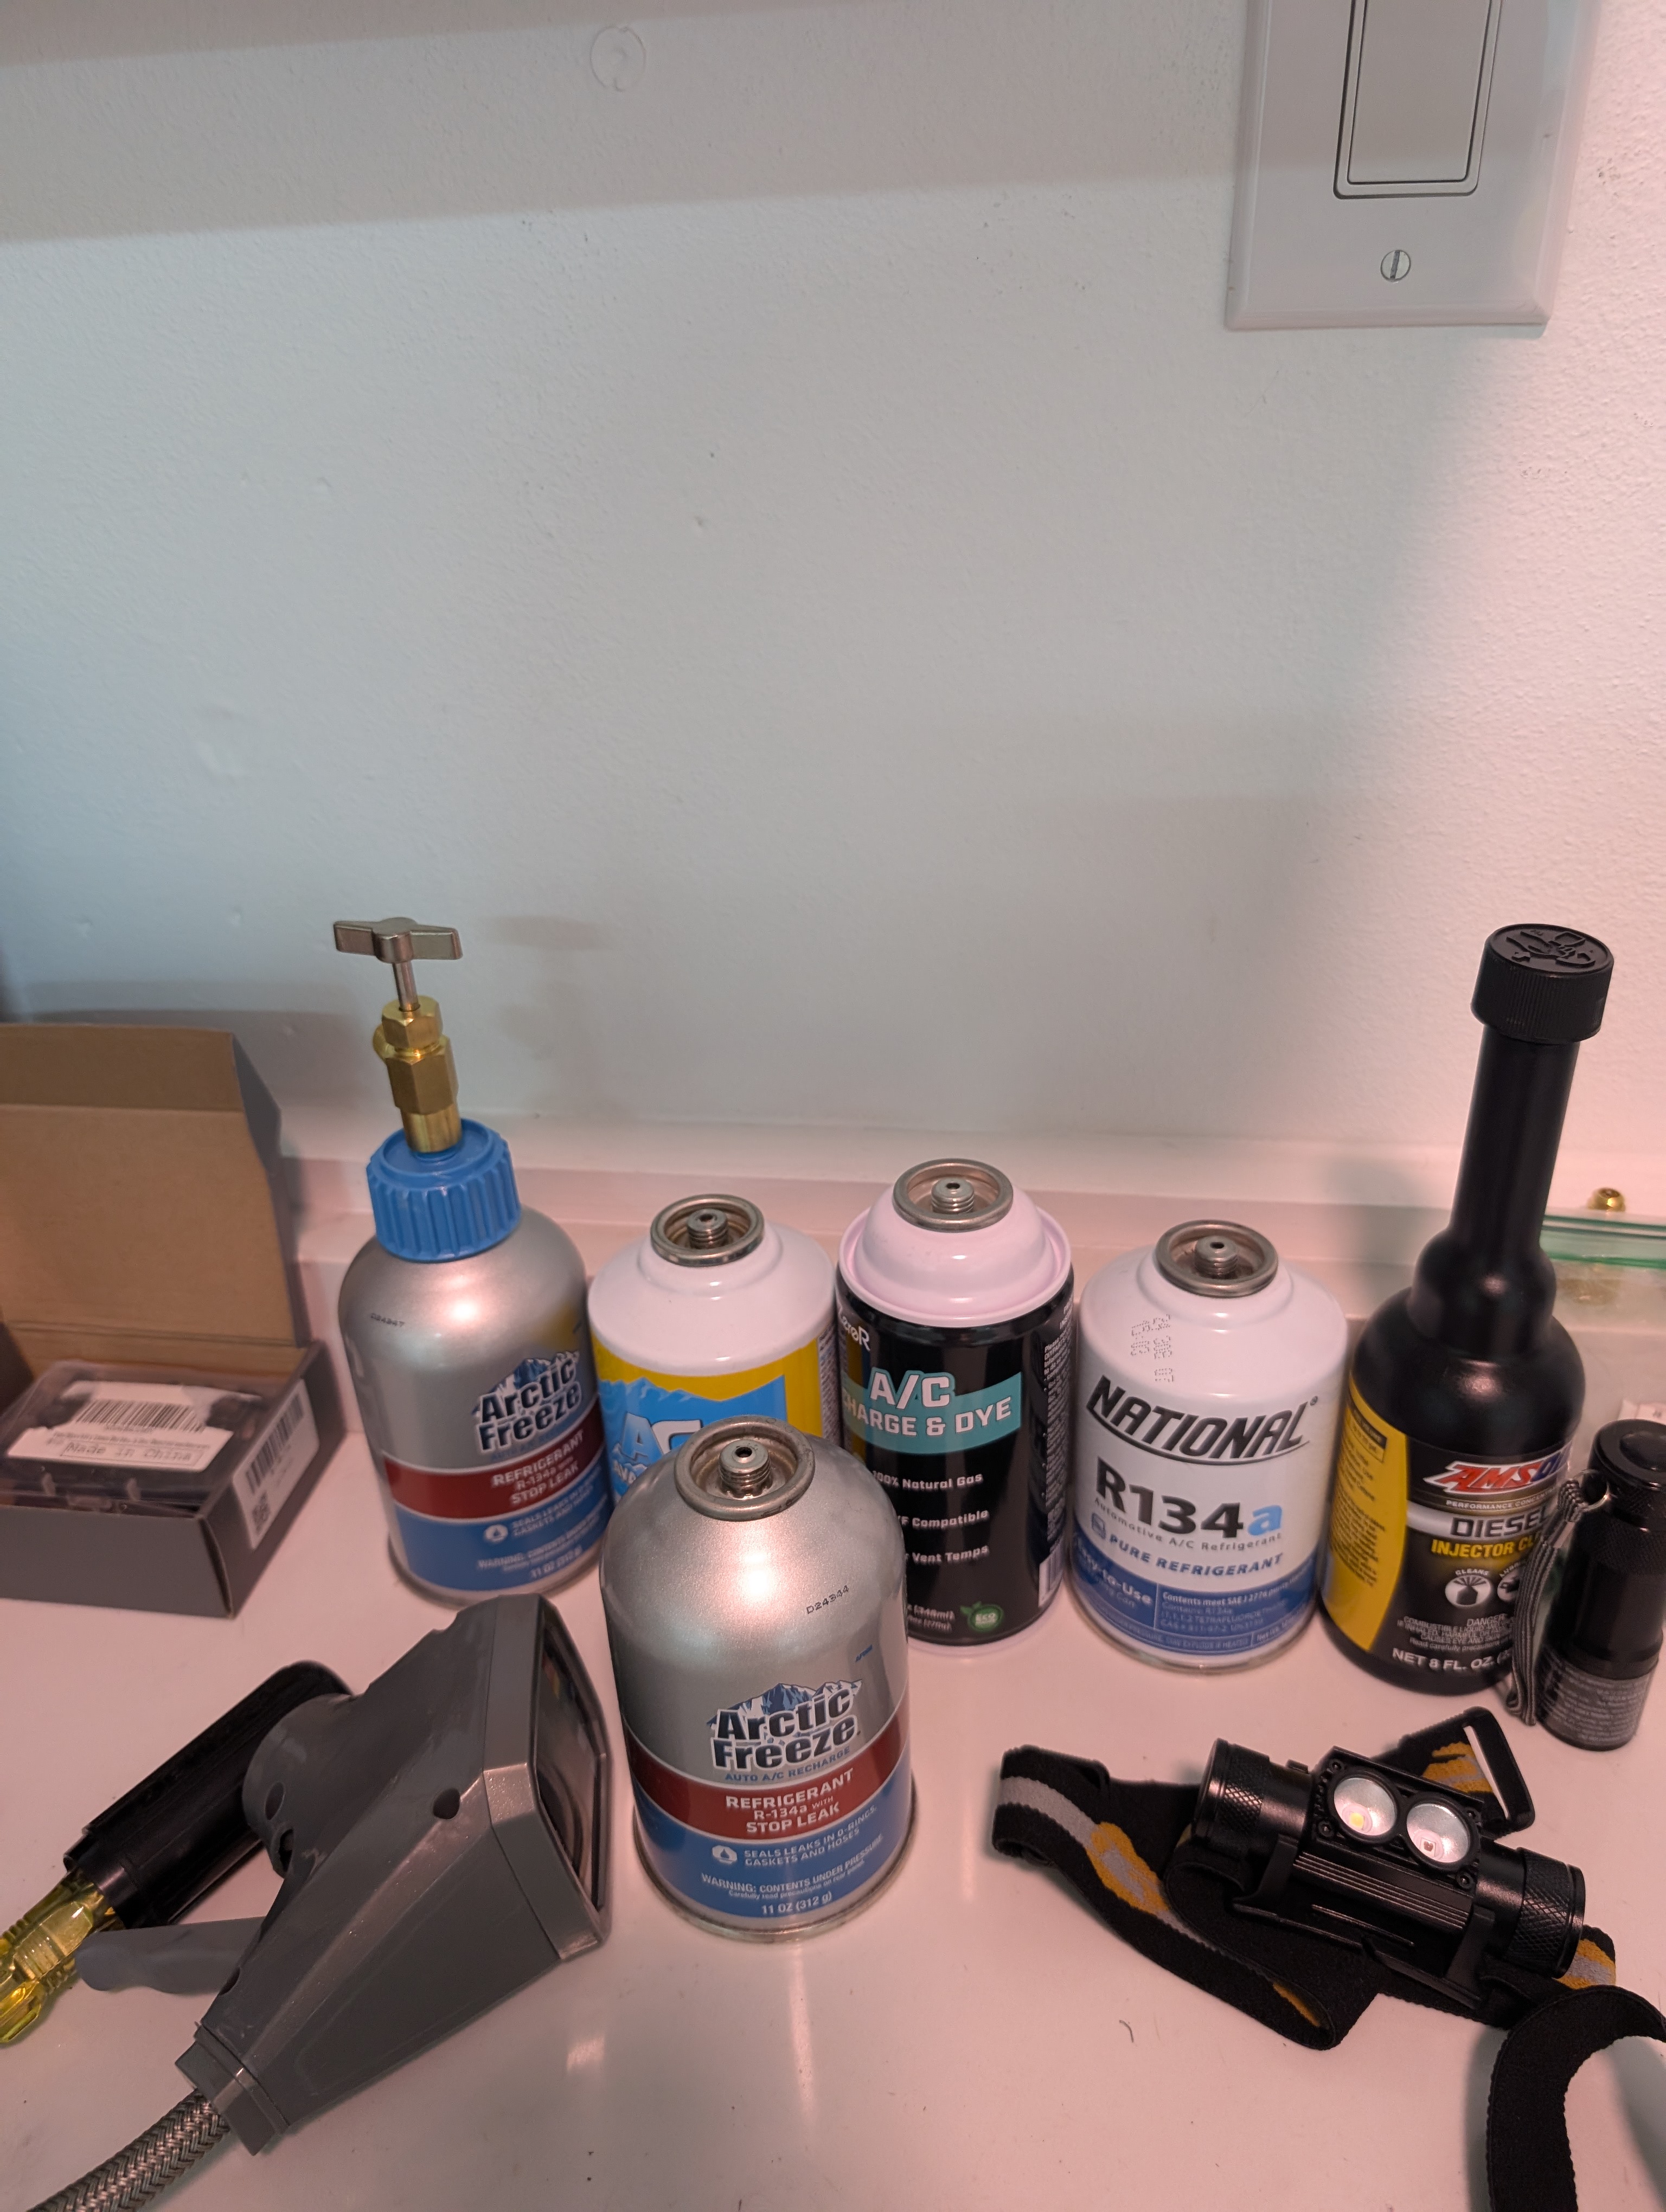
This was a multi-step process. First, I realized I had a major leak in the A/C when I would add freon and it would immediately evacuate. I narrowed down the leak by adding UV dye and checking with a UV flashlight for leaks.
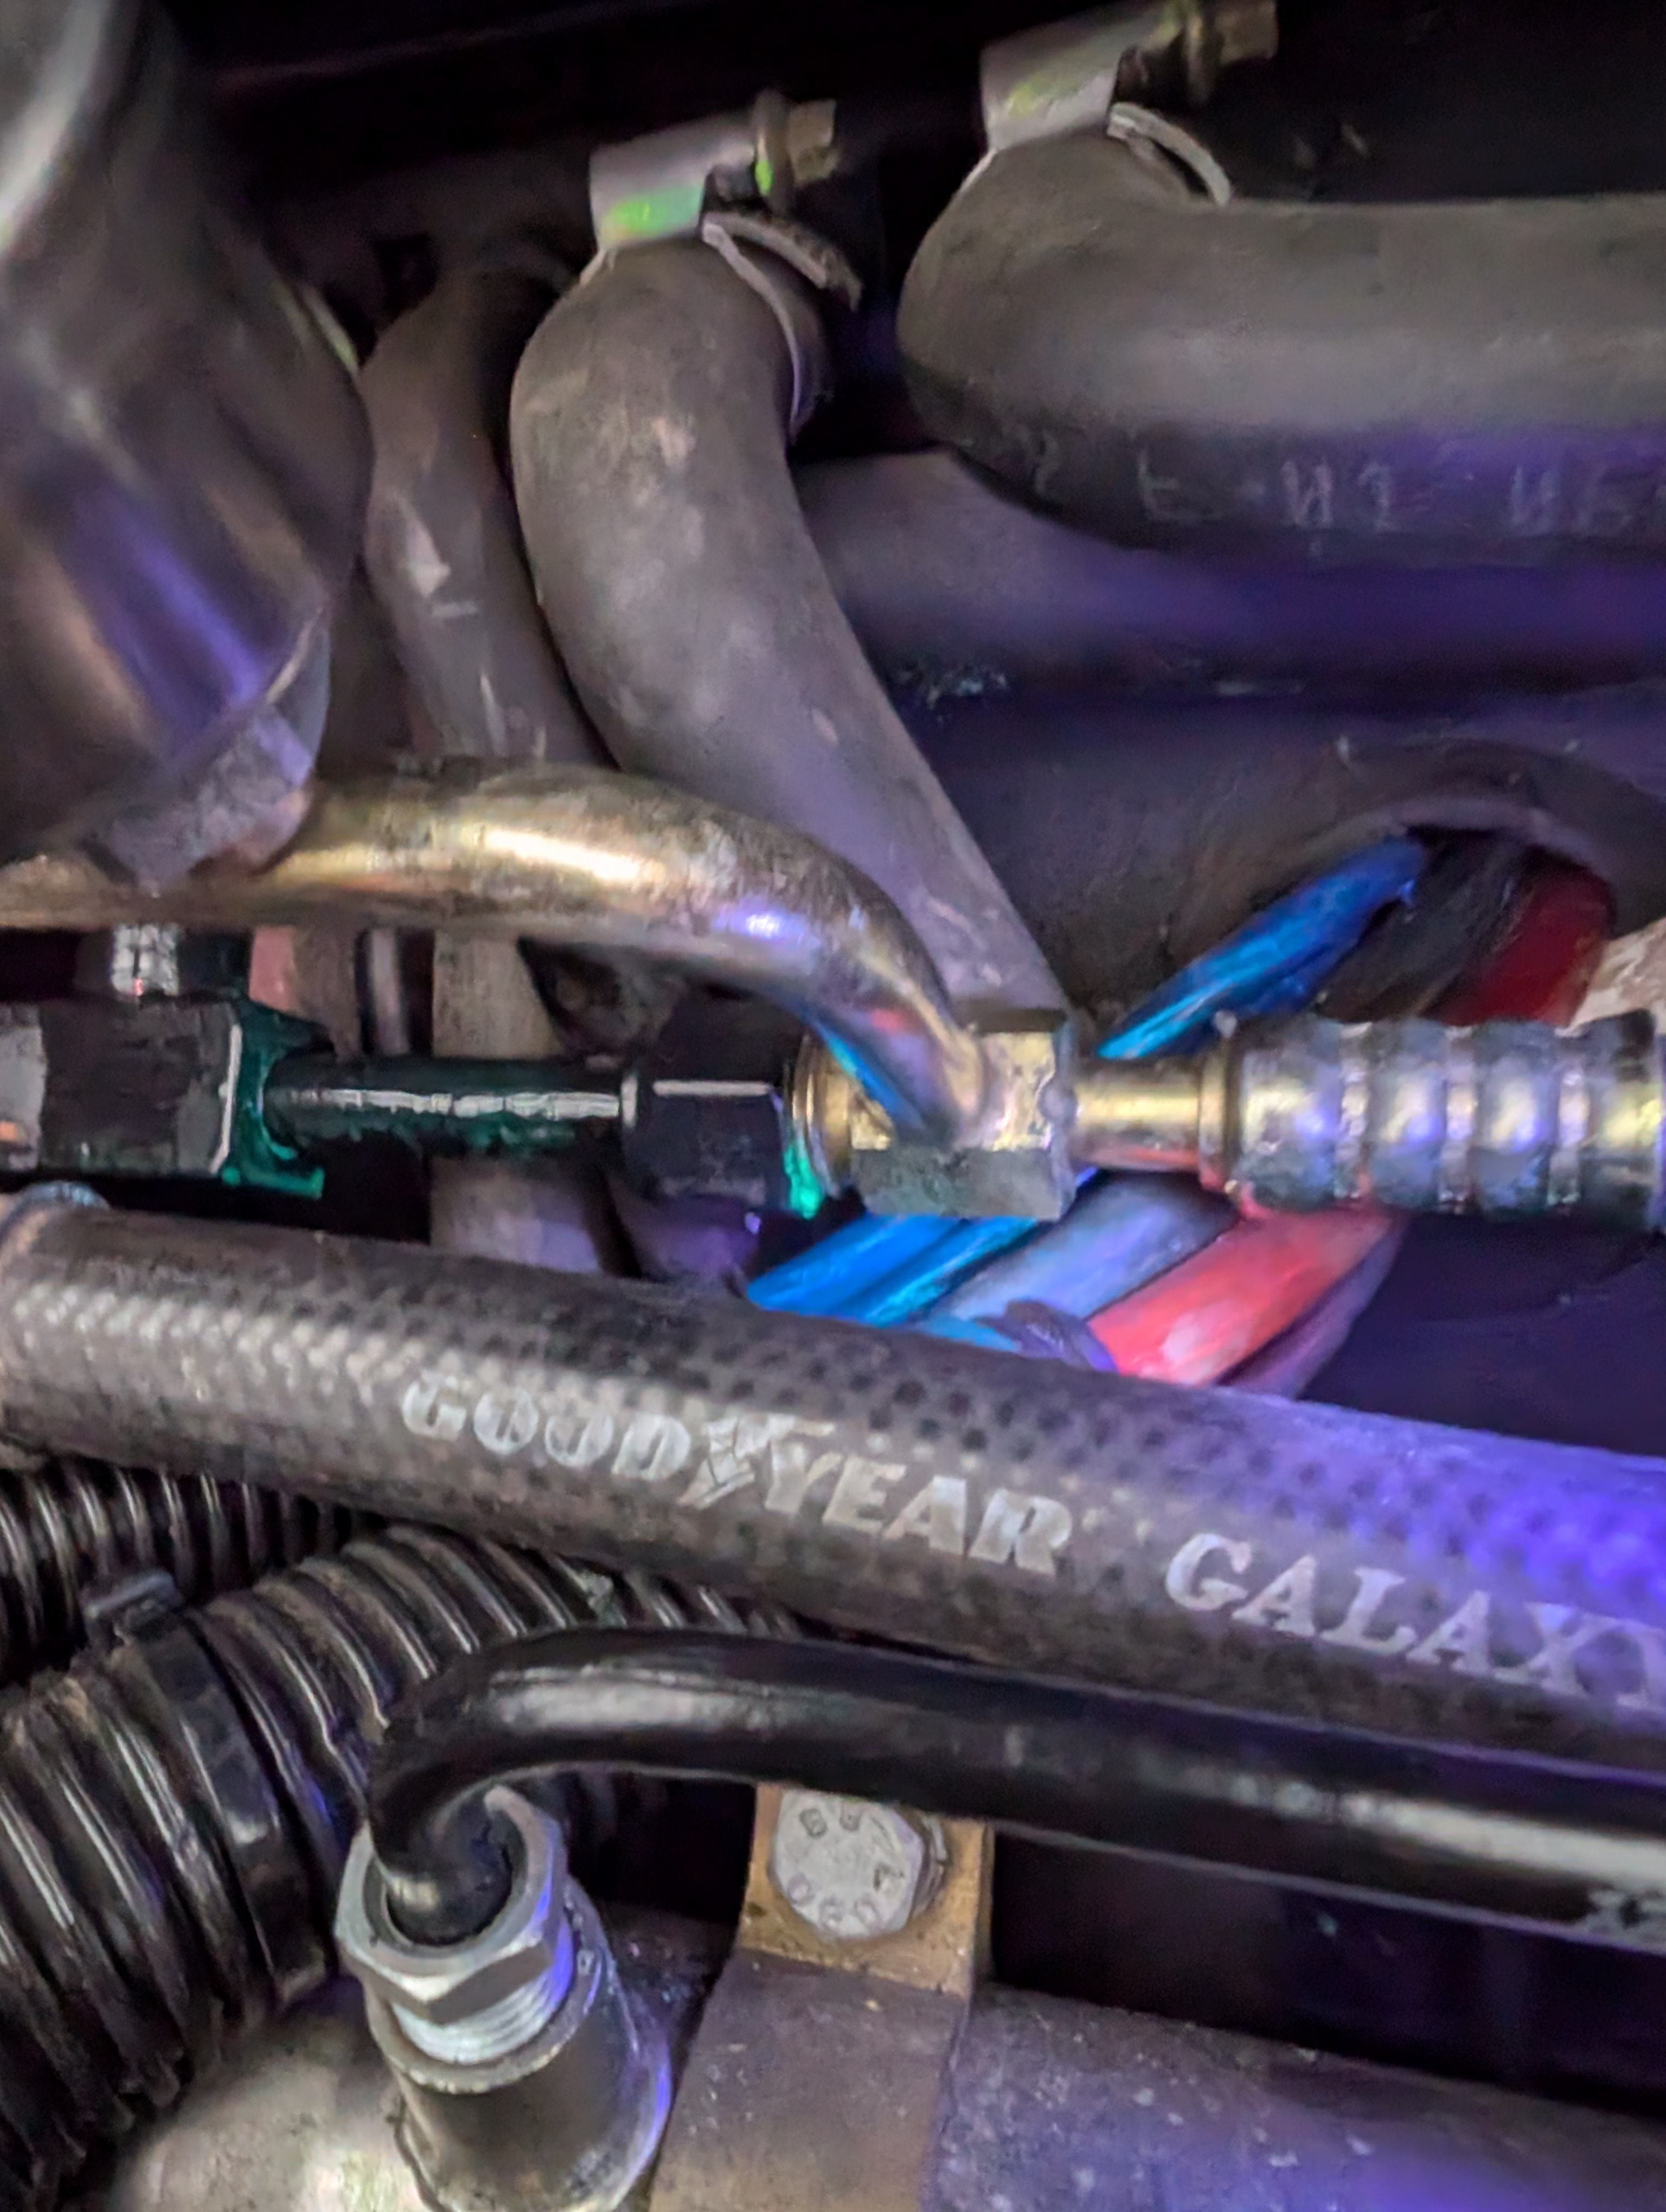
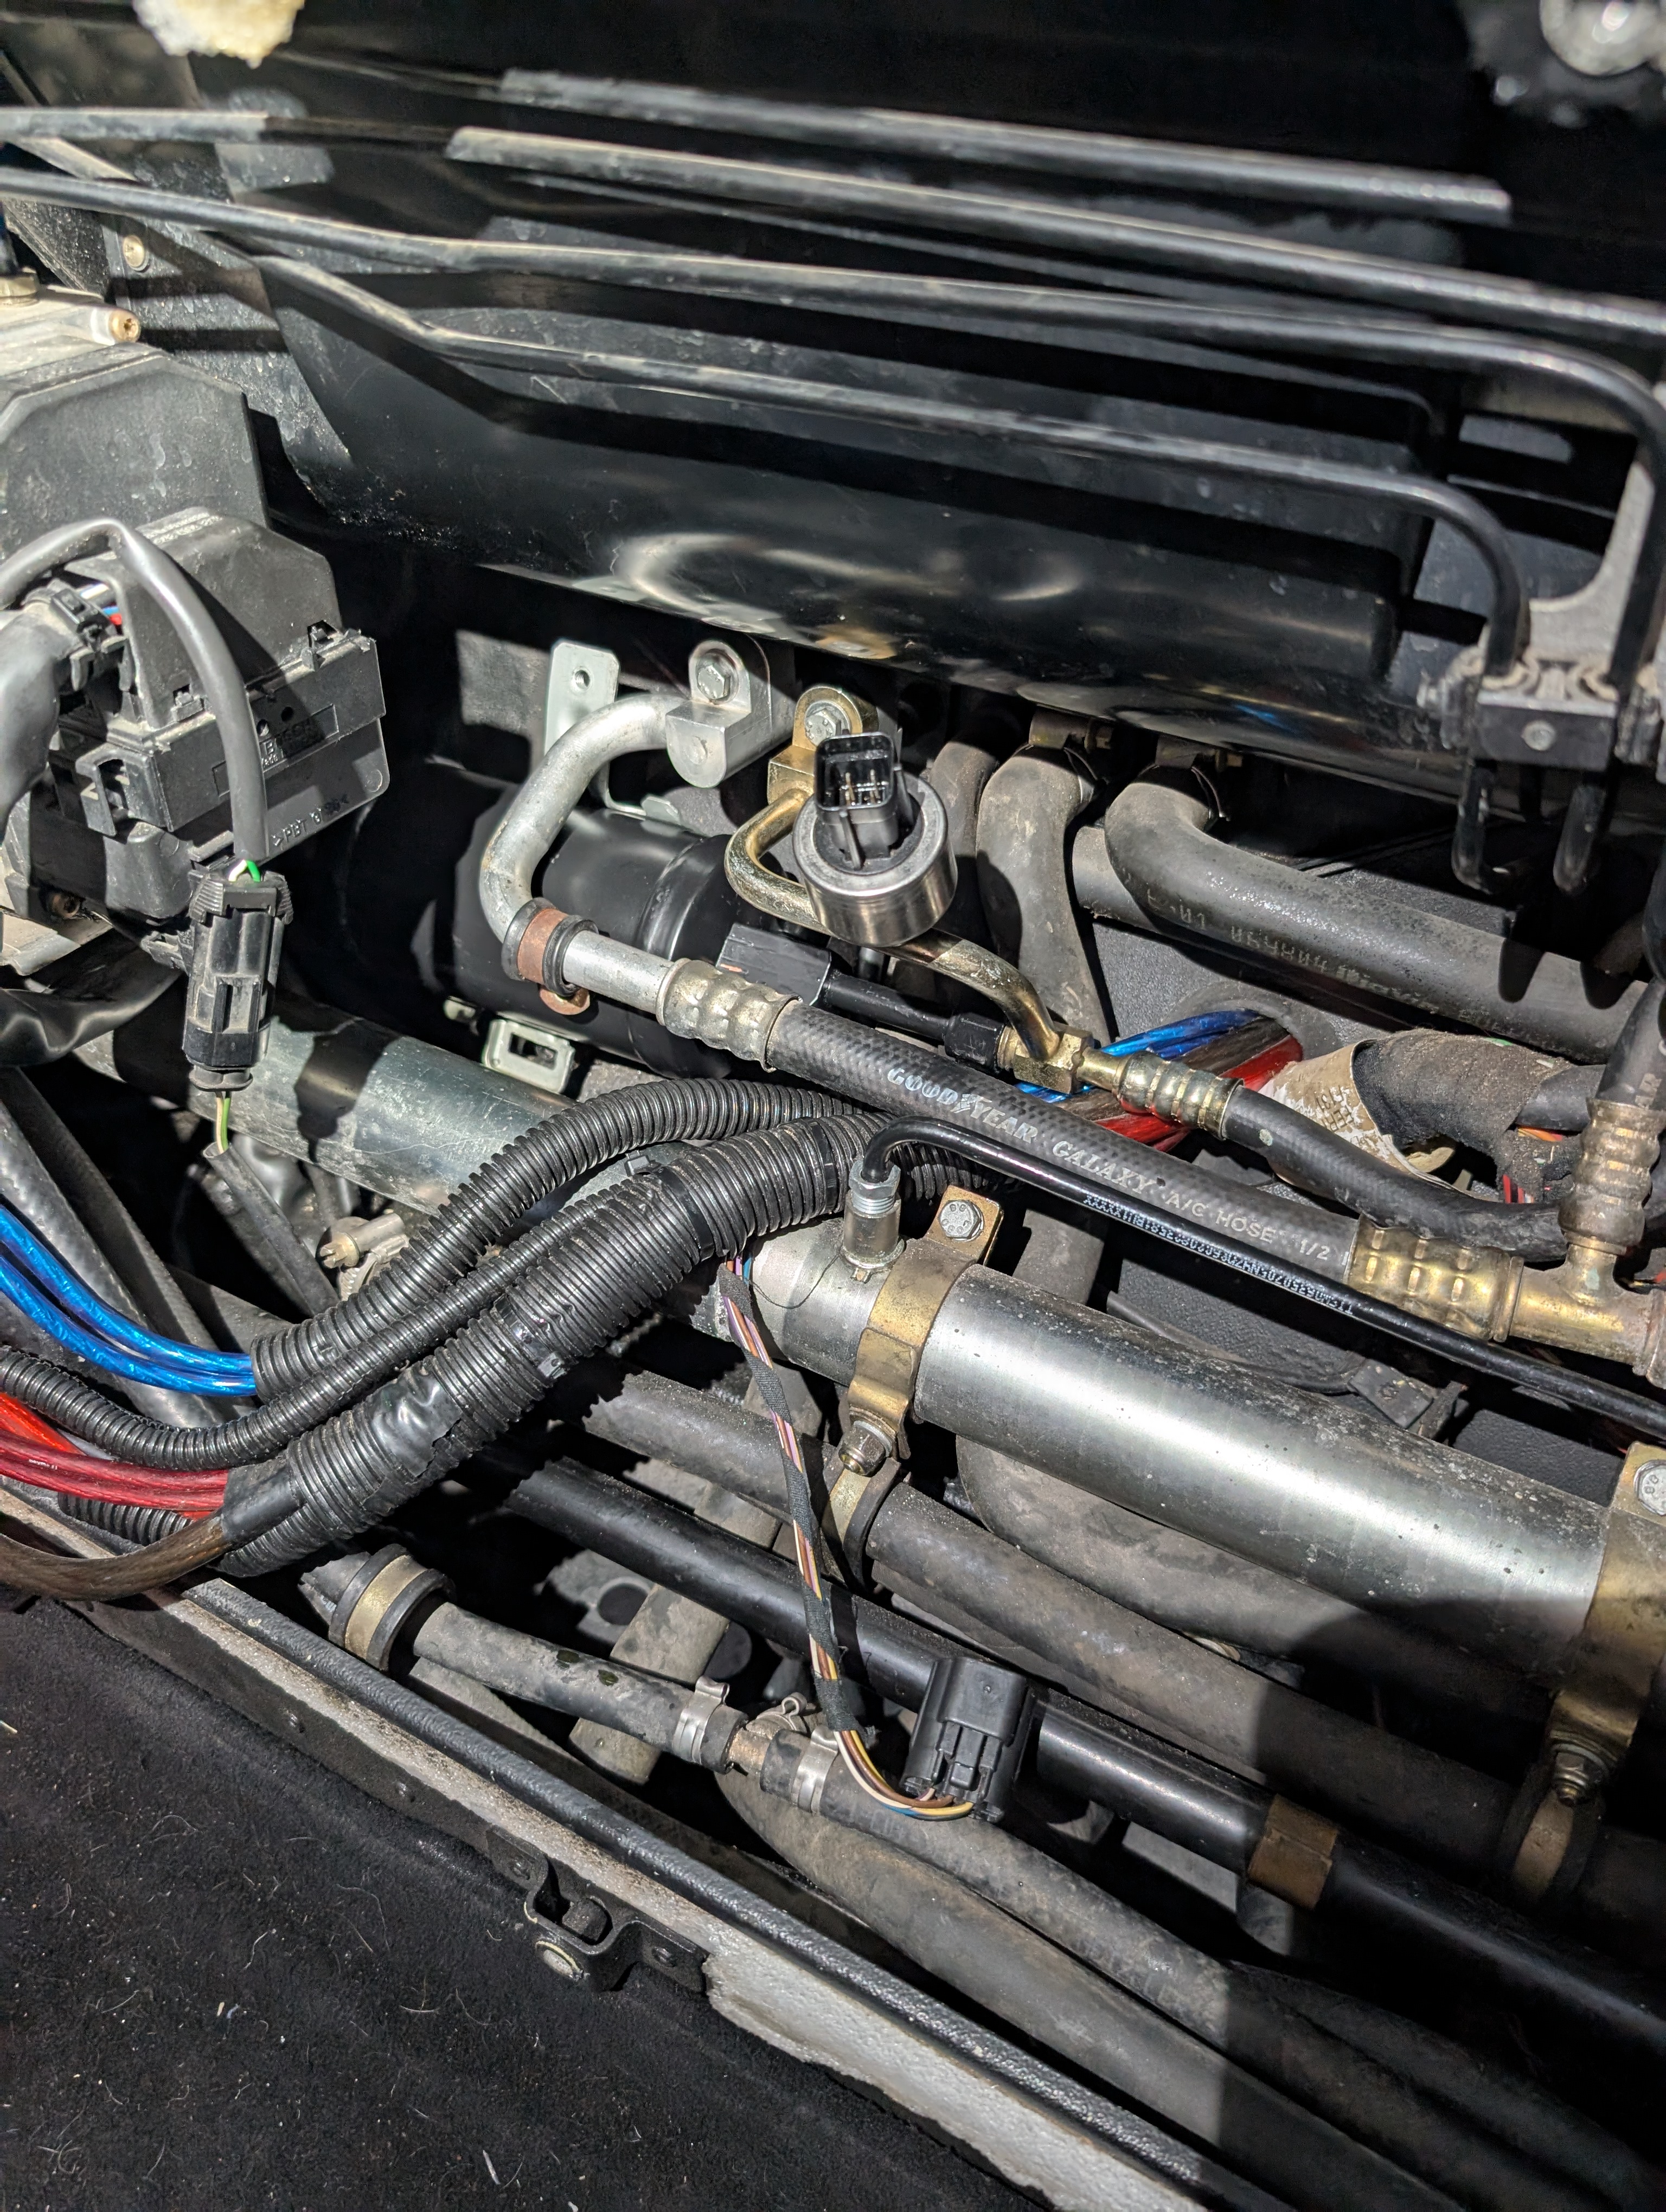
There are multiple potential spots for leaks on a Ferrari 360 A/C system. There is the compressor, which is accessible both under the car and behind the access panel to the engine and belts behind the seats. There is the drier filter and high and low pressure lines, which are behind a panel in the frunk. There are the fill ports, which are under an easier to access panel in the frunk. And there is the condenser, which is behind the front bumper. I narrowed it down to having leaks in the frunk and on the compressor. I saw no leaks on my condenser, so luckily I did not have to remove the front bumper.
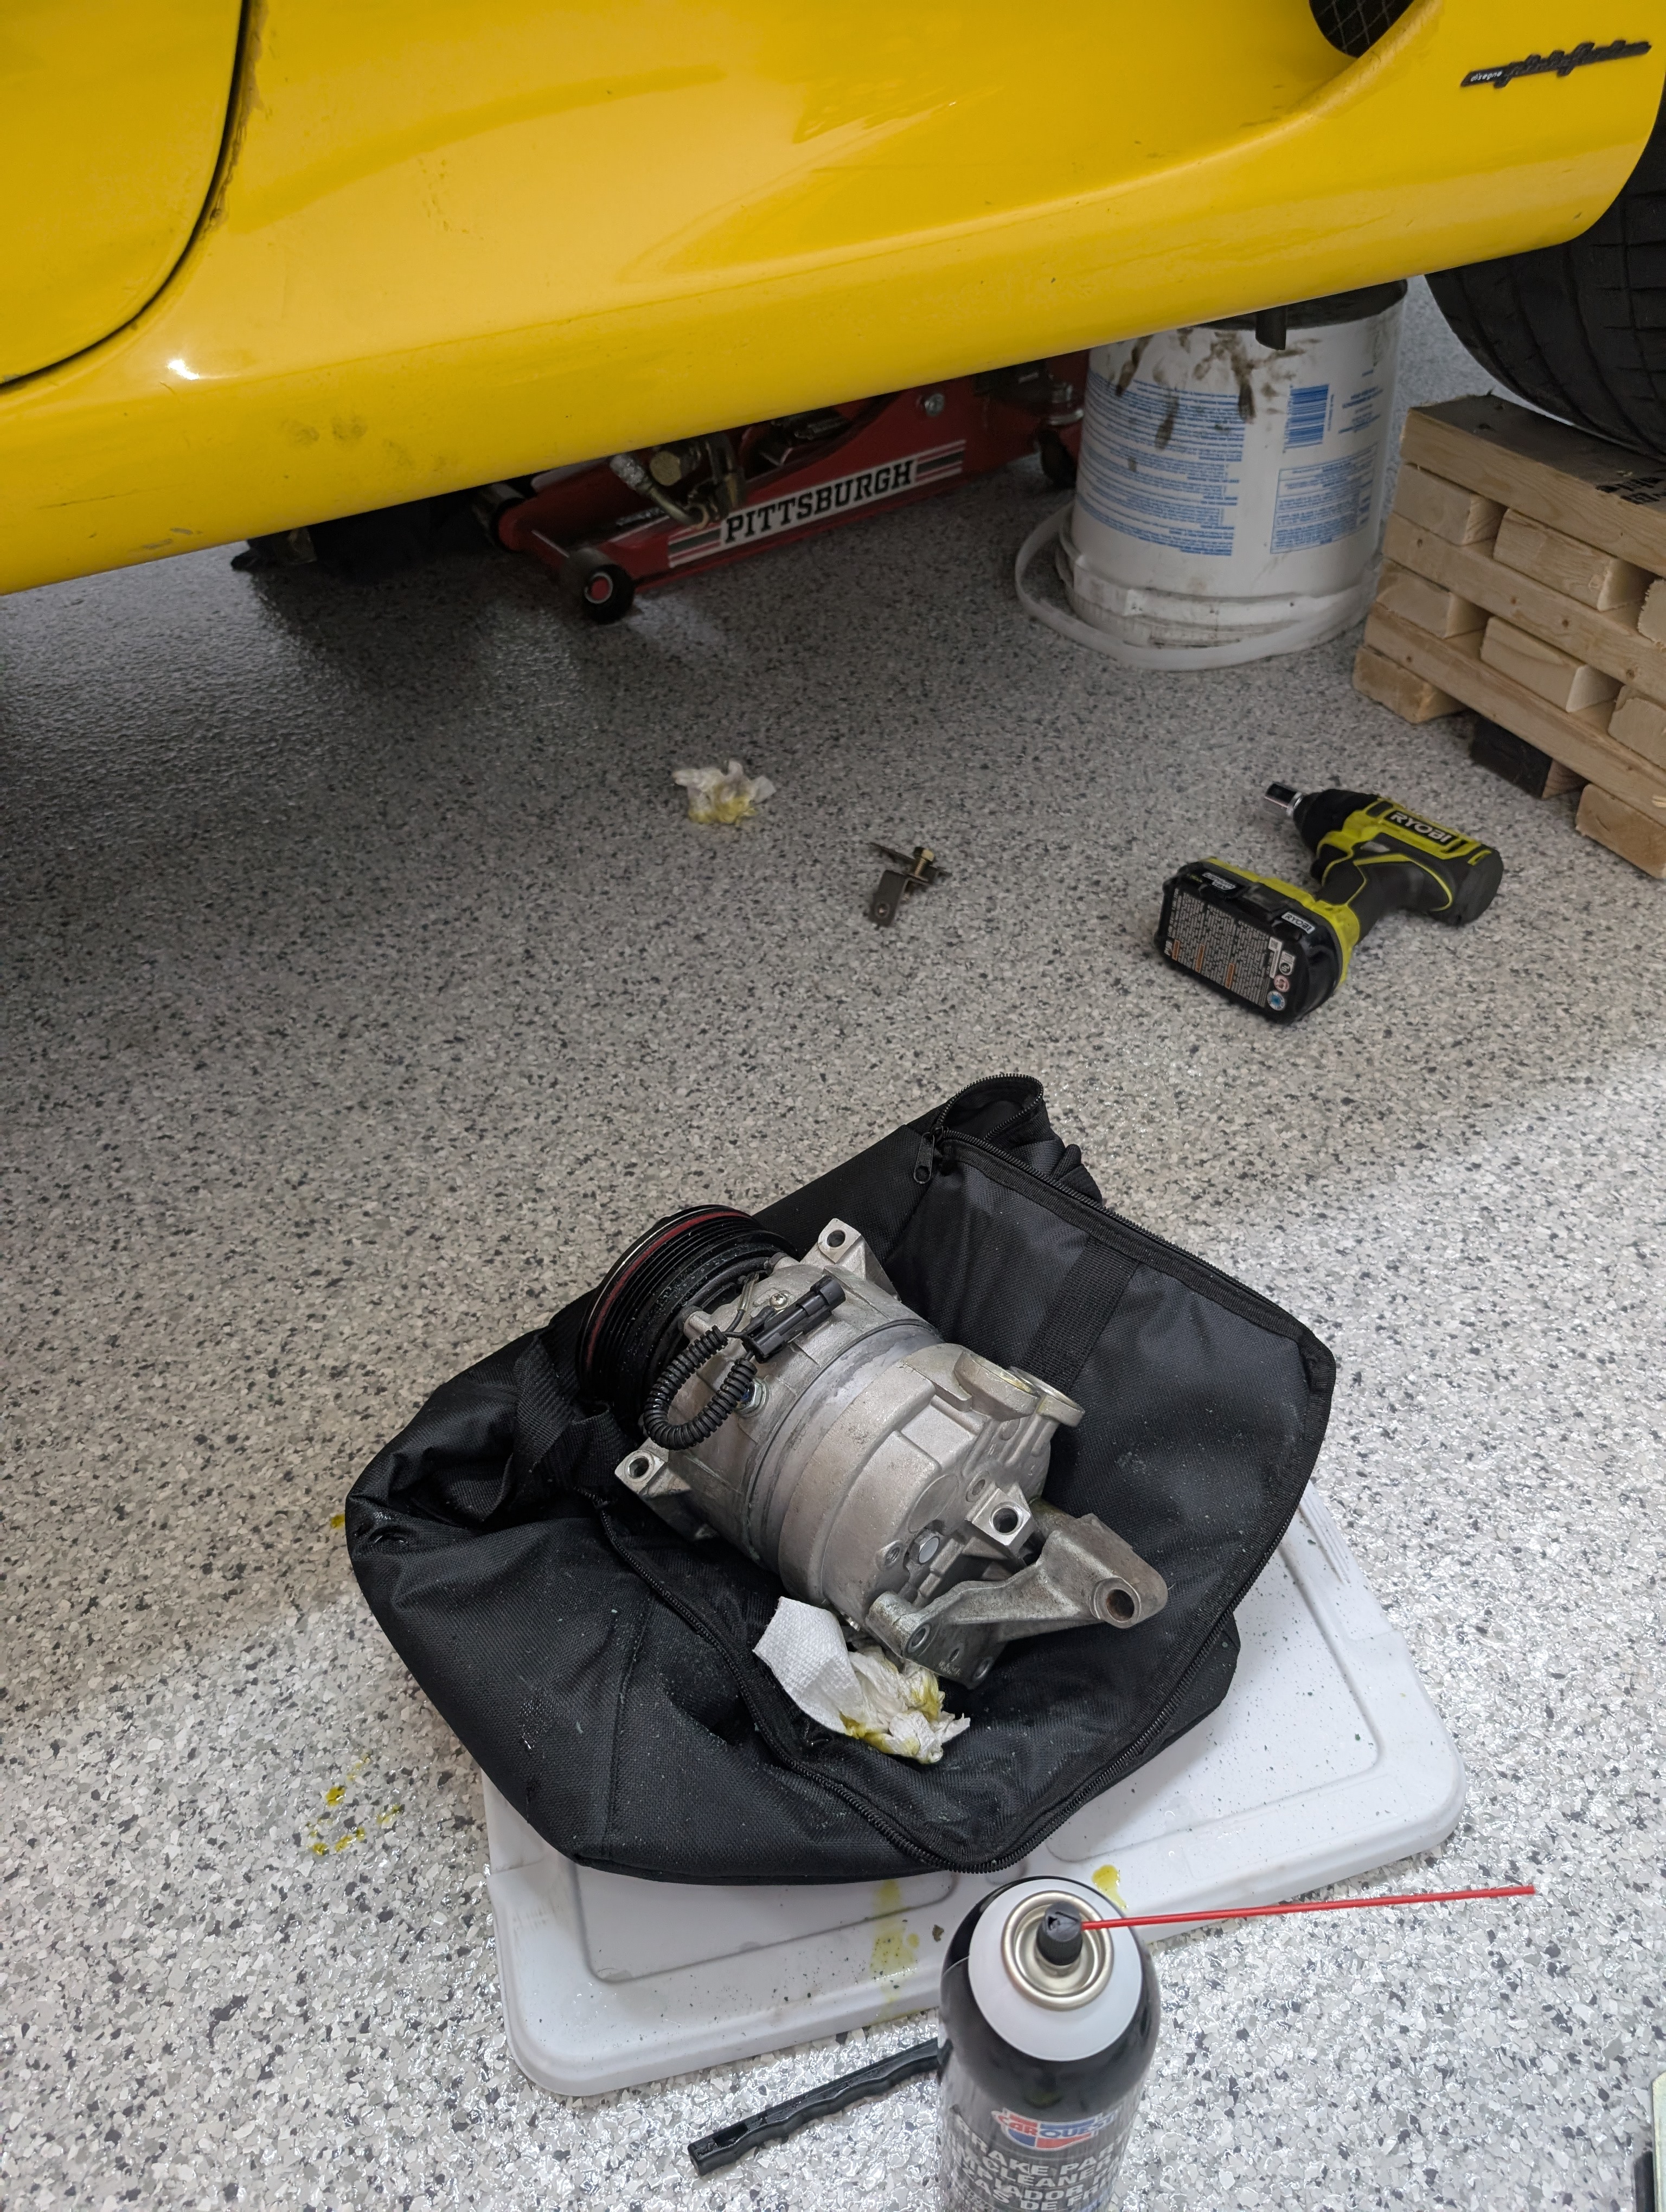
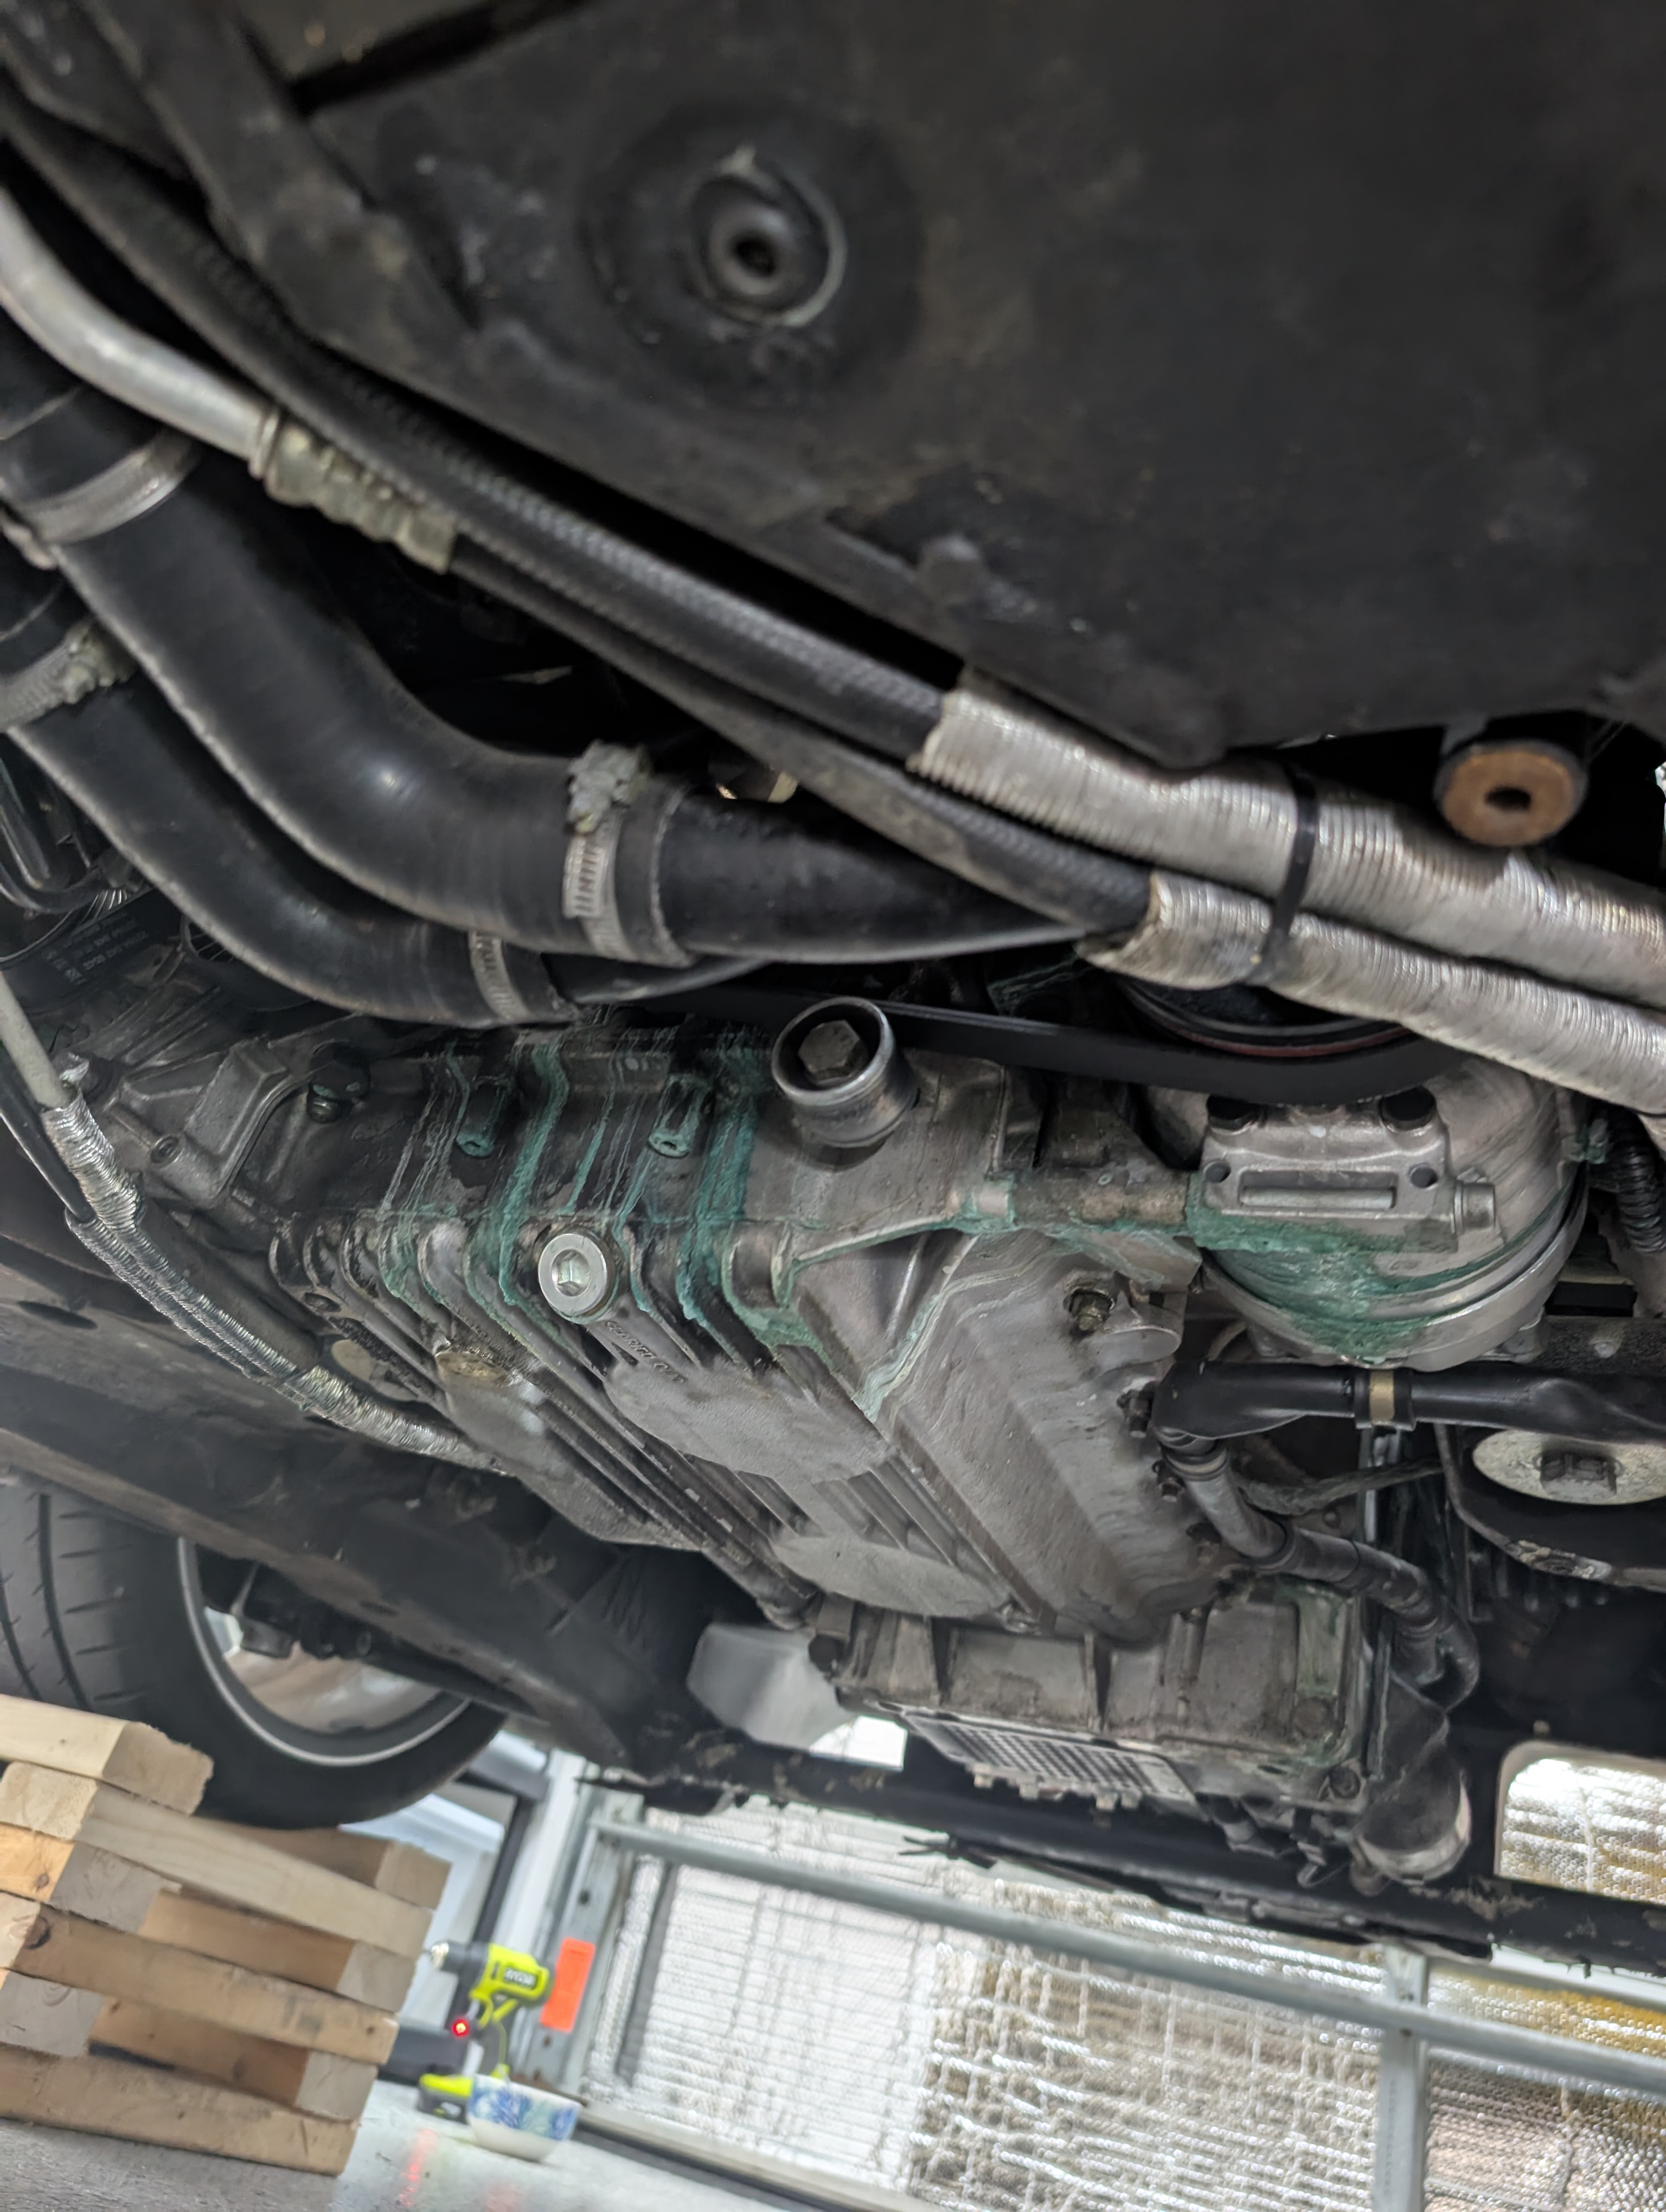
My main leak was on the fitting to the compressor, which was installed about a year ago by a local shop. Removing the compressor was probably the most difficult and annoying job I’ve ever performed on any car. It involved reaching multiple 0-visibility 6mm hex screws with almost no room to work, and you have to use a stubby allen key. You have to loosen the tensionor pulley and remove the belt. It also involved removing the motor mounts in order to get access to loosen a bolt. Yeah, you read that right.
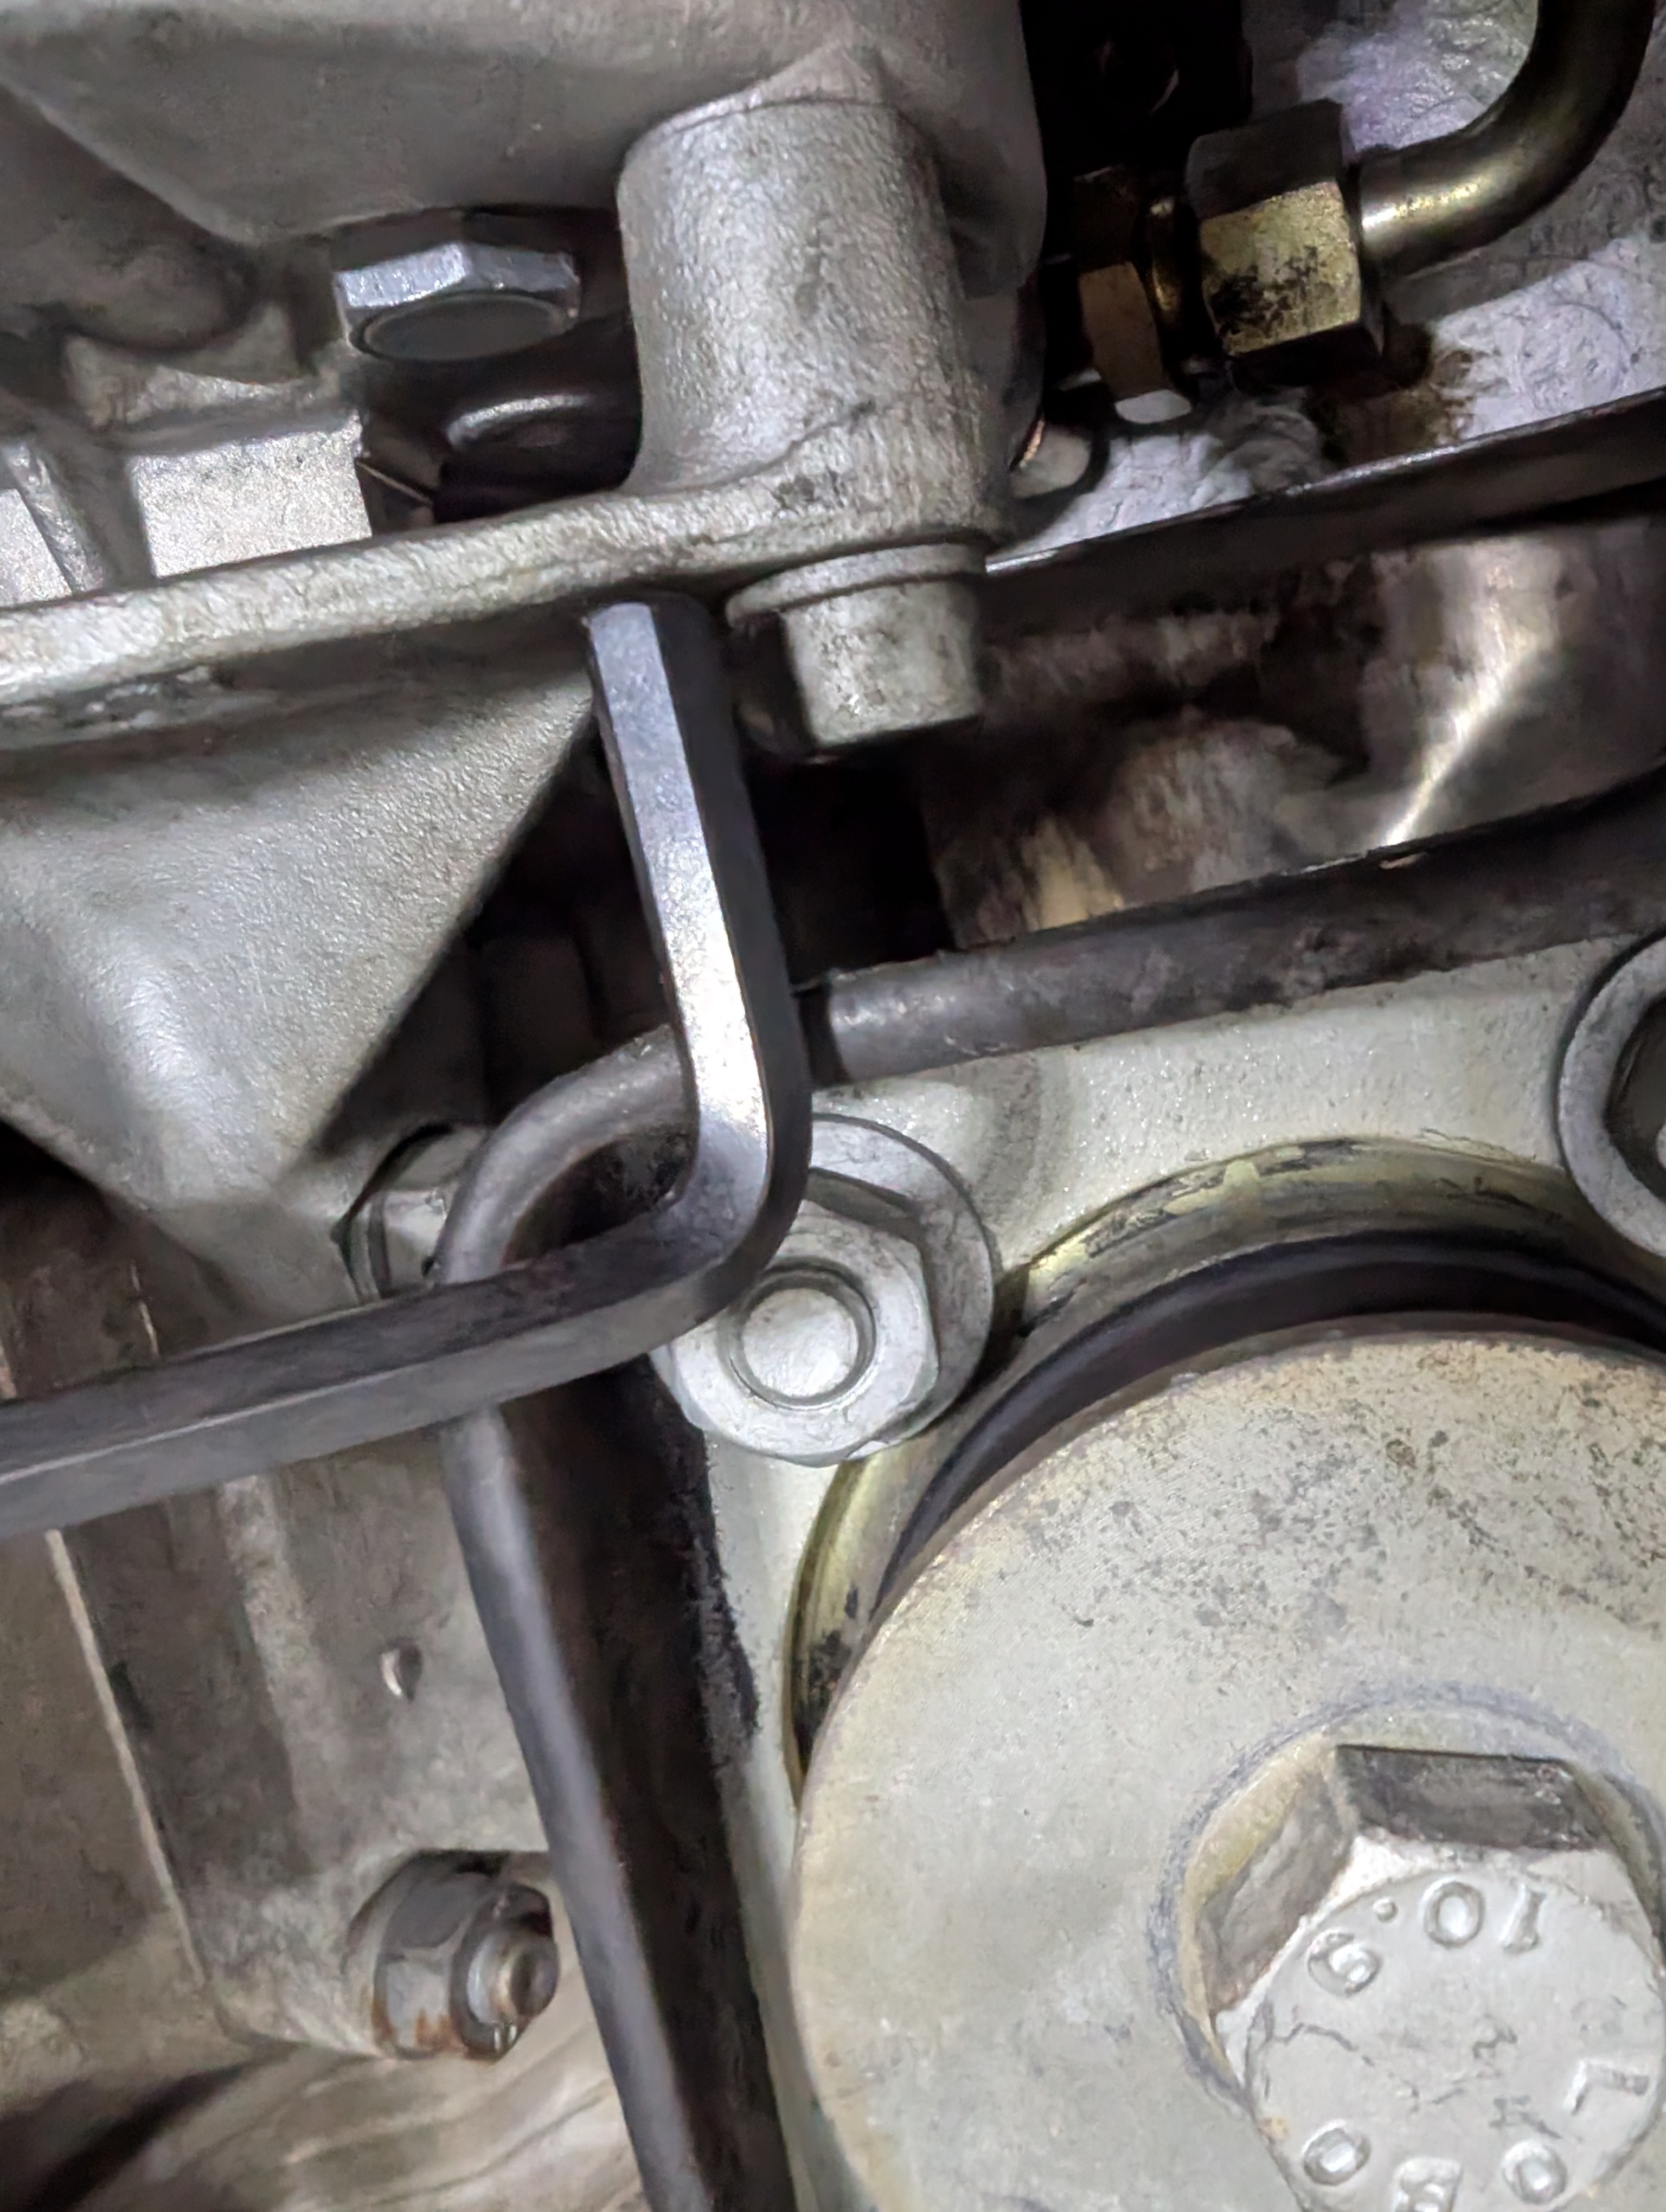

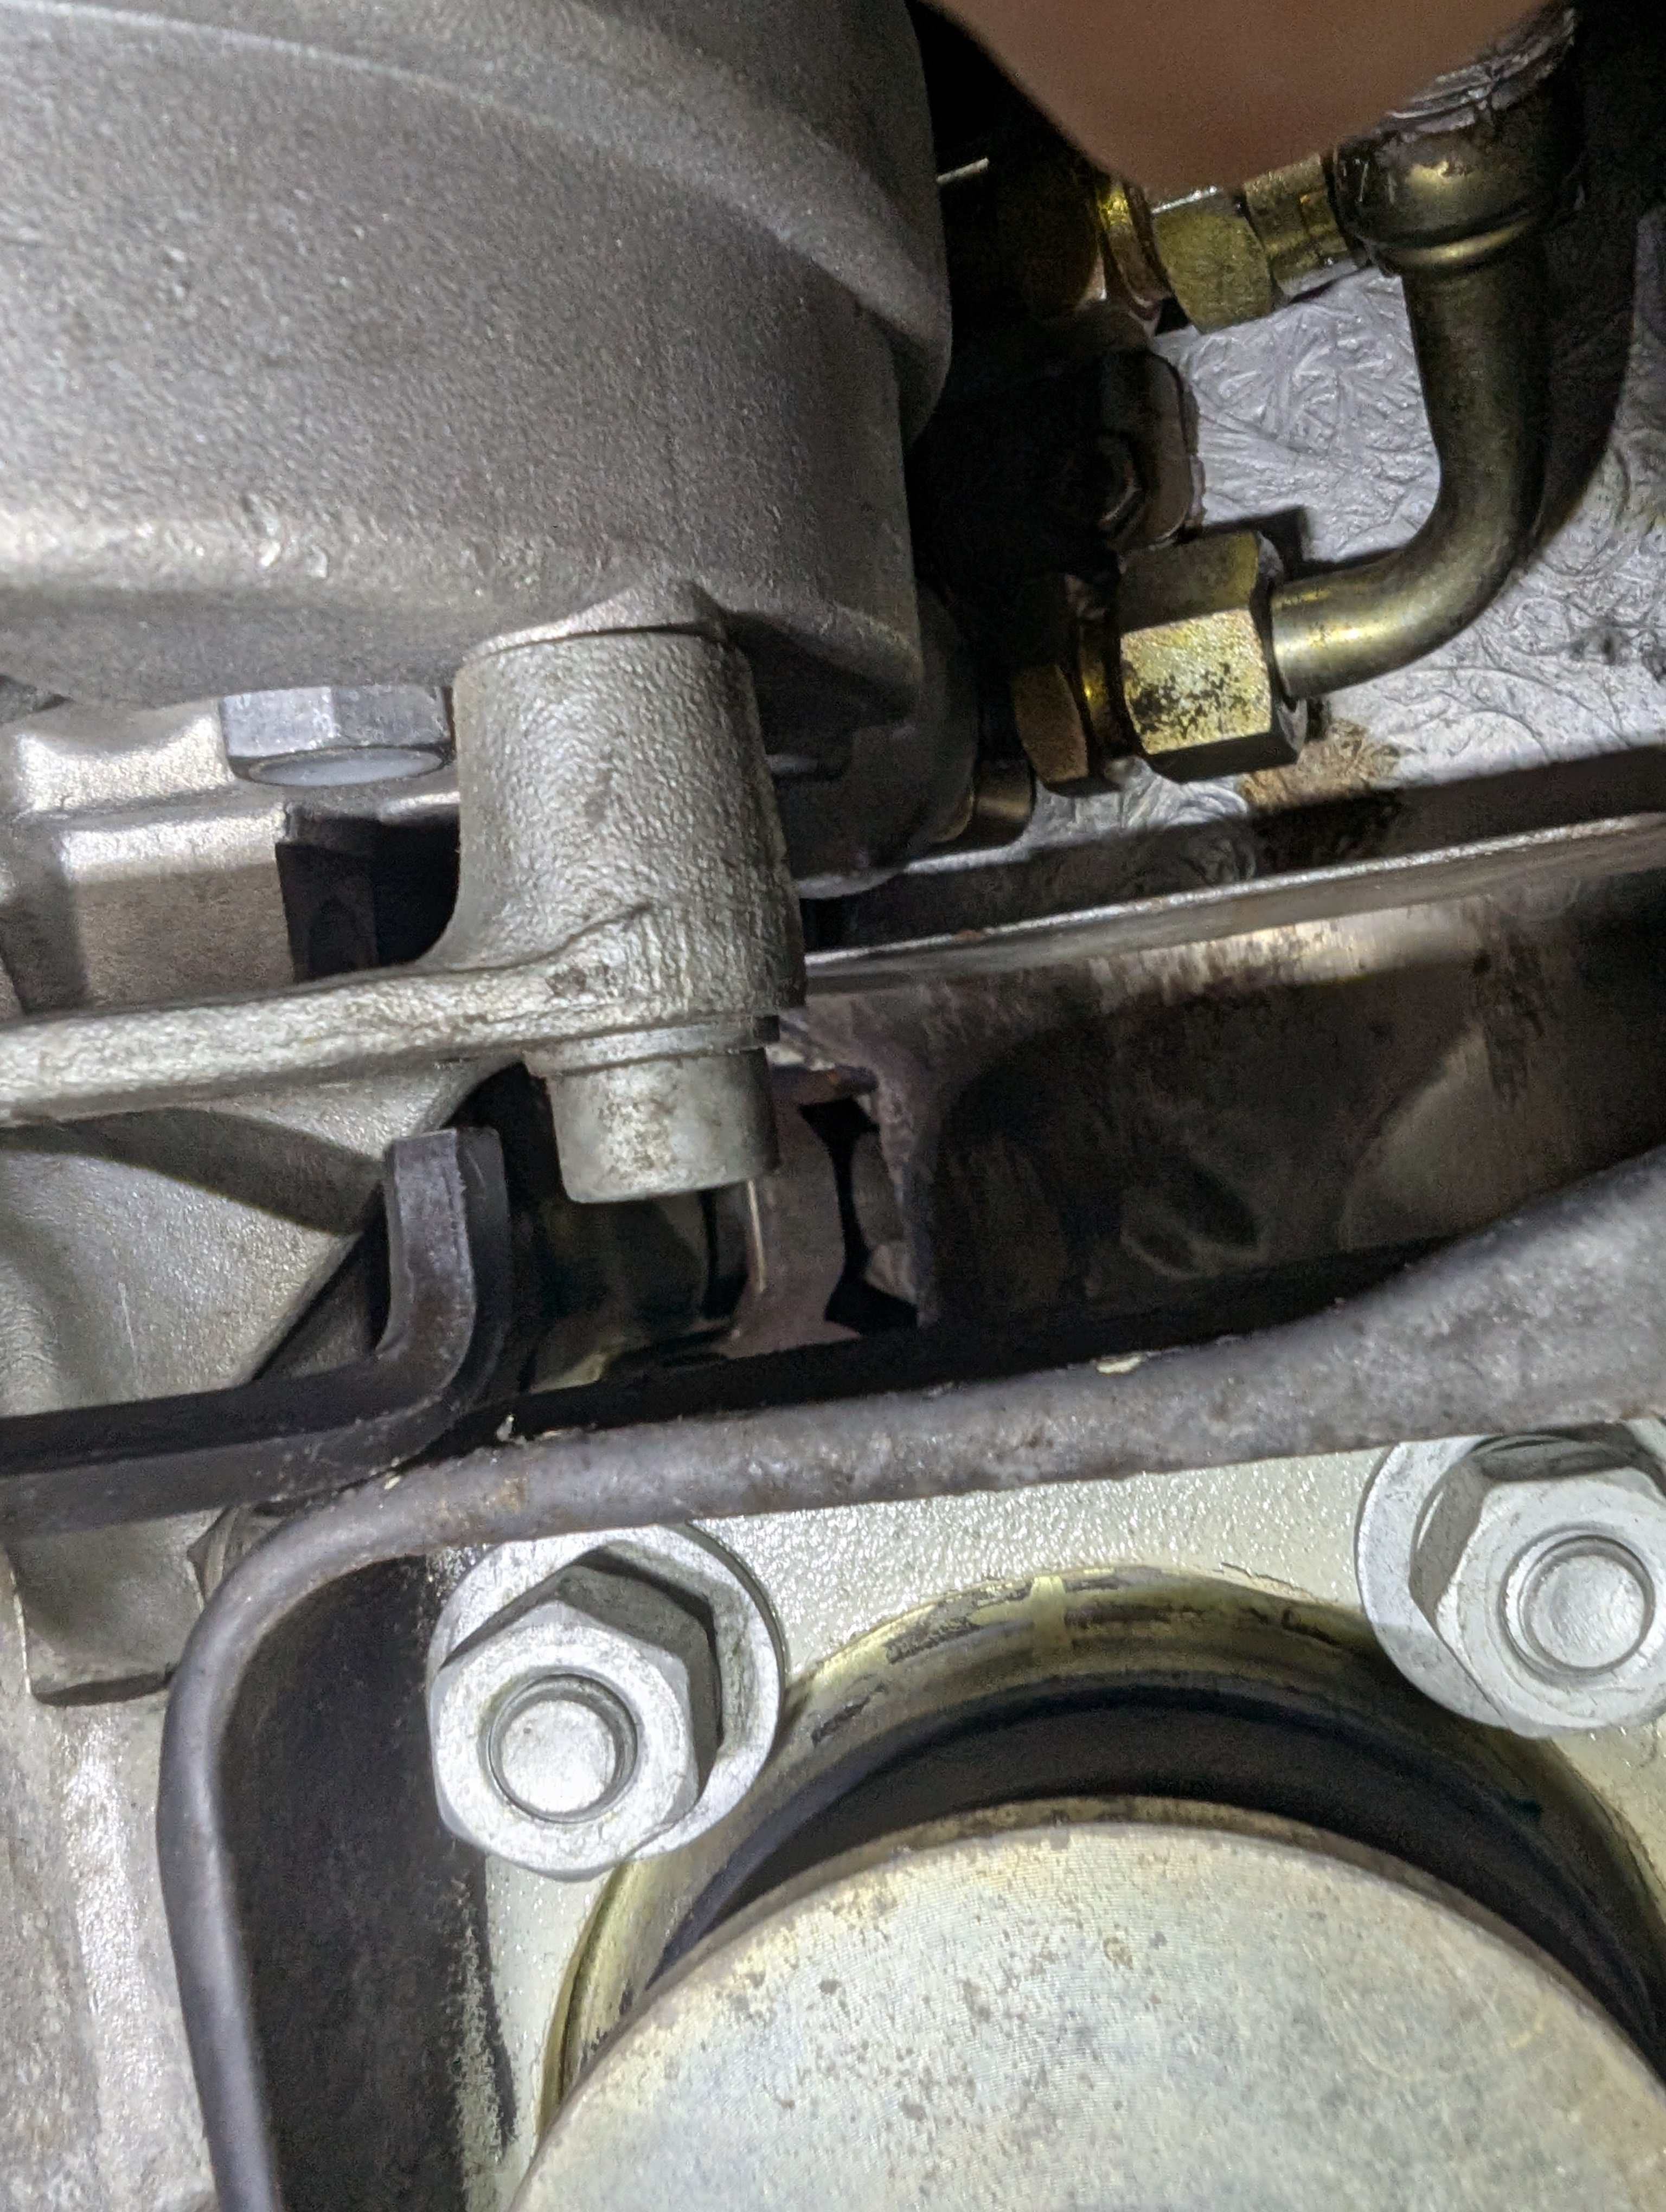
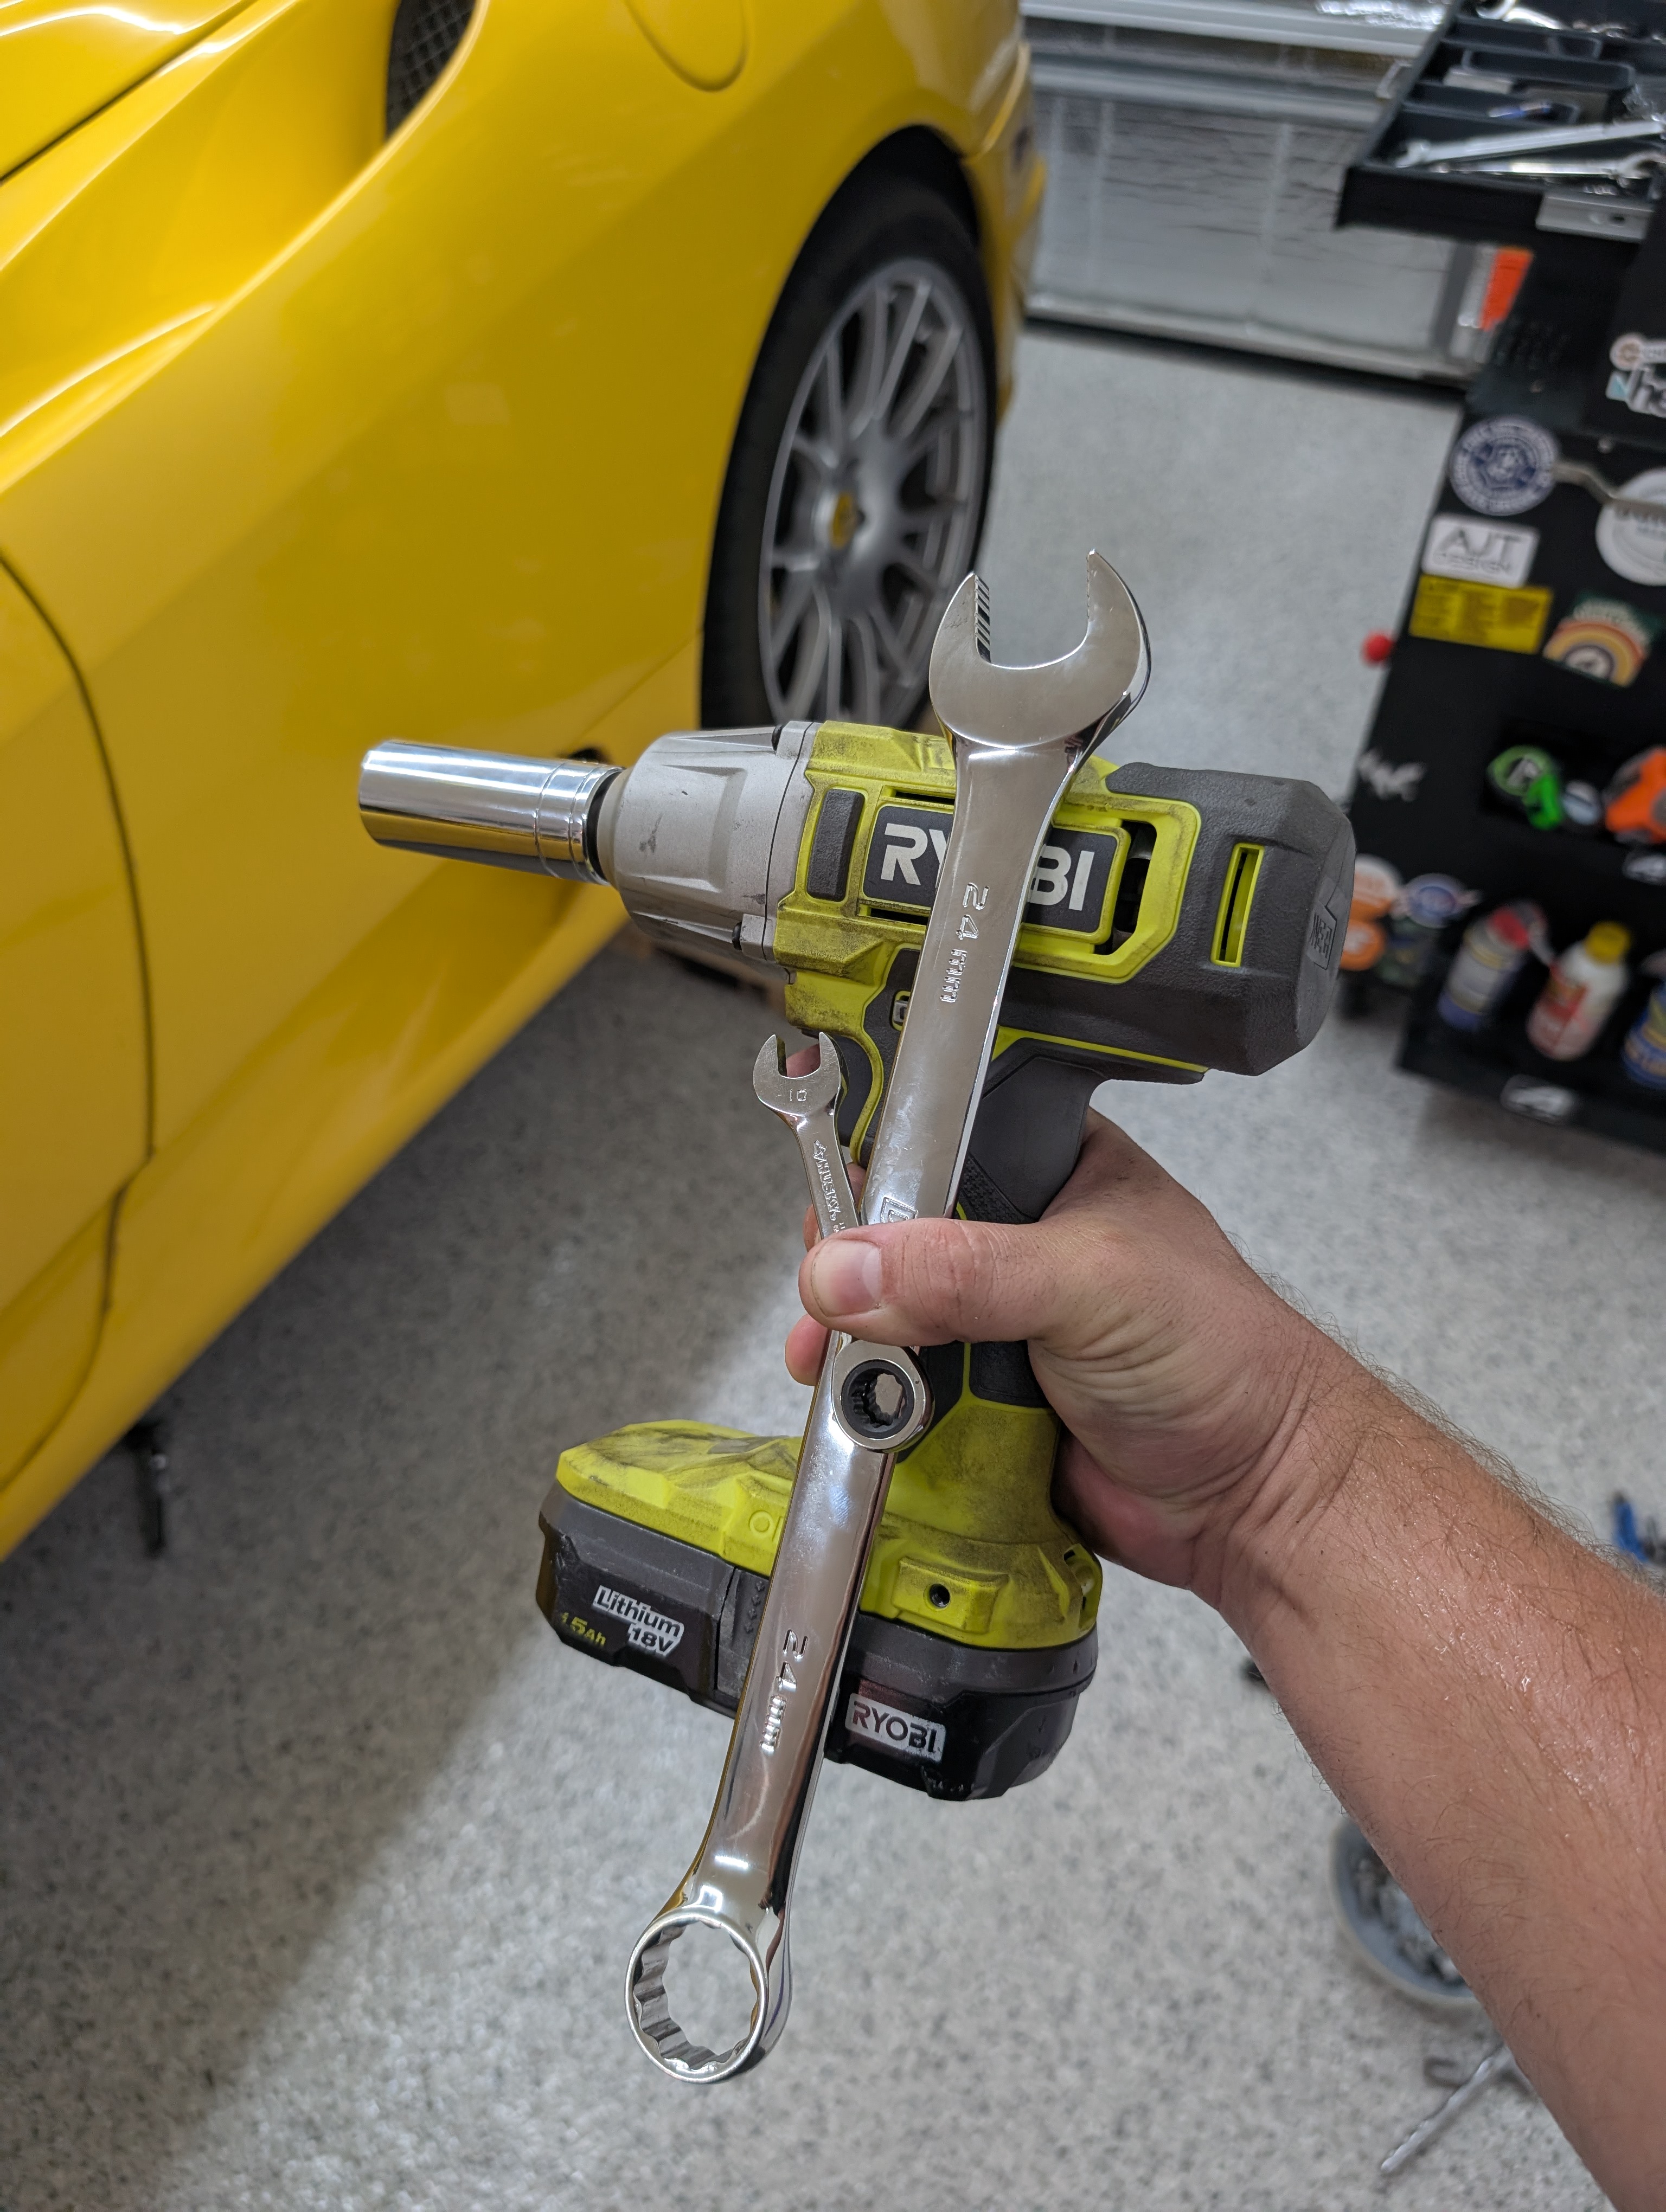
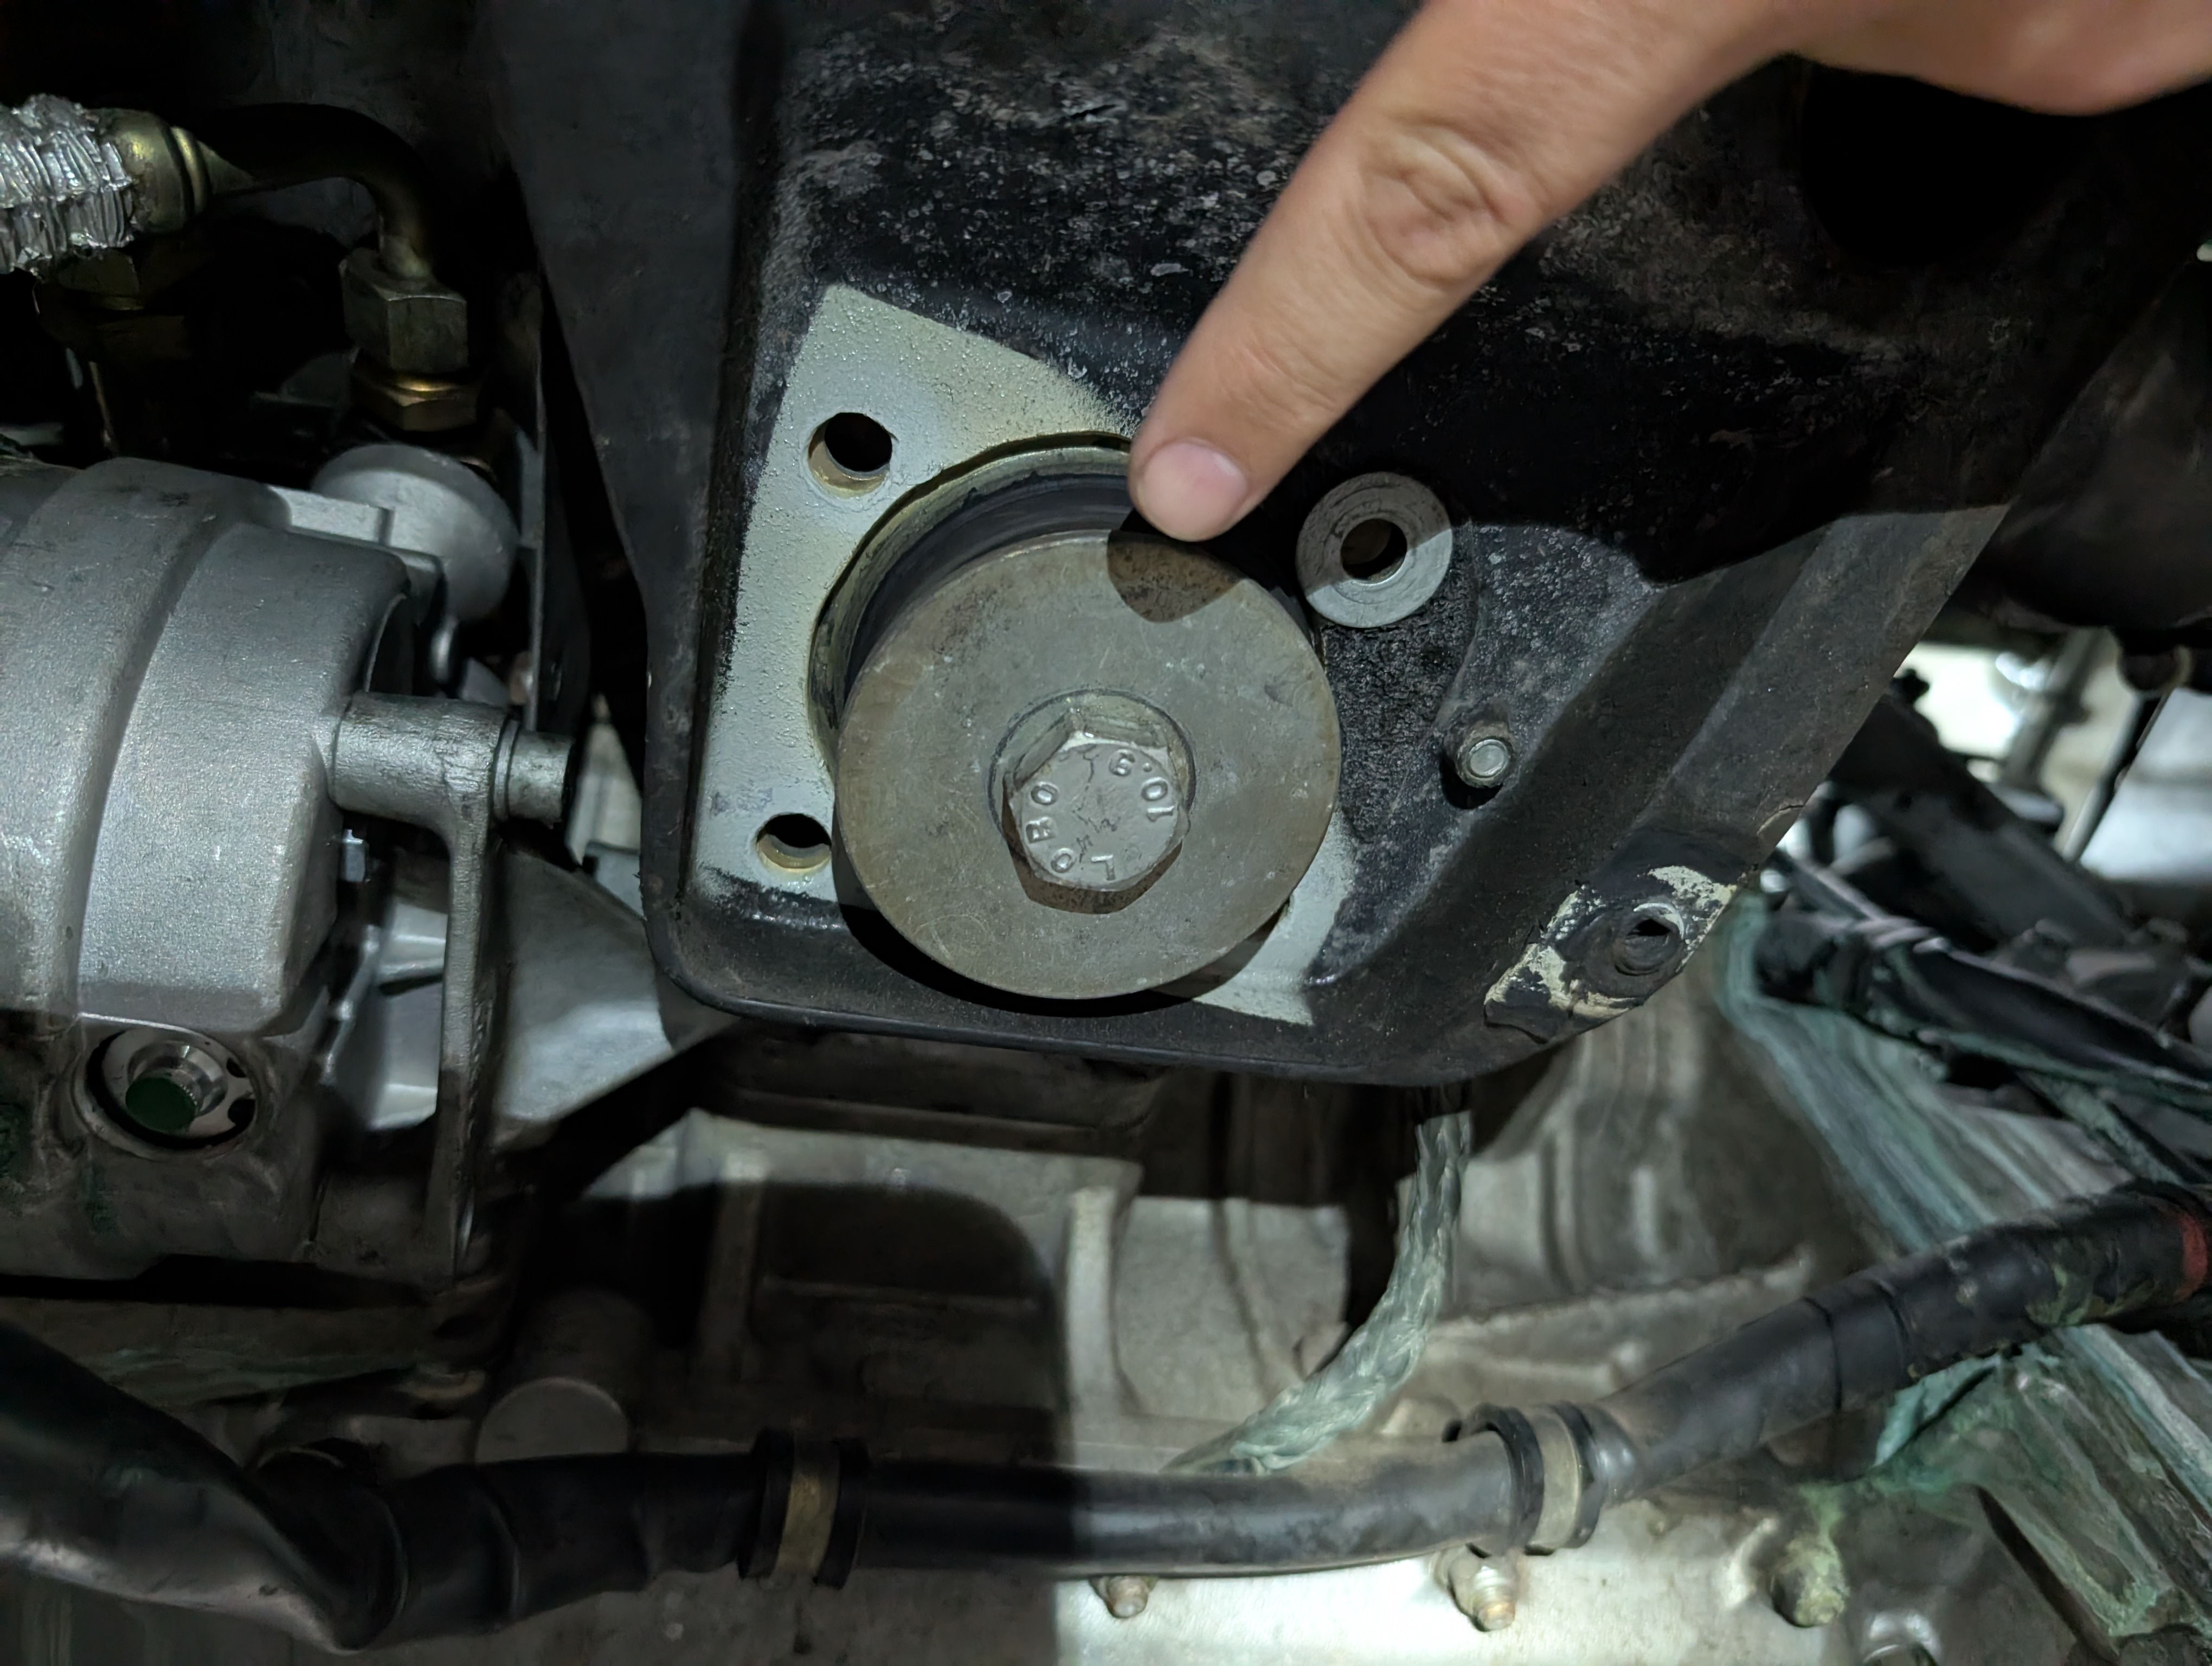
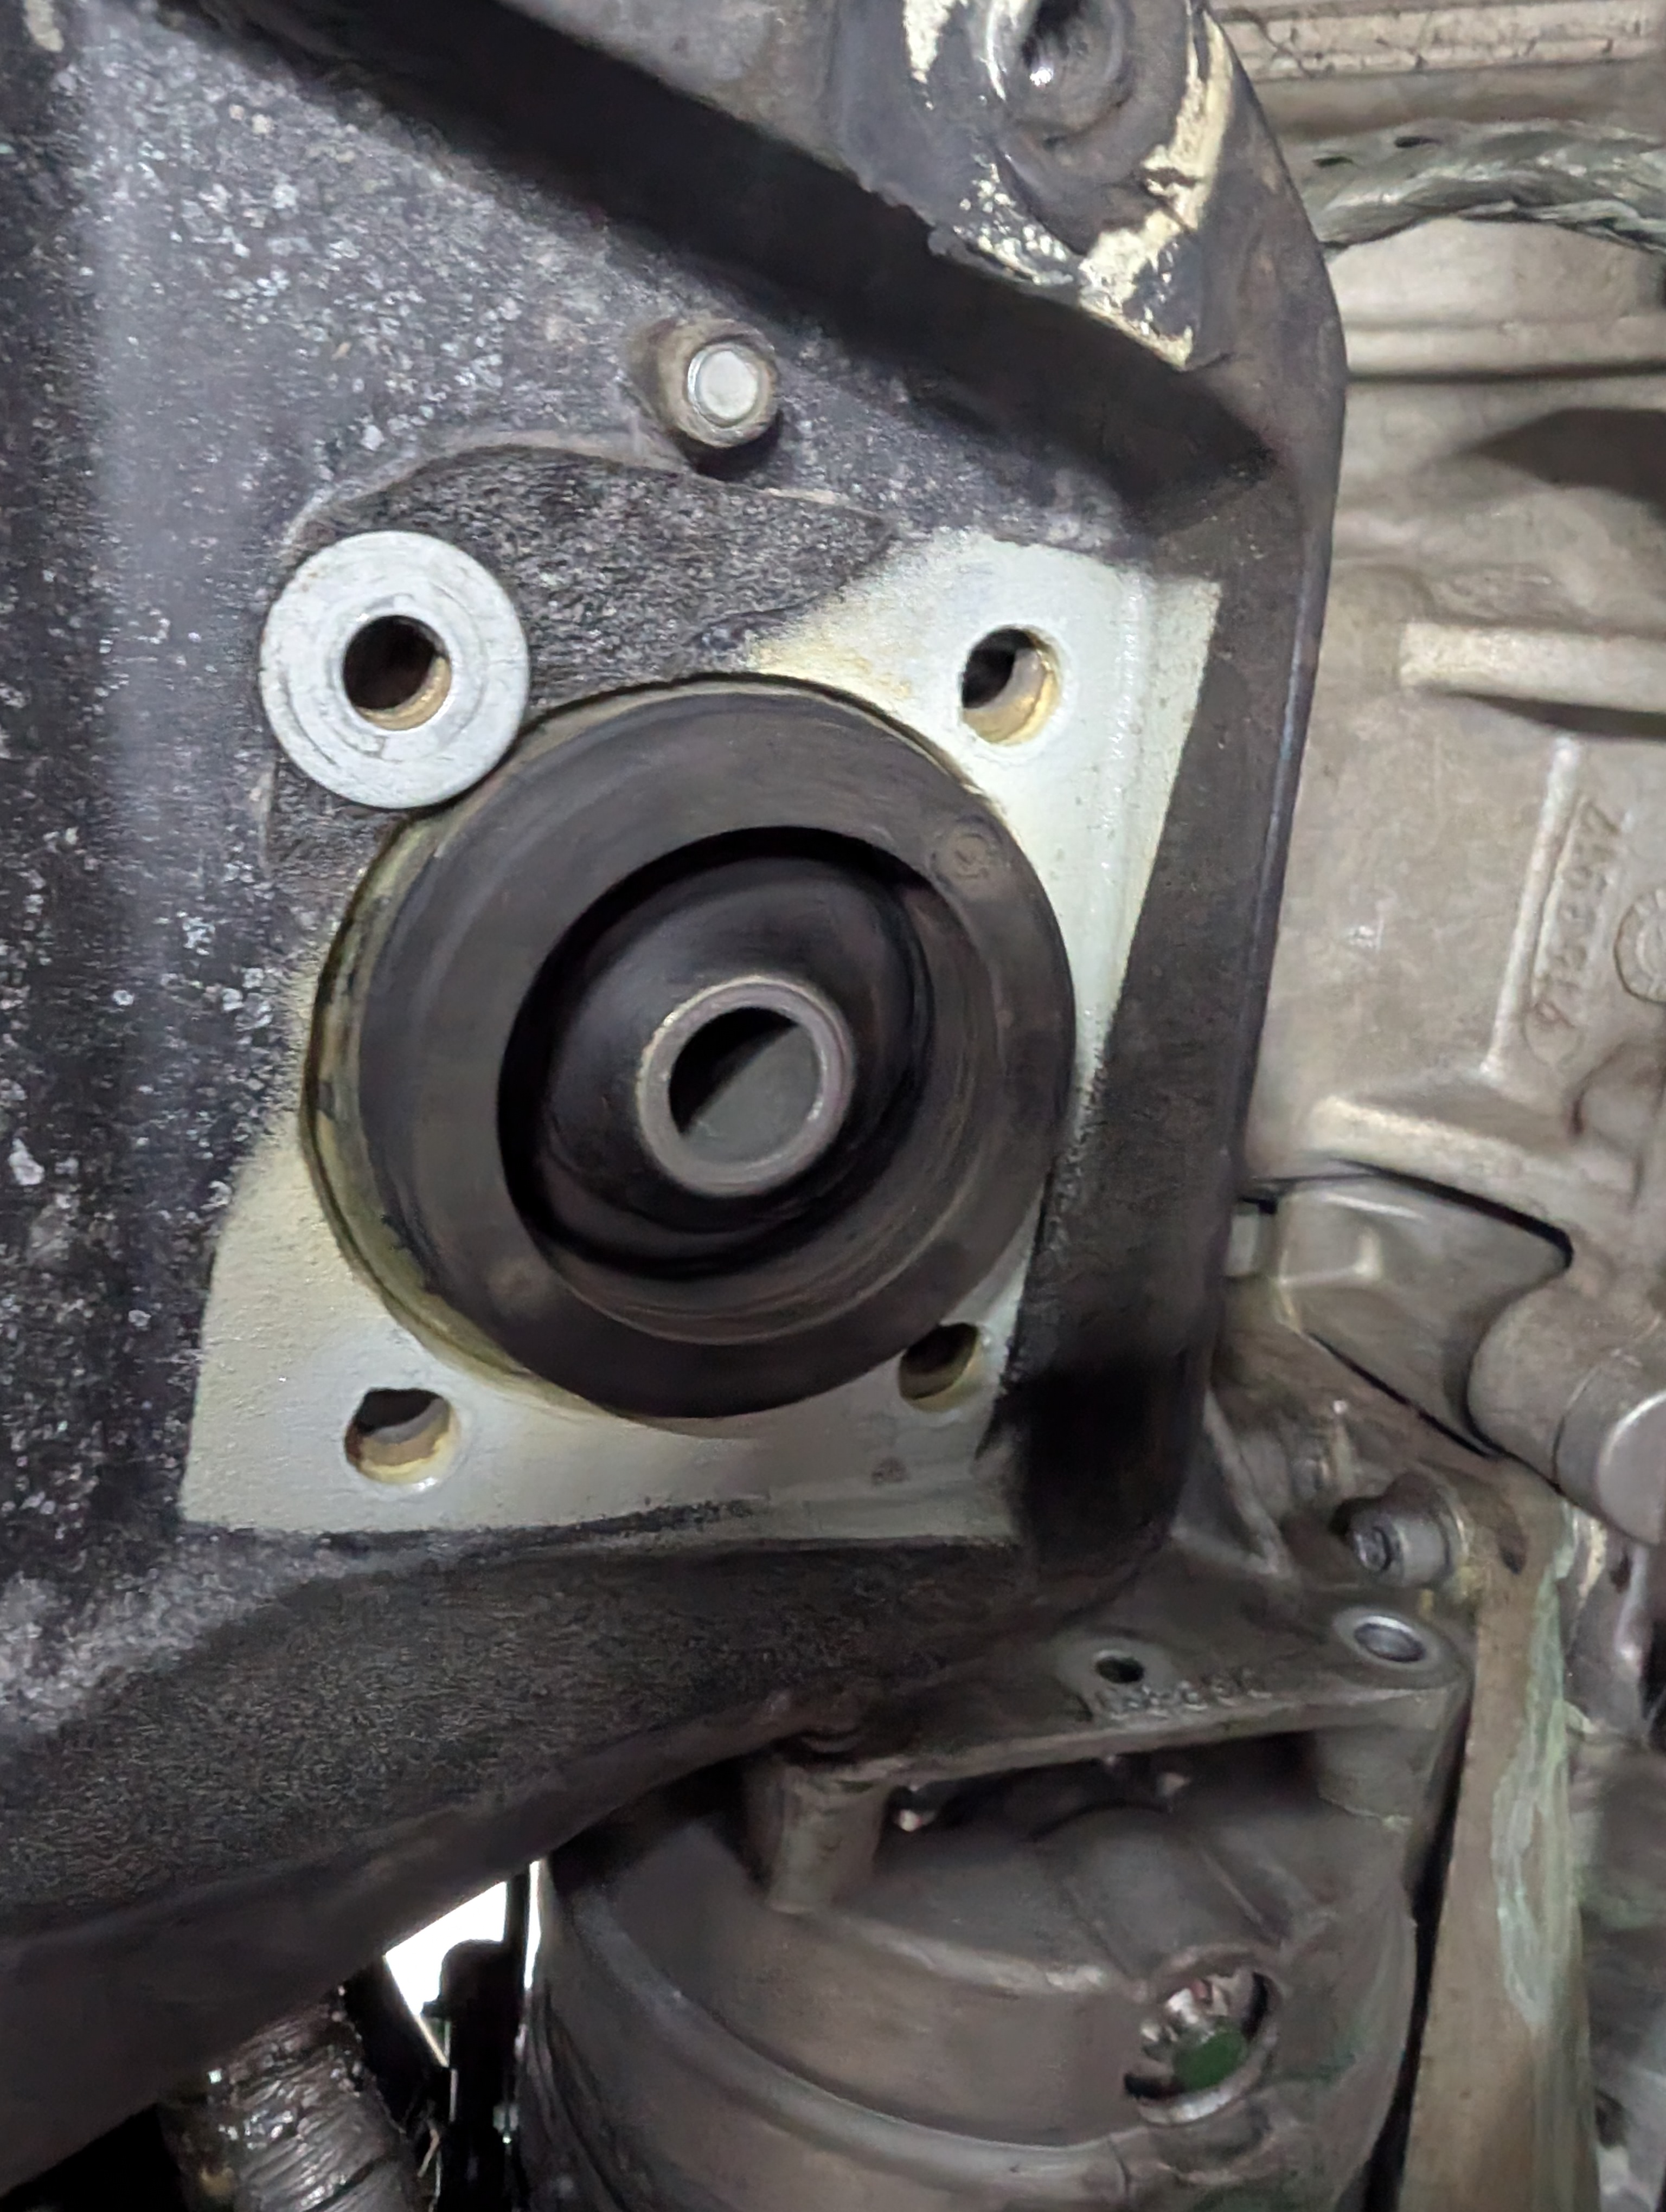
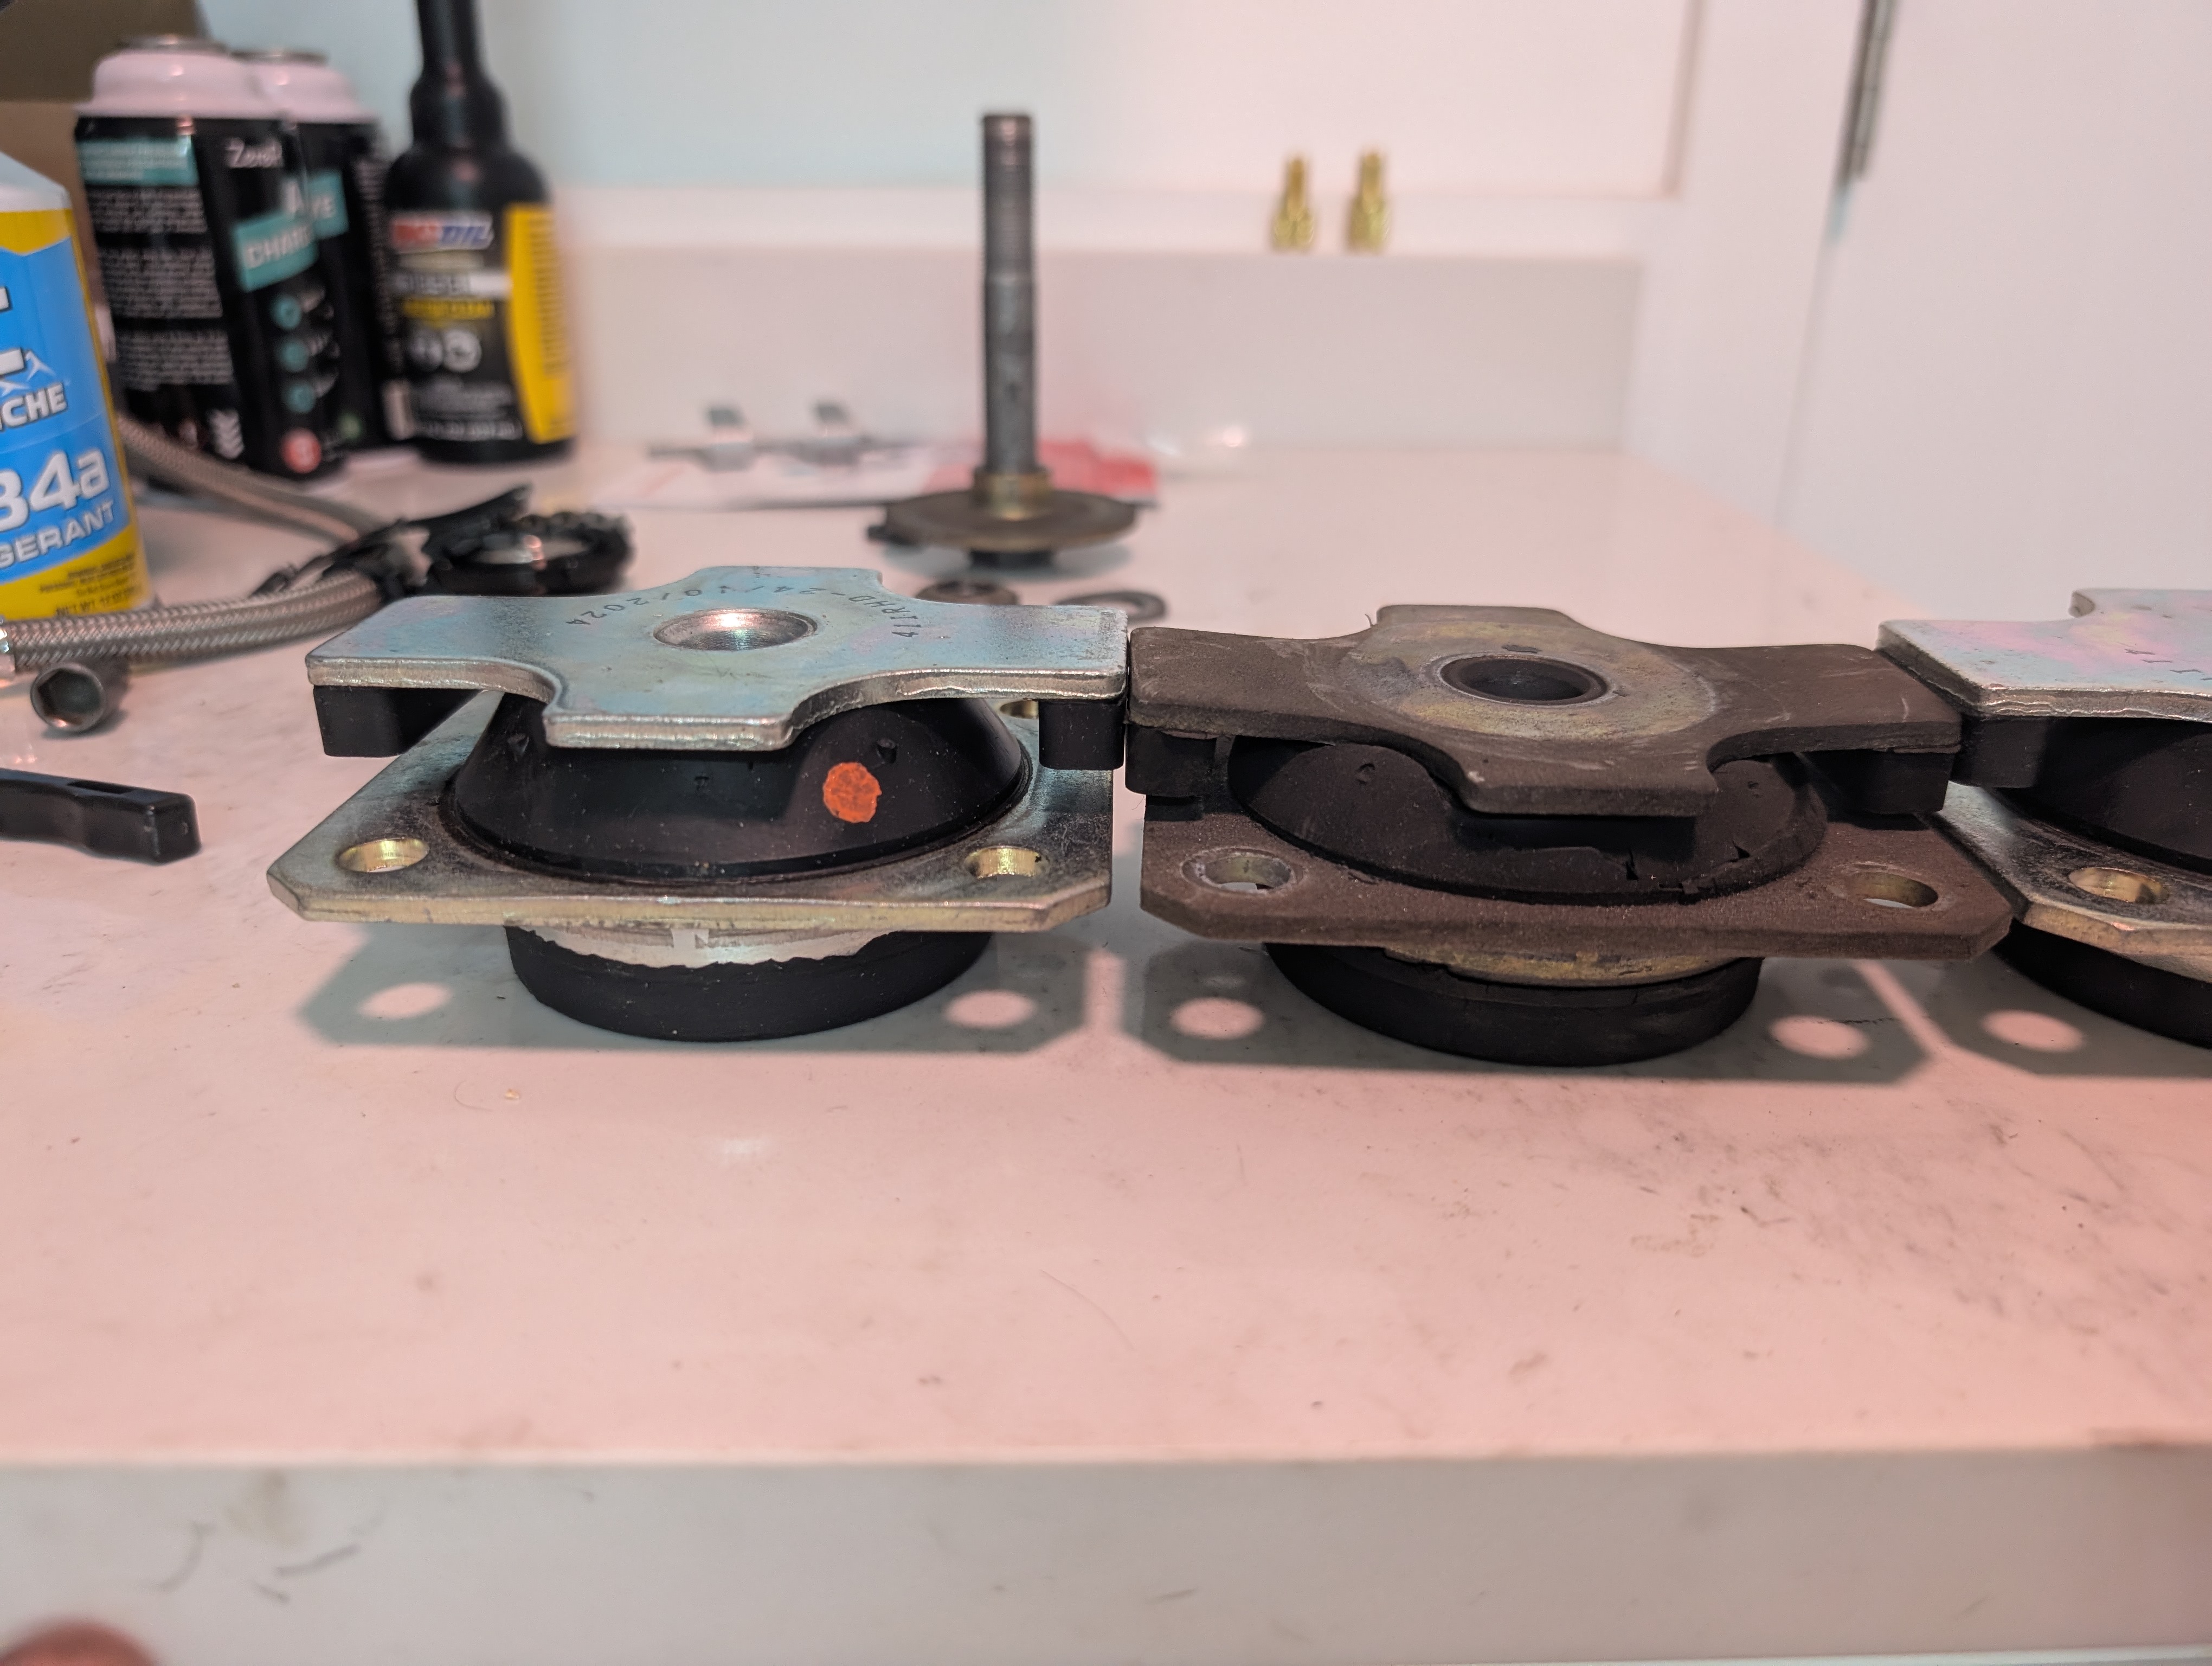
I had to remove the motor mounts. Which were shot anyways, so I replaced them. And when you replace them, the bolt and nut that go through the middle of the motor mount should be replaced, and use a massive 24mm on both sides. So you need both a 24mm socket, which I had, and a 24mm wrench, which I had to buy, to hold it on the other side. You can re-use the washers and the 17mm bolts. Once the hardware is removed from the motor mounts, you jack up the engine with some wood to raise it a bit, then slide in and install the new mounts.
Once the compressor was out, I replaced a few o-rings there.
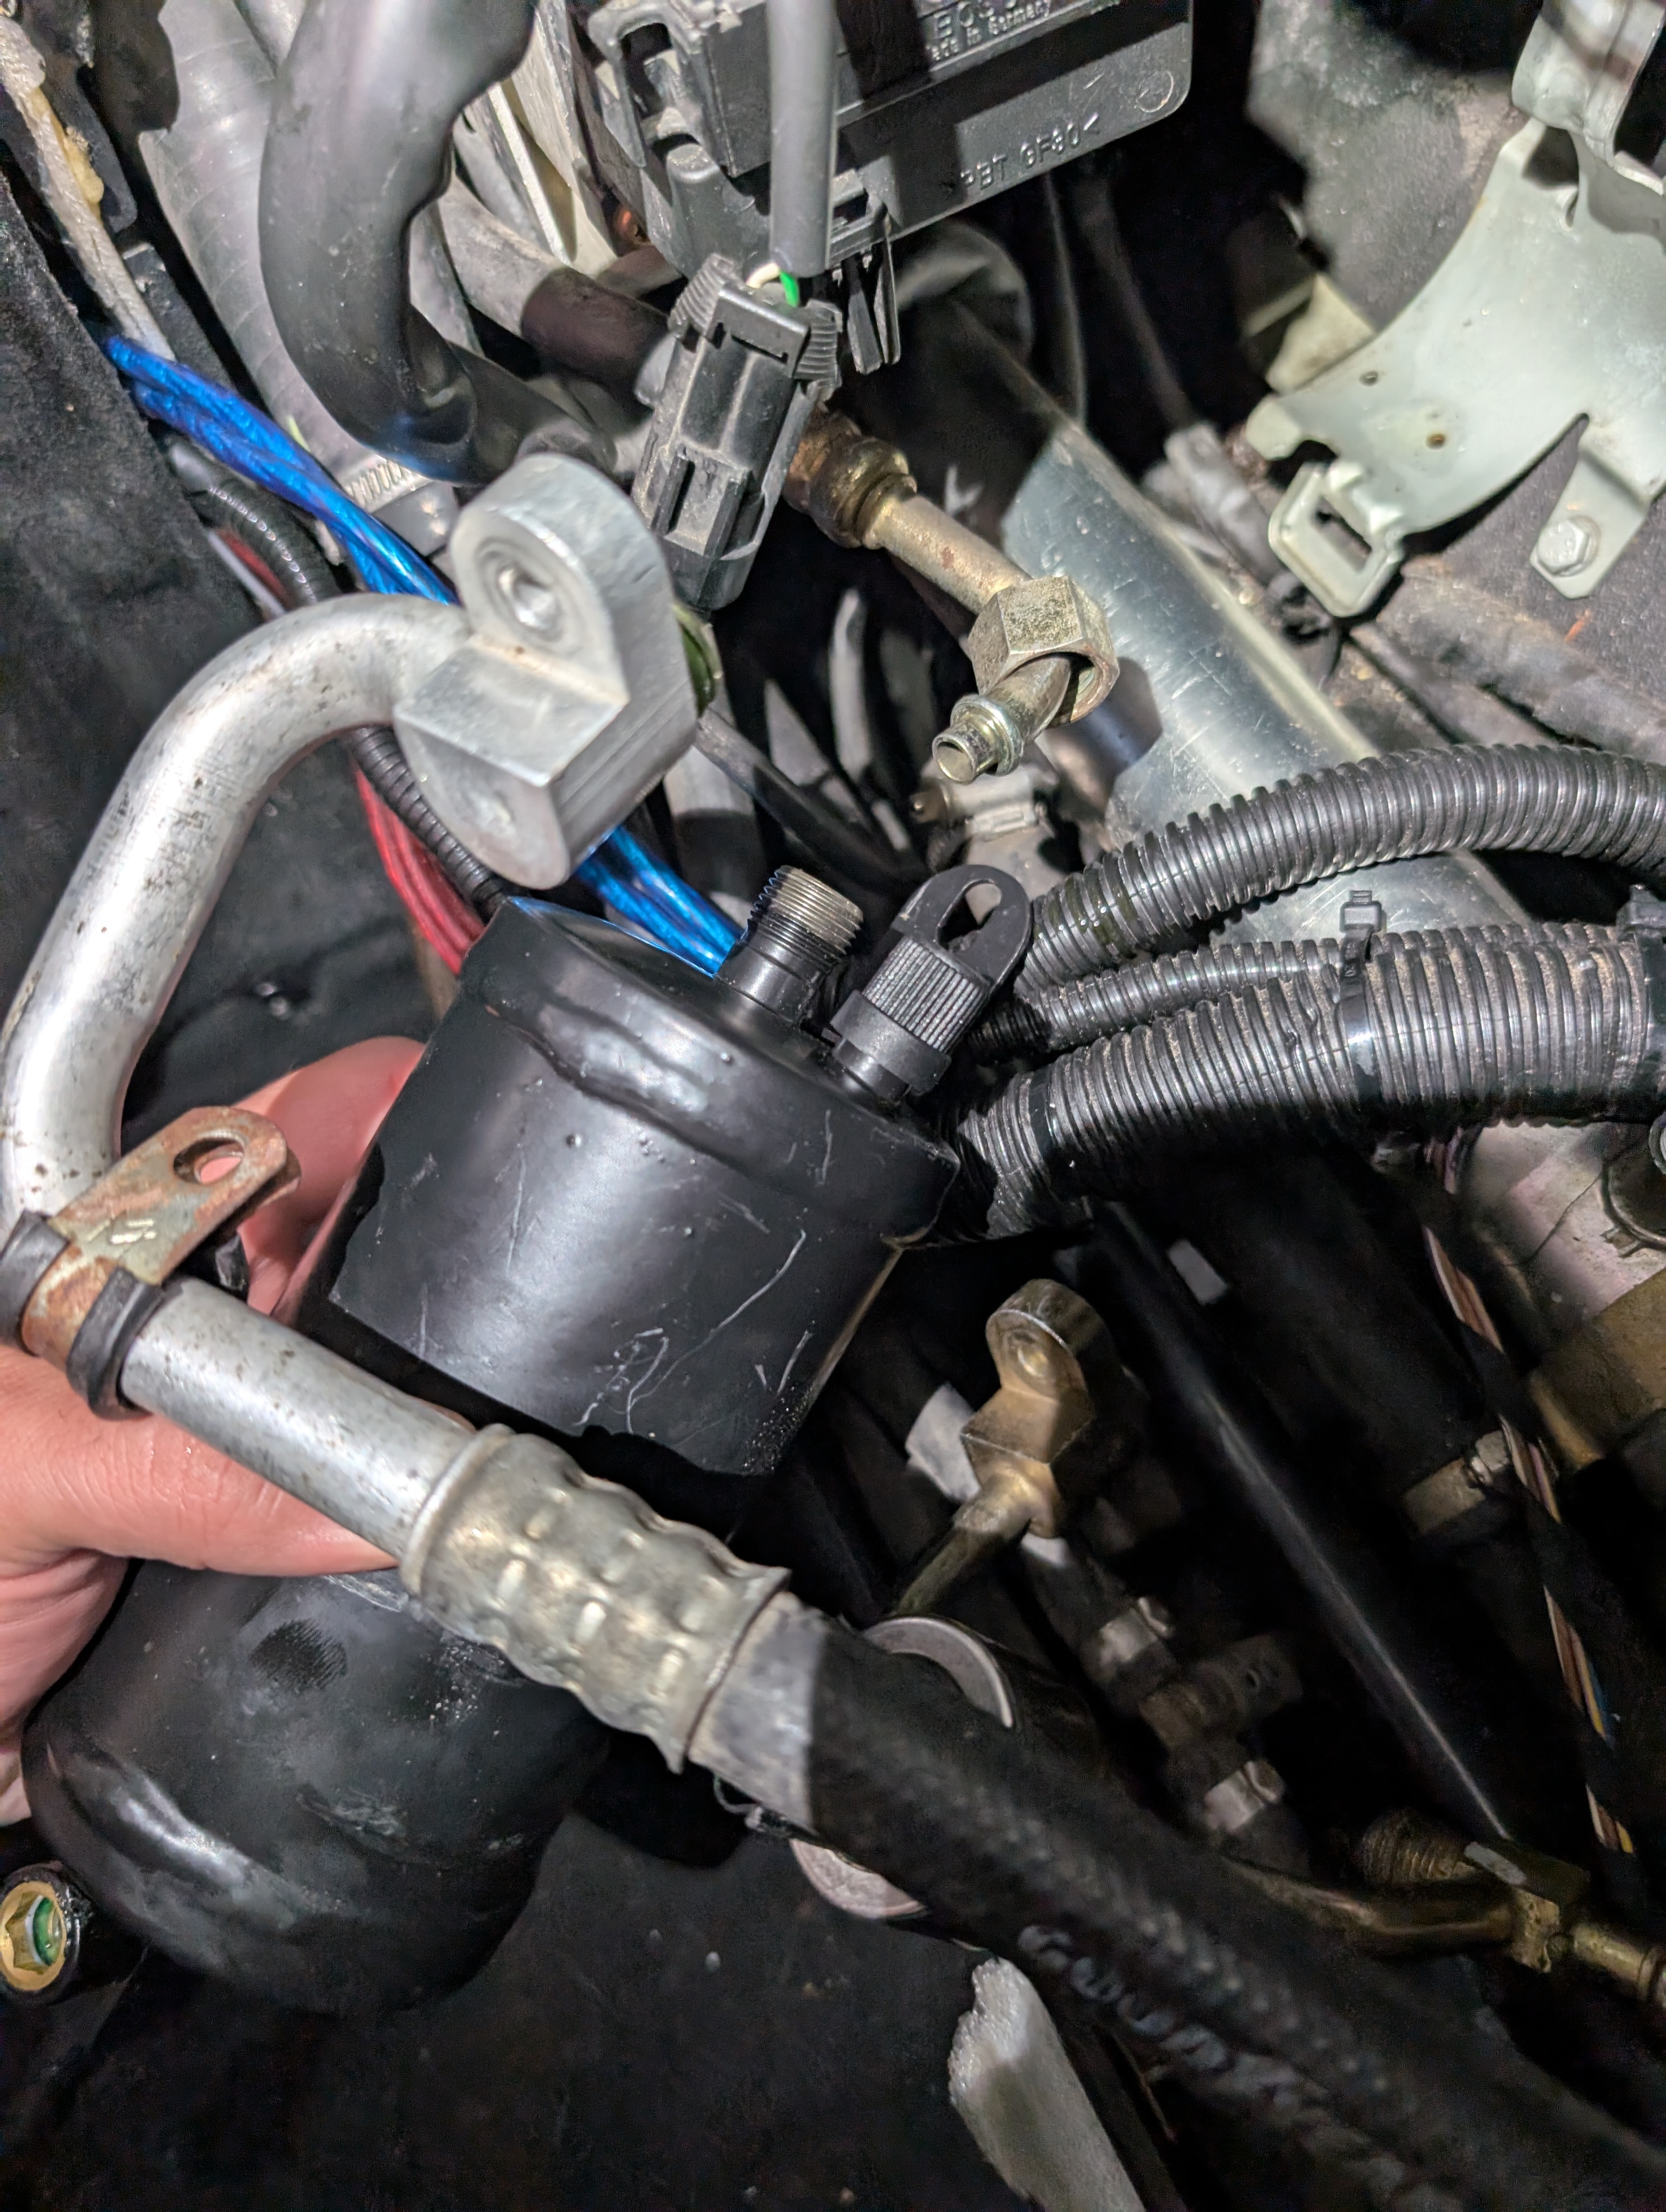
In the frunk, I replaced the drier filter, which is a every 2 year recommended replacement. I had to buy a 19mm wrench for that. While removing the drier filter, I also broke the high pressure fill line, which is a part that doesn’t seem to be available new anymore, so I purchased a used one of those for $285, downsides of owning an older Ferrari. While testing the A/C, I found I had leaks on the new drier filter, so I re-seated it with new o-rings.
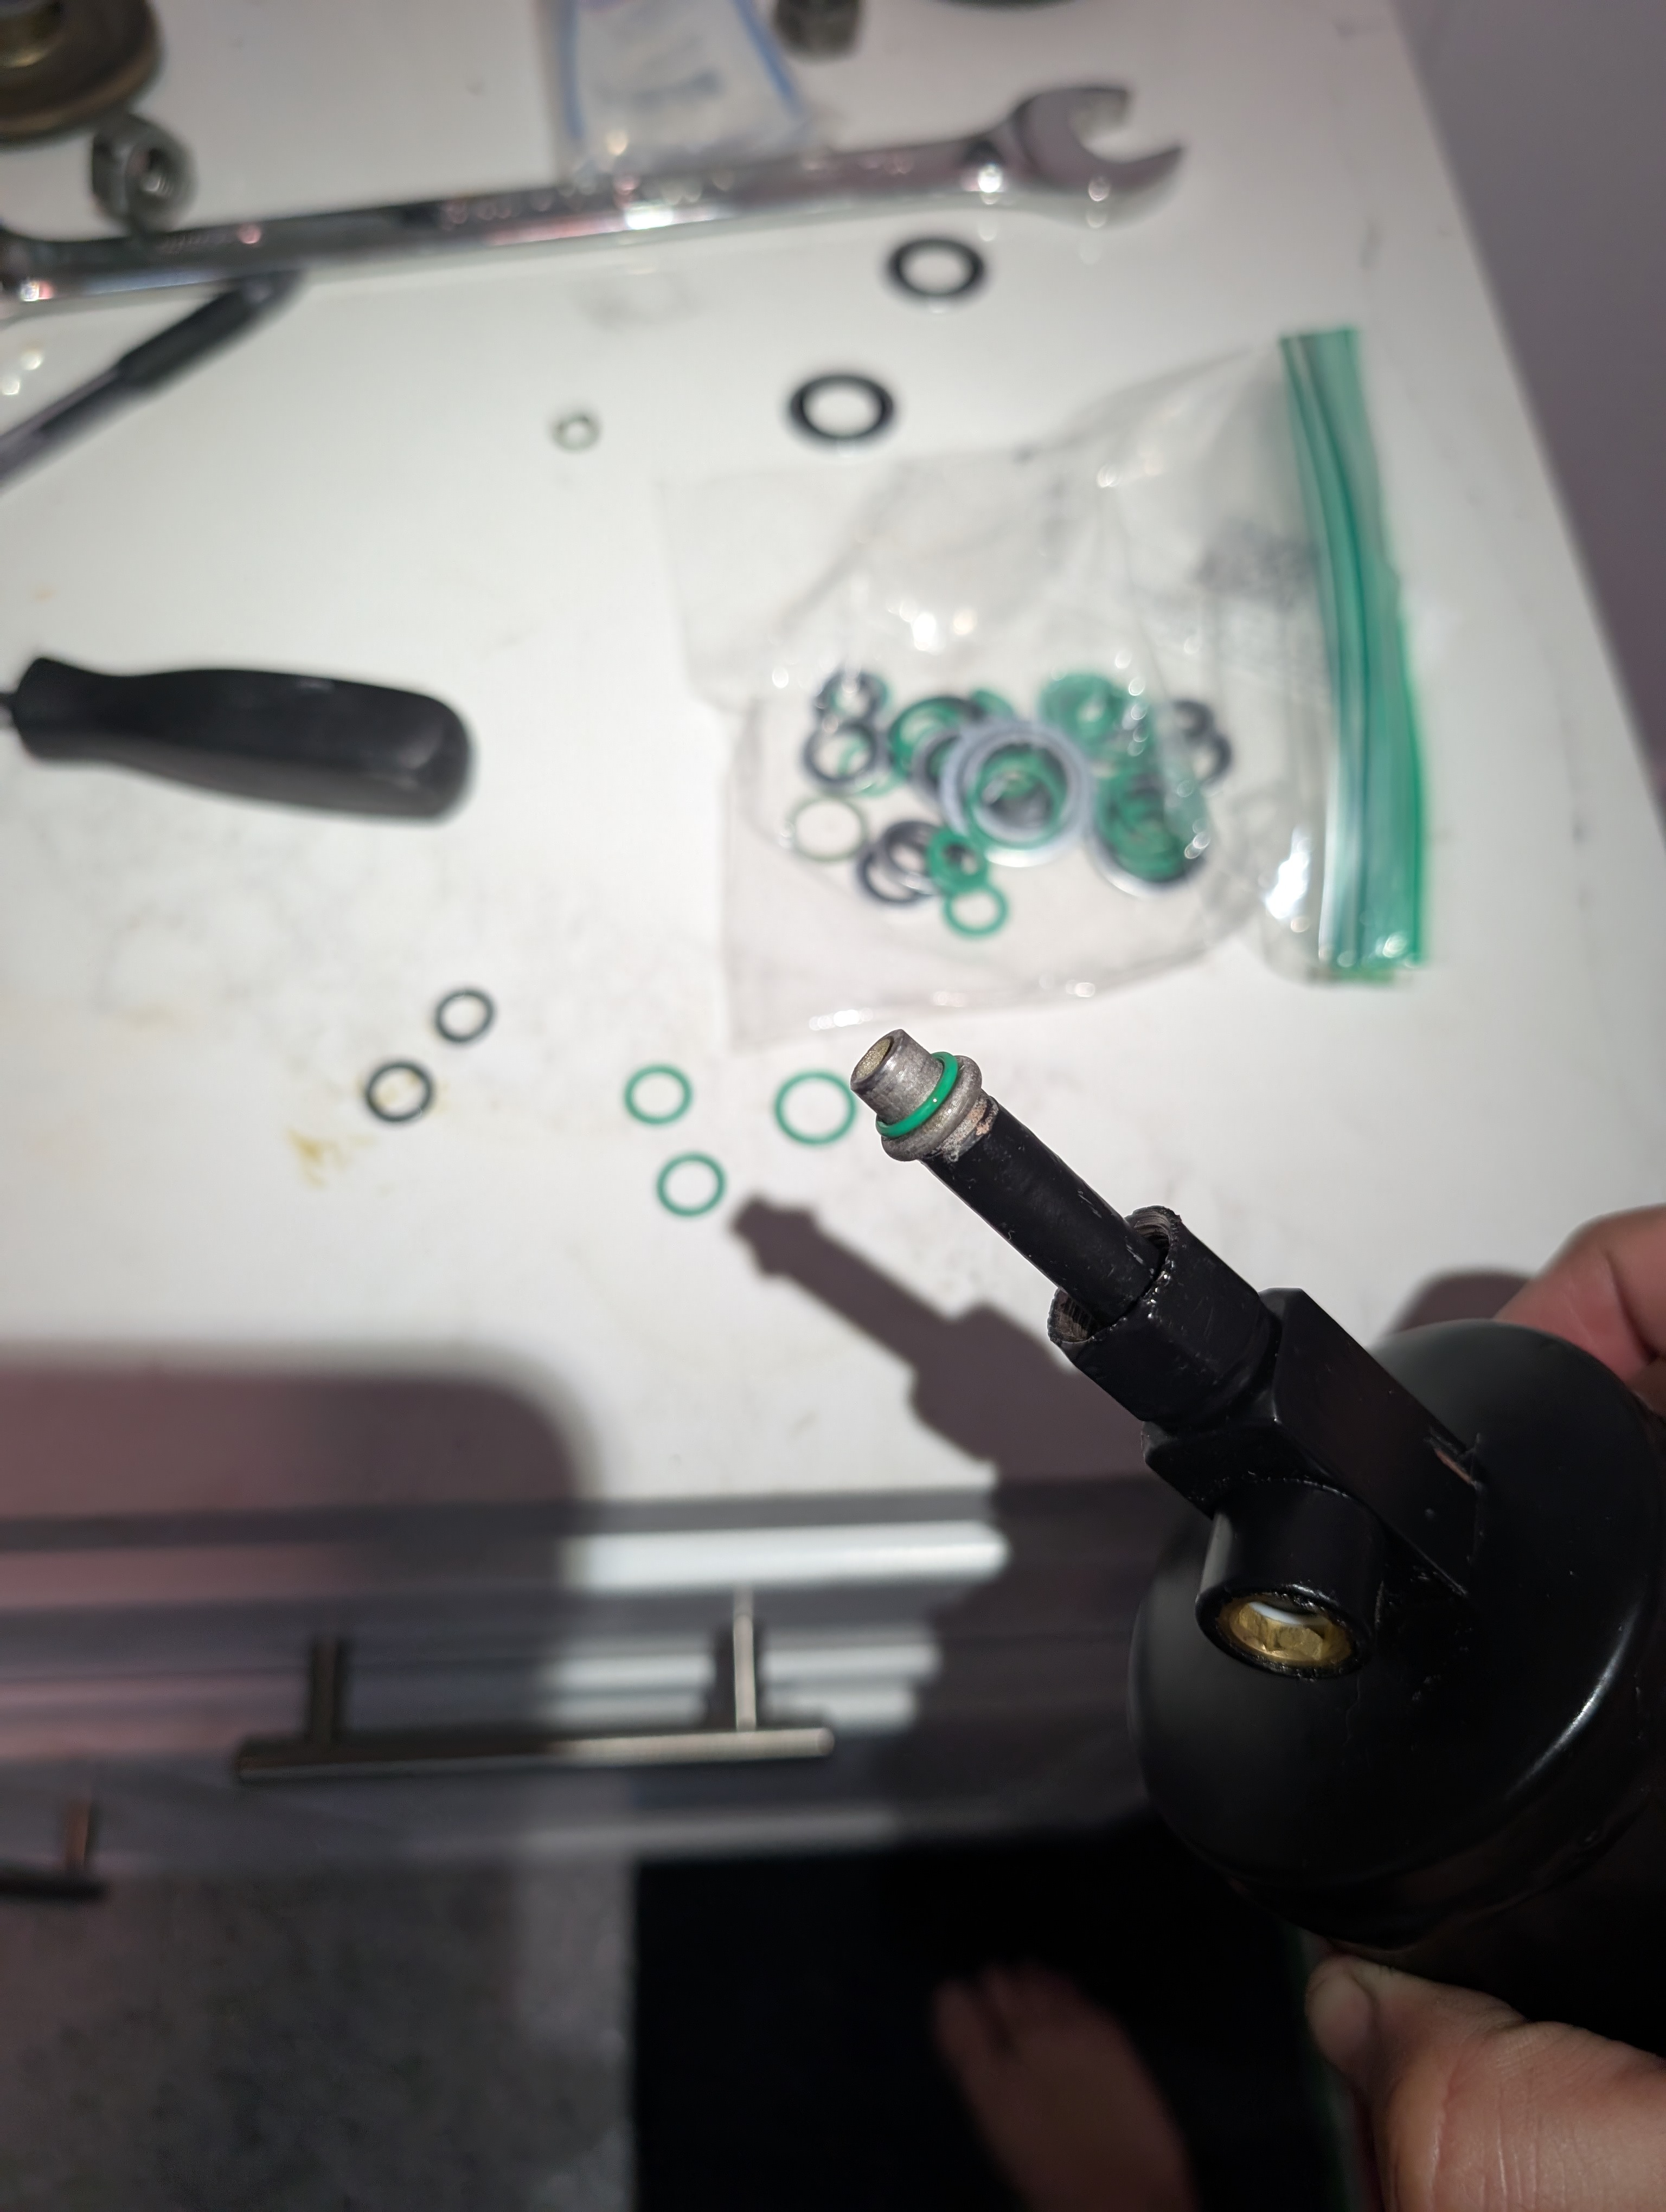
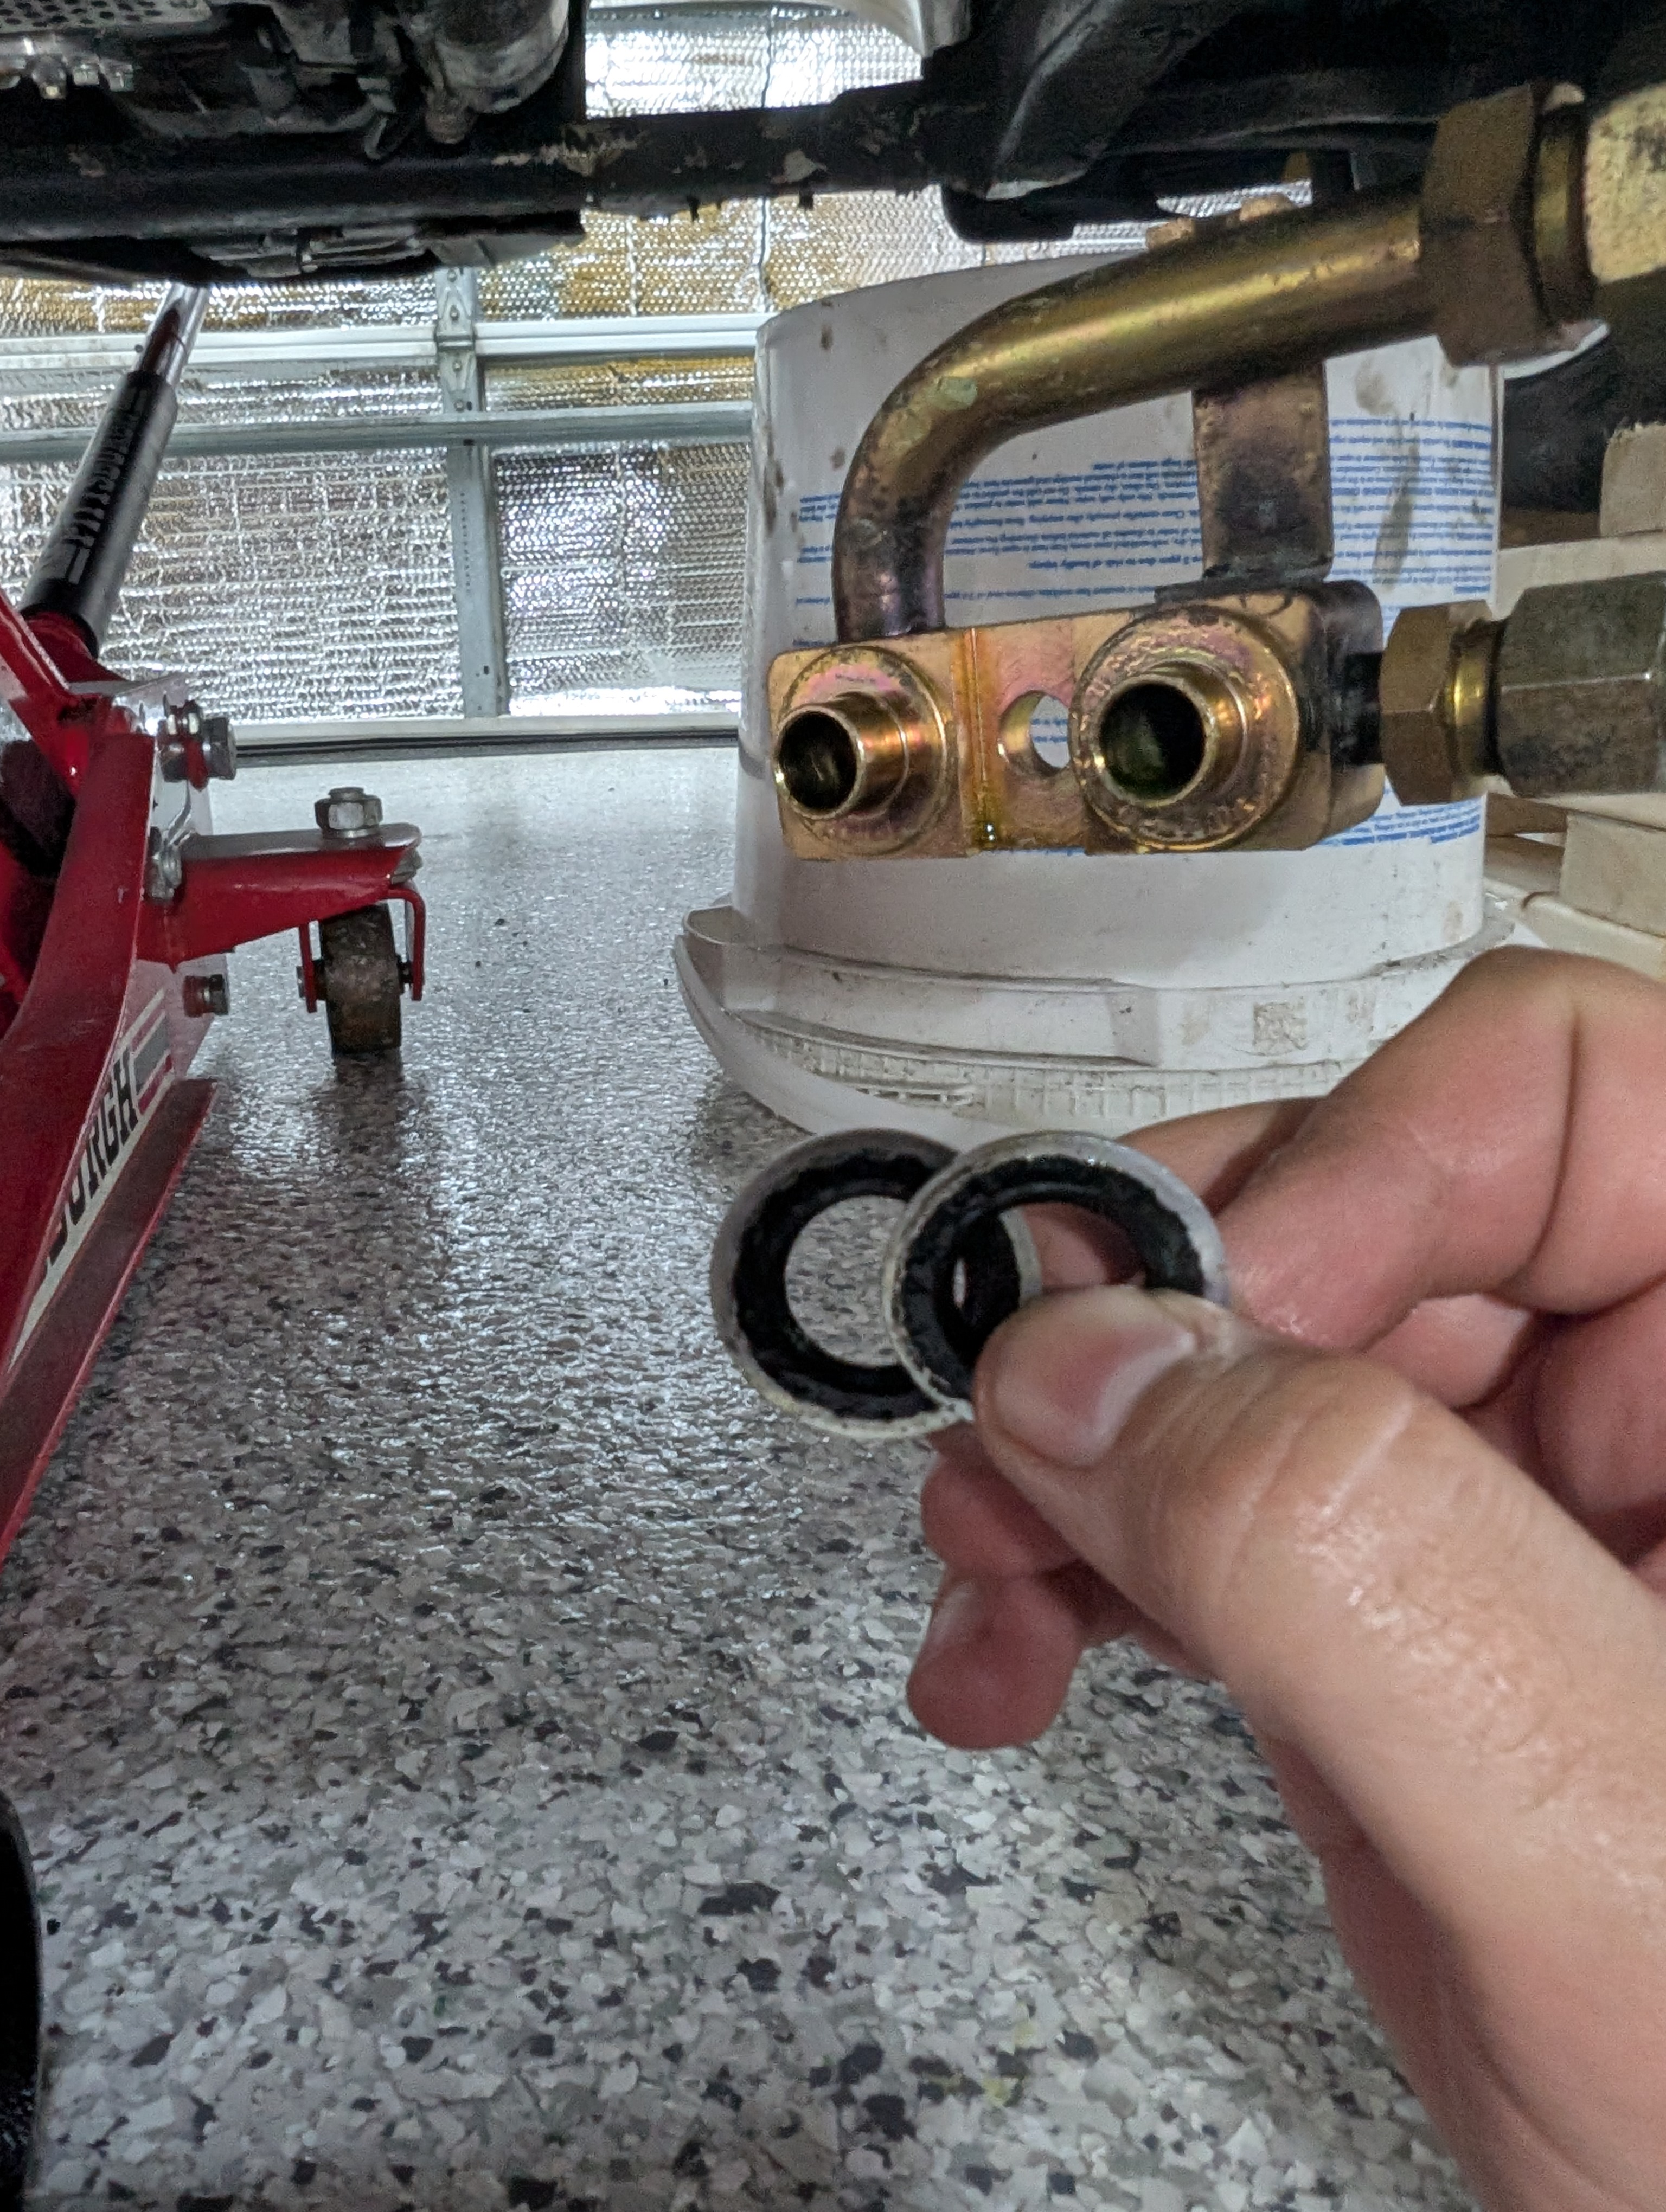
I also replaced the high and low pressure fill valves. And the o-rings to the high and low pressure ports.
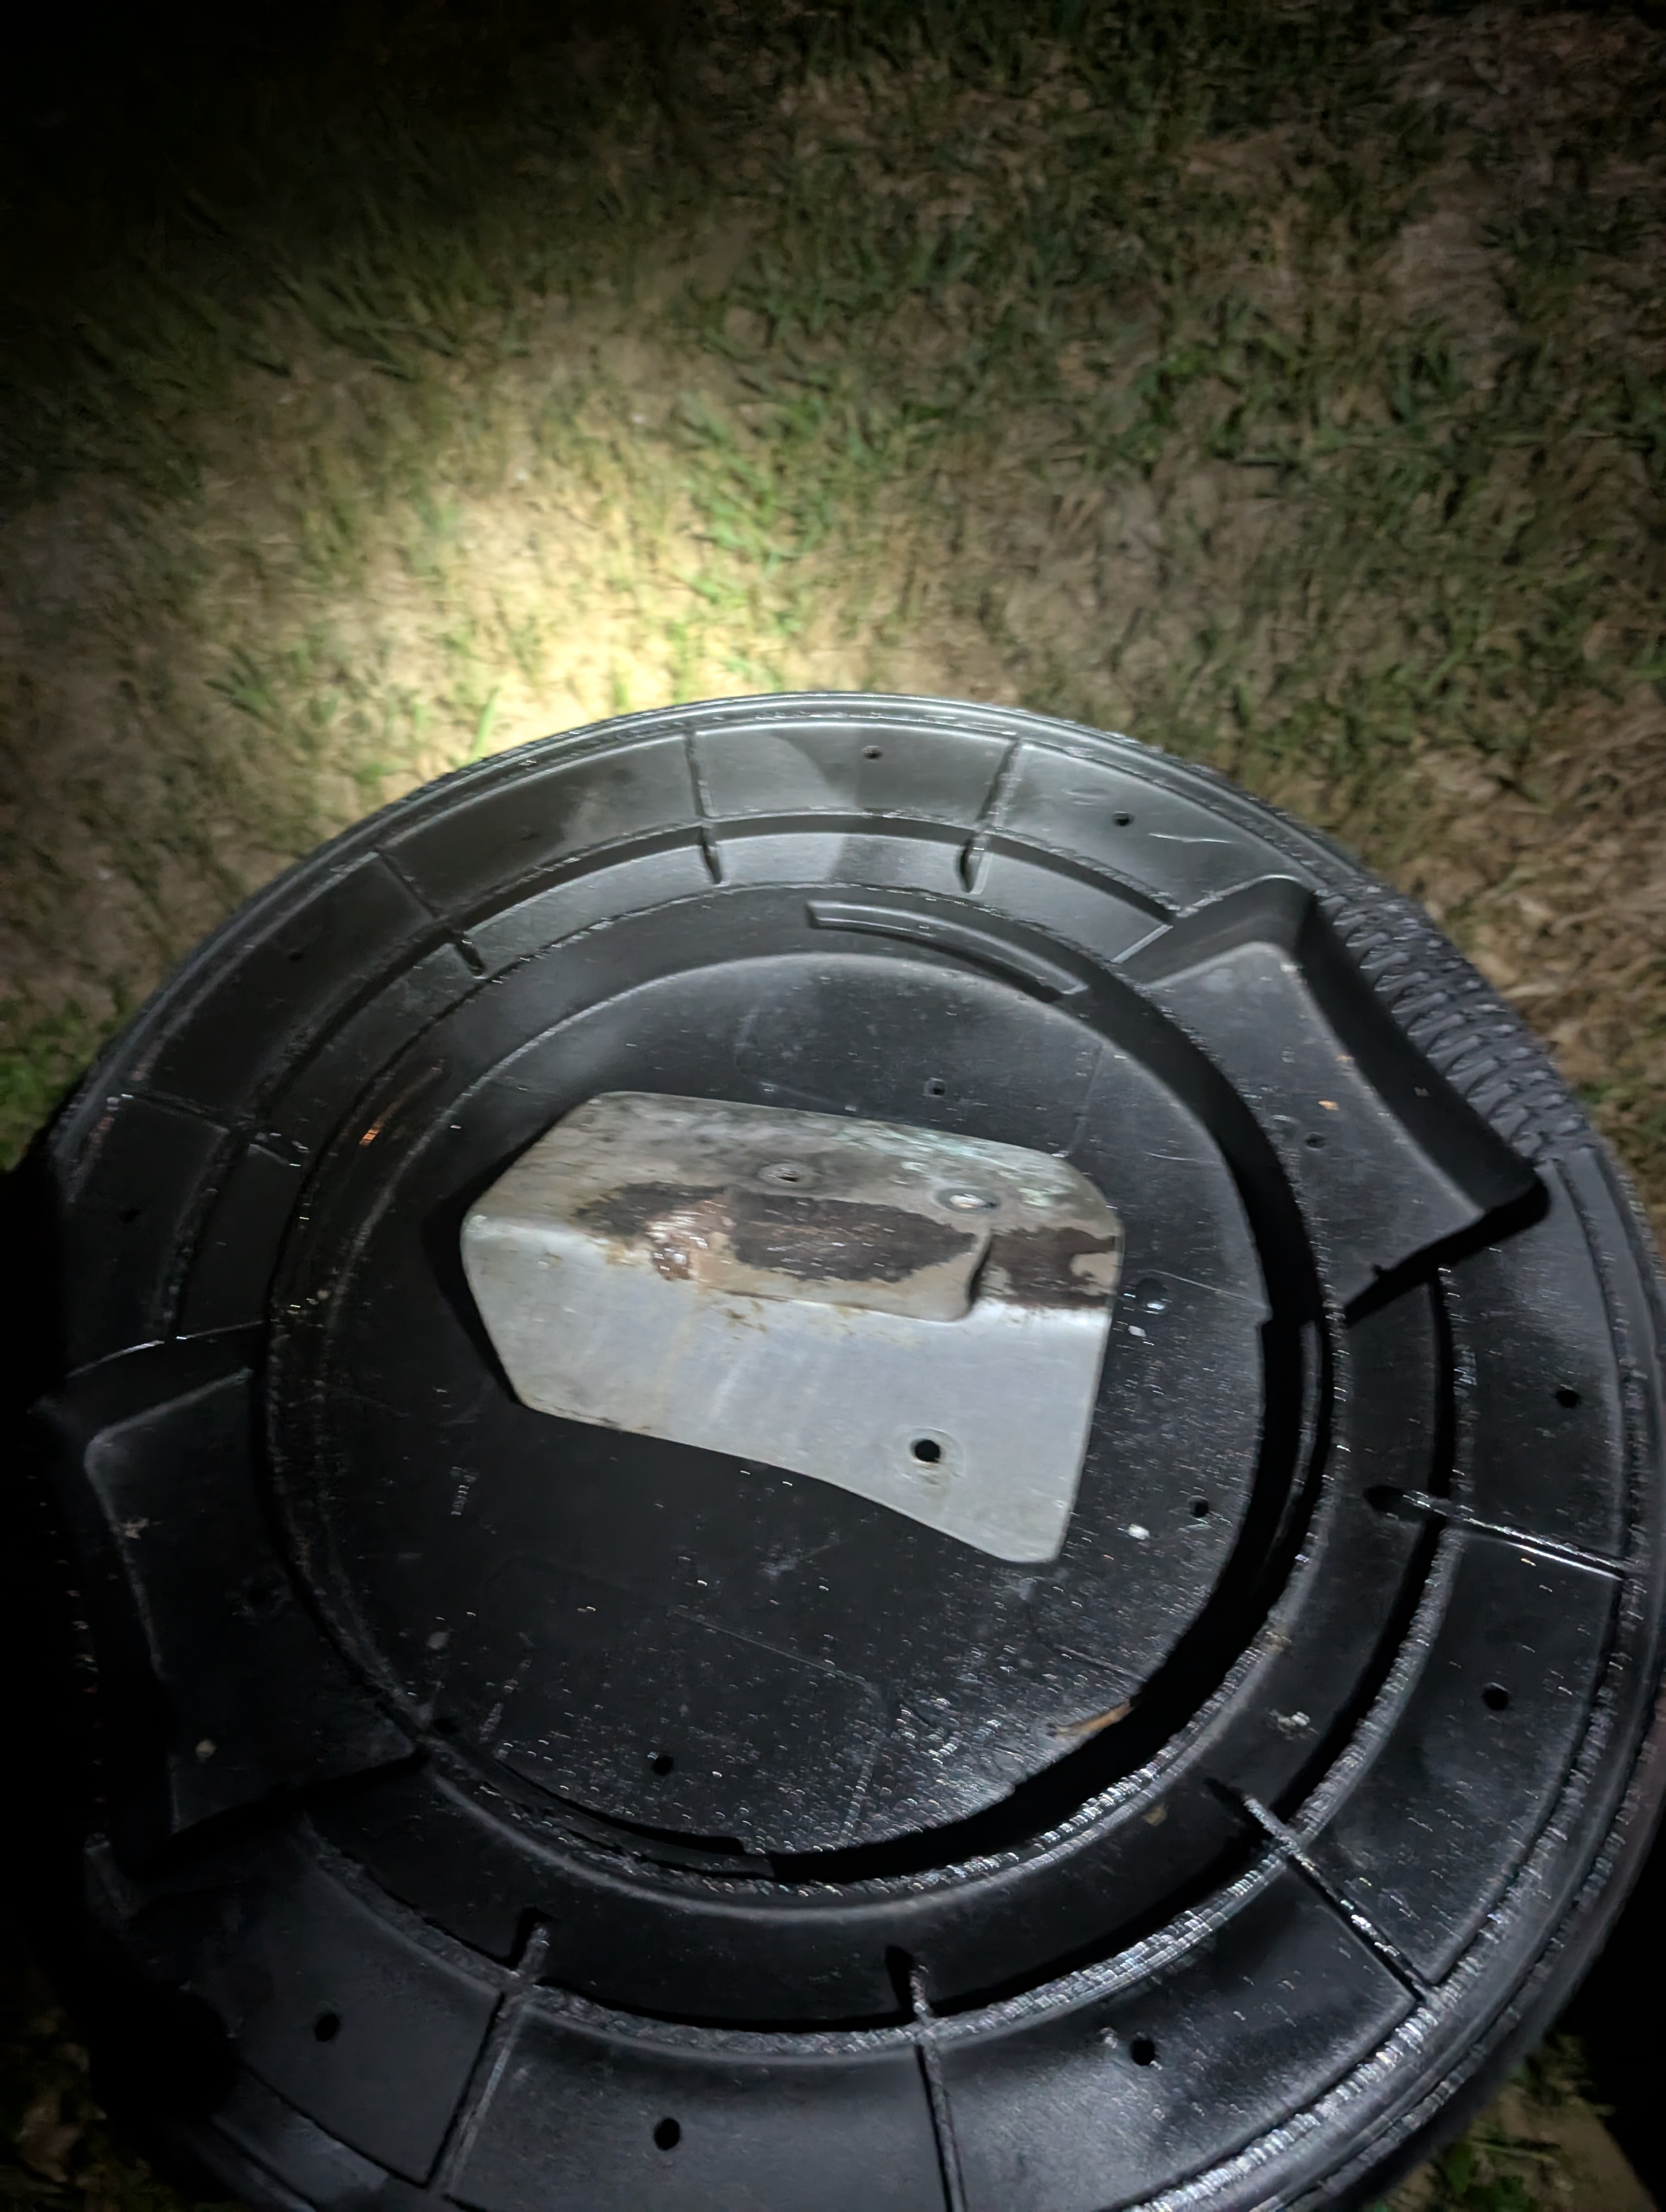
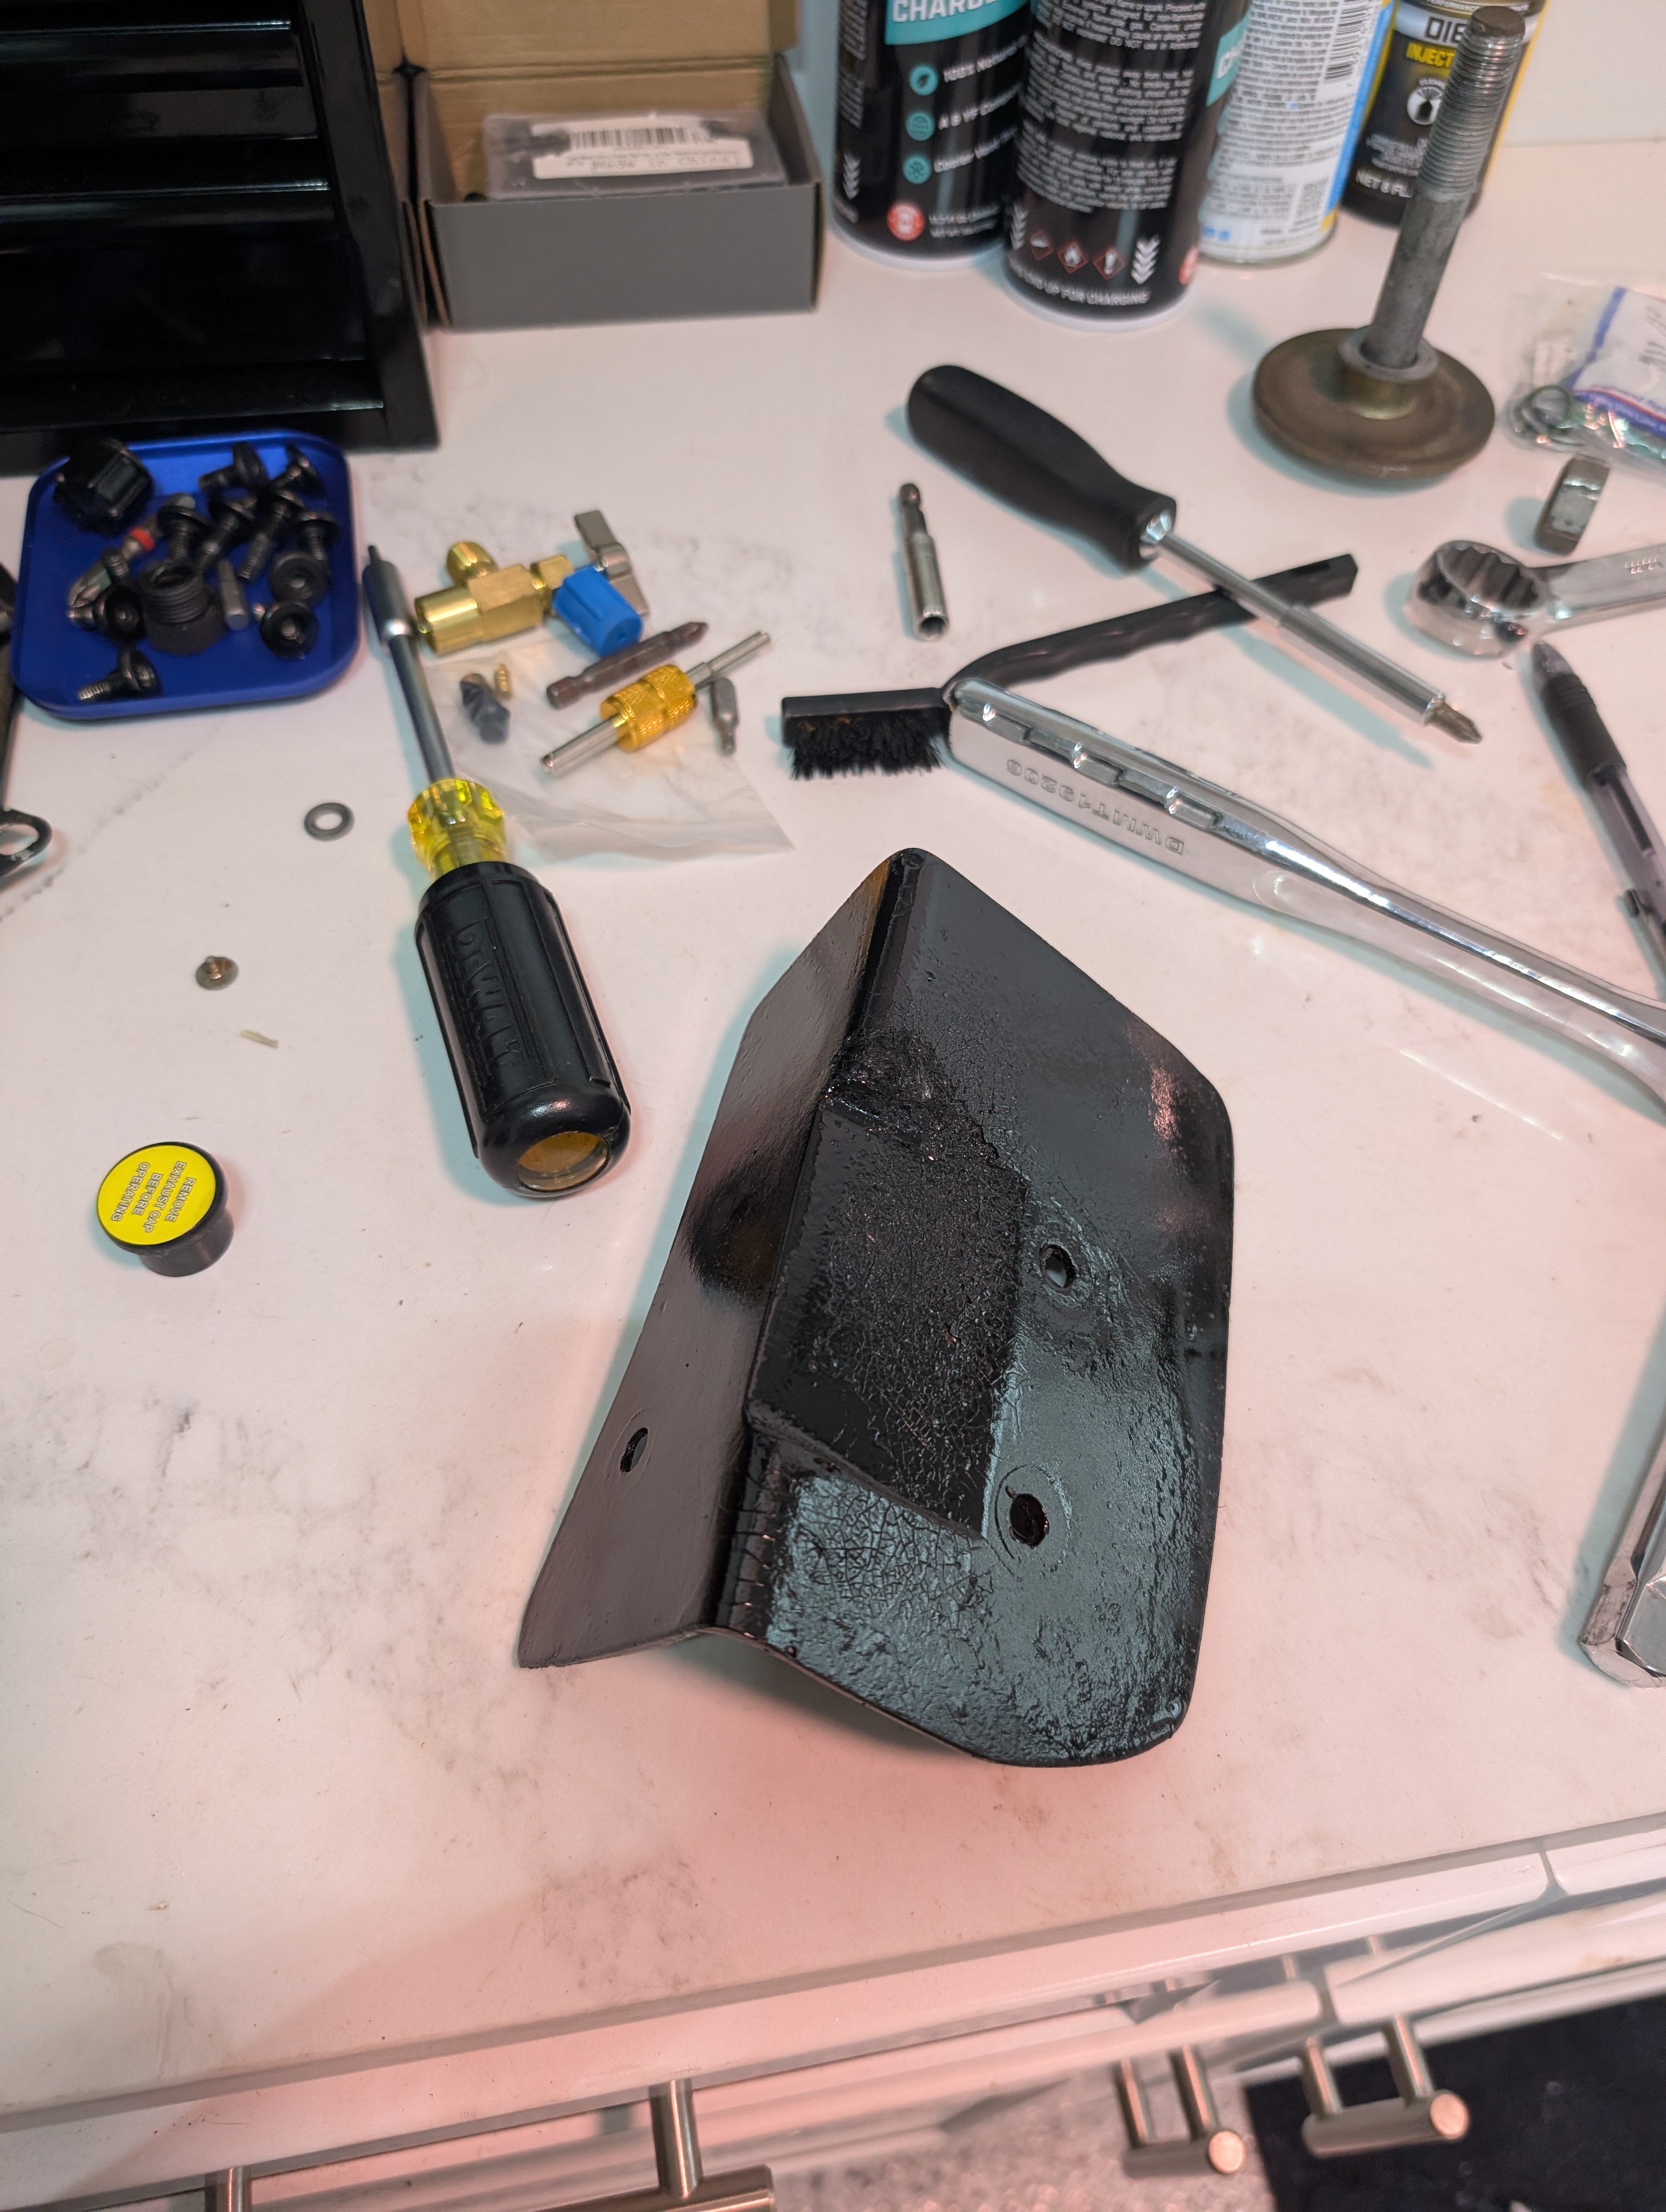
And while I had the compressor out, I painted the heat shield for the compressor with a few coats of high temp black.
Before refitting the rear undertray, I cleaned off the bottom of the engine from an old coolant leak with some brake clean and a wire brush.
All in all, I replaced:
- 7 o-rings - $15
- 2 motor mounts - $380
- 2 motor mount bolts - $20
- 2 motor mount nuts -$15
- A/C belt - $25
- Used high pressure line - $285 from an Exotic salvage yard
- Drier filter - $123
- Charcoal filter - $55
Tools required:
- I added probably $60 of R134 to both my car and the garage floor. I used cans with UV dye mostly.
- 24mm wrench - $10
- 19mm wrench - $10
- A/C manifold set - $130
- U/V flashlight - $13
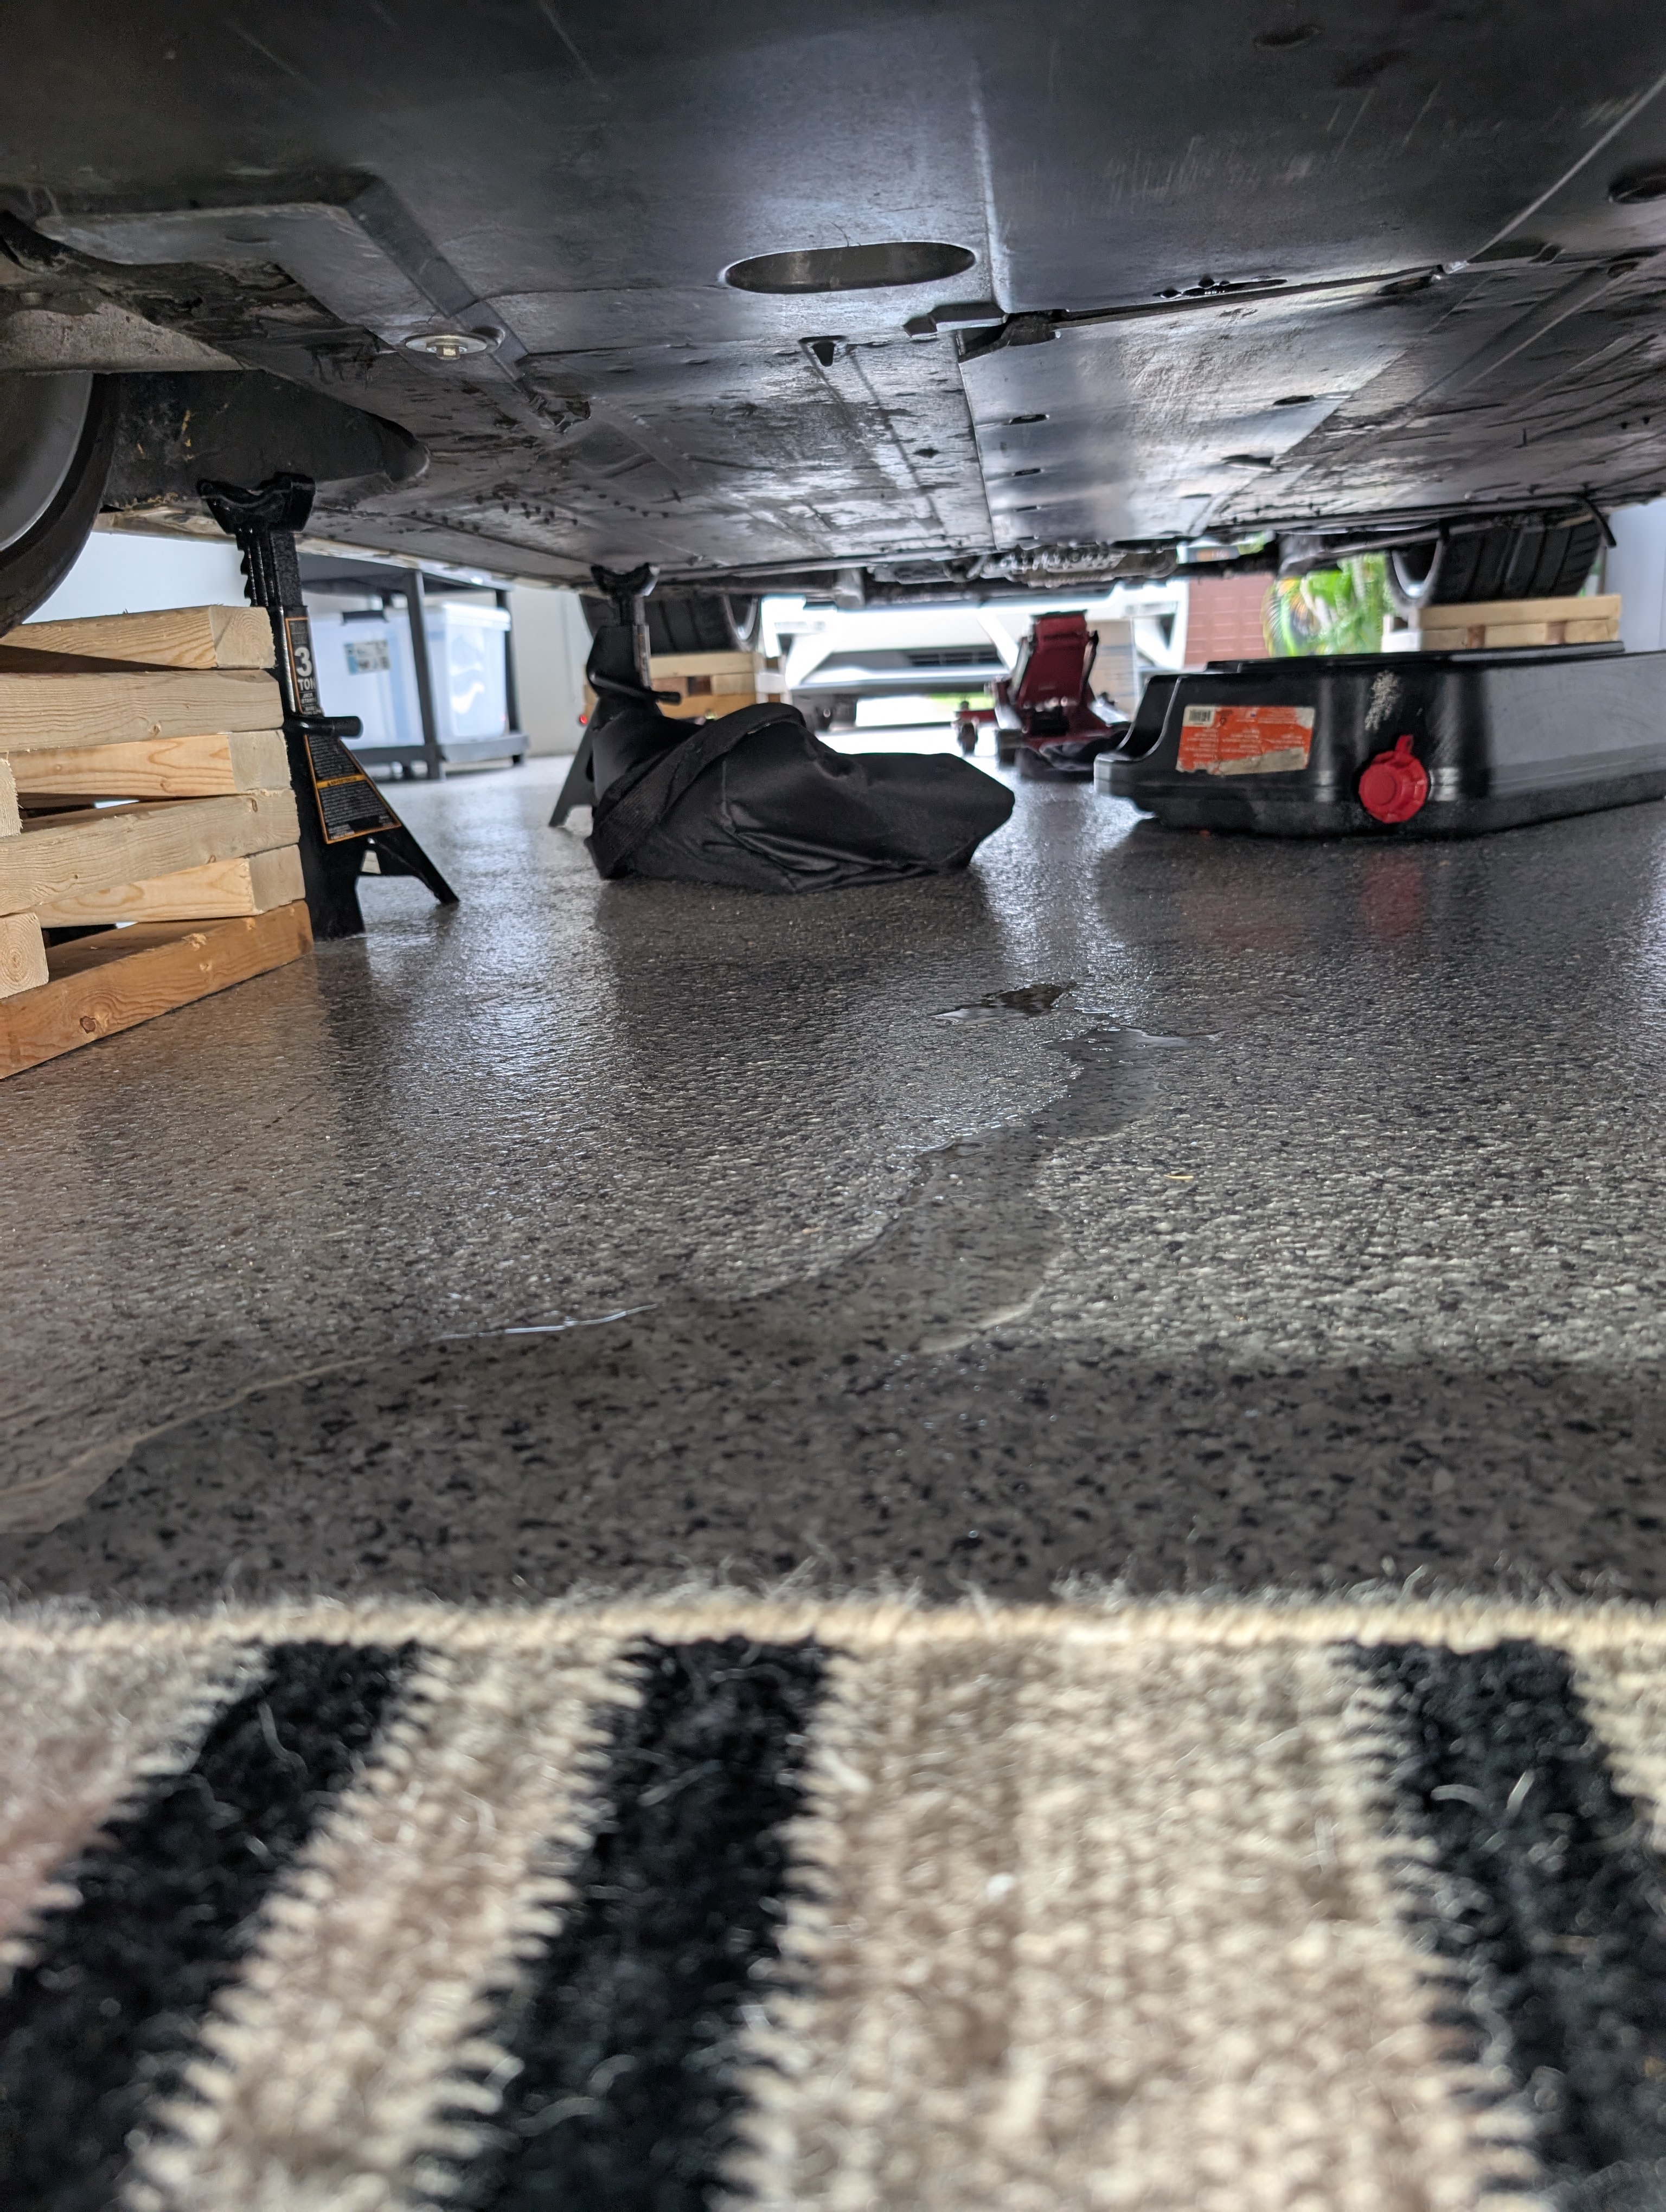
- I built 4x wood cribs in order to work safely under my car since I don’t have a lift. This was so helpful since I spent many many hours under the car and needed to be safe.
This puts my total at about $1,000 in materials and $200 in reusable tools, and $0 in labor. It would have added a few thousand in labor if I took it to a shop, which I have twice before, and neither time did I come home with a working A/C system. I estimated that I spent about 20 hours on this project, and I’m happy to save that money for the next project.
Useful Links: