Lexus GX470 - Custom Webbing Dog Divider
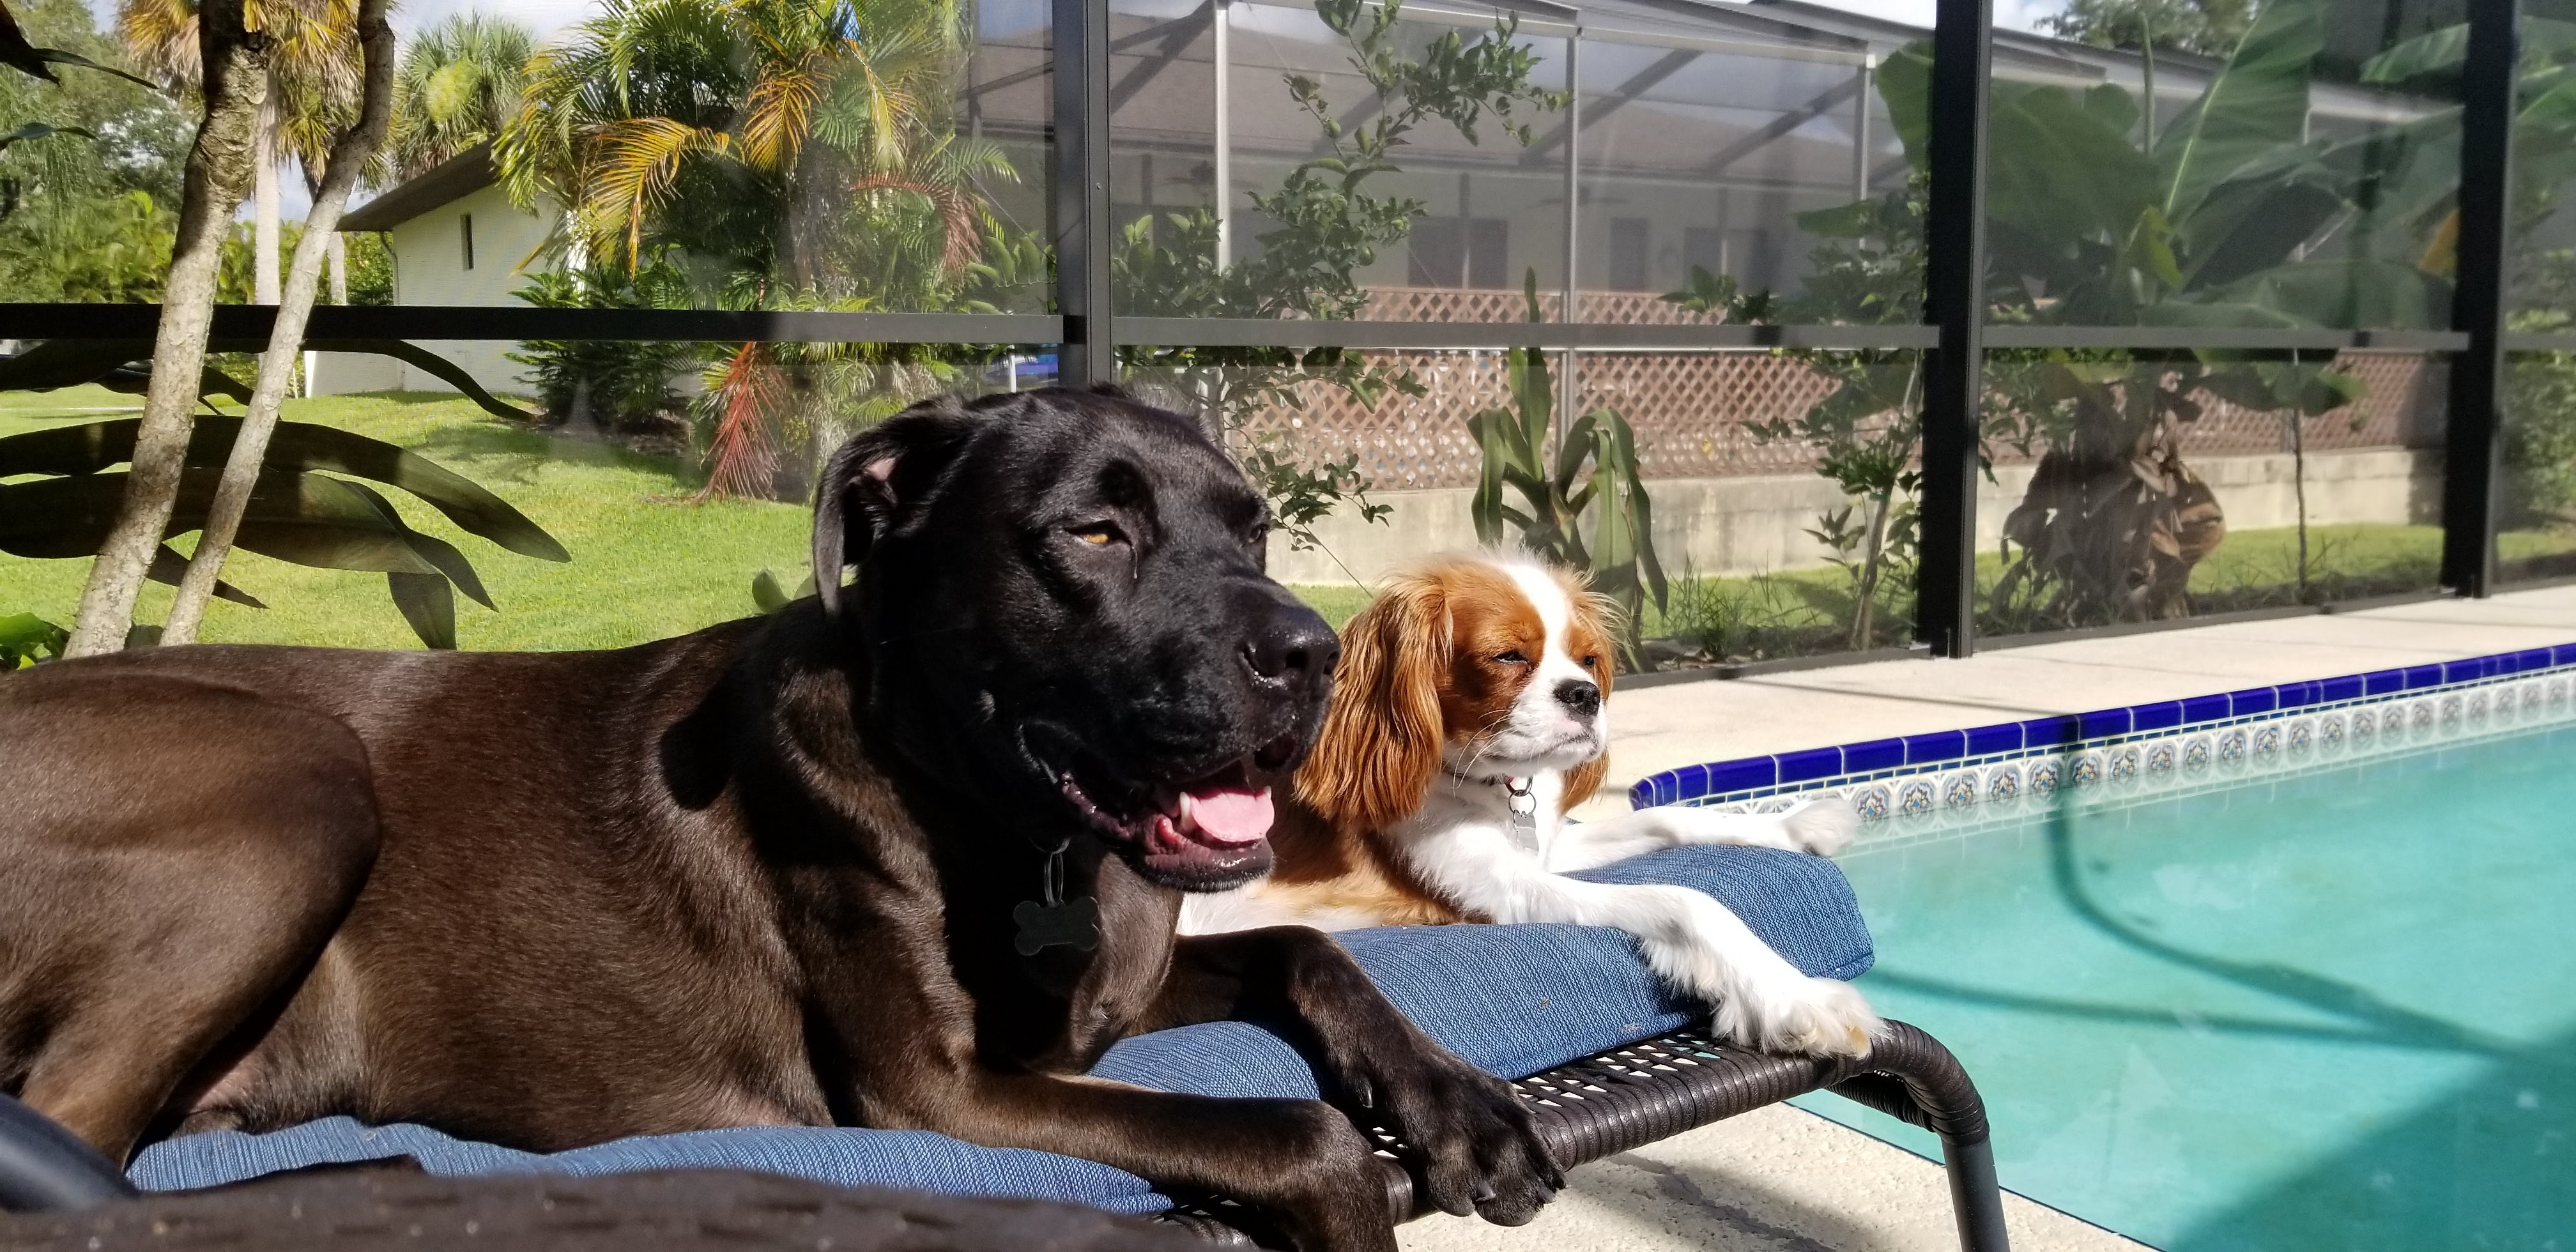
I have a big dog, Bentley, a 75 pound lab mix, who loves being in the front of the GX when I’m driving. Only issue is, he’s a 75 pound dog. So I wanted a webbing divider to keep him in the 3rd row area, but the only one on the market that is made to fit the GX starts at $180! I used this product from Raingler as my inspiration, and started to plan how to make my own.
The Raingler divider uses stitching for the joints, and I can sew, but I don’t have a sewing machine. The type of stitches used to sew together an intersection of webbing really requires a sewing machine (or thousands of hour of free time which I don’t have), so I found some other projects that had used grommets to assemble webbing. I decided to go this route, and purchased the following parts on Amazon, which ran me about $60.
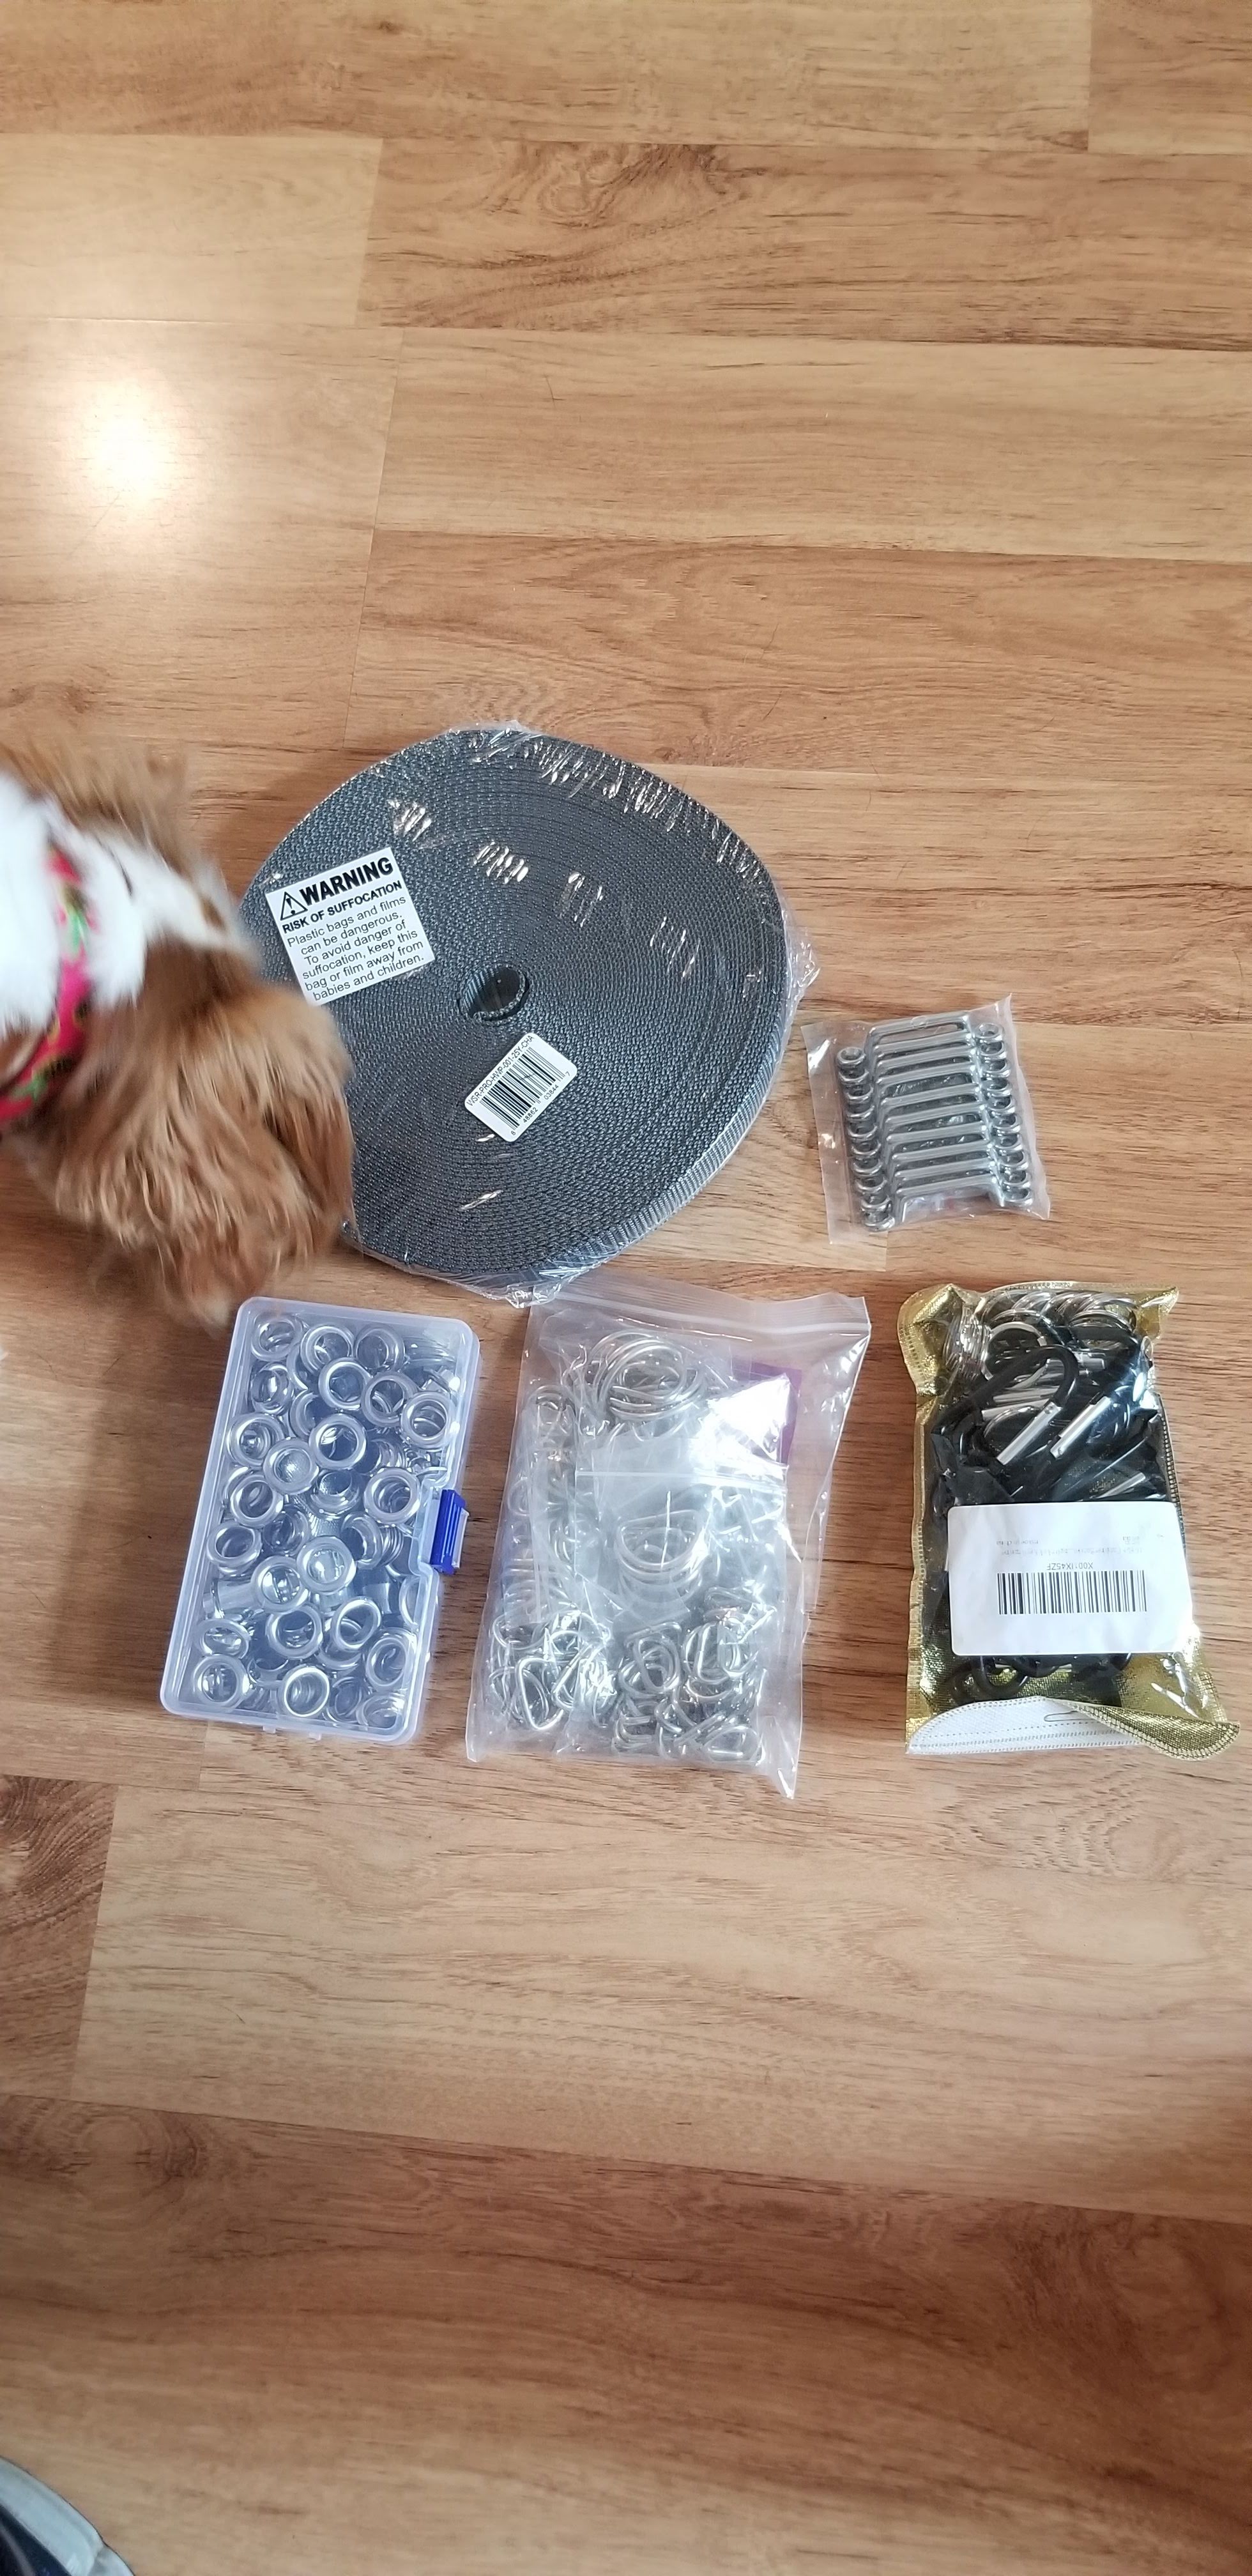
Parts Bought
Tools Needed
- Hammer
- Scissors
- Lighter
- Drill with a bit that can drill through metal
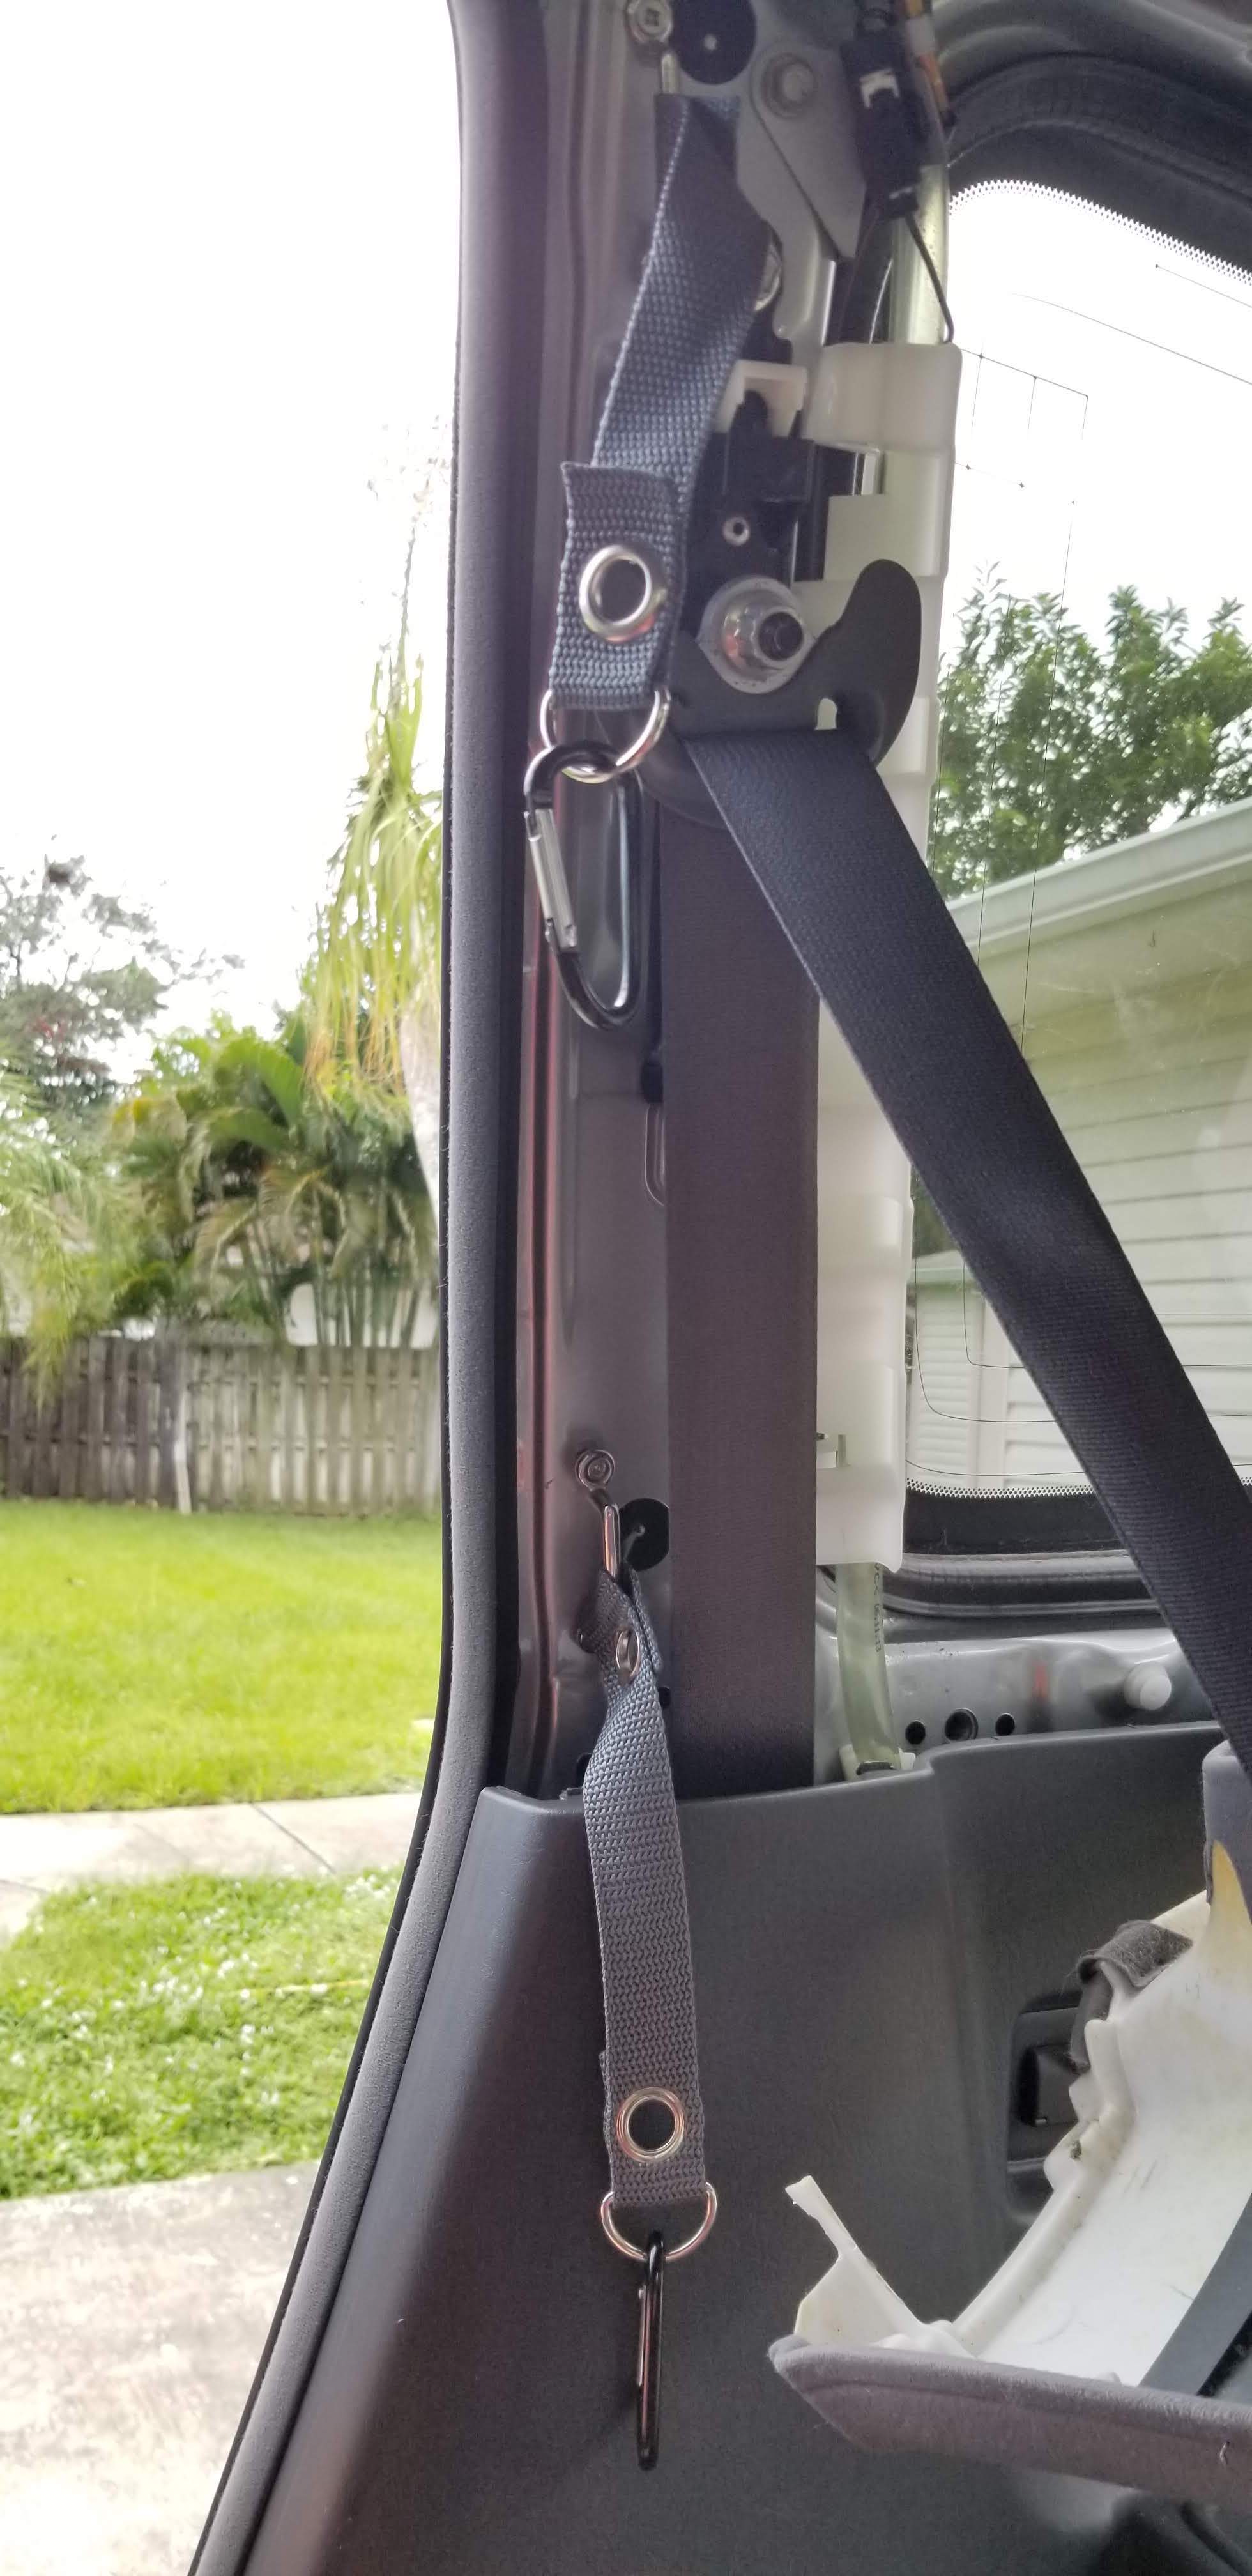
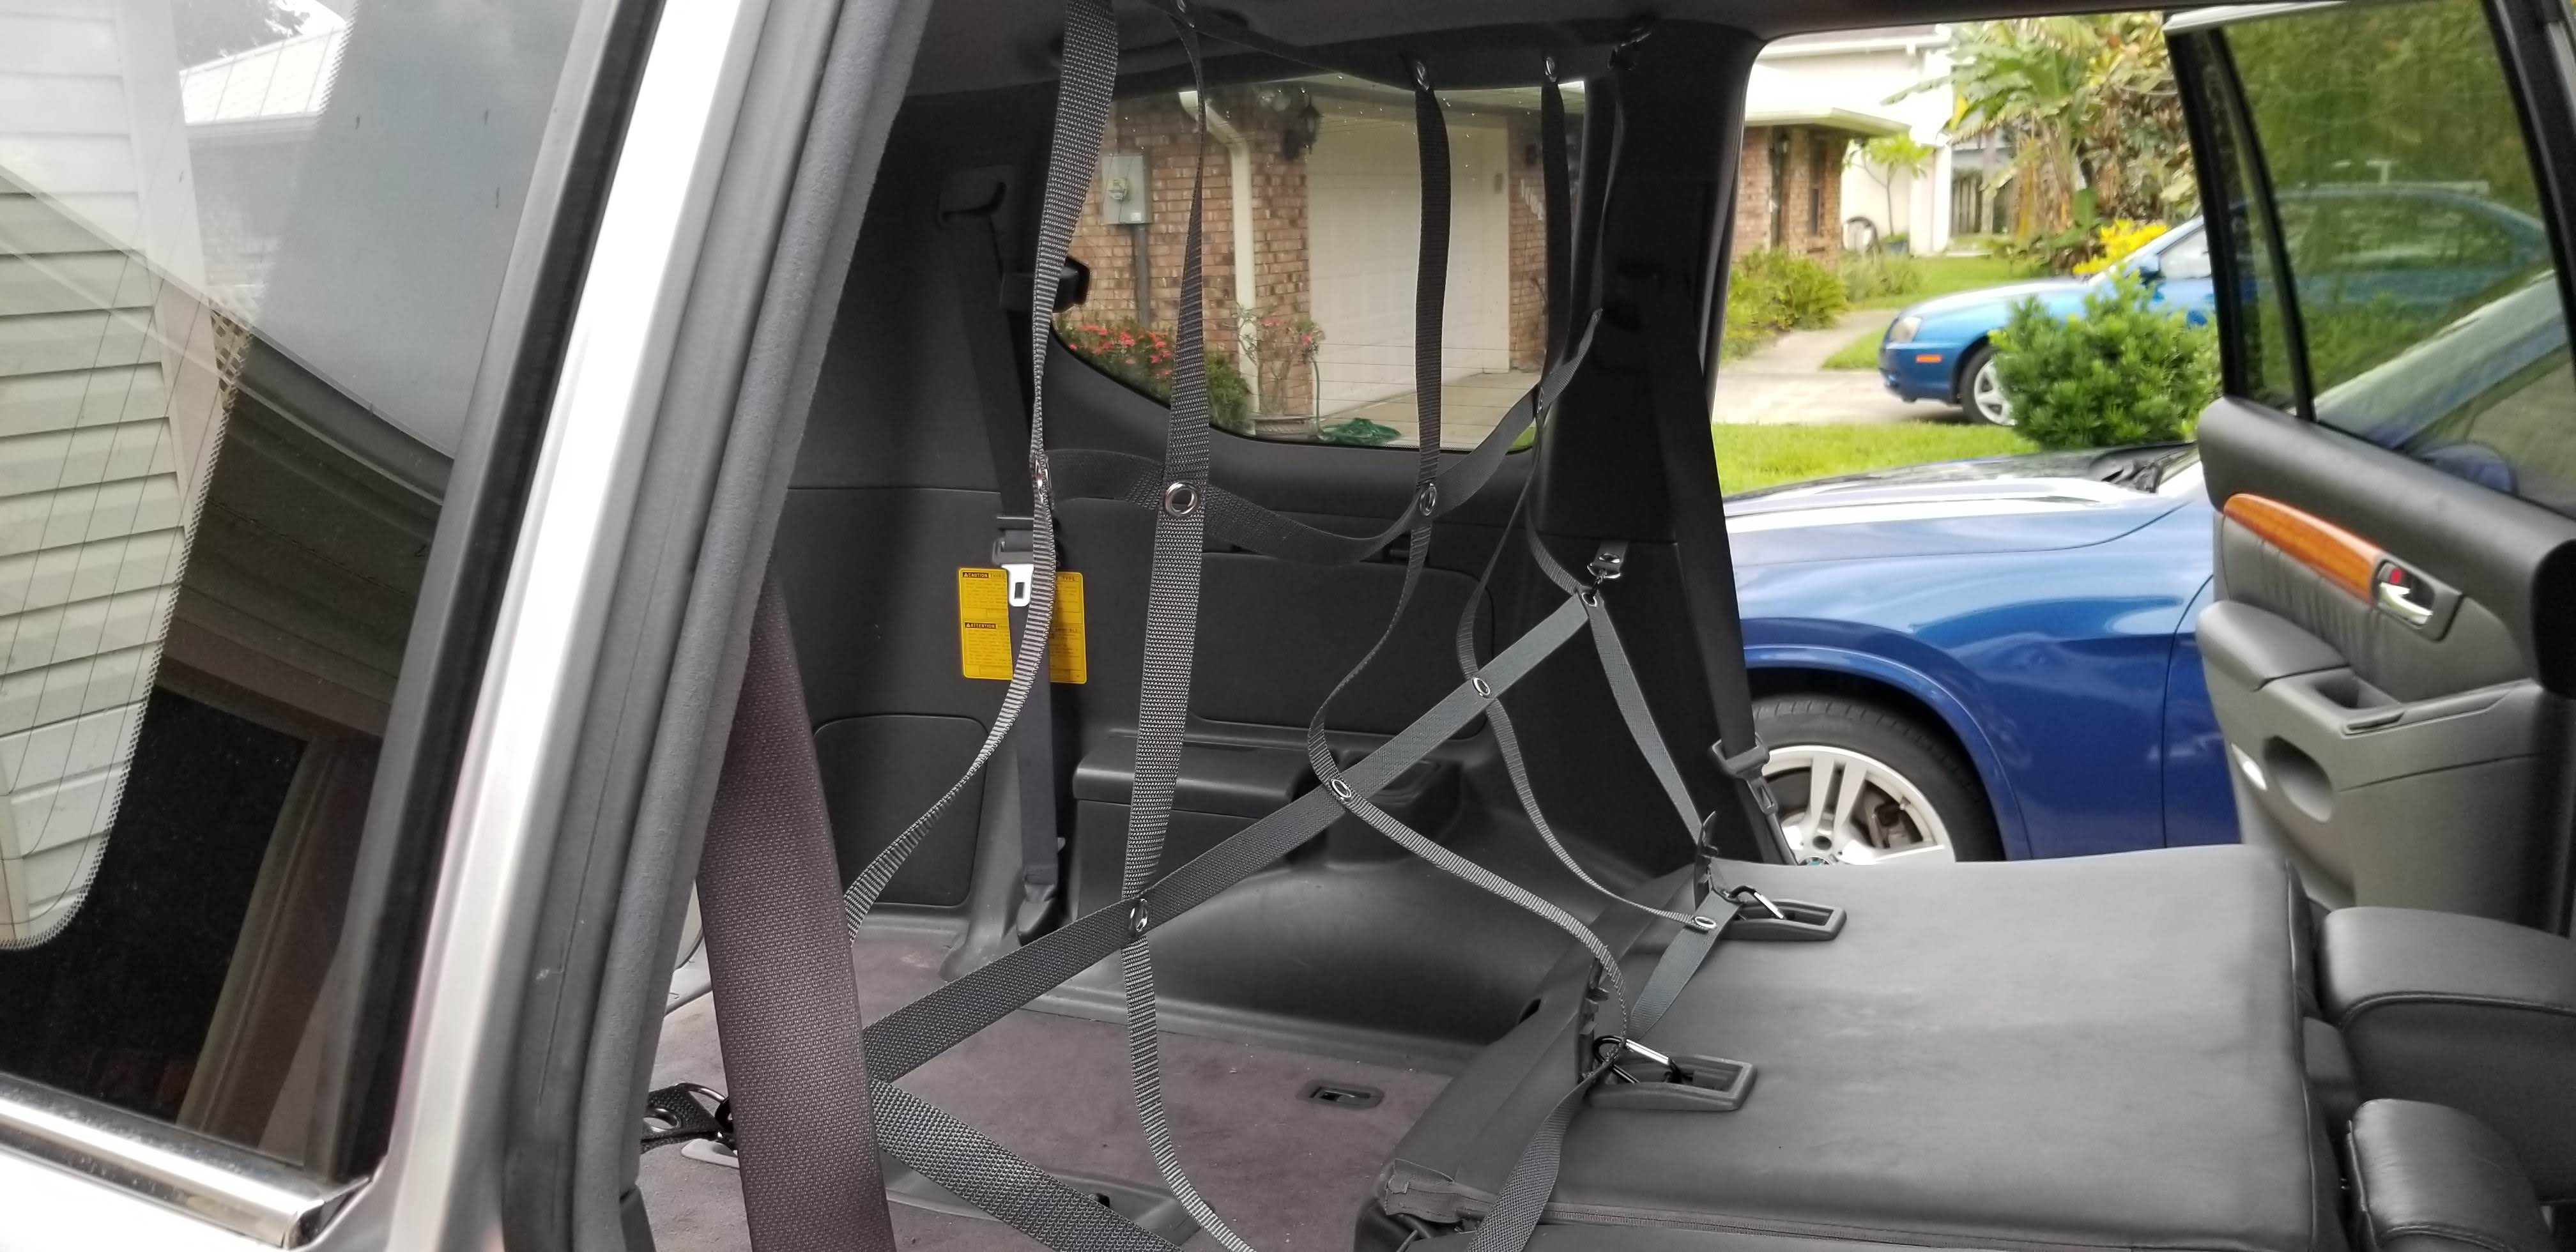
For mounting the divider, it needs to have something to attach to on the inside of the car. I noticed the Raingler product added some mount points into the body, inside of the panels, so I did that. I pulled back the panels on both sides of the car, right behind the second row seats, and found 2 spots I could drill in to on each side. This gives 2 mount points per side, plus a 3rd mount point per side on the bottom of the middle seats.


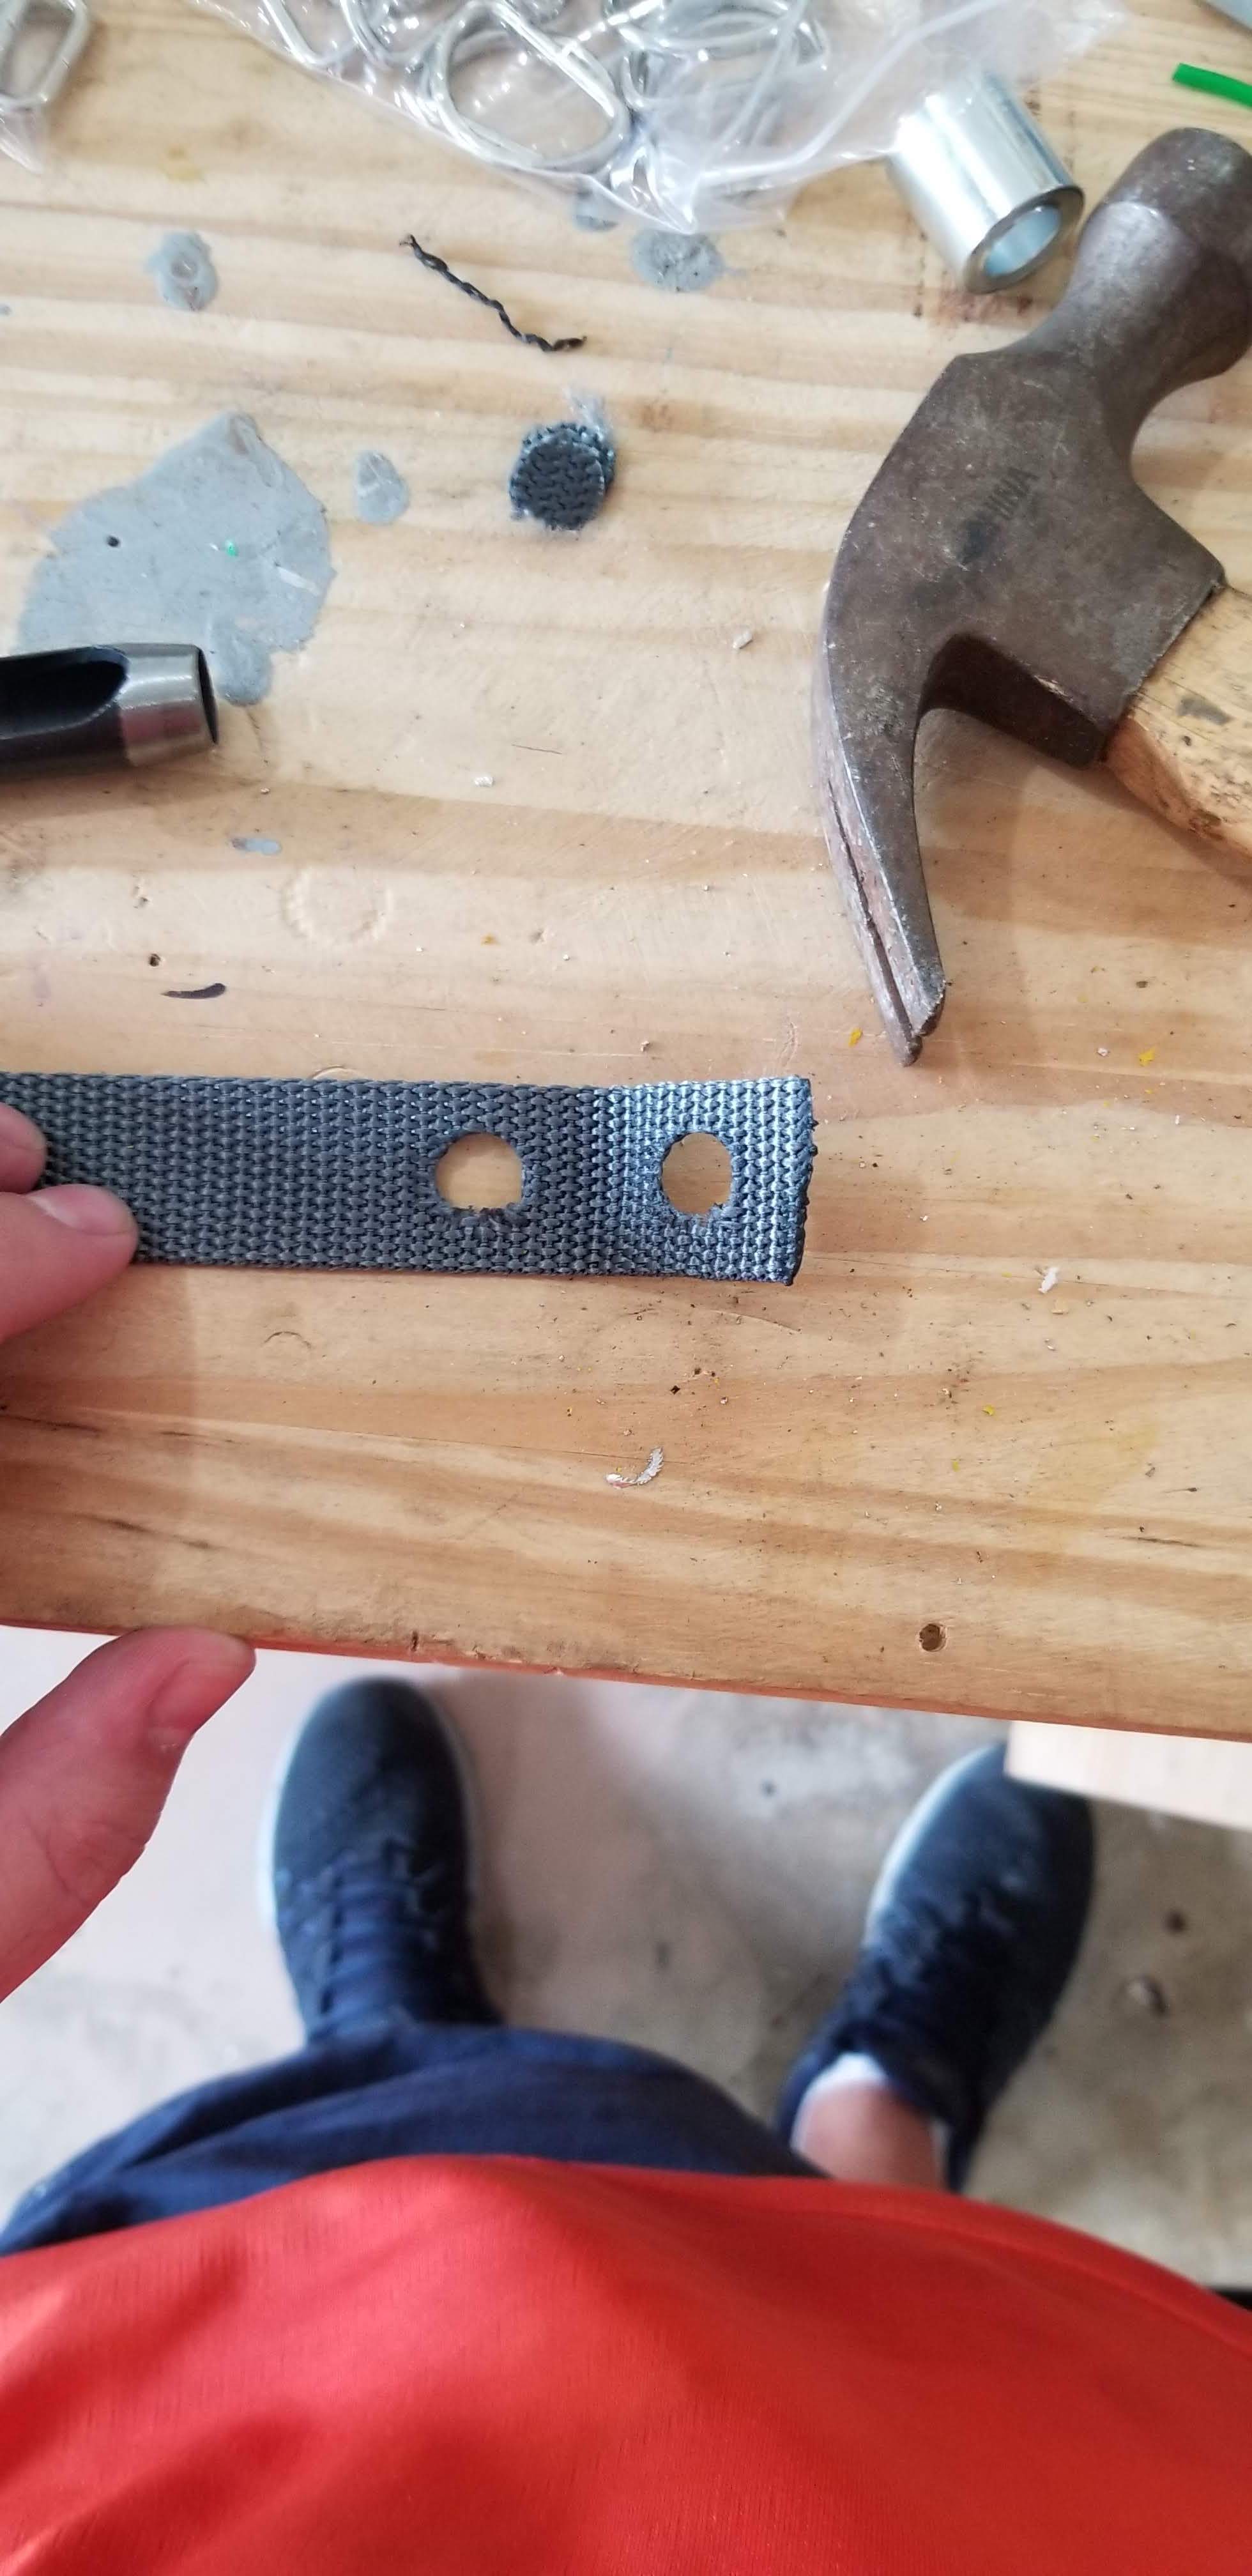
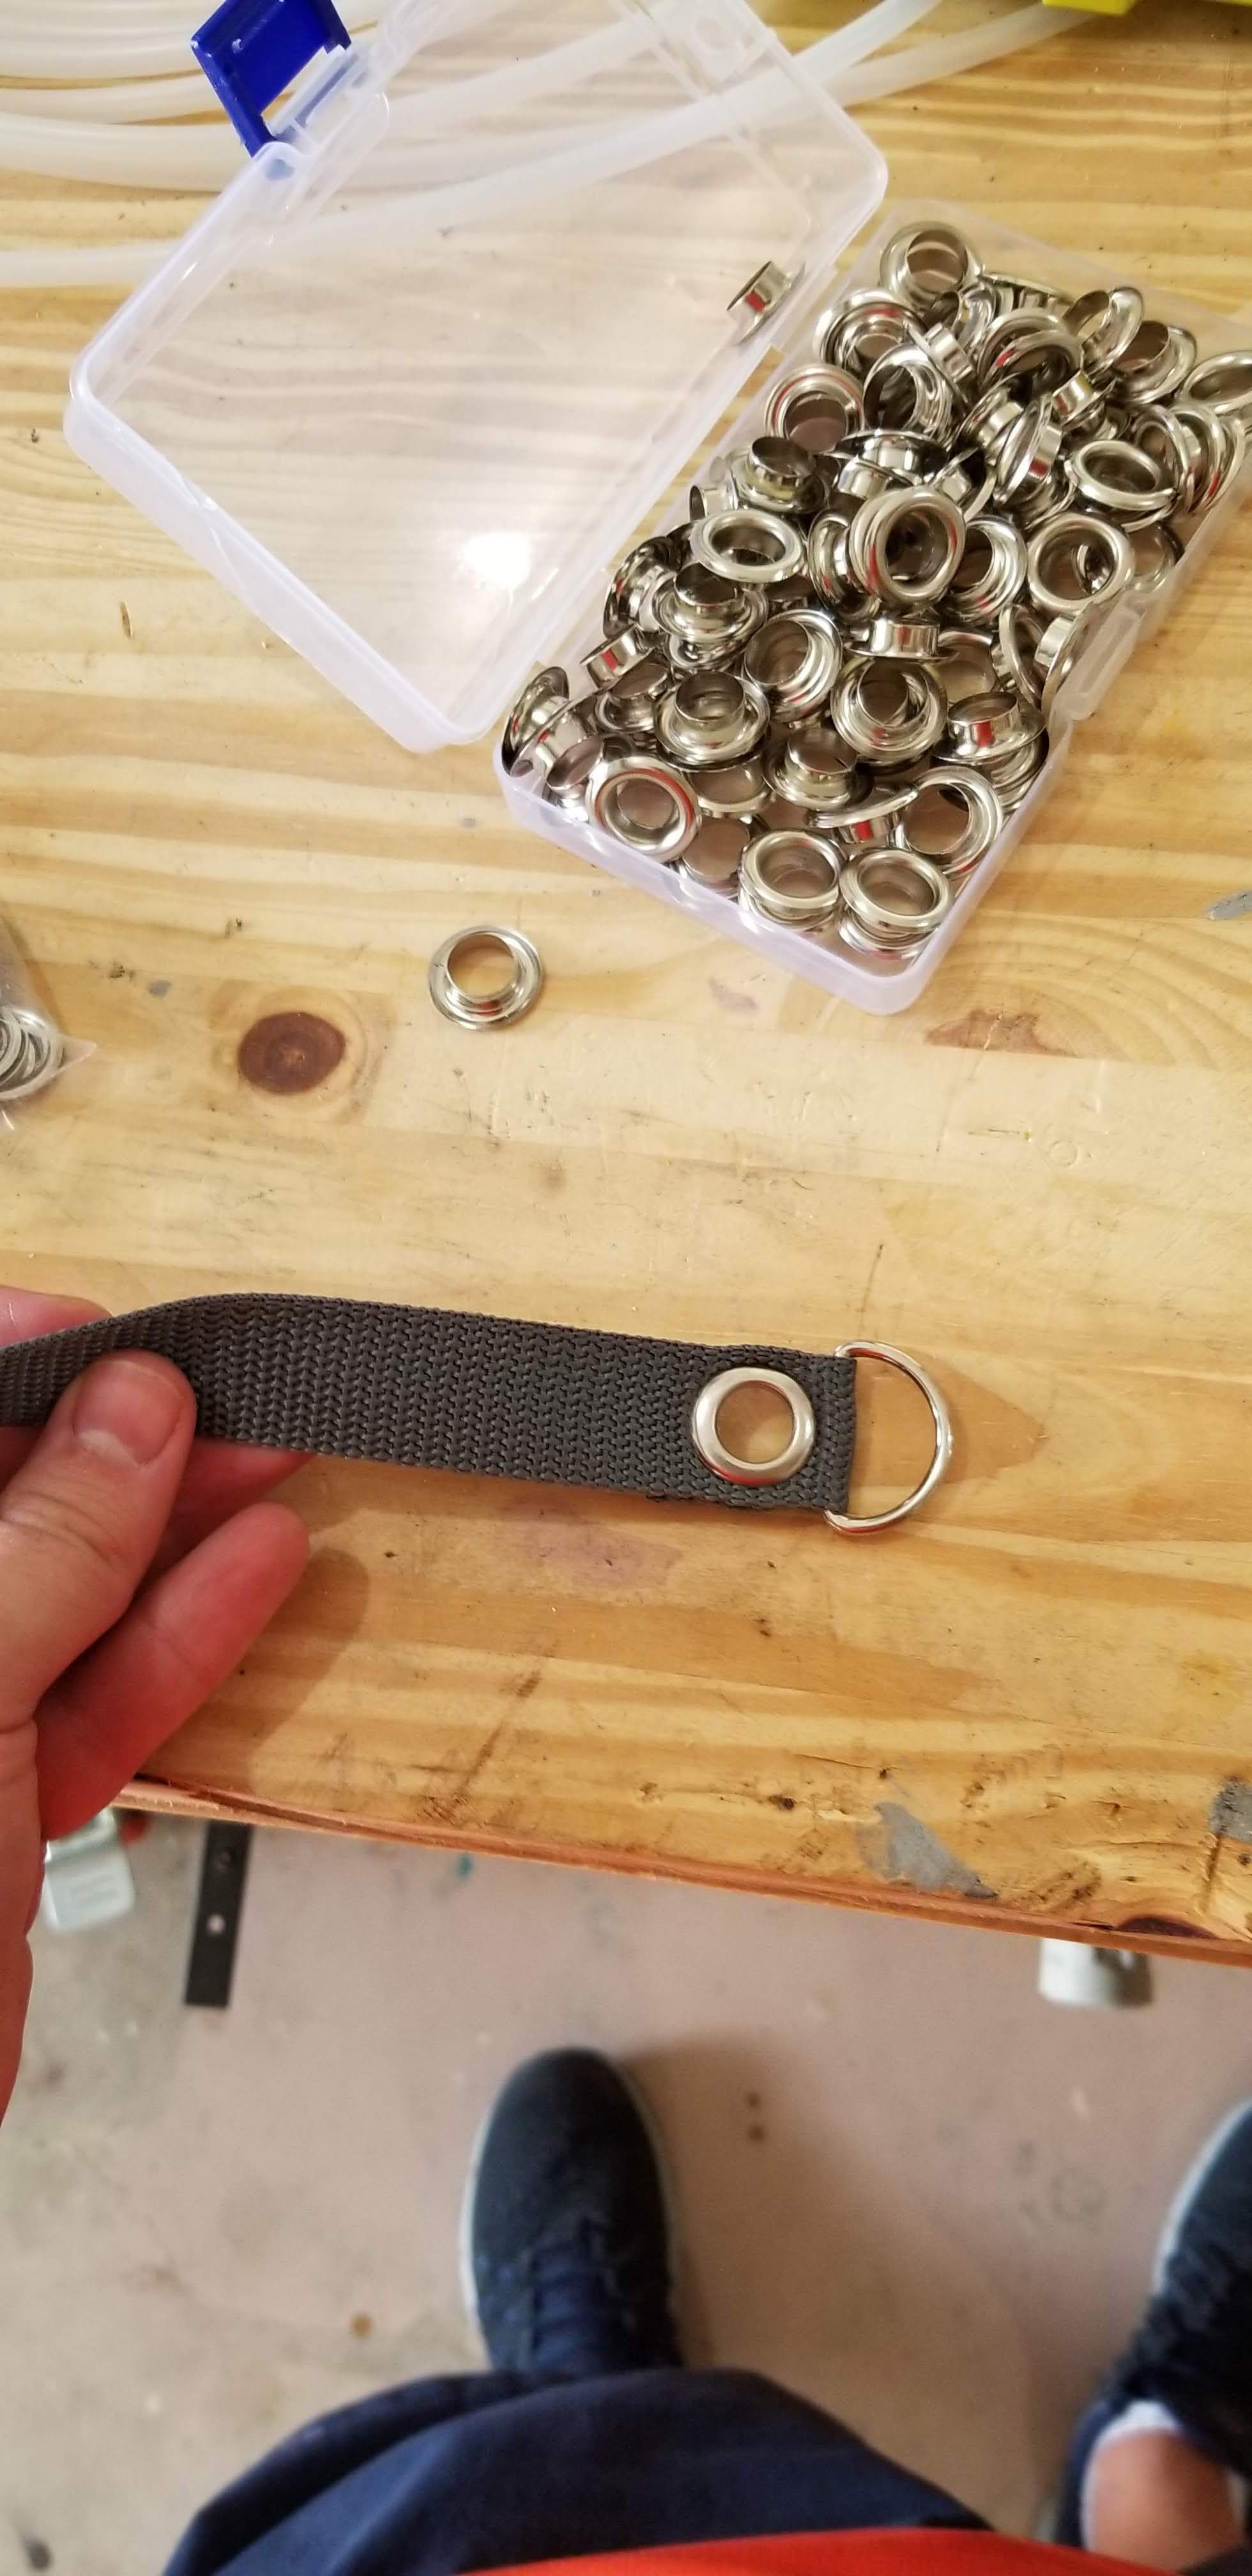
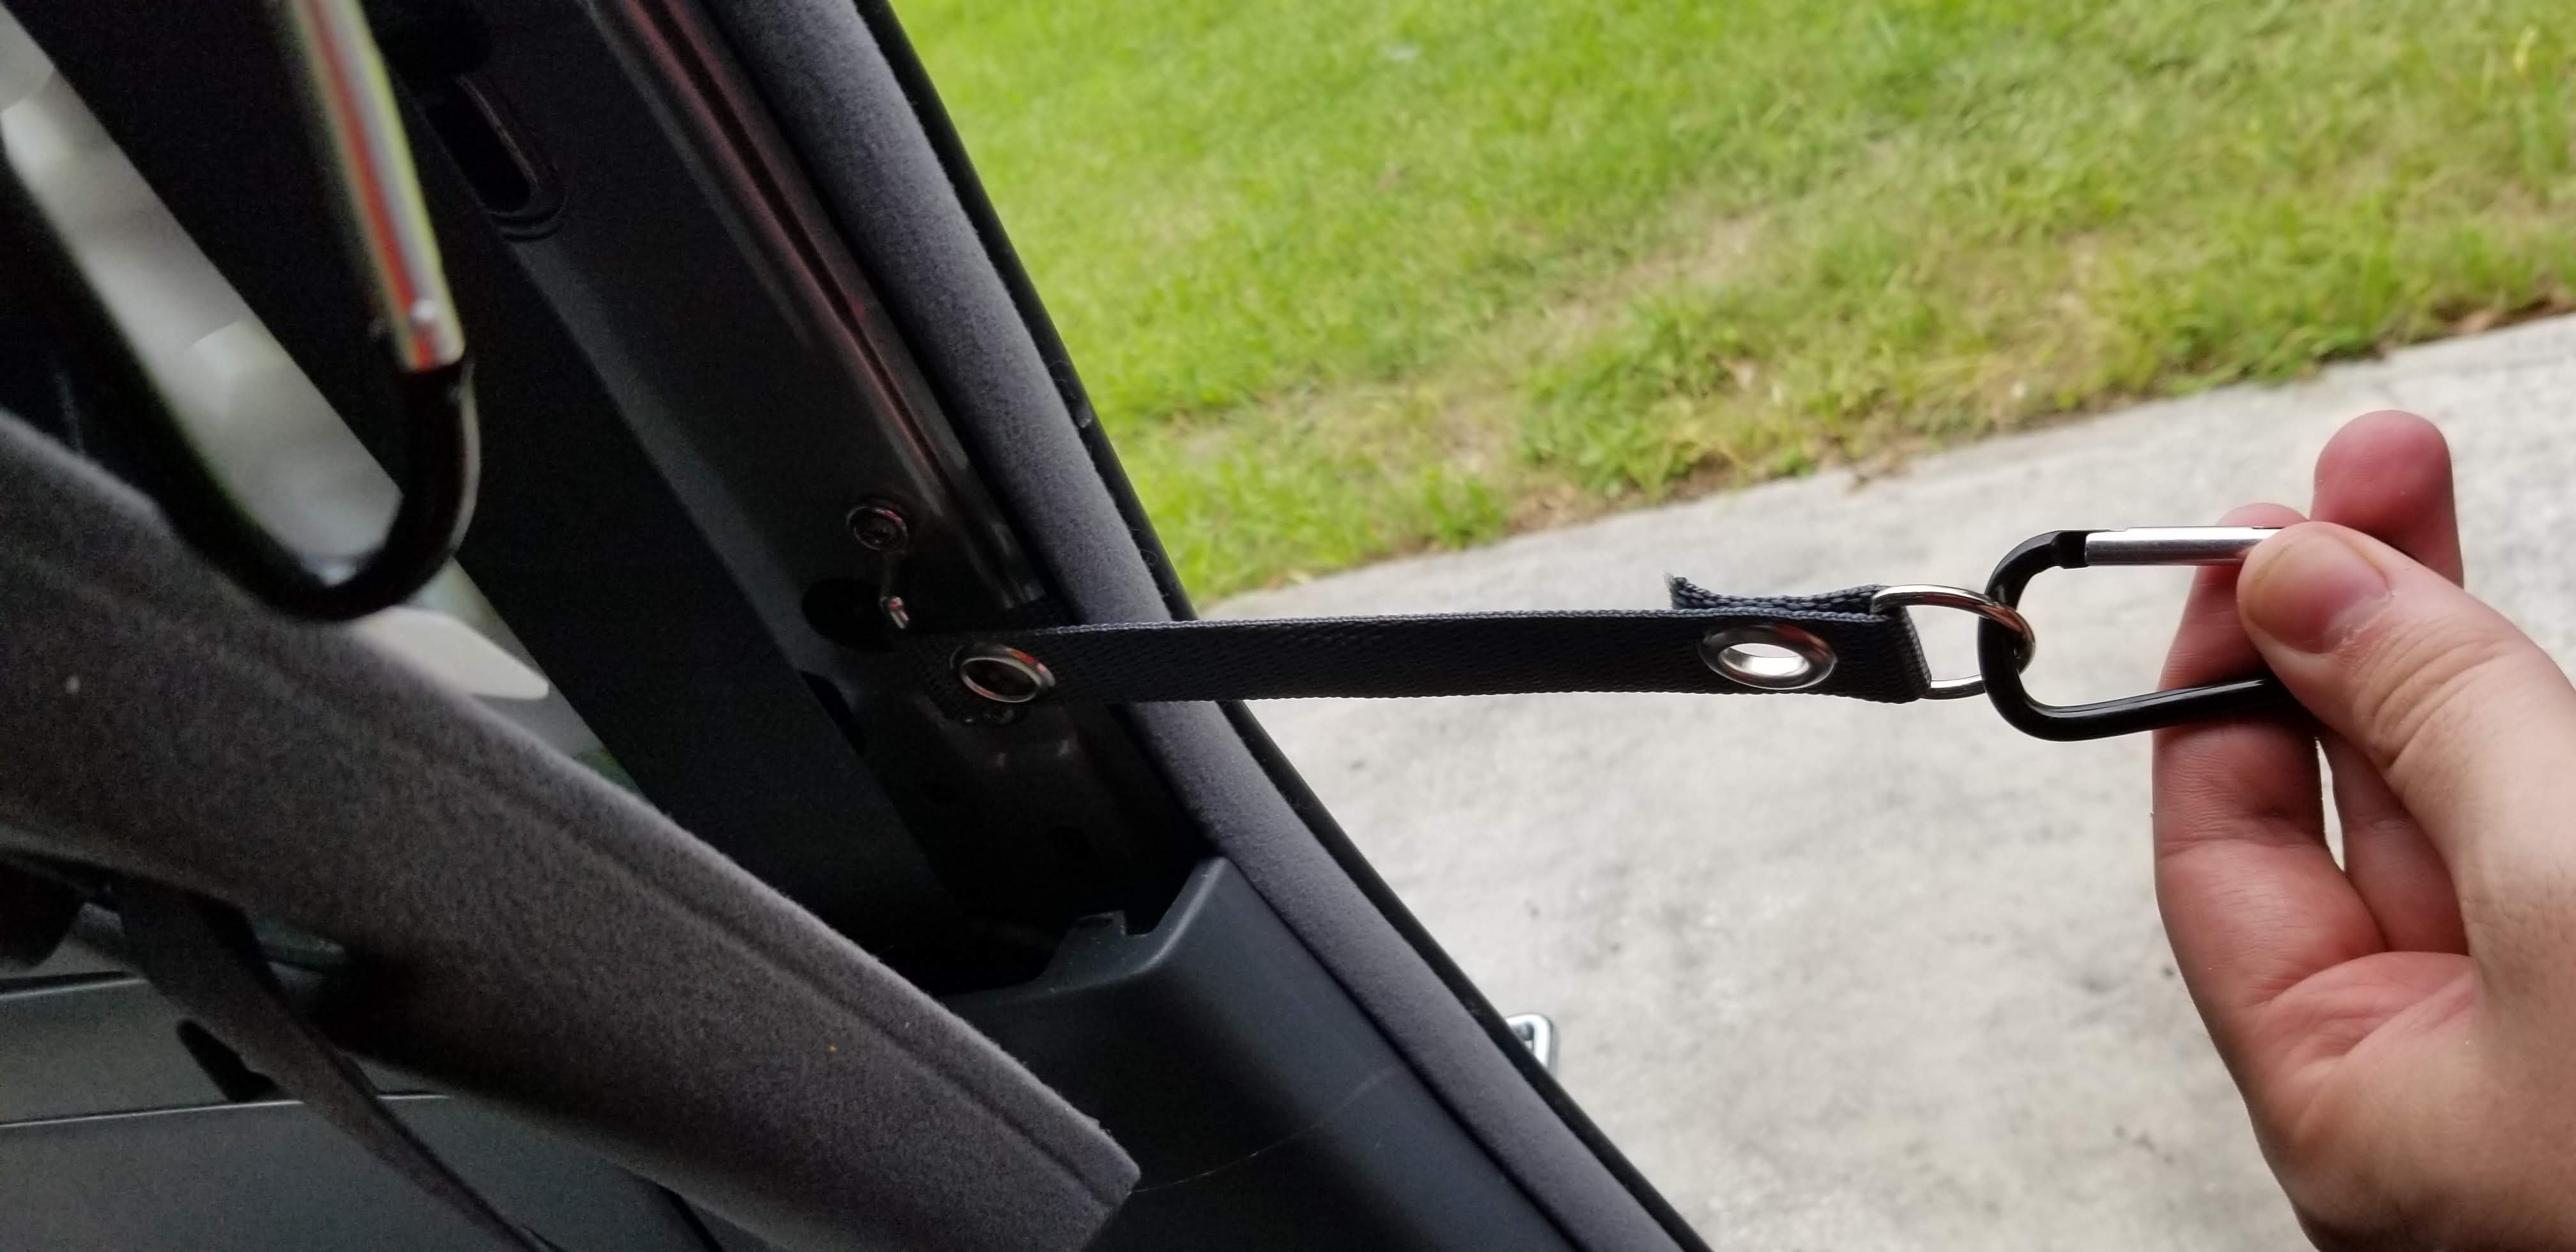
I put 1 Frontmans Loop at each spot, with about a 10” strip of webbing, with a D ring on the other end. For making these connection pieces, I made them before putting them in the car. I cut a strip of webbing, then used the grommet punch to make holes. Make sure you burn off the loose strings on the ends of the webbing and the holes. Then, I used the grommet die to put a grommet in, with a Frontmans Loop on one side a D ring on the other. This was my first time using grommets, and the kit I bought was actually pretty easy to use.
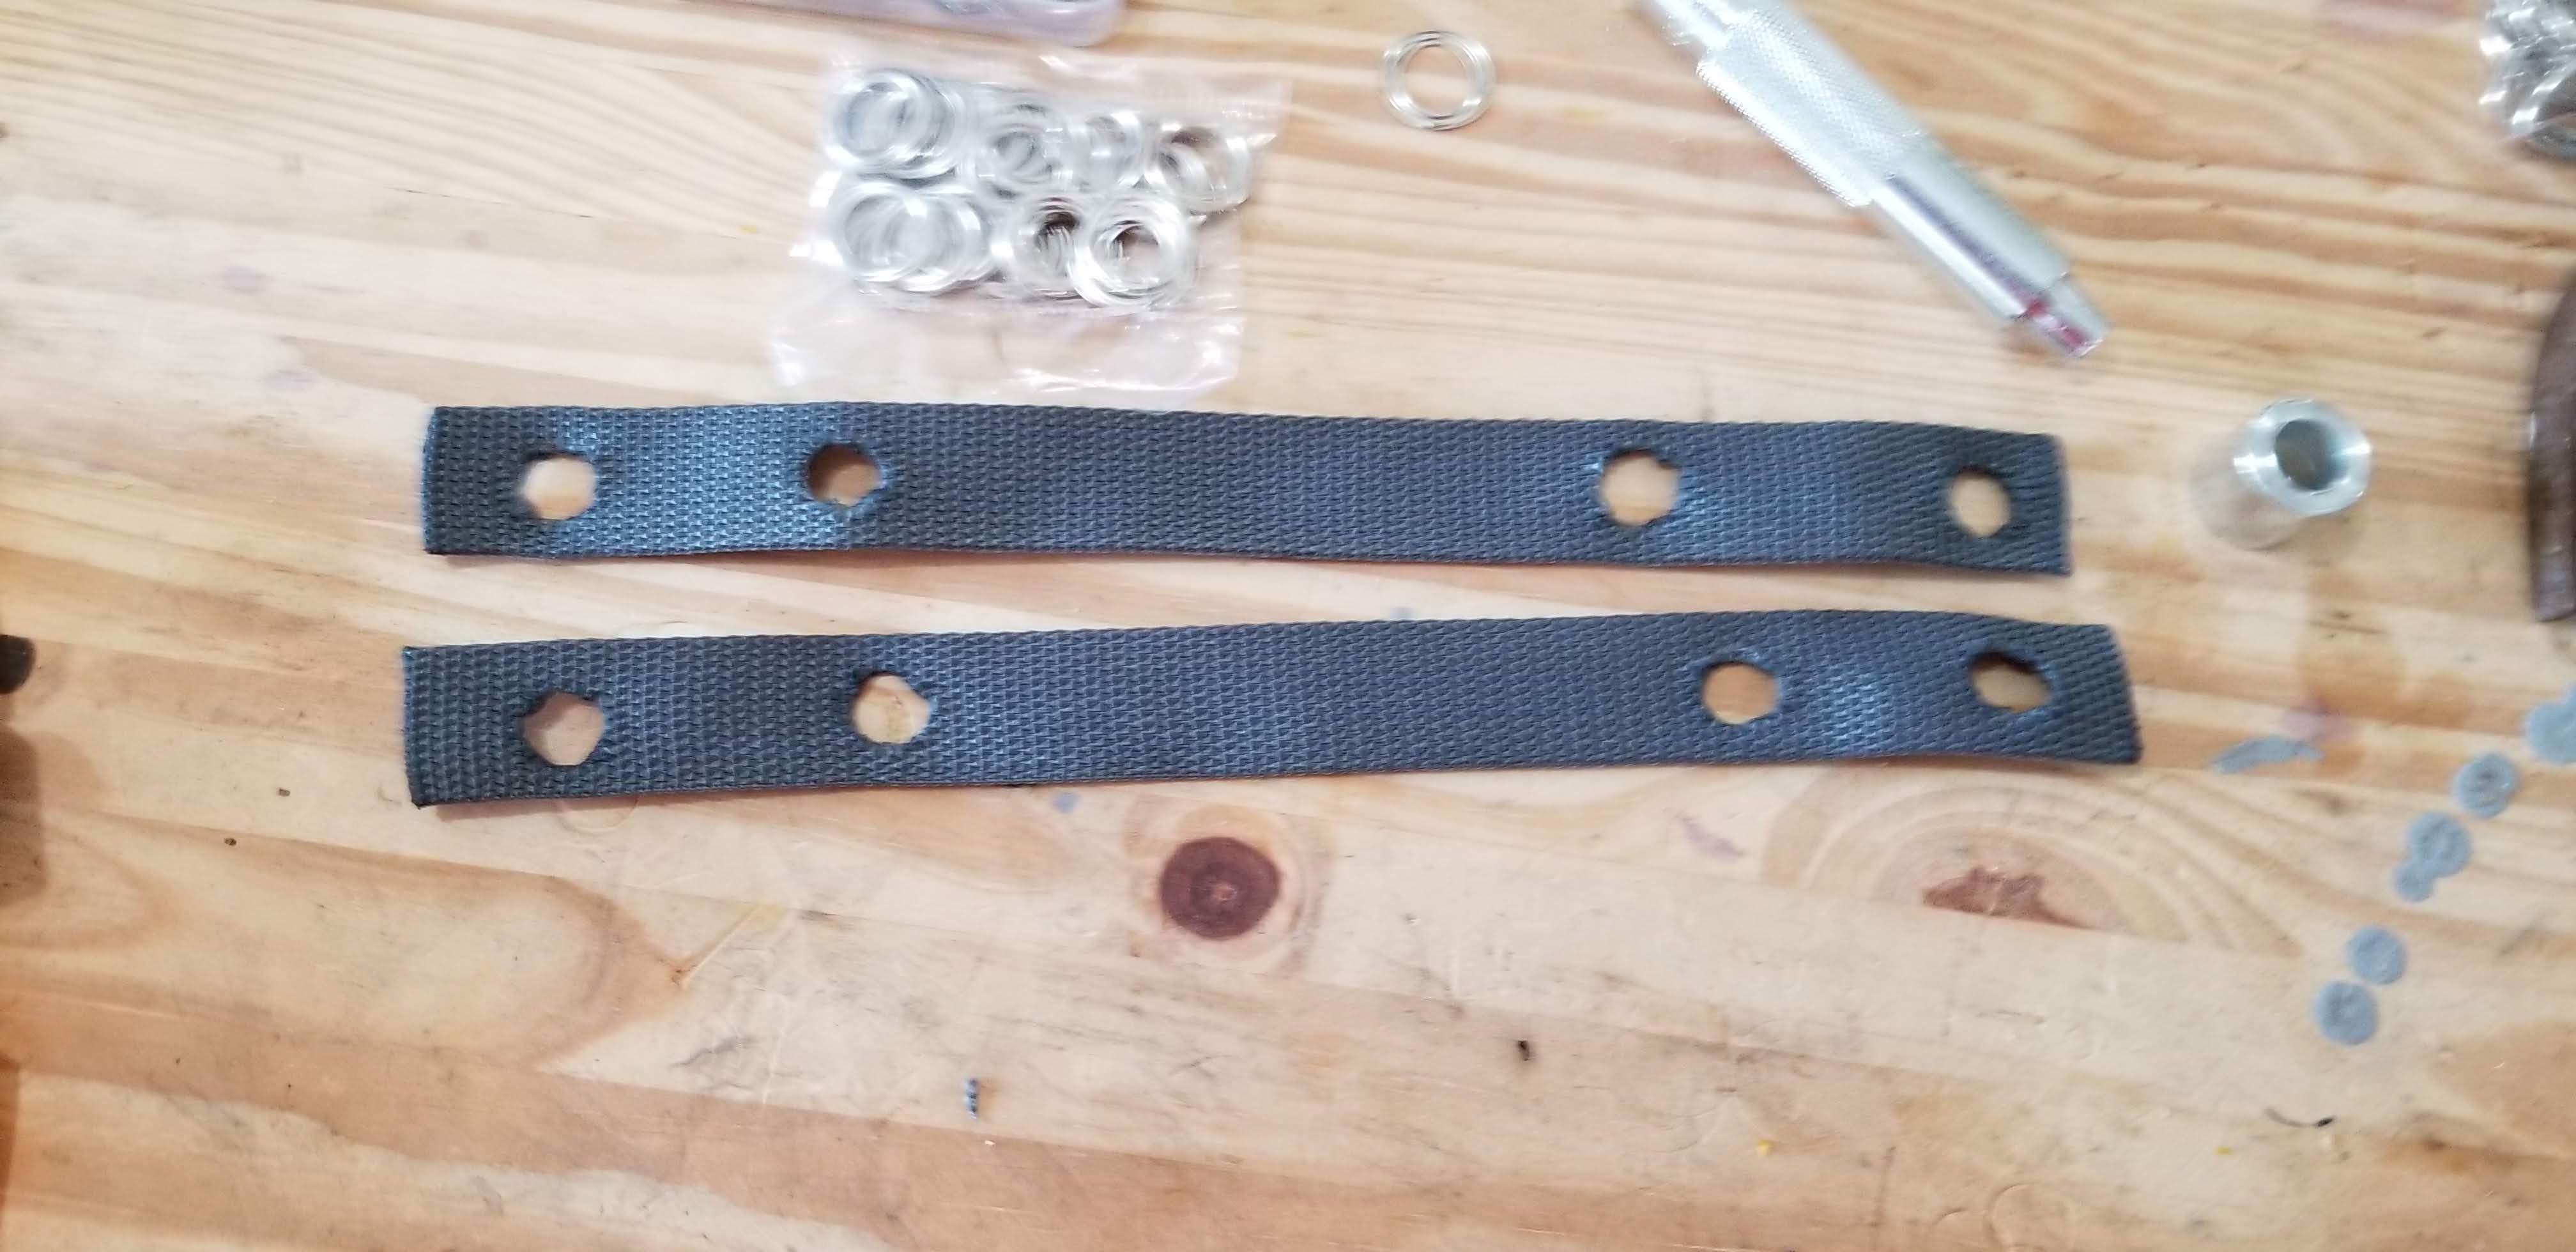

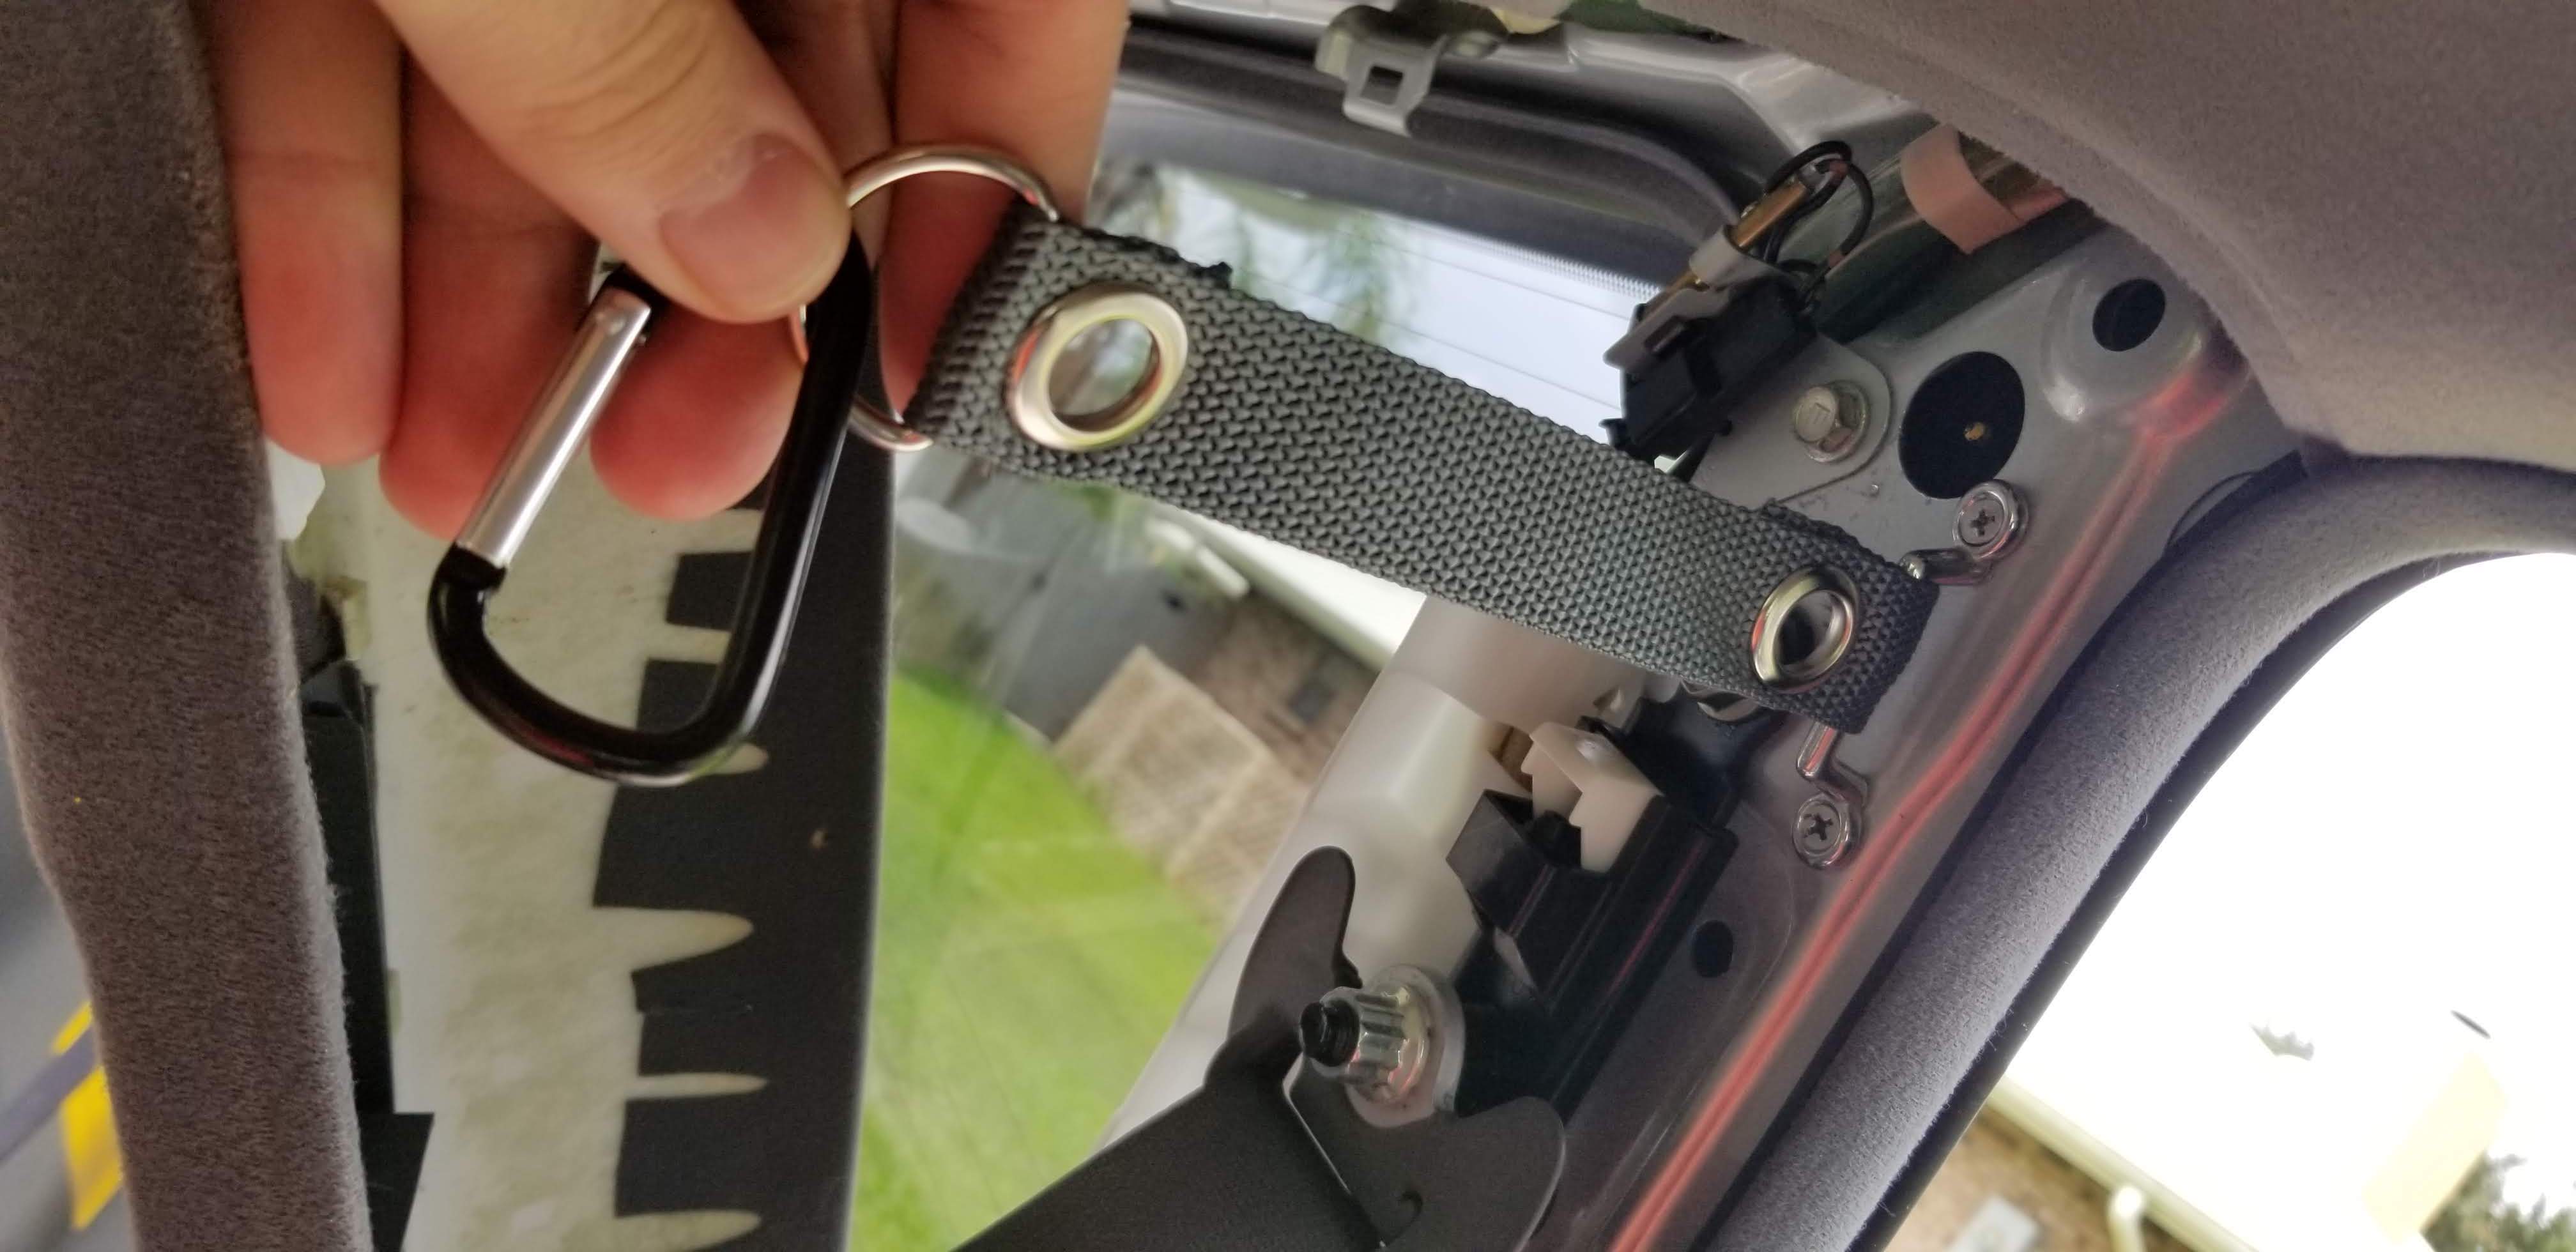
I did this for 2 spots on the drivers side and 2 spots on the passenger side, and fed the top connector piece above the panel, and the bottom connector piece between the 2 panels I had to pull off. The most difficult part of this whole project was drilling into the metal body panels.

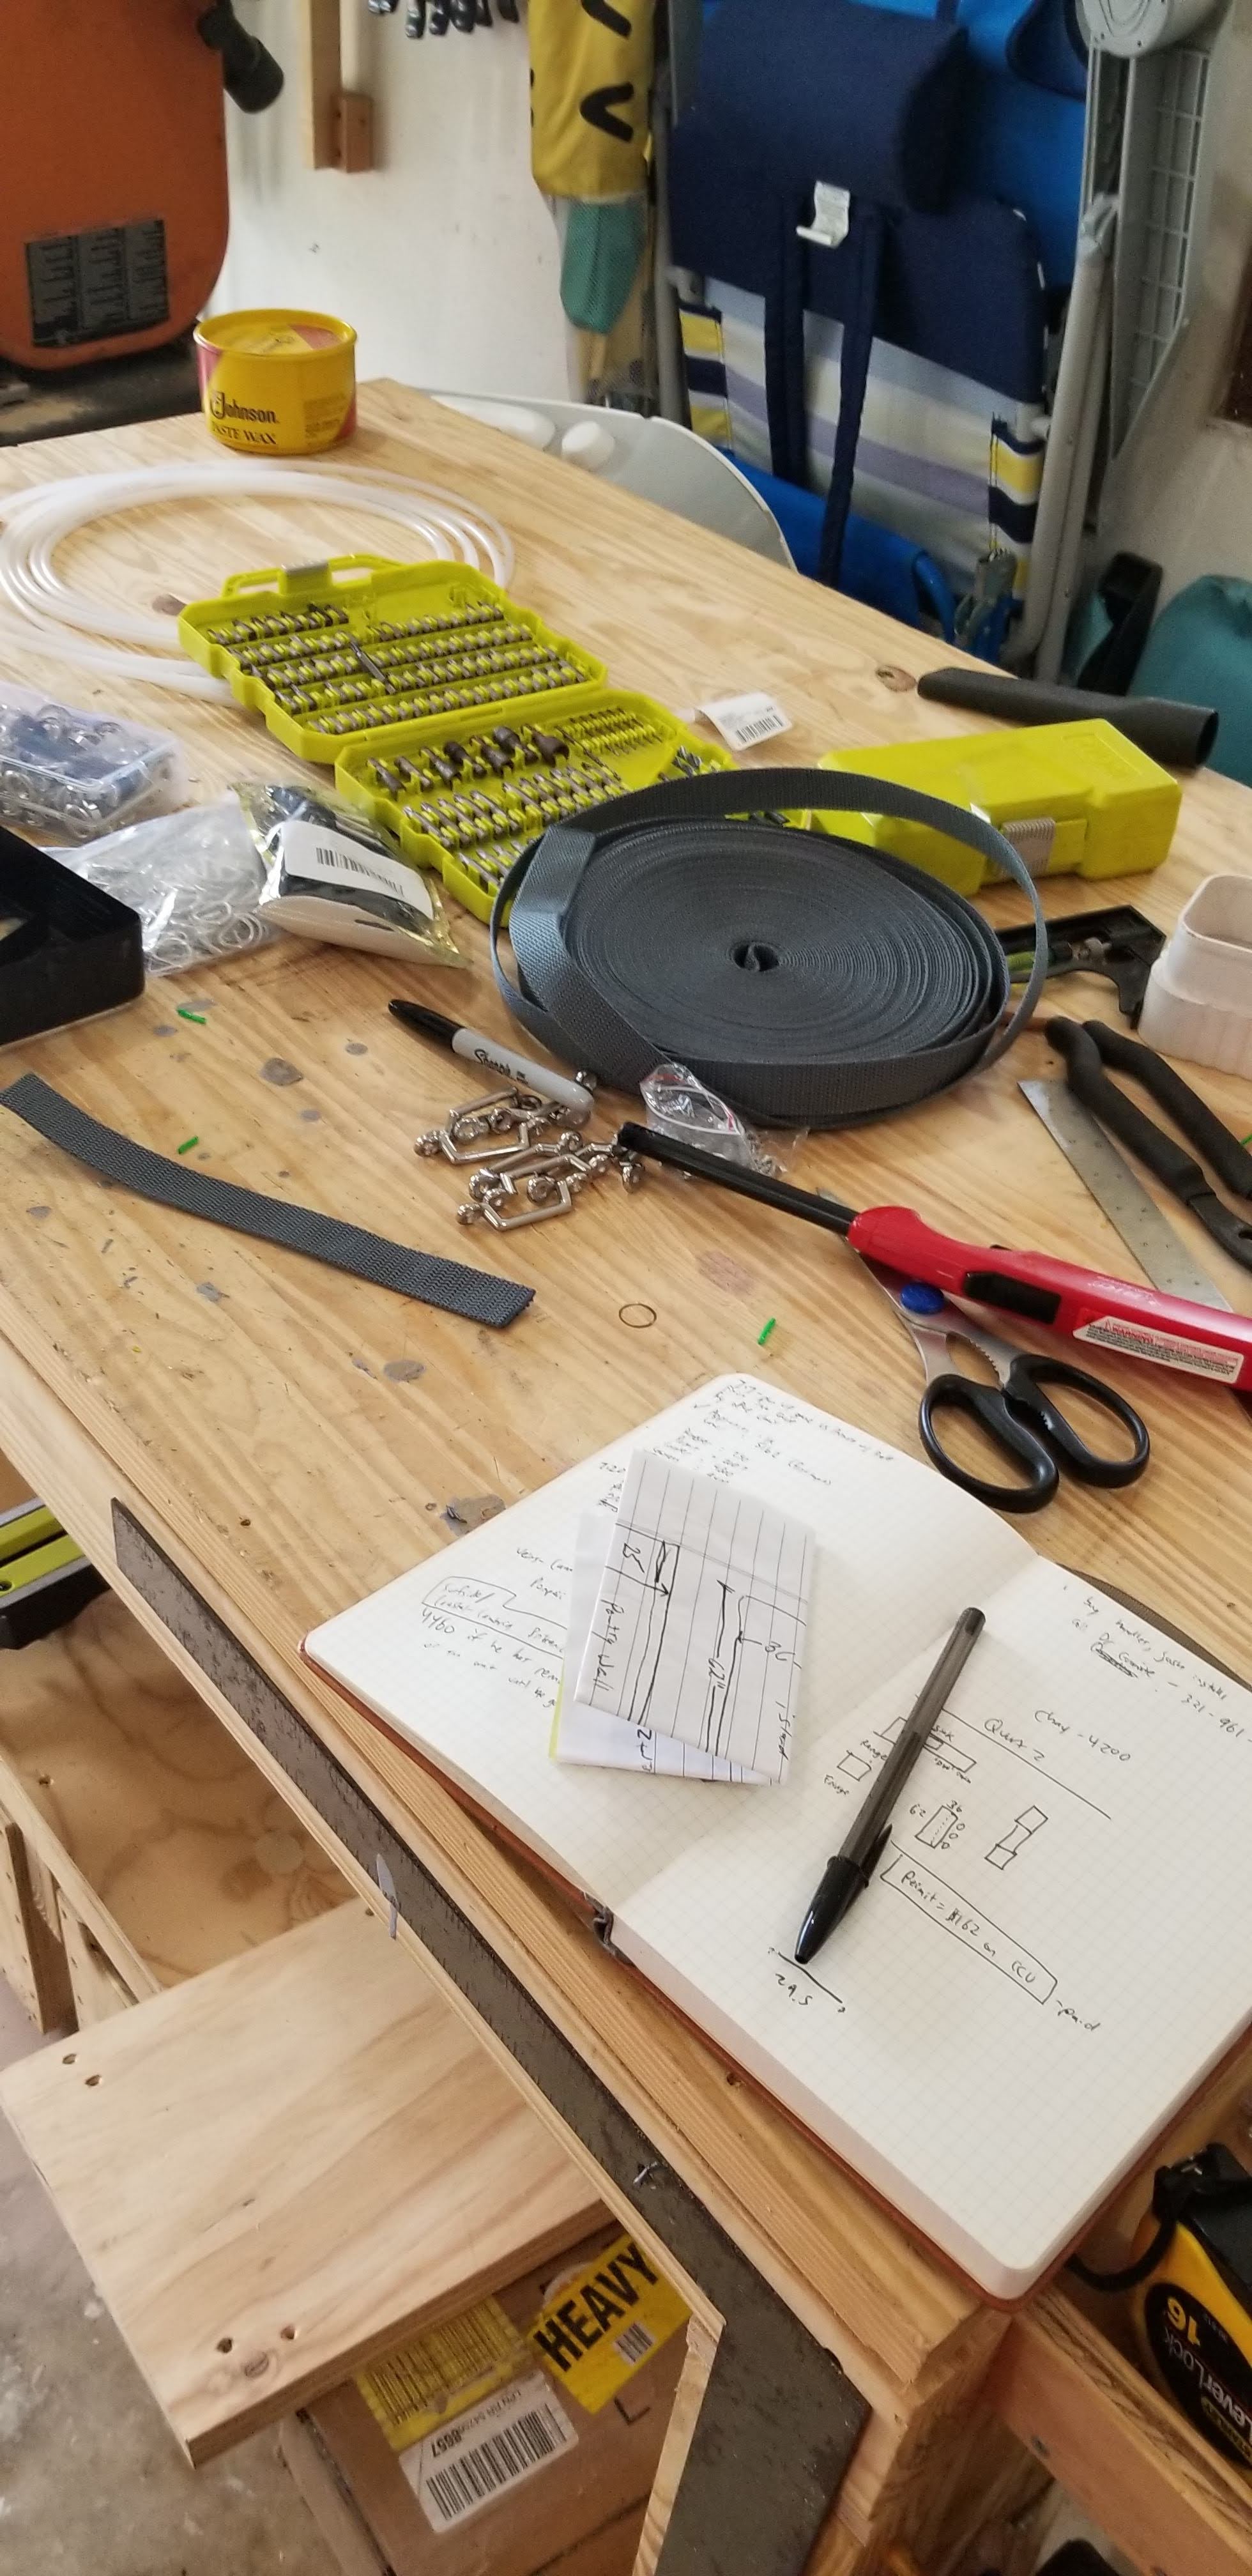
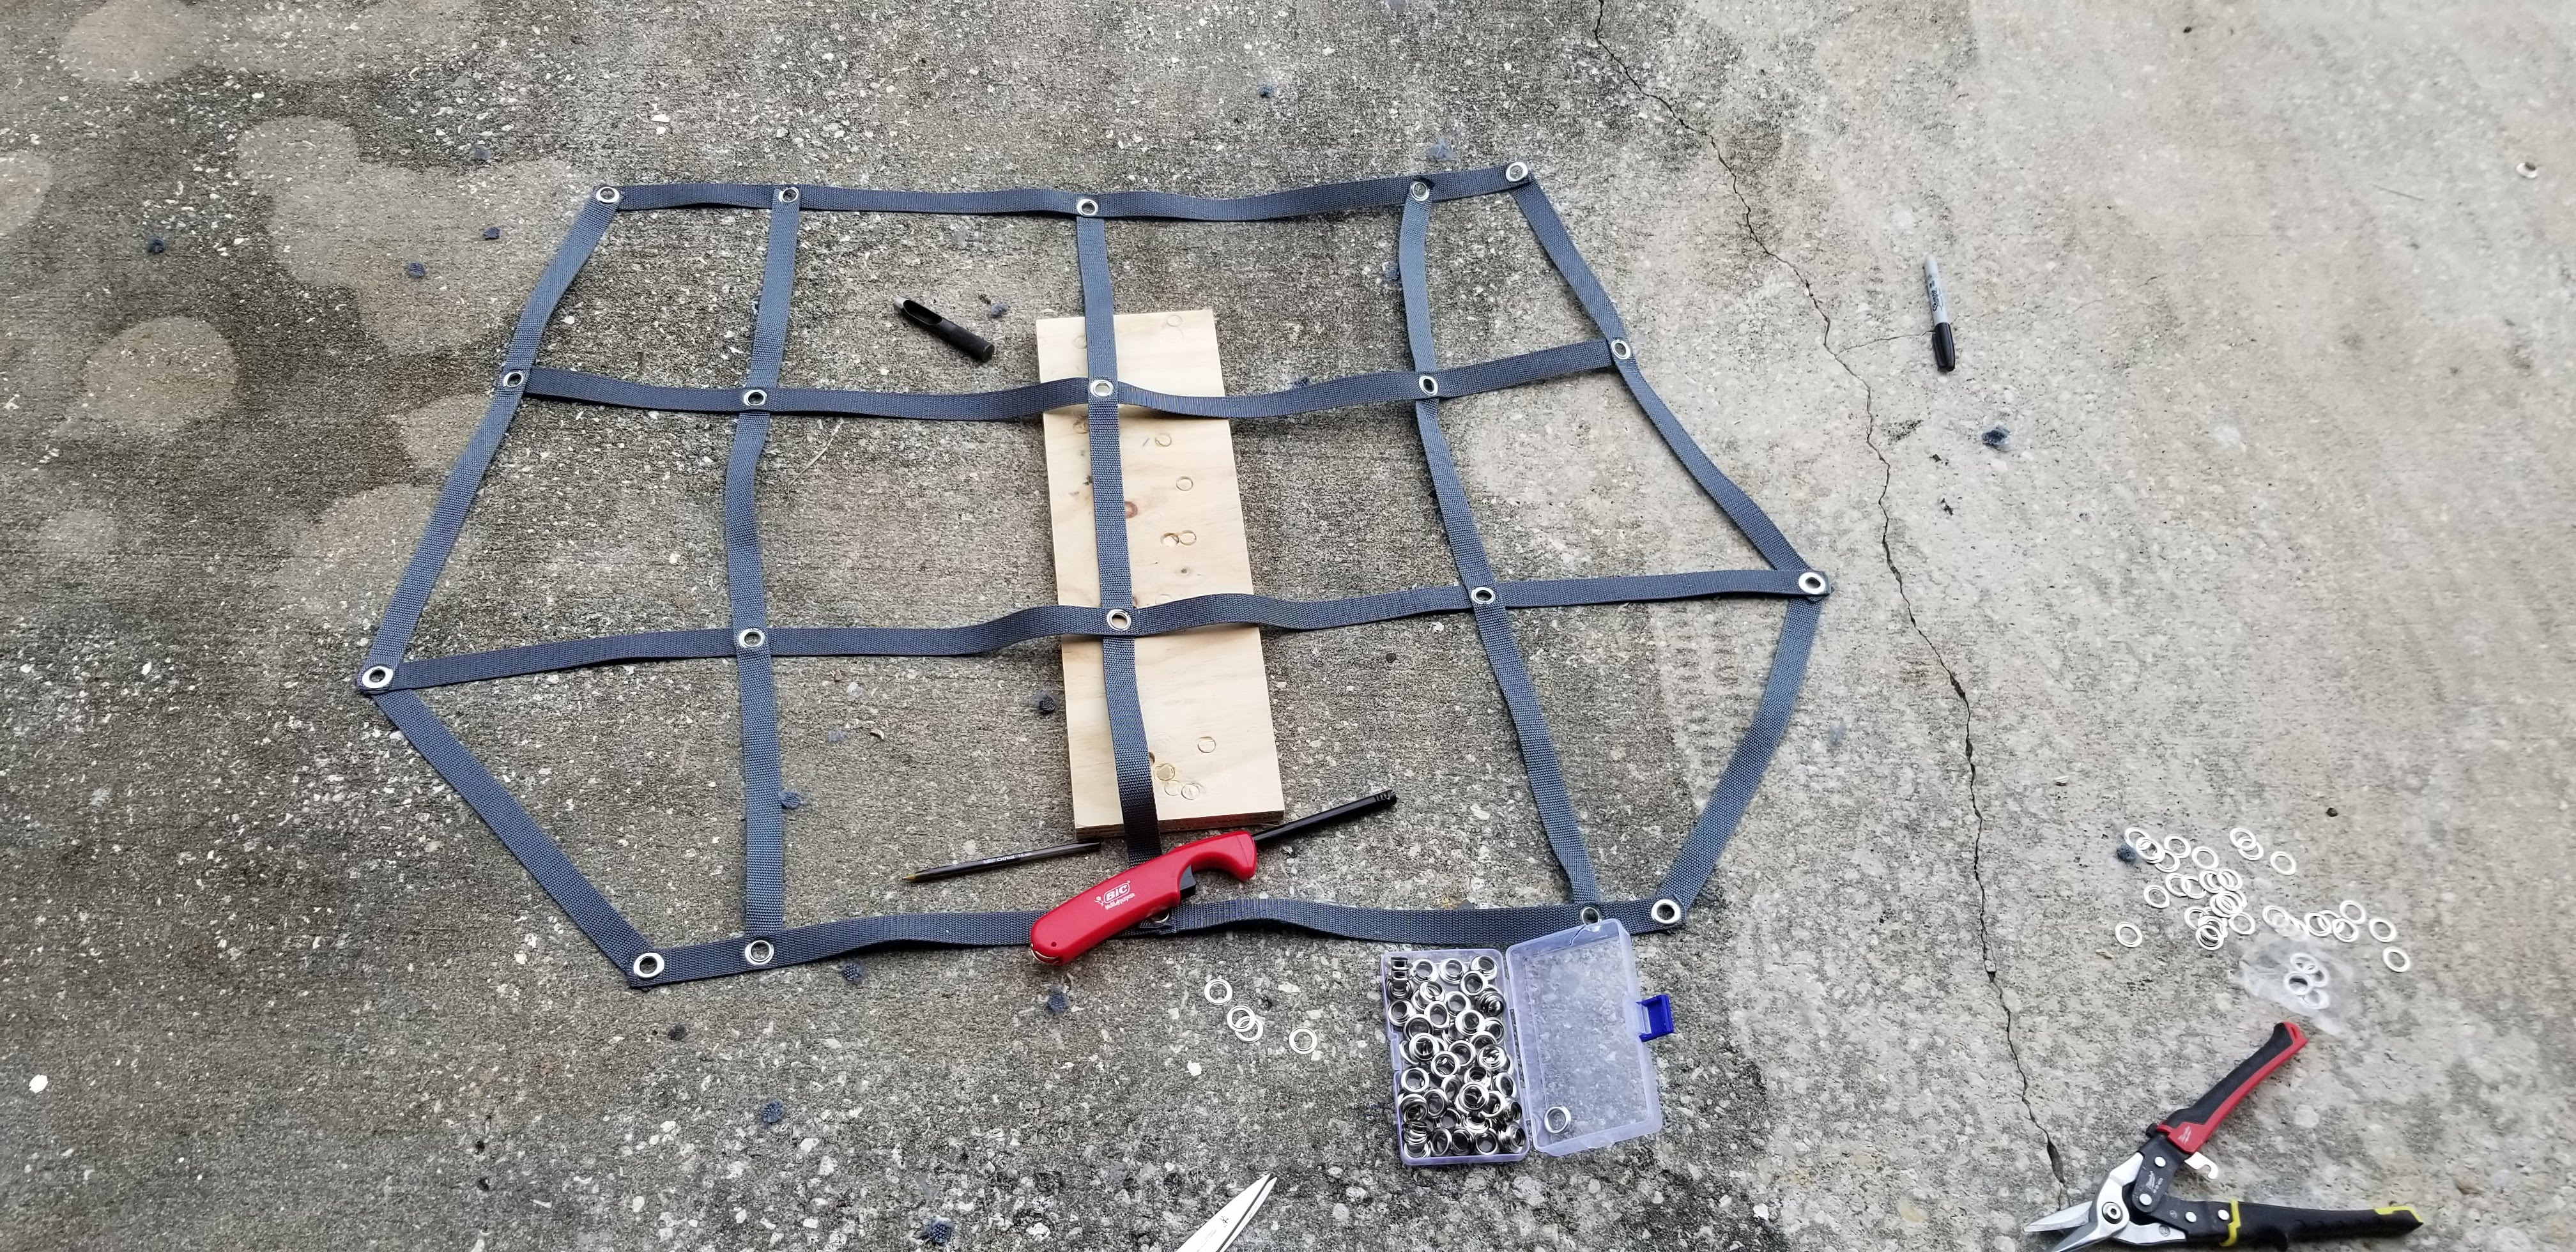
I decided I wanted the webbing to be able to flex with the middle seats being up or down. Turns out, the distance between the mount point on the seats being up or down and the mount point I added was only a 2” difference, so I used the longer measurement. Here’s my chicken scratch measurements, I cut and built my divider using the bottom diagram. 34” along the top mounting points I added, 46” in the middle mount points I added, and 30” for the 2 mount points built in on the middle seats. The vertical strip from the top to middle was 21”, and from middle to bottom was 14”.

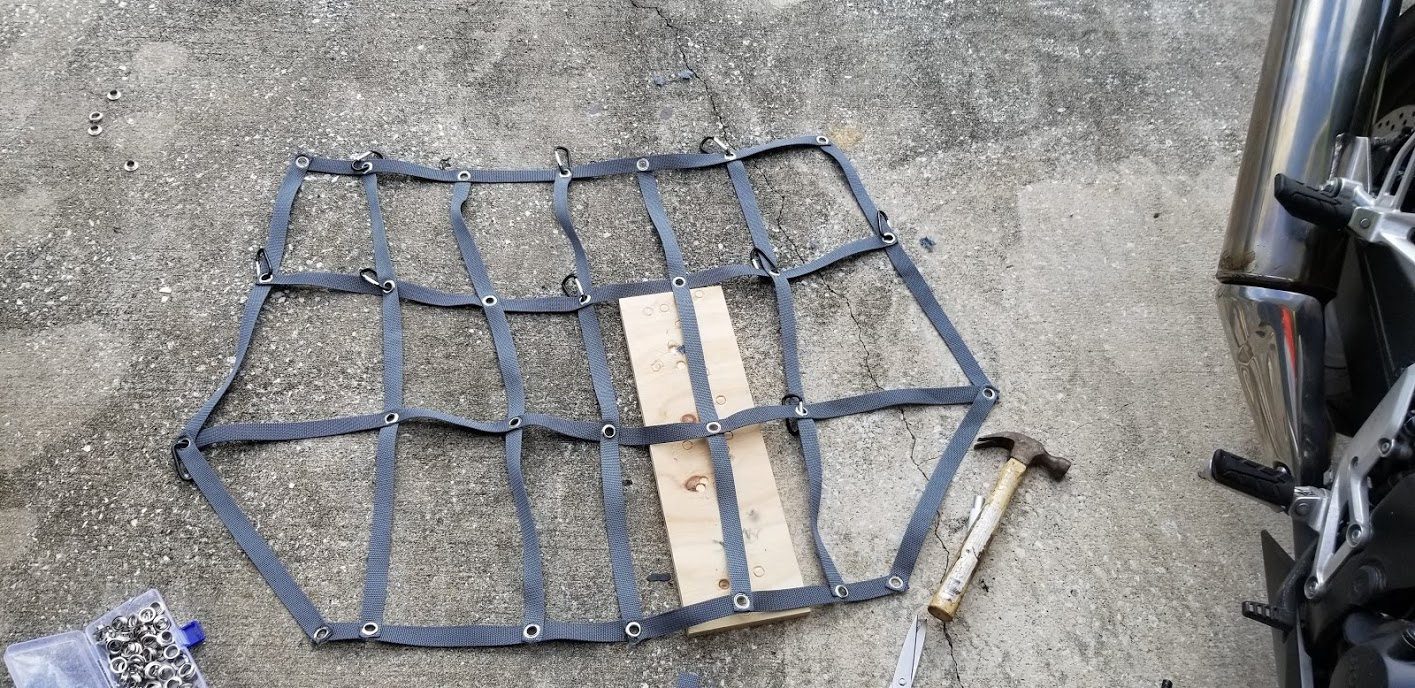
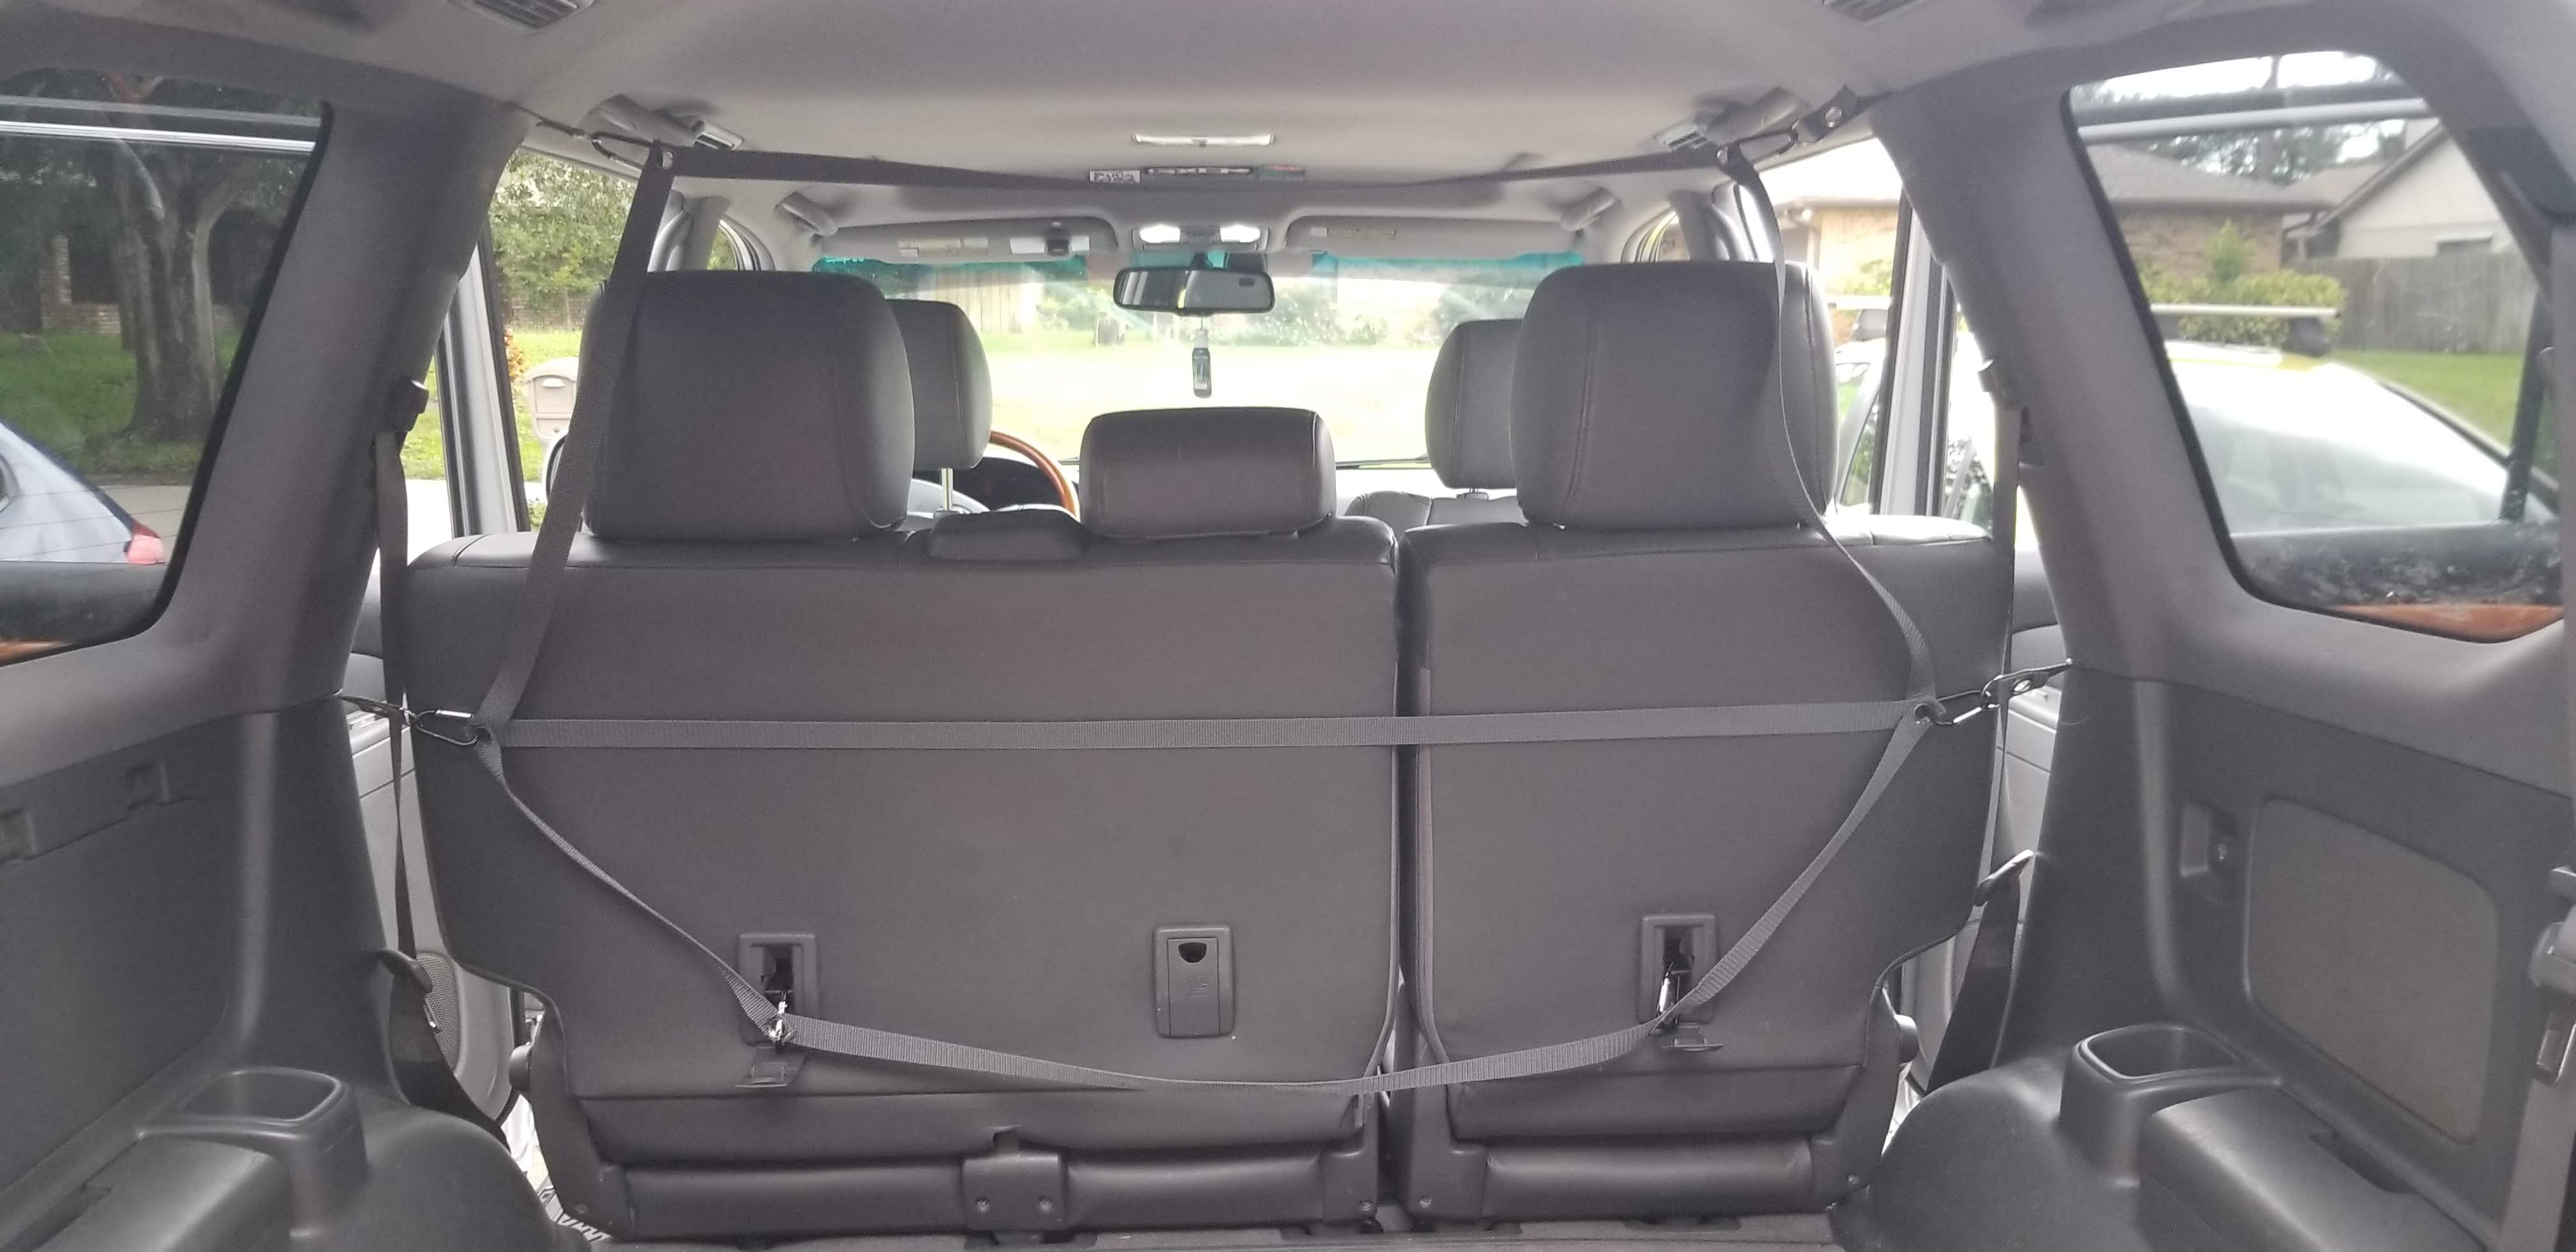
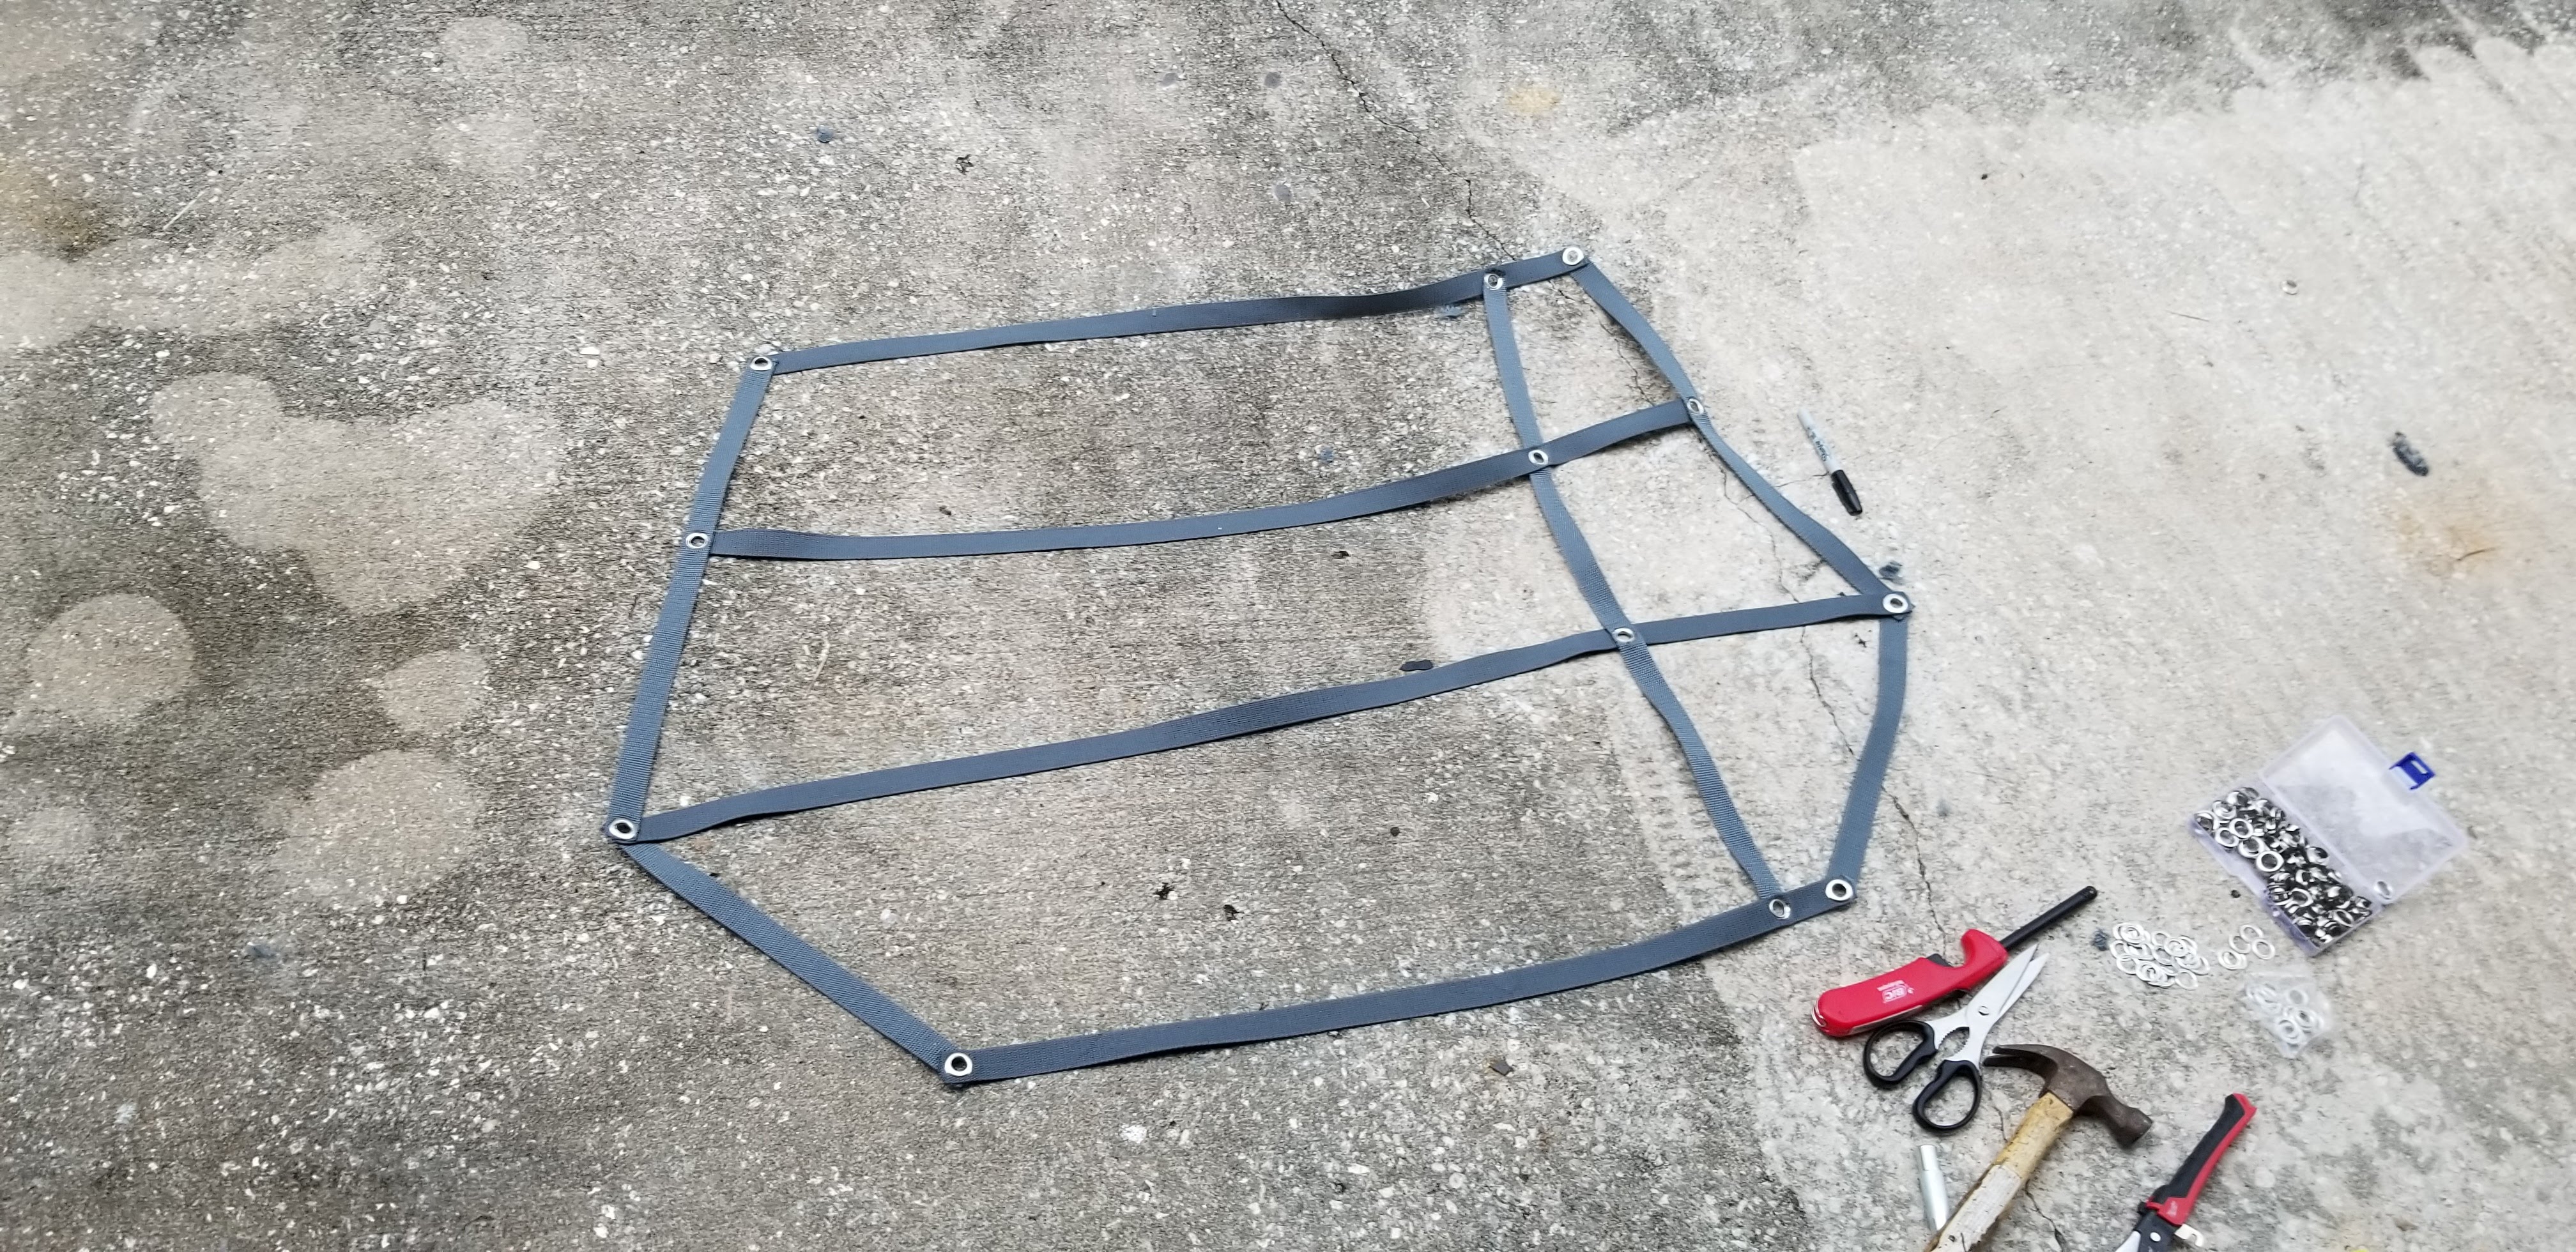
I made the perimeter first, and made sure it fit on the mount points I had added and the back of the middle row seats. All fits! The hardest part was where 3 different strips intersected. I was worried the grommet would be too small to contain all 3 pieces of webbing, but it held great.
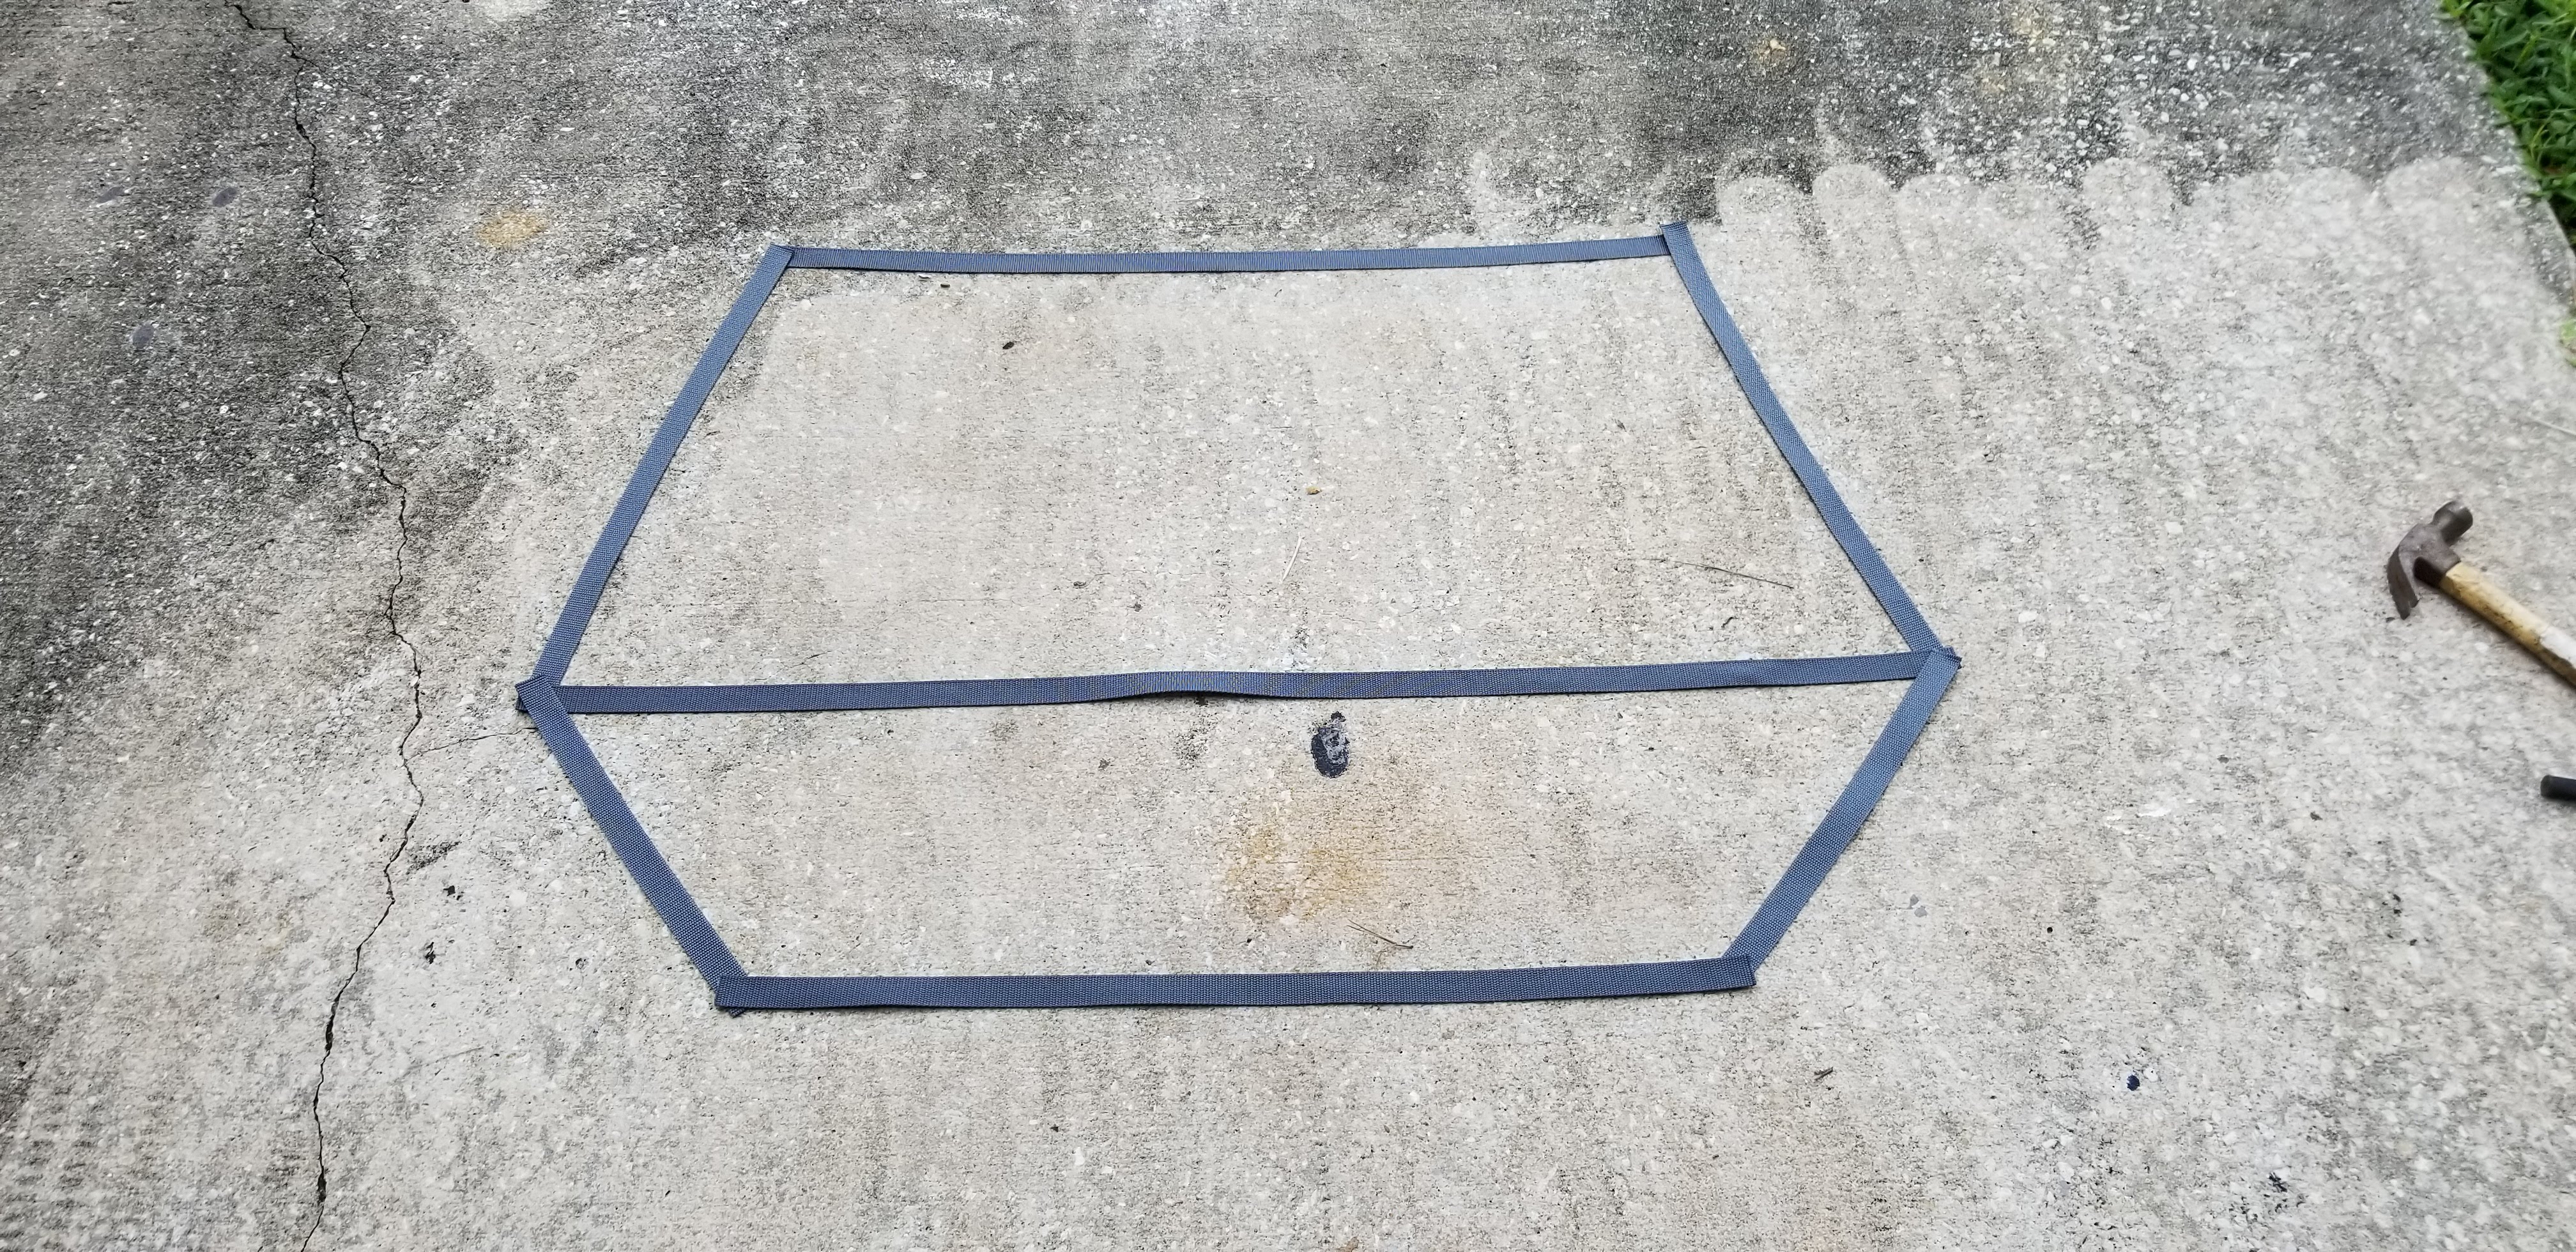
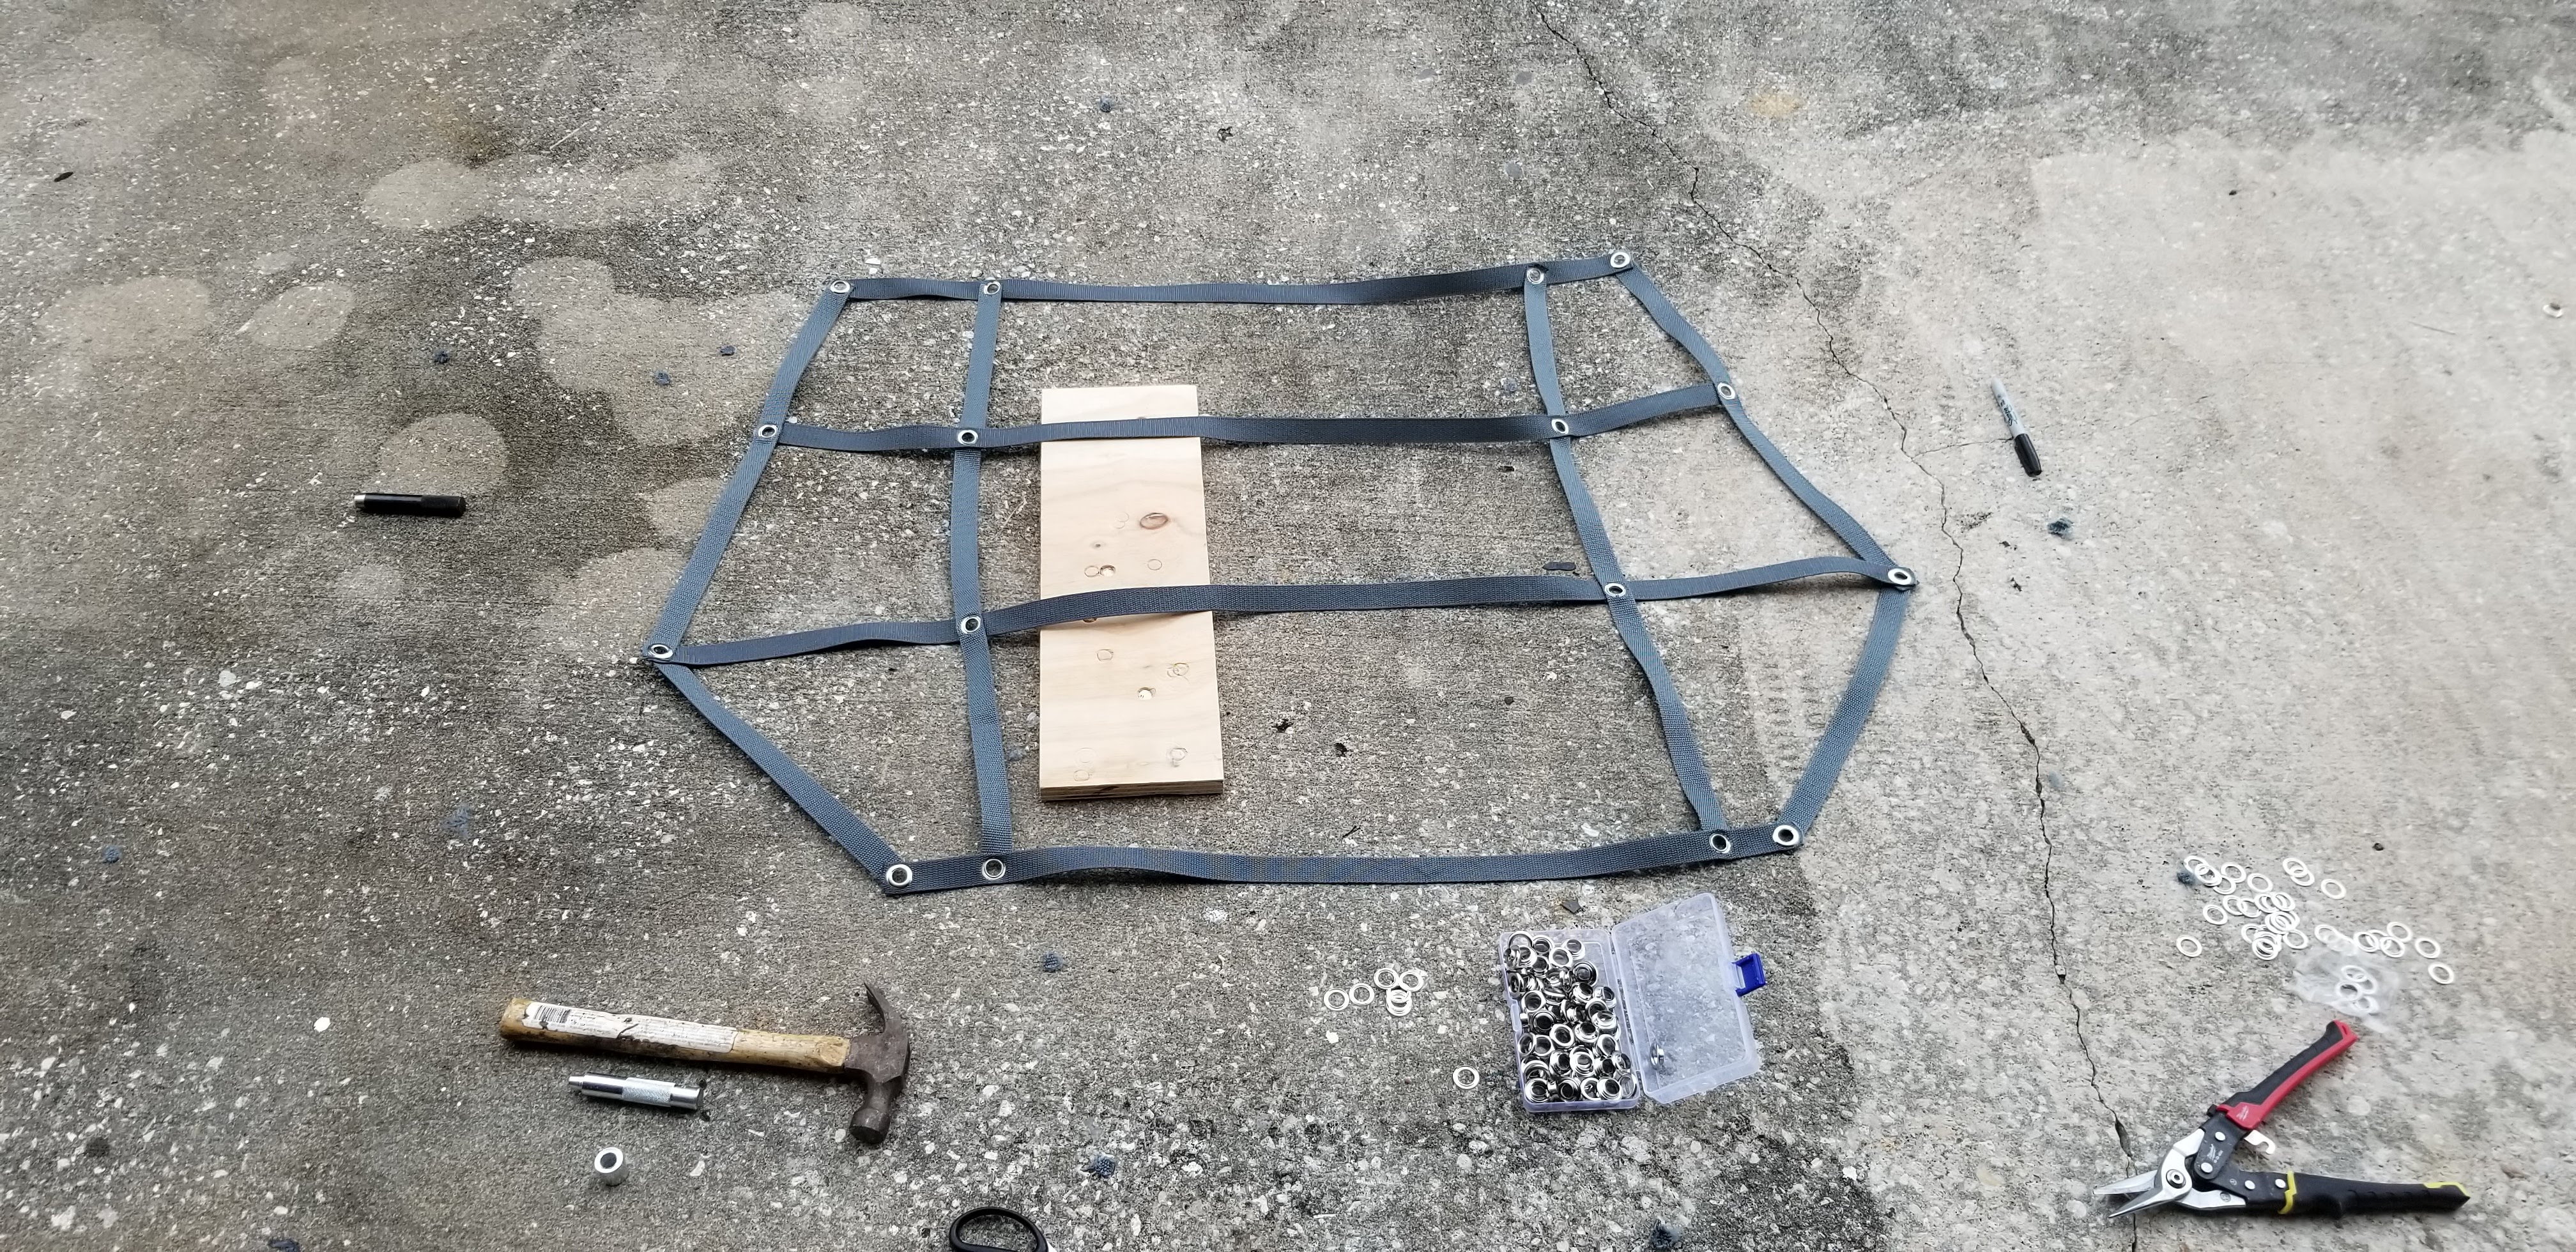
Then I added another horizontal strip and started adding a few vertical strips, putting grommets at every intersection along the way.
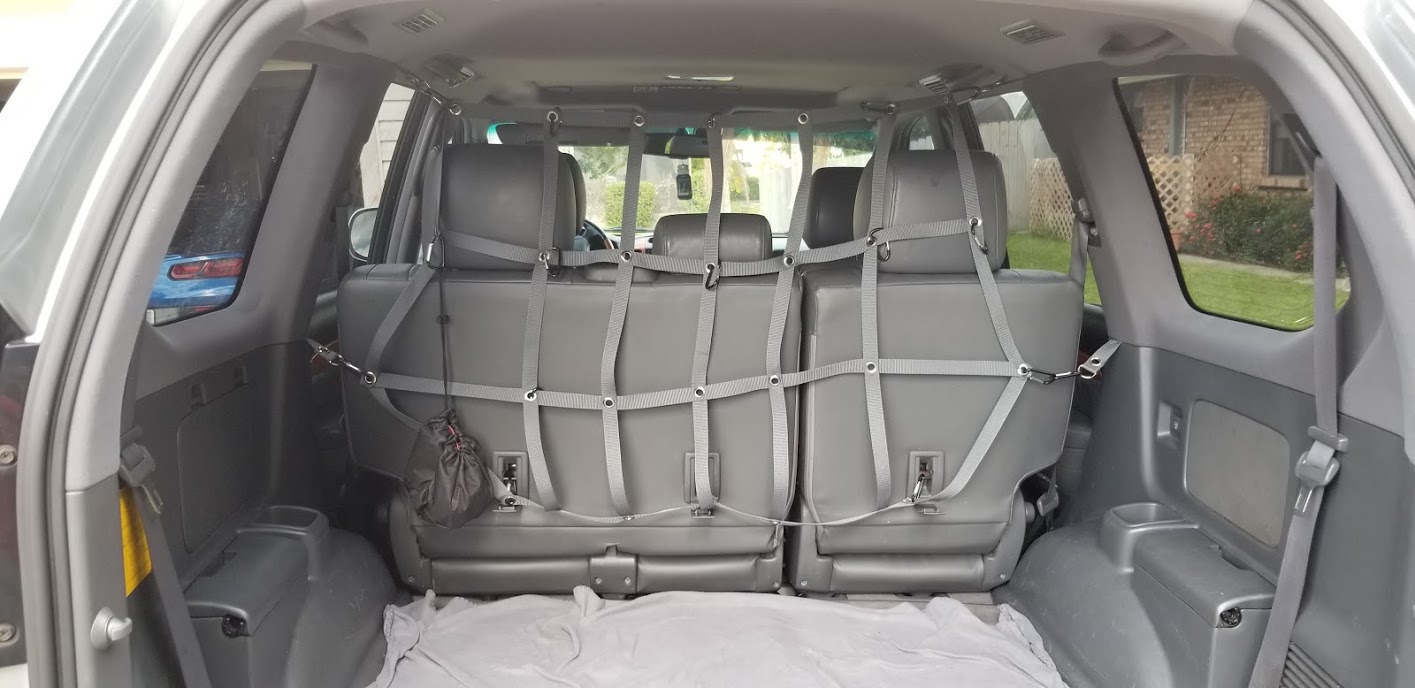
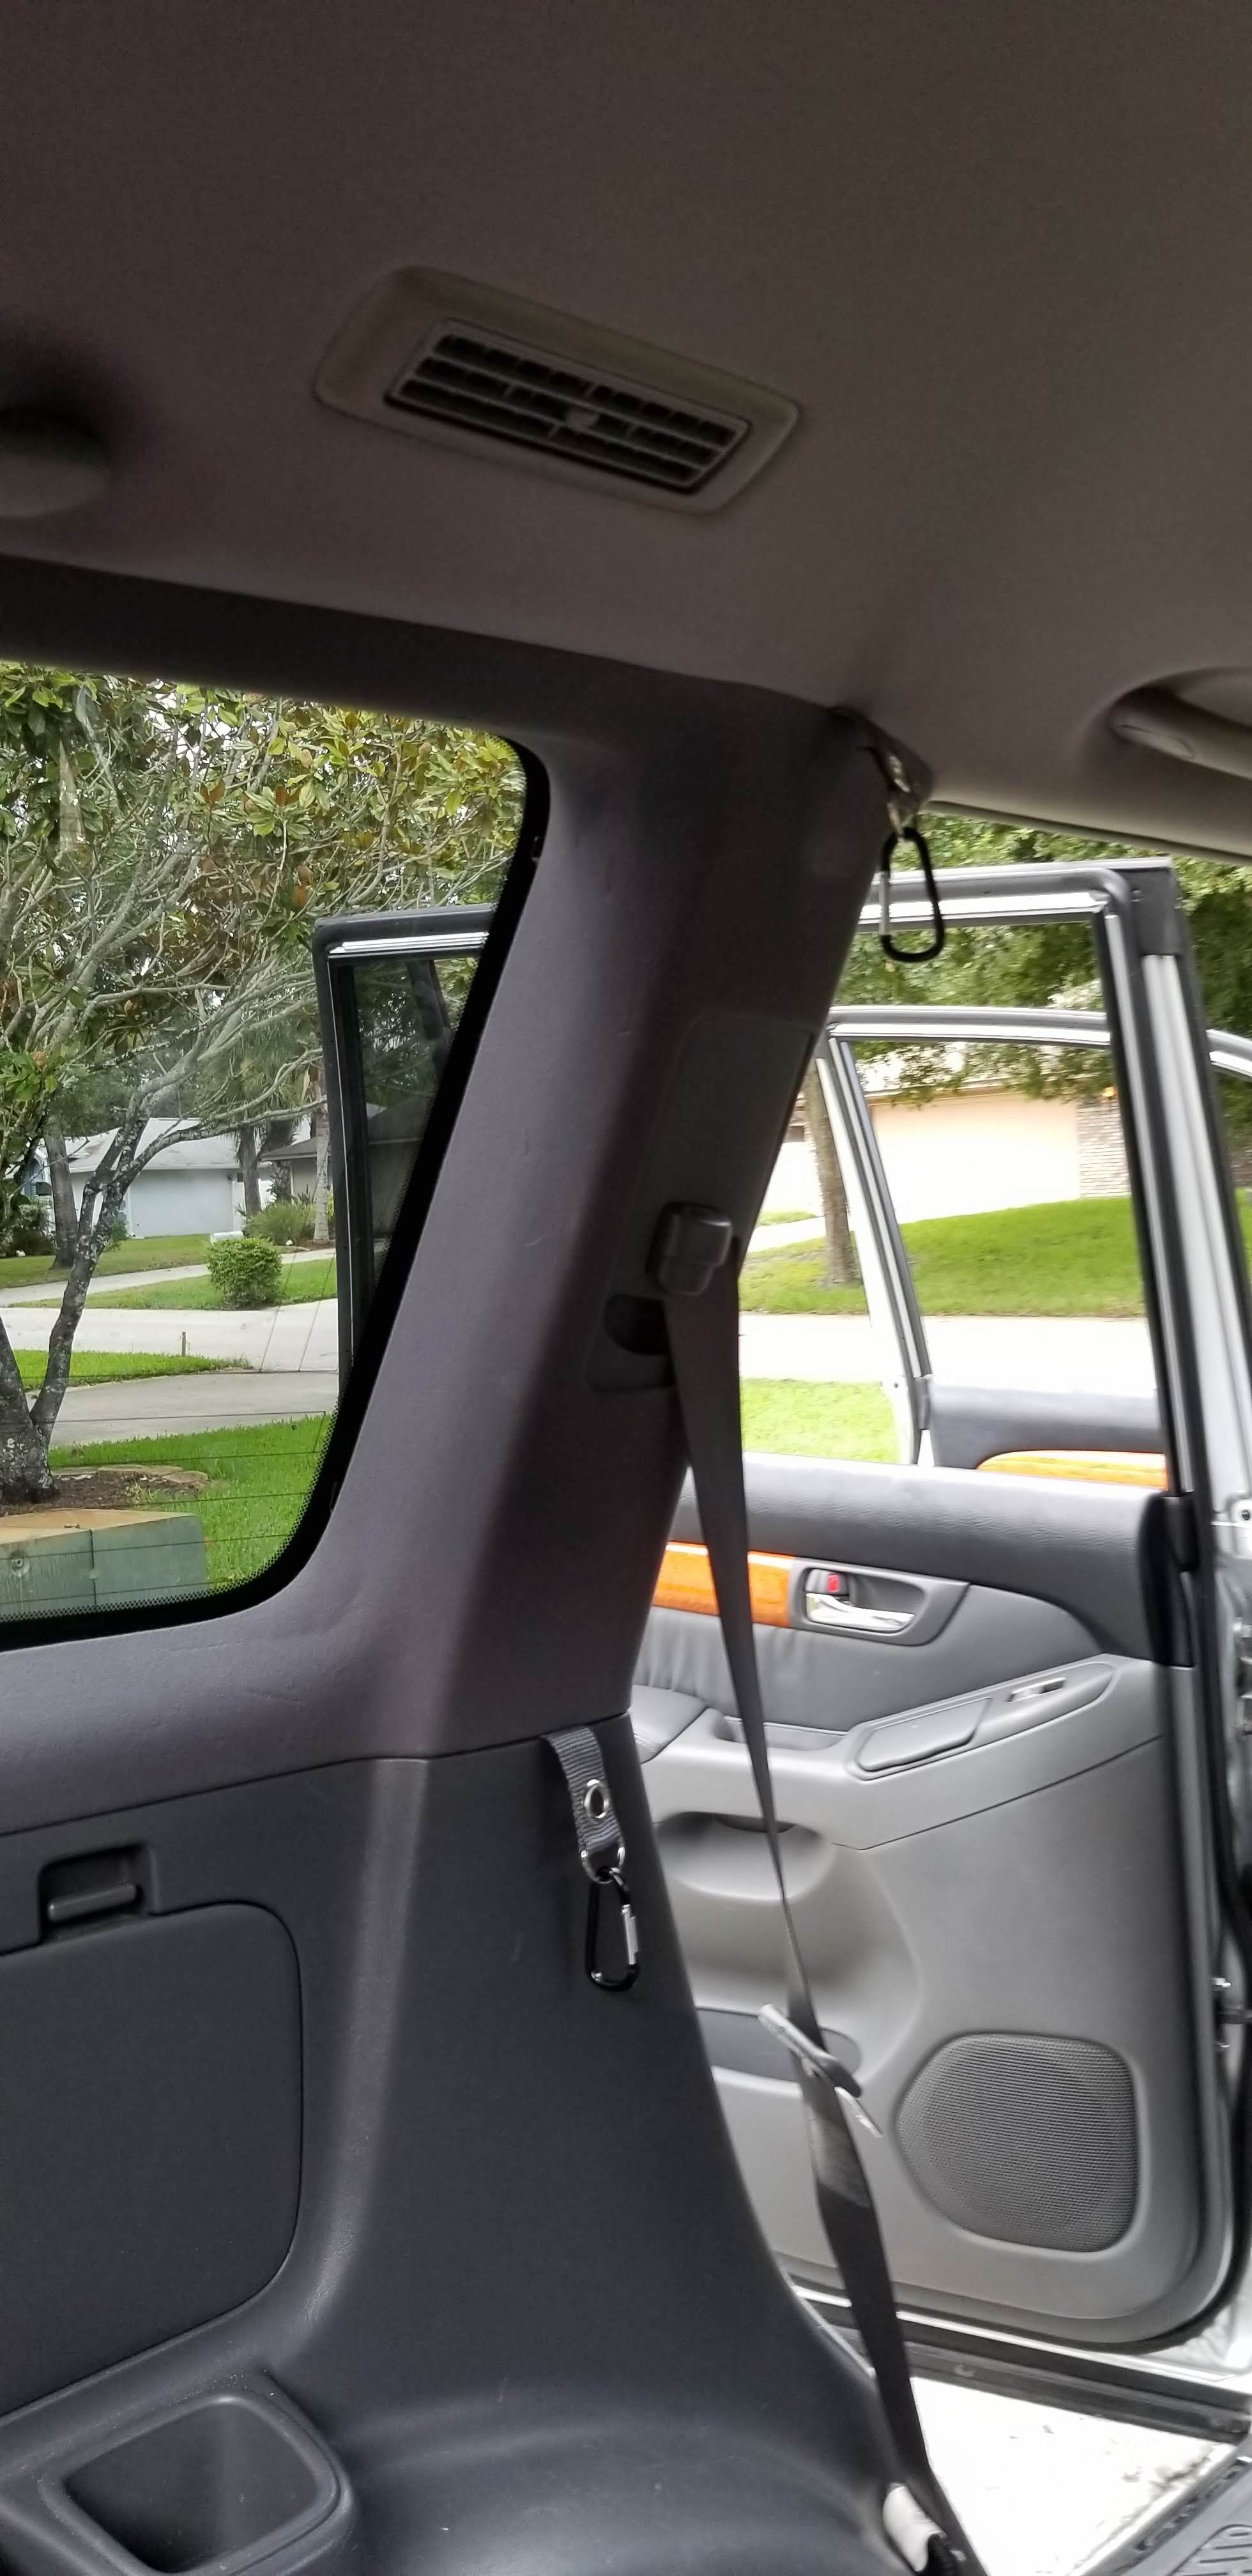
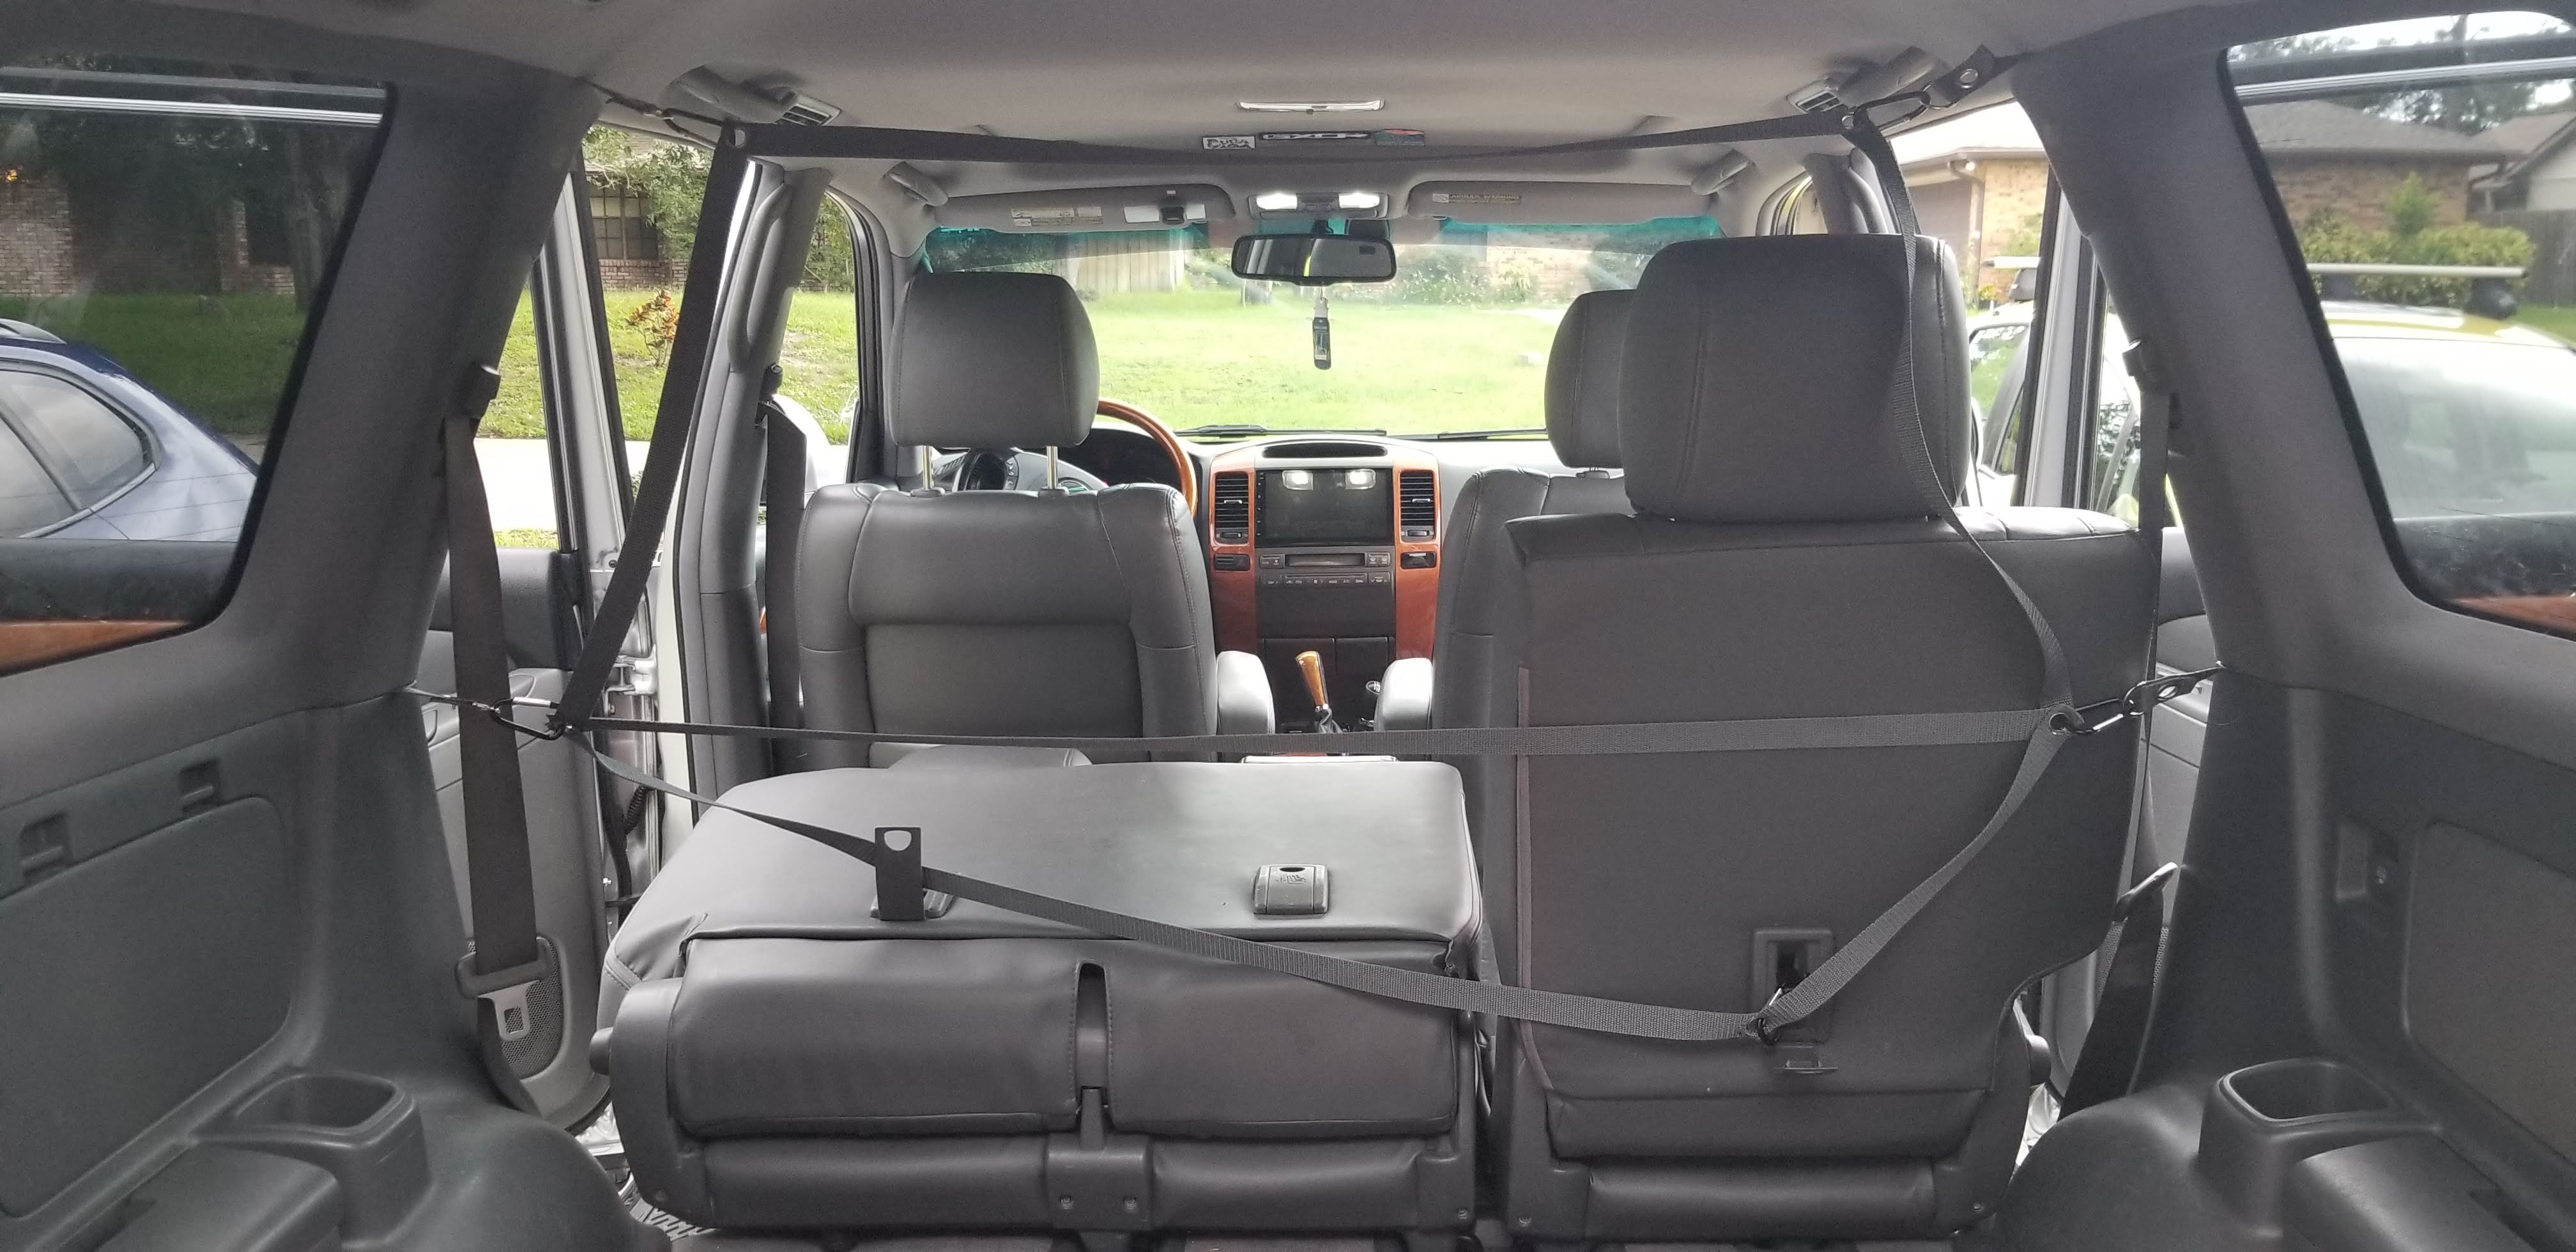
All done, then just install it! You can see the webbing flexes enough that the middle row can be up or down, however the middle row can not recline much.
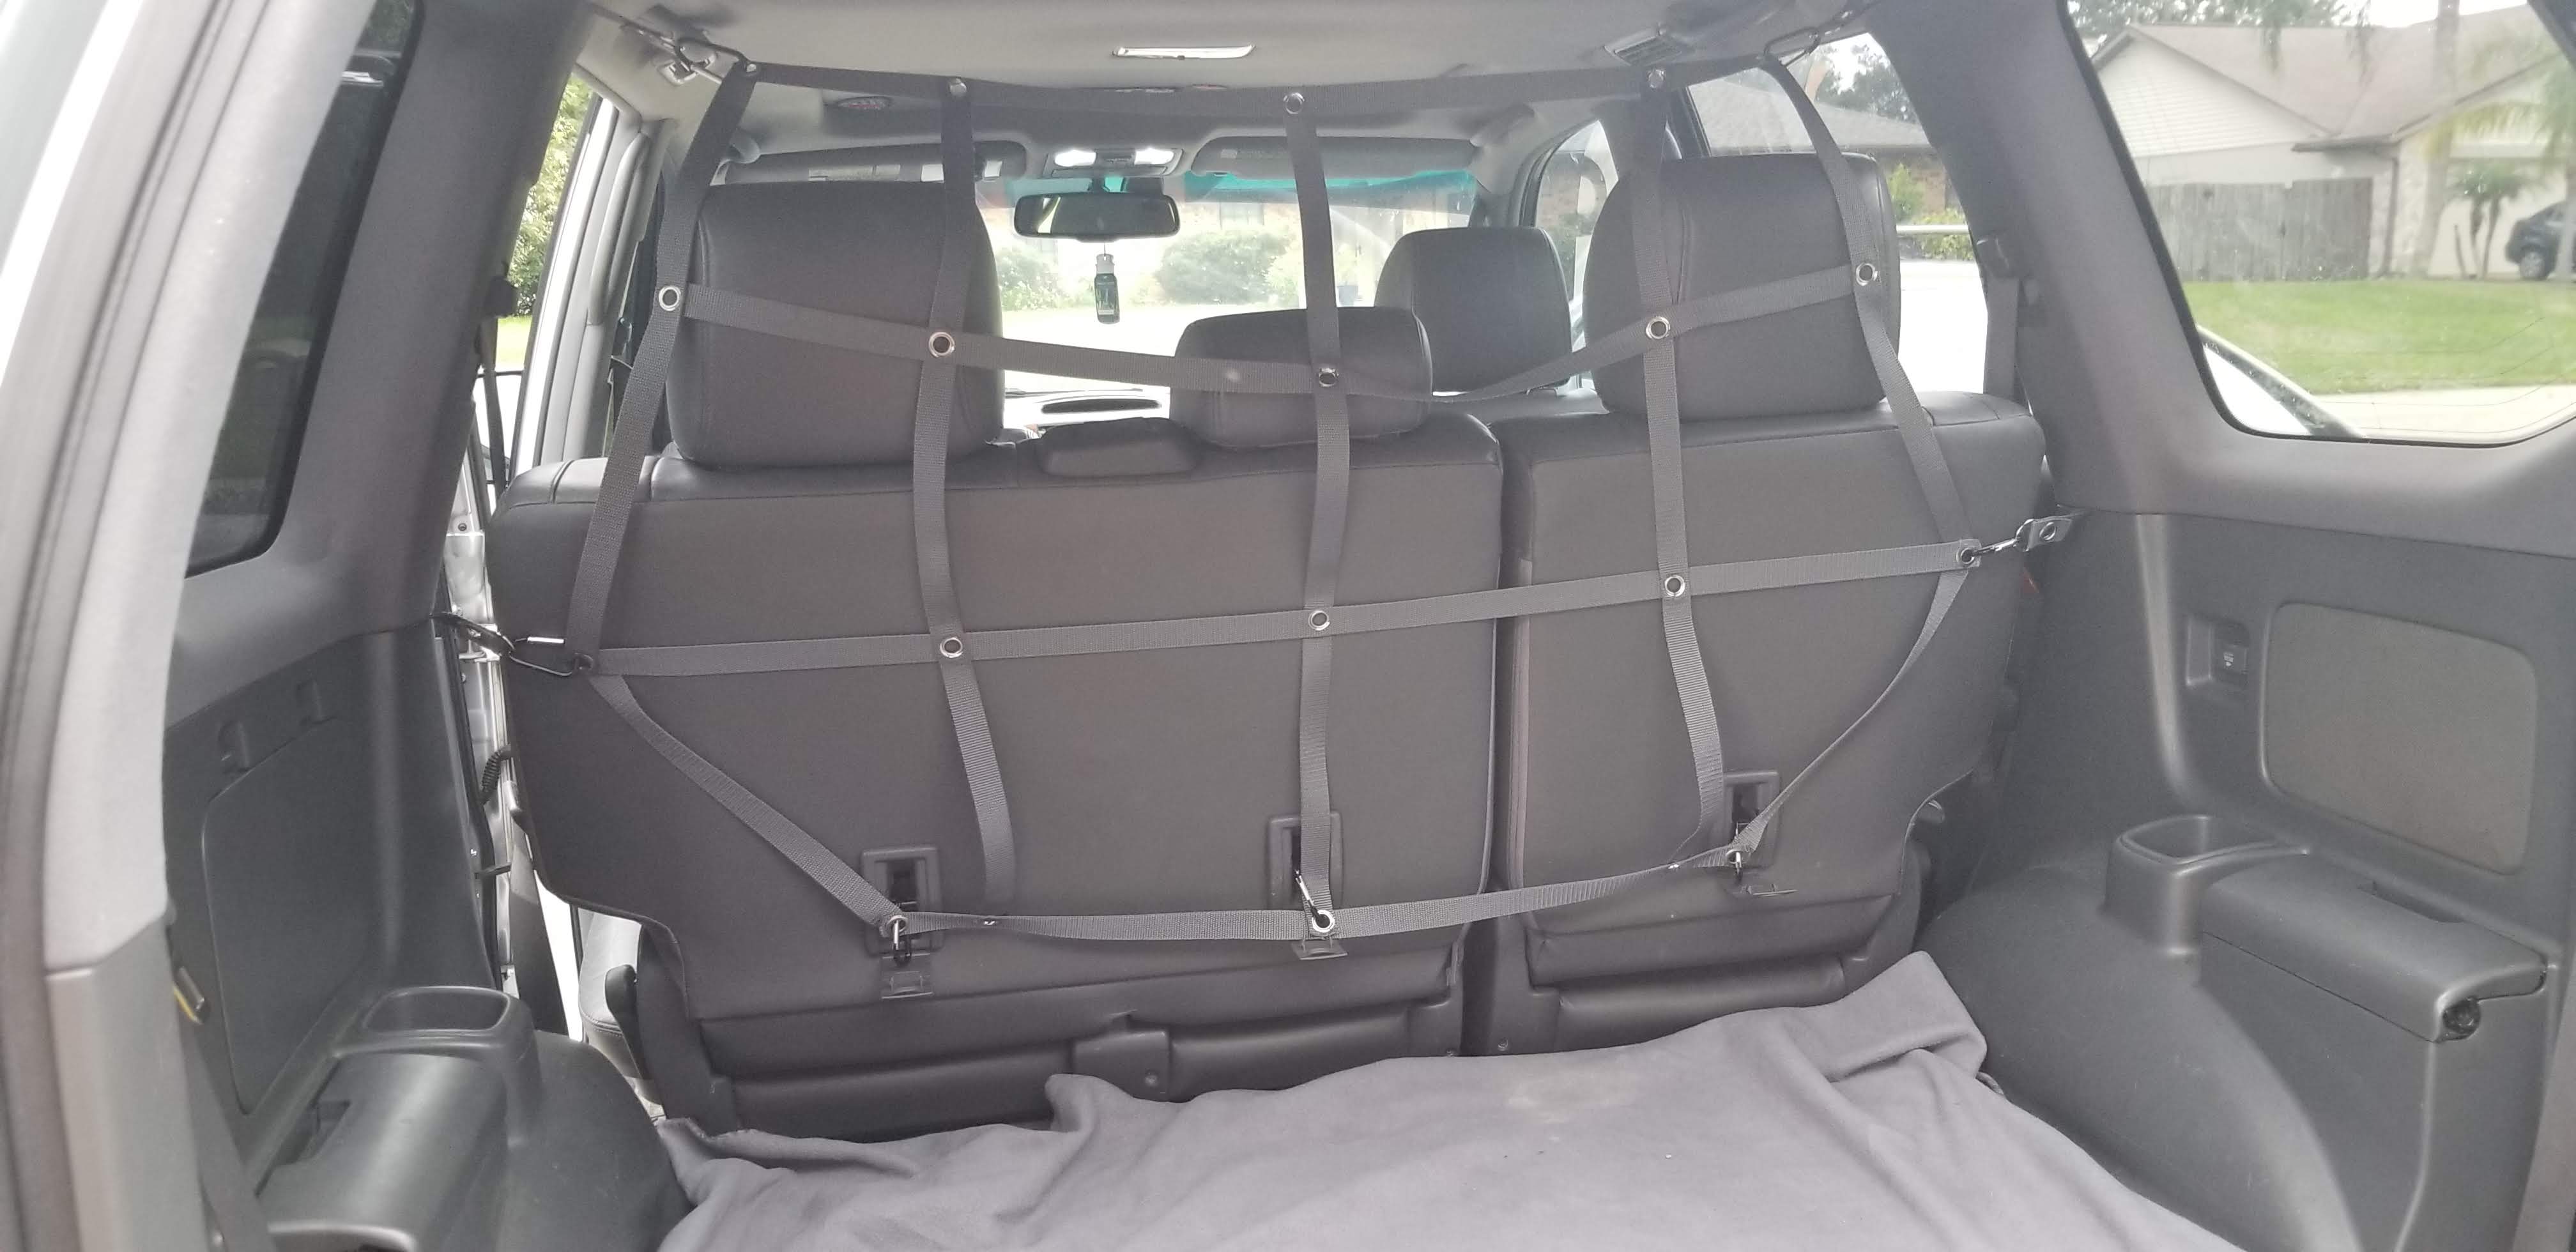
It took about 3 hours and $60 of parts to build a webbing barrier that is perfect for Bentley, and I have enough leftover parts, webbing, and carabiners that I could make a second one, or any other cool webbing things. I can also add many more vertical and horizontal strips. This was made to keep our lab in the back. We also have a 12 pound Cavalier, and she can fit through the nets, but that’s OK, she doesn’t get in my way when I drive.
Any questions, feel free to comment, or ask me in the GXOR Facebook group.
Update, 1 day later: I had to add 2 more vertical strips, since Bentley jumped through them once he saw we had Chick-fil-A in the front seat.